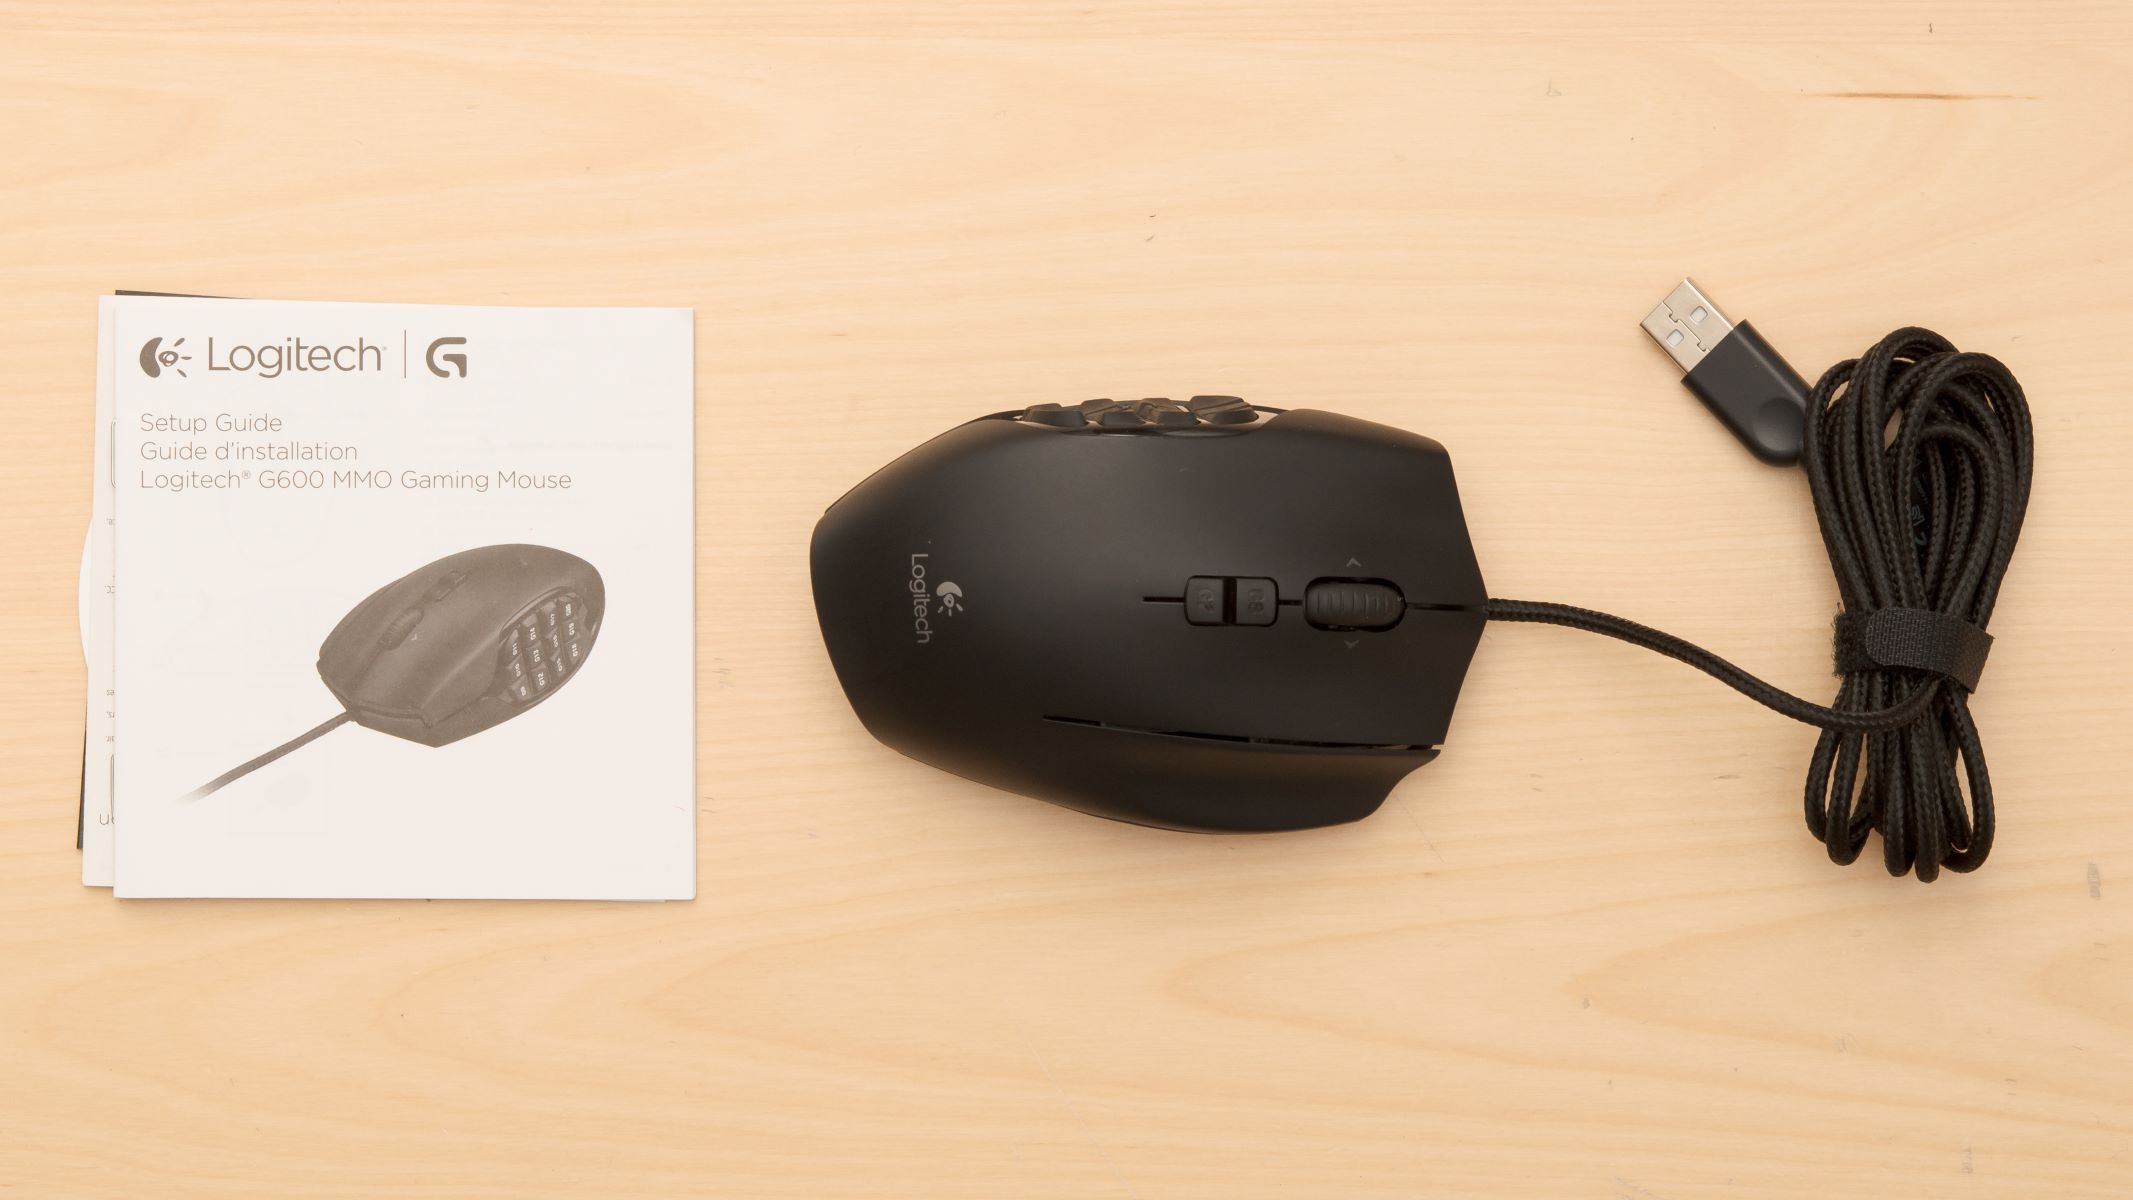
Introduction
Keeping your Logitech G600 gaming mouse clean is essential to ensure optimal performance and longevity. Over time, dirt, oil, and debris can accumulate on the surface of the mouse, affecting its responsiveness and causing discomfort during gameplay. Regular cleaning not only improves the mouse’s functionality but also helps to maintain its sleek and attractive appearance.
In this guide, we will take you through the step-by-step process of cleaning your Logitech G600 gaming mouse, ensuring that you can enjoy a smooth and precise gaming experience every time. Whether you’re a dedicated gamer or simply someone who wants to keep their mouse in top condition, following these cleaning instructions will help you maintain the performance and lifespan of your Logitech G600.
Before diving into the cleaning process, it’s important to note that the Logitech G600 is not designed to be fully submersible in water. Therefore, it’s crucial to use caution and avoid getting any liquid into the inner components of the mouse. By following the guidelines outlined below, you’ll be able to clean your Logitech G600 effectively without causing any damage.
Step 1: Gather the necessary materials
Before beginning the cleaning process, gather the following materials:
- A soft, lint-free cloth or microfiber cloth
- Isopropyl alcohol or gentle electronics cleaning solution
- Cotton swabs
- A can of compressed air
- A small brush, such as a toothbrush or a soft paintbrush
- Optional: Gloves to protect your hands
These materials are readily available and will help you effectively clean your Logitech G600 gaming mouse. The soft cloth and isopropyl alcohol or electronics cleaning solution will be used to clean the surface of the mouse, while the cotton swabs and small brush will help you clean the buttons, wheel, and other hard-to-reach areas. The can of compressed air will come in handy for removing any debris from the mouse’s crevices.
Make sure to choose a soft cloth that won’t scratch the surface of the mouse and avoid using harsh chemicals or abrasive materials that could damage its finish. Isopropyl alcohol is a safe and effective solution for cleaning electronics, but you can also use a specialized cleaning solution designed for electronics if you prefer.
Once you have gathered all the necessary materials, you’re ready to move on to the next step: disconnecting and powering off the Logitech G600 gaming mouse.
Step 2: Disconnect and power off the Logitech G600
Before getting started with the cleaning process, it’s important to disconnect and power off your Logitech G600 gaming mouse. This ensures your safety and prevents any potential damage to the mouse.
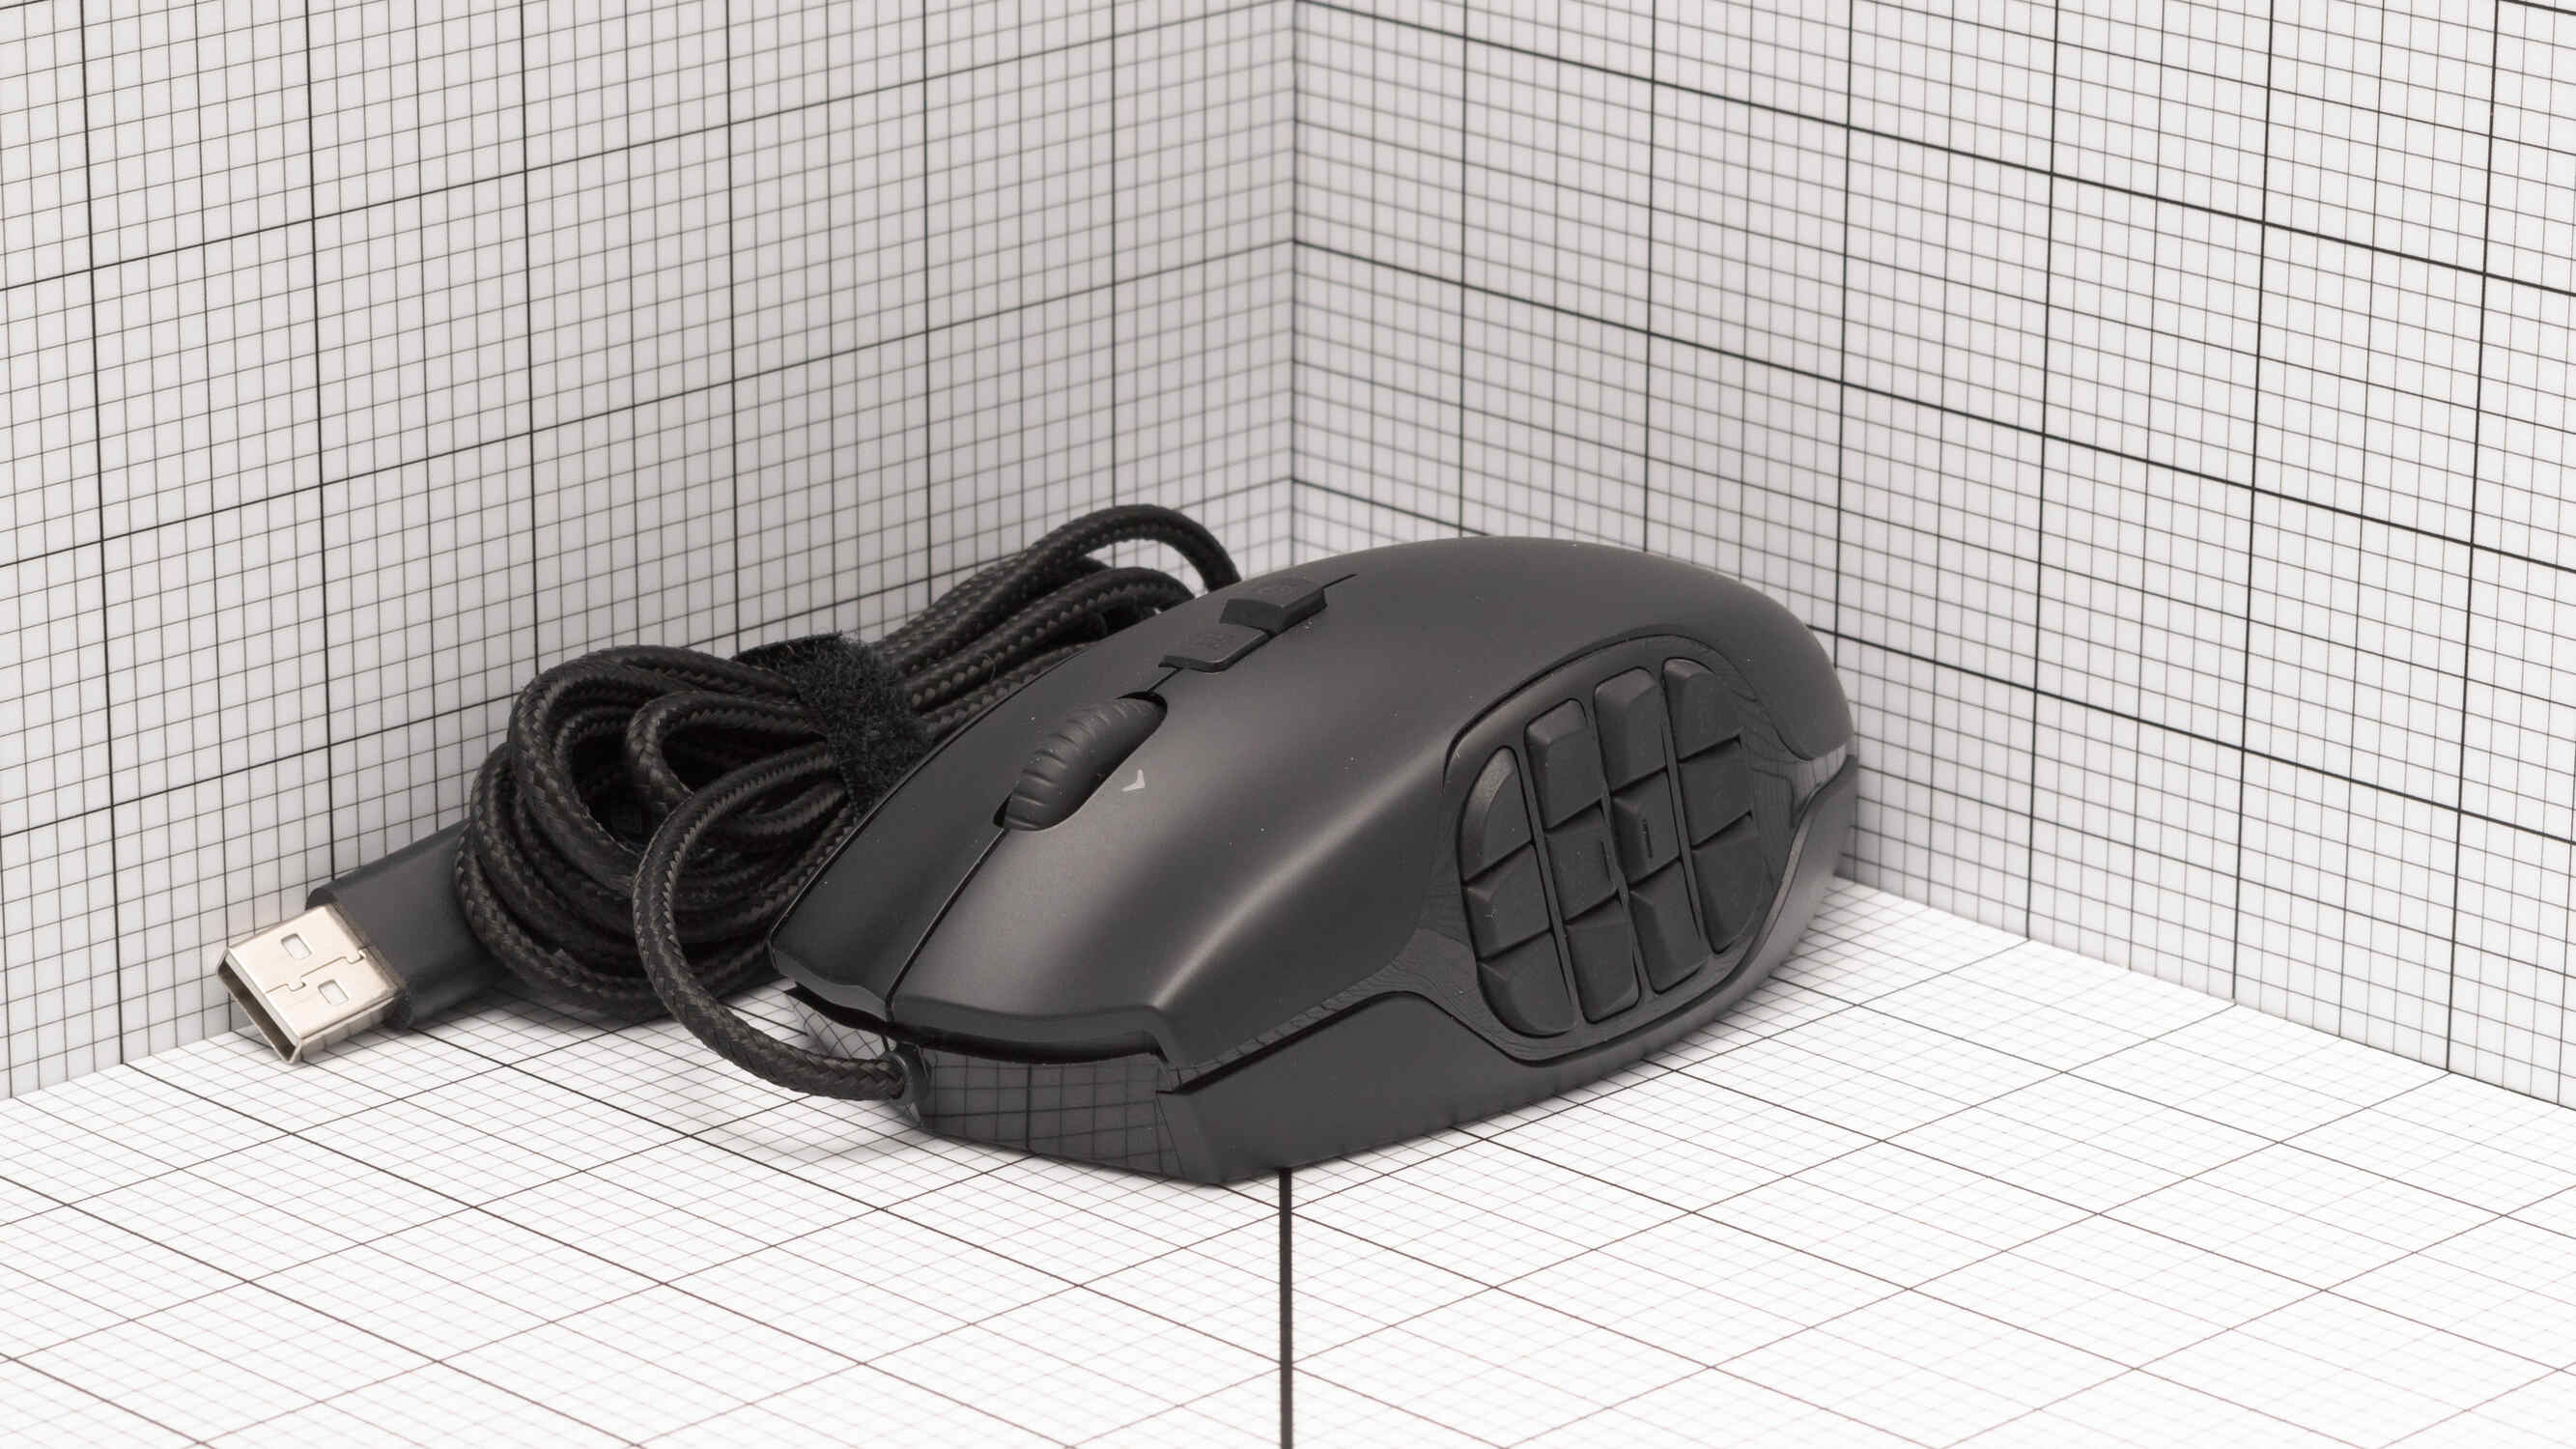
To disconnect the mouse, gently unplug it from your computer or gaming device. If your mouse is wireless, make sure to turn it off by flipping the power switch located on the underside of the mouse. This prevents any accidental movement or input while you clean.
If your mouse is wired, it’s also a good idea to unplug it from the power source to avoid any electrical accidents. Take the time to carefully wrap and secure the USB cable to prevent tangling or damage.
By disconnecting and powering off the Logitech G600, you eliminate the risk of accidental input during the cleaning process and protect both yourself and the mouse from any potential harm. Once you have completed this step, you can proceed to the next section where we will focus on removing any external debris and dust from the mouse.
Step 3: Remove any external debris and dust
Before diving into the detailed cleaning of your Logitech G600 gaming mouse, it’s essential to remove any external debris and dust that may have accumulated on the surface. This step helps ensure that these particles won’t scratch or damage the mouse during the cleaning process.
Start by gently wiping the surface of the mouse with a soft, lint-free cloth or microfiber cloth. Use light pressure to remove any visible dust, dirt, or smudges. Be cautious not to apply excessive force that could potentially damage the mouse’s surface.
If there are stubborn debris or particles in the crevices or hard-to-reach areas of the mouse, you can utilize a small brush, such as a toothbrush or a soft paintbrush, to dislodge them. Gently brush around the buttons, wheel, and other grooves to remove any trapped dust or dirt.
In case compressed air is available, you can use it to blow away any loose debris or dust particles from the mouse. Hold the can of compressed air upright and use short, controlled bursts to prevent any liquid from being released. This helps to effectively remove any lingering dust from the crevices and difficult-to-reach areas of the mouse.
By removing the external debris and dust from your Logitech G600 gaming mouse, you ensure a clean and debris-free surface for the next steps of the cleaning process. Once you have completed this step, you can proceed to the next section, where we will focus on cleaning the surface of the mouse.
Step 4: Clean the surface of the mouse
Now that you’ve removed the external debris and dust from your Logitech G600 gaming mouse, it’s time to focus on cleaning the surface of the mouse itself. This step ensures that the mouse’s exterior remains clean and free from oils or smudges that can affect its performance.
Start by dampening a soft cloth or microfiber cloth with a small amount of isopropyl alcohol or electronics cleaning solution. Make sure the cloth is not dripping wet to avoid any moisture seeping into the mouse.
Gently wipe the surface of the mouse using the damp cloth, paying extra attention to areas that may have accumulated oils from your skin, such as where your fingers rest or the palm area. Use gentle circular motions to effectively clean the surface, removing any dirt or residue.
If there are stubborn stains or smudges that aren’t easily removed with the cloth alone, you can dampen a cotton swab with a small amount of isopropyl alcohol or cleaning solution. Carefully rub the affected area to remove the stain, being mindful not to apply too much pressure that could damage the surface.
Once you have cleaned the entire surface of the mouse, use a dry, clean cloth to wipe away any remaining moisture. Ensure that the Logitech G600 is completely dry before moving on to the next step. This prevents any potential damage that could occur if moisture were to seep into the internal components of the mouse.
By effectively cleaning the surface of your Logitech G600 gaming mouse, you ensure that it remains looking sleek and smudge-free while also promoting optimal performance. With the surface cleaned, you can now move on to the next step, where we will focus on cleaning the buttons and the wheel of the mouse.
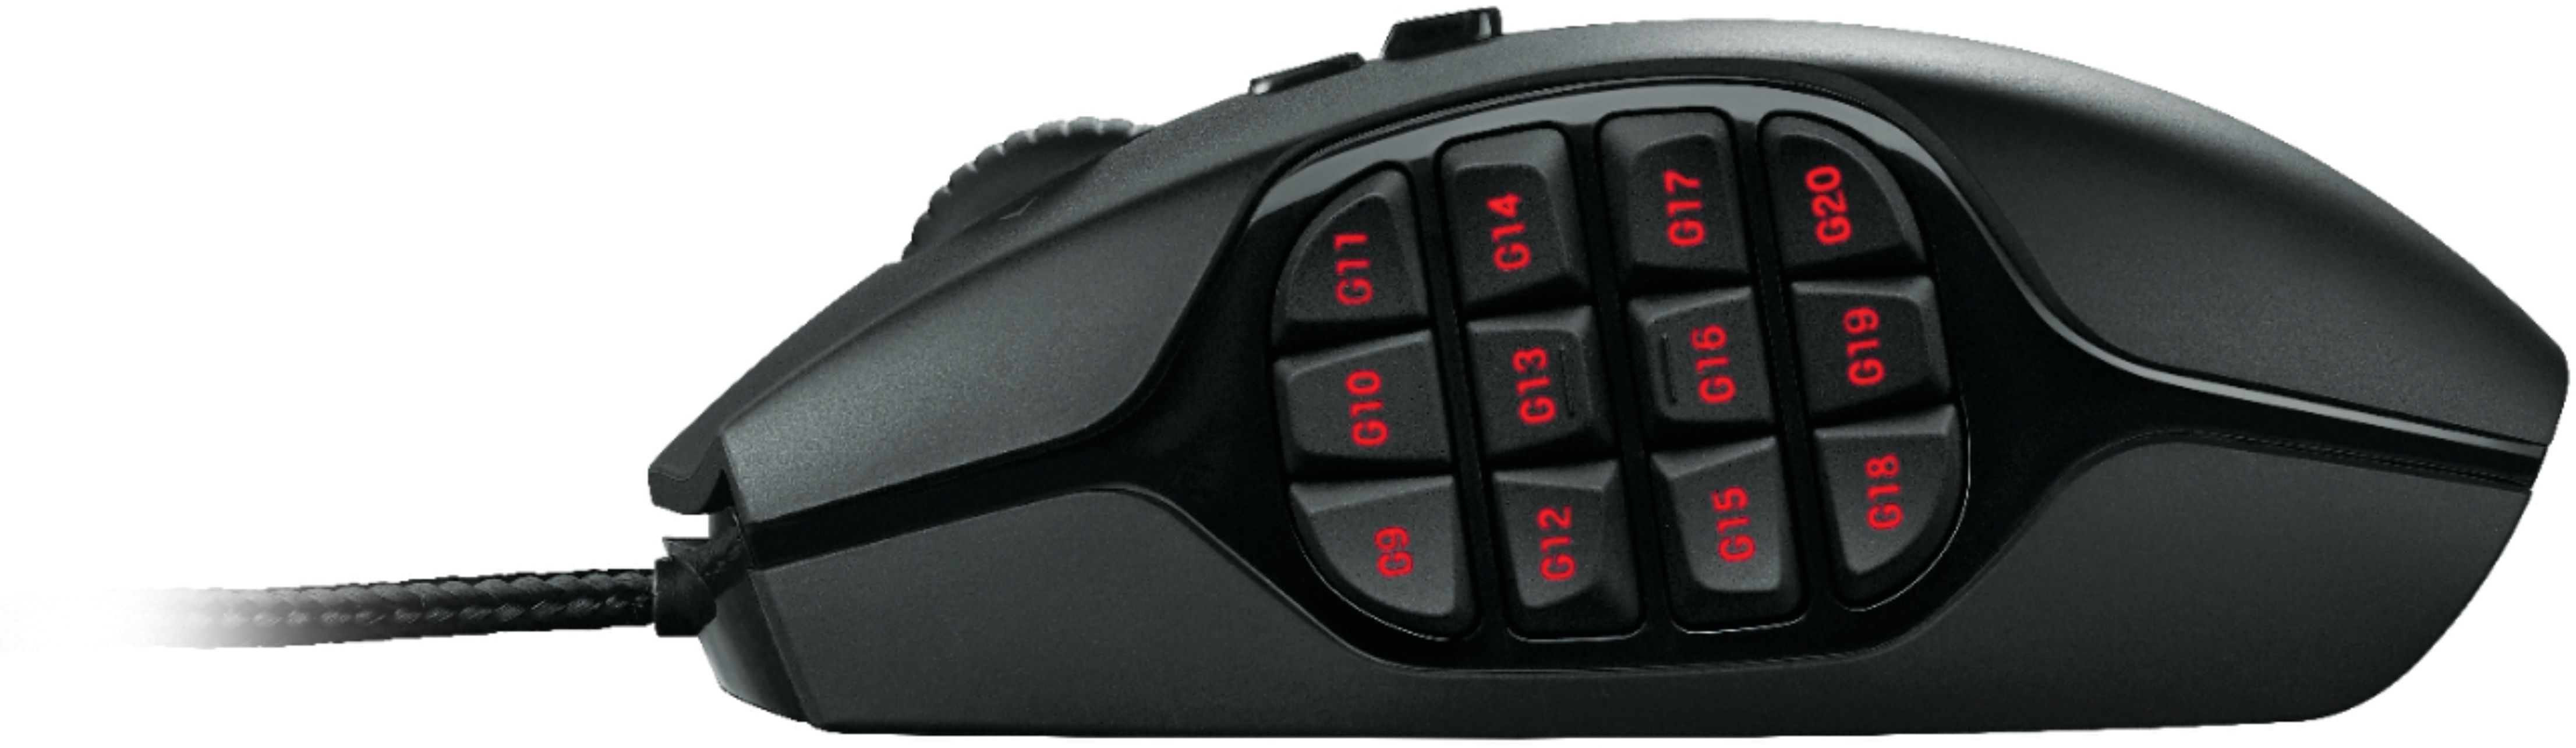
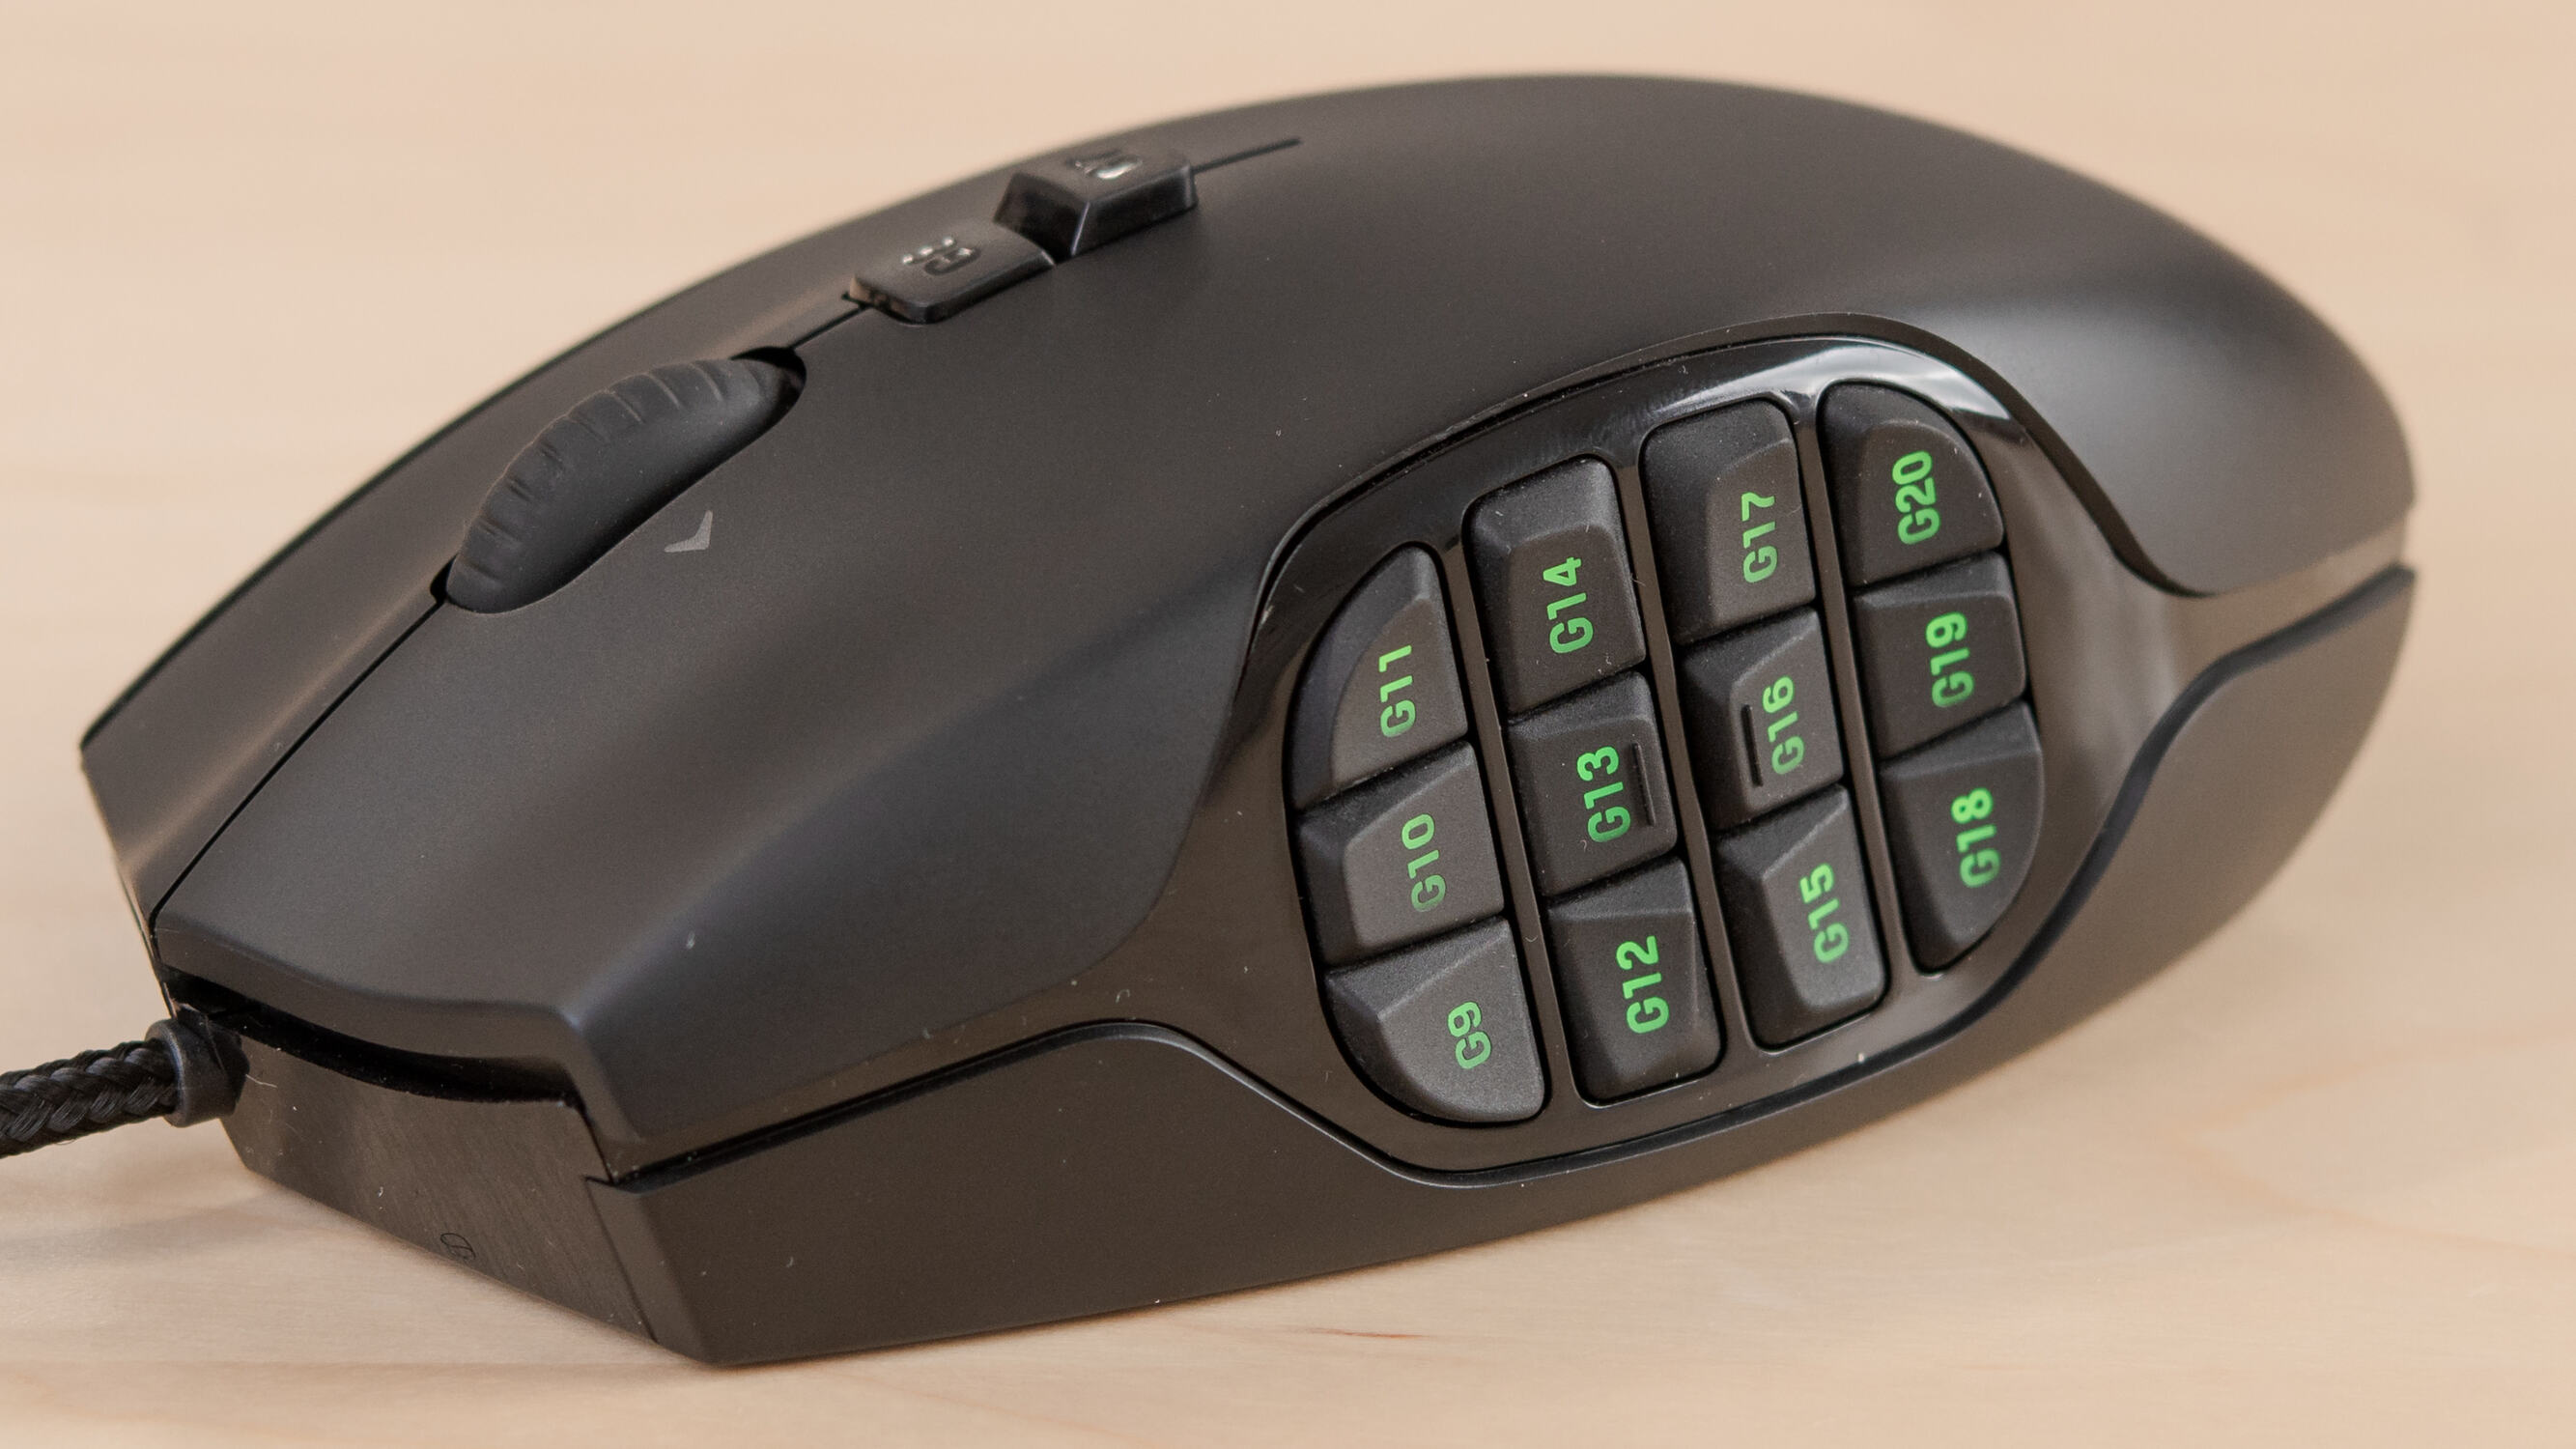
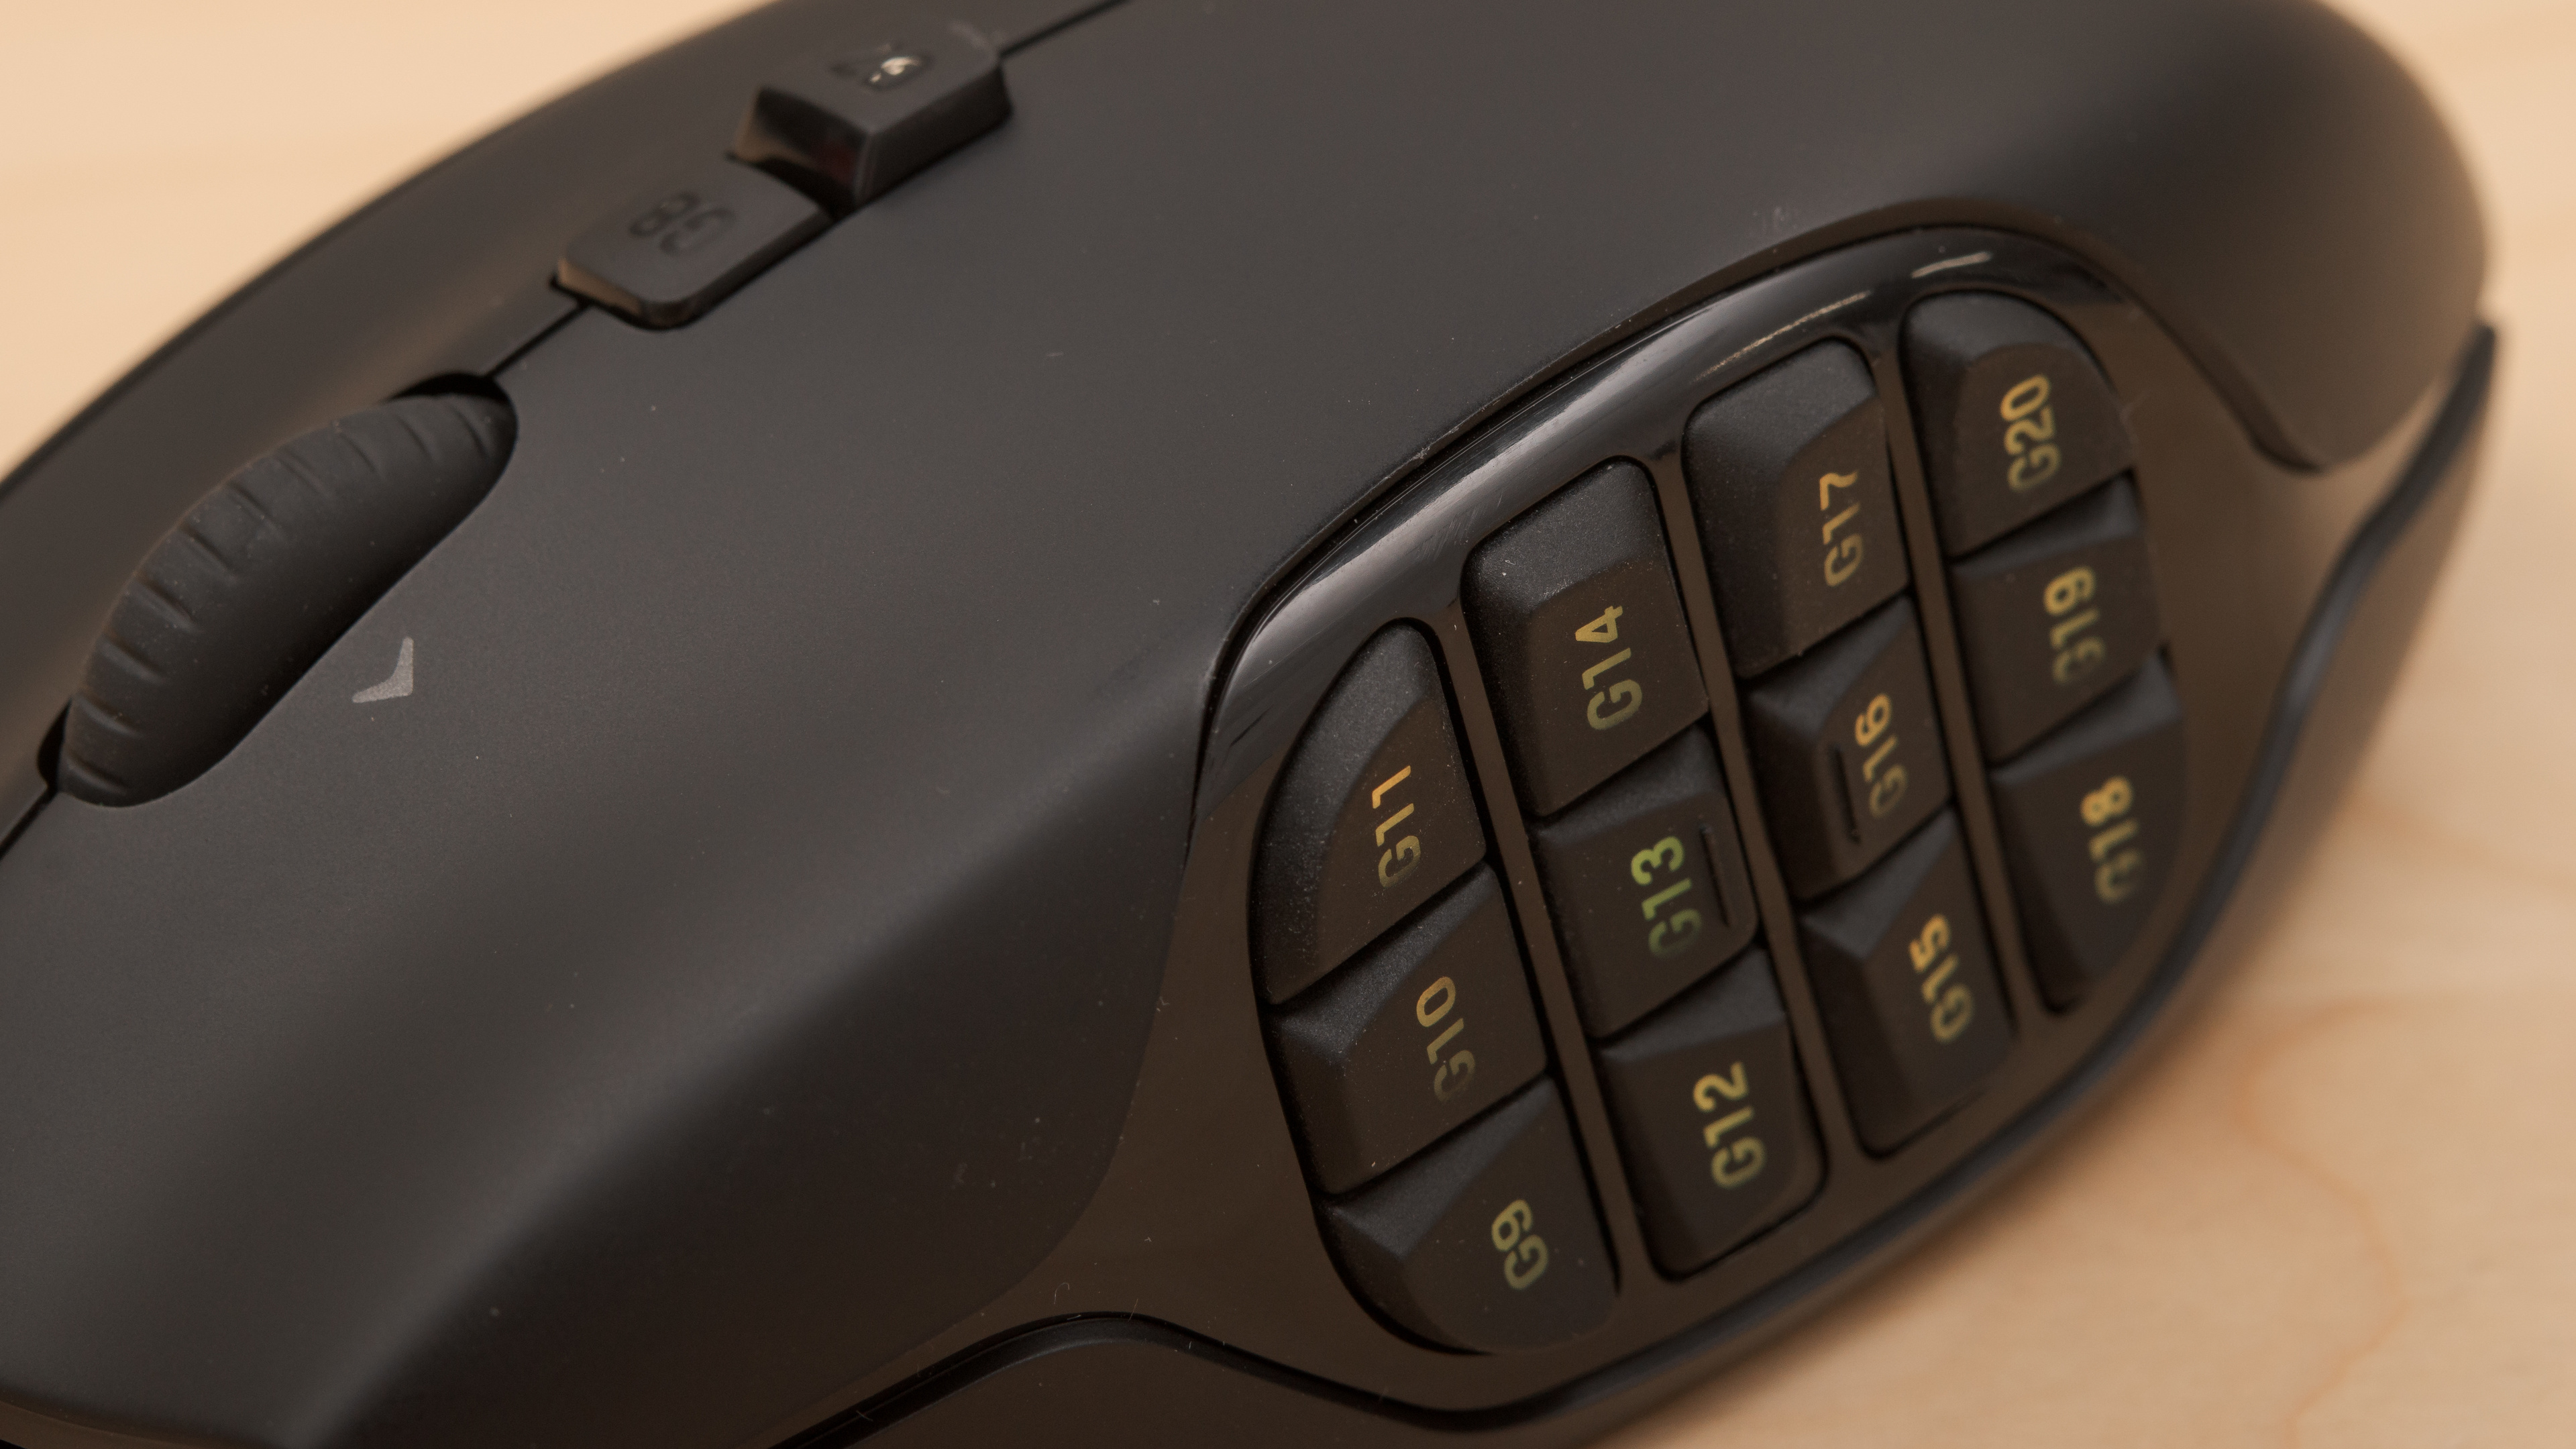
Step 5: Clean the buttons and wheel
After cleaning the surface of your Logitech G600 gaming mouse, it’s time to shift your attention to the buttons and the wheel. These components often accumulate dirt, oil, and debris from regular use, and cleaning them will help maintain the smooth operation of the mouse.
Start by moistening a cotton swab with a small amount of isopropyl alcohol or electronics cleaning solution. Gently rub the cotton swab around the buttons, paying special attention to the areas where your fingers make frequent contact. This helps remove any oils or grime that may have built up over time.
For the scroll wheel, use the cotton swab to clean between the ridges or notches. Rotate the wheel as you clean to ensure you reach all areas. If necessary, you can also use a toothpick or a soft brush to dislodge any stubborn debris stuck in the crevices.
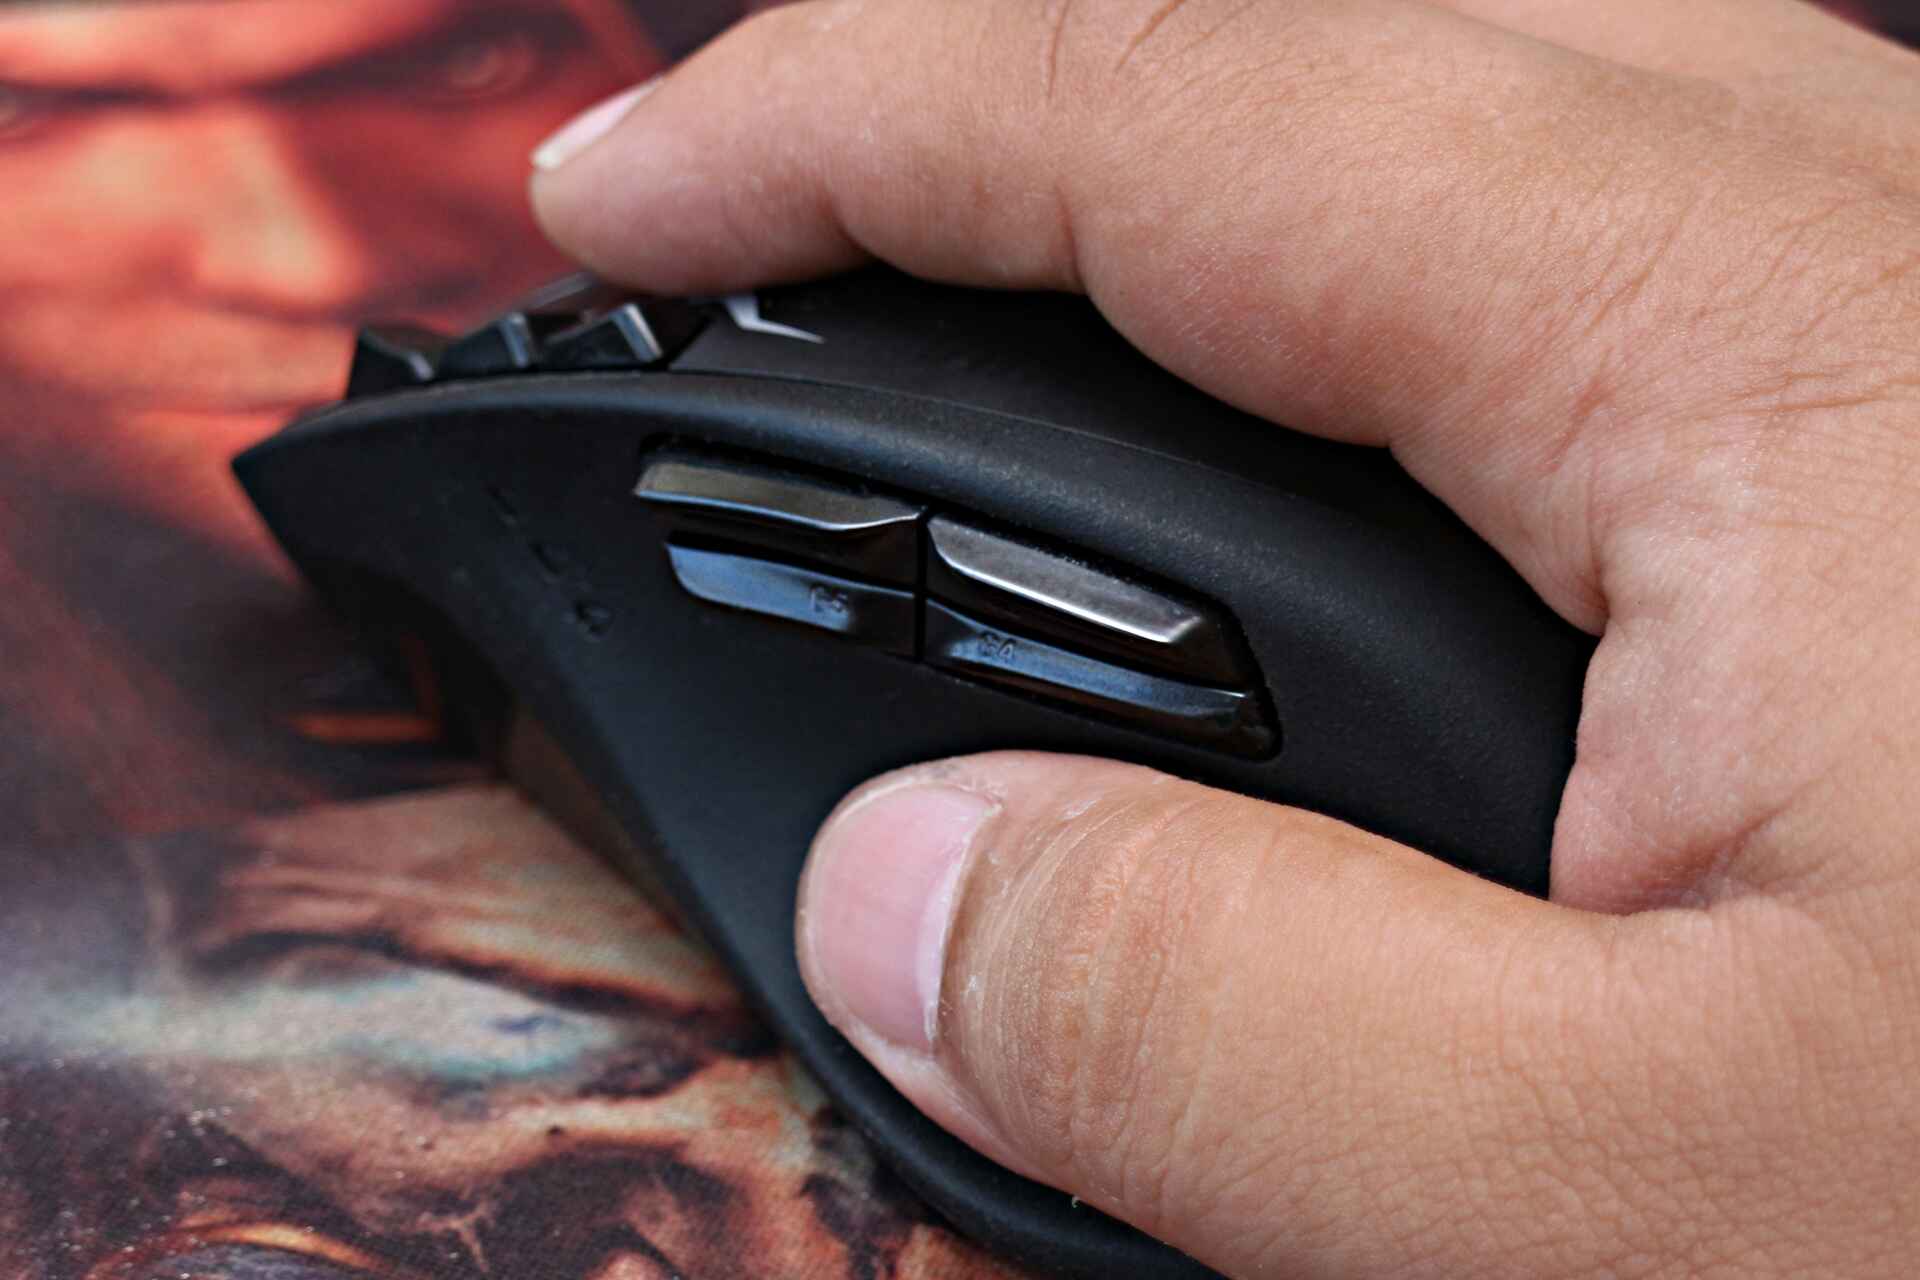
Next, focus on the side buttons and the left and right-click buttons. Use the cotton swab to clean the surface of these buttons, ensuring that no dirt or residue is left behind. Pay close attention to the grooves surrounding the buttons and use gentle pressure to avoid damaging the buttons.
If the mouse has removable buttons or caps, you can remove them and clean them separately by gently washing them with mild soap and water. Be sure to dry them thoroughly before reattaching them to the mouse.
After cleaning the buttons and wheel, use a dry cotton swab or cloth to remove any excess moisture. Allow the Logitech G600 to air dry completely before moving on to the next step. This ensures that no moisture remains and prevents any potential damage or malfunction.
By regularly cleaning the buttons and wheel of your Logitech G600 gaming mouse, you maintain its responsiveness and prolong its lifespan. With the buttons and wheel cleaned, you can now proceed to the next step, where we will focus on cleaning the bottom of the mouse.
Step 6: Clean the bottom of the mouse
As you continue the cleaning process of your Logitech G600 gaming mouse, it’s important not to neglect the bottom of the mouse. This area can accumulate dust, dirt, and debris, which can affect the mouse’s tracking and movement. Cleaning the bottom ensures optimal functionality.
Start by turning the Logitech G600 upside down and inspect the bottom of the mouse. You might notice dust or hair stuck in the sensor area or around the feet of the mouse. Use a small brush, such as a soft paintbrush or toothbrush, to gently brush away any visible debris. Be careful not to apply too much pressure that could damage the components.
If there are stubborn particles that are difficult to remove with a brush, you can use a cotton swab dampened with a small amount of isopropyl alcohol or electronics cleaning solution. Carefully rub the affected area to loosen and remove any residue or dirt. Ensure you do not get any liquid inside the sensor area or other openings.
Additionally, inspect the mouse feet or skates. Over time, these may become worn or dirty, affecting the smooth movement of the mouse. If necessary, you can use a mild soap and water solution to gently clean the mouse feet. Dry them thoroughly before using the mouse again to prevent any slipping or damage.
Once you have thoroughly cleaned the bottom of the Logitech G600 gaming mouse, use a clean, dry cloth to remove any excess moisture. Allow the mouse to air dry completely before reassembling and reconnecting it. This ensures that no moisture remains, preventing potential damage or performance issues.
By regularly cleaning the bottom of your Logitech G600 gaming mouse, you optimize its tracking abilities and maintain smooth movement across different surfaces. With the bottom cleaned, you can now proceed to the next step, where we will focus on allowing the mouse to dry completely.
Step 7: Allow the Logitech G600 to dry completely
After cleaning the different components of your Logitech G600 gaming mouse, it is crucial to ensure that it is fully dry before reconnecting and using it. Dampness or moisture can lead to malfunctions or even damage the internal components of the mouse.
Start by double-checking that all the parts of the mouse have been properly cleaned and dried. Use a cloth or tissue to gently pat dry any lingering moisture on the surface, buttons, or bottom of the mouse. Take extra care to ensure that no liquid remains in the sensor area, as this can affect the mouse’s tracking capabilities.
For optimal drying, it is recommended to leave the Logitech G600 in a well-ventilated area, away from direct sunlight or heat sources. Placing the mouse on a clean, dry surface and allowing it to air dry naturally will ensure that every component is thoroughly dried.
The drying time may vary depending on the environment and the level of moisture present. It is recommended to leave the mouse undisturbed for at least an hour or until it is completely dry to the touch. Rushing the drying process may result in residual moisture that could cause damage or malfunction.
During the drying process, it is crucial to avoid using any external aids such as hairdryers or heat sources to speed up the drying. These methods can generate excessive heat that can harm the mouse or lead to warping of the plastic components.
Once the Logitech G600 is completely dry, you can proceed to the final step, which involves reconnecting and powering on the mouse for use. Taking the time to ensure its complete dryness will help maintain the performance and integrity of your gaming mouse.
Step 8: Reconnect and power on the Logitech G600
Now that you have thoroughly cleaned and allowed the Logitech G600 gaming mouse to dry completely, it’s time to reconnect and power on the mouse. This final step will bring your mouse back to its fully functional state, ready for your gaming adventures.
If you disconnected the mouse during the initial steps, carefully plug the USB cable back into your computer or gaming device. Ensure a secure connection to avoid any interruptions during use. If your Logitech G600 is a wireless mouse, turn it on by sliding the power switch located on the underside of the mouse to the “ON” position.
Once the mouse is reconnected and powered on, take a moment to ensure that all buttons and the scroll wheel are functioning correctly. Click each button, navigate the scroll wheel, and test the tracking on a suitable surface to verify that the Logitech G600 is working as expected.
If you encounter any issues or notice any abnormal behavior, double-check that the mouse is completely dry and free from any residual moisture. If problems persist, refer to Logitech’s support documentation or contact their customer service for further assistance.
Remember to maintain a regular cleaning routine for your Logitech G600 gaming mouse to keep it in optimal condition. Cleaning it once every few weeks or as needed will help prevent dirt and debris buildup, ensuring consistent performance and prolonging its lifespan.
Congratulations! You have successfully cleaned and rejuvenated your Logitech G600 gaming mouse. Get ready to enjoy your gaming sessions with a clean and responsive mouse that enhances your gaming experience.
Conclusion
Properly cleaning your Logitech G600 gaming mouse is essential for maintaining its performance, longevity, and aesthetic appeal. By following the step-by-step cleaning process outlined in this guide, you can ensure that your mouse remains in optimal condition for all your gaming adventures.
Throughout the cleaning process, remember to gather the necessary materials, disconnect and power off the mouse, remove external debris and dust, clean the surface, buttons, and wheel, clean the bottom, allow the mouse to dry completely, and finally reconnect and power it on.
Regular cleaning of your Logitech G600 is crucial to remove dirt, oils, and debris that can accumulate over time and can impact its functionality and precision. By keeping your mouse clean, you optimize its tracking abilities, ensure smooth movement, and enhance your gaming experience.
It’s important to note that different mice may have specific cleaning instructions, so always refer to the manufacturer’s guidelines if you have any doubts or need additional guidance.
By incorporating regular cleaning into your gaming routine, you not only maintain the performance and lifespan of your Logitech G600, but you also maximize your gaming potential. So, grab your gear, power up your freshly cleaned mouse, and get back to dominating the gaming world!