Introduction
Welcome to the world of Logitech G600 and the wonderful world of macros! If you’re an avid gamer or someone who relies heavily on keyboard shortcuts for productivity, macros can be a game-changer. The Logitech G600 gaming mouse offers a wide array of buttons and customization options that can enhance your gaming experience or streamline your workflow.
Before we dive into the details of how to create macros on the Logitech G600, let’s take a moment to understand what macros are and how they can benefit you. Macros, in the context of gaming or computer usage, are pre-programmed sequences of inputs or actions that can be executed with a single button press. Instead of performing a series of repetitive tasks manually, you can automate them with macros, saving you time and effort.
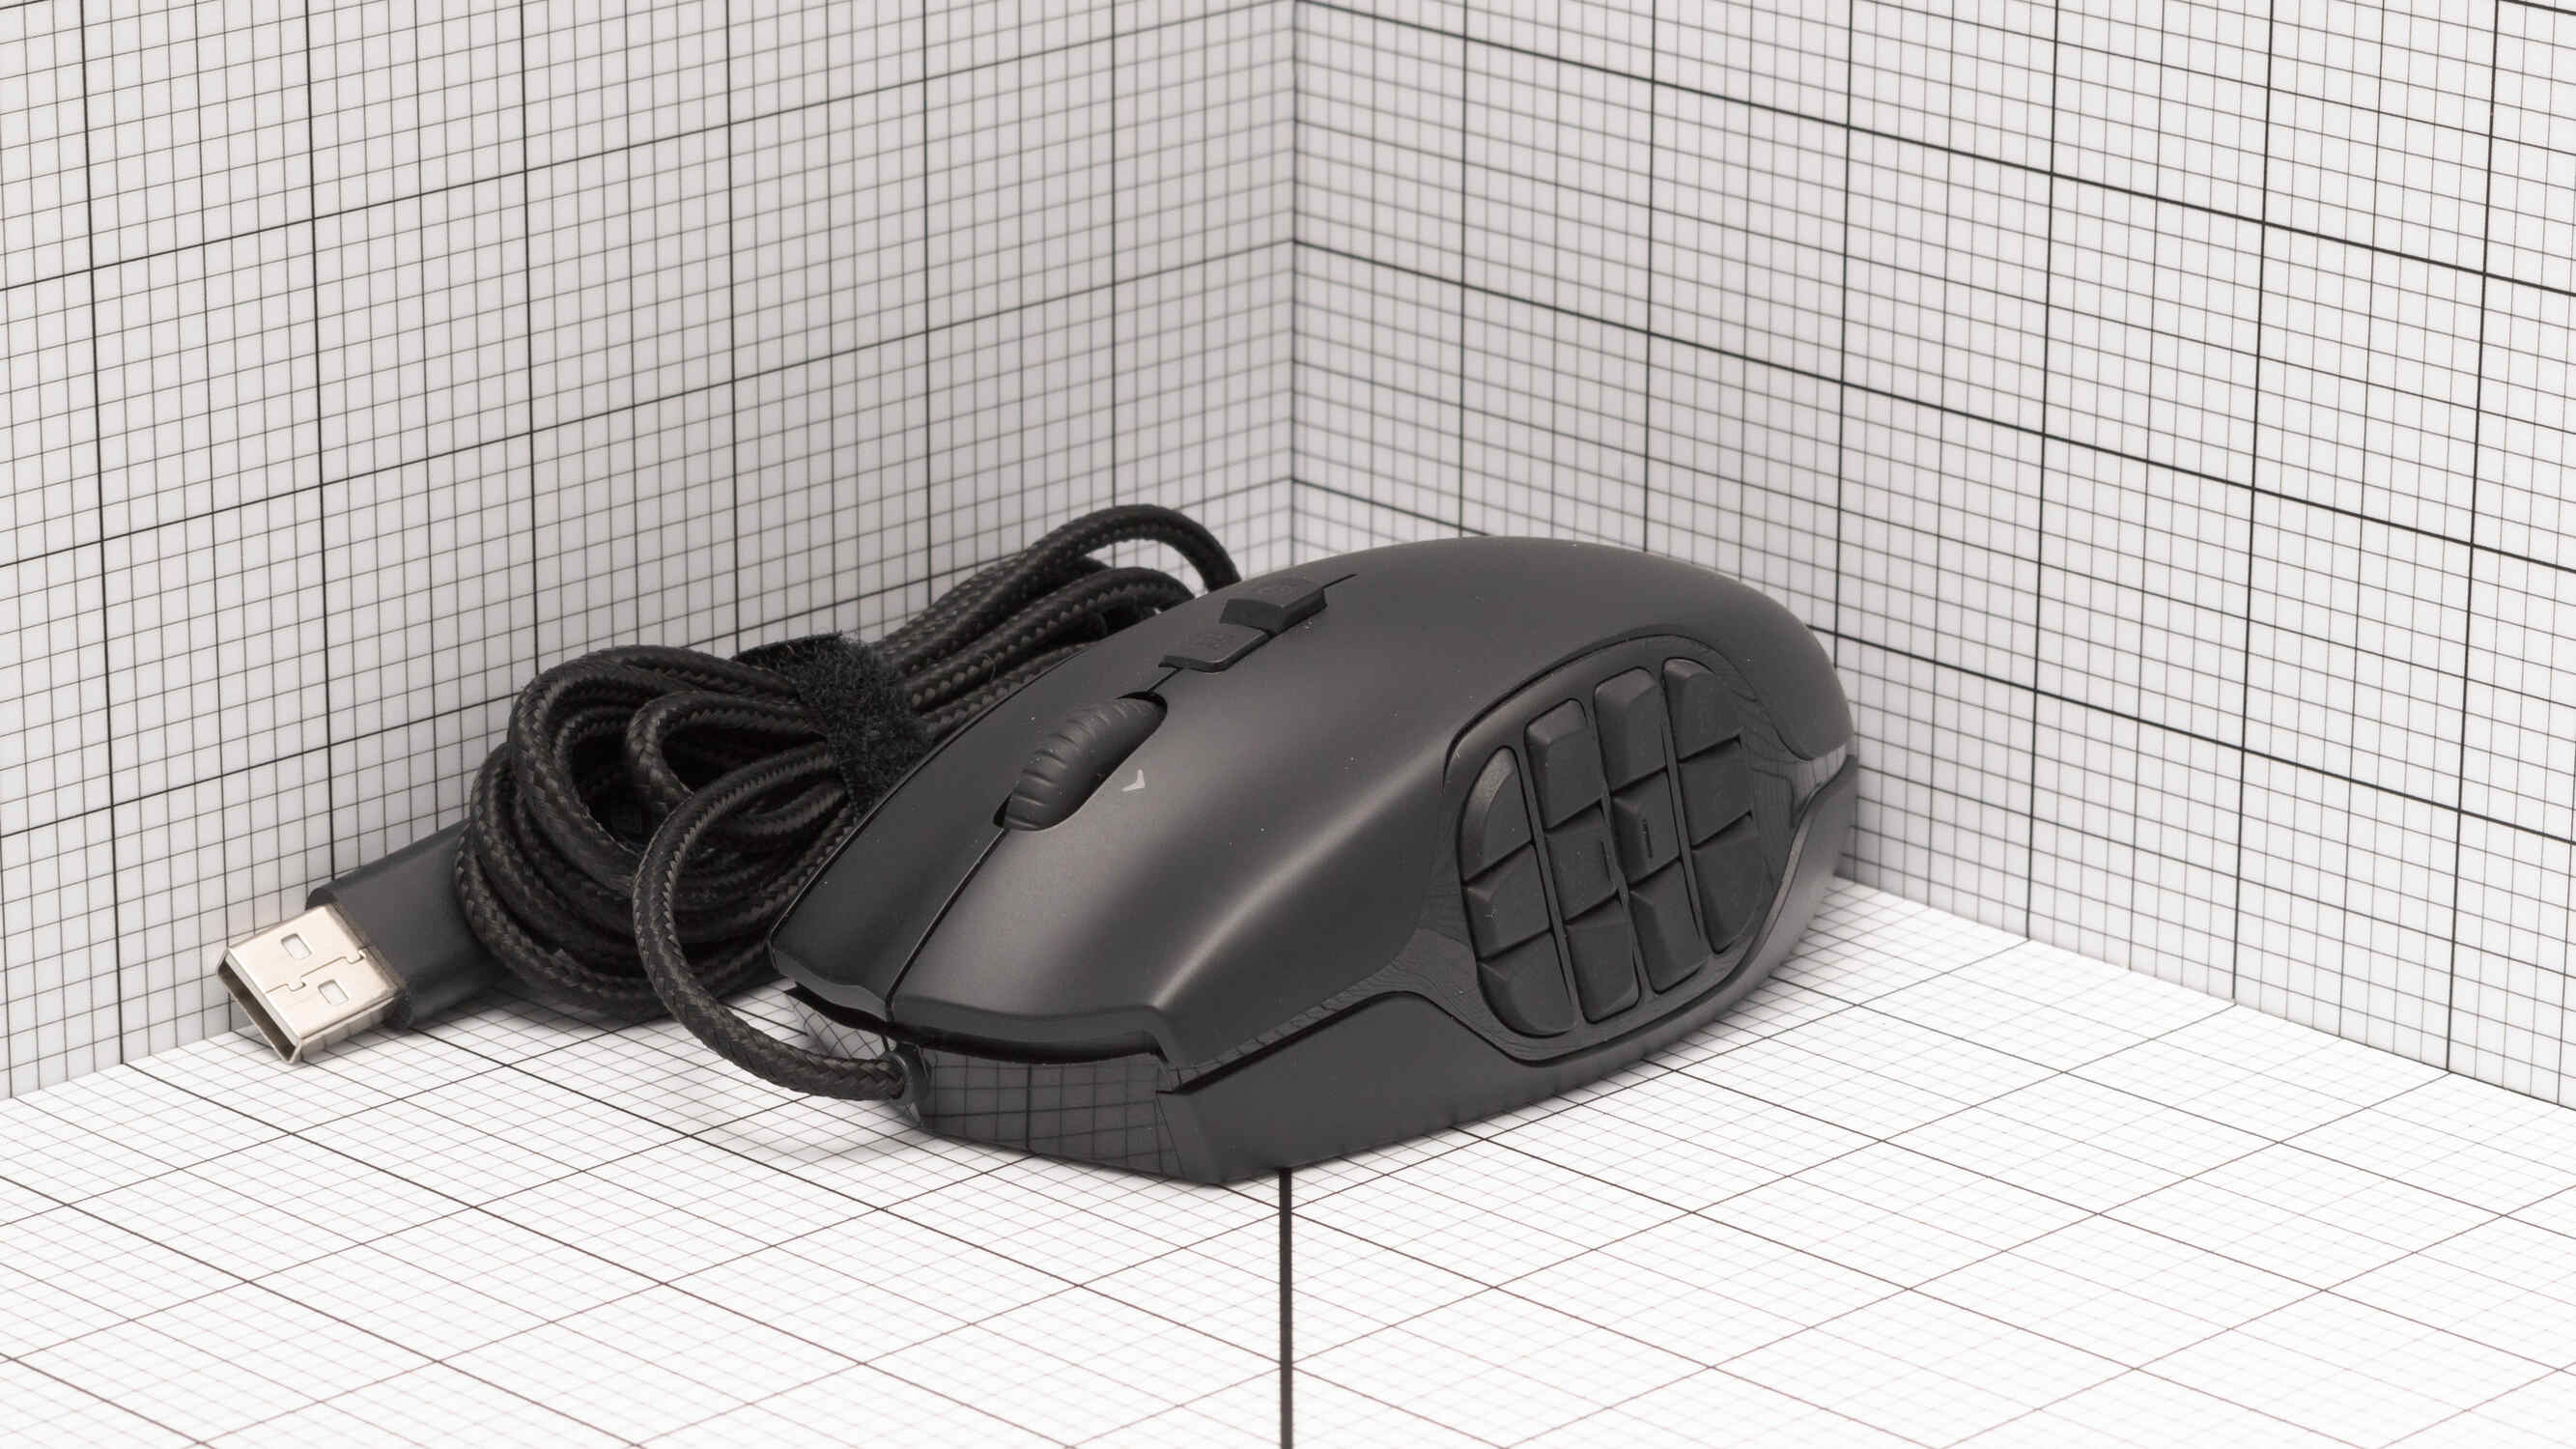
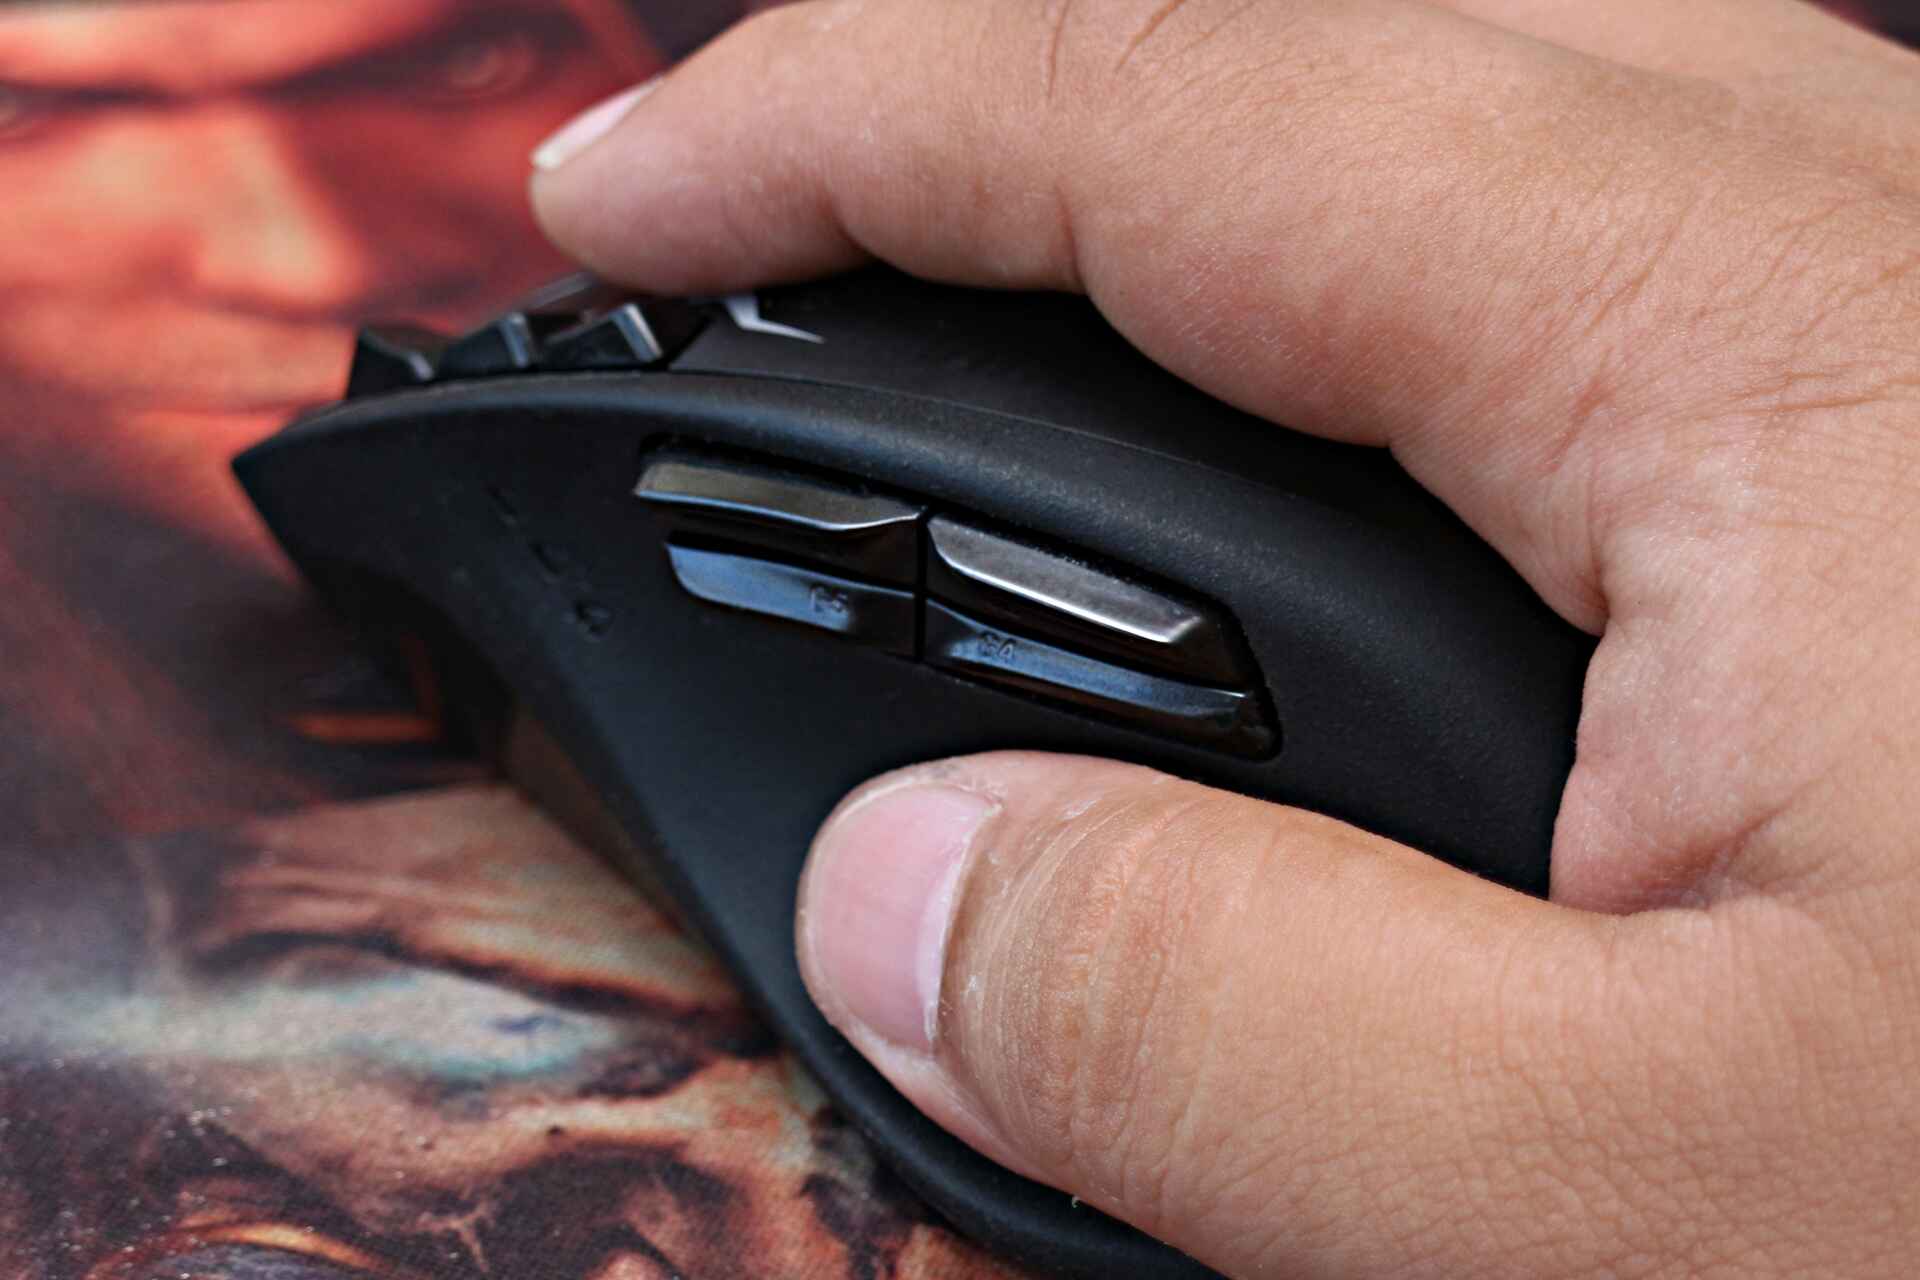
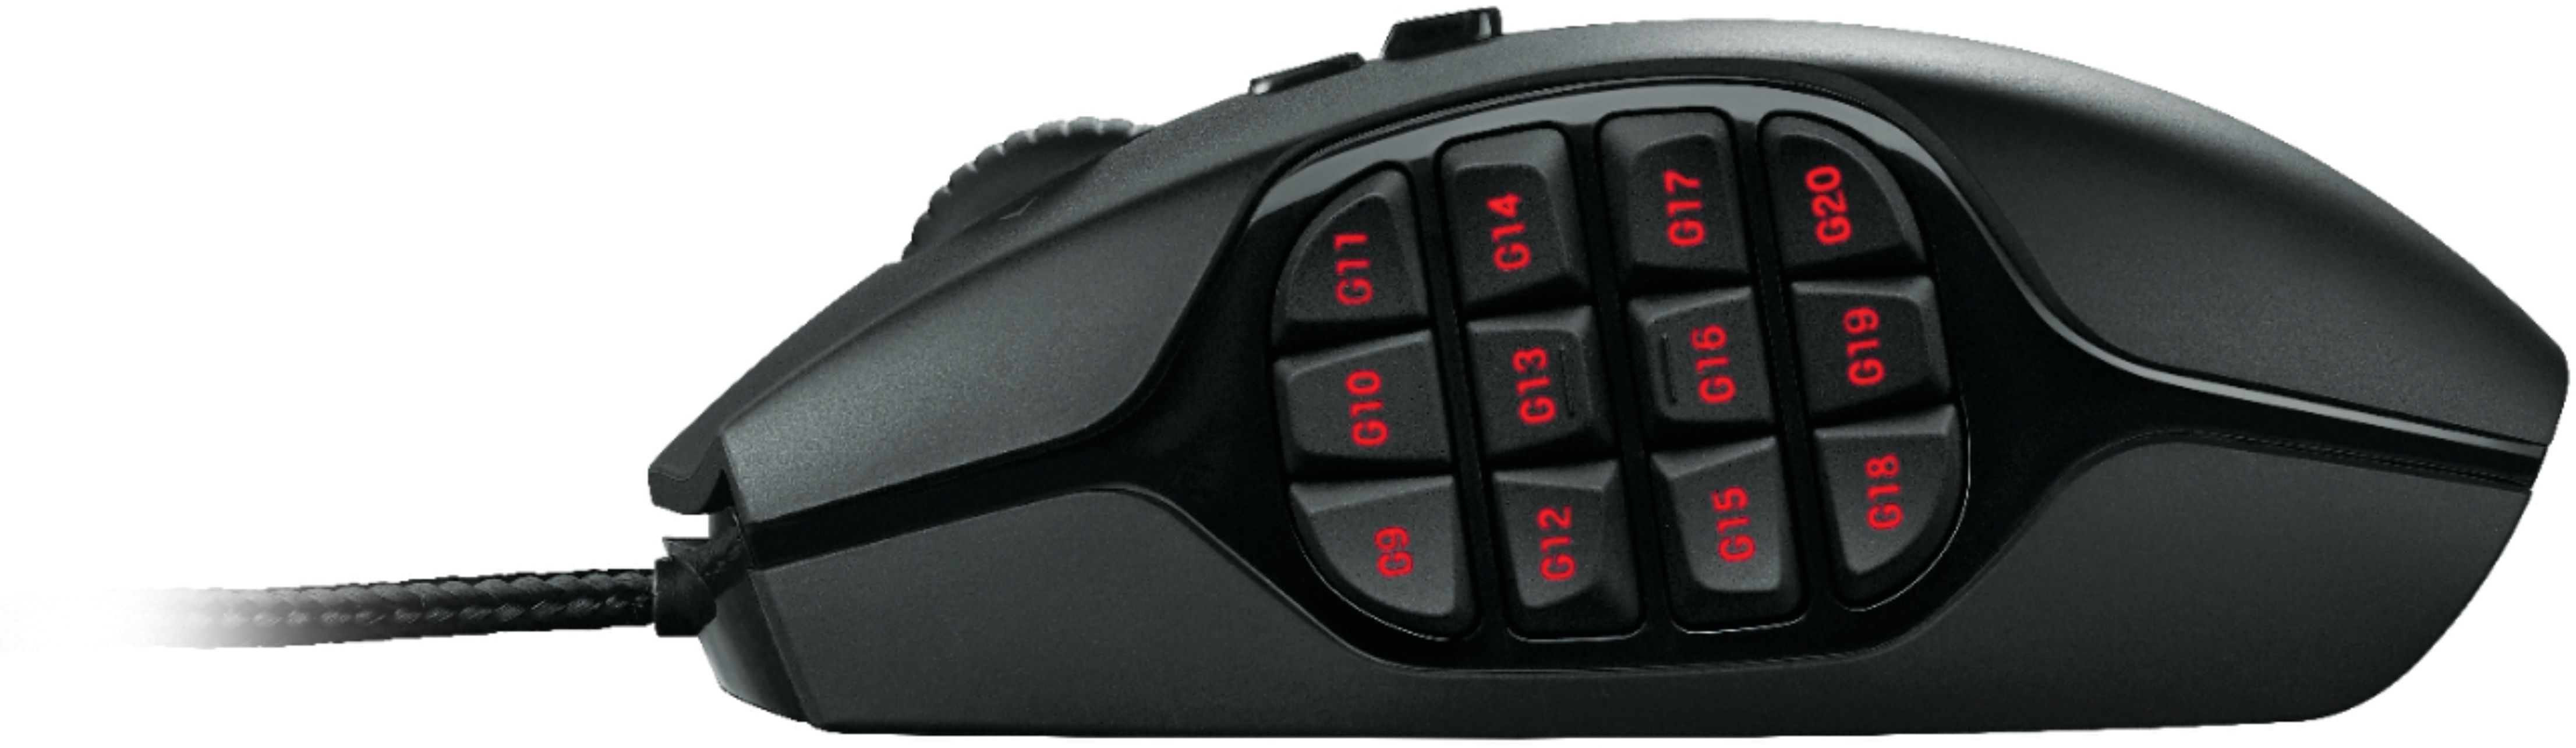
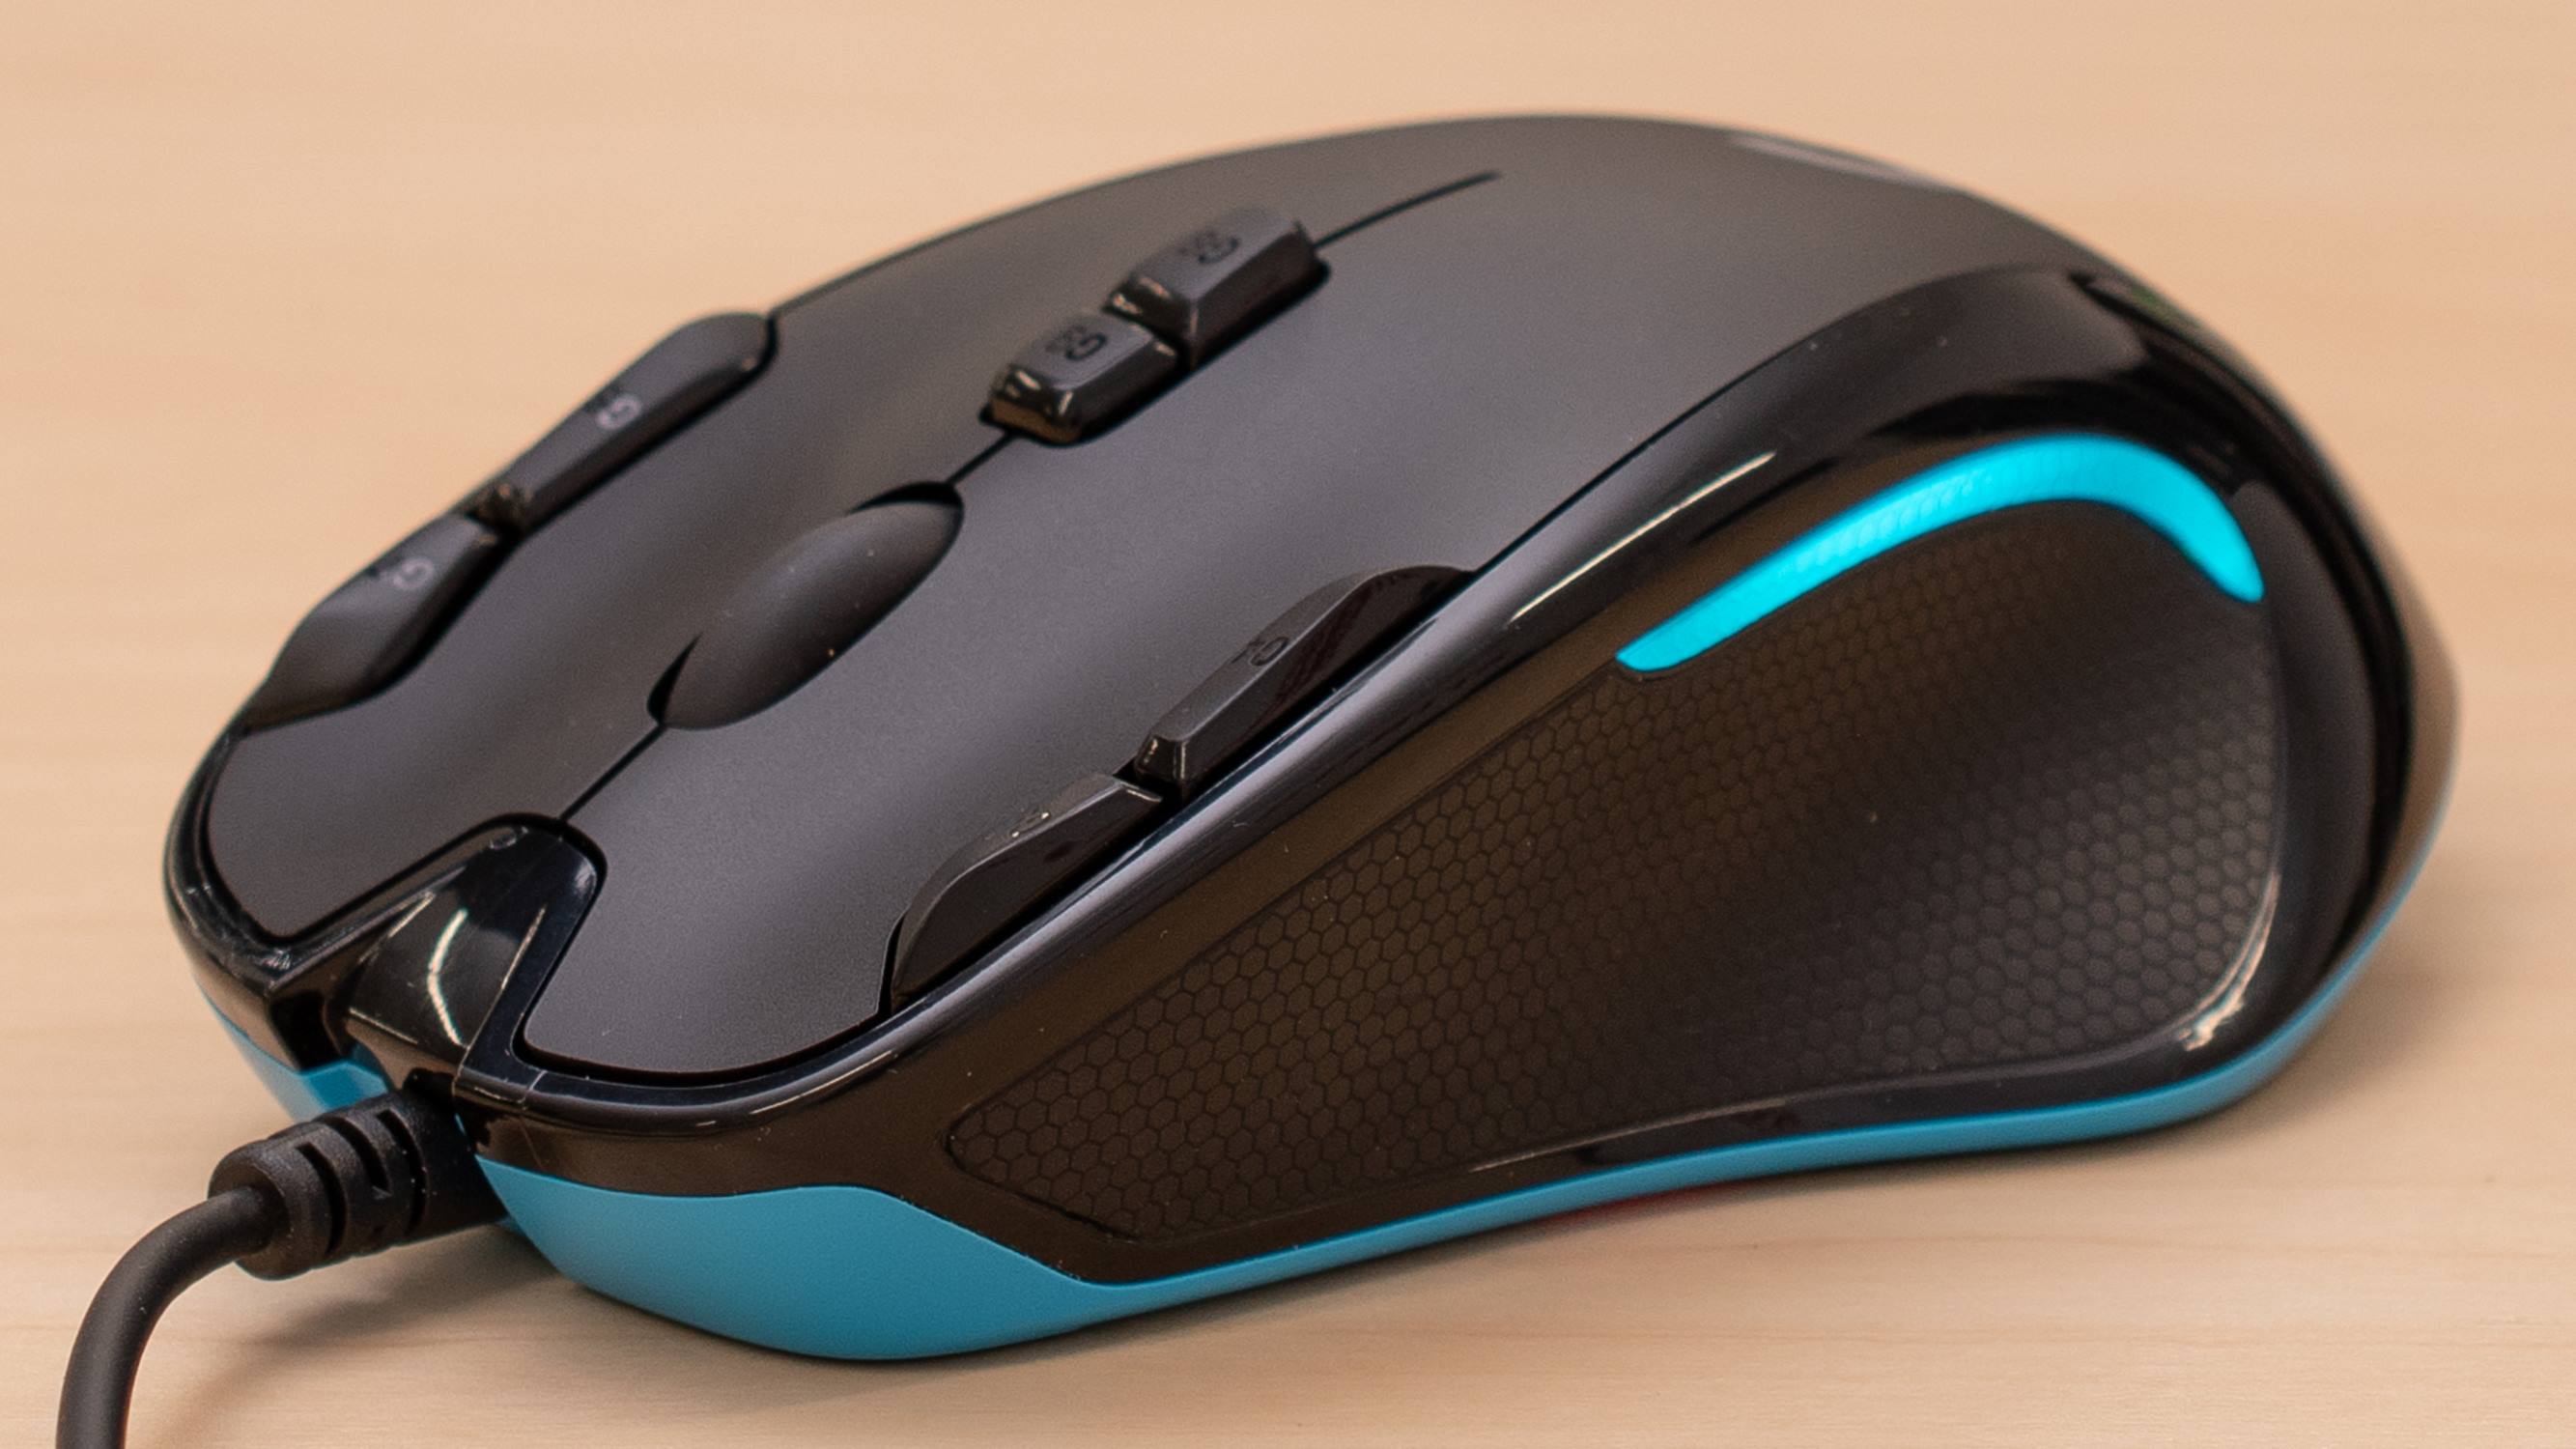
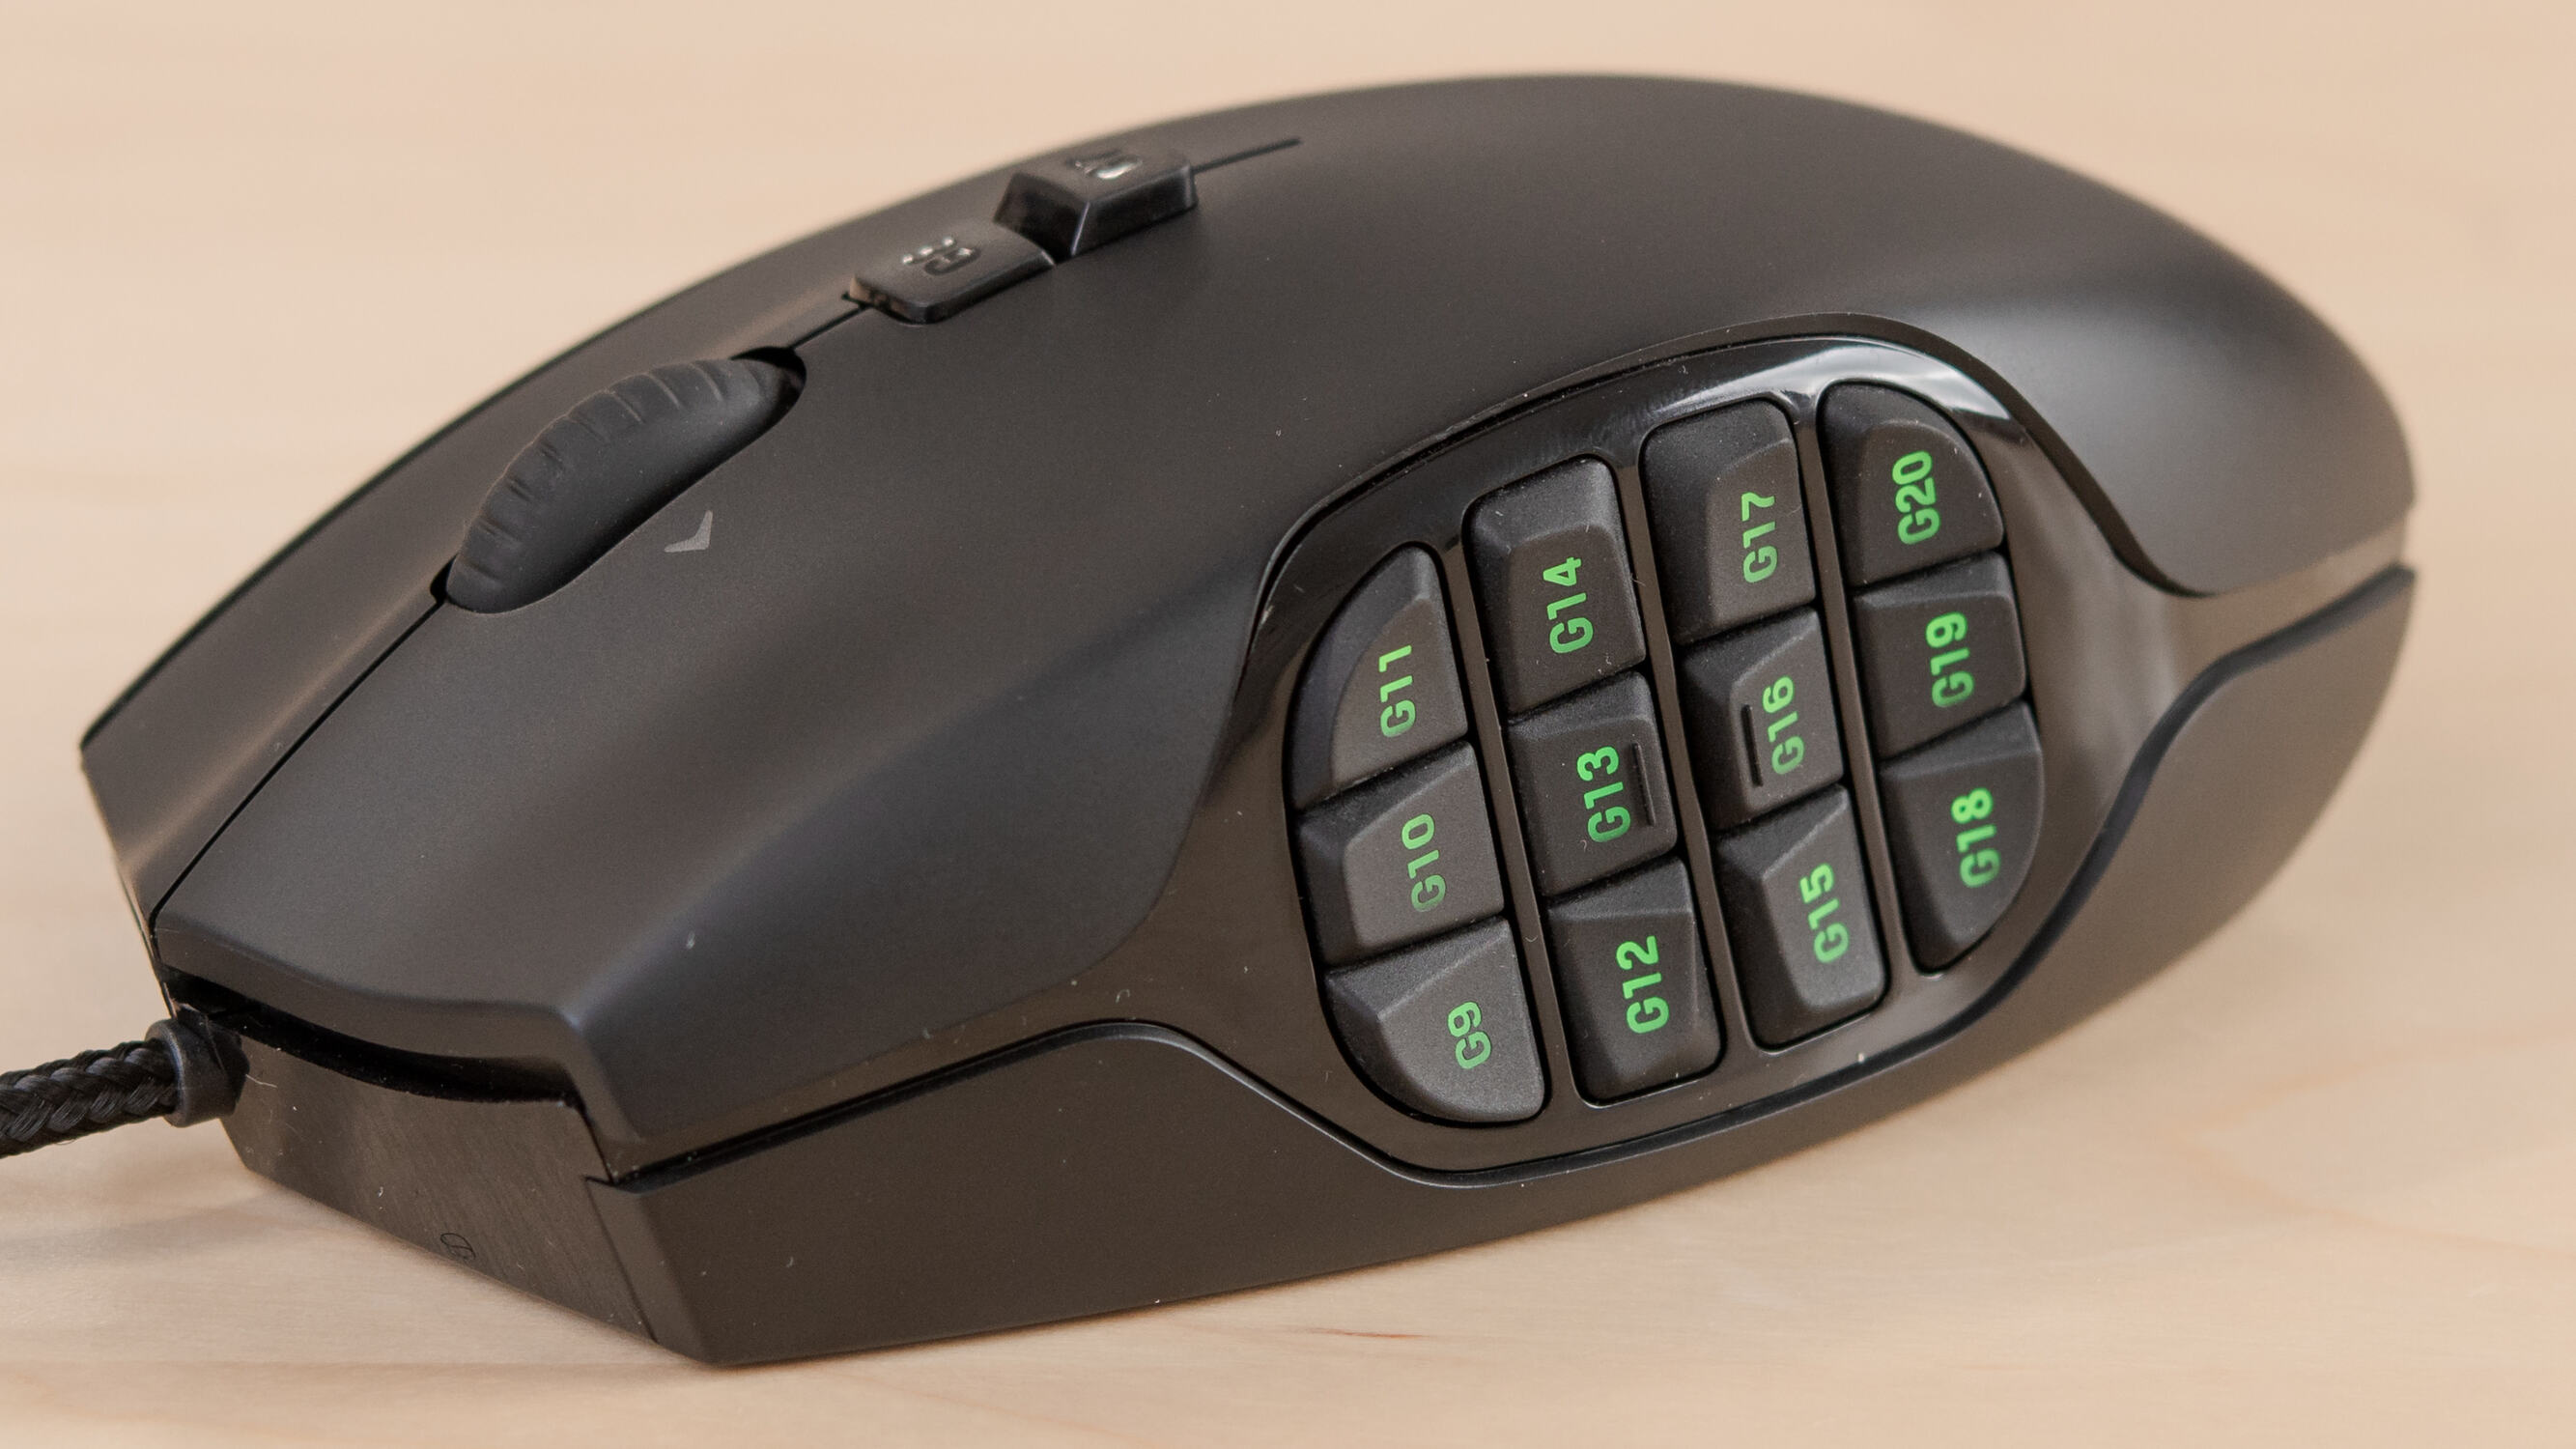
The Logitech G600, with its impressive 20 programmable buttons, makes it a perfect companion for those who need quick access to a wide range of commands. Whether you’re a gamer looking to execute complex combos effortlessly or a content creator seeking to speed up repetitive tasks, the G600 offers endless possibilities.
In this guide, we will walk you through the process of setting up Logitech G HUB software, creating macros, and assigning them to buttons on your Logitech G600 mouse. We will also provide some tips and tricks to help you make the most out of this powerful feature.
So, buckle up and let’s embark on an exciting journey to master the art of macros on the Logitech G600!
What are macros?
If you’re new to the world of macros, you might be wondering what exactly they are and how they can benefit you. In simple terms, macros are a way to automate a series of actions or commands with a single button press. Instead of manually performing repetitive tasks, you can create a macro to do them for you, saving you time and effort.
Macros can be used in various contexts, such as gaming or productivity. In gaming, macros allow you to execute complex combinations of actions with ease. For example, if you’re playing a multiplayer online game and need to perform a specific set of moves or abilities quickly, you can create a macro to execute them all at once, giving you a competitive edge.
But macros are not limited to gaming alone. They can also be immensely useful in day-to-day computer usage. If you find yourself frequently performing a set of repetitive tasks, such as formatting a document or resizing images, macros can simplify the process. By recording your actions and assigning them to a button, you can automate the entire sequence, making your workflow more efficient.
One of the key benefits of macros is their ability to reduce the risk of repetitive strain injuries (RSIs). Performing the same actions repeatedly, especially with complex combinations, can put strain on your fingers, wrists, and arms. By assigning those actions to macros, you can alleviate the physical strain on your body, promoting better ergonomics and reducing the likelihood of RSIs.
Macros can also be a powerful tool for accessibility. People with mobility impairments or disabilities that affect their ability to use a keyboard or mouse can benefit greatly from macros. By customizing the actions and commands to their specific needs, macros can provide individuals with a more inclusive and accessible computing experience.
Now that you have a better understanding of what macros are and how they can be beneficial, let’s explore how you can unleash their potential on your Logitech G600 gaming mouse.
Benefits of using macros on Logitech G600
The Logitech G600 is not just an ordinary gaming mouse. With its numerous programmable buttons and customization options, it opens up a world of possibilities when it comes to macros. Here are some of the key benefits of using macros on the Logitech G600:
- Efficiency and Speed: Macros allow you to perform complex actions or execute a series of commands with a single button press. Whether you’re gaming or working, this can significantly enhance your efficiency and speed. No more fumbling through different key combinations or menus; with macros, you can execute tasks instantly.
- Customization: The Logitech G600’s extensive button layout gives you the flexibility to customize your macros to suit your specific needs. Each button can be assigned a different macro, allowing for a personalized experience. Whether you’re a gamer looking to optimize your gameplay or a professional seeking to streamline your workflow, the customization options are virtually limitless.
- Reduced Strain and Fatigue: Performing repetitive tasks manually can lead to strain and fatigue. With macros, you can automate those tasks and reduce the physical strain on your fingers and hands. This can be particularly beneficial for gamers who need to execute intricate combinations of commands or professionals who engage in repetitive computer tasks throughout the day.
- Consistency and Accuracy: When performing complex actions manually, there’s always the chance of human error. With macros, you can ensure consistent and accurate execution of commands every time. This is especially crucial for gamers, where precision and timing can make a significant difference in gameplay.
- Increased Productivity: Macros can be a game-changer in terms of productivity. By automating repetitive tasks, you can free up your time and focus on more important or creative aspects of your work. Whether it’s automating data entry, applying formatting to documents, or performing routine image editing tasks, macros can streamline your workflow and boost your productivity.
- Accessibility: The Logitech G600, combined with macros, can be a powerful tool for accessibility. By customizing macros to suit individual needs, people with mobility impairments or disabilities can navigate through tasks more easily. Macros provide an inclusive computing experience, ensuring that everyone can access and enjoy the benefits of advanced functionality.
As you can see, using macros on the Logitech G600 brings a range of benefits, from increased efficiency and speed to reduced strain and improved accessibility. In the next sections, we will guide you through the setup process and show you how to create and assign macros effectively on your Logitech G600 gaming mouse.
Setting up Logitech G HUB software
In order to unleash the full potential of macros on your Logitech G600 gaming mouse, you need to set up the Logitech G HUB software. This software acts as a central hub for configuring and customizing your Logitech peripherals, including the G600. Here’s how you can set it up:
- Download Logitech G HUB: Visit the Logitech website and download the latest version of Logitech G HUB software. It is available for both Windows and macOS operating systems. Make sure to download the appropriate version for your system.
- Install Logitech G HUB: Once the download is complete, run the installer and follow the on-screen instructions to install Logitech G HUB on your computer. It’s a straightforward process that usually takes just a few minutes.
- Connect your Logitech G600: After installing Logitech G HUB, connect your Logitech G600 gaming mouse to your computer using the provided USB cable. The software should detect the mouse automatically and display it in the G HUB interface.
- Update Firmware: It’s always a good idea to check for firmware updates to ensure that your Logitech G600 is running the latest software. In the G HUB interface, navigate to the settings or preferences section and look for the option to update firmware. Follow the on-screen instructions to complete the update process if an update is available.
- Customize Settings: Logitech G HUB provides a range of customization options for your Logitech G600 mouse. You can adjust settings such as DPI (dots per inch), lighting effects, button assignments, and of course, macros. Take some time to explore the various customization options available and configure them according to your preferences.
- Backup your Settings: Once you have customized your Logitech G600 to your liking, it’s a good idea to create a backup of your settings. Logitech G HUB allows you to save your configurations to the cloud or locally on your computer. This way, if you ever need to reinstall the software or switch to a different computer, you can easily restore your preferred settings.
With Logitech G HUB software successfully set up on your computer, you’re now ready to dive into the world of macros and unleash the full potential of your Logitech G600 gaming mouse. In the next section, we will explore how you can create macros to streamline your gaming or productivity tasks.
Creating macros on Logitech G600
Now that you have the Logitech G HUB software installed and your Logitech G600 mouse connected, it’s time to start creating macros. Here’s a step-by-step guide on how to create macros using the Logitech G HUB software:
- Open Logitech G HUB: Launch the Logitech G HUB software on your computer. The software should automatically detect and display your Logitech G600 mouse in the interface.
- Navigate to the Macros Section: In the G HUB interface, locate the Macros section. This is where you can create, edit, and manage your macros.
- Create a New Macro: Click on the “New Macro” button or a similar option to begin creating a new macro. Give your macro a descriptive name to easily identify its purpose.
- Record or Manually Configure Macro: Depending on your preference, you can choose to record your macro or manually configure it. To record a macro, click on the “Record” button and perform the actions or commands you want to automate. To manually configure a macro, click on the “Configure” or “Edit” button and define the series of inputs or actions you want the macro to perform.
- Refine and Customize: Once you have recorded or configured the basic macro, you can refine and customize it further to suit your needs. You can add delays between actions, specify repeat or loop settings, and even enable or disable certain commands within the macro.
- Test and Edit: Before finalizing your macro, it’s important to test it and make any necessary edits. Ensure that the macro performs the desired actions accurately and without any issues.
- Save the Macro: Once you are satisfied with your macro, click on the “Save” or “Apply” button to save it to the Logitech G HUB software.
- Repeat for Additional Macros: You can create multiple macros for different purposes or functions. Repeat the above steps to create additional macros, naming them accordingly to easily identify their purpose.
With the Logitech G HUB software and its macro creation capabilities, you have the power to automate and streamline your tasks with the click of a button. Experiment with different macros to find the perfect setup that enhances your gaming experience or boosts your productivity.
In the next section, we will explore how to assign these macros to specific buttons on your Logitech G600 mouse for easy access and seamless execution.
Assigning macros to buttons on Logitech G600
Now that you have created your macros using the Logitech G HUB software, it’s time to assign them to the buttons on your Logitech G600 gaming mouse. Here’s how you can easily assign macros to buttons:
- Open Logitech G HUB: Launch the Logitech G HUB software on your computer and navigate to the Logitech G600 settings.
- Select a Button: Choose the button on your Logitech G600 mouse that you want to assign a macro to. The mouse’s extensive button layout provides ample options for customization.
- Open Button Assignment Options: Once you have selected a button, look for the “Button Assignment” or similar option in the Logitech G HUB software. Click on it to open the button assignment options.
- Assign a Macro: In the button assignment options, you should find an option to assign a macro to the selected button. Choose the desired macro from the list of available macros that you have previously created.
- Configure Additional Settings: Depending on the software, you may have the option to configure additional settings for the assigned macro. This could include specifying the number of repeats, setting delays, or enabling specific conditions for the macro to execute. Adjust these settings according to your preferences.
- Assign Multiple Macros: If your Logitech G600 mouse has multiple buttons that you want to assign macros to, repeat the above steps for each button, selecting the appropriate macro for each one.
- Test and Verify: After assigning macros to buttons, it’s crucial to test and verify their functionality. Click on the assigned button to ensure that the macro performs the expected actions accurately and without any glitches.
- Refine and Reassign: If you encounter any issues or decide to make changes to your macros, you can always refine and reassign them. Open the Logitech G HUB software, modify the desired macro, and reassign it to the appropriate button.
By assigning macros to the buttons on your Logitech G600 mouse, you have created a customized control center tailored to your specific needs. Whether you’re a gamer wanting quick access to complex combinations or a professional seeking to streamline tasks, having macros at your fingertips can significantly enhance your workflow.
In the next section, we will share some tips and tricks to help you make the most out of macros and optimize your Logitech G600 gaming mouse experience.
Tips and tricks for using macros effectively
Now that you have set up and assigned macros to your Logitech G600 gaming mouse, here are some tips and tricks to help you maximize their effectiveness:
- Organize your macros: As you create multiple macros for different tasks, it’s essential to organize them in a logical and intuitive way. Use descriptive names and categorize your macros to easily identify and access them when needed.
- Experiment and refine: Don’t be afraid to experiment with different configurations and settings for your macros. It may take some trial and error to find the optimal timing, delays, and repeat options. Fine-tune your macros to achieve the perfect performance.
- Create layered macros: Consider creating layered macros where a button press triggers different actions based on the context. For example, a single button press can execute a combat sequence in a game, but holding down the button can activate utility commands. This allows you to have multiple actions at your fingertips without cluttering up the buttons.
- Use modifier keys: Take advantage of modifier keys like Shift, Ctrl, or Alt to expand the functionality of your macros. By combining a modifier key with a button press, you can create even more possibilities and execute different sets of actions.
- Assign macros strategically: Think carefully about which buttons you assign your most frequently used macros to. Place macros that require quick execution on easily accessible buttons for faster response times during intense gaming or work sessions.
- Create multi-step macros: When creating macros, think about actions that are often performed together. Instead of creating separate macros for each action, try creating a multi-step macro that combines them. This can help simplify your macro library and streamline your workflow.
- Backup and share macros: It’s a good practice to regularly backup your macros to ensure that you don’t lose them in case of software updates or hardware changes. Additionally, if you have friends or teammates who use the same Logitech G600 mouse, you can share your macros with them to enhance their experience.
- Regularly review and update: As you continue to use macros, it’s important to periodically review and update them. Take the time to evaluate their effectiveness and make necessary adjustments to ensure they remain optimized for your specific needs.
By employing these tips and tricks, you can harness the full potential of macros on your Logitech G600 gaming mouse. Whether it’s to streamline your workflow, gain a competitive edge in gaming, or simply make your computing tasks more efficient, macros can be a powerful tool.
Now that you are equipped with the knowledge and strategies to effectively use macros, it’s time to unleash your creativity and take your Logitech G600 gaming mouse experience to the next level!
Conclusion
Macros on the Logitech G600 gaming mouse offer a wealth of possibilities, whether you’re a gamer looking to optimize your gameplay or a professional seeking to streamline your workflow. By automating repetitive tasks and executing complex commands with a single button press, macros can enhance your efficiency, reduce strain, and provide a personalized experience.
In this guide, we explored the process of setting up the Logitech G HUB software, creating macros, and assigning them to buttons on your Logitech G600 mouse. We also shared tips and tricks to help you use macros effectively and maximize their potential.
With Logitech G HUB software, you have a powerful tool at your disposal to unleash the true capabilities of your Logitech G600 gaming mouse. By customizing your macros, organizing them strategically, and experimenting with different configurations, you can optimize your gaming performance or boost your productivity.
Remember to regularly review and update your macros to ensure they remain aligned with your needs. Backup your settings to avoid any loss and consider sharing your macros with others, enabling them to benefit from your knowledge and experience.
Now that you’re equipped with the knowledge and tools to create and utilize macros on your Logitech G600, it’s time to embark on an exciting journey of customization, efficiency, and enhanced performance. So dive in, explore the possibilities, and take your gaming or computing experience to new heights with macros on the Logitech G600 gaming mouse!