Introduction
Logitech G Hub is a powerful software suite that allows you to customize and control your Logitech gaming peripherals. Whether you have a gaming mouse, keyboard, headset, or other accessories from Logitech, G Hub provides a central hub to manage all your settings and preferences. With its intuitive interface and extensive functionality, Logitech G Hub is an essential tool for gamers looking to optimize their gaming experience.
In this guide, we will walk you through the step-by-step process of installing Logitech G Hub on your computer, ensuring that you are up and running with your Logitech gaming peripherals in no time. Whether you are a novice or a seasoned gamer, this guide aims to provide you with a hassle-free installation experience.
Before we dive into the installation process, there are a few things you need to know. Logitech G Hub supports a wide range of Logitech devices, including gaming mice, keyboards, headsets, and even racing wheels. However, not all Logitech devices are compatible with G Hub, so it’s important to check the compatibility list on Logitech’s official website before proceeding with the installation.
Additionally, make sure you have a stable internet connection during the installation process as Logitech G Hub will download additional files during the setup. It is also recommended to close any other programs or applications running in the background to ensure a smooth installation.
Now that we have covered the basics, let’s begin with the first step – downloading Logitech G Hub onto your computer.
Step 1: Downloading Logitech G Hub
The first step in installing Logitech G Hub is to download the installation file from the Logitech website. Follow these simple steps to get started:
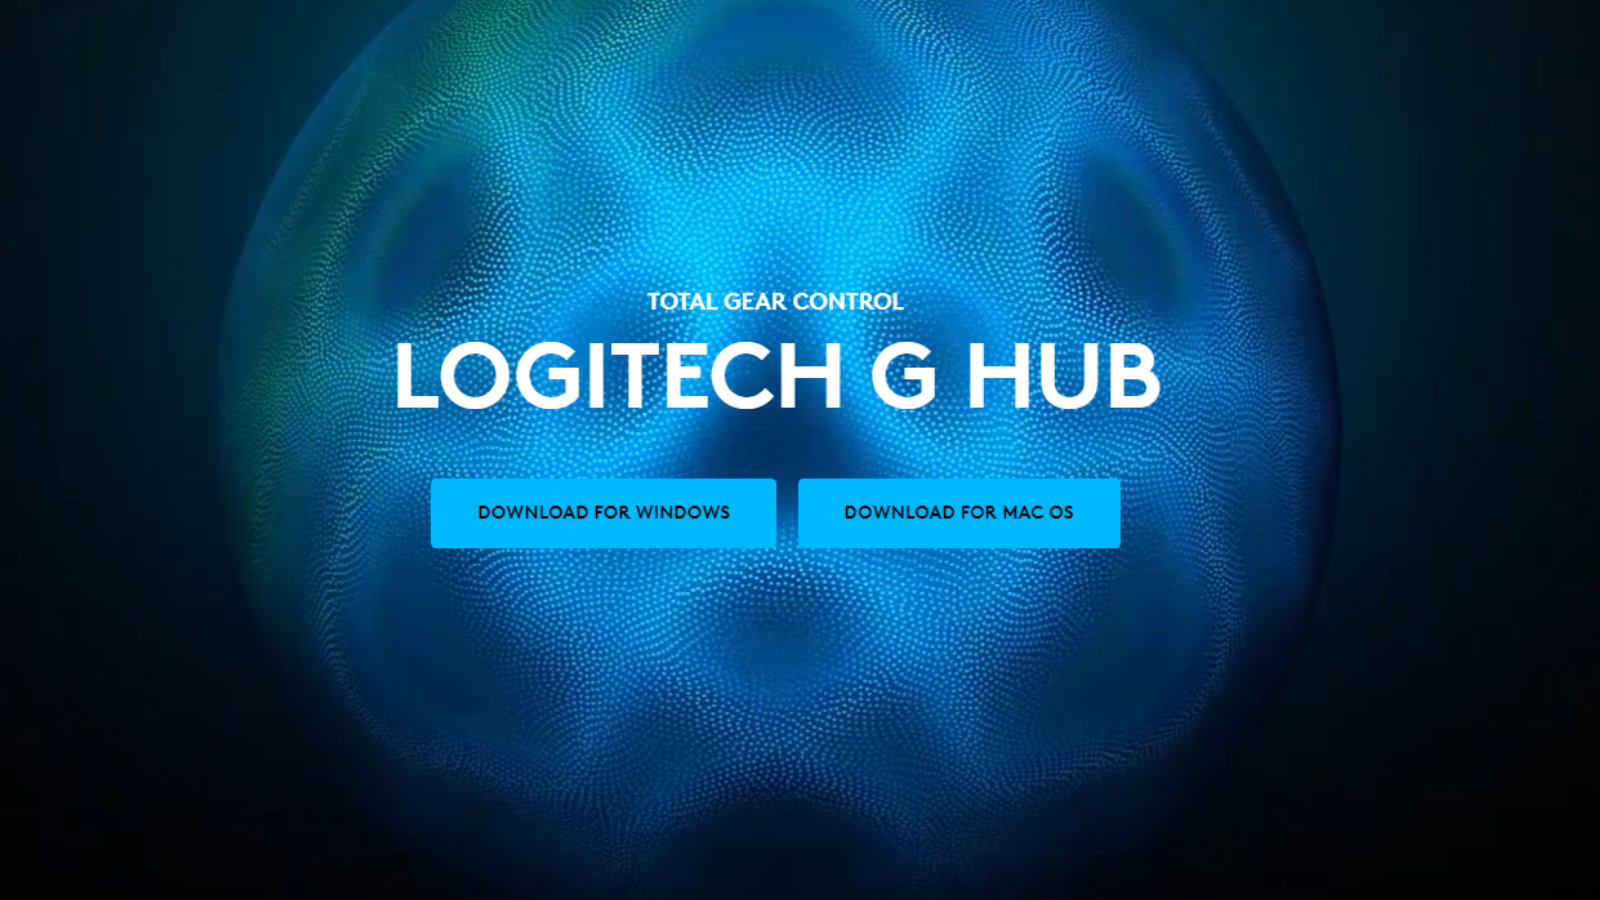
- Open a web browser and navigate to the Logitech G Hub download page.
- Once on the download page, you will be prompted to choose the operating system you are using. Select the appropriate option (Windows or Mac) and click on the download button.
- Depending on your internet speed, the download process may take a few moments. Once the download is complete, locate the downloaded file on your computer. The file is usually saved in the default Downloads folder.
- Before proceeding with the installation, it is important to ensure that the downloaded file is authentic and hasn’t been tampered with. To do this, you can verify the file’s digital signature or compare its hash value with the one provided on the Logitech website. This step ensures that you are installing the official version of Logitech G Hub and not a malicious program.
- Once you have verified the authenticity of the downloaded file, double-click on it to launch the installer.
That’s it! You have successfully downloaded the Logitech G Hub installation file. Now, let’s move on to the next step – opening the installer.
Step 2: Opening the Installer
After downloading the Logitech G Hub installation file, the next step is to open the installer and begin the installation process. Here’s how you can do it:
- Locate the downloaded Logitech G Hub installation file on your computer.
- Double-click on the file to launch the installer. Your computer may prompt you for administrator permissions to run the installer, so make sure to grant the necessary permissions.
- Once the installer is launched, you will be greeted with the Logitech G Hub setup wizard. The setup wizard will guide you through the installation process and provide you with important information about the software.
- Read through the on-screen instructions and any license agreement that may be presented to you. It is important to carefully review and accept the terms and conditions before proceeding with the installation.
- Click on the “Next” or “Continue” button to move to the next step of the installation process.
That’s it! You have successfully opened the Logitech G Hub installer. Now, let’s move on to the next step – accepting the license agreement.
Step 3: Accepting the License Agreement
Before proceeding with the installation of Logitech G Hub, you will be required to accept the license agreement. The license agreement outlines the terms and conditions under which the software is provided to you. Follow these steps to accept the license agreement:
- On the Logitech G Hub setup wizard, you will be presented with the license agreement. Read through the agreement carefully, ensuring that you understand the rights and responsibilities associated with using Logitech G Hub.
- Click on the checkbox or button indicating that you accept the terms of the license agreement. This step is usually required to enable the “Next” or “Continue” button, allowing you to proceed with the installation.
- If you do not agree to the terms of the license agreement, you will not be able to proceed with the installation. In such cases, you can choose to cancel the installation or explore alternative options.
- After accepting the license agreement, click on the “Next” or “Continue” button to move to the next step of the installation process.
That’s it! You have successfully accepted the license agreement for Logitech G Hub. Now, let’s move on to the next step – choosing the installation location.
Step 4: Choosing Installation Location
During the Logitech G Hub installation process, you will be prompted to choose the installation location for the software. The installation location refers to the folder on your computer where Logitech G Hub will be installed. Follow these steps to choose the installation location:
- After accepting the license agreement, the Logitech G Hub setup wizard will display the default installation location. This location is usually set to the recommended folder automatically.
- If you wish to change the installation location, click on the “Browse” or “Change” button to manually select a different folder.
- Once you click on the “Browse” or “Change” button, a file explorer window will open. Navigate to the desired folder where you want to install Logitech G Hub.
- Select the folder and click on the “OK” or “Choose” button to confirm the new installation location.
- After selecting the installation location, click on the “Next” or “Continue” button to proceed with the installation process.
It is worth noting that by default, Logitech G Hub will install in the Program Files or Applications folder on your computer, depending on the operating system. However, you have the freedom to choose a different location if desired.
That’s it! You have successfully chosen the installation location for Logitech G Hub. Now, let’s move on to the next step – selecting the components to install.
Step 5: Selecting Components to Install
When installing Logitech G Hub, you have the option to choose which components you want to install. Logitech G Hub offers various components and features that cater to different needs and preferences. Follow these steps to select the components to install:
- After choosing the installation location, the Logitech G Hub setup wizard will display a list of available components.
- Review the list of components and select the ones that you want to install. Common components include drivers for specific Logitech devices, additional plugins, and optional features.
- You can usually select or deselect components by clicking on the checkbox next to each option. Some components may be pre-selected based on your Logitech devices or the default installation settings.
- Depending on the components you select, additional disk space may be required. Make sure you have enough available disk space on your computer to accommodate the selected components.
- After selecting the desired components, click on the “Next” or “Continue” button to proceed with the installation process.
It is recommended to install all necessary components for a comprehensive Logitech G Hub experience. However, if you have limited disk space or specific preferences, you can choose to install only the components that are essential for your Logitech devices.
That’s it! You have successfully selected the components to install for Logitech G Hub. Now, let’s move on to the next step – installing Logitech G Hub.
Step 6: Installing Logitech G Hub
After selecting the desired components, it’s time to proceed with the installation of Logitech G Hub. Follow these steps to install the software:
- Once you have chosen the components to install, click on the “Next” or “Install” button to initiate the installation process.
- The Logitech G Hub setup wizard will now begin installing the software. The progress bar will indicate the installation progress, and you may see additional prompts or messages during the installation.
- Depending on your computer’s speed and the selected components, the installation process may take a few moments. It is important to be patient and let the installer complete the installation without interruption.
- During the installation, Logitech G Hub may download additional files or drivers to ensure the software is up to date. Make sure you have a stable internet connection to allow for these downloads.
- Once the installation is complete, you will see a confirmation message indicating that Logitech G Hub has been successfully installed on your computer.
After the installation is finished, Logitech G Hub will be ready to use with your Logitech gaming peripherals. You can customize your devices, create profiles, and access advanced settings through the software’s intuitive interface.
That’s it! You have successfully installed Logitech G Hub. Now, let’s move on to the final step – launching Logitech G Hub.
Step 7: Launching Logitech G Hub
After completing the installation process, it’s time to launch Logitech G Hub and start customizing your Logitech gaming peripherals. Follow these steps to launch the software:
- Once the installation is complete, you will usually have the option to launch Logitech G Hub immediately. If not, you can find the shortcut to the software on your desktop, Start menu, or Applications folder.
- Double-click on the Logitech G Hub shortcut to launch the software.
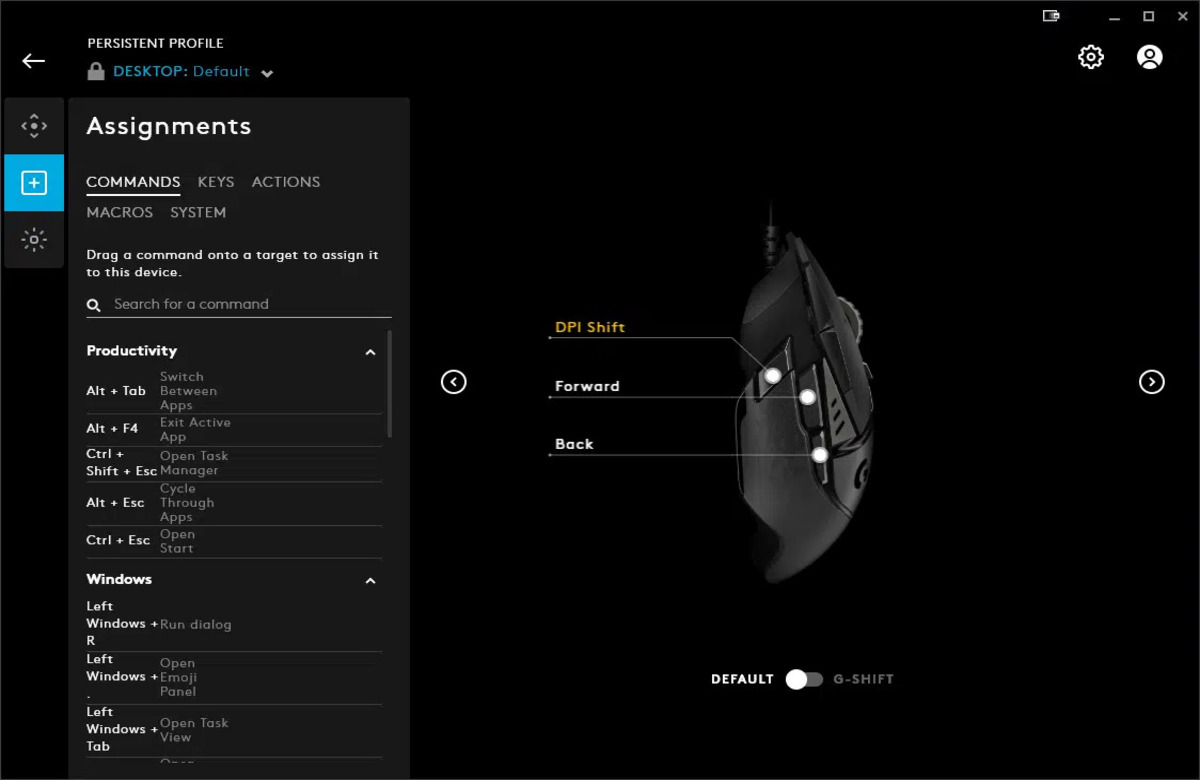
- After launching Logitech G Hub, you will be greeted with the software’s main interface. Take a moment to familiarize yourself with the various tabs, menus, and options available.
- If this is your first time using Logitech G Hub, you may be required to go through an initial setup process. Follow the on-screen prompts to configure any necessary settings and personalize your Logitech devices.
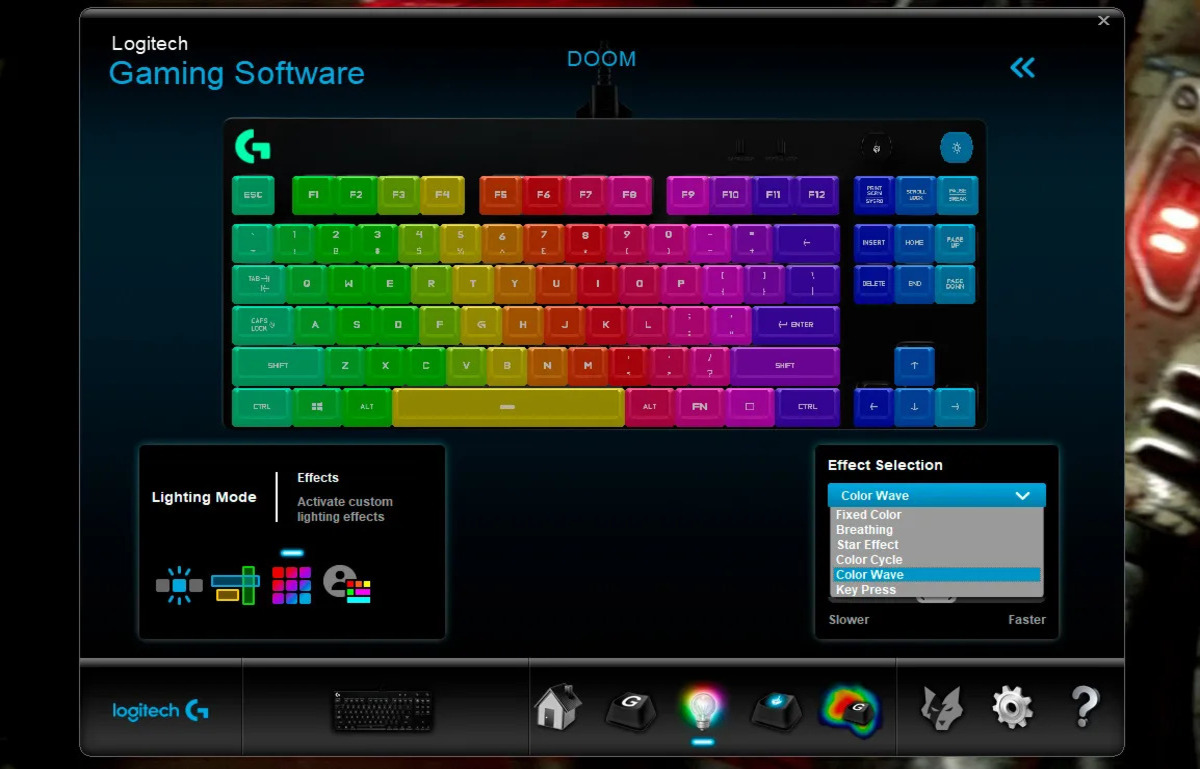
- Once you have completed the initial setup, you can start customizing your Logitech gaming peripherals. Explore the software’s features, such as creating custom profiles, adjusting RGB lighting, programming macros, and more.
Logitech G Hub provides a user-friendly interface that makes it easy to fine-tune your gaming experience. Take your time to explore the various options available and experiment with different settings to find what works best for you.
Congratulations! You have successfully installed and launched Logitech G Hub. Now, you can take full advantage of the software’s powerful customization capabilities and enhance your gaming performance.
Conclusion
Installing Logitech G Hub is a straightforward process that allows you to unlock the full potential of your Logitech gaming peripherals. With its intuitive interface and extensive customization options, Logitech G Hub empowers you to personalize your gaming experience to fit your preferences.
In this guide, we have covered the step-by-step process of installing Logitech G Hub, from downloading the software to launching it on your computer. We started by downloading the installation file from the Logitech website and then proceeded to open the installer. After accepting the license agreement, we chose the installation location and selected the components to install. We then moved on to actually installing Logitech G Hub and concluded by launching the software.
Now that you have Logitech G Hub up and running, you can explore its features and maximize the potential of your Logitech gaming peripherals. Customize your devices, create profiles, and access advanced settings to elevate your gaming experience to new heights.
Remember to check for software updates regularly to ensure you have the latest features and compatibility improvements. Logitech often releases updates to enhance the performance and functionality of Logitech G Hub, so it’s worth keeping your software up to date.
Enjoy the seamless integration of Logitech G Hub with your gaming peripherals and unleash your true gaming potential. Whether you are a casual gamer or a competitive eSports player, Logitech G Hub is here to enhance your gaming experience and help you stay one step ahead. Get ready to take your gaming to the next level!