Introduction
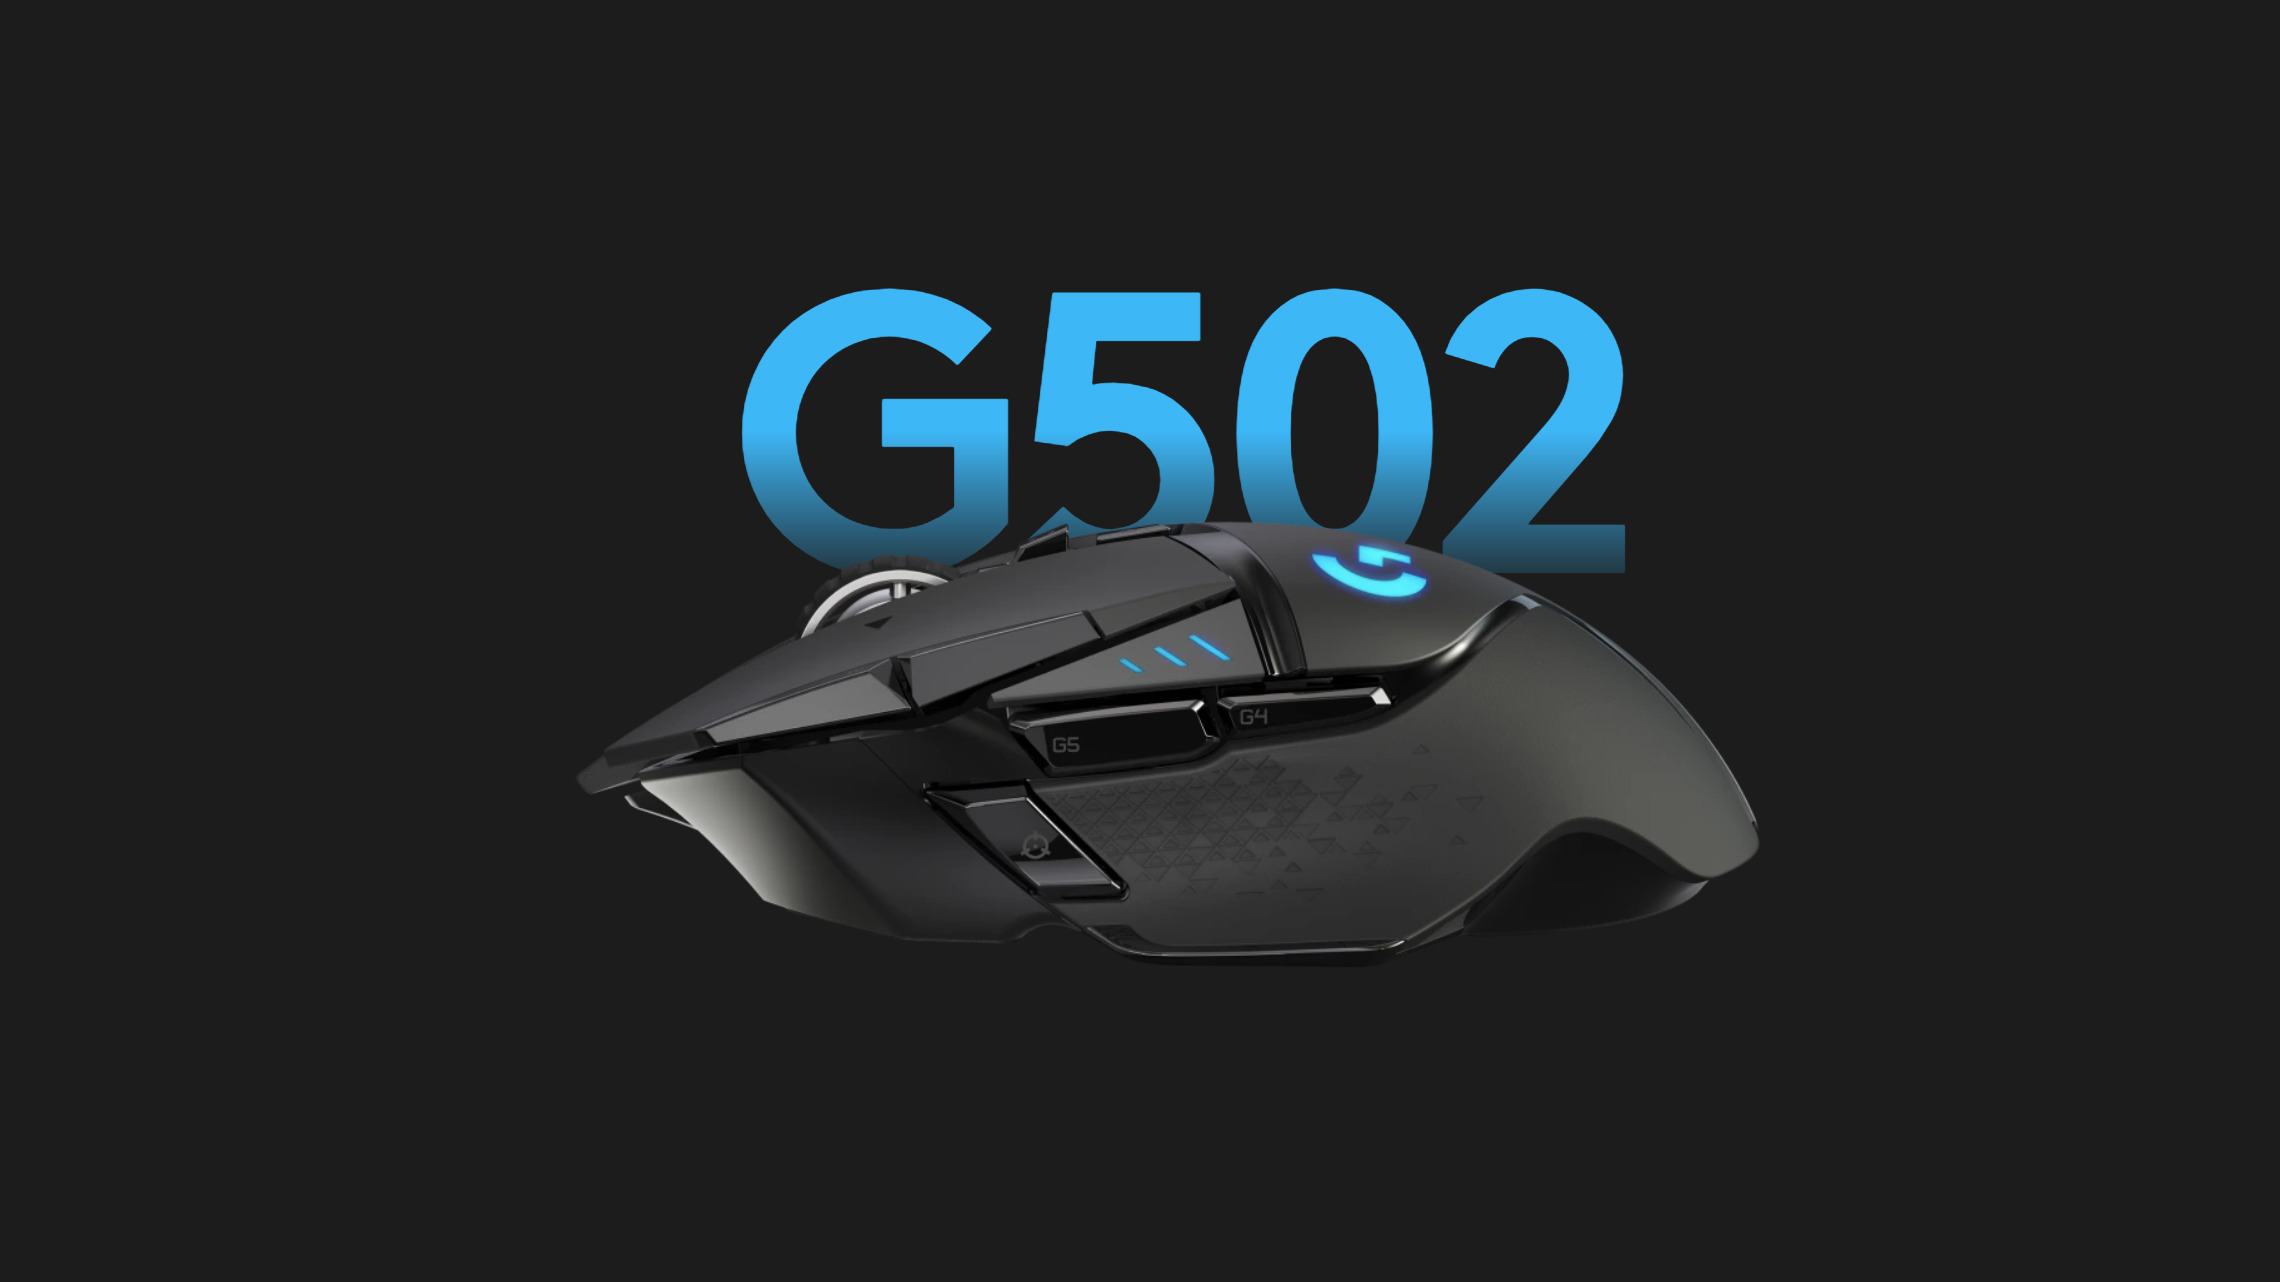
The Logitech G502 is a popular gaming mouse known for its precision, customizable buttons, and ergonomic design. One of its standout features is the ability to set macros, which allow you to automate complex sequences of actions with a single keystroke. Whether you’re a seasoned gamer looking for an edge in competitive play or simply want to streamline your productivity tasks, setting macros on your Logitech G502 can greatly enhance your gaming or work experience.
In this guide, we will walk you through the steps of setting macros on your Logitech G502 using the Logitech G HUB software. Logitech G HUB is a powerful software that grants you control over every aspect of your Logitech gaming peripherals, including the ability to program macros.
Before we dive into the process, it’s essential to note that macros can be used for various purposes, such as creating complex keybinds, executing quick spell rotations in MMO games, or automating repetitive tasks in productivity applications. By setting macros on your Logitech G502, you can save time, increase efficiency, and gain a competitive advantage in gaming.
Now that you understand the benefits of using macros and the capabilities of your Logitech G502 mouse, let’s get started with the step-by-step process of setting macros using Logitech G HUB.
Step 1: Download and Install Logitech G HUB Software
The first step to setting macros on your Logitech G502 is to download and install the Logitech G HUB software. This software serves as the central hub for customizing and configuring your Logitech gaming peripherals, including your mouse.
To begin, open your preferred web browser and go to the Logitech website. Navigate to the Support or Downloads section and search for Logitech G HUB software. Ensure that you download the version compatible with your operating system.
Once the software is downloaded, locate the installation file and double-click on it to launch the installation wizard. Follow the on-screen prompts to install Logitech G HUB on your computer. When the installation is complete, you can launch the software.
Upon launching Logitech G HUB for the first time, it may prompt you to update the firmware on your Logitech G502 mouse. It is recommended to proceed with the firmware update to ensure compatibility and optimal performance.
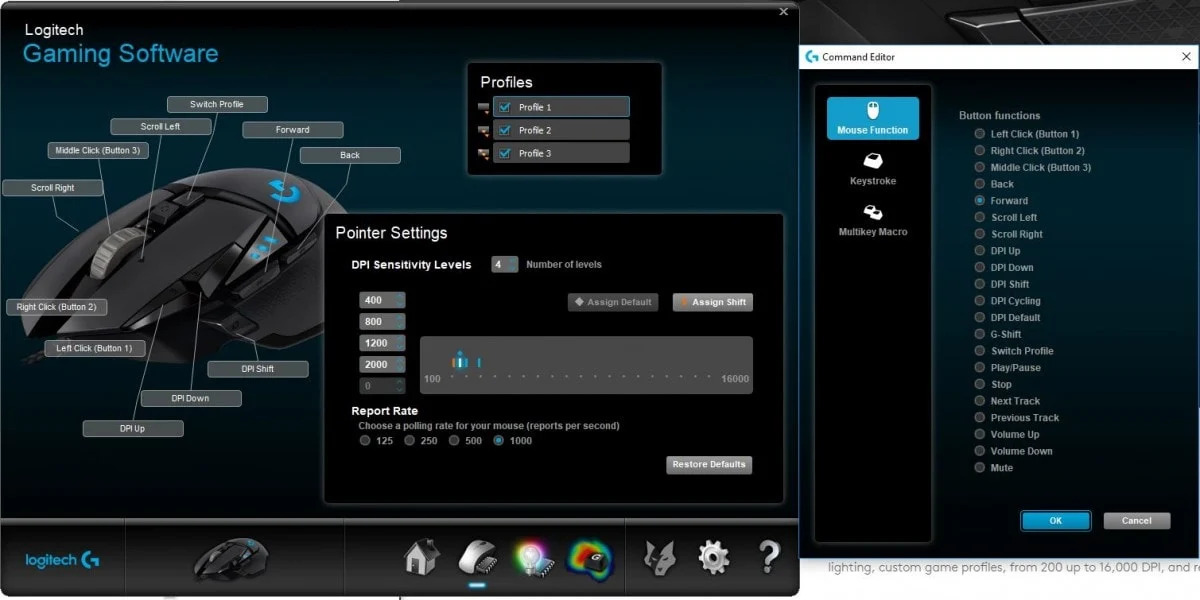
After updating the firmware, Logitech G HUB will automatically detect your Logitech G502 mouse. It will display an image of the mouse along with available options and settings. You can also access additional customization options, including setting macros, DPI adjustments, and RGB lighting controls.
With Logitech G HUB successfully installed, you are now ready to dive into the macro creation process using the software’s intuitive interface. In the following steps, we will guide you through the process of setting macros on your Logitech G502 mouse, allowing you to unleash its full potential.
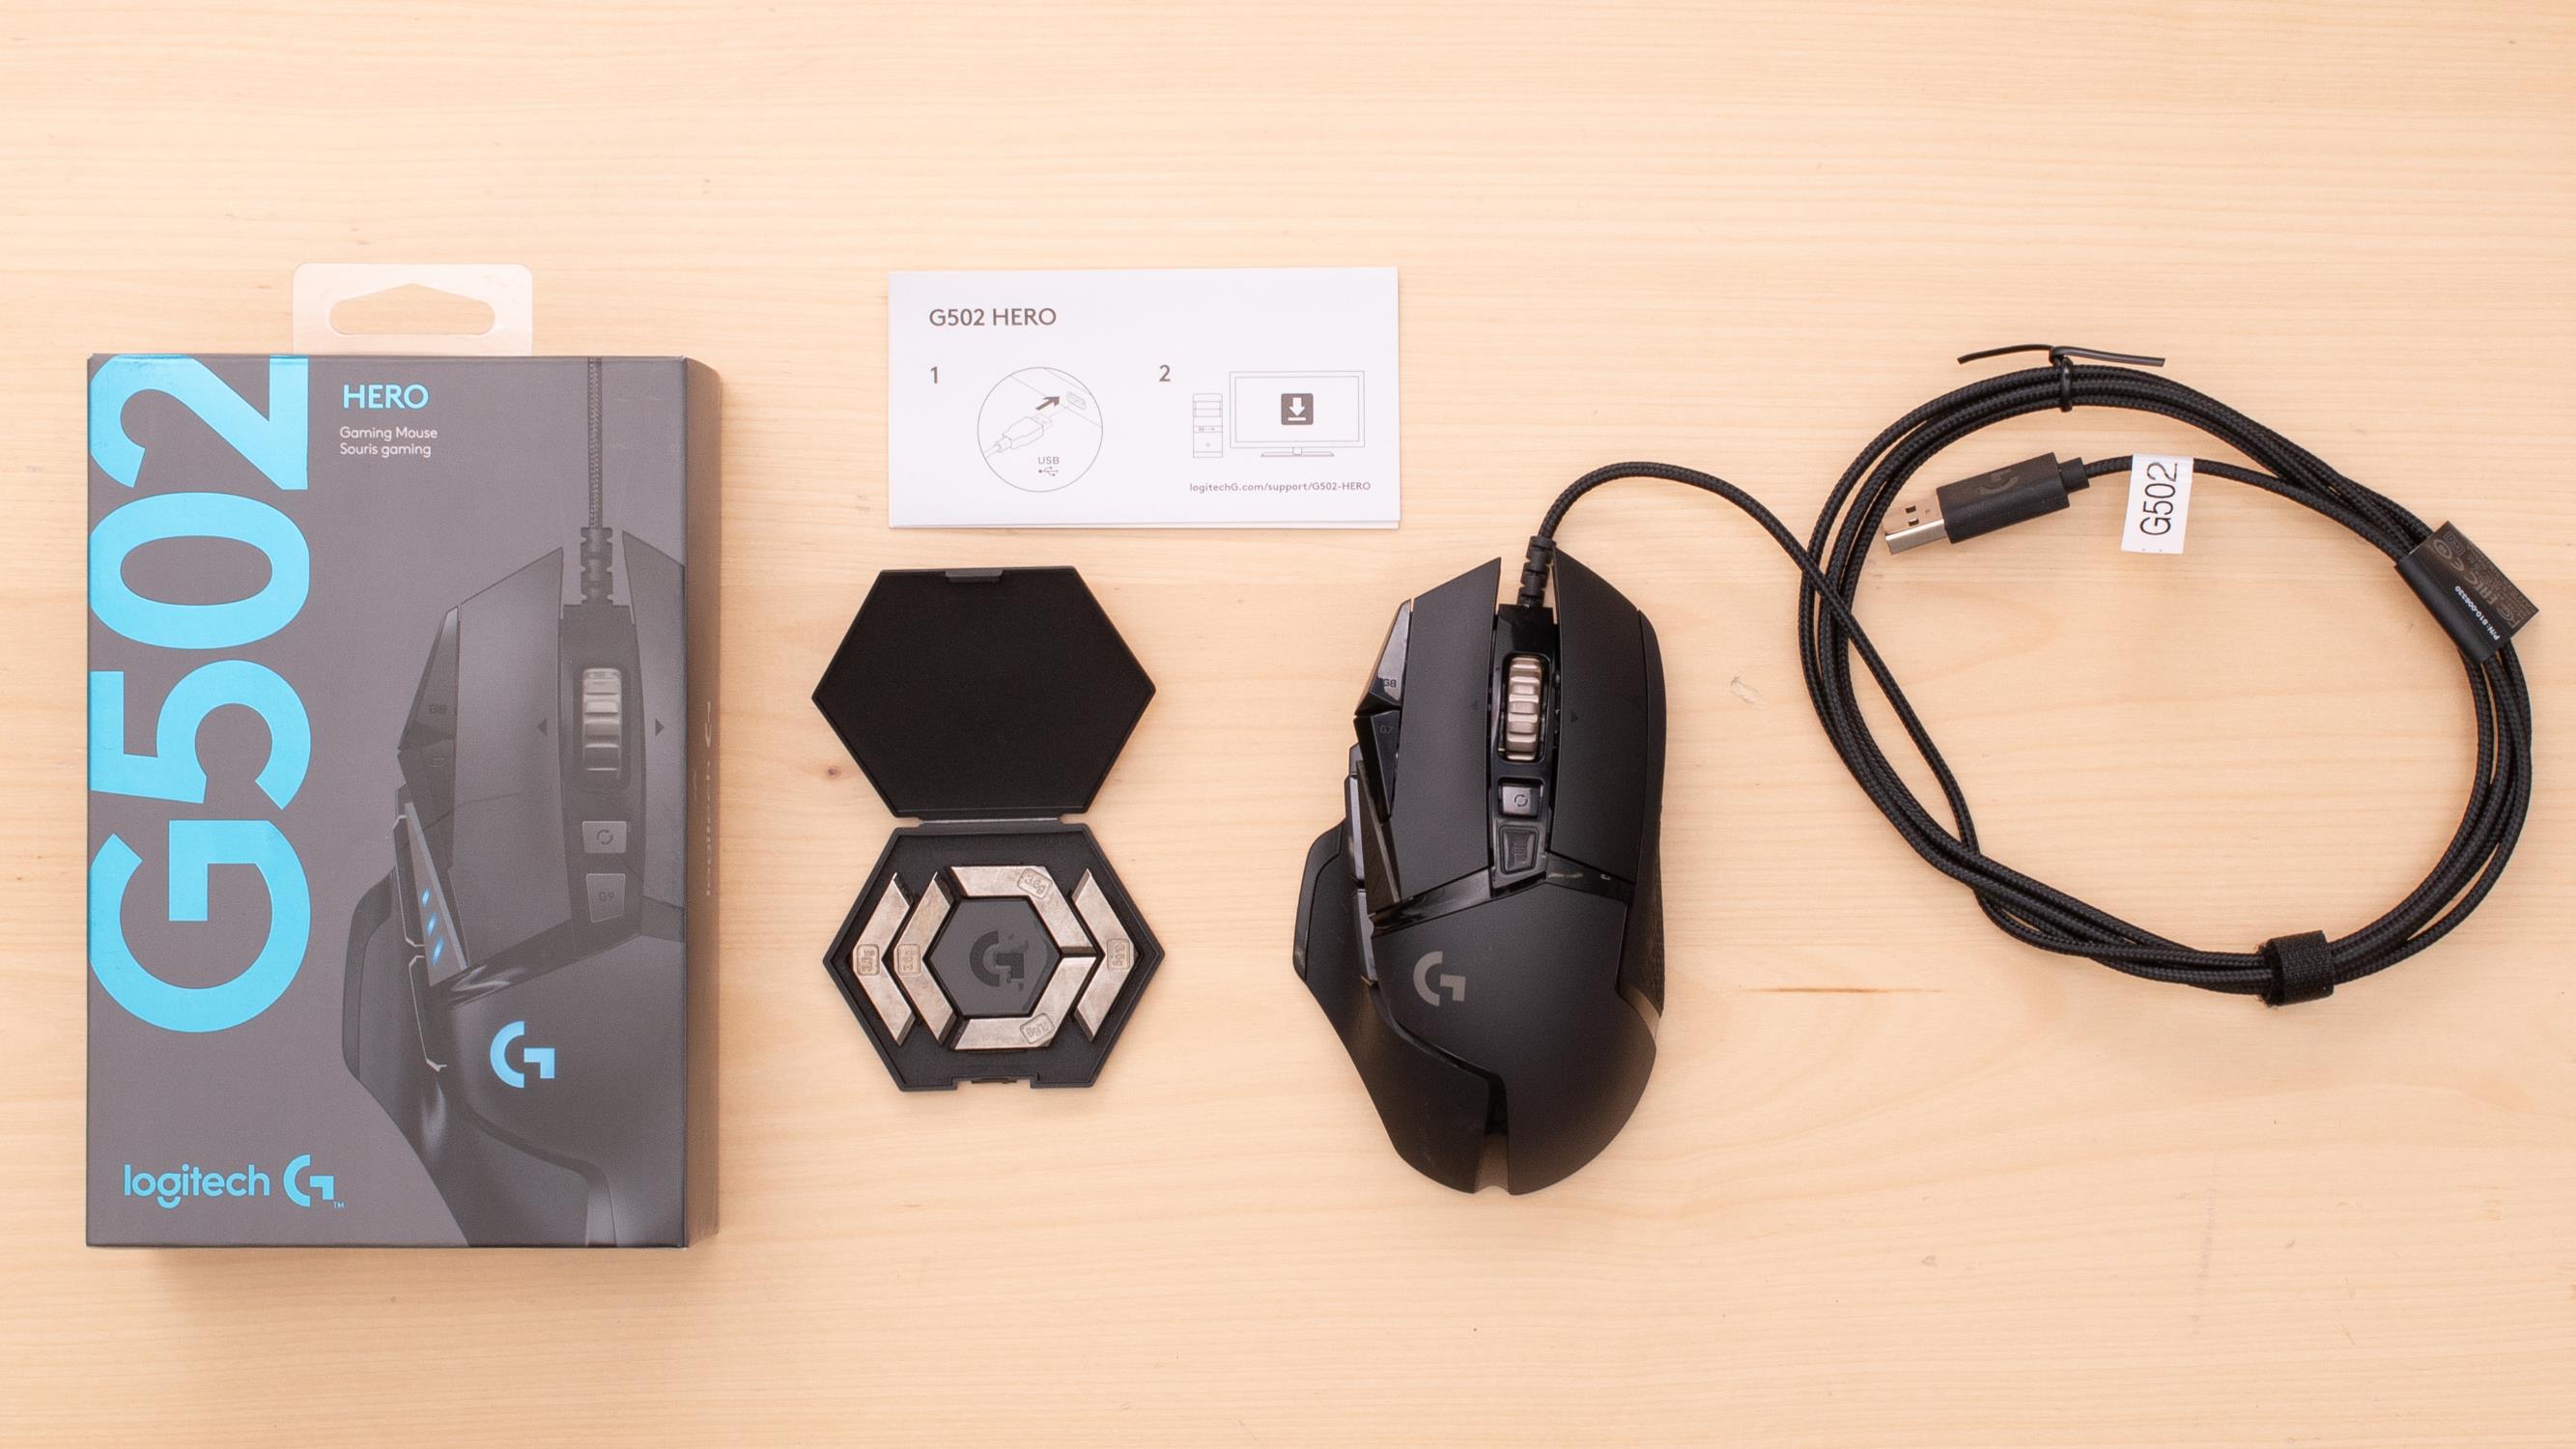
Step 2: Connect Your Logitech G502 Mouse to Your Computer
Before you can start setting macros on your Logitech G502, you need to ensure that the mouse is properly connected to your computer. Follow these simple steps to establish a connection:
- Locate the USB cable that came with your Logitech G502 mouse. This cable is used to connect the mouse to your computer.
- Connect one end of the USB cable to the USB port on your computer.
- Connect the other end of the USB cable to the USB port on your Logitech G502 mouse.
- Once the cable is securely connected, your computer will automatically detect the mouse.
- Wait for the drivers to install, which may take a few moments.
- Once the drivers are installed, your Logitech G502 mouse is now connected and ready to use.
It’s important to note that some computers may require additional software or drivers to be installed for seamless compatibility with the Logitech G502 mouse. In this case, visit the Logitech website to download and install any required drivers or software specific to your operating system.
Ensuring a proper and stable connection between your Logitech G502 mouse and computer is crucial for the successful use of macros. A reliable connection minimizes input lag and ensures that your macros are executed without any interruptions. Take a moment to ensure that the USB cable is securely plugged in and that there are no physical obstructions that may interfere with the connection.
Now that your Logitech G502 mouse is connected to your computer, you are ready to proceed to the next step and start setting macros using the Logitech G HUB software.
Step 3: Open Logitech G HUB and Select Your Mouse
With your Logitech G502 mouse connected to your computer, it’s time to open the Logitech G HUB software and access the dedicated settings for your mouse. Follow these steps to get started:
- Locate the Logitech G HUB icon on your desktop or in your program files and double-click to launch the software.
- Once the software is launched, it will automatically detect and display your Logitech G502 mouse in the main dashboard.
- Click on the image or name of your Logitech G502 mouse to access its specific settings and customization options.
- You will now be presented with a wide range of customization options, including macros, DPI settings, button assignments, RGB lighting controls, and more.
Within the Logitech G HUB software, you can easily navigate between different tabs and menus to access the various settings available for your Logitech G502 mouse. Take some time to familiarize yourself with the software interface and options.
It’s worth noting that Logitech G HUB not only allows you to set macros for your Logitech G502, but it also grants you control over other aspects of your gaming experience. You can customize the RGB lighting on your mouse, assign different functions to each button, adjust sensitivity settings, and create profiles for different games or applications.
Now that you have successfully opened Logitech G HUB and selected your Logitech G502 mouse, you are ready to delve into the next step of setting macros. In the following section, we will guide you through the process of accessing the G-Shift function settings, which will enable you to assign macros to specific mouse buttons.
Step 4: Go to the G-Shift Function Settings
Configuring the G-Shift function is an essential step in setting macros on your Logitech G502 mouse. The G-Shift function allows you to assign alternative commands to your mouse buttons, effectively doubling the number of available macros. Follow the steps below to access the G-Shift function settings:
- Within the Logitech G HUB software, locate and click on the “G-Shift” tab in the main dashboard. This tab is specifically dedicated to customizing the G-Shift function for your Logitech G502 mouse.
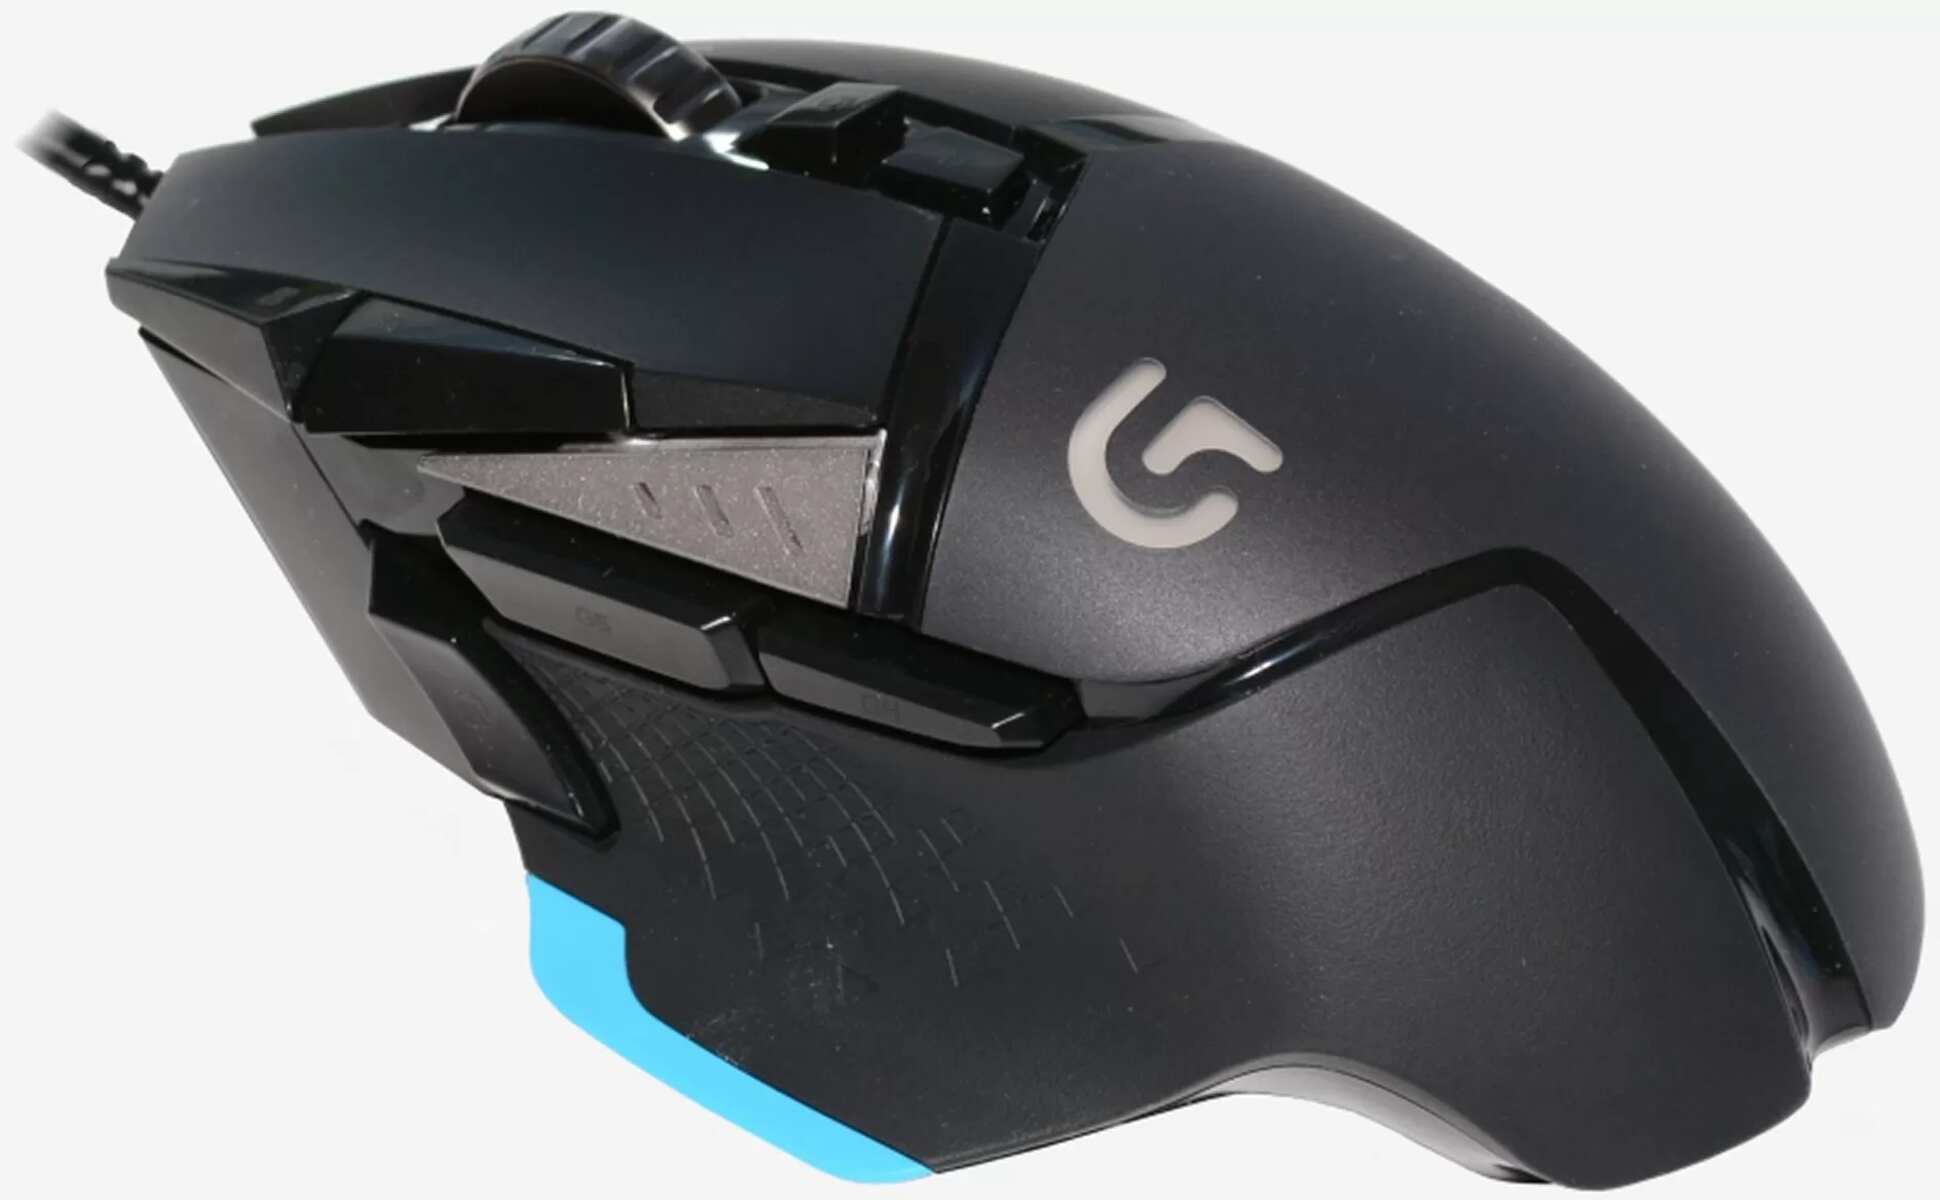
- In the G-Shift settings, you will see a visual representation of your Logitech G502 mouse, displaying the different buttons available for customization.
- Click on the button that you want to assign as the G-Shift button. This should be a button that you can easily access during gameplay or work.
- Once you have selected the G-Shift button, you can proceed to the next step of assigning macros to this button.
The G-Shift function is a powerful tool that allows for quick and seamless switching between different layers of programmable commands. By assigning a button as the G-Shift button, you can access a secondary set of macros when that button is held down in combination with other buttons on your Logitech G502.
It’s important to choose a suitable button for the G-Shift function based on your personal preferences and the ease of access during use. Popular choices include the thumb button, the scroll wheel button, or any other button that can be activated with minimal effort.
Now that you have successfully accessed the G-Shift function settings, you are one step closer to setting macros on your Logitech G502 mouse. In the next section, we will guide you through the process of assigning macros to the G-Shift button and customizing their execution options.
Step 5: Assign Macros to G-Shift Function
Assigning macros to the G-Shift function on your Logitech G502 mouse allows you to unleash the full potential of your gaming or work experience. Follow these steps to assign macros to the G-Shift button:
- Within the G-Shift function settings in the Logitech G HUB software, locate the button that you have designated as the G-Shift button.
- Click on the G-Shift button to bring up the macro assignment options.
- In the macro assignment menu, you can create new macros or select from existing macros that you have created previously.
- To create a new macro, click on the “New Macro” button and give it a descriptive name.
- Next, select the desired actions or keystrokes that you want the macro to perform. You can customize the macro with any combination of key presses, delays, mouse movements, and more.
- Once the macro is created and customized to your preferences, click “Save” to apply it to the G-Shift button.
When assigning macros to the G-Shift button, it’s important to consider the specific tasks or actions that you want to automate. Whether it’s executing complex spell rotations in a game or automating repetitive tasks in productivity software, macros can greatly enhance your efficiency and convenience.
Additionally, you can assign different macros to different profiles or games within the Logitech G HUB software. This versatility allows for seamless transition between different macro sets based on your specific needs.
Once you have assigned macros to the G-Shift button, it’s a good practice to test them out and make any necessary adjustments. This brings us to the next step in the process: customizing the macro execution options.
Now that you have successfully assigned macros to the G-Shift function, you are one step away from fully optimizing your Logitech G502 mouse. In the following section, we will guide you through the process of customizing the macro execution options for a smooth and personalized experience.
Step 6: Customize Macro Execution Options
Customizing the macro execution options for your Logitech G502 mouse allows you to fine-tune the behavior and performance of your macros. Follow these steps to customize the macro execution options:
- Within the Logitech G HUB software, navigate to the “Macros” or “Assignments” section that corresponds to your Logitech G502 mouse.
- Locate the specific macro that you want to customize the execution options for.
- Click on the macro to access its settings and options.
- Within the macro settings, you will find options such as repeat rate, delay between actions, and playback speed.
- Adjust the repeat rate to determine how quickly the macro should repeat its actions when the assigned button is held down.
- Set the delay between actions to control the timing between each action within the macro sequence.
- Experiment with the playback speed to find the optimal balance between speed and precision.
- Save your customization settings to apply them to the macro.
Customizing the macro execution options allows you to personalize your gaming or work experience by adjusting the timing and speed of the actions performed by your Logitech G502 mouse. A shorter repeat rate and shorter delay between actions can result in faster and more fluid macro execution, while a longer delay and slower repeat rate can ensure more precision and accuracy.
It’s worth noting that the ideal customization settings for macro execution options may vary depending on the specific game or application you are using. Therefore, it’s recommended to test and fine-tune these settings to suit your individual needs and preferences.
Once you have customized the macro execution options, it’s essential to test your macros in real-world scenarios. This will help you identify any adjustments or changes that need to be made to ensure optimal performance.
Now that you have successfully customized the macro execution options, your Logitech G502 mouse is fully equipped to execute powerful and efficient macros. In the next step, we will guide you through the process of testing and fine-tuning your macros for the best results.
Step 7: Test and Fine-Tune Your Macros
After setting up your macros on the Logitech G502 mouse, it’s crucial to test and fine-tune them to ensure they work seamlessly in real-world scenarios. Here’s how you can test and fine-tune your macros:
- Open the game or application where you intend to use your macros.
- Assign the macros to the desired buttons on your Logitech G502 mouse.
- Start using the macros during gameplay or while performing tasks in the application.
- Observe the performance and effectiveness of the macros in automating actions and tasks.
- Take note of any issues, delays, or unexpected behaviors that you encounter during macro execution.
- Return to the Logitech G HUB software and make any necessary adjustments to the macros based on your observations.
- Modify the macro actions, timing, or playback speed to fine-tune their performance.
- Save the changes and retest the macros in the game or application.
- Repeat this process as needed, making incremental adjustments until you achieve the desired results.
Testing and fine-tuning your macros is a crucial step in ensuring their optimal performance. By actively using and observing the macros, you can identify any issues, delays, or areas that can be improved. This iterative process of testing and refining helps you achieve a seamless and efficient macro experience on your Logitech G502 mouse.
Additionally, it’s recommended to seek feedback from other users or online communities who have experience with setting macros on the Logitech G502. They may offer valuable insights, tips, or advice on improving your macro settings.
Remember that macro effectiveness can vary depending on the game or application you are using. It’s important to adapt and fine-tune your macros based on the specific requirements of each game or task.
With thorough testing and fine-tuning, your Logitech G502 macros will become a powerful tool that enhances your performance and efficiency. Enjoy the benefits of automation and customization as you dominate your gaming sessions or breeze through your work tasks.
Conclusion
Setting macros on your Logitech G502 mouse using the Logitech G HUB software unlocks a world of possibilities, whether you’re a gamer seeking a competitive edge or a professional looking to streamline your workflow. By following the step-by-step process outlined in this guide, you can harness the power of macros to automate complex actions with a single keystroke.
Throughout the process, we covered the key steps to successfully set macros on your Logitech G502:
- Downloading and installing the Logitech G HUB software to gain customization control over your Logitech G502 mouse.
- Ensuring a stable and reliable connection between your Logitech G502 mouse and computer.
- Opening Logitech G HUB and selecting your Logitech G502 mouse to access its specific settings and customization options.
- Going to the G-Shift function settings to assign a button as the G-Shift button, expanding the available macro options.
- Assigning macros to the G-Shift button, allowing for a wider range of commands and actions at your fingertips.
- Customizing the macro execution options to fine-tune the timing and speed of your macros.
- Testing and fine-tuning your macros in real-world scenarios to ensure optimal performance and efficiency.
Remember, the key to effectively using macros on your Logitech G502 mouse is to customize them based on your specific needs and preferences. Don’t hesitate to experiment, test, and make adjustments until you find the perfect settings for your gaming or work requirements.
With the ability to automate repetitive tasks, create intricate keybinds, and execute complex sequences with ease, macros on your Logitech G502 can give you an advantage in gaming and enhance your productivity. Embrace the power of macros and unleash the full potential of your Logitech G502 mouse.
Now go ahead and try setting macros on your Logitech G502 using the Logitech G HUB software. Enjoy the convenience, efficiency, and precision that macros can bring to your gaming and work experience.