Introduction
Welcome to the world of gaming peripherals customization! If you’re a passionate gamer, you’re probably always on the lookout for ways to enhance your gaming experience. One popular feature that many gamers love is the ability to create rapid fire macros. And if you own a Logitech G502 gaming mouse, you’re in luck because it offers fantastic customization options, including the ability to create rapid fire macros.
But what exactly is a rapid fire macro, you may ask? Simply put, it’s a series of automated button presses that can be assigned to a single button on your Logitech G502 mouse. This allows you to perform repetitive actions, such as firing multiple shots rapidly in a first-person shooter game, with just a single click. It can give you a significant competitive advantage by saving you time and effort during intense gameplay.
To be able to create a rapid fire macro on your Logitech G502, there are a few requirements you need to meet. First and foremost, you’ll need to have the Logitech G HUB software installed on your computer. This software acts as a control center for all the customization features of your Logitech gaming devices. Additionally, you’ll need a basic understanding of programming concepts and familiarity with the Logitech G HUB interface.
In this guide, we’ll walk you through the step-by-step process of creating a rapid fire macro on your Logitech G502 mouse. We’ll also provide some tips and tricks to help you optimize your macro for the best gaming experience. So let’s dive in and unleash the full potential of your Logitech G502!
What is a Rapid Fire Macro?
Before we delve into the technical details, let’s take a moment to understand what a rapid fire macro is and why it can be a game-changer for gamers. In essence, a rapid fire macro is a sequence of actions programmed into a single button press on your Logitech G502 gaming mouse.
Imagine playing a first-person shooter game where you need to rapidly fire your weapon to gain an advantage over your opponents. Instead of repeatedly clicking the left mouse button, you can assign a rapid fire macro to one of the programmable buttons on your Logitech G502. This allows you to unleash a barrage of rapid fire shots with just a single click.
Rapid fire macros are not limited to shooting games; they can be useful in various gaming scenarios. Whether it’s performing complex combos in fighting games, executing precise build orders in real-time strategy games, or even automating repetitive tasks in MMOs, a rapid fire macro can be a game-changer for your gaming performance.
The Logitech G502’s advanced customization features make it incredibly easy to create and assign rapid fire macros to any button on the mouse. The Logitech G HUB software provides a user-friendly interface that allows you to record and edit macros with ease. You can adjust the delay between button presses and customize the number of repetitions to fine-tune your macro to perfection.
It’s important to note that while rapid fire macros can provide a competitive advantage, they should be used responsibly and ethically. It’s always a good idea to familiarize yourself with the game’s rules and regulations before using macros in online multiplayer environments to ensure fair play.
Now that we have a clear understanding of what a rapid fire macro is and its potential benefits, let’s proceed to the next section, where we’ll explore the requirements for creating a rapid fire macro on the Logitech G502.
Requirements for Making a Rapid Fire Macro on Logitech G502
To create a rapid fire macro on your Logitech G502 gaming mouse, you’ll need a few essential requirements. Let’s take a look at what you’ll need to get started:
-
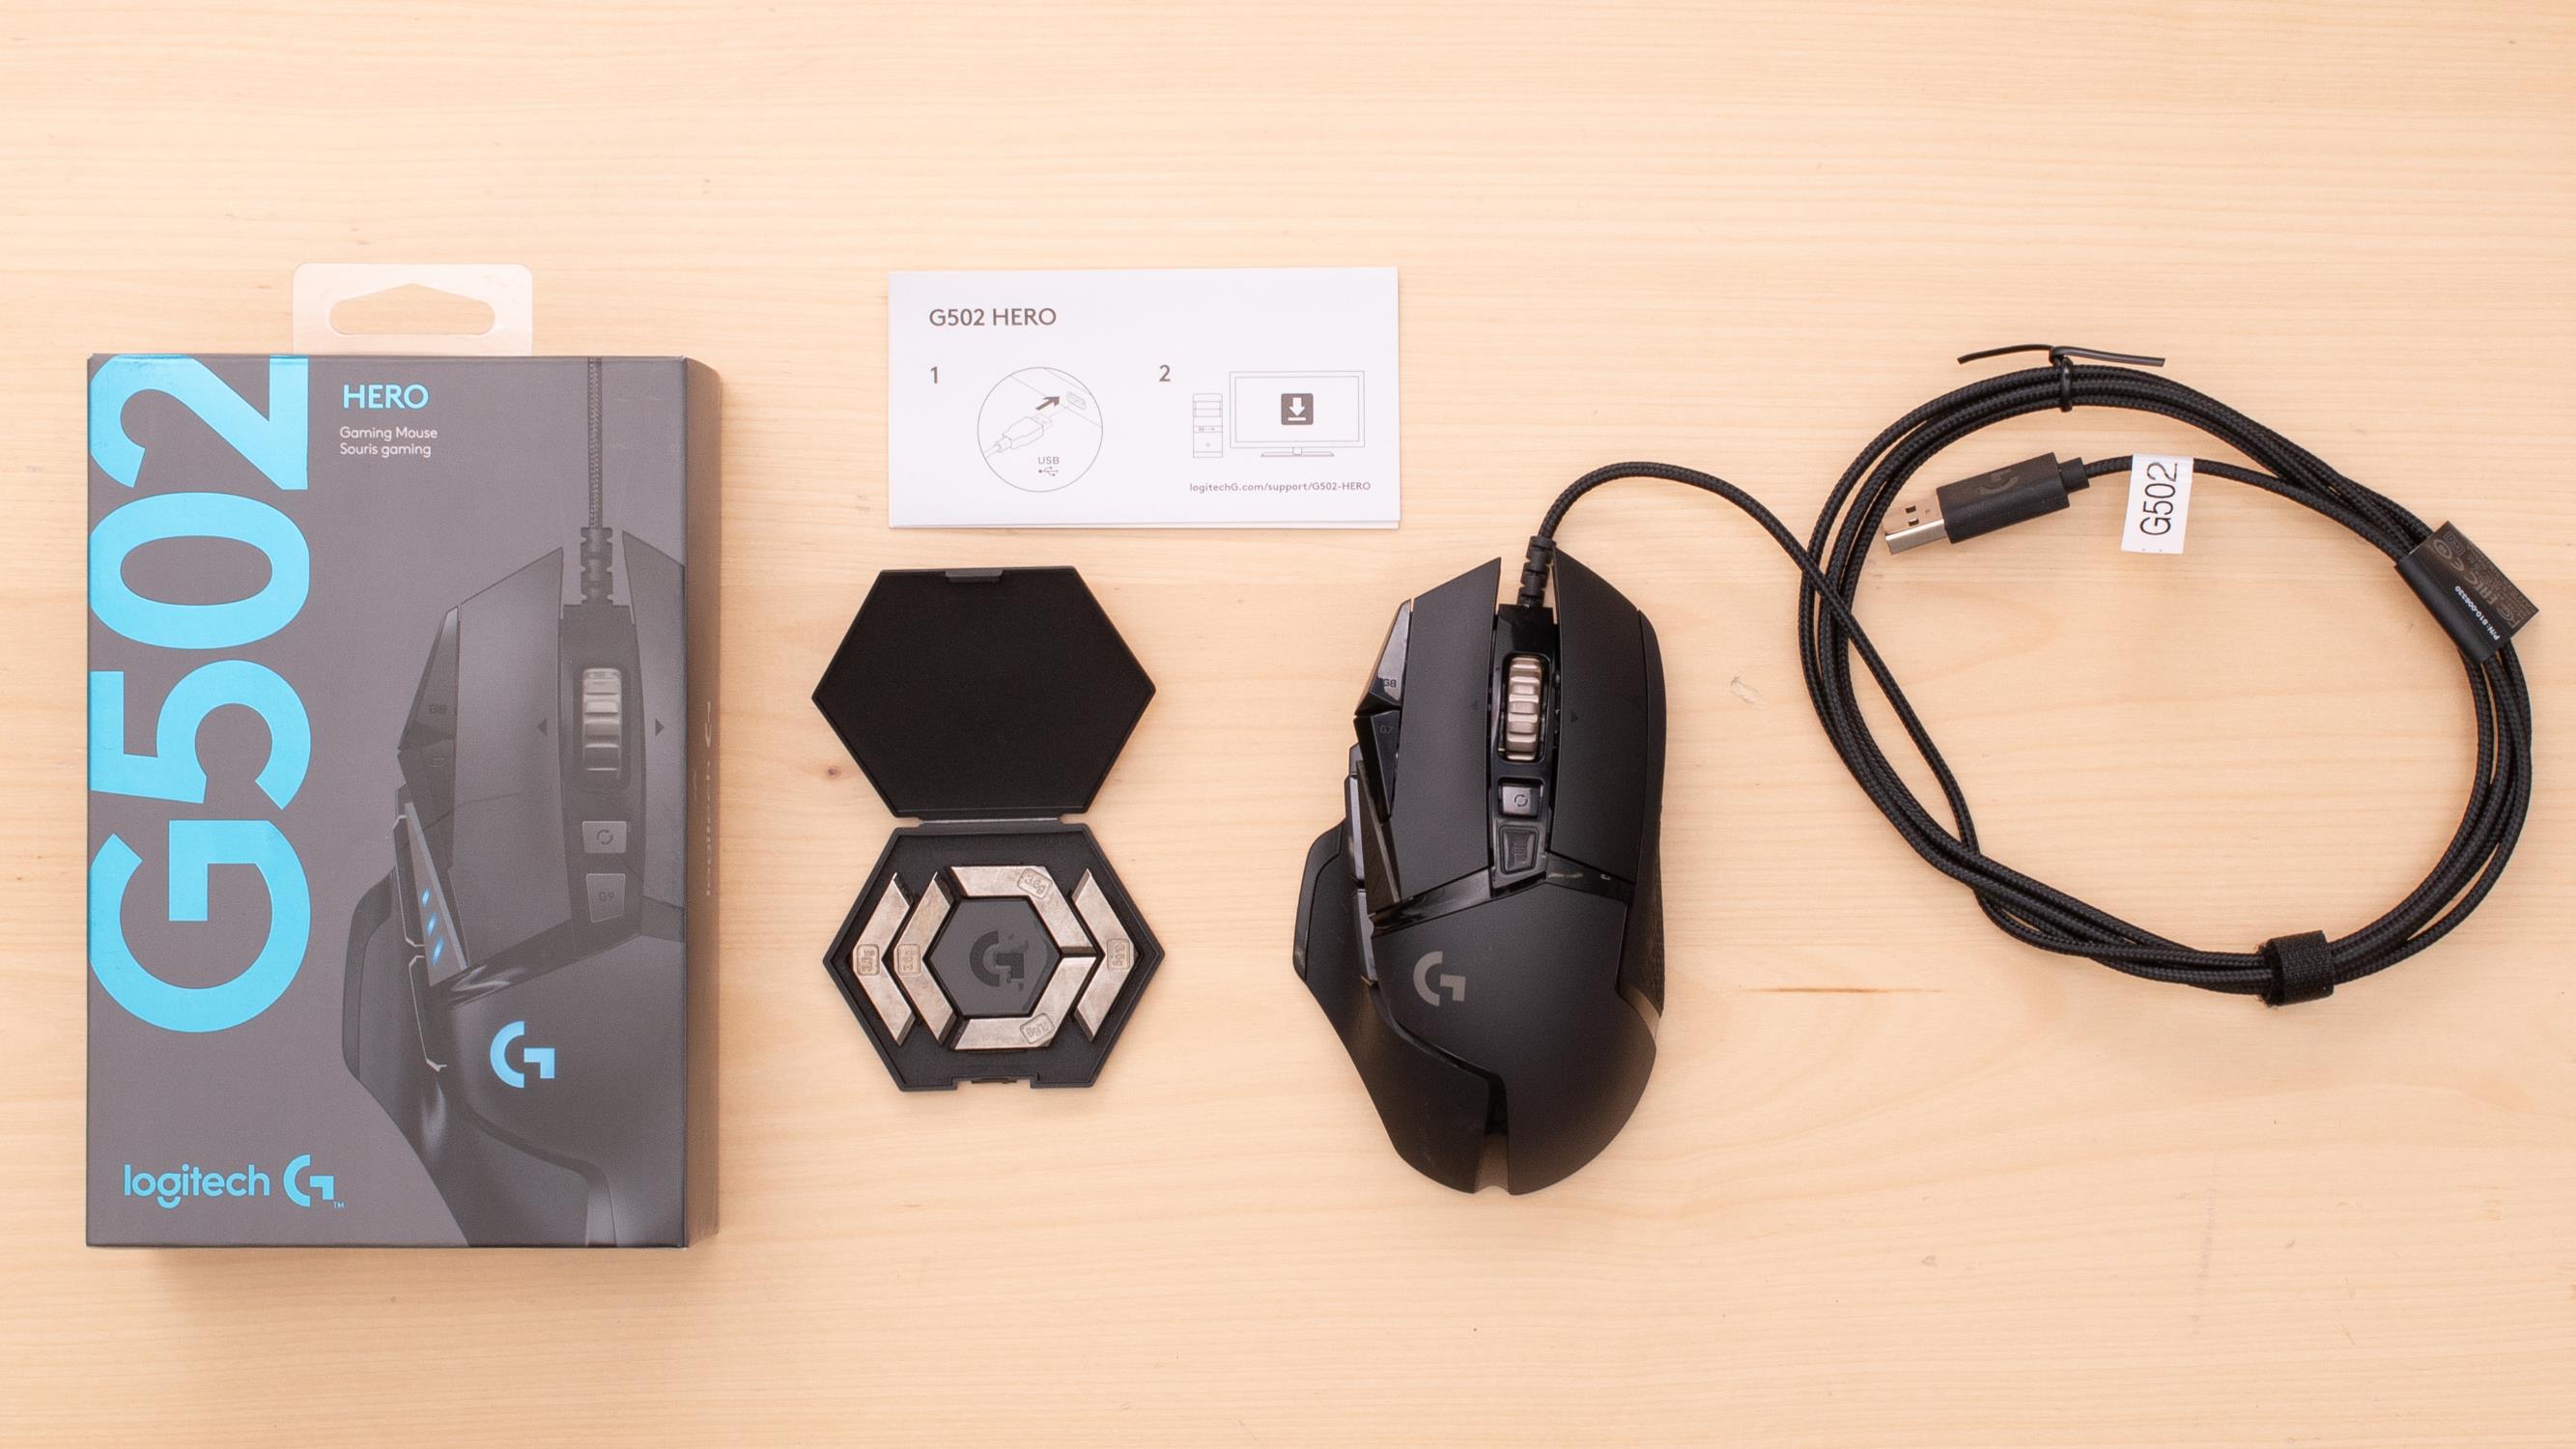
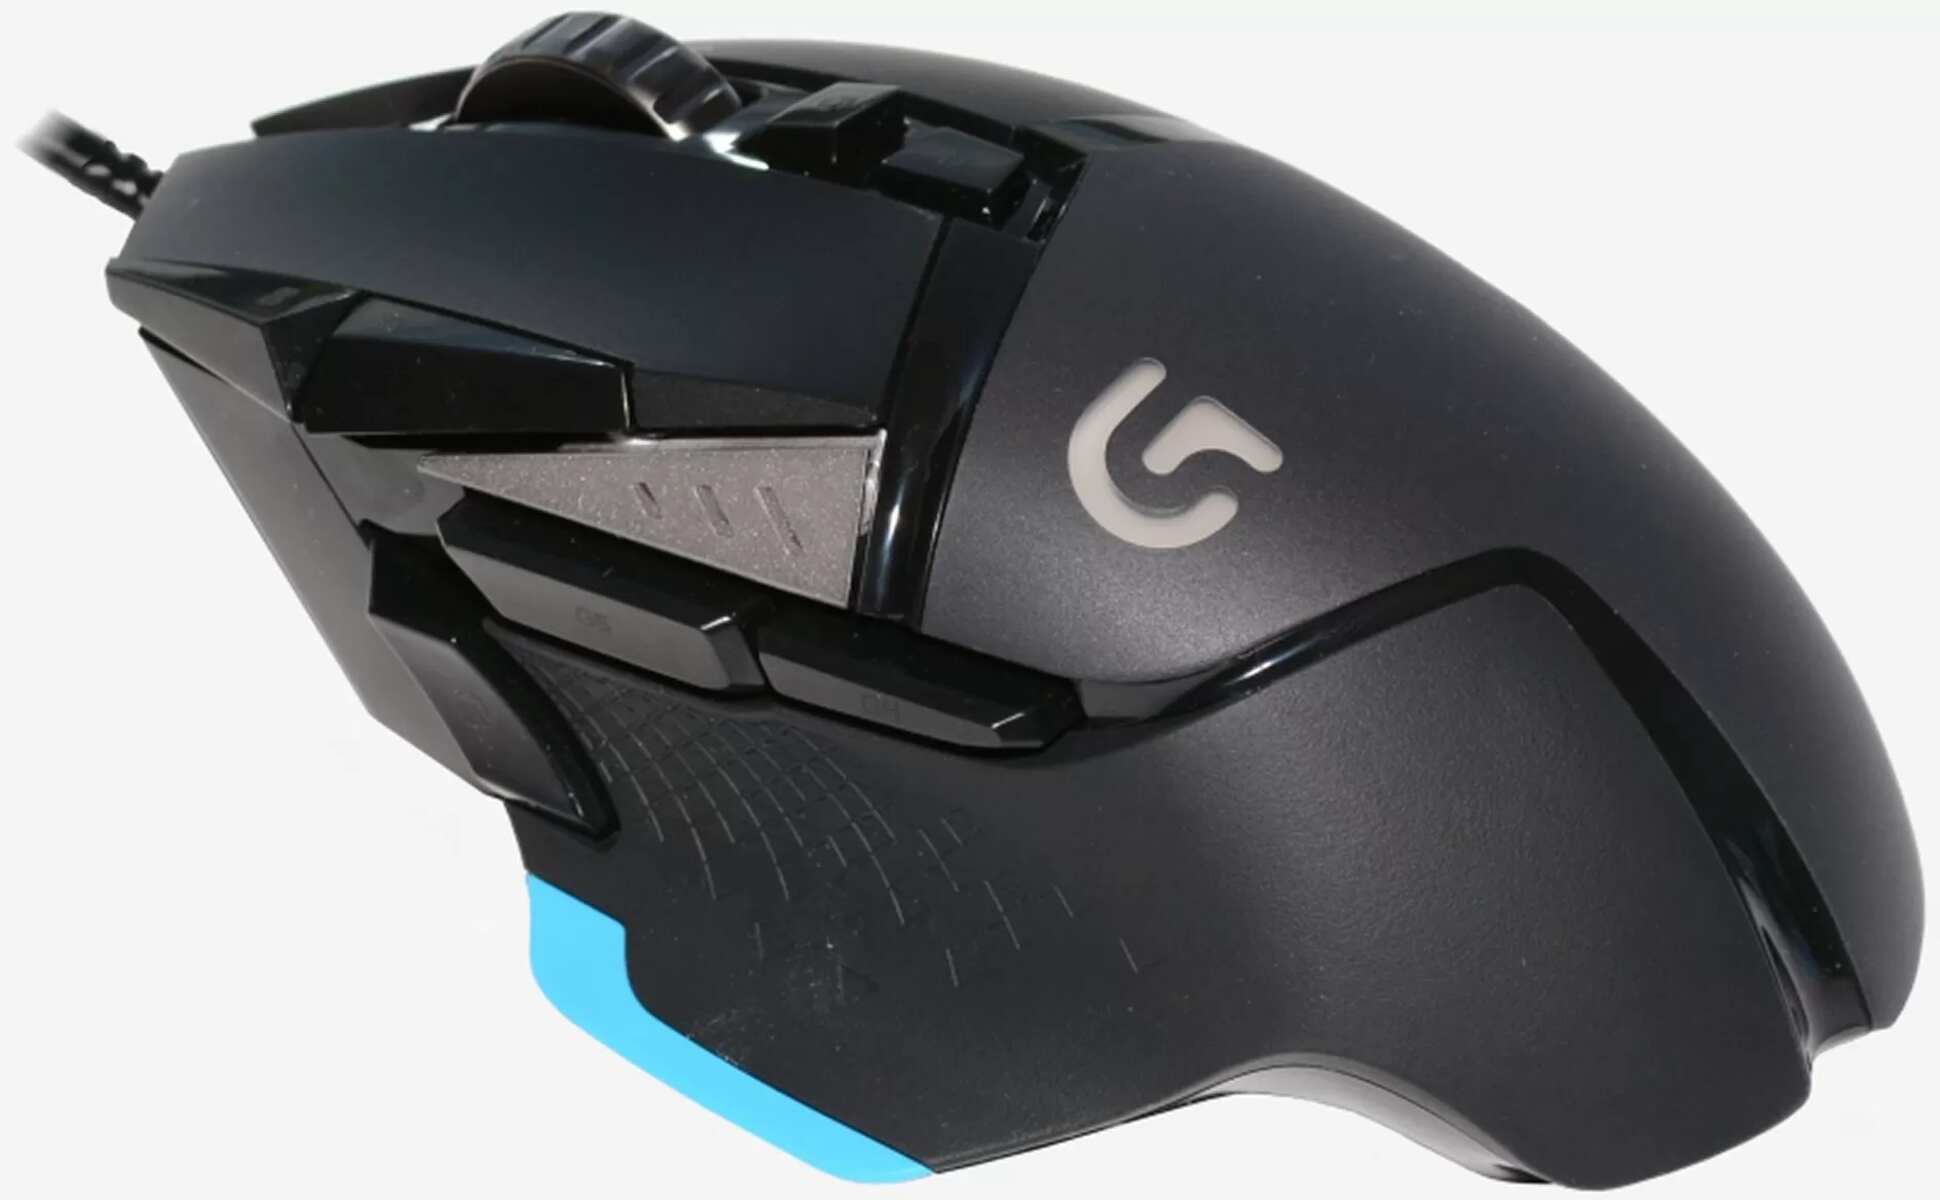
Logitech G502 Gaming Mouse: The first requirement, as the name suggests, is the Logitech G502 gaming mouse itself. This powerful and versatile mouse boasts a wide range of customization options, including the ability to create macros. Make sure you have your Logitech G502 mouse ready and connected to your computer before proceeding.
-
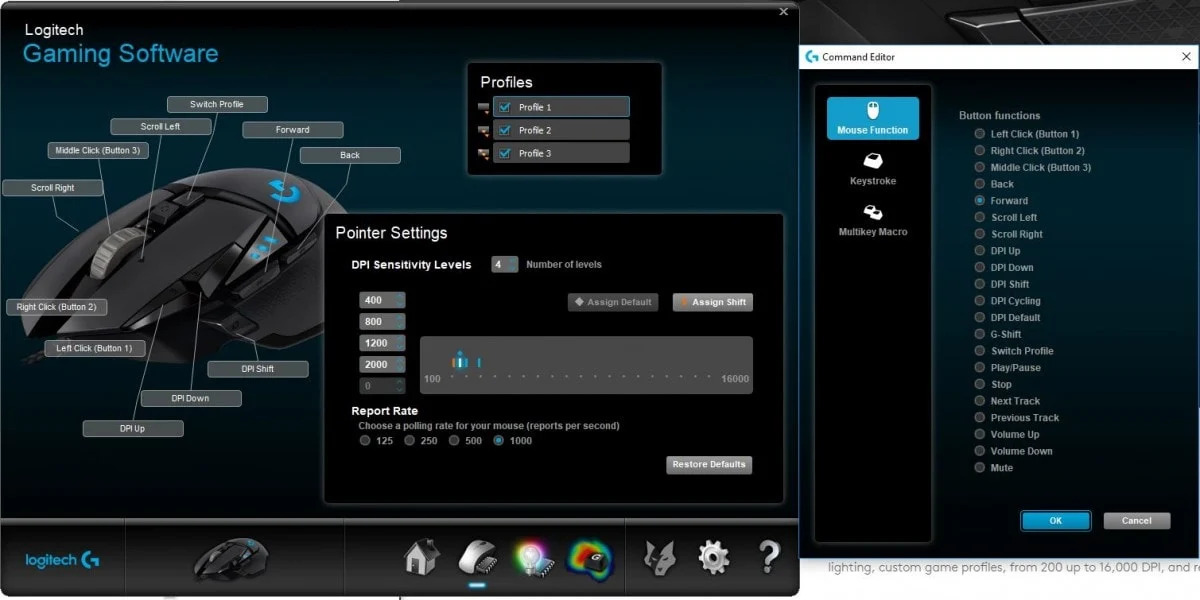
Logitech G HUB Software: The Logitech G HUB software is a crucial component in creating and managing macros on your Logitech G502 mouse. It acts as a control center for all your Logitech gaming devices, allowing you to customize lighting, DPI settings, and, of course, create macros. Ensure that you have the latest version of the Logitech G HUB software installed on your computer. You can download it from the Logitech website if you haven’t already.
-
Computer System: Your computer system should meet the minimum requirements to run the Logitech G HUB software smoothly. Check for updates and ensure that your operating system is compatible with the Logitech G HUB software. A stable internet connection is also recommended to download any required updates or firmware for your Logitech G502 mouse.
-
Basic Programming Knowledge: While you don’t need to be a coding expert, having a basic understanding of programming concepts will help you navigate through the macro creation process more efficiently. You’ll need to understand terms like “record,” “edit,” and “playback” when working with macros in the Logitech G HUB software.
-
Logitech G HUB User Manual: Familiarize yourself with the Logitech G HUB user manual or online documentation. This will help you get acquainted with the software and its various features. It will also guide you through the process of creating macros and customizing your Logitech G502 gaming mouse to suit your preferences.
Once you have all the necessary requirements in place, you’re ready to dive into creating your very own rapid fire macro on the Logitech G502. In the next section, we’ll provide you with a step-by-step guide to help you through the process.
Step-by-Step Guide on Making a Rapid Fire Macro on Logitech G502
Creating a rapid fire macro on your Logitech G502 gaming mouse is a straightforward process. Follow these step-by-step instructions to get started:
-
Install the Logitech G HUB Software: If you haven’t done so already, download and install the Logitech G HUB software from the Logitech website. Once installed, open the software and ensure your Logitech G502 mouse is connected to your computer.
-
Access the Macro Customization Interface: In the Logitech G HUB software, click on your Logitech G502 mouse under the “Devices” tab. This will open up the customization interface for your mouse.
-
Create a New Profile (Optional): If you want to keep your rapid fire macro separate from your other mouse settings, you can create a new profile. Click on the “Profiles” tab and then click on the “+” button to add a new profile. Give your profile a name and click “OK.”
-
Create a New Macro: Click on the “Assignments” tab and then select the button on your Logitech G502 mouse that you want to assign the rapid fire macro to. Click on the “Macro” button to open up the macro editor.
-
Record Your Macro: In the macro editor, click on the “Record” button to start recording your actions. Perform the sequence of actions that you want your rapid fire macro to replicate. For example, if you want to simulate rapid button presses, click the left mouse button rapidly. Once you’re done, click on the “Stop” button to end the recording.
-
Edit Your Macro (Optional): If you want to fine-tune your macro, you can edit it in the macro editor. You can adjust the delay between button presses and customize the repetitions to suit your preferences.
-
Assign Your Macro: Once you’re satisfied with your macro, click on the “Assignments” tab again and select the button on your Logitech G502 mouse. In the dropdown menu, choose “Macro” and select the rapid fire macro you just created from the list of available macros.
-
Save and Test Your Macro: Click on the “Save” button to save your macro settings. Now, it’s time to test your rapid fire macro. Open up a game or application where you want to use the macro and give it a try. The assigned button on your Logitech G502 mouse should now trigger the rapid fire macro.
Congratulations! You’ve successfully created a rapid fire macro on your Logitech G502 gaming mouse. Feel free to experiment with different macros and customization options in the Logitech G HUB software to enhance your gaming experience even further. In the next section, we’ll discuss testing and adjusting your rapid fire macro to ensure optimal performance.
Testing and Adjusting Your Rapid Fire Macro
Once you have created a rapid fire macro on your Logitech G502 gaming mouse, it’s important to test and fine-tune it for optimal performance. Follow these steps to ensure that your macro works flawlessly:
-
Open a Testing Environment: Launch a game or application where you can test your rapid fire macro. It’s best to choose a scenario that allows you to repeatedly perform the action that the macro is assigned to. For example, if your macro is designed to perform rapid weapon fire, choose a shooting range or a game level with easily accessible targets.
-
Test the Macro: Press the assigned button on your Logitech G502 mouse to activate the rapid fire macro. Observe the performance and ensure that the macro executes the desired action accurately and consistently. Pay attention to the timing and repetition rate to ensure it aligns with your intended gameplay style.
-
Adjust Playback Speed: If the macro execution feels too slow or too fast, you can adjust the playback speed in the macro editor. Modify the delay between button presses to fine-tune the timing of each action. Experiment with different delay values until you find the sweet spot that matches your preferences and gameplay requirements.
-
Consider Ergonomics: While testing your rapid fire macro, pay attention to the comfort and ergonomics of using the assigned button. Ensure that the location and accessibility of the button on your Logitech G502 mouse are comfortable during intense gaming sessions. You may need to reassign the macro to a different button if it hampers your hand movements or causes discomfort.
-
Refine and Repeat: Carry out multiple testing sessions and iterate on your macro settings until you achieve the desired performance. Make small adjustments to the delays, repetitions, or even the macro sequence as needed. Continuously refine your rapid fire macro to improve its effectiveness and enhance your gaming experience.
By thoroughly testing and adjusting your rapid fire macro, you can ensure that it performs reliably and seamlessly in your favorite games. Remember to always maintain fair play and abide by the rules of the game or application when using macros. In the next section, we’ll provide you with some valuable tips and tricks to optimize your rapid fire macro even further.
Tips and Tricks for Optimizing Your Rapid Fire Macro
Now that you have created and tested your rapid fire macro on the Logitech G502 gaming mouse, it’s time to explore some tips and tricks to further optimize its performance. Consider the following suggestions to maximize the efficiency and effectiveness of your macro:
-
Experiment with Delay Settings: Fine-tuning the delay between button presses can significantly impact the responsiveness of your rapid fire macro. Test different delay settings to find the optimal balance between speed and accuracy. In some cases, a shorter delay may provide a faster rate of fire, while a slightly longer delay might offer better control without sacrificing too much speed.
-
Refine Repetition Count: Adjusting the number of repetitions in your rapid fire macro can help you achieve the desired rhythm and control. Depending on the game or scenario, a higher repetition count may be necessary for maximum impact, while a lower count might be sufficient for accuracy and conserving ammunition or resources. Experiment with different repetition values to find the right balance.
-
Avoid Overusing Rapid Fire Macros: While rapid fire macros can be advantageous, it’s crucial to use them responsibly and judiciously. Overusing macros, particularly in competitive gaming scenarios, can lead to potential unfair advantages or even rule violations. Make sure to use your rapid fire macro ethically and within the boundaries set by the game or community guidelines.
-
Combine Macros with Other Customizations: The Logitech G502 offers a range of customization options beyond macros. Consider combining your rapid fire macro with other programmable features like DPI settings, button mappings, or lighting profiles. Creating a cohesive and personalized configuration can enhance your overall gaming experience and give you a competitive edge.
-
Share and Learn from the Community: Engage with the Logitech gaming community to discover new macro ideas, techniques, and optimizations. Online forums, gaming communities, and social media platforms often provide a wealth of knowledge and insights from experienced gamers. Share your own creations and gain inspiration from others to continuously improve and expand your macro repertoire.
Remember, optimizing your rapid fire macro is an ongoing process. Continuously evaluate and adapt your macro settings based on your evolving gaming needs and preferences. By implementing these helpful tips and tricks, you can unleash the full potential of your rapid fire macro on the Logitech G502 gaming mouse. Let’s now conclude our guide and put your newfound knowledge into action.
Conclusion
Congratulations! You have learned how to create a rapid fire macro on your Logitech G502 gaming mouse and optimize its performance. With the help of the Logitech G HUB software and a basic understanding of programming concepts, you can now unleash the full potential of your gaming mouse and take your gaming experience to new heights.
By creating a rapid fire macro, you can perform repetitive actions with ease, saving time and effort during intense gameplay. Whether you’re rapidly firing shots in a first-person shooter, executing complex combos in a fighting game, or automating tasks in an MMO, the Logitech G502’s customization options give you a competitive edge.
Remember to adhere to fair play and follow the rules of the games and communities you participate in. Using macros responsibly ensures a level playing field and maintains a positive gaming environment for everyone involved.
As you continue your gaming journey, don’t be afraid to experiment and refine your rapid fire macros. Adjust the delay settings, repetition counts, and combine macros with other customizations to create a personalized and optimized gaming experience. Engage with the Logitech gaming community to share your creations and learn from others, enhancing your skills along the way.
Now that you have the knowledge and tools to create and optimize rapid fire macros on your Logitech G502, it’s time to put your skills to the test. So, fire up your favorite games, unleash the power of your macro, and dominate the virtual battlefield!