Introduction
Welcome to our guide on how to program the buttons on your Logitech G502 mouse! The Logitech G502 is a highly customizable gaming mouse that comes with a range of programmable buttons, allowing you to optimize your gaming experience. Whether you’re a casual gamer or a seasoned pro, learning how to program these buttons can give you a competitive edge and improve your overall gameplay.
Understanding how to harness the power of the Logitech G502 requires some knowledge of its capabilities and the software needed to configure it. In this guide, we will walk you through the process of setting up the Logitech G HUB software, programming the buttons, assigning macros, customizing DPI settings, and saving profiles.
By the end of this guide, you’ll have a deep understanding of how to unleash the full potential of your Logitech G502 mouse and unlock new possibilities in your gaming adventures. So without further ado, let’s dive into the world of Logitech G502 customization!
Understanding the Logitech G502 Mouse
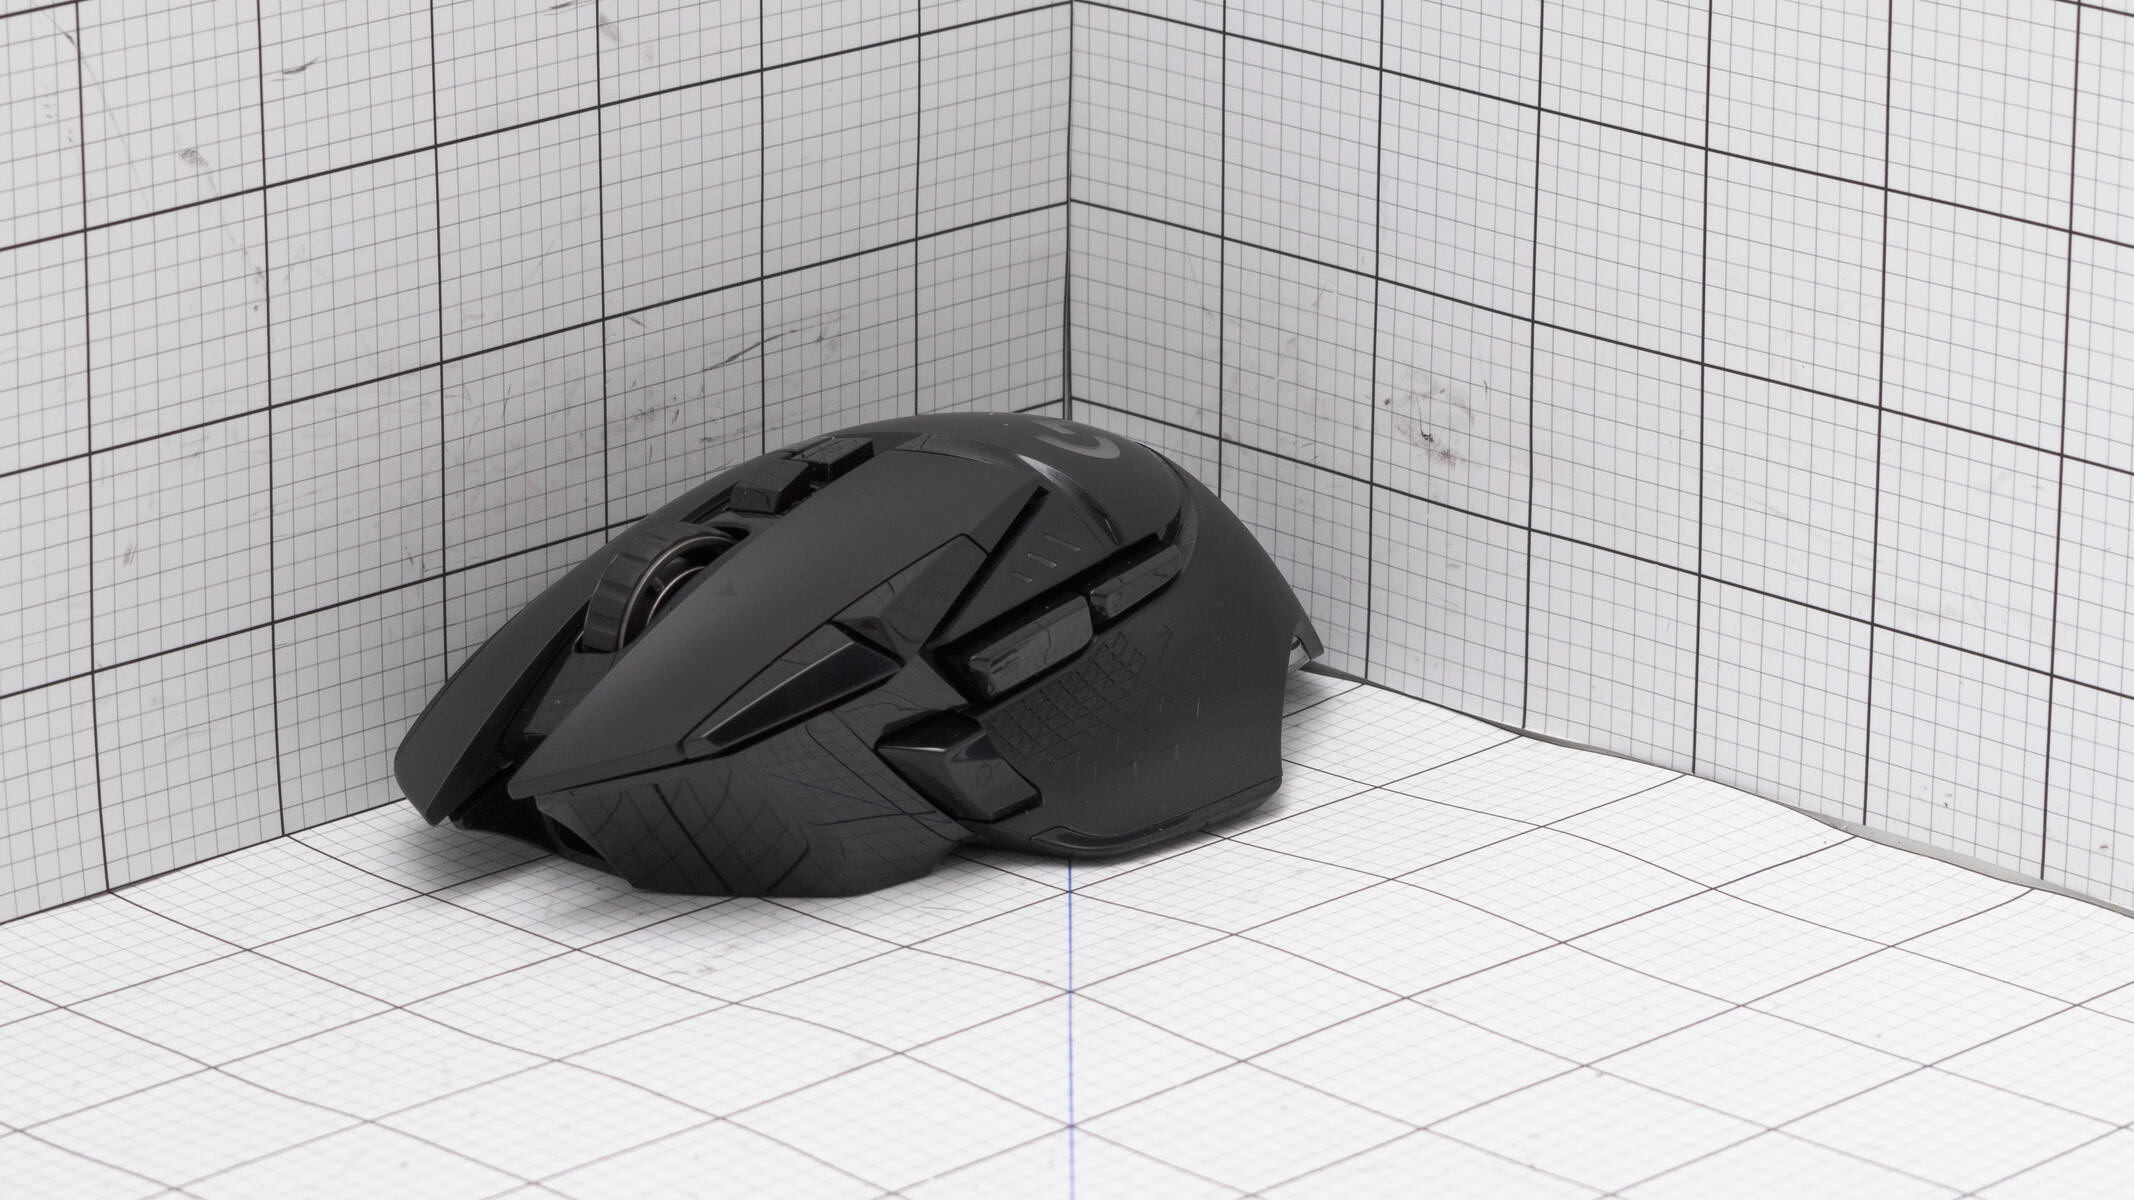
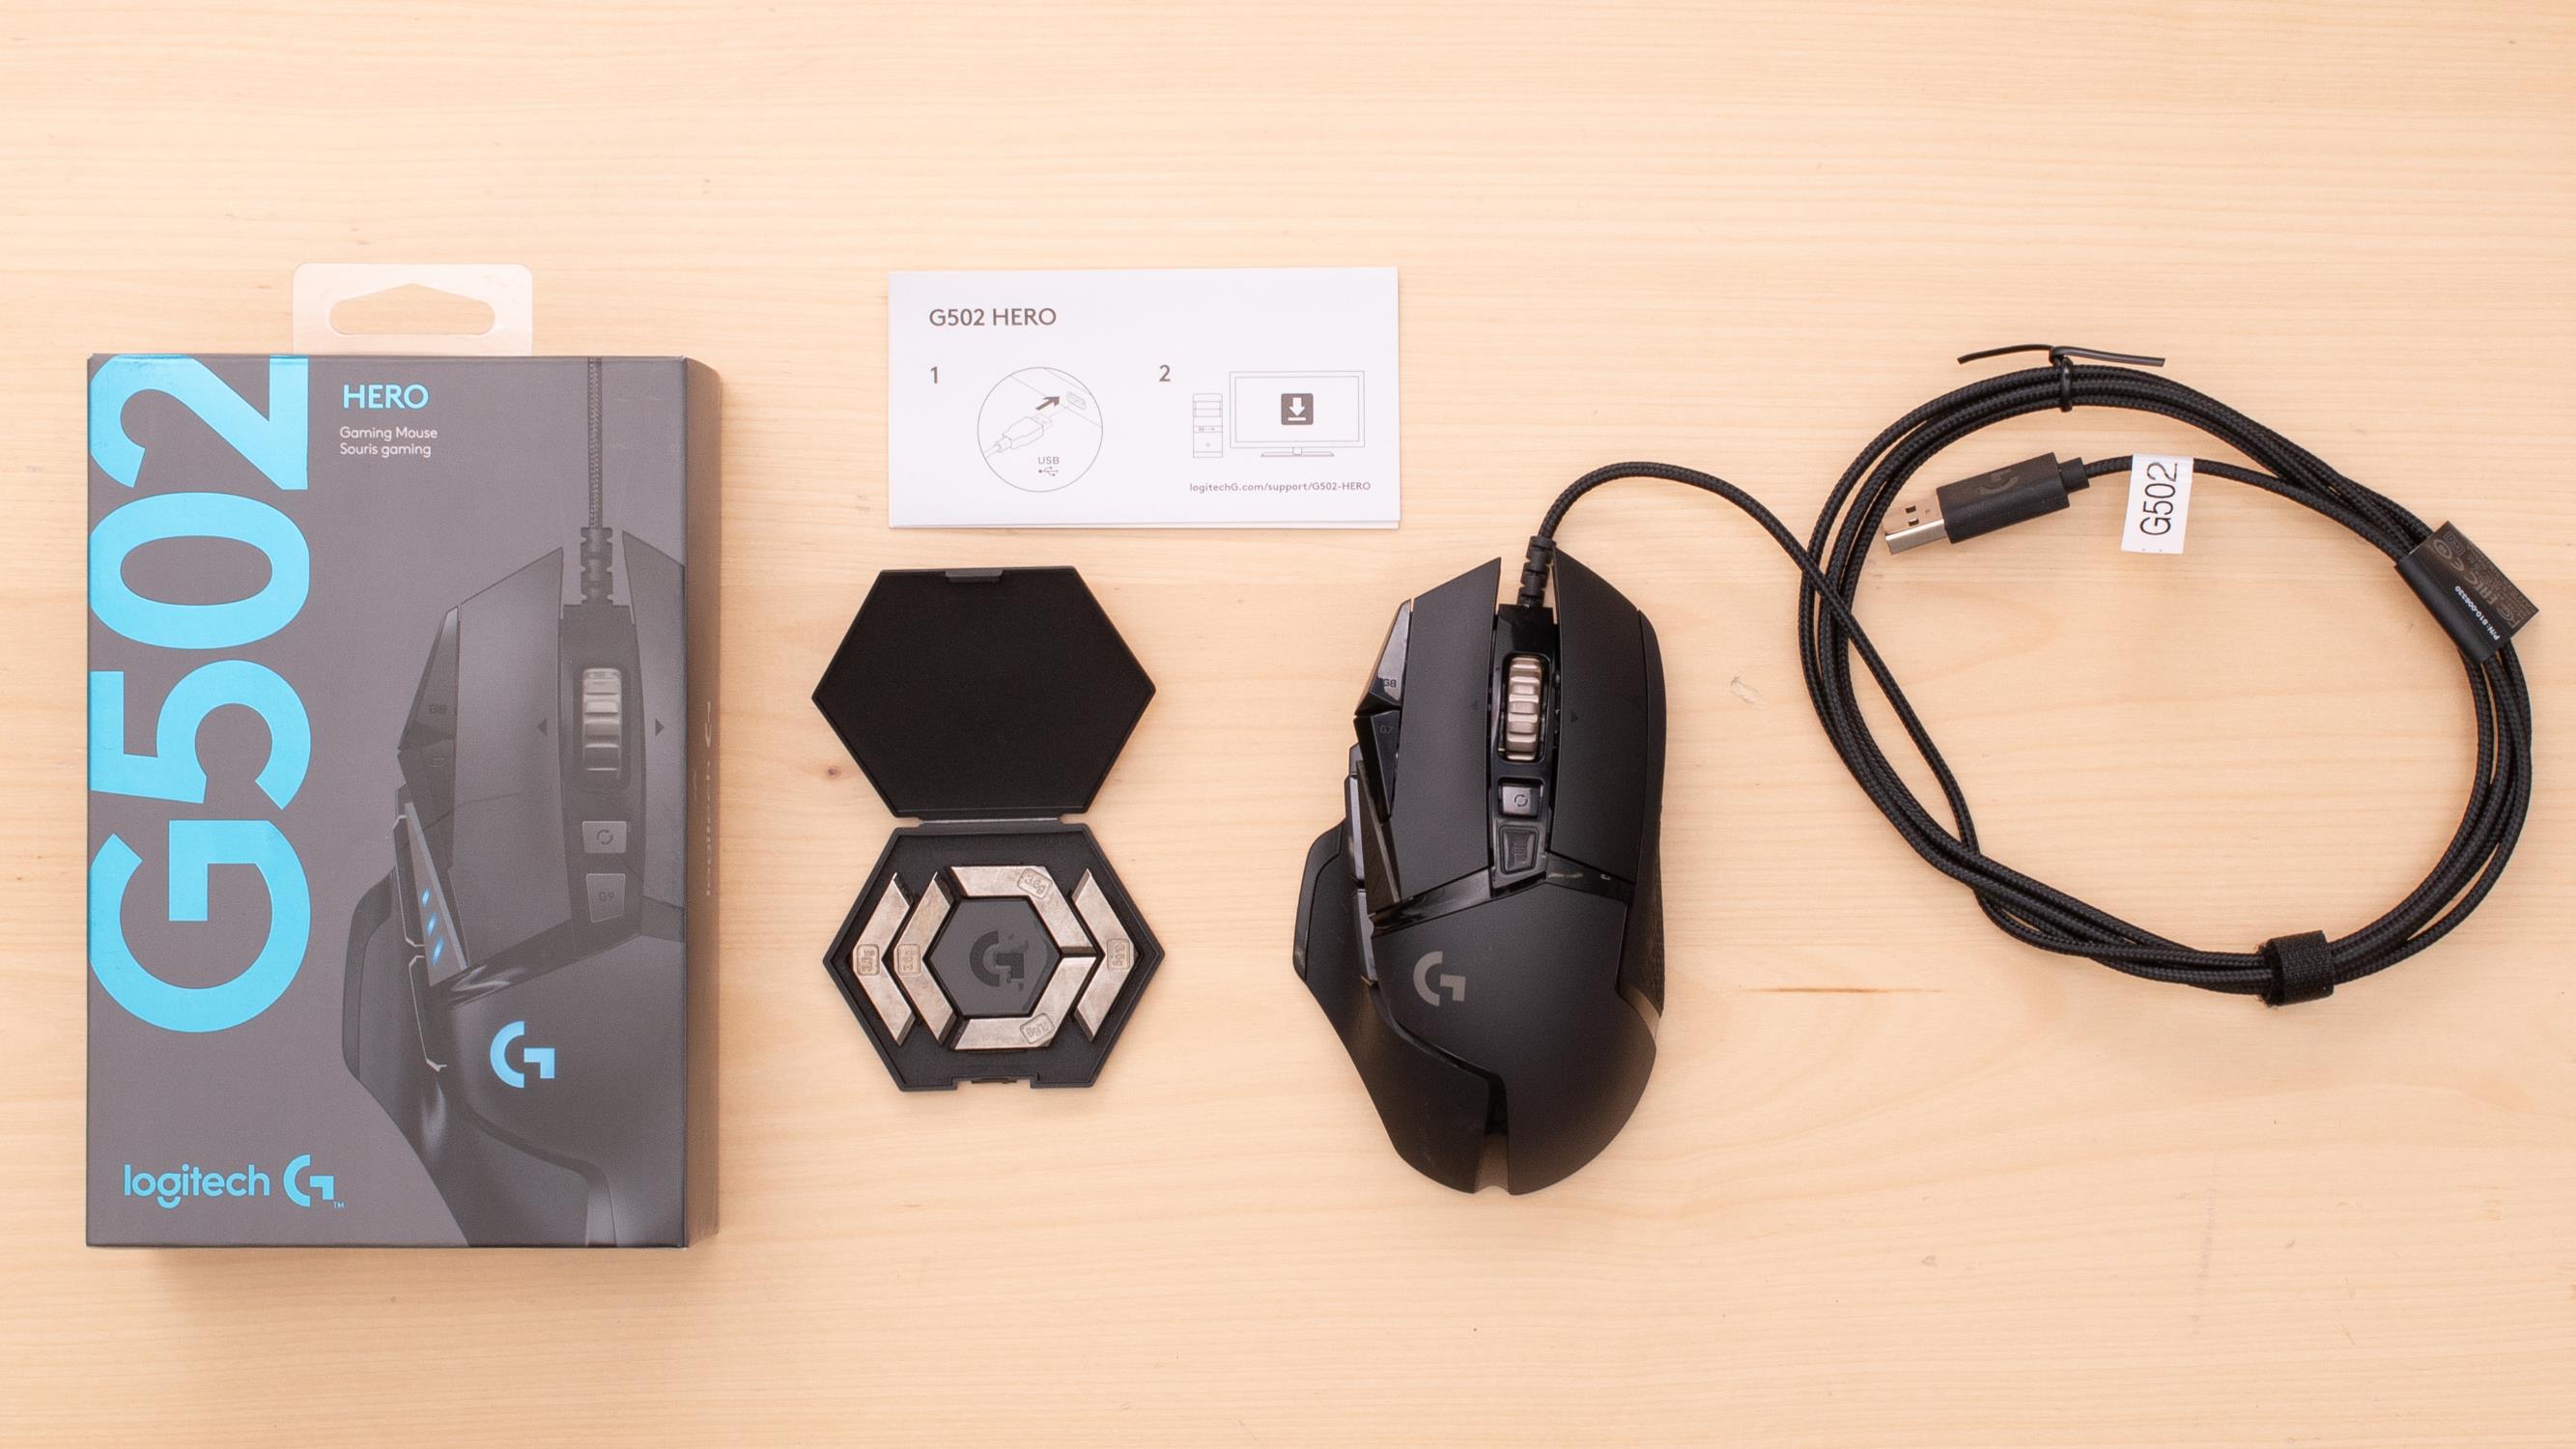
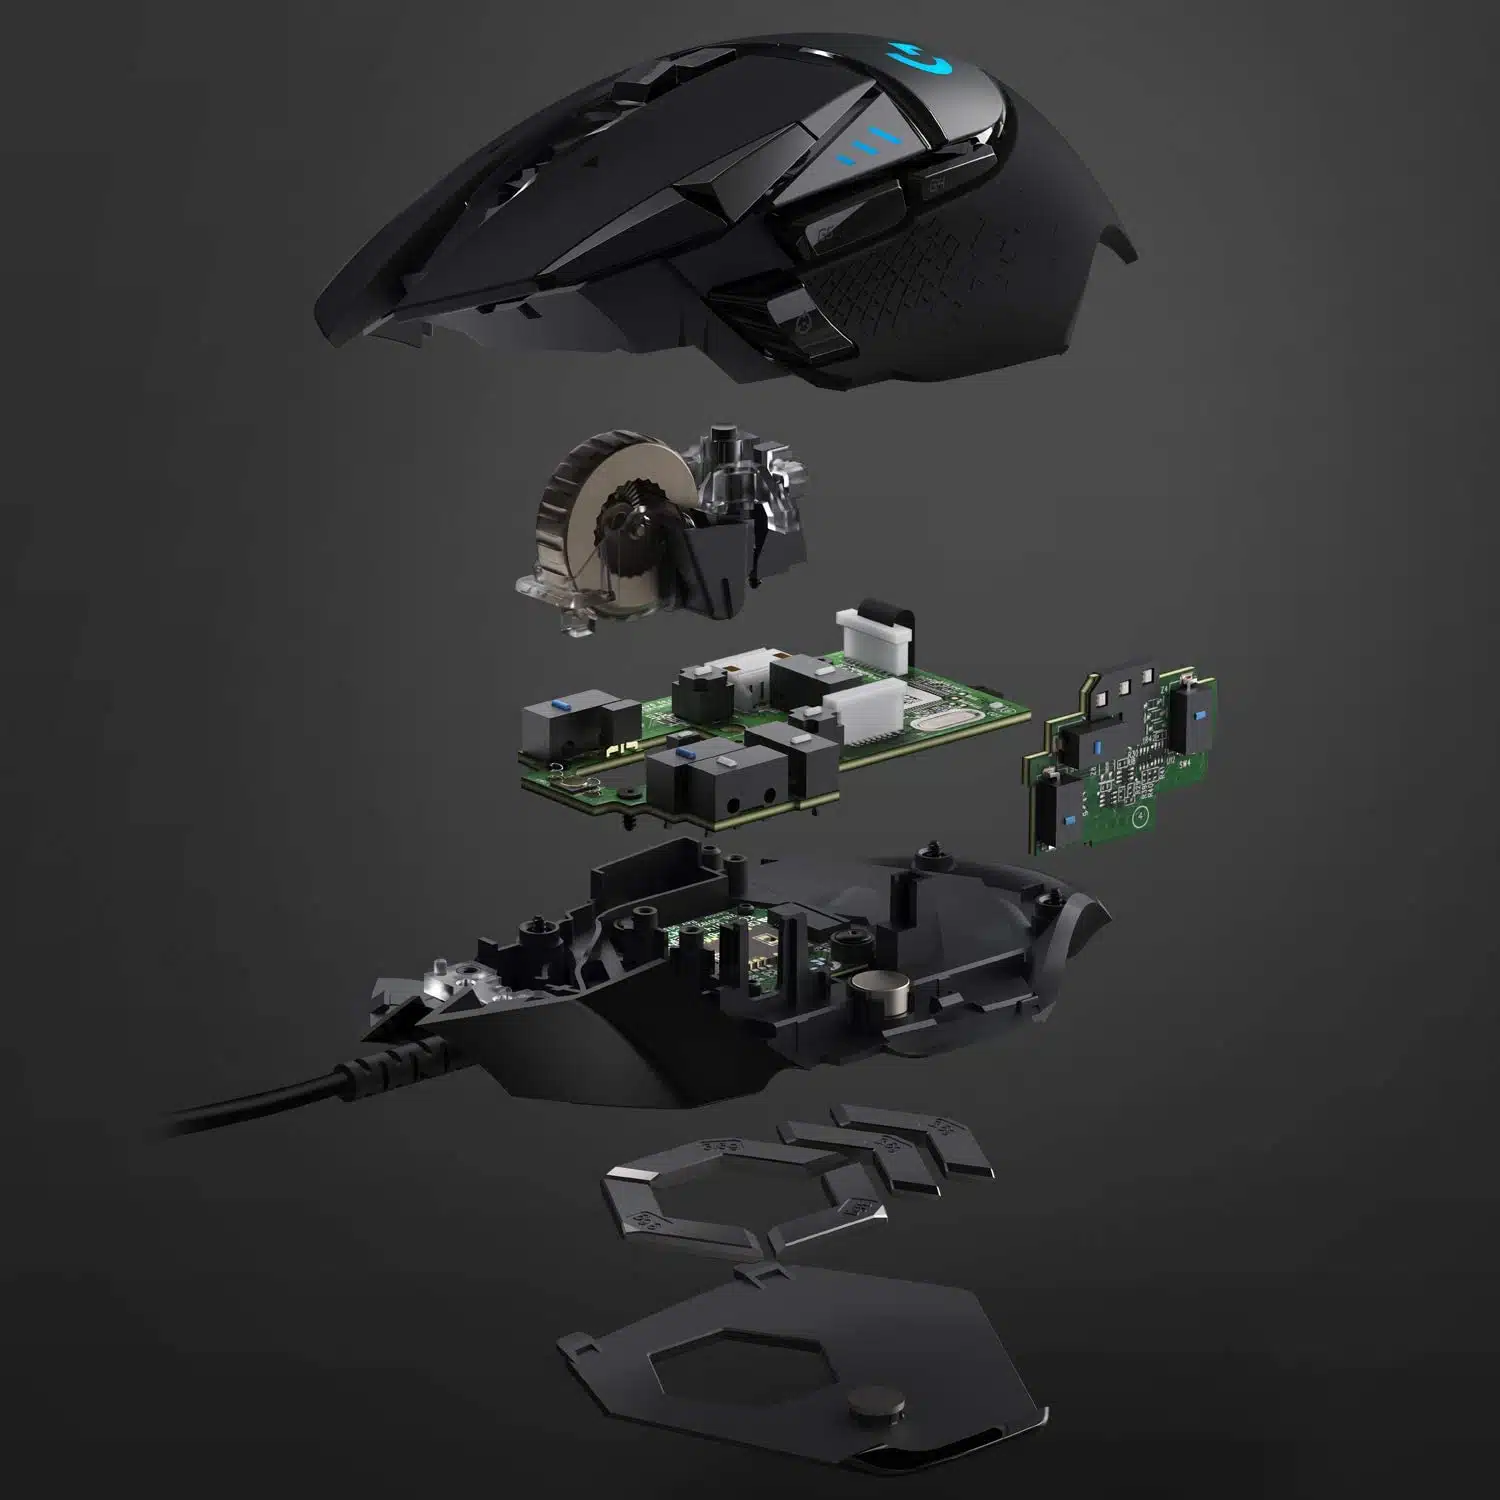
The Logitech G502 is a high-performance gaming mouse designed with precision and customization in mind. It features a sleek and ergonomic design that fits comfortably in your hand, allowing for long gaming sessions without discomfort. The mouse is equipped with a Pixart PMW3366 optical sensor, offering exceptional tracking accuracy and reliability.
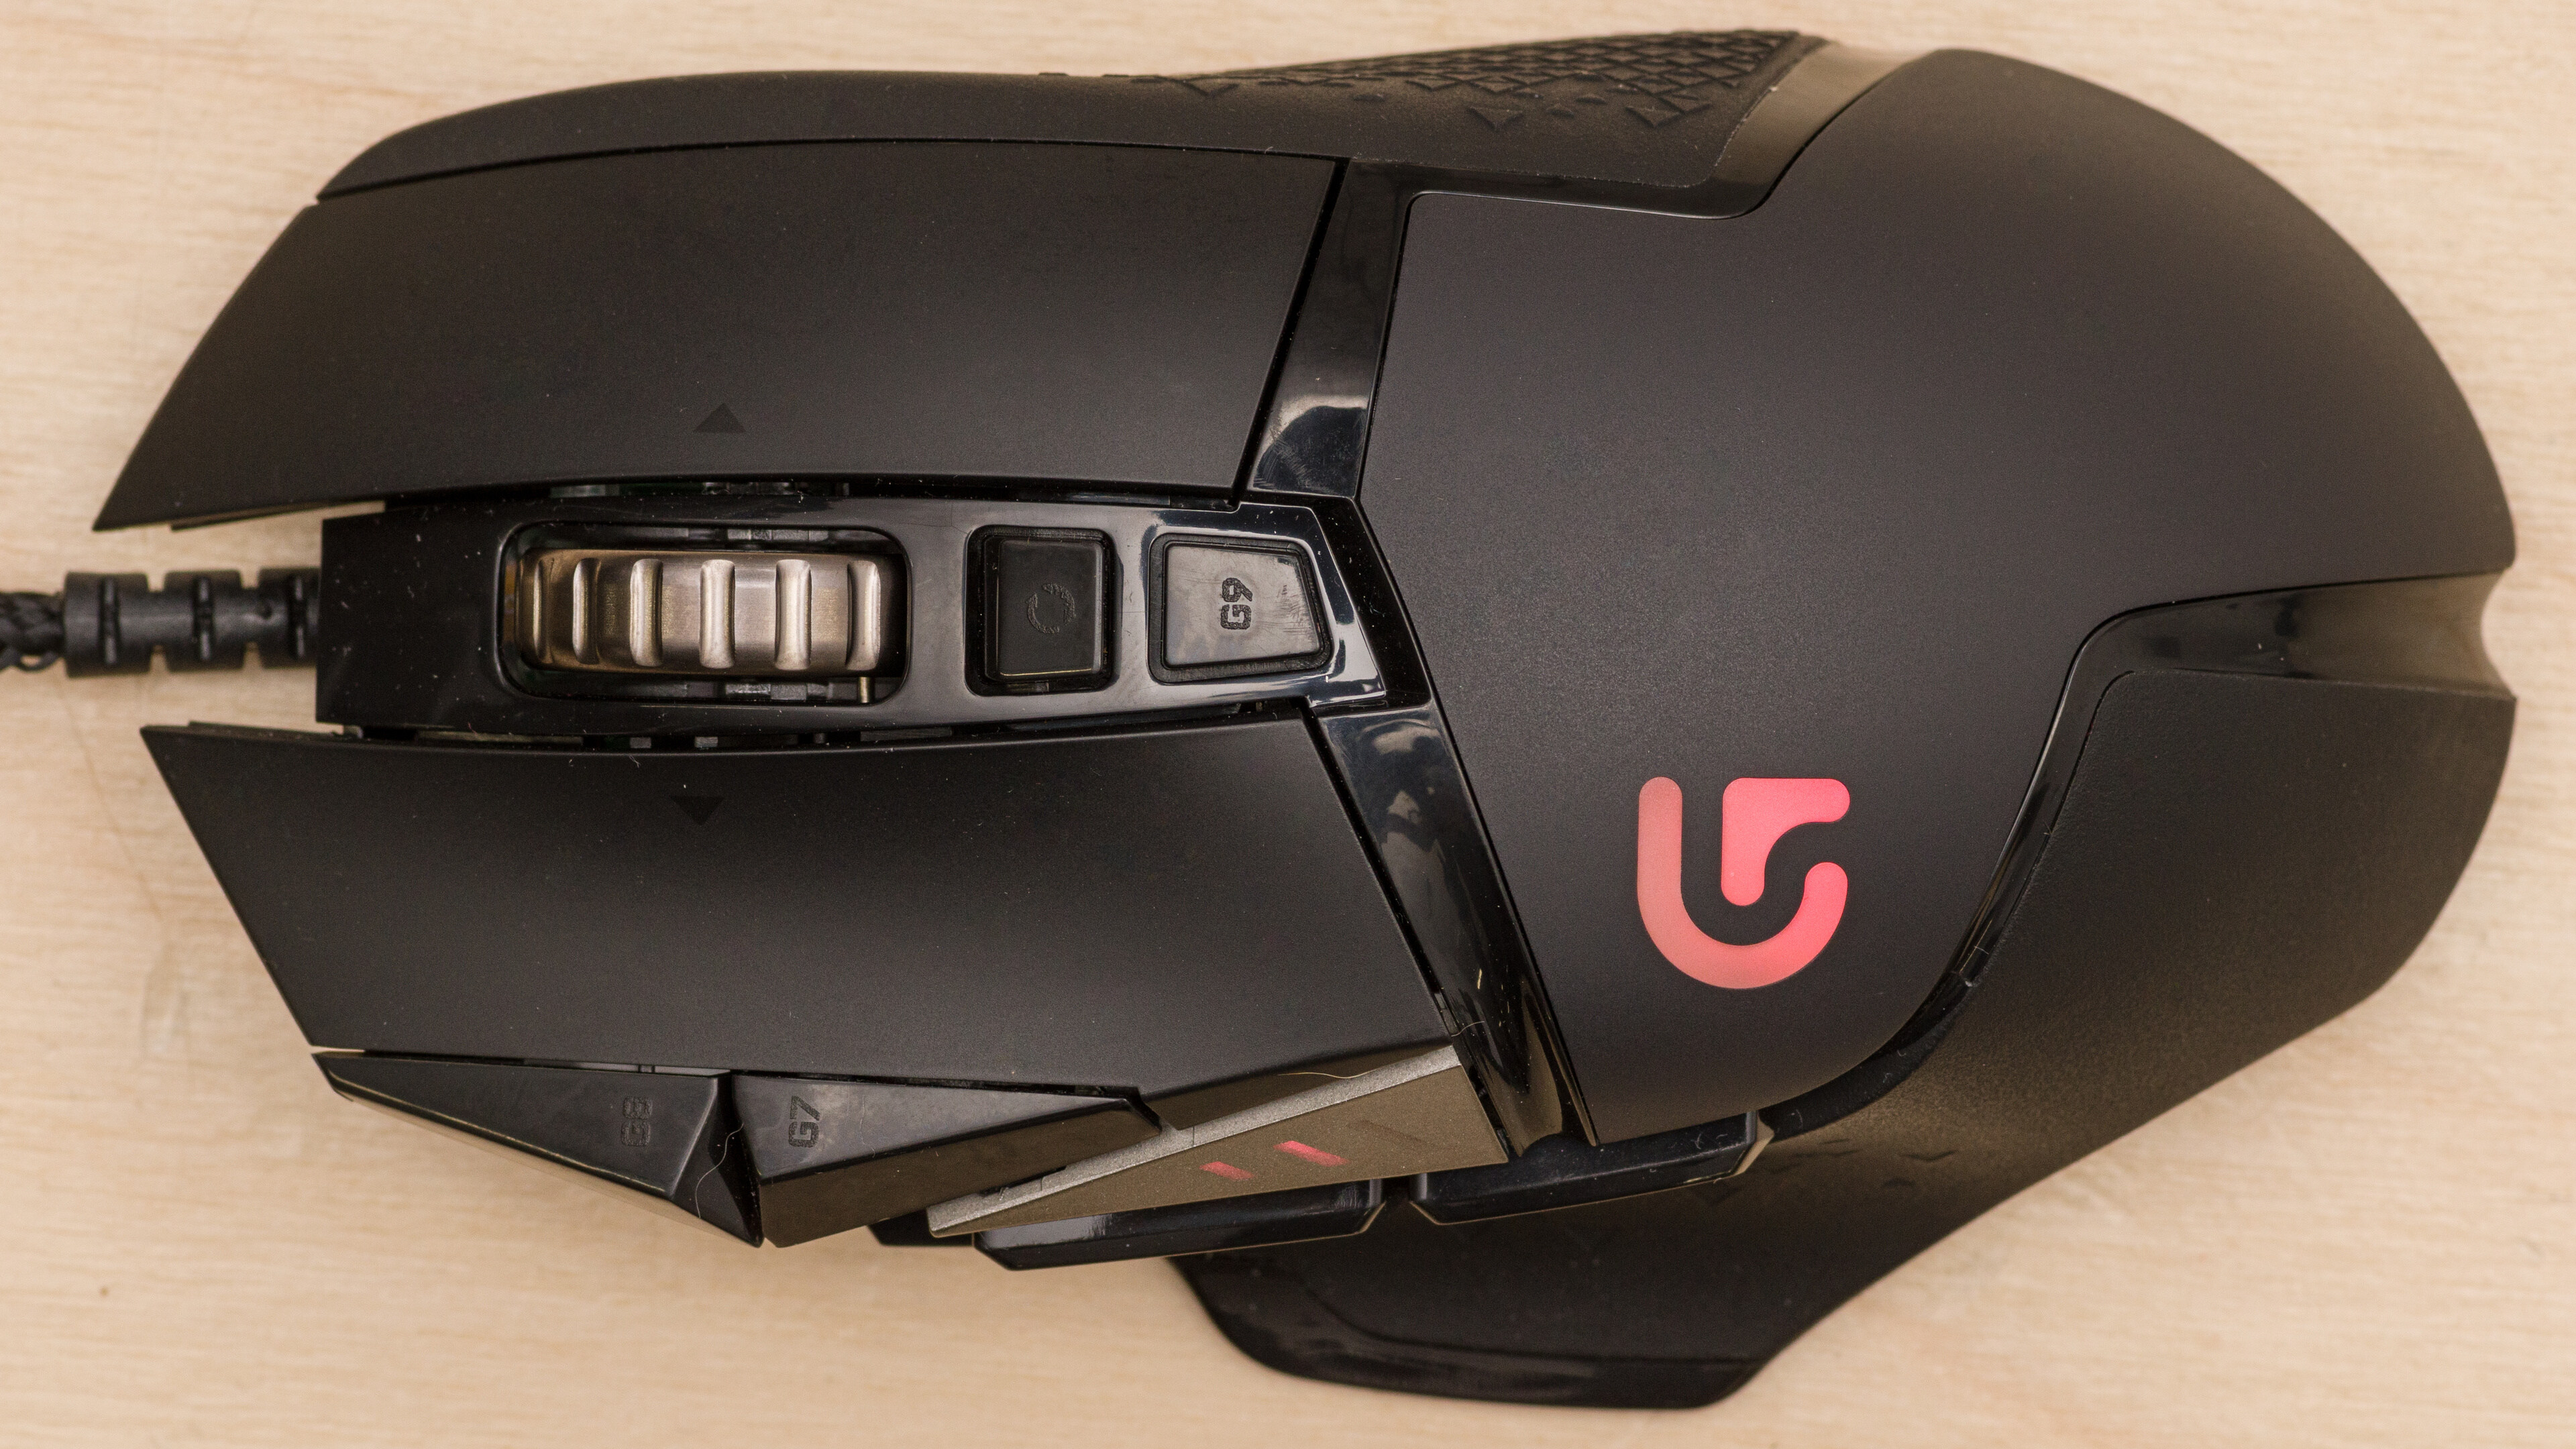
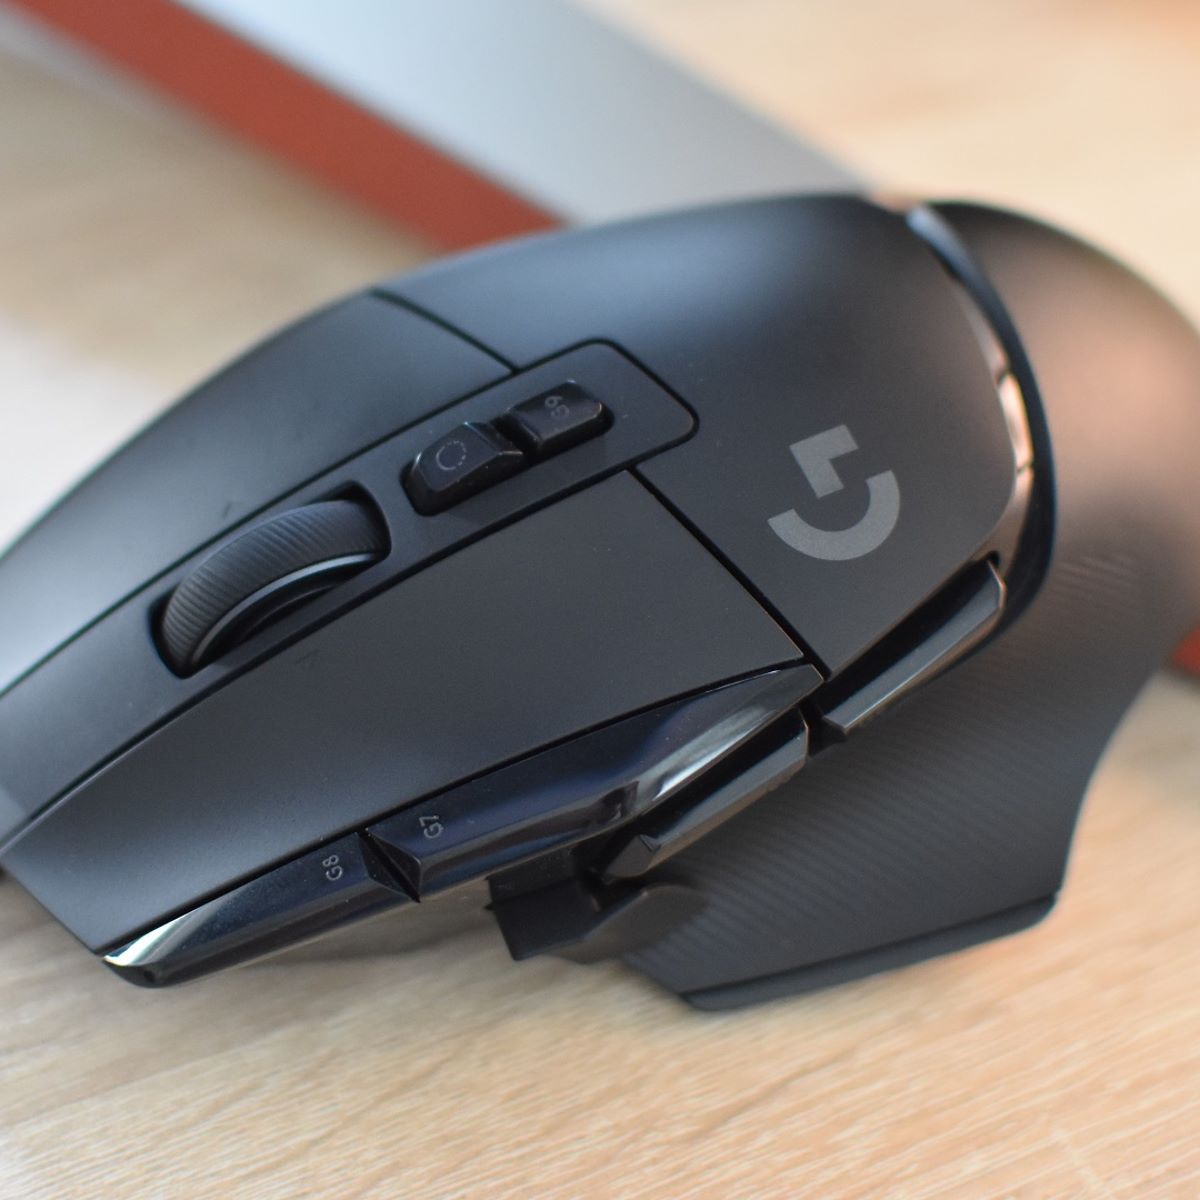
One of the standout features of the Logitech G502 is its customizable buttons. It boasts 11 programmable buttons strategically placed for easy access and convenience. These buttons can be assigned various functions, allowing you to execute complex commands with a single click. Whether it’s executing a macro, switching weapons, or performing specific in-game actions, the programmable buttons on the Logitech G502 give you the ultimate control.
To ensure fluid and precise movement during gameplay, the Logitech G502 offers adjustable DPI (dots per inch) settings. With DPI ranging from 200 to 16,000, you can customize the sensitivity of the mouse to suit your preferences and gaming style. Higher DPI settings are ideal for fast-paced games that require quick reflexes, while lower DPI settings offer more precision for tasks that demand accuracy.
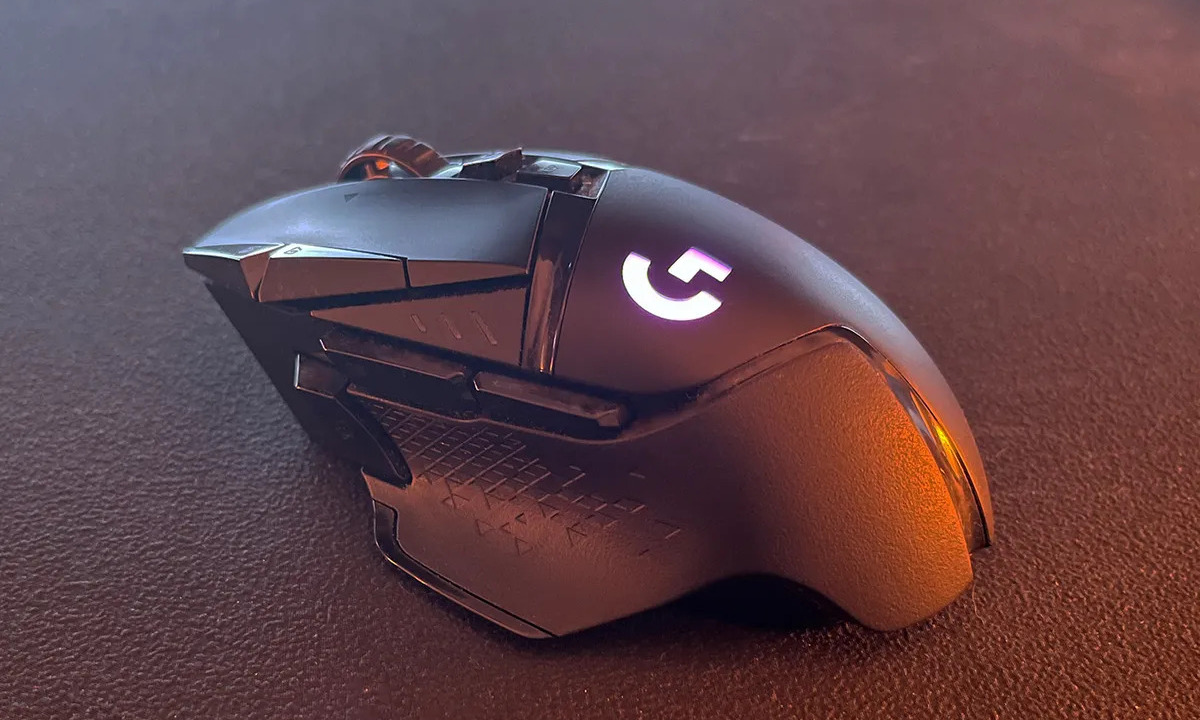
Another noteworthy feature of the Logitech G502 is its customizable lighting options. The mouse features RGB lighting that can be personalized to match your gaming setup or simply to add a touch of flair. The Logitech G HUB software allows you to choose from a wide range of colors and effects to create a visually stunning and immersive gaming environment.
Understanding the capabilities and features of the Logitech G502 mouse is crucial when it comes to maximizing its potential. In the following sections, we will guide you through the process of installing and utilizing the Logitech G HUB software to program the buttons, assign macros, customize DPI settings, and save profiles. So let’s get started with the software installation!
Software Installation
Before you can start programming the buttons on your Logitech G502 mouse, you’ll need to install the Logitech G HUB software. This software serves as the control center for customizing your mouse and unlocking its full potential. Here’s how you can get started:
- Start by visiting the Logitech website and navigate to the Support or Downloads section.
- Search for Logitech G HUB software and select the appropriate version for your operating system.
- Download the software installer and double-click on it to begin the installation process.
- Follow the on-screen instructions to complete the installation. Make sure to read and accept the terms and conditions.
- Once the installation is complete, launch the Logitech G HUB software.
- Connect your Logitech G502 mouse to your computer using the provided USB cable or the wireless receiver, if applicable.
- The Logitech G HUB software should detect your mouse automatically. If not, click on the “Add Devices” button and follow the prompts to connect your mouse.
- Once your mouse is connected, you can begin customizing its settings and programming the buttons. The software provides an intuitive interface that allows you to easily navigate through the various customization options.
It’s important to keep your Logitech G HUB software up to date to ensure compatibility with the latest games and features. Check for updates regularly or enable automatic updates within the software to stay current.
With the Logitech G HUB software successfully installed on your computer, you’re now ready to take control of your Logitech G502 mouse and tailor it to your specific gaming needs. In the next section, we will explore how to program the buttons and assign macros using the software. Let’s dive in!
Programming Buttons with Logitech G HUB
Once you have installed the Logitech G HUB software and connected your Logitech G502 mouse, you can begin programming the buttons to suit your gaming preferences. The Logitech G HUB software offers a user-friendly interface that makes customizing the buttons a breeze. Here’s how you can do it:
- Open the Logitech G HUB software on your computer.
- On the home screen, you will see your connected Logitech G502 mouse listed. Click on it to access its settings.
- In the settings menu, you will find a tab labeled “Buttons” or “Customize Buttons.” Click on it to proceed.
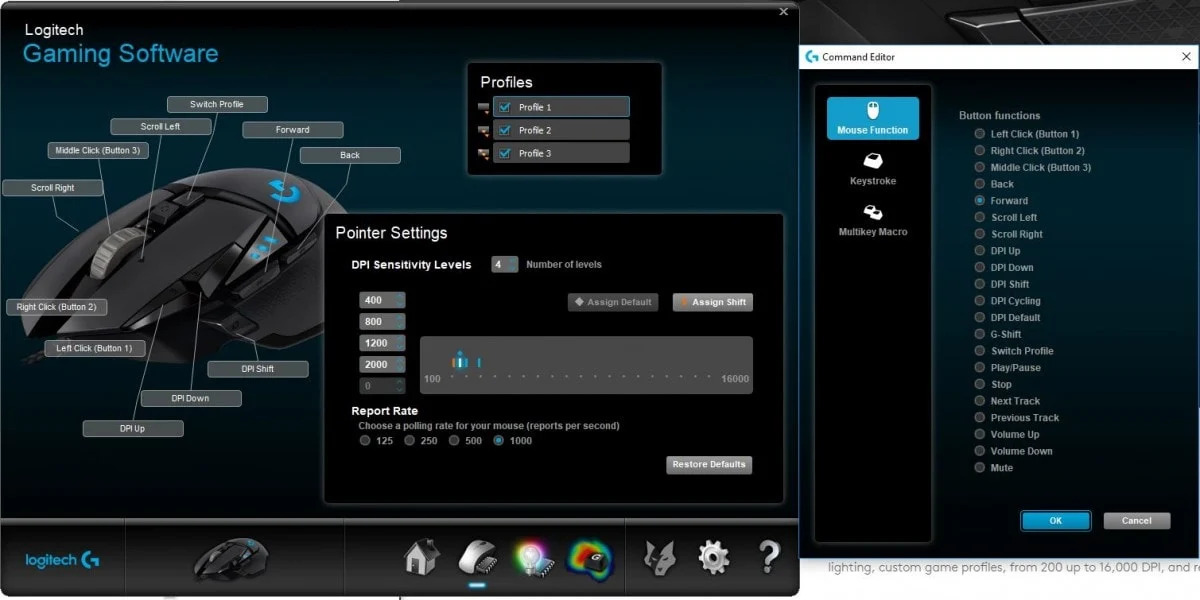
- A visual representation of your Logitech G502 mouse will appear, showing all the programmable buttons.
- To program a button, simply click on it in the visual representation.
- In the button settings menu, you can assign various functions to the selected button. This includes keyboard commands, mouse clicks, media controls, and even launching applications.
- You can also assign macros to buttons, which are sequences of commands or actions that can be executed with a single click. To assign a macro, click on the desired button and choose “Assign Macro.”
- In the macro settings, you can record a macro, import an existing one, or create a new one from scratch. This allows you to execute complex commands or perform repetitive tasks with ease.
- After assigning functions or macros to the buttons, make sure to save your settings to apply the changes to your Logitech G502 mouse.
- Test out your newly programmed buttons in your favorite games or applications to ensure they are working as intended.
Remember, customization is key when it comes to getting the most out of your Logitech G502 mouse. Experiment with different button configurations and functions to find what works best for your gaming style and preferences.
With the Logitech G HUB software, you have complete control over the programming of your Logitech G502 mouse. In the next section, we will explore how to assign macros to buttons and unleash the full power of your mouse. Let’s continue!
Assigning Macros to Buttons
One of the key features of the Logitech G502 mouse is its ability to assign macros to buttons. Macros allow you to create sequences of commands or actions that can be executed with a single click. This can be incredibly useful for automating complex tasks or executing specific in-game actions quickly. Here’s how you can assign macros to buttons using the Logitech G HUB software:
- Open the Logitech G HUB software on your computer and navigate to the button customization settings for your Logitech G502 mouse.
- Select the desired button you want to assign a macro to.
- Click on the “Assign Macro” option to open the macro settings.
- In the macro settings, you have several options. You can choose to record a new macro, import an existing one, or create a new macro from scratch.
- To record a new macro, click on the “Record” button and perform the actions or commands you want to include in the macro. Click “Stop” when you’re done recording.
- If you want to import an existing macro, browse your computer for the file and select it.
- If you prefer to create a new macro from scratch, click on the “New Macro” button and manually input the commands or actions.
- Once you have set up your macro, you can assign it to the selected button.
- Save your settings to apply the changes to your Logitech G502 mouse.
- Test out the assigned macro by pressing the button during your gameplay or application usage.
By assigning macros to buttons, you can streamline your gaming experience and gain an advantage in competitive gameplay. Complex button combinations or repetitive tasks can be executed effortlessly, allowing you to focus on your gameplay and react swiftly.
Experiment with different macros and their placements on the Logitech G502 mouse to find the optimal configuration that suits your gaming needs. Remember to save your macros and button settings to ensure they are available whenever you need them.
In the next section, we will explore how to customize the DPI settings of your Logitech G502 mouse to enhance precision and responsiveness. Let’s move on!
Customizing DPI Settings
The Logitech G502 mouse offers customizable DPI (dots per inch) settings, allowing you to adjust the sensitivity and responsiveness of the mouse to match your gaming preferences. Whether you need rapid cursor movement or pixel-perfect precision, customizing the DPI settings can greatly enhance your gaming experience. Here’s how you can do it:
- Open the Logitech G HUB software on your computer and navigate to the settings for your Logitech G502 mouse.
- Look for the “DPI” or “Sensitivity” section in the software.
- Here, you will find a slider or numerical input box that allows you to adjust the DPI settings.
- Drag the slider or enter a specific value to increase or decrease the DPI.
- The Logitech G502 mouse typically has multiple DPI presets. Experiment with different DPI levels to find the one that suits your gaming style.
- If needed, you can also customize specific DPI levels for different situations, such as one DPI setting for regular desktop usage and another for gaming.
- Some Logitech G502 models may have dedicated DPI buttons on the mouse itself, allowing you to switch between preset DPI profiles on the fly.
- Test out the DPI settings in your favorite games or applications to find the optimal sensitivity.
- Save your DPI settings to apply them to your Logitech G502 mouse.
Customizing the DPI settings allows you to adapt your mouse sensitivity to various gaming scenarios. Lower DPI settings are beneficial for tasks that require precision and accuracy, such as sniping in FPS games, while higher DPI settings are useful for fast-paced and action-packed games that demand quick reflexes.
Take some time to experiment with different DPI levels and find the setting that feels the most comfortable and natural for your gameplay. It may take some trial and error, but finding the sweet spot can greatly impact your gaming performance.
In the next section, we will explore how to save and switch between different profiles on your Logitech G502 mouse. Let’s dive in!
Saving Profiles
The Logitech G502 mouse allows you to save and switch between different profiles, ensuring that your custom settings are always at your fingertips. Profiles let you have different button configurations, DPI settings, and macros for specific games or applications. Here’s how you can save and manage profiles on your Logitech G502 mouse:
- Open the Logitech G HUB software and navigate to the settings for your Logitech G502 mouse.
- Look for the “Profiles” or “Profile Management” section.
- Click on the “Add Profile” button to create a new profile.
- Give your profile a meaningful name, such as the game or application it is tailored for.
- Customize the settings for the profile, including button assignments, DPI settings, and macros.
- Save the profile, and it will be listed alongside the default profile.
- To switch between profiles, click on the desired profile in the software, and it will automatically apply the associated settings to your Logitech G502 mouse.
- You can also set up automatic profile switching based on specific games or applications. This allows the Logitech G HUB software to detect the running program and switch to the corresponding profile automatically.
Saving profiles ensures that your customized settings are readily available whenever you launch a specific game or application. It eliminates the need to reconfigure your Logitech G502 mouse every time you switch between different tasks.
Managing profiles also allows you to create different configurations for different games or applications. This flexibility ensures that your Logitech G502 mouse is optimized for each specific scenario, giving you a competitive edge in various gaming environments.
Remember to save your profiles regularly and back them up if necessary. This way, you can easily restore your settings if you switch to a new device or reinstall the Logitech G HUB software.
In the next section, we will provide some troubleshooting tips to address common issues that you may encounter when using the Logitech G502 mouse. Let’s proceed!
Troubleshooting Tips
While the Logitech G502 mouse is known for its reliability and performance, you may encounter some issues or difficulties from time to time. Here are some troubleshooting tips to help you address common problems:
1. Ensure proper connection: Make sure that your Logitech G502 mouse is securely connected to your computer. If you are using a wireless connection, ensure that the receiver is properly plugged in and within range.
2. Update the software: Check for any available updates for the Logitech G HUB software. Keeping it up to date ensures compatibility with the latest games and features.
3. Restart the software and mouse: Sometimes, a simple restart can resolve temporary issues. Close the Logitech G HUB software, disconnect the mouse, and reconnect it before relaunching the software.
4. Check for conflicting software: Some software or applications may interfere with the functionality of the Logitech G502 mouse. Temporarily disable or close any programs that might conflict with the mouse settings.
5. Reset the mouse: If you are experiencing persistent issues, you can try resetting the mouse to its default settings. Refer to the instruction manual or Logitech support for guidance on how to perform a reset.
6. Check for hardware issues: Ensure that the mouse buttons, scroll wheel, and other hardware components are clean and free from debris. Clean them gently with a soft, lint-free cloth to remove any dirt or dust that might affect performance.
7. Contact Logitech support: If you have tried the above troubleshooting steps and are still experiencing issues with your Logitech G502 mouse, reach out to Logitech support for further assistance. They can provide you with specific solutions or guide you through additional troubleshooting steps.
Remember, it’s always a good idea to refer to the Logitech G502 mouse instruction manual or visit the Logitech support website for detailed troubleshooting instructions that are specific to your model.
With these troubleshooting tips, you can overcome common issues and ensure a smooth and enjoyable gaming experience with your Logitech G502 mouse.
In the next section, we will wrap up our guide with a summary and final thoughts. Let’s conclude!
Conclusion
The Logitech G502 is a powerful gaming mouse that offers a wide range of customization options to enhance your gaming experience. By programming the buttons, assigning macros, customizing DPI settings, and saving profiles, you can unleash the full potential of the Logitech G502 and tailor it to match your unique gaming style.
The Logitech G HUB software provides an intuitive interface for configuring your mouse settings. With just a few clicks, you can program the buttons to perform specific actions, create macros for complex tasks, adjust DPI settings for optimal sensitivity, and save multiple profiles for different games or applications.
Remember to regularly update the Logitech G HUB software to stay up to date with the latest features and compatibility. Additionally, make sure to properly connect and clean your Logitech G502 mouse to maintain its performance and longevity.
With its ergonomic design, customizable buttons, and precise tracking, the Logitech G502 is a top choice for gamers seeking a competitive edge. Taking advantage of its customizable features allows you to fine-tune your mouse settings to suit your gaming preferences and maximize your gaming performance.
Whether you’re a casual gamer or an esports enthusiast, the Logitech G502 mouse offers a highly customizable and immersive gaming experience. So grab your mouse, dive into the Logitech G HUB software, and unleash your gaming potential with the Logitech G502!