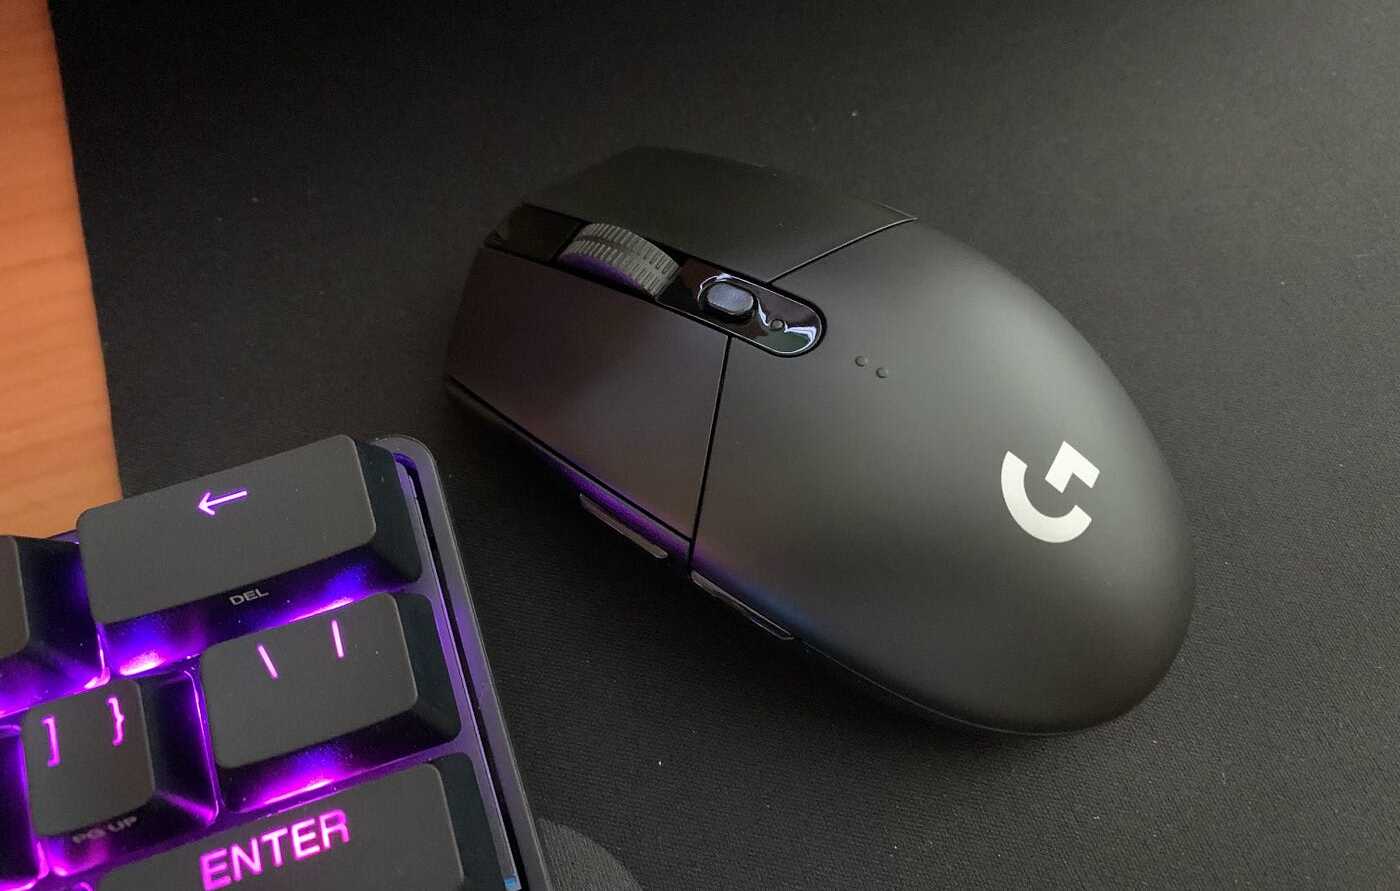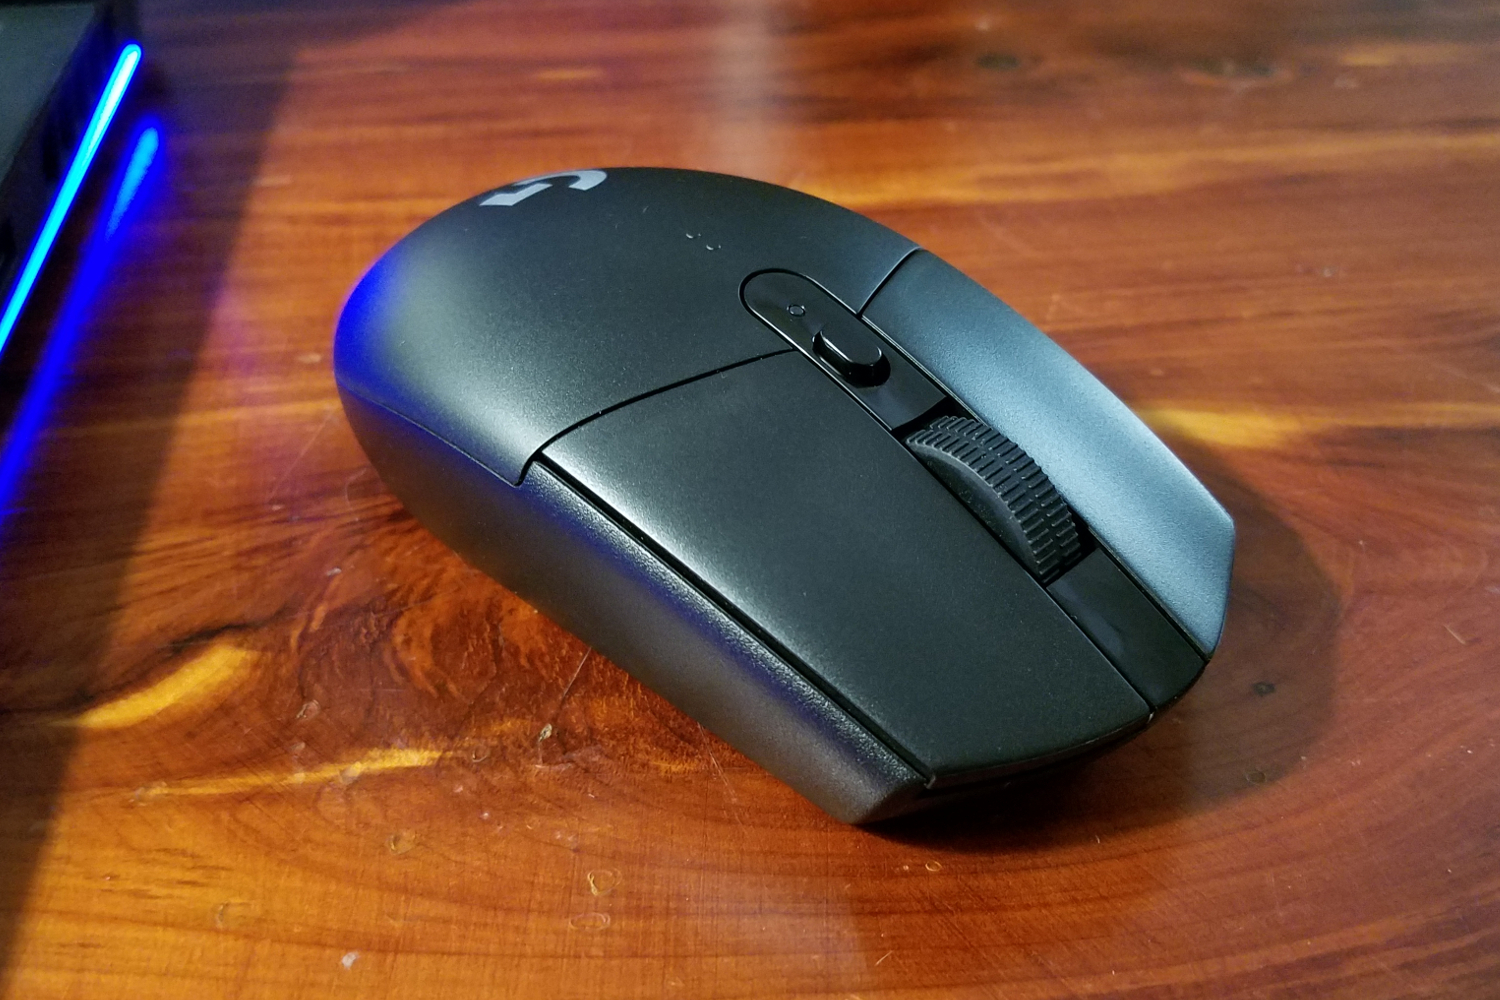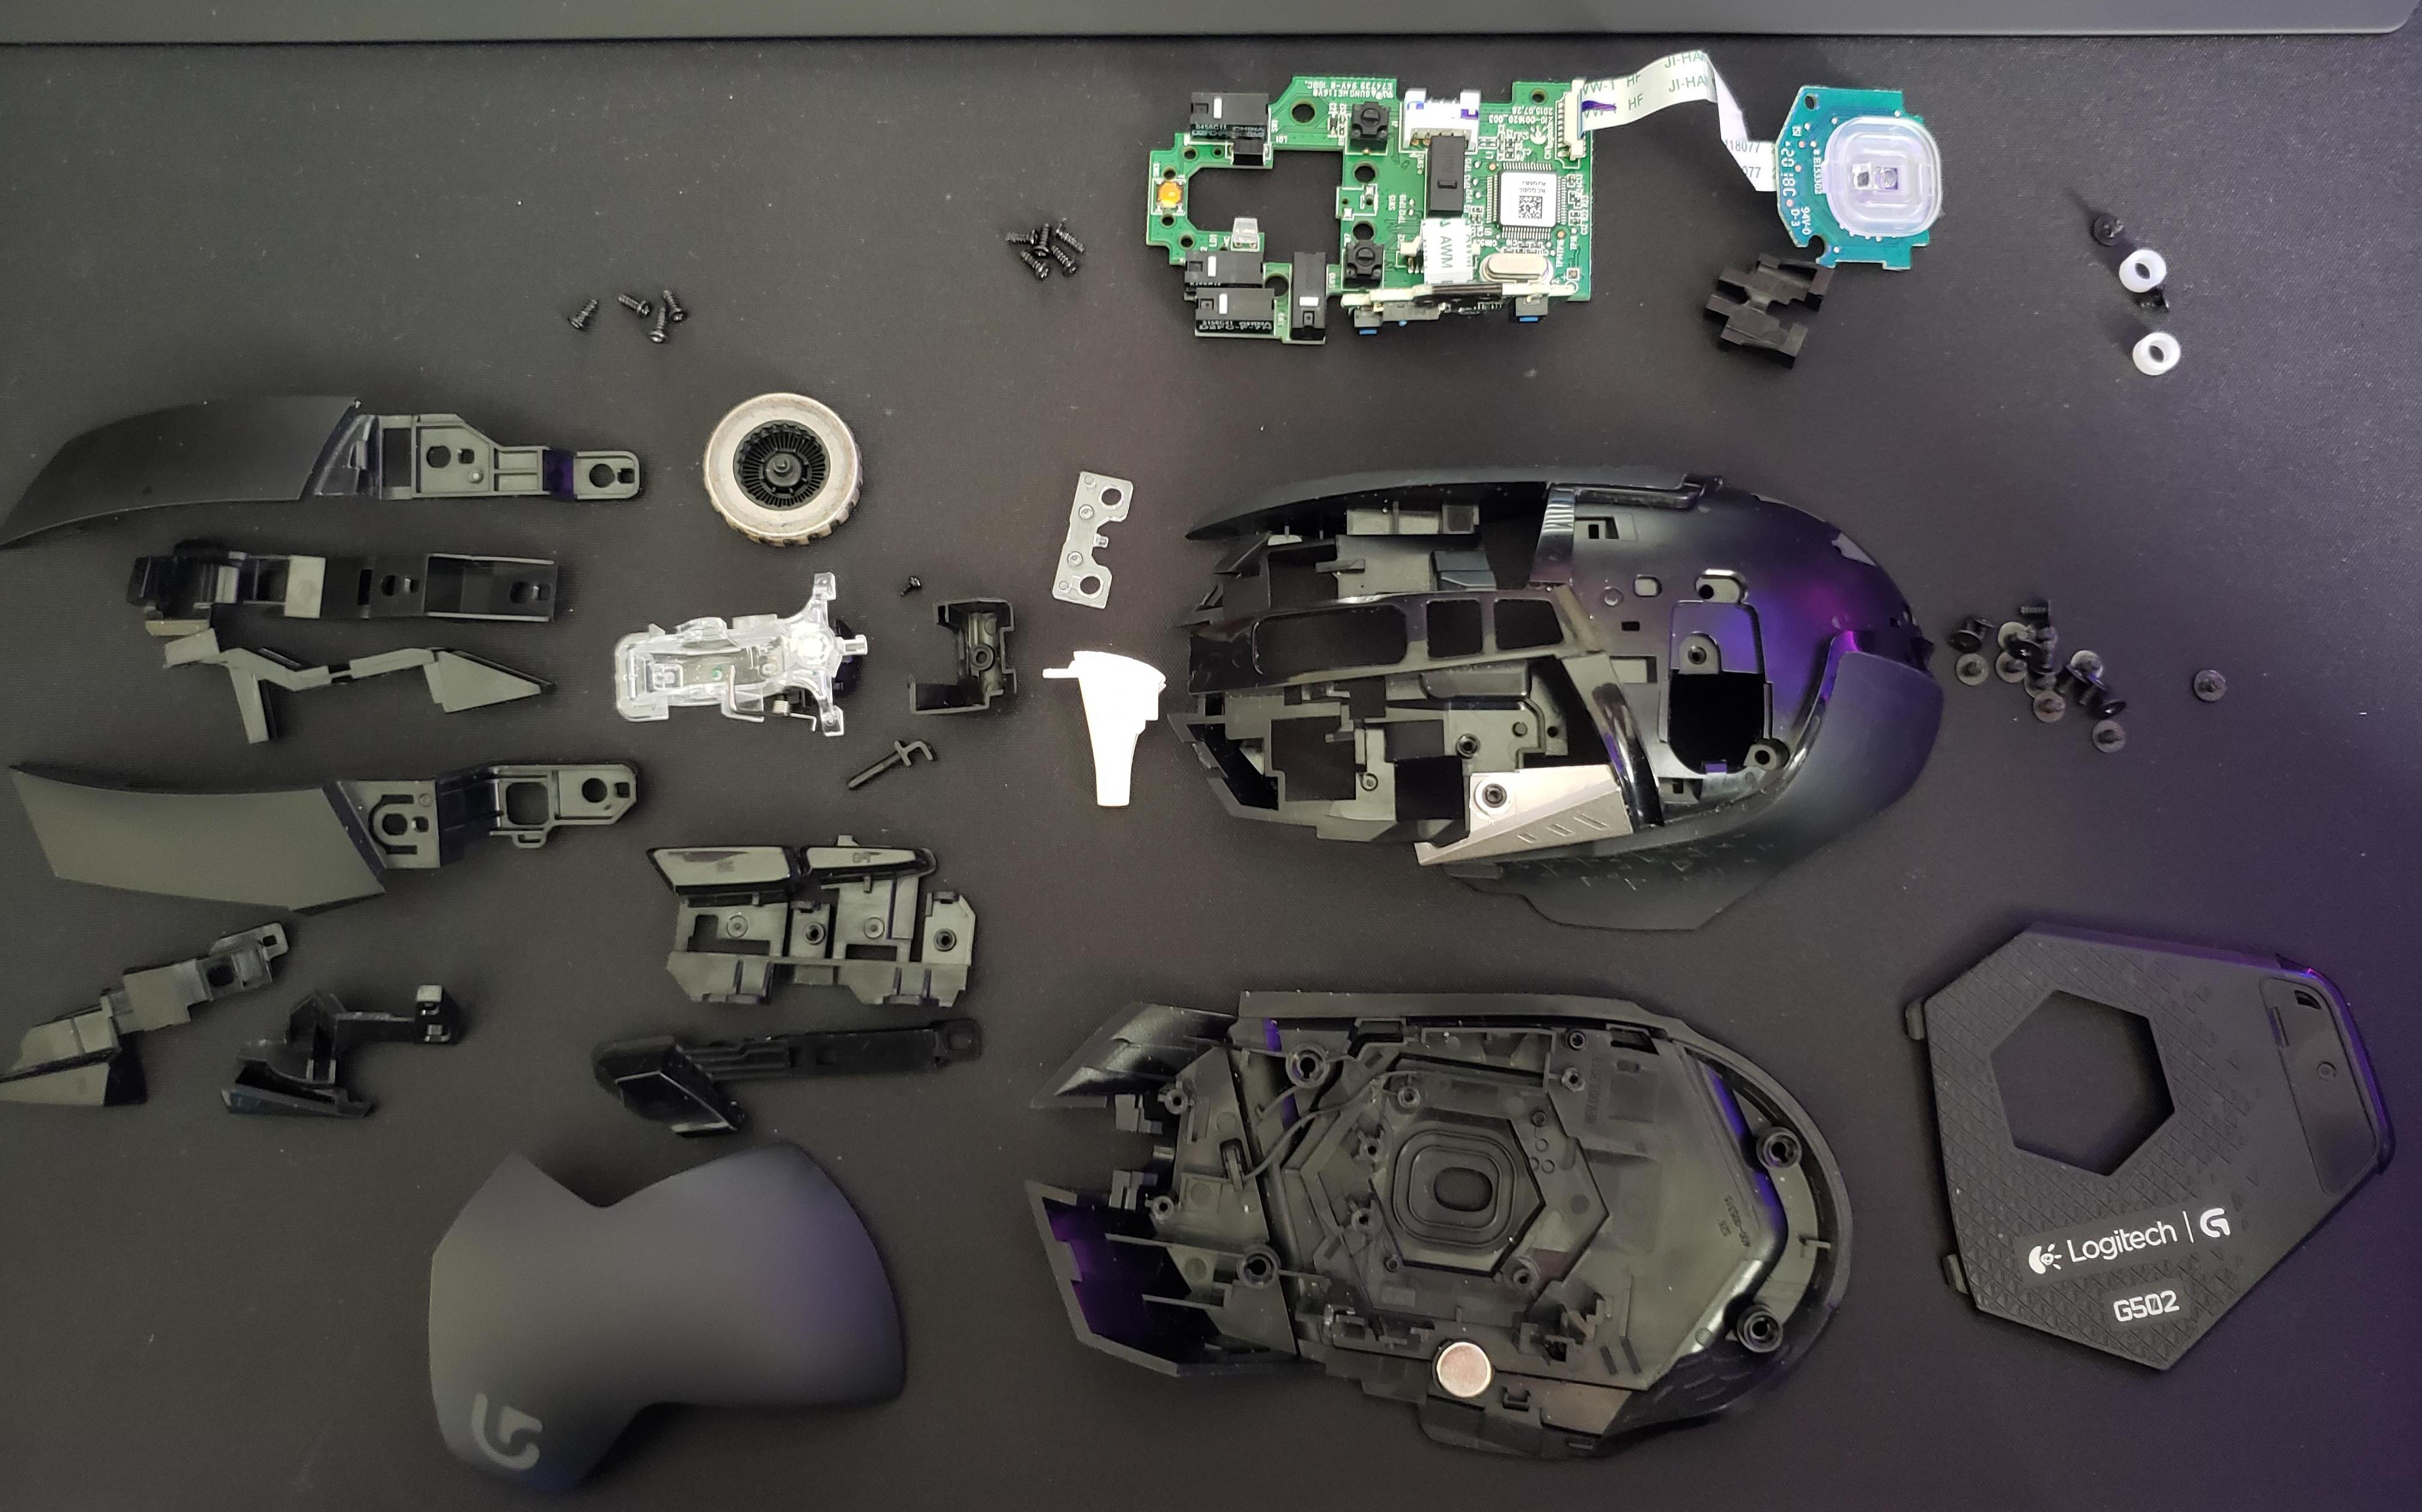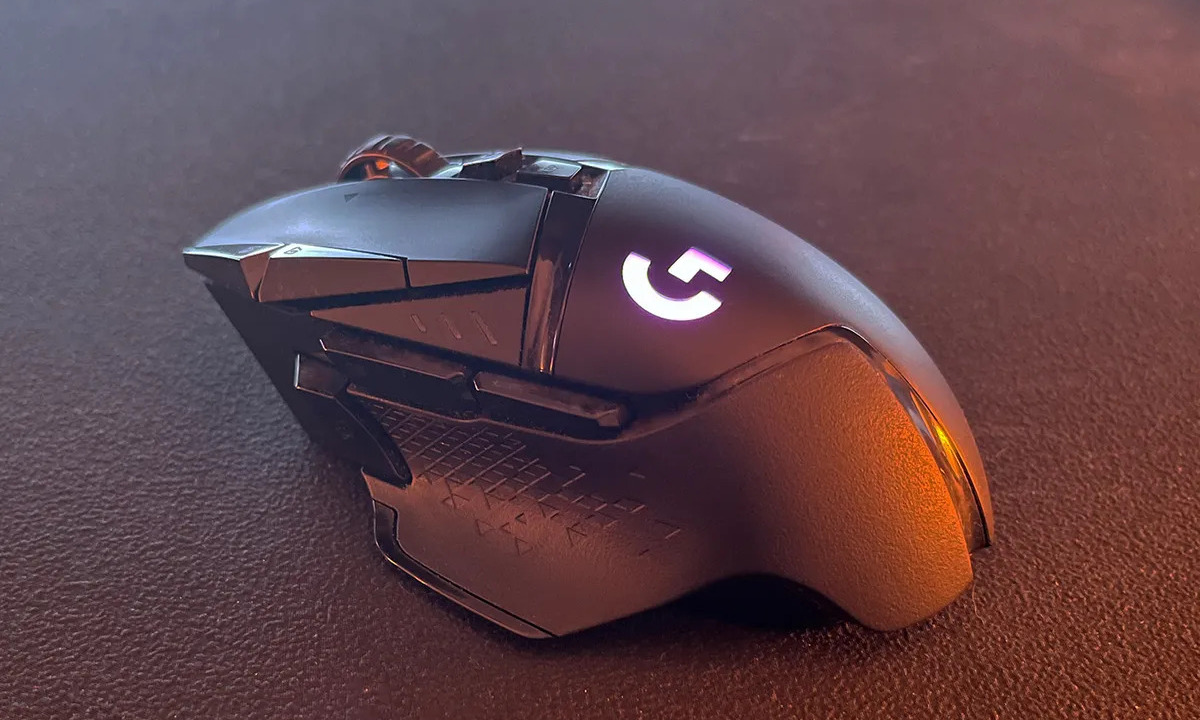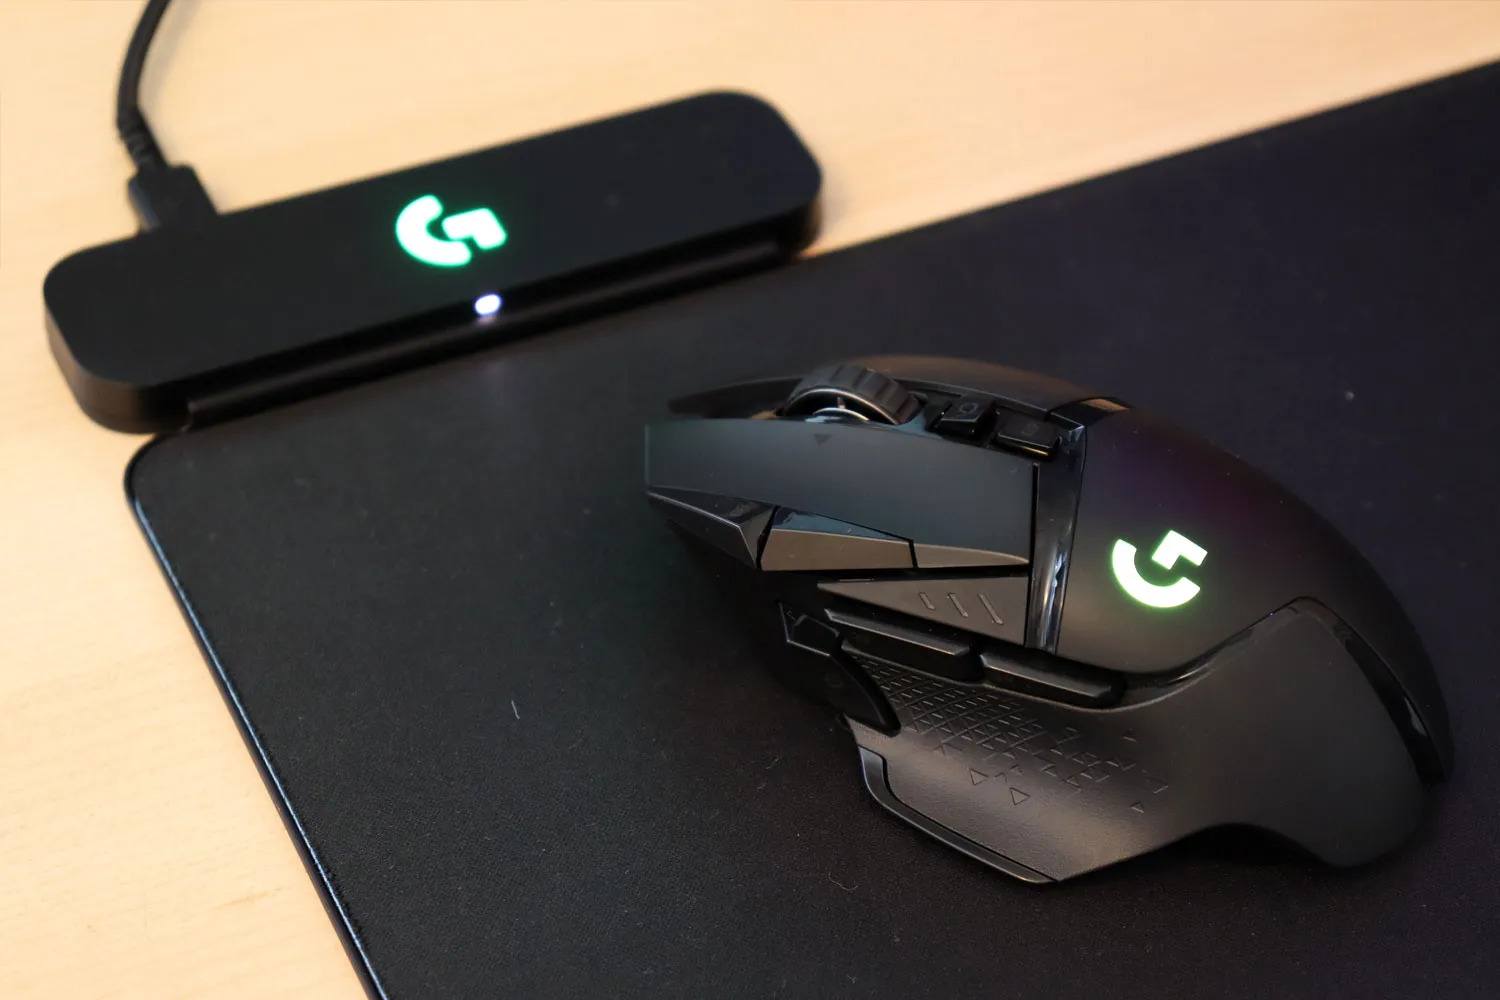
To setup Logitech G502, you need to connect the mouse to your computer, install the Logitech G HUB software, and then customize your DPI, buttons, and lighting. This guide covers the wired setup process, which is the most common method for gamers who want the lowest latency and most reliable connection for their gaming sessions.
Before you begin: what you need to setup the Logitech G502
Before starting, gather the following items. You will need the Logitech G502 mouse itself, a free USB port on your computer, and an active internet connection for downloading the Logitech G HUB software. The mouse is compatible with both Windows and Mac operating systems. Ensure your computer meets these basic requirements before proceeding.
Step 1: Connect the Logitech G502 to your computer
Plug the provided USB cable securely into the mouse. Insert the other end of the cable into a free USB port on your computer. Once connected, the mouse will light up, indicating it has power. Your computer should automatically recognize the mouse. If prompted, follow any on-screen instructions to complete driver installation. A stable wired connection is essential for uninterrupted gaming sessions and optimal performance. Note that while the G502 offers wireless connectivity options for added flexibility, this guide focuses on the wired connection for maximum reliability.
Step 2: Install the Logitech G HUB software
Visit the official Logitech website and navigate to the support section. Download the Logitech G HUB software for your operating system. Locate the downloaded file and double-click it to begin installation. Follow the on-screen instructions, accepting any terms and conditions. The software will detect and recognize your Logitech G502 mouse, installing necessary drivers and establishing communication between your computer and the mouse. Launch the software once installation is complete. The G HUB software requires an internet connection for full functionality, including access to the latest firmware updates and additional features. If your mouse ever develops a misclicking issue, a Logitech g502 double click fix without soldering can often resolve it without replacing the hardware.
Step 3: Customize button assignments and DPI settings
Open the Logitech G HUB software and navigate to the button assignments section. You will see a graphical representation of the G502 mouse with customizable buttons. Click on each button to assign a function, choosing from simple commands like left-click or right-click to complex macros and multi-key combinations. The G502 features a DPI (dots per inch) sensor for adjusting mouse sensitivity. Higher DPI settings result in faster cursor movement, while lower settings provide more precision. Use the DPI settings in G HUB to define multiple DPI levels and assign them to a button for easy switching during gameplay. You can also fine-tune scroll speed, scroll direction, and pointer speed. Save your button assignments and DPI settings once satisfied with the configuration.
Step 4: Adjust the weight and balance
Locate the removable weights that came with your G502. These small metal discs fit into slots on the underside of the mouse. Remove any existing weights if already installed. Experiment with different weight configurations by inserting the removable weights into the slots. Add or remove weights according to your preference until you find the weight that feels most comfortable and balanced. Lighter weights may provide quicker movements for fast-paced games, while heavier weights can offer stability and precision for slower actions. Consider weight distribution as well, placing more weights toward the back for a balanced feel or toward the front for increased precision. Secure the weights in place by firmly pushing them into the slots.
Step 5: Personalize the RGB lighting
Navigate to the lighting customization section in Logitech G HUB. Choose a base color for the mouse lighting from the available spectrum. Experiment with different lighting effects and patterns, such as solid color, breathing effect, color cycle, and reactive lighting. You can synchronize lighting effects on your G502 with other Logitech gaming peripherals that support RGB lighting for a cohesive aesthetic. Save your custom lighting profiles within the software to switch between different lighting setups effortlessly. Apply the changes once finalized to see your personalized RGB lighting effects.
Step 6: Create and save profiles for your games
Open the profile section in Logitech G HUB. Create a new profile from scratch or duplicate an existing one. Give your profile a descriptive name that identifies its purpose or associated game. Customize button assignments, DPI settings, lighting effects, and any other settings specific to this profile. Create multiple profiles for different games or tasks, such as one profile optimized for first-person shooters and another for strategy games. Save each profile after customizing. Assign specific profiles to games or applications so the associated profile activates automatically when you launch that game or application.
Step 7: Test and optimize your setup
Launch a game or application you frequently use. Test the button assignments to ensure they respond as expected. Adjust the DPI levels to find the sensitivity that feels most comfortable and accurate for your gameplay style. If any button assignment is not working as intended or the mouse sensitivity feels off, return to Logitech G HUB to refine the settings further. Ensure the chosen lighting scheme does not distract during gameplay. Spend time fine-tuning settings and experimenting with different configurations until you find the optimal combination. Regularly check for software updates and firmware upgrades for your G502, as Logitech frequently releases updates that can improve performance, fix bugs, and introduce new features. When setting up a Logitech mouse, remember that the wired connection provides the most stable experience for competitive gaming. The G502 also offers wireless functionality, but for the purposes of this setup guide, the wired method is recommended for optimal performance.