Introduction
If you're an avid gamer, you know the importance of a responsive and accurate gaming mouse. However, over time, the bottom of your gaming mouse can accumulate dust, dirt, and debris, leading to decreased performance and tracking issues. To ensure your gaming mouse continues to deliver optimal performance, it's essential to regularly clean the bottom of the device.
Cleaning the bottom of a gaming mouse may seem like a daunting task, but with the right tools and techniques, it can be a straightforward and rewarding process. By following a few simple steps, you can effectively remove built-up grime and maintain the functionality of your gaming mouse.
In the following guide, we'll walk you through the step-by-step process of cleaning the bottom of your gaming mouse. From gathering the necessary supplies to safely disassembling and reassembling your mouse, we'll cover everything you need to know to keep your gaming mouse in top condition. So, grab your cleaning supplies and get ready to give your gaming mouse the TLC it deserves!
Step 1: Gather Your Supplies
Before embarking on the cleaning process, it’s crucial to gather the necessary supplies to ensure a thorough and effective cleaning session. Here’s what you’ll need:
- Cotton Swabs: These are ideal for reaching small crevices and corners where dirt and debris tend to accumulate.
- Isopropyl Alcohol: This will serve as the cleaning agent to dissolve and remove stubborn grime from the sensor and lens.
- Microfiber Cloth: A soft, lint-free cloth will help wipe away dust and ensure a streak-free finish.
- Compressed Air: This will aid in dislodging and removing loose particles from the mouse’s feet and other hard-to-reach areas.
- Small Brush: A soft-bristled brush can be used to gently sweep away debris from the mouse’s feet and other intricate parts.
- Plastic Opening Tools (Optional): If your mouse has a sealed bottom panel, plastic opening tools can help safely pry it open without causing damage.
By having these supplies at the ready, you’ll be well-equipped to tackle the cleaning process with precision and care. Once you’ve gathered your supplies, you’re ready to move on to the next step in the cleaning process.
Step 2: Turn Off and Disconnect Your Mouse
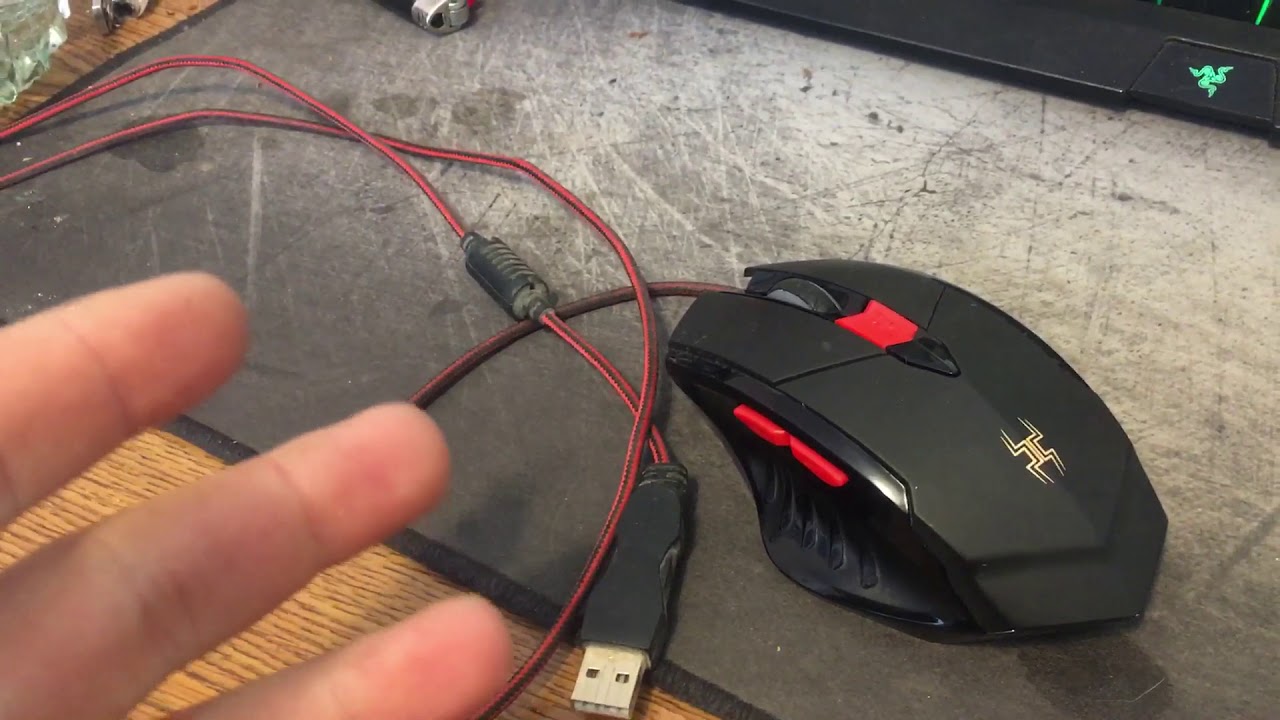
Before diving into the cleaning process, it’s imperative to power off your gaming mouse and disconnect it from your computer or gaming device. This step is crucial to prevent any accidental input or damage to the mouse during the cleaning procedure.
Start by shutting down your computer or unplugging your gaming device to ensure that the mouse is completely disconnected. Once the device is powered off, carefully unplug the mouse from the USB port or detach the wireless receiver if you’re using a wireless mouse. Ensuring that the mouse is disconnected will prevent any potential mishaps while cleaning and safeguard the device from electrical damage.
Additionally, if your gaming mouse has customizable settings or software, it’s advisable to take note of your preferred configurations before disconnecting it. This way, you can easily restore your settings after the cleaning process without any hassle.
By turning off and disconnecting your mouse, you’re taking a proactive step to safeguard both the device and your computer or gaming setup. With this precaution in place, you’re ready to proceed to the next step of accessing the bottom of your gaming mouse for thorough cleaning.
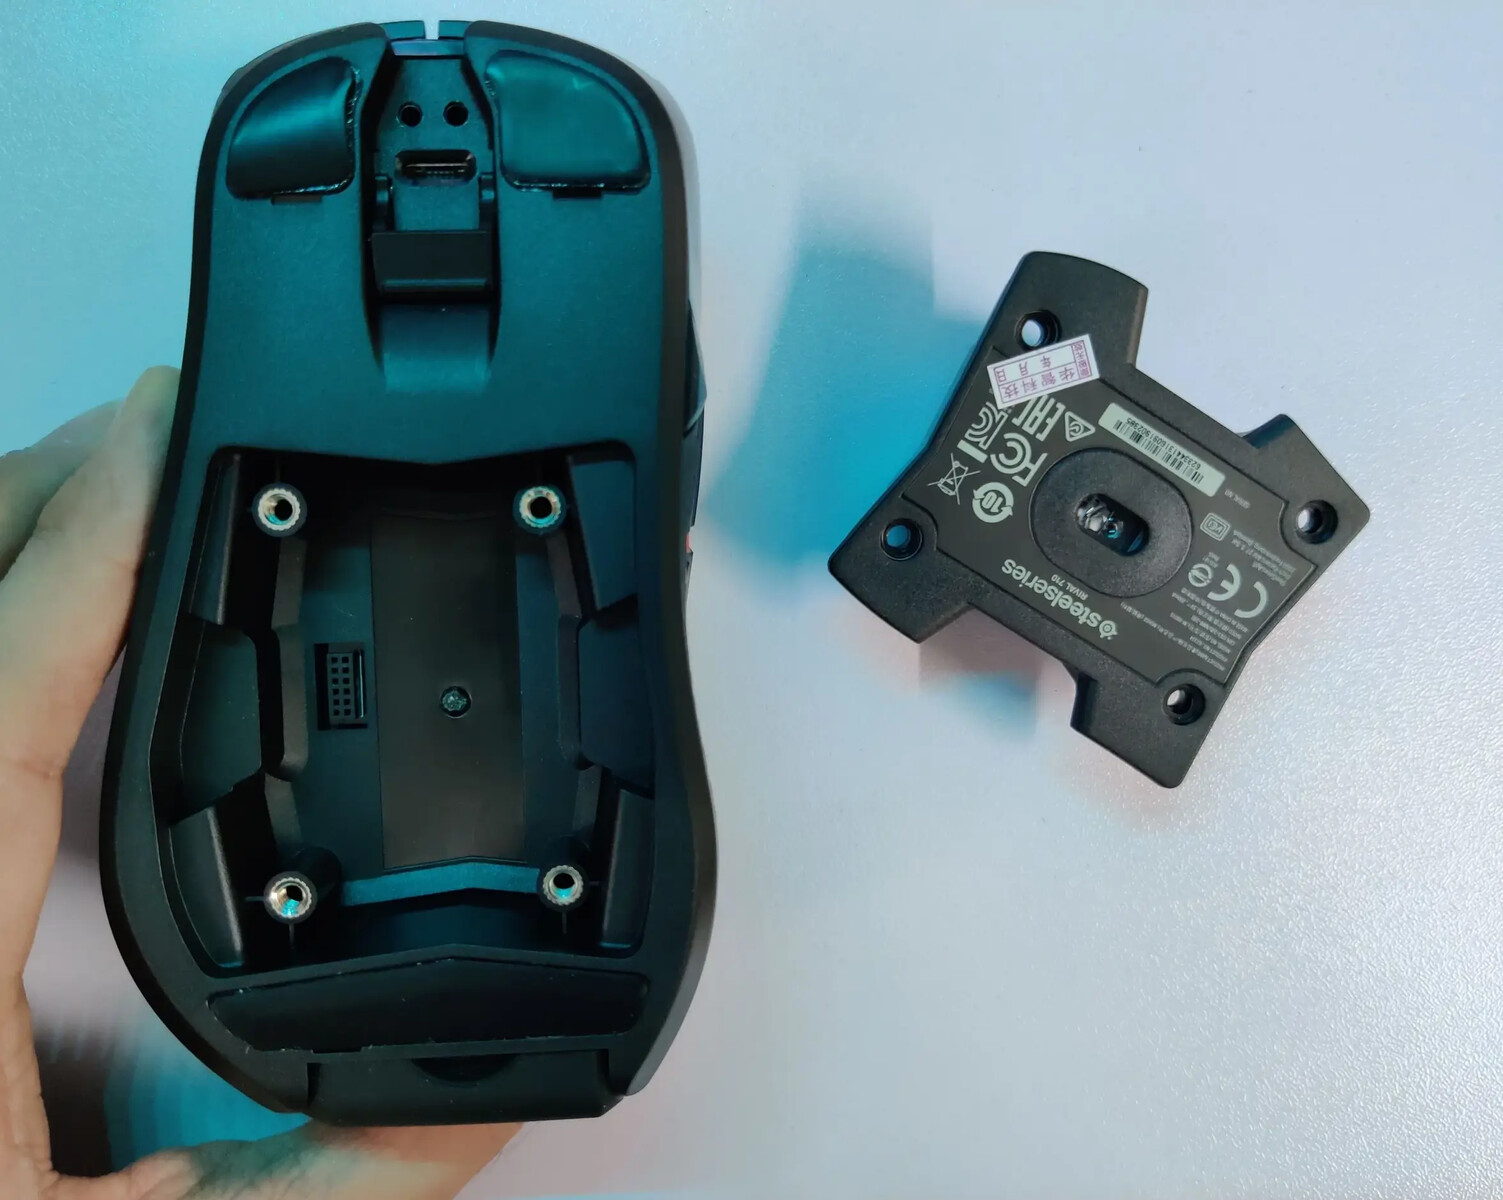
Step 3: Remove the Bottom Panel
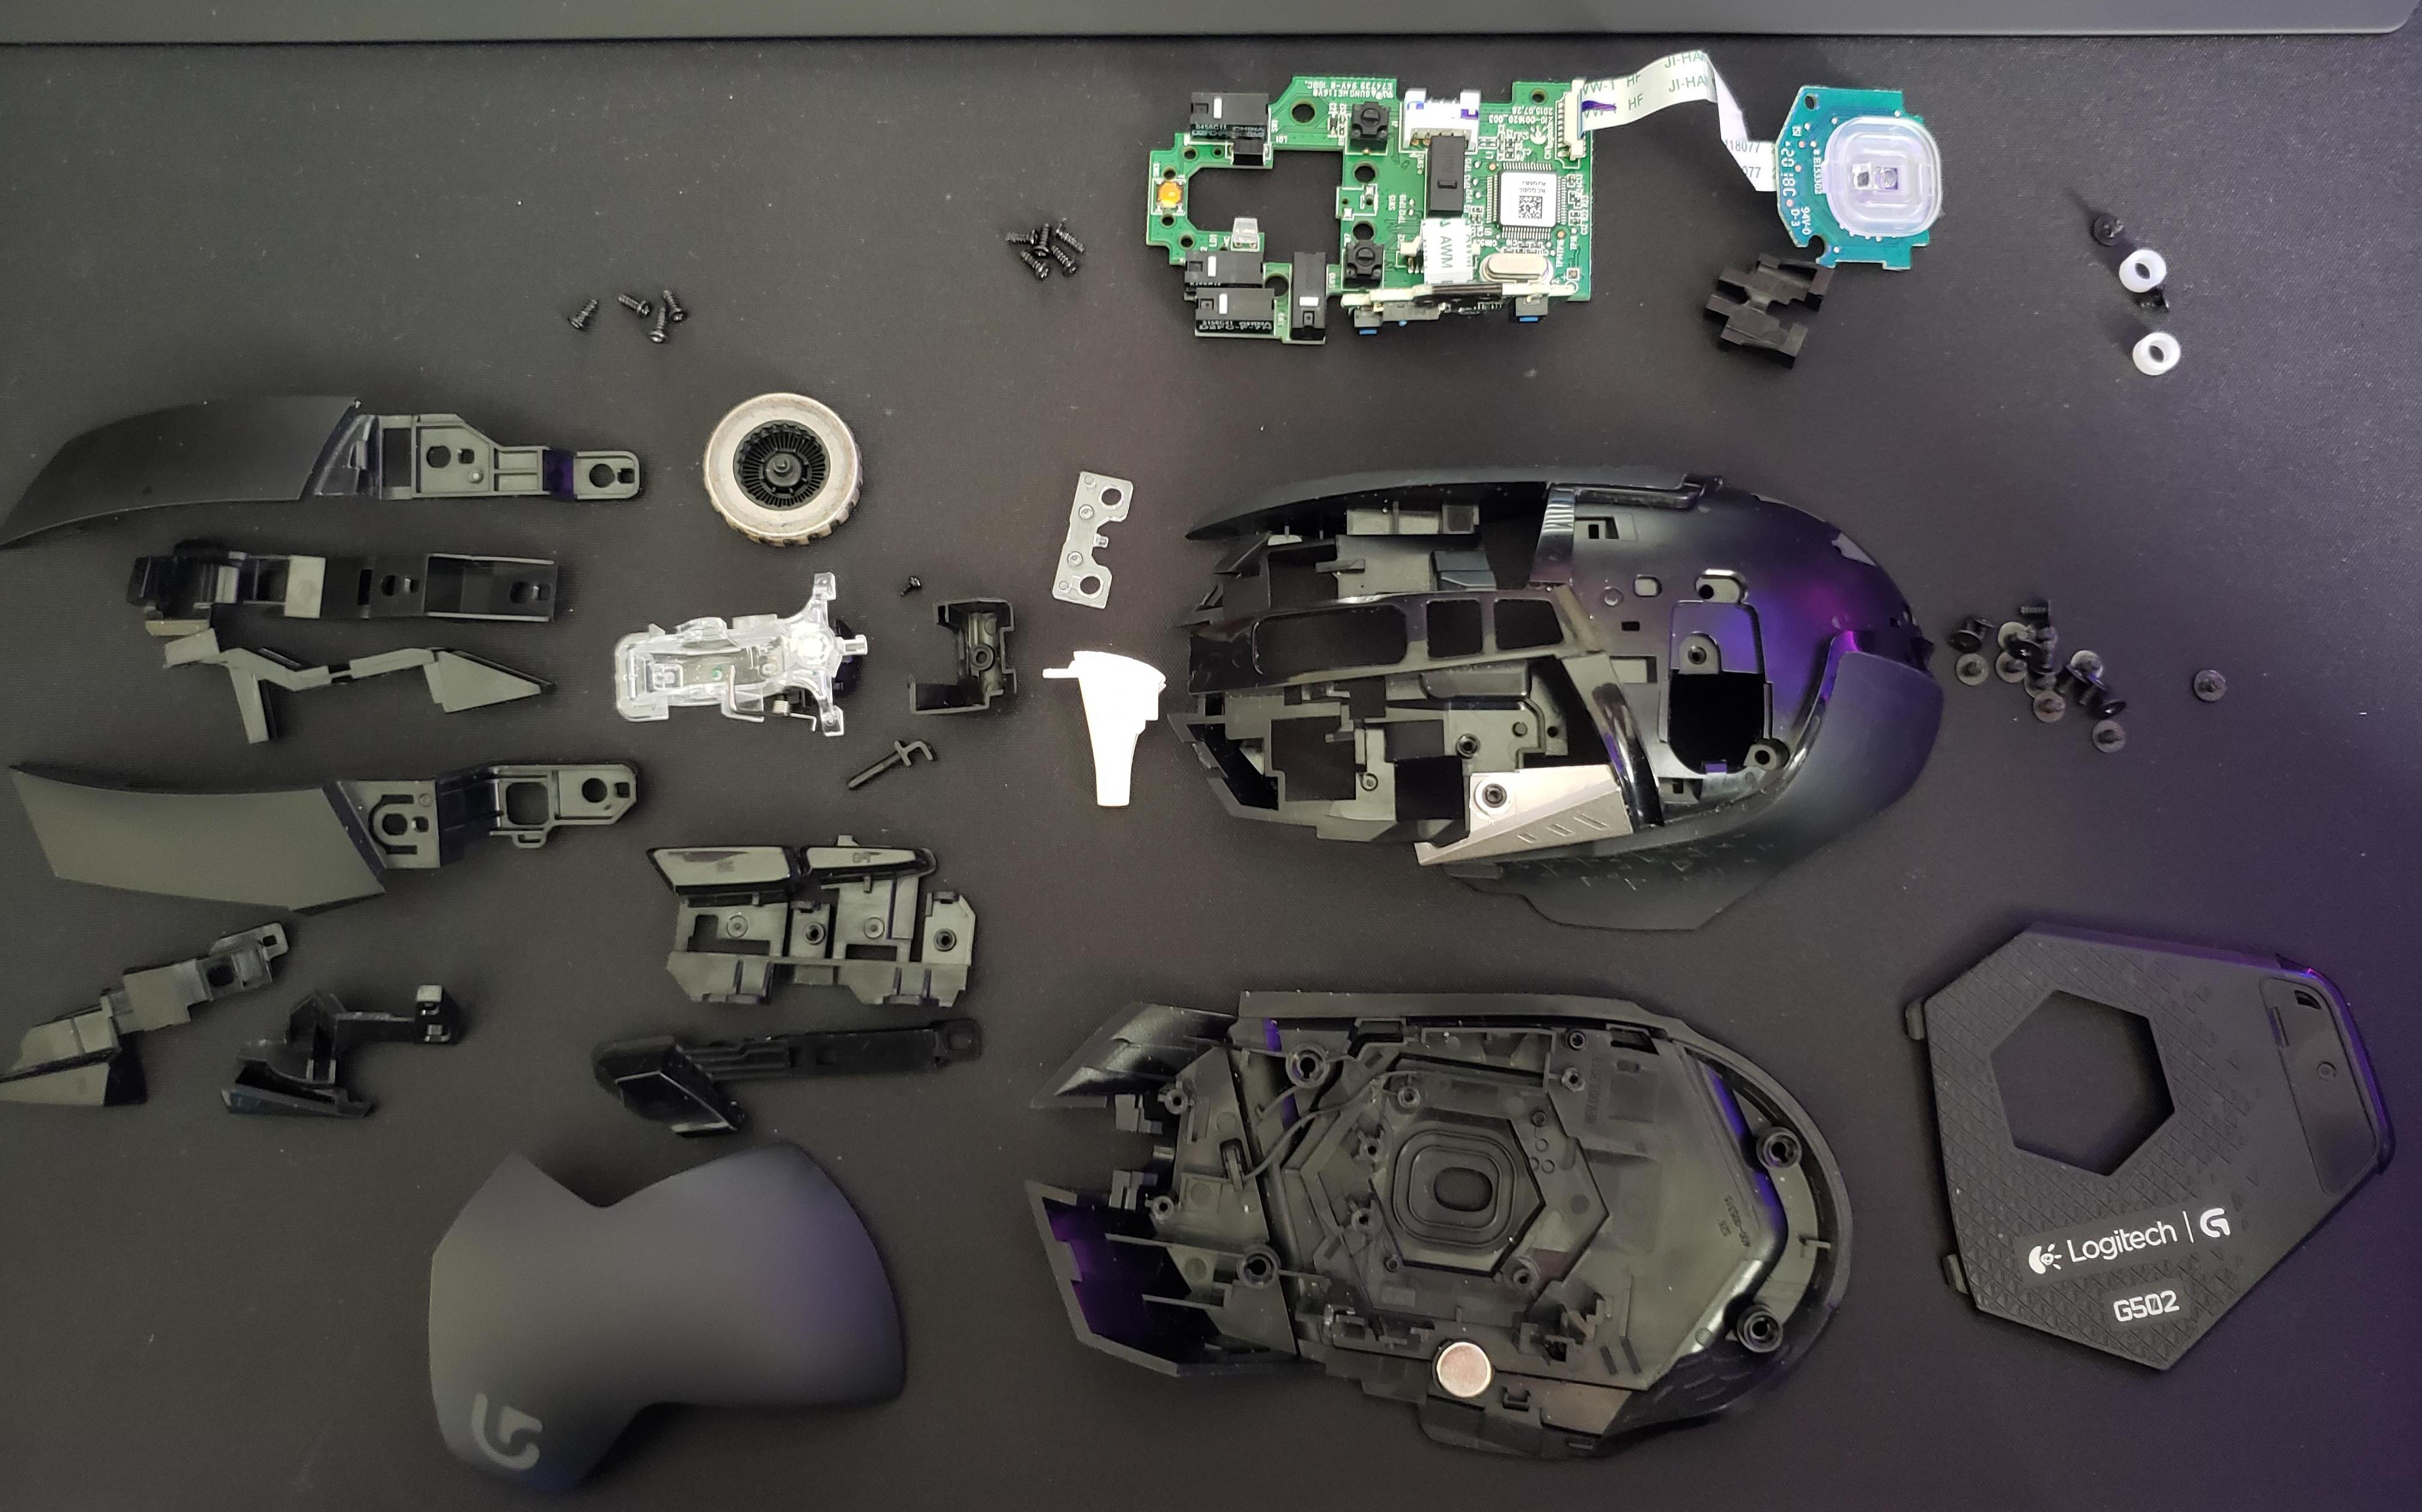
With your gaming mouse safely disconnected, it’s time to access the bottom panel for a comprehensive cleaning. Depending on the design of your mouse, the bottom panel may be secured with screws or clips. Here’s how you can proceed:
- Identify the Fastening Mechanism: Inspect the bottom of your gaming mouse to determine how the bottom panel is secured. Some mice have visible screws that need to be removed, while others may feature clips that can be released with the help of plastic opening tools.
- Use the Appropriate Tools: If your mouse has screws, use the appropriate screwdriver to carefully remove them. For mice with a sealed bottom panel, gently insert plastic opening tools along the edges to release the clips without causing damage to the casing.
- Handle with Care: As you work to remove the bottom panel, handle the mouse with care to avoid any unnecessary force or pressure that could lead to damage. Take your time and exercise patience to ensure a smooth and safe removal process.
Once the bottom panel is detached, set it aside in a secure place. Be mindful of any internal components or cables that may be connected to the panel. With the bottom panel removed, you’ll have clear access to the internal components, including the sensor, lens, and mouse feet, allowing you to proceed with the next steps of the cleaning process.
Step 4: Clean the Sensor and Lens
With the bottom panel removed, you can now focus on cleaning the sensor and lens, which are integral to the accurate tracking and performance of your gaming mouse. Follow these steps to effectively clean these components:
- Inspect the Sensor and Lens: Use a flashlight or adequate lighting to carefully inspect the sensor and lens for any visible dust, dirt, or smudges. Pay close attention to these components as they directly impact the mouse’s tracking precision.
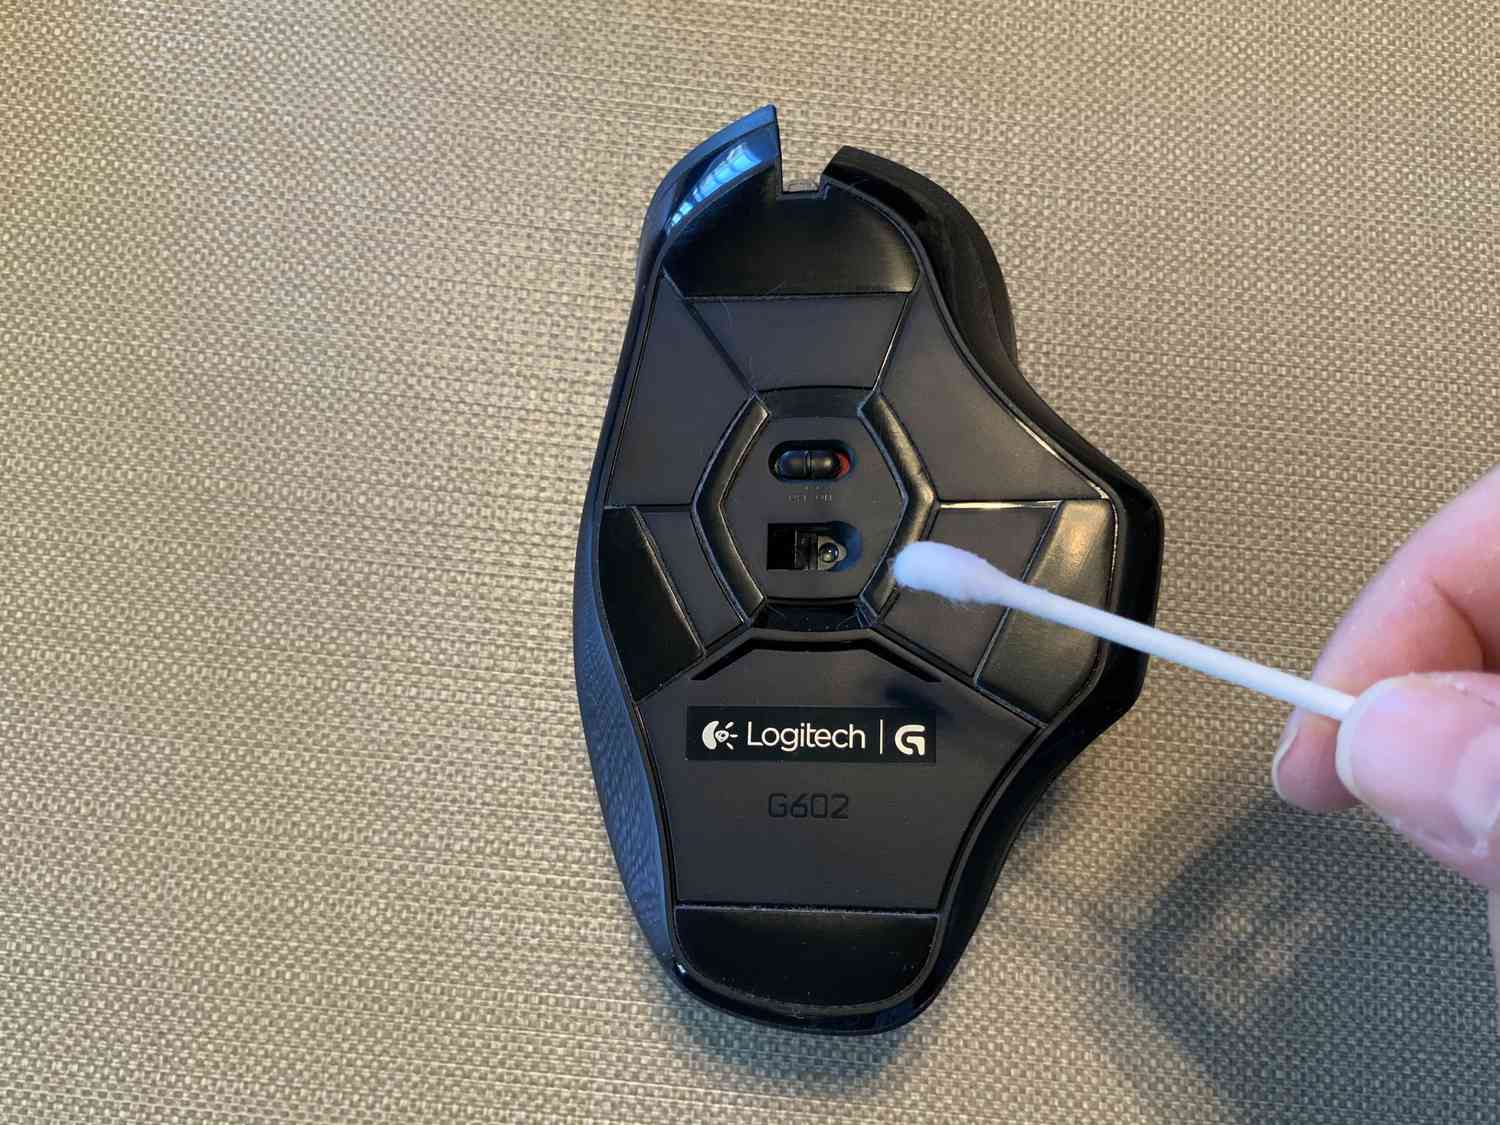
- Use Isopropyl Alcohol and Cotton Swabs: Dampen a cotton swab with isopropyl alcohol and gently clean the sensor and lens. Ensure that the swab is not dripping with alcohol to prevent any liquid from seeping into the internal components of the mouse.
- Remove Stubborn Residue: For stubborn residue or dirt, lightly moisten a corner of the microfiber cloth with isopropyl alcohol and carefully wipe the sensor and lens. Exercise caution to avoid applying excessive pressure that could damage these delicate components.
- Allow for Drying Time: After cleaning, allow the sensor and lens to air dry for a few moments to ensure that any remaining alcohol evaporates completely.
By meticulously cleaning the sensor and lens, you can effectively remove any obstructions that may hinder the optimal functioning of your gaming mouse. Once these components are thoroughly cleaned, you can proceed to address the next crucial element of the mouse: the feet.
Step 5: Clean the Feet
The feet of your gaming mouse play a vital role in providing smooth and precise movement across various surfaces. Over time, these feet can accumulate dust and debris, affecting the mouse’s glide and overall performance. Here’s how you can effectively clean the feet of your gaming mouse:
- Inspect the Feet: Examine the mouse feet for any visible buildup of dirt, hair, or residue. Pay attention to the edges and corners of the feet where debris may accumulate.
- Use Compressed Air: Utilize compressed air to gently blow away loose particles and debris from the mouse feet. Hold the can of compressed air upright and use short bursts to dislodge any trapped dirt.
- Wipe with a Microfiber Cloth: After using compressed air, gently wipe the mouse feet with a clean microfiber cloth to remove any remaining dust or particles. Ensure that the cloth is free of lint to prevent any fibers from sticking to the feet.
- Reassess the Feet: Once cleaned, examine the mouse feet to ensure that they are free of any remaining debris and that the surface is smooth and unobstructed.
By effectively cleaning the feet of your gaming mouse, you can maintain smooth and consistent movement, ensuring optimal performance during intense gaming sessions. With the sensor, lens, and feet thoroughly cleaned, your gaming mouse is now ready to be reassembled for continued use.
Step 6: Reassemble Your Mouse
After completing the cleaning process, it’s time to reassemble your gaming mouse to restore it to its fully functional state. Follow these steps to safely and effectively reassemble your mouse:
- Position the Bottom Panel: Align the bottom panel with the mouse body, ensuring that any internal components or cables are properly accommodated within the casing.
- Secure the Bottom Panel: If your mouse features screws, carefully reinsert and tighten them using the appropriate screwdriver. For mice with clips, gently press the bottom panel into place until it securely snaps back into position.
- Test the Mouse: Once the bottom panel is securely reattached, test the mouse to ensure that all buttons, the scroll wheel, and the tracking functionality are working as expected.
- Reconnect the Mouse: If you disconnected your mouse from your computer or gaming device, reattach it to the appropriate port or plug in the wireless receiver to restore connectivity.
With your gaming mouse successfully reassembled, you can now enjoy the benefits of a thoroughly cleaned device, complete with responsive tracking and smooth movement. By following the step-by-step cleaning process and reassembly instructions, you’ve taken proactive measures to maintain the performance and longevity of your gaming mouse.
Conclusion
Congratulations! By following the comprehensive cleaning process outlined in this guide, you’ve taken proactive steps to maintain the optimal performance and longevity of your gaming mouse. Regularly cleaning the bottom of your gaming mouse, including the sensor, lens, and feet, is essential for ensuring precise tracking, smooth movement, and an overall satisfying gaming experience.
Remember, a clean gaming mouse not only enhances your gameplay but also contributes to the longevity of the device. By investing a little time and effort into cleaning and maintaining your gaming mouse, you can extend its lifespan and preserve its functionality for countless gaming sessions to come.
As you continue to enjoy your gaming adventures, consider incorporating regular mouse cleaning into your maintenance routine. By doing so, you’ll not only optimize the performance of your gaming mouse but also demonstrate a commitment to caring for your gaming gear.
So, grab your cleaning supplies and make it a habit to give your gaming mouse the attention it deserves. Your mouse will thank you with consistent, responsive performance, allowing you to focus on what you do best—conquering virtual worlds and achieving gaming greatness.