Introduction
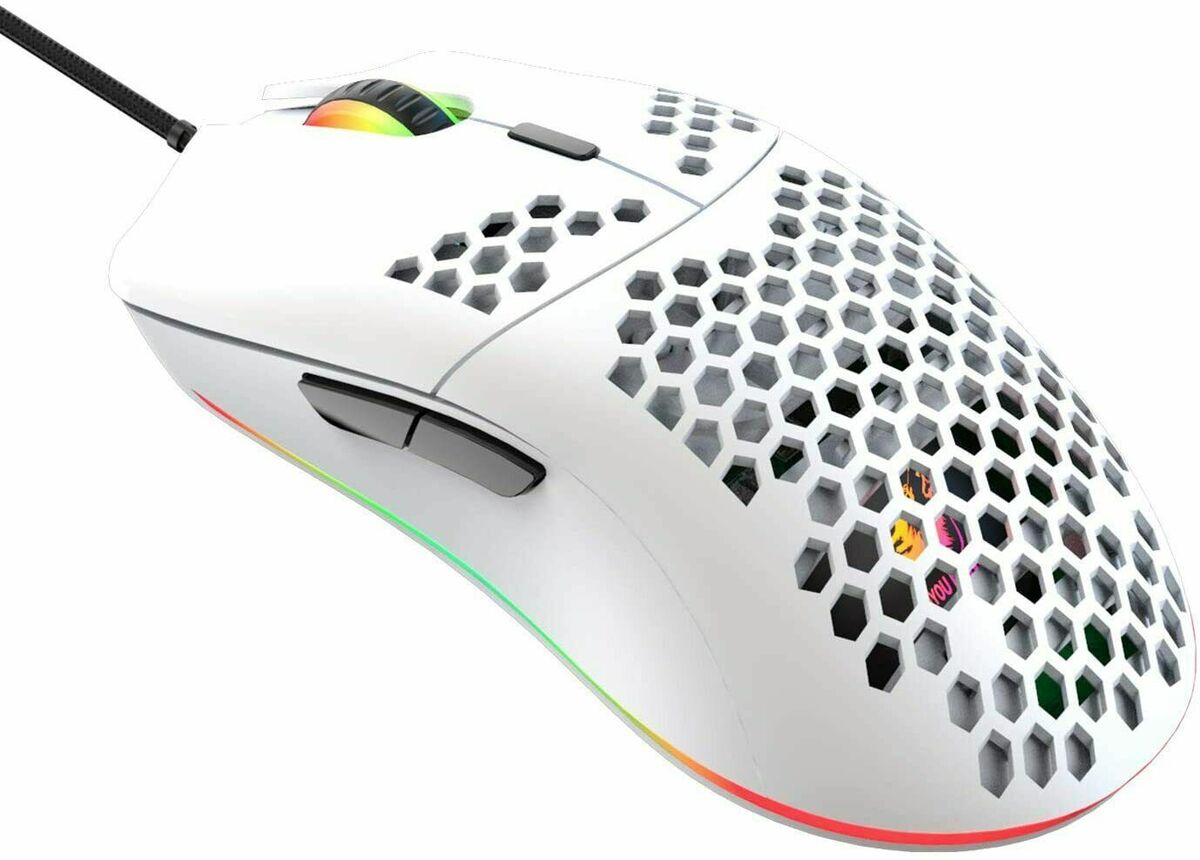
Disassembling an Anker gaming mouse may seem like a daunting task, but with the right tools and a methodical approach, it can be a straightforward process. Whether you're looking to clean the internal components, replace a faulty part, or simply satisfy your curiosity about the inner workings of your device, this guide will walk you through the necessary steps to successfully disassemble and reassemble your Anker gaming mouse.
Taking apart your mouse can provide valuable insights into its construction and help you understand how different components work together to deliver a seamless gaming experience. Additionally, periodic cleaning and maintenance can extend the lifespan of your mouse and ensure optimal performance during intense gaming sessions.
Before diving into the disassembly process, it's essential to gather the required tools and prepare a clean, well-lit workspace to facilitate the task at hand. With a systematic approach and attention to detail, you can safely disassemble your Anker gaming mouse and gain a deeper understanding of its inner mechanisms. So, let's get started by gathering the necessary tools for the disassembly process.
Tools Needed
Before embarking on the disassembly of your Anker gaming mouse, it’s essential to gather the appropriate tools to ensure a smooth and efficient process. The following tools are recommended for this task:
- Phillips Head Screwdriver: A small Phillips head screwdriver is typically required to remove screws securing the mouse’s casing. Ensure that the screwdriver fits the screws snugly to prevent stripping.
- Plastic Opening Tools or Spudger: These non-conductive tools are useful for prying open the mouse casing without causing damage. Plastic opening tools help to release the clips holding the mouse together without scratching or marring the surface.
- Cotton Swabs and Isopropyl Alcohol: Cleaning the internal components of the mouse may necessitate the use of cotton swabs and isopropyl alcohol to remove dust, dirt, and grime. Isopropyl alcohol is an effective solvent for cleaning electronic components and evaporates quickly without leaving residue.
- Clean Cloth: A lint-free cloth is essential for wiping down components and surfaces during the cleaning process.
- Tweezers: Precision tweezers can aid in handling small components and connectors within the mouse, making it easier to manipulate delicate parts.
- Container for Screws: To prevent misplacement of screws during disassembly, use a small container or magnetic tray to keep track of the various screws removed from the mouse.
- Anti-Static Wrist Strap (Optional): To prevent electrostatic discharge (ESD) that could potentially damage sensitive electronic components, an anti-static wrist strap can be worn during the disassembly process.
By ensuring that these tools are readily available, you can proceed with confidence through the disassembly and reassembly of your Anker gaming mouse, maintaining the integrity of the components and minimizing the risk of damage.
Removing the Mouse Feet
Before delving into the internal disassembly of your Anker gaming mouse, it’s necessary to remove the mouse feet to access the screws securing the casing. The mouse feet are typically located on the underside of the mouse and are adhered to the surface. To remove the mouse feet without causing damage, follow these steps:
- Locate the Mouse Feet: Turn your Anker gaming mouse over and identify the mouse feet, which are usually situated at the front and rear of the mouse, and possibly near the sides.
- Apply Heat (Optional): Using a hairdryer or heat gun on a low setting, gently warm the mouse feet to soften the adhesive. This makes it easier to lift and remove the feet without leaving residue or tearing the material.
- Use a Thin Tool: Carefully slide a thin plastic opening tool or spudger beneath the edge of a mouse foot, taking care not to scratch or damage the surface of the mouse. Slowly lift the edge of the foot until it can be grasped between your fingers.
- Peel Back the Mouse Feet: Slowly peel back the mouse feet, applying gentle and even pressure to prevent tearing. If resistance is encountered, apply additional heat to soften the adhesive further.
- Store the Mouse Feet: To prevent debris from adhering to the exposed adhesive, place the removed mouse feet on a clean, dust-free surface, such as a piece of wax paper or a plastic bag.
Once the mouse feet have been carefully removed, store them in a safe location to prevent damage or contamination. With the mouse feet out of the way, you can proceed to access the screws securing the mouse’s casing, facilitating the subsequent steps in the disassembly process.
Opening the Mouse
With the mouse feet removed and access to the screws beneath, you can now proceed to open the casing of your Anker gaming mouse. Opening the mouse requires precision and care to avoid damaging the internal components and the external shell. Follow these steps to safely open the mouse:
- Identify Screw Locations: Take note of the locations of the screws beneath the mouse feet. Depending on the model of your Anker gaming mouse, there may be screws positioned under the mouse feet and possibly beneath labels or warranty stickers.
- Use the Phillips Head Screwdriver: Select the appropriate size of the Phillips head screwdriver and carefully remove the screws securing the mouse’s casing. Ensure that the screwdriver is fully inserted into the screw head to prevent stripping.
- Keep Screws Organized: As you remove the screws, place them in a designated container or magnetic tray to keep them organized and prevent misplacement. This will facilitate the reassembly process later on.
- Prying Open the Casing: Once all the screws have been removed, gently insert a plastic opening tool or spudger into the seam between the top and bottom halves of the mouse. Apply even pressure along the seam to release the internal clips holding the casing together. Take care not to force the tool too deeply, as this may damage the internal components.
- Work Around the Casing: Gradually work your way around the perimeter of the mouse, releasing the clips and separating the top and bottom halves of the casing. Exercise patience and caution to avoid snapping or breaking the clips.
- Inspect for Hidden Clips: Some mouse models may feature hidden clips or additional screws beneath the top casing. Inspect the interior of the mouse for any remaining securing mechanisms and address them accordingly to fully separate the casing.
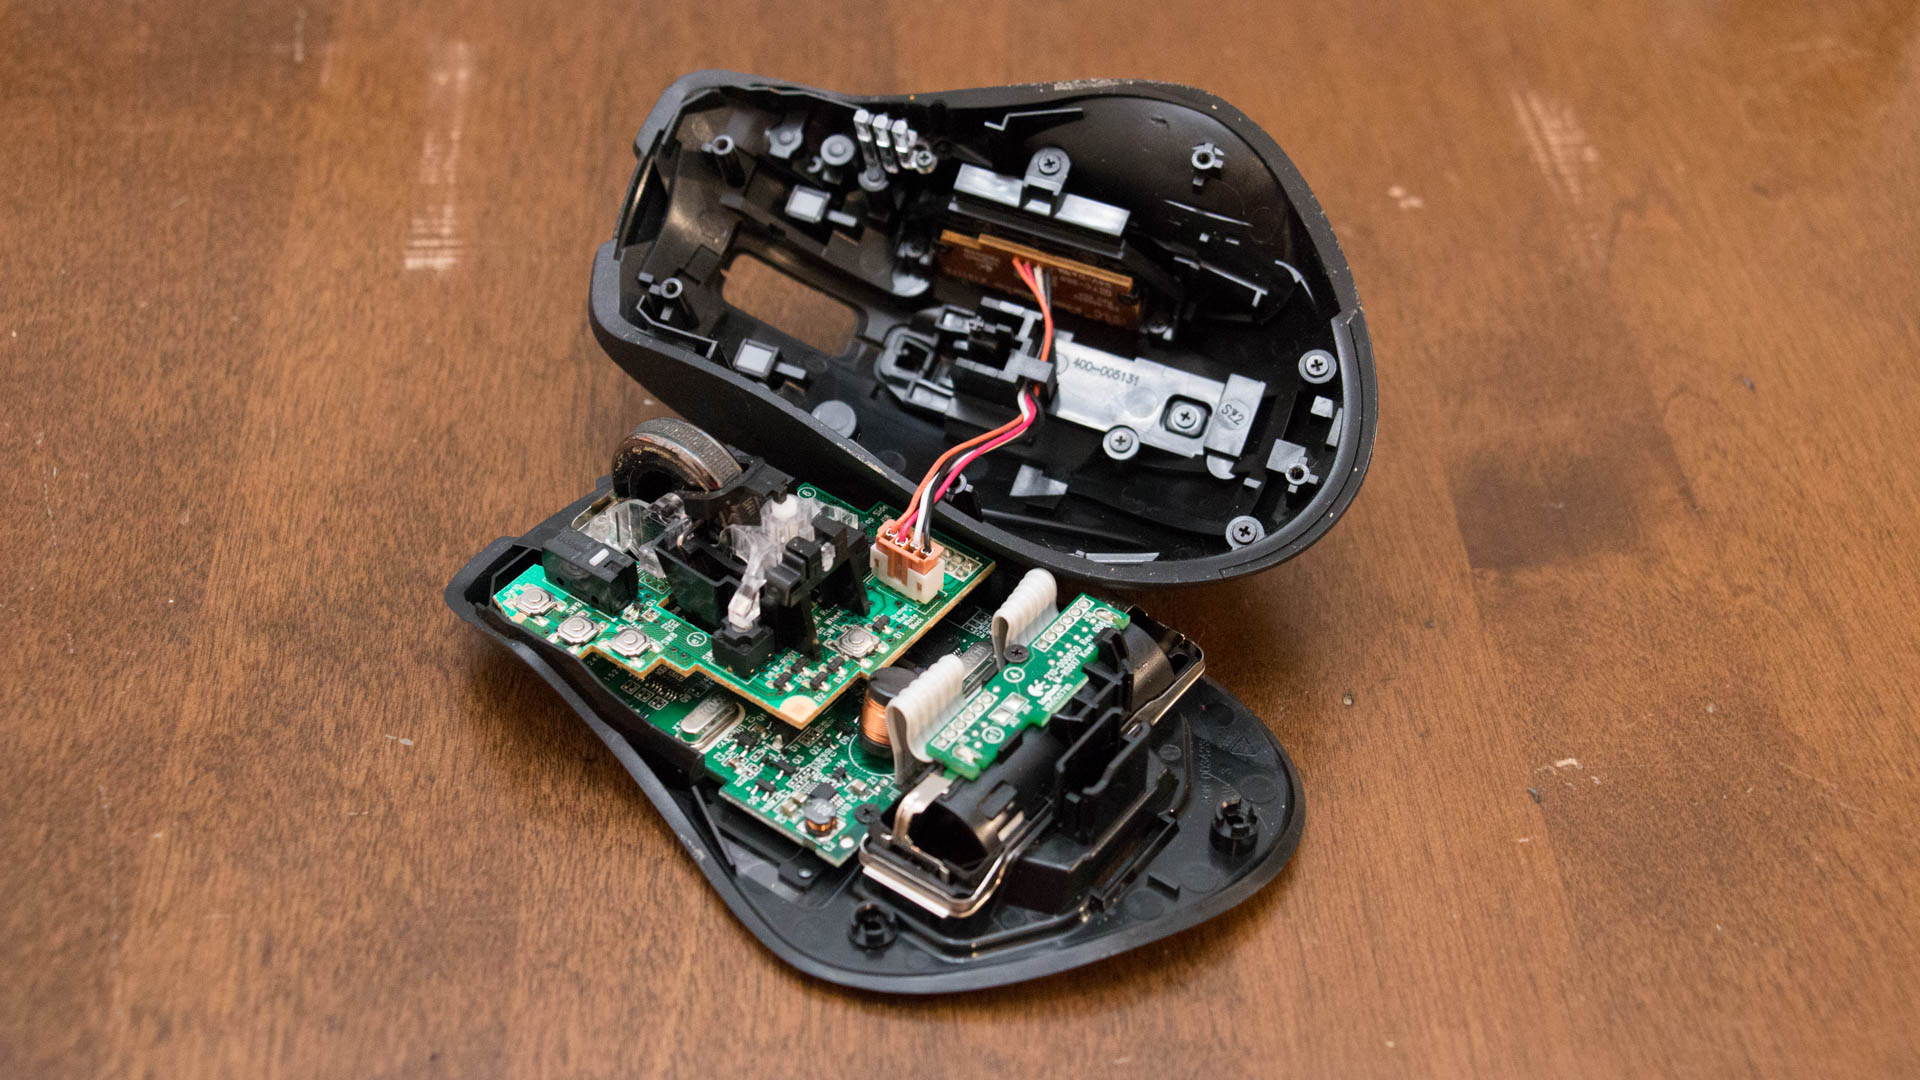
By following these steps, you can successfully open the casing of your Anker gaming mouse, granting access to the internal components for cleaning, maintenance, or replacement. With the mouse opened, you can proceed to the next phase of the disassembly process, which involves removing the internal components for thorough cleaning and inspection.
Removing the Internal Components
Once the casing of your Anker gaming mouse is open, you can begin removing the internal components for cleaning, inspection, or replacement. Carefully extracting these components is crucial to prevent damage and ensure a successful reassembly process. Follow these steps to remove the internal components:
- Identify and Disconnect Cables: Take note of the cables and connectors linking the internal components to the mouse’s circuit board. Using tweezers or your fingers, gently disconnect these cables, ensuring that you apply even pressure and avoid bending or stressing the connectors.
- Remove the Circuit Board: Locate the main circuit board within the mouse, which houses the electronic components and sensors. Carefully lift the circuit board from the casing, taking care to avoid contact with any soldered points or delicate components.
- Extract the Scroll Wheel and Buttons: If applicable, remove the scroll wheel and buttons from the casing. These components may be secured in place by clips or small screws and can be carefully lifted out to facilitate thorough cleaning.
- Separate Additional Components: Depending on the specific design of your Anker gaming mouse, there may be additional components such as LED assemblies, switches, or sensors that can be detached from the casing for individual cleaning or replacement.
- Organize and Label Components: As you remove each internal component, consider organizing and labeling them to ensure a streamlined reassembly process. This can prevent confusion and aid in identifying the correct placement of components during reassembly.
- Handle Components with Care: Throughout the removal process, handle the internal components with care, avoiding excessive force or sudden movements that could lead to damage. Take note of the orientation and alignment of components to facilitate their reinstallation later on.
By methodically removing the internal components of your Anker gaming mouse, you can prepare them for thorough cleaning and inspection. This step is crucial for maintaining the performance and longevity of your mouse, as it allows for the removal of accumulated debris and the identification of any components that may require attention or replacement.
Cleaning the Components
Once the internal components of your Anker gaming mouse have been removed, it’s essential to embark on a thorough cleaning process to eliminate dust, debris, and grime that may affect the performance and longevity of the device. Follow these steps to effectively clean the components:
- Inspect for Accumulated Debris: Thoroughly examine each component for the presence of dust, dirt, or residue that may have accumulated over time. Pay particular attention to areas around buttons, sensors, and contact points.
- Use Compressed Air: Employ a can of compressed air to blow away loose particles and dust from the components. Ensure that the airflow is directed away from sensitive components to prevent damage from excessive pressure.
- Clean with Isopropyl Alcohol: Dampen a cotton swab with isopropyl alcohol and gently wipe the surfaces of the components to remove stubborn grime and residue. Isopropyl alcohol evaporates quickly and leaves no residue, making it ideal for cleaning electronic components.
- Clean the Casing: While the internal components are removed, take the opportunity to clean the interior of the mouse casing using a lint-free cloth lightly moistened with isopropyl alcohol. Address any areas where debris may have accumulated, such as around the button housings and edges of the casing.
- Inspect and Reassemble: After cleaning, inspect each component to ensure that it is free of debris and residue. Once satisfied with the cleanliness of the components, proceed to reassemble the mouse by following the reverse of the disassembly steps.
By diligently cleaning the internal components of your Anker gaming mouse, you can maintain optimal performance and extend the lifespan of the device. Regular cleaning and maintenance contribute to a smoother gaming experience and ensure that the mouse remains in top condition for extended periods of use.
Reassembling the Mouse
After the internal components of your Anker gaming mouse have been thoroughly cleaned and inspected, it’s time to reassemble the device to its original state. Proper reassembly is crucial to ensure that the mouse functions as intended and that all components are securely in place. Follow these steps to reassemble your Anker gaming mouse:
- Refer to Labels and Organized Components: If you labeled or organized the removed components during the disassembly process, refer to these to ensure that each part is correctly positioned and oriented for reinstallation.
- Reinstall Internal Components: Begin by placing the cleaned internal components back into the mouse casing in their respective positions. Take care to reconnect any cables and ensure that components such as the circuit board, scroll wheel, and buttons are securely seated.
- Closing the Casing: Align the top and bottom halves of the mouse casing, ensuring that the internal clips engage properly. Apply gentle pressure along the seam to secure the casing, taking care not to force the components together.
- Reinstalling Screws: Utilize the Phillips head screwdriver to reinsert and tighten the screws that secure the mouse’s casing. Ensure that the screws are snug but not overtightened, as this could lead to damage or misalignment of the components.
- Replace the Mouse Feet: If the mouse feet were removed, carefully adhere them back onto the underside of the mouse, ensuring that they are positioned accurately and securely to maintain smooth movement across surfaces.
- Test the Mouse: Once reassembly is complete, test the functionality of the mouse by connecting it to a computer and ensuring that all buttons, scroll wheel, and tracking functions operate as expected. This allows you to verify that the reassembly was successful and that the components are functioning properly.
By meticulously reassembling your Anker gaming mouse, you can ensure that the device is restored to its original condition, free of debris and with all components securely in place. A carefully executed reassembly process contributes to the longevity and performance of your gaming mouse, allowing you to continue enjoying a seamless gaming experience.
Testing the Mouse
After reassembling your Anker gaming mouse, it’s essential to conduct thorough testing to ensure that all components are functioning correctly and that the device is ready for use. Testing the mouse allows you to verify the success of the reassembly process and address any potential issues before returning to regular use. Follow these steps to effectively test your Anker gaming mouse:
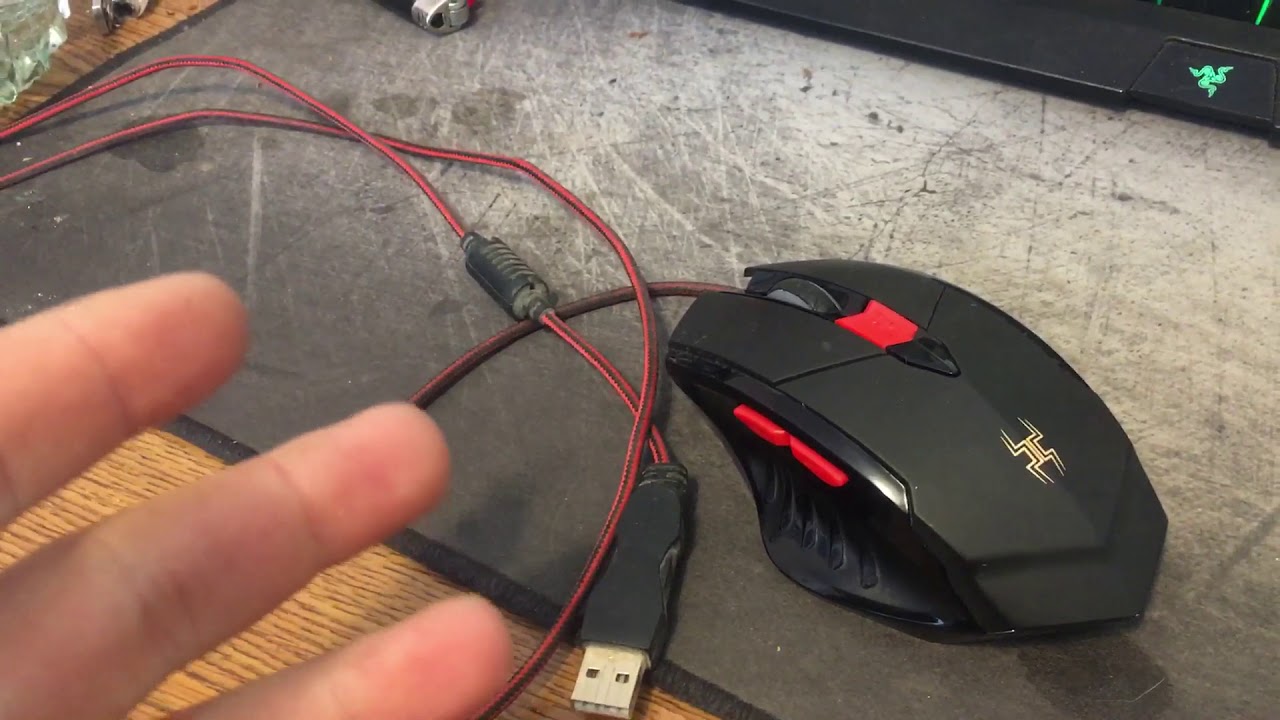
- Connect the Mouse: Plug the mouse into a computer using the appropriate interface, whether it’s USB or wireless, to establish a connection and prepare for testing.
- Check Button Functionality: Test each button on the mouse, including the primary clicks, side buttons, and scroll wheel button, to ensure that they register input and provide the expected tactile response.
- Verify Tracking and Sensitivity: Move the mouse on a suitable surface and verify that the cursor movement is smooth and responsive. Adjust the mouse sensitivity settings if necessary to achieve the desired tracking performance.
- Test Scroll Wheel Function: Utilize the scroll wheel to navigate documents or web pages, ensuring that it scrolls smoothly and registers each incremental movement accurately.
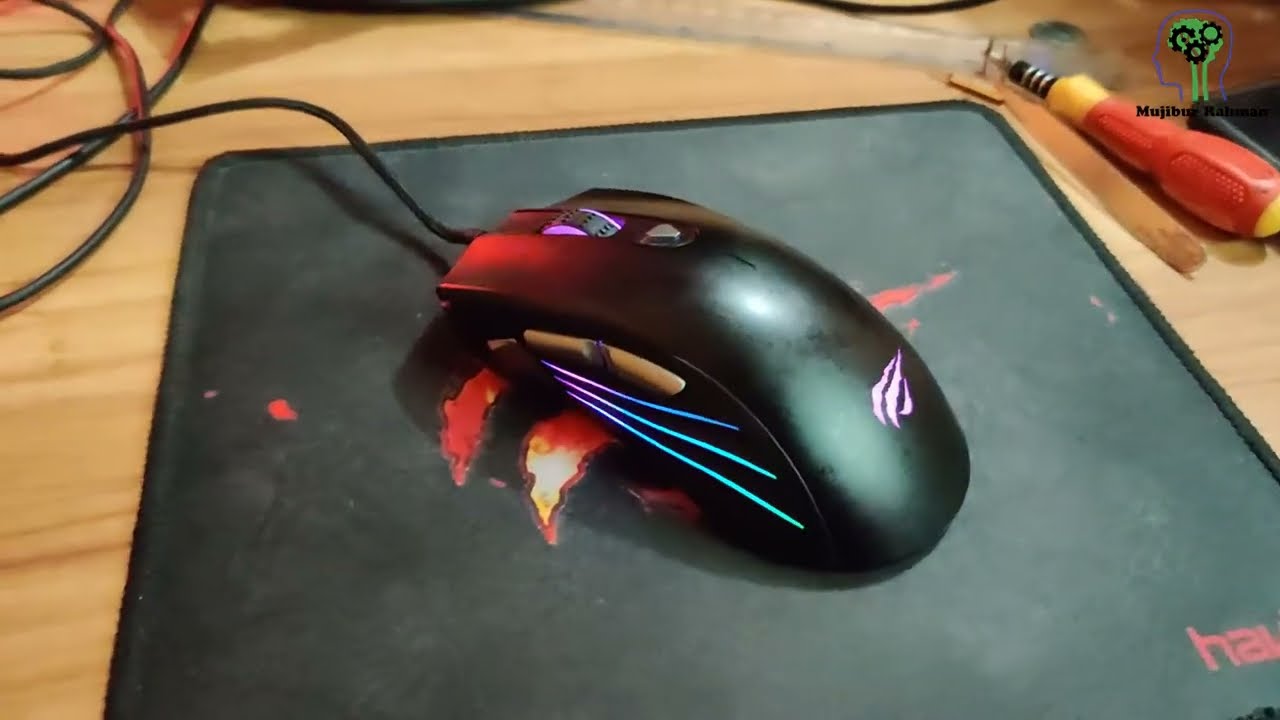
- Ensure LED Functionality (If Applicable): If your Anker gaming mouse features LED lighting, verify that the lighting effects and color options function as intended, adding visual appeal to the device.
- Test Additional Features: If your mouse includes additional features such as customizable buttons or DPI settings, test these functions to ensure that they are operational and can be adjusted as needed.
- Verify Software Integration: If your mouse requires specific software for customization or configuration, ensure that the software recognizes the device and allows for seamless integration and adjustment of settings.
By conducting comprehensive testing, you can confirm that your Anker gaming mouse is fully operational and ready for use in your gaming or productivity endeavors. Addressing any potential issues during the testing phase allows you to fine-tune the device’s performance and maximize its functionality, providing a satisfying user experience.


