Introduction
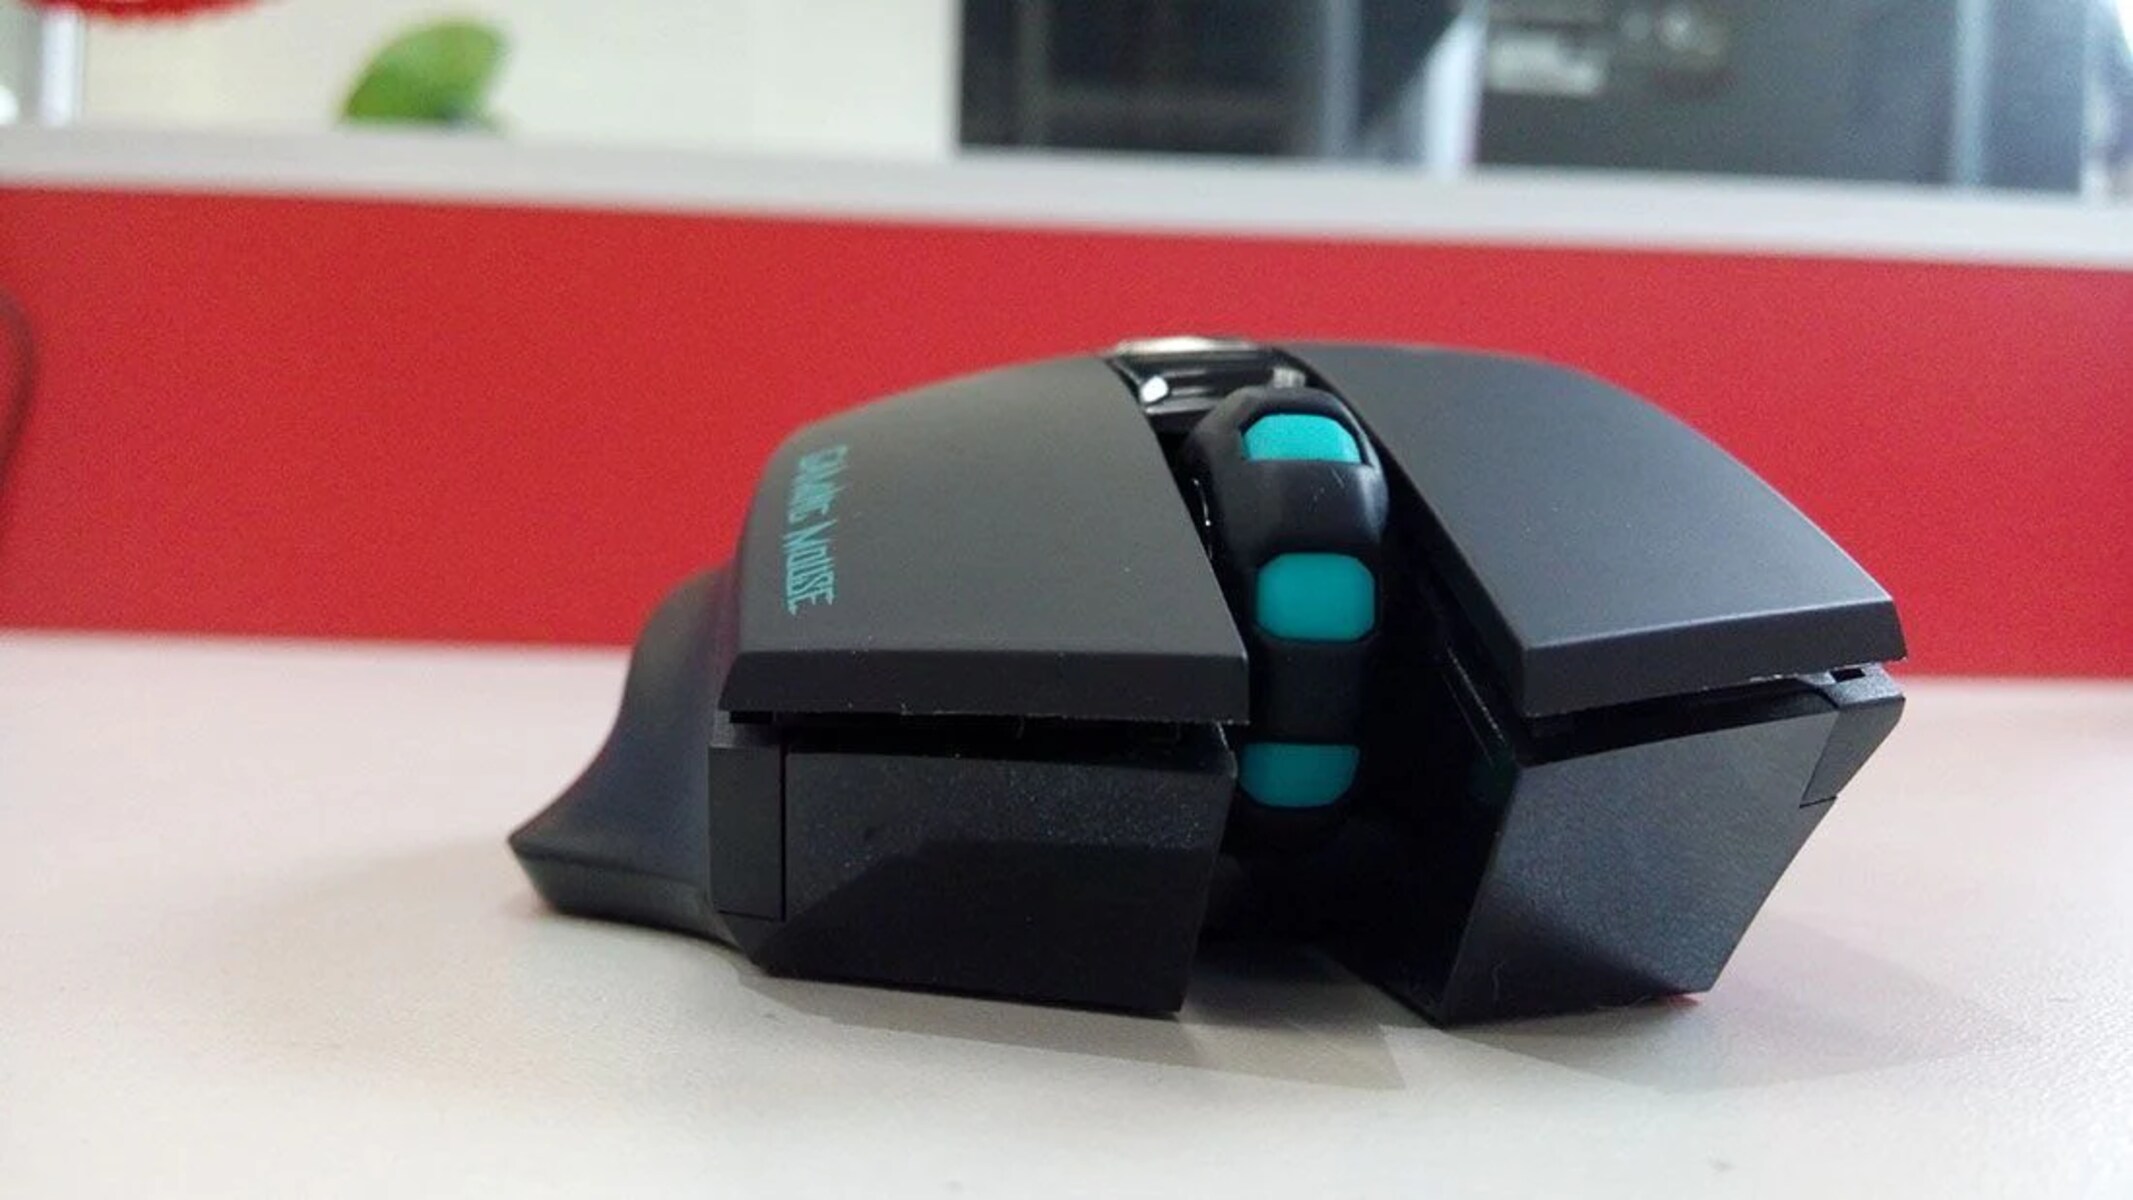
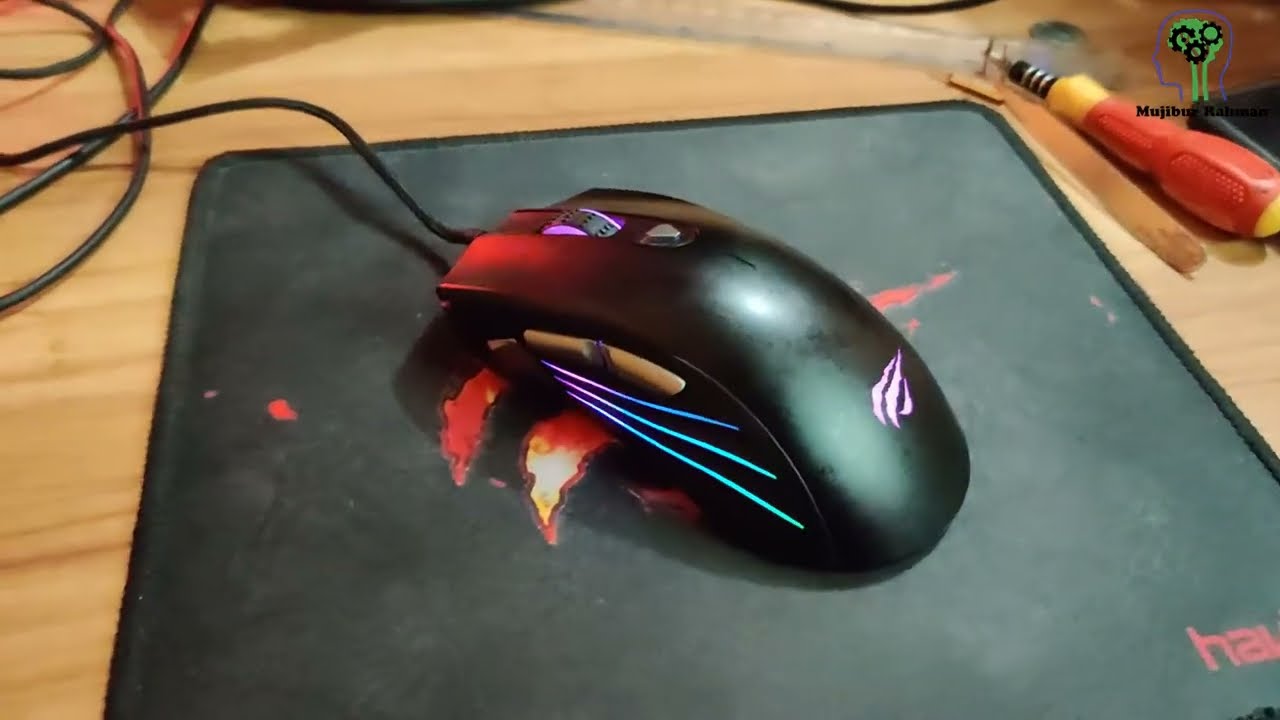
Taking apart a Havit Gaming Mouse HV-KB558CM can be a valuable skill for troubleshooting and repairing issues, customizing the mouse, or simply satisfying curiosity about its internal components. This guide will walk you through the step-by-step process of disassembling the mouse, ensuring that you have the necessary tools and knowledge to proceed safely and effectively.
Whether you're looking to clean the mouse, replace a faulty component, or modify it to your preferences, understanding how to disassemble it is the first crucial step. By following this guide, you'll gain insight into the inner workings of the Havit Gaming Mouse HV-KB558CM and empower yourself to address various issues that may arise.
Before embarking on this disassembly journey, it's essential to gather the required tools and prepare a clean, well-lit workspace. This will help ensure that the process goes smoothly and that you can reassemble the mouse correctly once you've completed the necessary tasks.
As we delve into the disassembly process, keep in mind that taking apart your Havit Gaming Mouse HV-KB558CM may void its warranty. Therefore, it's important to proceed with caution and be mindful of the potential implications. With the right approach and attention to detail, you can successfully navigate the disassembly process and gain a deeper understanding of your gaming mouse's inner workings.
So, without further ado, let's gather the tools required and begin the disassembly of the Havit Gaming Mouse HV-KB558CM.
Tools Required
Before embarking on the disassembly process, it’s essential to have the right tools at your disposal. Here’s a list of the tools you’ll need to effectively take apart the Havit Gaming Mouse HV-KB558CM:
- Phillips Head Screwdriver: This tool is essential for removing the screws that secure the mouse’s components. Ensure that the screwdriver fits the screws snugly to prevent damage during removal.
- Flathead Screwdriver or Plastic Opening Tool: A flathead screwdriver or a plastic opening tool can be used to gently pry open the mouse cover without causing damage. If using a screwdriver, exercise caution to avoid scratching or denting the mouse.
- Tweezers: Tweezers can be handy for handling small components and disconnecting cables during the disassembly process. They provide precision and control when working with intricate parts.
- Clean, Soft Cloth: Having a soft, lint-free cloth on hand can help you wipe down components and remove any dust or debris that may have accumulated inside the mouse.
- Workspace: While not a traditional tool, a clean and well-lit workspace is crucial for disassembling the mouse. Ensure that you have ample space to lay out the components and keep track of the screws and small parts.
By having these tools readily available, you’ll be well-equipped to tackle the disassembly process with confidence and precision. Remember to handle the tools and components with care to avoid causing any unintended damage during the disassembly and reassembly stages.
Removing the Mouse Cover
To begin the disassembly process, you’ll first need to remove the mouse cover to gain access to the internal components. Follow these steps to safely and effectively remove the cover of the Havit Gaming Mouse HV-KB558CM:
- Turn Off the Mouse: Before starting, ensure that the mouse is turned off and disconnected from your computer or gaming device. This precaution prevents any accidental inputs during the disassembly process.
- Locate the Screws: Flip the mouse over and identify the screws holding the cover in place. These screws are typically located beneath the mouse’s glide pads or feet. Carefully peel back or remove the glide pads to access the screws.
- Remove the Screws: Use a Phillips head screwdriver to carefully remove the screws securing the mouse cover. Keep the screws in a safe place to prevent misplacement.
- Pry Open the Cover: Once the screws are removed, gently use a flathead screwdriver or a plastic opening tool to pry open the mouse cover. Start at an edge and work your way around the perimeter, applying gentle pressure to release the cover from the main body of the mouse.
- Handle with Care: As you remove the cover, be mindful of any attached cables or ribbon connectors. These delicate components should be disconnected with caution to avoid damage. If necessary, use tweezers to gently disconnect any cables or connectors.
With the mouse cover successfully removed, you’ll have clear access to the internal components, including the scroll wheel, side buttons, and main body. Take care to set aside the cover and any removed screws in a safe and organized manner, as they will be needed when reassembling the mouse.
Proceeding with patience and precision during this step will ensure that the mouse cover is removed without causing any damage to the components or the cover itself.
Removing the Scroll Wheel
Once the mouse cover has been safely removed, you can proceed to remove the scroll wheel from the Havit Gaming Mouse HV-KB558CM. The scroll wheel is a critical component that allows for smooth navigation and precise control during use. Follow these steps to effectively remove the scroll wheel:
- Assess the Scroll Wheel Assembly: Take a moment to observe the scroll wheel assembly and its placement within the mouse. Note any clips, screws, or retention mechanisms that may be securing the scroll wheel in place.
- Disconnect any Cables: If the scroll wheel assembly is connected to the mouse’s circuit board via cables, carefully disconnect them to ensure that the scroll wheel can be removed without causing damage.
- Release Retention Mechanisms: Depending on the mouse’s design, there may be retention clips or screws holding the scroll wheel assembly in place. Use the appropriate tools to release these mechanisms, taking care not to apply excessive force that could lead to damage.
- Gently Remove the Scroll Wheel: Once any securing mechanisms have been addressed, gently lift or slide the scroll wheel assembly out of its housing. Take note of its orientation and the manner in which it is positioned within the mouse for reference during reassembly.
- Inspect and Clean: With the scroll wheel removed, take the opportunity to inspect it for any debris or obstruction that may be affecting its performance. Use a clean, soft cloth to gently wipe the scroll wheel and its housing, ensuring that it is free from dust or buildup.
By following these steps, you can safely remove the scroll wheel from the Havit Gaming Mouse HV-KB558CM, allowing for maintenance, cleaning, or potential replacement as needed. Remember to handle the scroll wheel assembly with care to avoid causing any damage during the removal process.
Removing the Side Buttons
The side buttons of the Havit Gaming Mouse HV-KB558CM play a crucial role in providing additional functionality and customization options for users. Whether you need to clean the side buttons or access other internal components, removing them requires precision and attention to detail. Follow these steps to effectively remove the side buttons:
- Evaluate the Side Button Design: Take a moment to assess how the side buttons are integrated into the mouse’s structure. They may be secured by clips, screws, or other retention mechanisms that need to be addressed during the removal process.
- Identify Securing Mechanisms: Determine the specific method used to secure the side buttons. This may involve locating and removing small screws, releasing retention clips, or carefully prying the buttons from their housing.
- Exercise Caution: When working to remove the side buttons, it’s important to exercise caution and apply gentle, even pressure to avoid damaging the buttons or the surrounding components. If the buttons are connected to the mouse’s circuitry, take care to disconnect them without causing undue strain on the cables.
- Keep Track of Components: As the side buttons are removed, keep track of any accompanying screws, clips, or other small parts to ensure that they can be properly reinstalled during the reassembly process.
- Inspect for Debris: With the side buttons removed, take the opportunity to inspect the area beneath them for any debris or buildup that may have accumulated. Use a soft, clean cloth or compressed air to gently clean the exposed area, promoting optimal performance and longevity.
By following these steps, you can safely remove the side buttons from the Havit Gaming Mouse HV-KB558CM, allowing for maintenance, cleaning, or customization as needed. Remember to handle the side buttons with care to prevent damage and ensure that they can be reinstalled properly once the necessary tasks have been completed.
Removing the Main Body
As you progress through the disassembly of the Havit Gaming Mouse HV-KB558CM, removing the main body provides access to the core components and internal mechanisms. This step is crucial for undertaking repairs, modifications, or thorough cleaning of the mouse. Follow these steps to safely remove the main body of the mouse:
- Disconnect the Main Body: If the main body of the mouse is connected to the circuit board via cables, carefully disconnect these to ensure that the body can be removed without causing damage.
- Identify Securing Mechanisms: Take note of any screws, clips, or retention mechanisms that secure the main body to the mouse’s frame. These may be located beneath the mouse’s glide pads or feet, requiring their removal to access the underlying components.
- Release Retention Mechanisms: Use the appropriate tools to release any retention clips or screws holding the main body in place. Exercise caution to avoid applying excessive force that could lead to damage to the mouse’s frame or internal components.
- Gently Lift the Main Body: Once any securing mechanisms have been addressed, gently lift or slide the main body of the mouse from its housing. Take note of its orientation and the manner in which it is positioned within the mouse for reference during reassembly.
- Inspect and Clean: With the main body removed, take the opportunity to inspect it for any debris or obstruction that may be affecting its performance. Use a clean, soft cloth or compressed air to gently clean the main body and its housing, ensuring that it is free from dust or buildup.
By following these steps, you can safely remove the main body of the Havit Gaming Mouse HV-KB558CM, providing access to its internal components for maintenance, repairs, or customization. Remember to handle the main body with care to avoid causing any damage during the removal process, and keep track of any accompanying screws or small parts for reassembly.
Conclusion
Disassembling the Havit Gaming Mouse HV-KB558CM can be an enlightening and empowering experience, offering insight into its intricate design and functionality. By following the step-by-step process outlined in this guide, you’ve gained the knowledge and skills necessary to safely take apart the mouse, access its internal components, and perform various maintenance or customization tasks.
Throughout the disassembly process, it’s essential to approach each step with patience, precision, and a keen eye for detail. Handling the mouse and its components with care ensures that no damage is incurred during the disassembly and reassembly stages, preserving the mouse’s functionality and longevity.
Whether you embarked on this disassembly journey to address a specific issue, customize the mouse to your preferences, or simply satisfy your curiosity about its inner workings, you’ve taken a significant step toward understanding and maintaining your Havit Gaming Mouse HV-KB558CM.
As you reassemble the mouse, remember to refer back to this guide to ensure that each component is returned to its proper place and secured effectively. By doing so, you’ll maintain the mouse’s optimal performance and functionality, allowing you to continue enjoying its features and capabilities for years to come.
Armed with the knowledge gained from this disassembly process, you’re well-equipped to address future maintenance needs, explore customization options, and appreciate the intricacies of the Havit Gaming Mouse HV-KB558CM’s design.