Introduction
Disassembling a gaming mouse may seem like a daunting task, but with the right tools and a methodical approach, it can be a rewarding experience. Whether you're looking to customize the internal components, clean the mouse thoroughly, or troubleshoot an issue, knowing how to disassemble a gaming mouse is a valuable skill for any enthusiast or professional. By following the steps outlined in this guide, you'll gain insight into the intricate design of your gaming mouse and learn how to maintain it for optimal performance.
Taking apart a gaming mouse can provide a deeper understanding of its inner workings, including the sensor, switches, and other components that contribute to its responsiveness and precision. This knowledge can be invaluable for gamers, as it enables them to make informed decisions when choosing a mouse and empowers them to troubleshoot and customize their devices to suit their specific needs.
Furthermore, disassembling a gaming mouse allows for thorough cleaning and maintenance, which is essential for preserving its longevity and performance. Over time, dust, debris, and sweat can accumulate within the mouse, affecting its functionality and comfort. By learning how to disassemble and clean your gaming mouse, you can ensure that it remains in top condition, providing a consistent and reliable gaming experience.
In this guide, we'll walk you through the process of disassembling a gaming mouse, from gathering the necessary tools to reassembling the mouse after maintenance. By following these steps, you'll be equipped with the knowledge and skills to confidently disassemble and maintain your gaming mouse, prolonging its lifespan and optimizing its performance. Let's dive into the essential tools and equipment you'll need for this task.
Tools and Equipment Needed
Before embarking on the journey of disassembling a gaming mouse, it’s crucial to gather the essential tools and equipment to ensure a smooth and efficient process. Here’s a list of items you’ll need:
- Screwdriver Set: A precision screwdriver set with various head types, including Phillips and flathead, is essential for removing screws of different sizes from the mouse casing.
- Plastic Opening Tools: These non-conductive tools are designed to safely pry open the mouse casing without causing damage to the exterior or internal components.
- Cotton Swabs: Used for gentle cleaning of components and removing dust and debris from intricate areas within the mouse.
- Isopropyl Alcohol: A high-purity alcohol solution (90% or higher) is ideal for cleaning the sensor, mouse buttons, and other internal parts without leaving residue.
- Canned Air: Utilized to blow away dust and particles from hard-to-reach areas within the mouse, ensuring a thorough cleaning process.
- Anti-Static Wrist Strap: While not mandatory, an anti-static wrist strap can prevent electrostatic discharge, safeguarding the sensitive electronic components of the mouse during disassembly.
- Microfiber Cloth: Ideal for wiping down the exterior of the mouse and ensuring a clean and polished finish after reassembly.
Having these tools at your disposal will facilitate the disassembly process and contribute to the overall safety and preservation of the gaming mouse. With the necessary tools in hand, you’re ready to proceed to the next stage: removing the mouse feet.
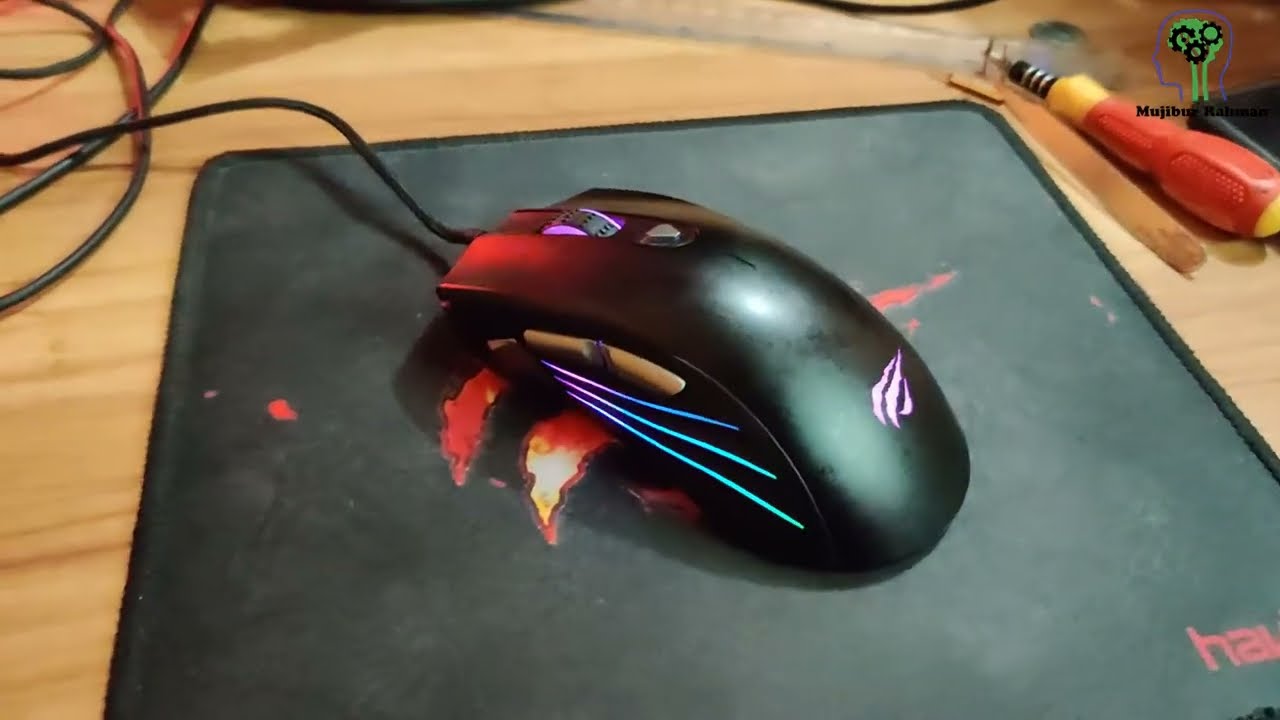
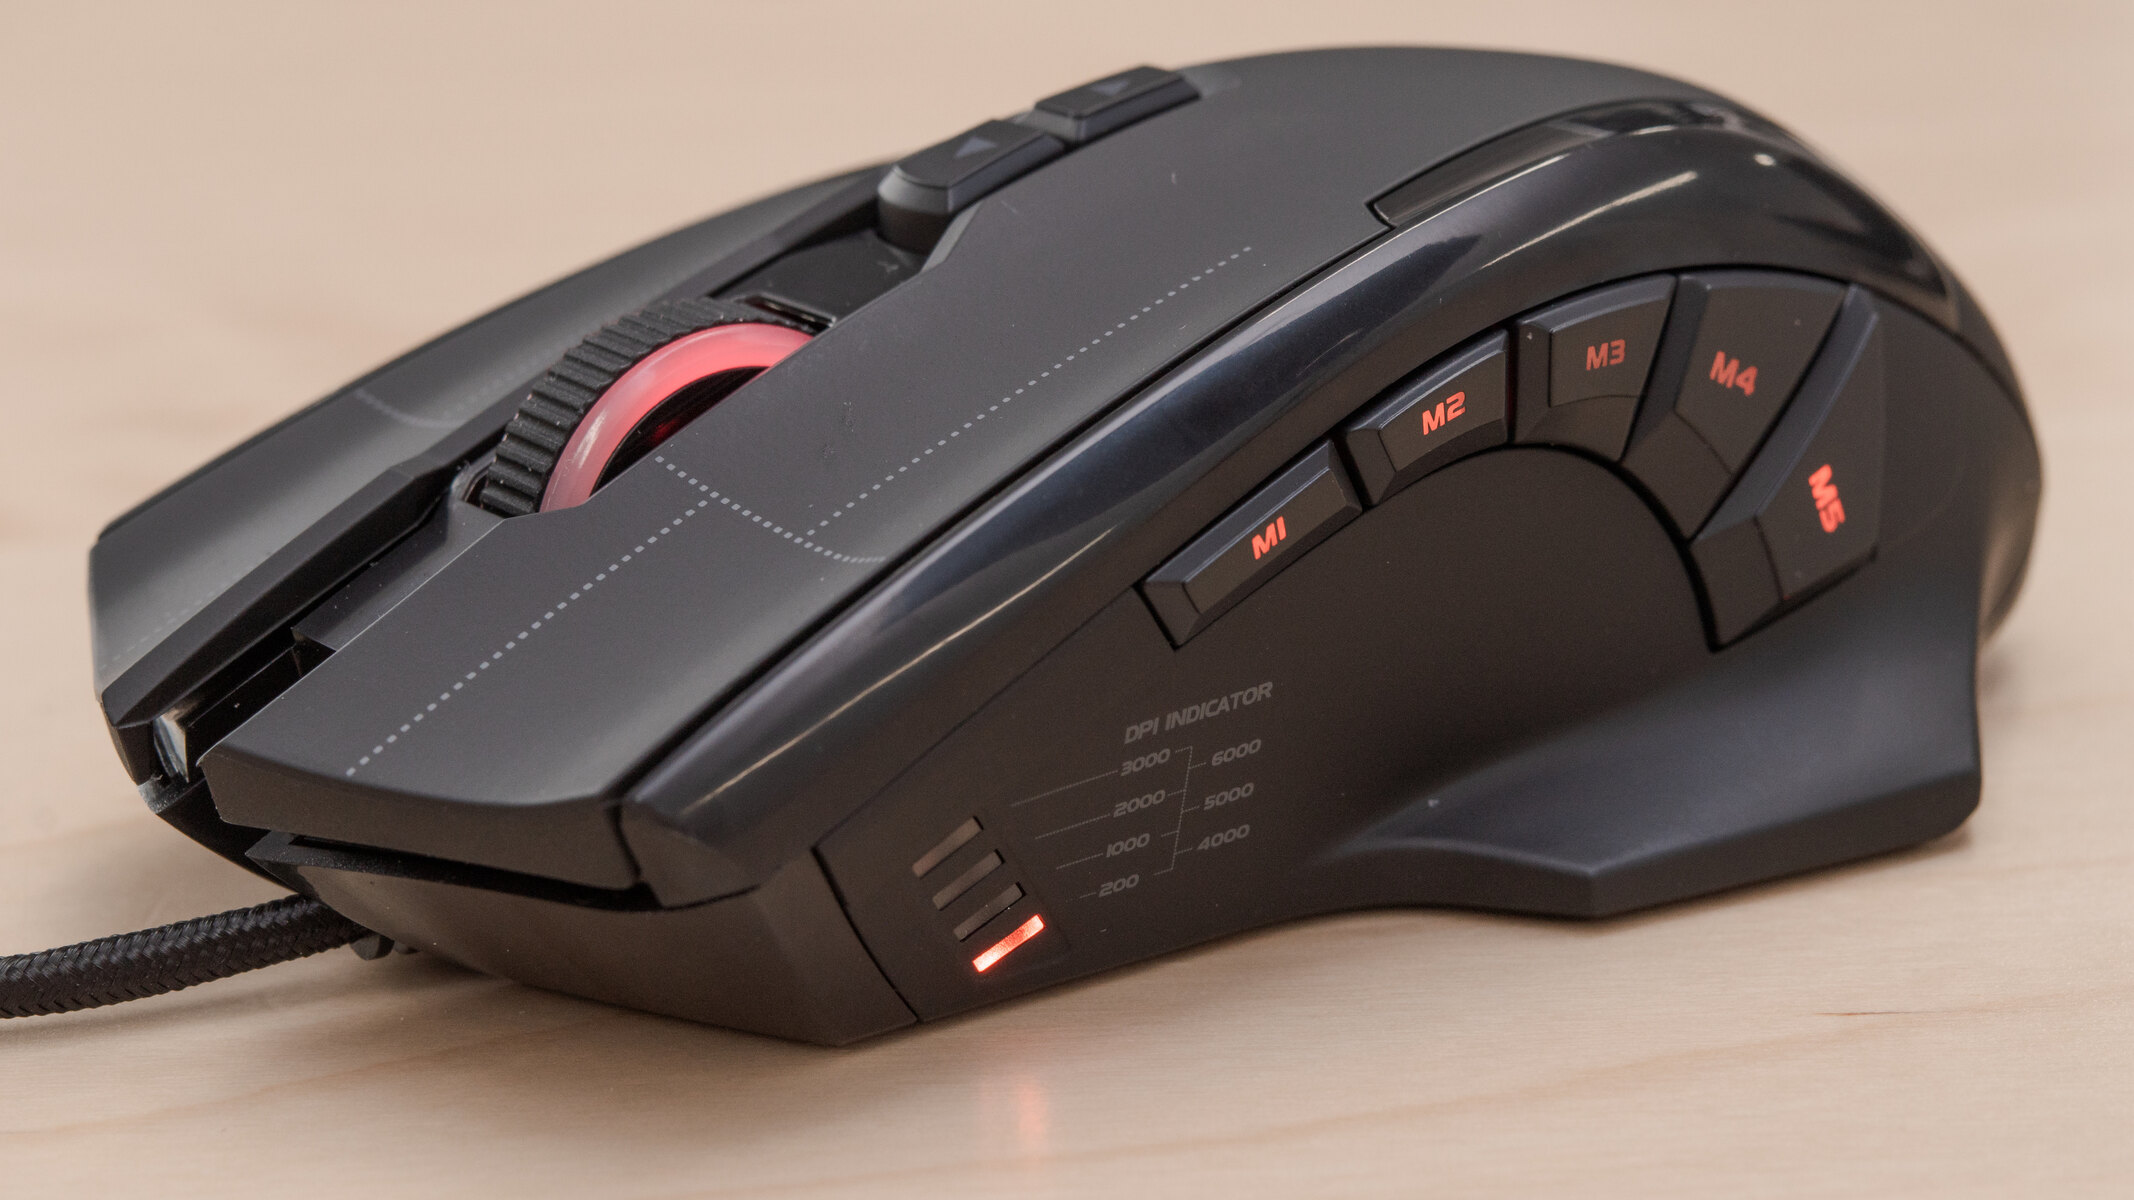
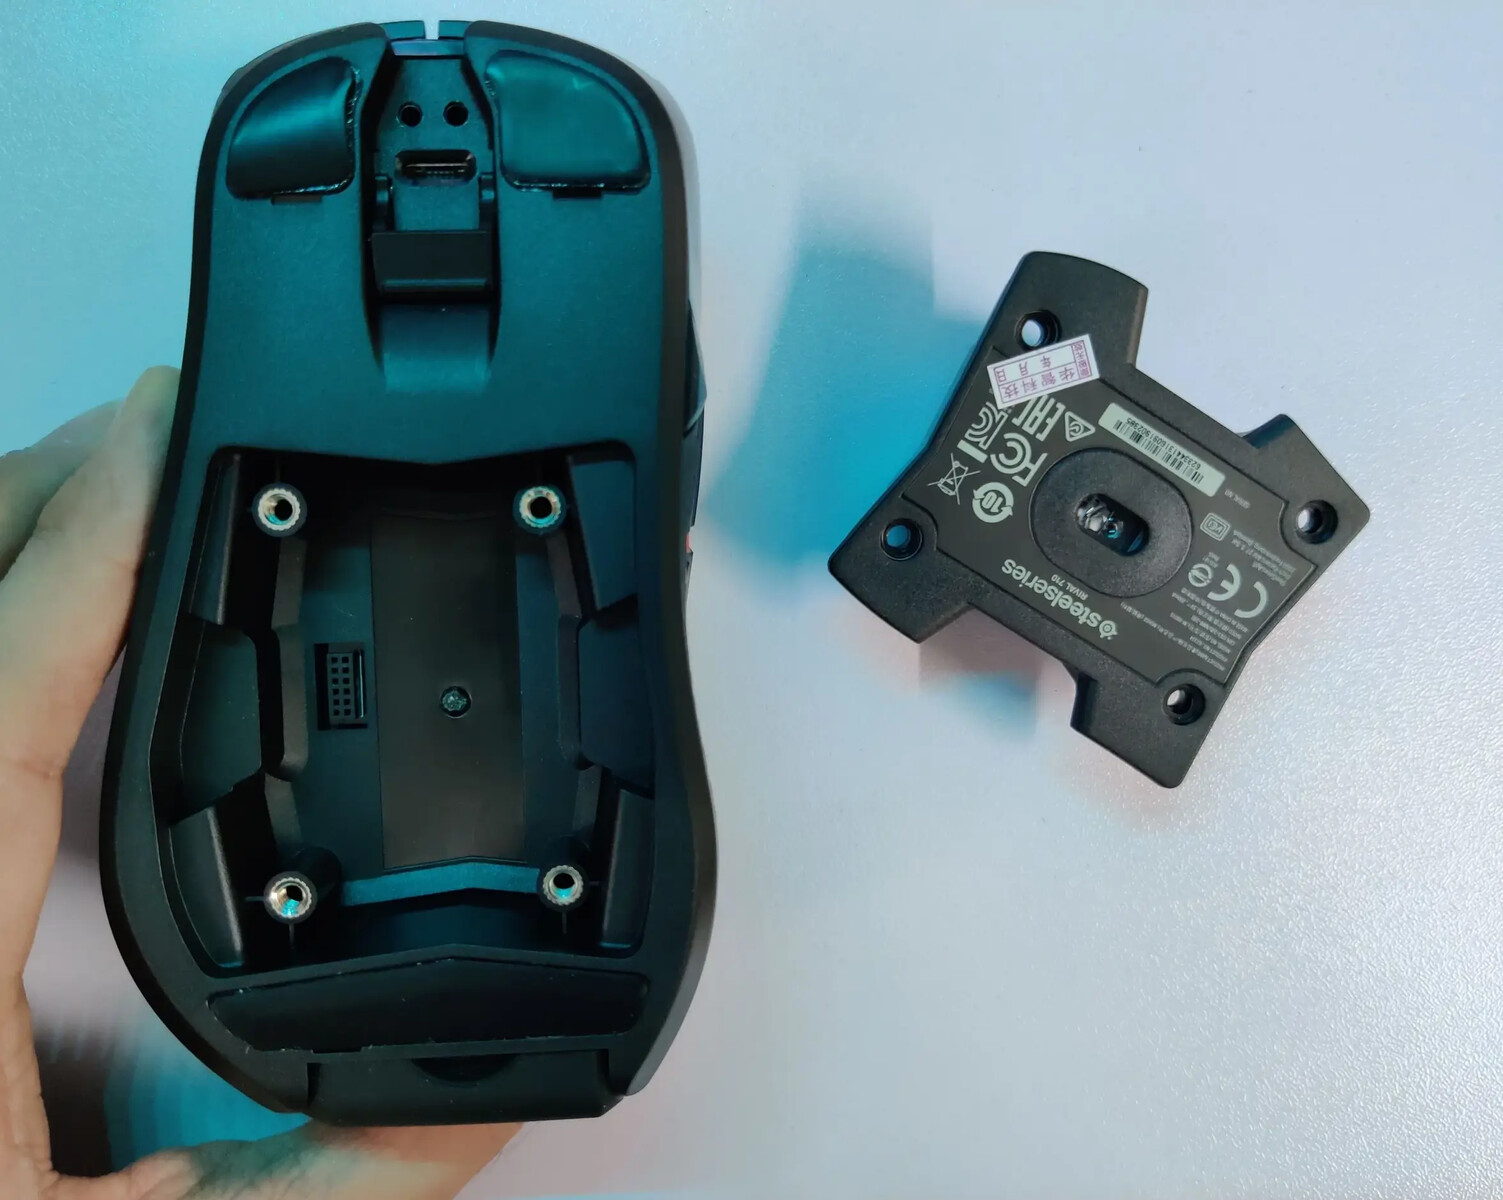
Removing the Mouse Feet
Before delving into the disassembly of the gaming mouse, it’s essential to address the mouse feet, which are typically made of smooth, low-friction material to facilitate smooth movement across various surfaces. These feet are often attached to the bottom of the mouse using adhesive and may need to be removed to access the screws securing the mouse casing.
To remove the mouse feet, follow these steps:
- Locate the Mouse Feet: Turn the mouse over and identify the four small pads, one at each corner of the mouse. These are the mouse feet that need to be removed to access the screws beneath them.
- Apply Heat: Using a hairdryer or a heat gun set to a low temperature, gently warm the mouse feet. This will soften the adhesive, making it easier to lift the feet without causing damage to them or the mouse casing.
- Pry Off the Feet: Carefully insert a plastic opening tool or a flathead screwdriver under the edge of each mouse foot and gently lift them off. Take your time to avoid tearing or damaging the feet, as they will need to be reattached later.
- Store the Mouse Feet: Place the removed mouse feet in a safe and clean location to prevent debris or dust from adhering to the adhesive, which could affect their reusability.
Once the mouse feet have been safely removed and stored, you can proceed to the next step: opening the mouse casing. This stage is critical for gaining access to the internal components and is a fundamental part of the disassembly process.
Opening the Mouse Casing
With the mouse feet removed, you can now focus on opening the casing of the gaming mouse to access its internal components. This step requires precision and care to avoid damaging the mouse or its delicate parts. Here’s a systematic approach to safely open the mouse casing:
- Identify the Screws: Examine the bottom of the mouse to locate the screws securing the casing. These screws are often concealed beneath the mouse feet or beneath labels. Use a magnifying glass if necessary, as some screws may be tiny and discreetly positioned.
- Use the Correct Screwdriver: Select the appropriate screwdriver head from your set to fit the screws snugly. Applying the wrong size or type of screwdriver can damage the screw heads, making them difficult to remove and potentially compromising the mouse’s integrity.
- Unscrew Carefully: Gently unscrew each of the fasteners, ensuring that the screwdriver is aligned properly and applying steady, even pressure. It’s crucial to avoid overtightening or stripping the screws, as this can hinder reassembly and compromise the structural integrity of the mouse.
- Keep Screws Secure: As you remove the screws, place them in a small container or on a clean, designated surface to prevent misplacement. Organizing the screws according to their location in the mouse will simplify the reassembly process.
- Pry Open the Casing: Once all the screws have been removed, use plastic opening tools or a flathead screwdriver to carefully pry open the mouse casing. Start at an edge and work your way around the perimeter, exercising caution to avoid forcing or bending the casing, which could lead to irreparable damage.
- Inspect for Hidden Fasteners: Some mouse models may have additional clips or hidden fasteners securing the casing. Take your time to inspect and identify any such features, ensuring that all fasteners are released before attempting to fully separate the casing.
By following these steps, you can safely open the mouse casing, granting access to the internal components for cleaning, maintenance, or customization. The next stage involves disconnecting the internal components, which is a crucial part of the disassembly process.
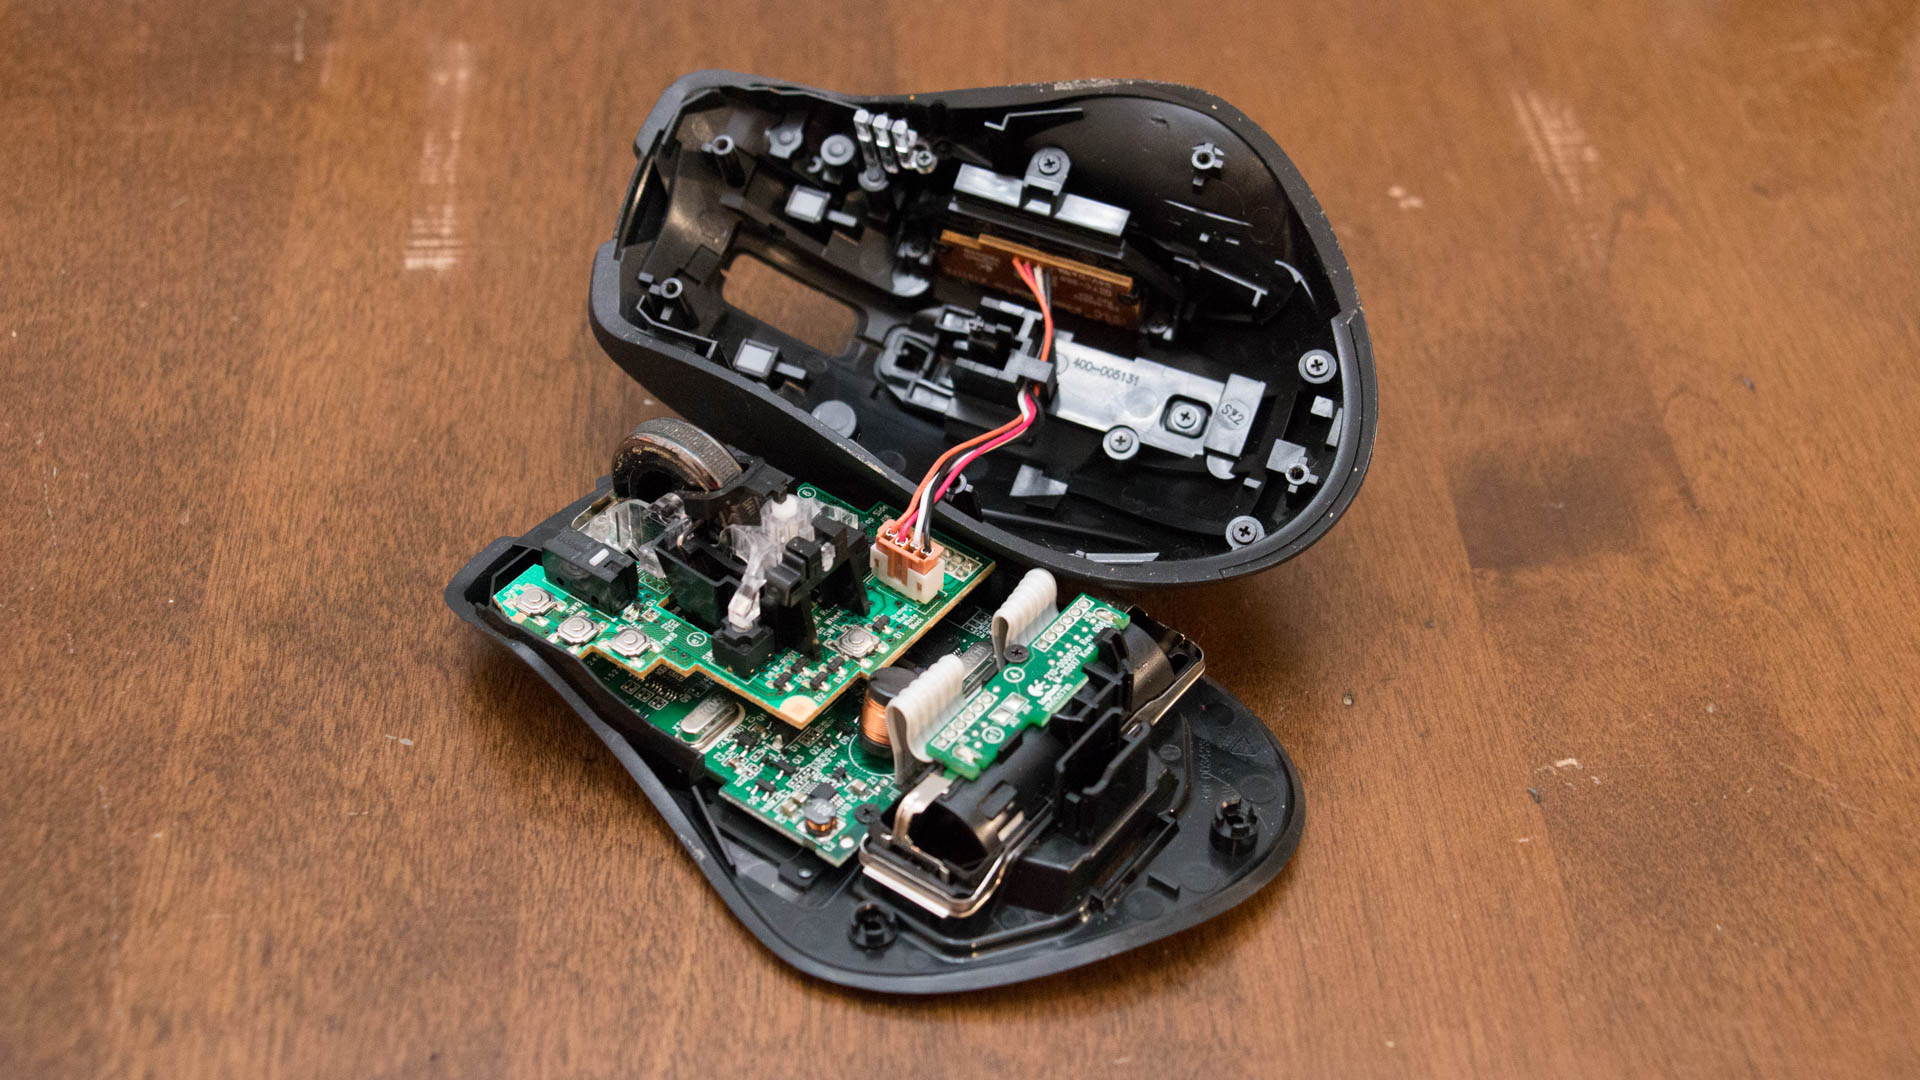
Disconnecting the Internal Components
Once the mouse casing is open, you’ll gain access to the intricate internal components that contribute to the functionality and performance of the gaming mouse. Before proceeding with any disconnections, it’s essential to approach this step with caution and precision to avoid damaging the delicate components. Here’s how to disconnect the internal components methodically:
- Identify the Internal Components: Take note of the various components within the mouse, including the printed circuit board (PCB), switches, scroll wheel assembly, and the sensor. Familiarizing yourself with the layout will aid in reassembly and troubleshooting.
- Unplug Cable Connections: If your gaming mouse features a detachable cable, carefully unplug it from the PCB. Exercise gentle, even pressure and avoid pulling on the cable itself to prevent damage to the connector or the PCB.
- Detach Switches and Buttons: If necessary, disconnect any switches or buttons that are integrated into the mouse’s casing. Take note of their orientation and placement to facilitate reassembly later.
- Handle the PCB with Care: When handling the PCB, avoid touching sensitive components or traces with bare hands. Electrostatic discharge (ESD) can damage the delicate electronics, so it’s advisable to wear an anti-static wrist strap or ground yourself by touching a metal surface before handling the PCB.
- Document the Disconnections: Consider taking photographs or making notes of the disconnection process to serve as a visual reference during reassembly. This can be particularly helpful if you encounter challenges when reconnecting the components.
- Organize Disconnected Components: Keep the disconnected components in a safe and clean area, ideally in separate containers or compartments to prevent mixing them up. Maintaining organization will streamline the reassembly process and reduce the likelihood of misplacing components.
By following these steps, you can safely disconnect the internal components of the gaming mouse, paving the way for thorough cleaning, maintenance, or customization. The next phase involves cleaning and maintaining the disassembled components, which is essential for preserving the mouse’s performance and longevity.
Cleaning and Maintenance
With the internal components of the gaming mouse disconnected, it’s an opportune time to perform a thorough cleaning and maintenance routine to ensure optimal performance and longevity. The following steps outline the process of cleaning and maintaining the disassembled components:
- Cleaning the Casing: Use a mild cleaning solution and a soft, lint-free cloth to gently wipe down the interior and exterior of the mouse casing. Pay attention to areas prone to dust and debris accumulation, ensuring a pristine surface before reassembly.
- Cleaning the PCB: Carefully inspect the printed circuit board (PCB) for dust, debris, or any visible contaminants. Use a can of compressed air to blow away any loose particles, and if necessary, lightly swab the PCB with a clean, anti-static brush or cotton swab dipped in isopropyl alcohol to remove stubborn residue.
- Cleaning the Sensor and Lens: If your gaming mouse features an optical or laser sensor, delicately clean the sensor and lens using a specialized sensor cleaning swab or a microfiber cloth lightly moistened with isopropyl alcohol. Ensure that no lint or residue is left behind to maintain optimal tracking performance.
- Cleaning Switches and Buttons: Inspect the switches and buttons for any debris or buildup that may affect their responsiveness. Use compressed air to dislodge any foreign particles, and if necessary, apply a minimal amount of isopropyl alcohol to a cotton swab to gently clean the switch contacts and button mechanisms.
- Inspecting and Lubricating Mechanisms: If applicable, inspect the scroll wheel assembly and other moving parts for signs of wear or friction. Apply a small amount of specialized lubricant, designed for electronic components, to ensure smooth operation and reduce mechanical resistance.
- Drying and Reassembly Preparation: Allow all cleaned components to air-dry thoroughly before proceeding with reassembly. Ensure that no moisture or cleaning solution residue remains, as this could compromise the functionality of the mouse.
By meticulously cleaning and maintaining the disassembled components, you can uphold the performance and reliability of your gaming mouse. The next phase involves reassembling the gaming mouse, bringing together the cleaned and maintained components to restore its functionality and precision.
Reassembling the Gaming Mouse
After completing the cleaning and maintenance of the disassembled components, reassembling the gaming mouse is the final step in the disassembly process. It’s essential to approach this phase with careful attention to detail and precision to ensure that the mouse functions optimally and maintains its structural integrity. The following steps outline the reassembly process:
- Organize Reassembling Components: Lay out the cleaned and dried components in an organized manner, ensuring that all necessary parts are accounted for before proceeding with reassembly.
- Begin with Internal Components: Start by reconnecting the internal components, such as the printed circuit board (PCB), switches, and buttons, following the documentation or visual references created during the disassembly process.
- Secure the Casing: Carefully align the mouse casing, ensuring that any clips or fasteners are engaged before gently pressing the casing together. Take care to avoid pinching any cables or components during this process.
- Reattach Screws: Using the appropriate screwdriver, reinsert and tighten the screws into their respective locations on the mouse casing. Exercise caution to avoid overtightening the screws, as this could damage the casing or the internal components.
- Reapply Mouse Feet: If the mouse features removable feet, reapply them to their original positions, ensuring that they adhere securely to the bottom of the mouse. Apply gentle pressure to ensure a strong bond with the mouse casing.
- Test Functionality: Before fully securing the mouse casing, plug the mouse into a computer and test its functionality, including button responsiveness, tracking accuracy, and scroll wheel operation. This step ensures that the reassembly was successful and allows for immediate troubleshooting if necessary.
- Final Inspection: Once functionality is confirmed, perform a visual inspection of the reassembled mouse to verify that all components are securely in place and that the casing is properly aligned.
By meticulously following these steps, you can successfully reassemble the gaming mouse, restoring it to its fully functional state. This process ensures that the mouse is clean, well-maintained, and ready to deliver a precise and reliable gaming experience.