Introduction
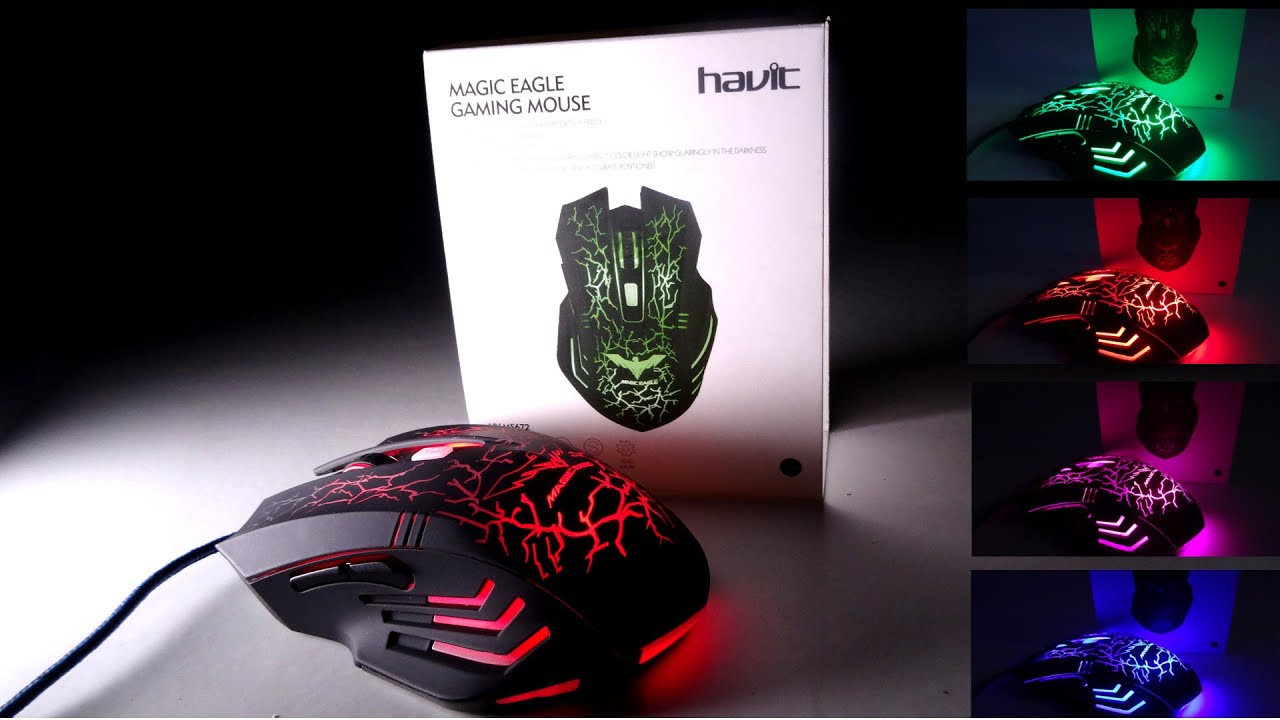
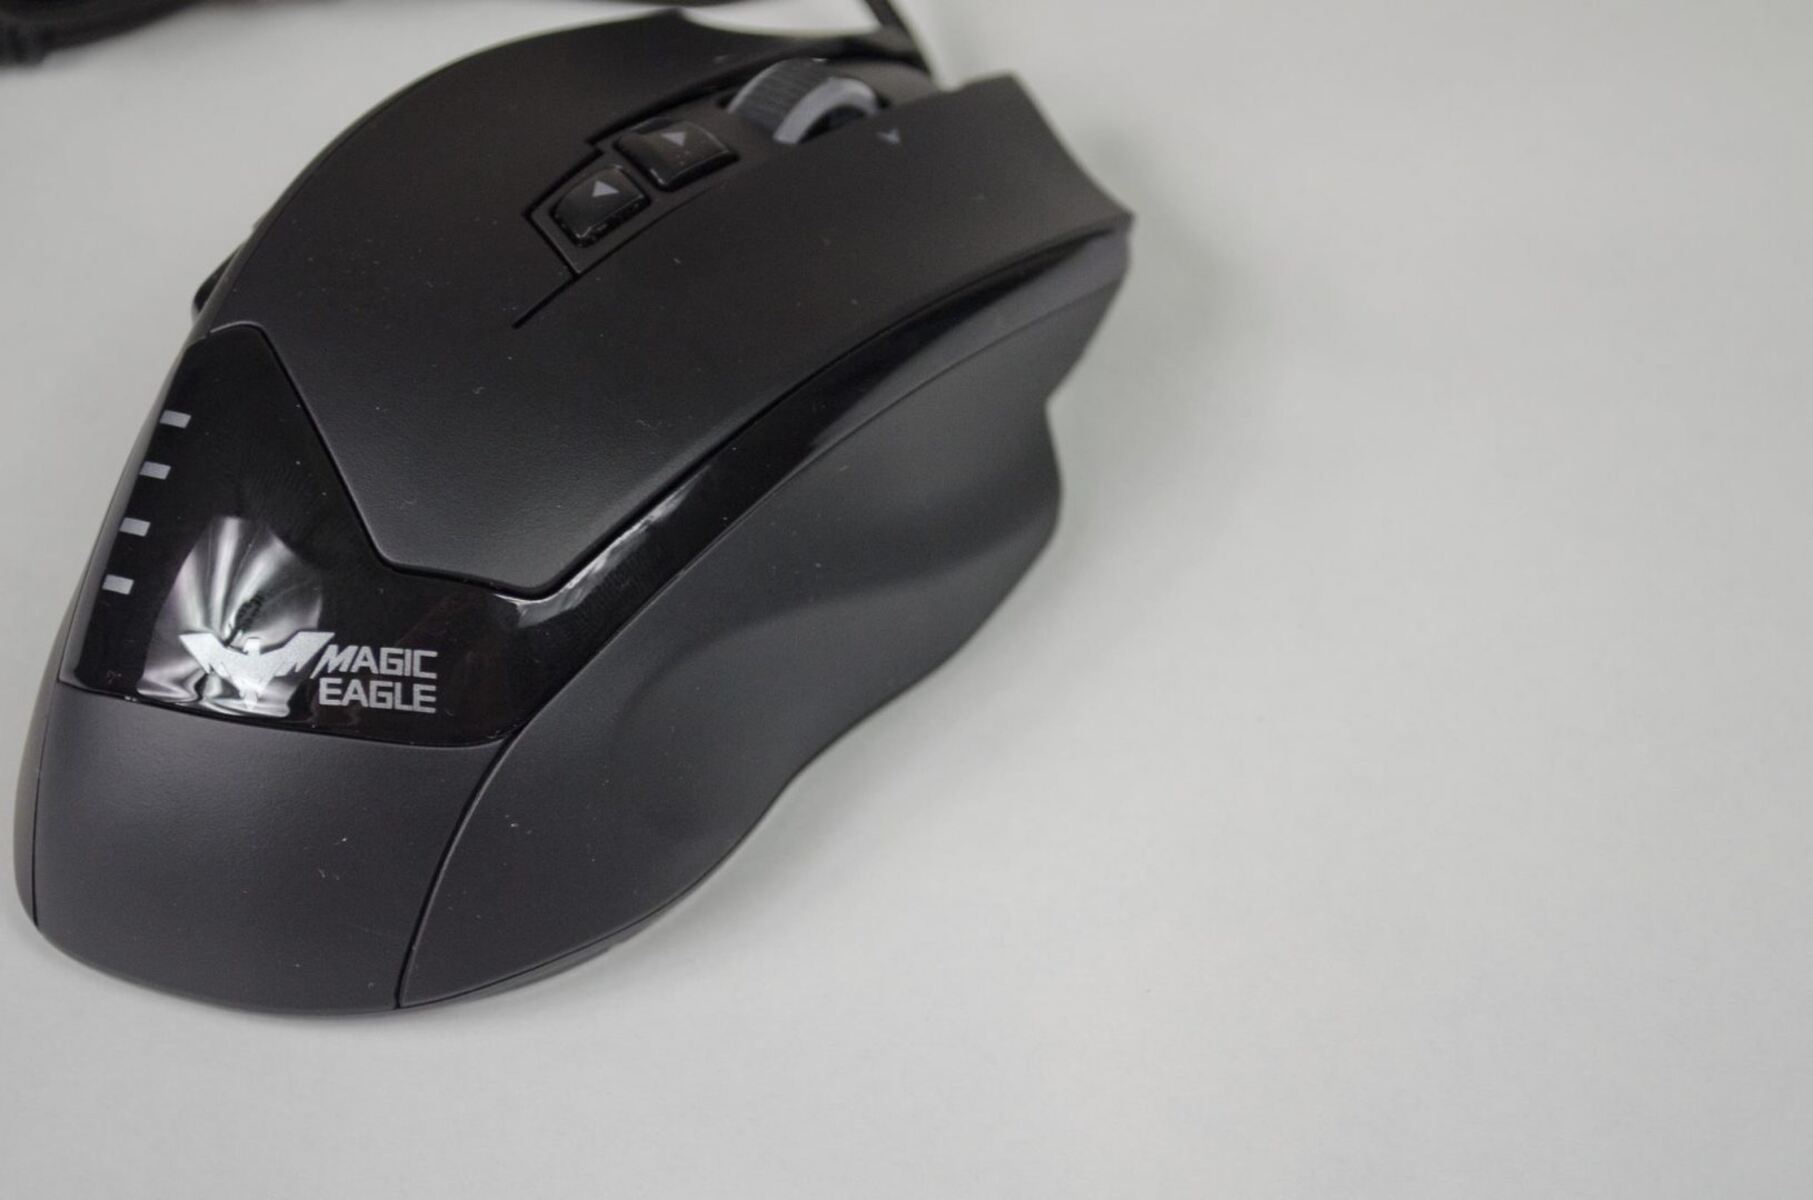
Welcome to the guide on opening the Havit Magic Eagle Gaming Mouse! Whether you’re looking to customize the mouse, troubleshoot an issue, or simply explore its internal components out of curiosity, this step-by-step tutorial will walk you through the process. Opening the mouse can provide insights into its construction, facilitate repairs, and even enable modifications to enhance its performance. By following these instructions, you’ll gain access to the internal components, allowing you to carry out various maintenance tasks or modifications.
Understanding how to open the Havit Magic Eagle Gaming Mouse is a valuable skill for tech enthusiasts, gamers, and anyone interested in the inner workings of electronic devices. This guide aims to demystify the process, providing clear and concise instructions to ensure a smooth and successful disassembly. With the right tools and careful execution, you’ll be able to open the mouse without causing any damage, empowering you to explore, repair, or customize it to suit your preferences.
So, let’s dive into the steps and equip ourselves with the knowledge and skills needed to open the Havit Magic Eagle Gaming Mouse. Whether you’re a seasoned tech aficionado or a curious beginner, this guide is designed to help you navigate the process with confidence and precision. Let’s embark on this fascinating journey into the inner workings of the Havit Magic Eagle Gaming Mouse!
Tools Required
Before embarking on the task of opening the Havit Magic Eagle Gaming Mouse, it’s essential to gather the necessary tools to ensure a smooth disassembly process. Here’s a list of tools you’ll need:
- Phillips head screwdriver: This tool is essential for removing the screws that secure the casing of the mouse. Ensure that the screwdriver fits the screws snugly to prevent slippage and potential damage to the screw heads.
- Plastic opening tools or spudger: These tools are designed to safely pry open the casing of electronic devices without causing damage. Using plastic tools helps prevent scratches or dents on the mouse’s exterior.
- Tweezers: Precision tweezers can be handy for handling small components or cables inside the mouse during the disassembly process.
- Clean workspace: Prepare a clean, well-lit area to work on the disassembly. A clutter-free workspace minimizes the risk of misplacing small components and ensures a conducive environment for the task.
- Anti-static wrist strap (optional): To prevent the buildup of static electricity that could potentially damage sensitive electronic components, wearing an anti-static wrist strap is advisable, especially if you’re working in a static-prone environment.
By having these tools at your disposal, you’ll be well-equipped to tackle the disassembly process with precision and care. Ensuring that you have the right tools on hand sets the stage for a successful and hassle-free experience, allowing you to open the Havit Magic Eagle Gaming Mouse safely and efficiently.
Removing the Screws
Before delving into the disassembly of the Havit Magic Eagle Gaming Mouse, it’s crucial to start with the initial step: removing the screws that secure the mouse’s casing. The mouse is typically held together by several screws, and accessing these screws is the first hurdle to overcome in the disassembly process. Here’s how to proceed:
- Prepare the Workspace: Begin by setting up a clean and well-lit workspace to work on the mouse. This minimizes the risk of losing small screws and components during the disassembly process.
- Identify Screw Locations: Inspect the mouse to locate the screws that secure the casing. In most cases, these screws are situated on the underside of the mouse and may be concealed beneath stickers or glide pads. Carefully peel back any stickers or pads to reveal the hidden screws.
- Use the Phillips Head Screwdriver: Once the screws are exposed, use the appropriately sized Phillips head screwdriver to carefully unscrew and remove them. It’s essential to apply steady pressure to avoid stripping the screws or damaging the screw heads.
- Keep Screws Secure: As you remove each screw, place them in a small container or designated area to prevent misplacement. Keeping the screws organized ensures that reassembly will be seamless and prevents the frustration of hunting for missing screws later on.
By meticulously following these steps, you’ll successfully remove the screws that hold the Havit Magic Eagle Gaming Mouse together, setting the stage for the subsequent stages of the disassembly process. Careful attention to detail and precision in handling the screws will contribute to a smooth and successful disassembly experience, allowing you to access the mouse’s internal components with confidence.
Opening the Casing
With the screws removed, the next step in disassembling the Havit Magic Eagle Gaming Mouse involves opening the casing to access its internal components. Here’s a guide to navigating this crucial phase of the disassembly process:
- Utilize Plastic Opening Tools: To avoid damaging the mouse’s exterior, use plastic opening tools or a spudger to gently pry open the casing. Insert the tool into the seam between the top and bottom halves of the mouse, exerting gentle pressure to gradually separate the two sections. It’s important to work methodically around the entire perimeter of the mouse to release all the internal clips holding the casing together.
- Exercise Patience: Opening the casing may require patience and precision, especially if the mouse has been securely assembled. Avoid using excessive force, as this could lead to damage or breakage. Instead, apply steady and even pressure to gradually release the internal clips and separate the casing halves.
- Inspect for Hidden Latches: Some mouse models may feature hidden latches or additional screws inside the casing. Carefully inspect the interior of the mouse as you open it, ensuring that all securing mechanisms are identified and addressed to prevent any damage during the disassembly process.
- Handle with Care: Throughout the process of opening the casing, handle the mouse with care to prevent any accidental damage to the internal components or the exterior casing. By exercising caution and precision, you can safely access the internal components without causing any harm to the mouse.
By following these steps, you’ll successfully open the casing of the Havit Magic Eagle Gaming Mouse, gaining access to its internal components. Proceeding with patience and attention to detail is key to ensuring a smooth and damage-free disassembly, setting the stage for the next phase of exploring and potentially modifying the mouse to suit your preferences.
Accessing the Internal Components
After successfully opening the casing of the Havit Magic Eagle Gaming Mouse, you’ll gain access to its internal components, providing a fascinating glimpse into the device’s inner workings. Here’s how to navigate this phase of the disassembly process:
- Explore the Internal Layout: Once the casing is open, take a moment to observe the arrangement of the internal components. Familiarize yourself with the positioning of the circuit board, switches, buttons, scroll wheel, and other elements that contribute to the mouse’s functionality.
- Handle Components with Care: As you access the internal components, exercise caution and handle the delicate elements, such as the circuit board and wiring, with care. Avoid applying excessive force or bending any components to prevent damage that could hinder the mouse’s functionality upon reassembly.
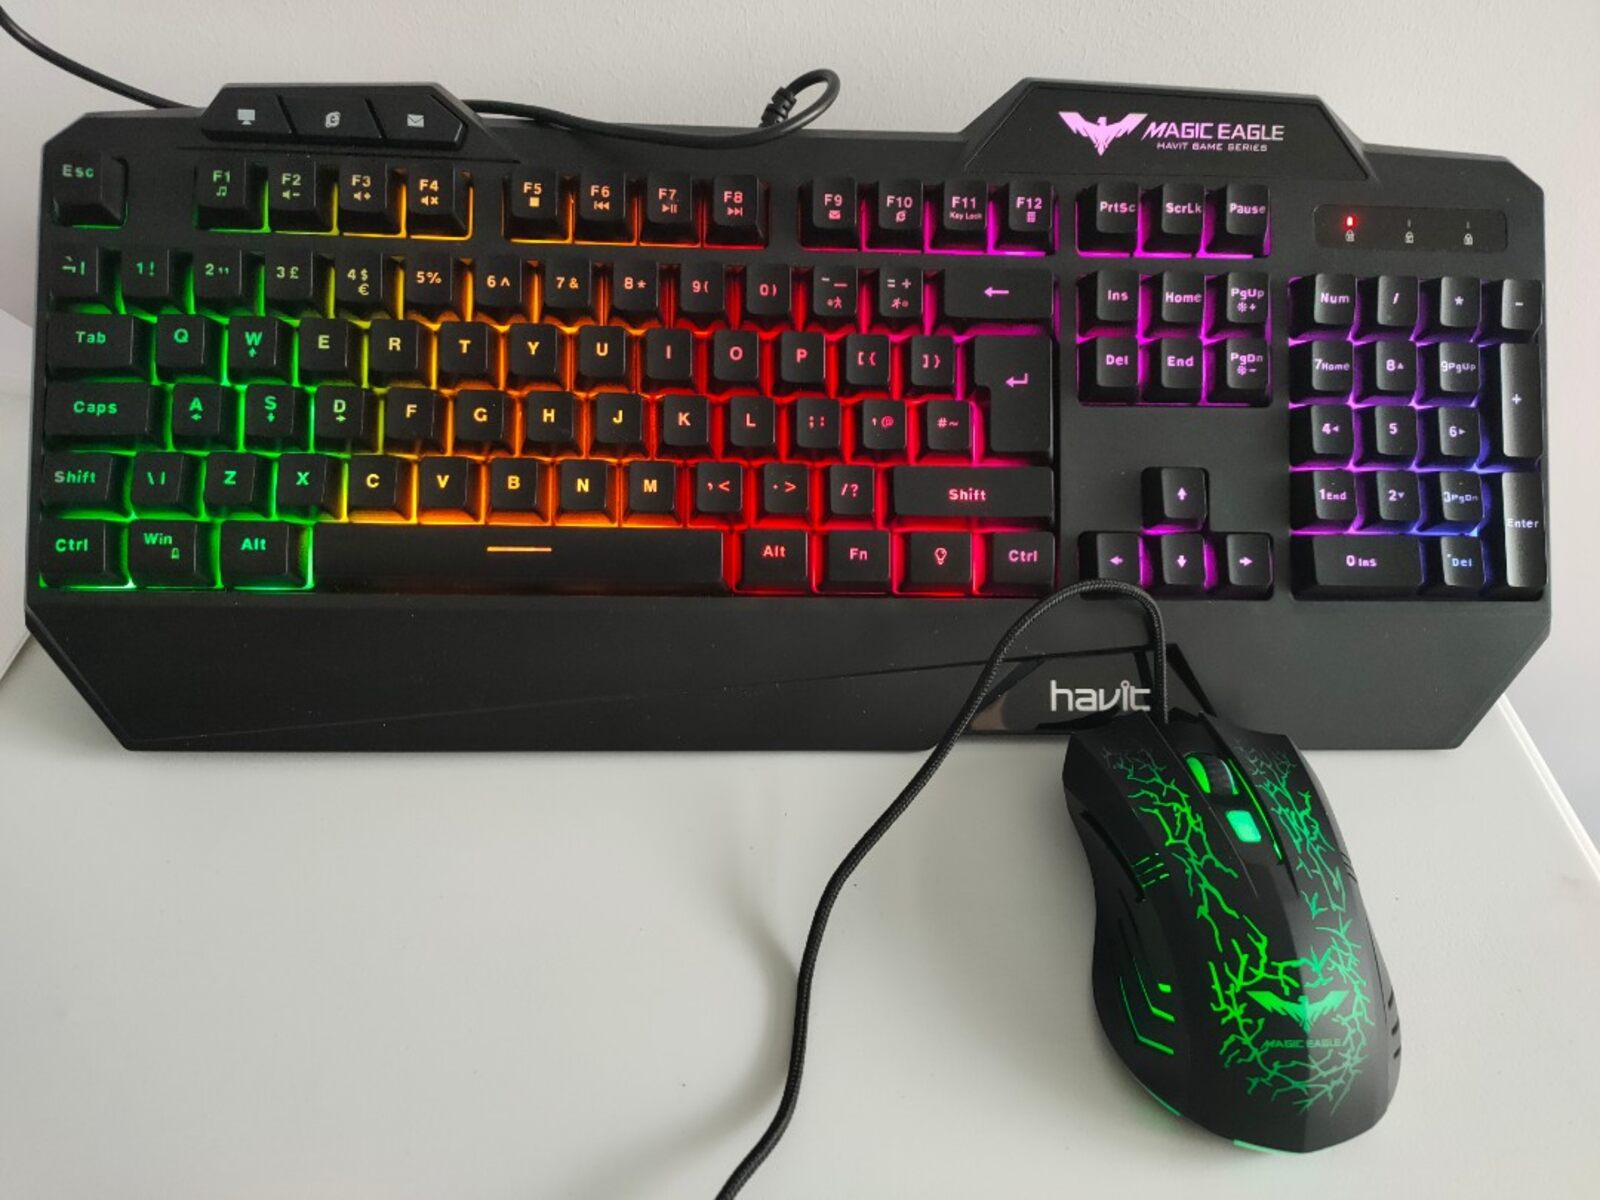
- Identify Modification Opportunities: With the internal components exposed, you may identify opportunities for modifications or enhancements. Whether it’s customizing the LED lighting, upgrading switches, or applying lubrication to the scroll wheel mechanism, accessing the internal components opens the door to potential enhancements tailored to your preferences.
- Inspect for Damage or Wear: While accessing the internal components, take the opportunity to inspect for any signs of damage, wear, or loose connections. This close examination can reveal issues that may have been affecting the mouse’s performance, paving the way for necessary repairs or maintenance.
By following these steps, you’ll be able to explore the internal components of the Havit Magic Eagle Gaming Mouse, gaining insights into its construction and functionality. This phase of the disassembly process presents an opportunity to appreciate the intricacies of the mouse’s design and potentially implement modifications or repairs to enhance its performance and user experience.
Closing the Casing
As you conclude the exploration of the internal components of the Havit Magic Eagle Gaming Mouse, the next crucial step is to securely close the casing, ensuring that all components are properly aligned and the mouse is reassembled with precision. Here’s a guide to effectively completing this phase of the disassembly process:
- Position the Components: Before closing the casing, ensure that all internal components, including the circuit board, switches, and wiring, are correctly positioned within the mouse’s housing. Check for any loose components or cables that need to be secured in place to prevent interference upon reassembly.
- Align the Casing Halves: Carefully align the top and bottom halves of the mouse’s casing, ensuring that the internal clips and securing mechanisms are properly engaged. Take your time to align the components, as a precise fit is essential to prevent any gaps or misalignment that could affect the mouse’s structural integrity.
- Apply Even Pressure: With the casing aligned, apply gentle and even pressure around the perimeter of the mouse to secure the casing halves together. Listen for audible clicks or indications that the internal clips have properly engaged, indicating that the casing is securely closed.
- Verify Stability: After closing the casing, gently test the stability of the mouse to ensure that the components are securely held in place and that the casing is properly sealed. Any rattling or instability may indicate that the casing requires further attention to achieve a secure closure.
By meticulously following these steps, you’ll effectively close the casing of the Havit Magic Eagle Gaming Mouse, ensuring that the internal components are safely housed within the device. Attention to detail and precision in reassembling the mouse’s casing is pivotal to maintaining its structural integrity and ensuring that the internal components are protected.
Testing the Mouse
Following the reassembly of the Havit Magic Eagle Gaming Mouse, it’s essential to conduct thorough testing to ensure that the device functions optimally and that all components are operating as intended. Here’s a comprehensive approach to testing the mouse after the disassembly and reassembly process:
- Functional Testing: Begin by testing the primary functionalities of the mouse, including left and right-click buttons, the scroll wheel, and any additional buttons or features specific to the model. Verify that each input responds accurately and consistently, indicating that the mouse’s core functionalities are intact.
- Tracking and Sensitivity: Assess the mouse’s tracking performance and sensitivity by navigating it across different surfaces and observing the cursor’s movement on the screen. Confirm that the tracking is smooth and precise, and that the mouse responds appropriately to different surface textures and mouse pad materials.
- Button Actuation and Tactility: Pay close attention to the tactile feedback and actuation of the mouse buttons. Ensure that the buttons depress and release smoothly, with a satisfying click, and that there are no instances of sticking or inconsistency in button response.
- LED and Customization Features: If the mouse features customizable LED lighting or other configurable settings, verify that these features are fully functional after reassembly. Test the LED lighting options and any customization software to ensure that they operate as expected.
- Long-Term Stability: Use the mouse over an extended period to assess its long-term stability and performance. Pay attention to any signs of abnormal behavior, such as intermittent disconnections, erratic cursor movement, or unusual button responses, which may indicate underlying issues requiring further attention.
By meticulously testing the Havit Magic Eagle Gaming Mouse following the reassembly process, you can ensure that the device is fully operational and that all components are functioning optimally. Thorough testing provides peace of mind and confirms that the mouse has been successfully reassembled without any compromise to its performance or functionality.