Introduction
Welcome to this guide on how to check the battery level of your Logitech MX Master 3 mouse! In this day and age, where wireless devices have become an integral part of our daily lives, keeping track of their battery levels is crucial to ensure uninterrupted functionality. The Logitech MX Master 3 is a popular wireless mouse known for its ergonomic design, enhanced precision, and advanced features. To maintain its optimal performance, it’s essential to regularly monitor the battery level to prevent sudden power loss.
As a Logitech MX Master 3 user, you may wonder how to check the battery level of your mouse efficiently. Fortunately, Logitech provides several methods to help you monitor your mouse’s battery status. In this article, we will explore different techniques you can use to check your Logitech MX Master 3 mouse battery level with ease.
Whether you prefer using software applications or the built-in LED indicator on the mouse itself, you’ll find the perfect method that suits your preferences and needs. So, let’s dive into the different ways you can check the battery level of your Logitech MX Master 3!
Why it’s important to check the battery level of your Logitech MX Master 3
Understanding why it’s essential to regularly monitor the battery level of your Logitech MX Master 3 mouse can help you avoid inconveniences and maximize your productivity. Here are several reasons why it’s crucial to keep an eye on your mouse’s battery level:
1. Avoid sudden power loss: A dead battery in the middle of an important task can be highly frustrating. By regularly checking the battery level, you can plan ahead and ensure that your Logitech MX Master 3 is sufficiently charged, preventing unexpected power loss during crucial moments.
2. Optimize performance and functionality: The Logitech MX Master 3 offers various features and customization options. However, some advanced features like gesture controls and Bluetooth connectivity may be affected when the battery level is low. By monitoring the battery level, you can ensure that all the features of your mouse are working optimally.
3. Extend battery life: Regularly monitoring the battery level allows you to understand your mouse’s power consumption patterns. It helps you identify any unusual battery drain or excessive power usage, which may indicate underlying issues. By addressing these problems promptly, you can extend the overall battery life of your Logitech MX Master 3.
4. Time management: Checking the battery level of your Logitech MX Master 3 helps you plan your work accordingly. If you notice that the battery is running low, you can schedule a charging session during a break or overnight. This ensures that your mouse is fully charged and ready for use when you need it the most.
5. Prevent data loss: In situations where your mouse is crucial for data input or manipulation, sudden power loss can lead to data loss or corruption. Regularly assessing the battery level allows you to take appropriate measures, such as saving your work or connecting an alternative power source, to avoid potential data loss disasters.
6. Peace of mind: By monitoring the battery level, you gain peace of mind knowing that your Logitech MX Master 3 mouse is adequately powered. You can focus on your tasks without constantly worrying about the battery running out at an inconvenient time.
Given these reasons, it’s clear that regularly checking the battery level of your Logitech MX Master 3 is essential for seamless and uninterrupted usage. Now, let’s explore the various methods available to monitor your mouse’s battery level in the next sections.
Method 1: Using Logitech Options Software
Logitech provides a user-friendly software called Logitech Options that allows you to customize and manage the settings of your Logitech MX Master 3 mouse. This software also enables you to monitor the battery level of your mouse. Here’s how you can check the battery level using Logitech Options:
Step 1: Start by downloading and installing the Logitech Options software from the official Logitech website. Ensure you have a stable internet connection before proceeding.
Step 2: Once installed, open the Logitech Options software on your computer.
Step 3: Connect your Logitech MX Master 3 mouse to your computer via the provided USB receiver or Bluetooth connection.
Step 4: In the Logitech Options software, locate and select your Logitech MX Master 3 mouse from the list of connected devices.
Step 5: Look for the battery icon or battery level indicator within the Logitech Options interface. The battery level should be displayed prominently, indicating the current status of your mouse’s battery.
Step 6: Logitech Options may provide additional details such as estimated battery life remaining or notifications when the battery level is low. Take note of these indicators to effectively manage your mouse’s power usage.
By following these steps, you can easily check the battery level of your Logitech MX Master 3 mouse using the Logitech Options software. Utilizing this method allows you to conveniently monitor the battery status and take appropriate actions to ensure your mouse is adequately charged.
Method 2: Checking Battery Level Using LED Indicator on the Mouse
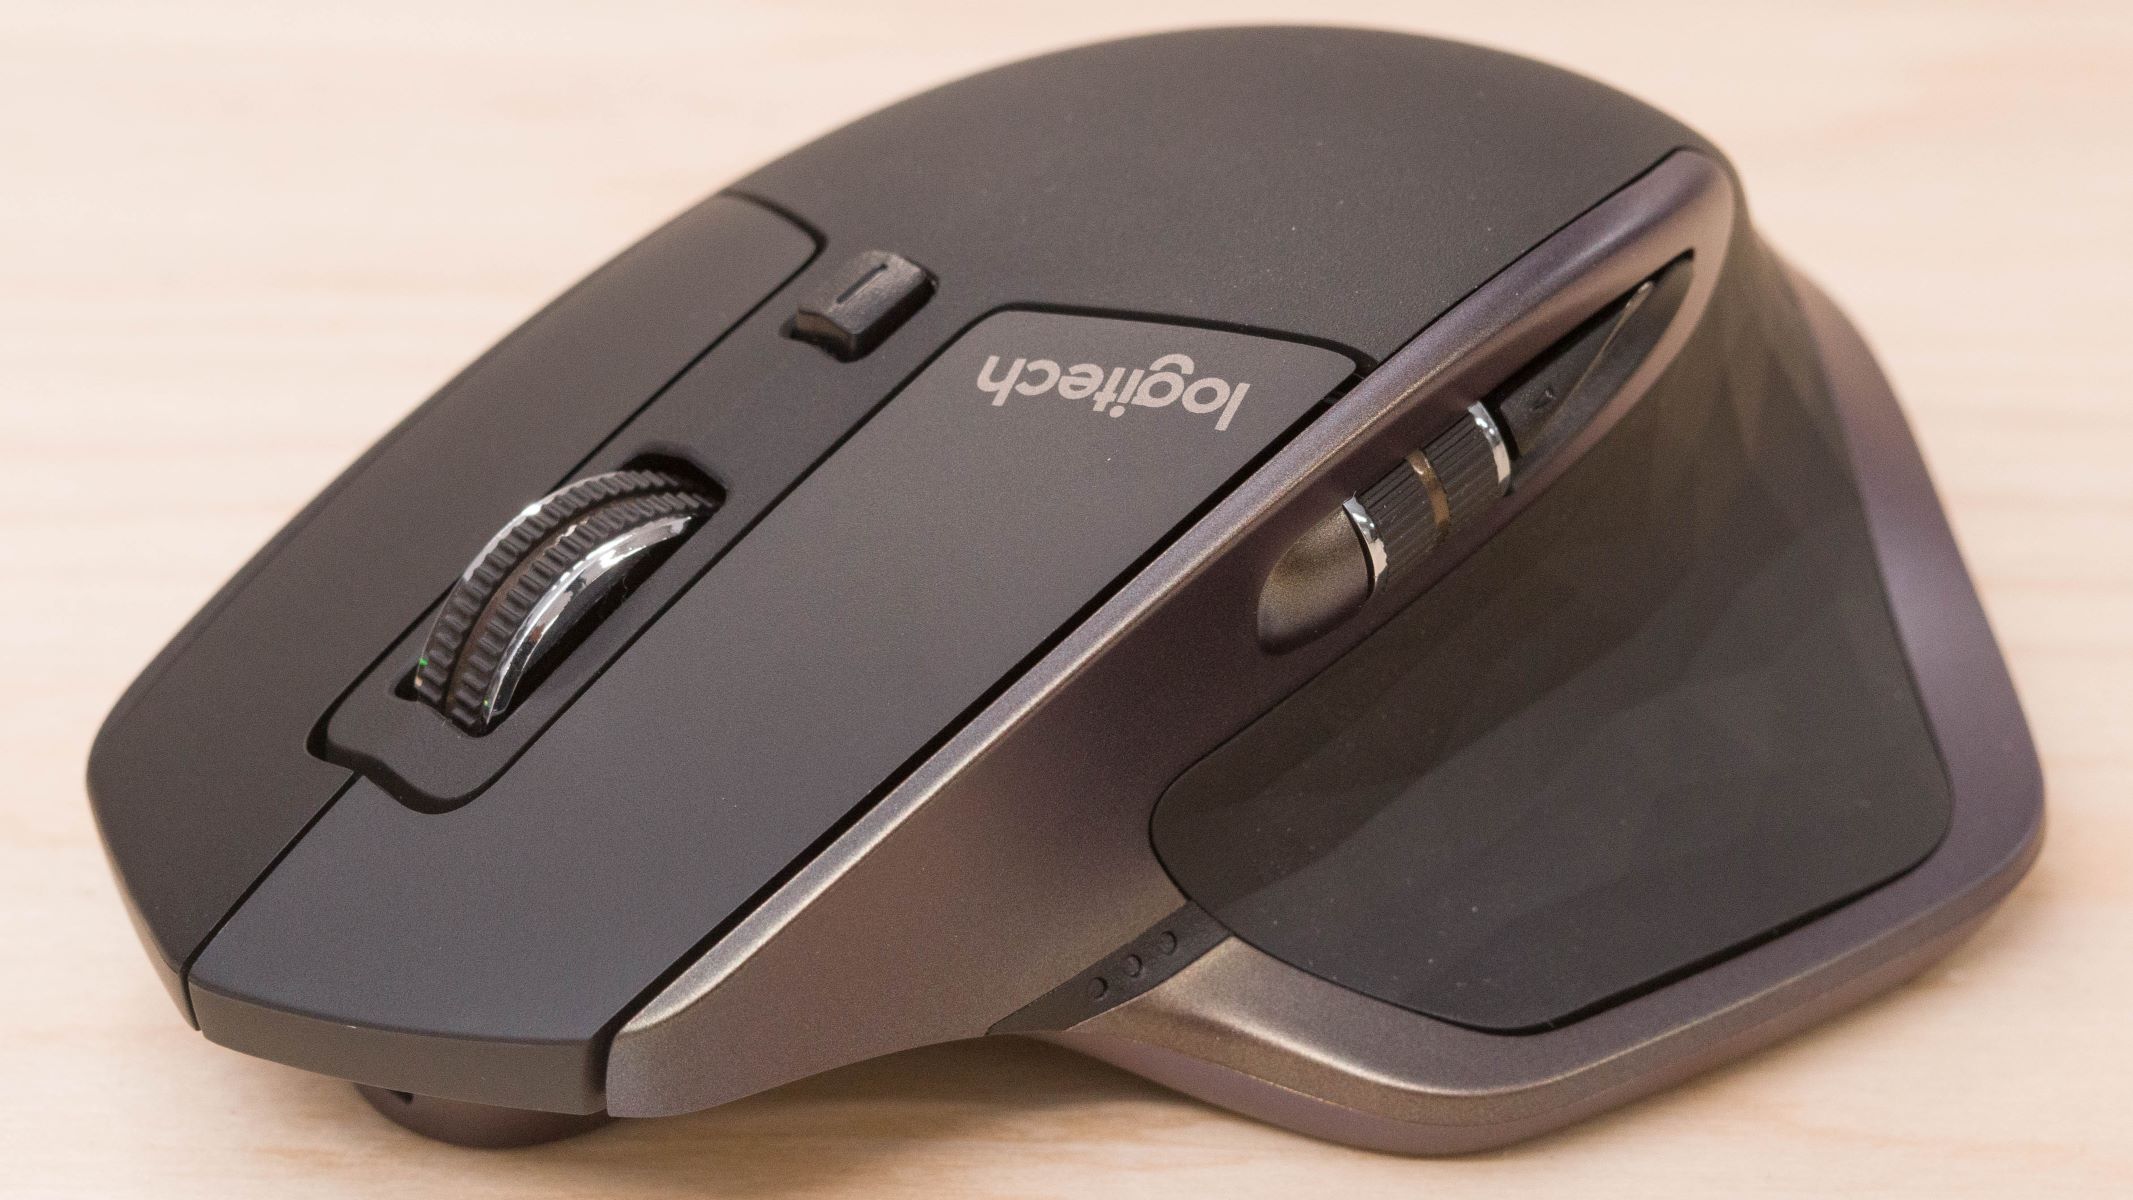
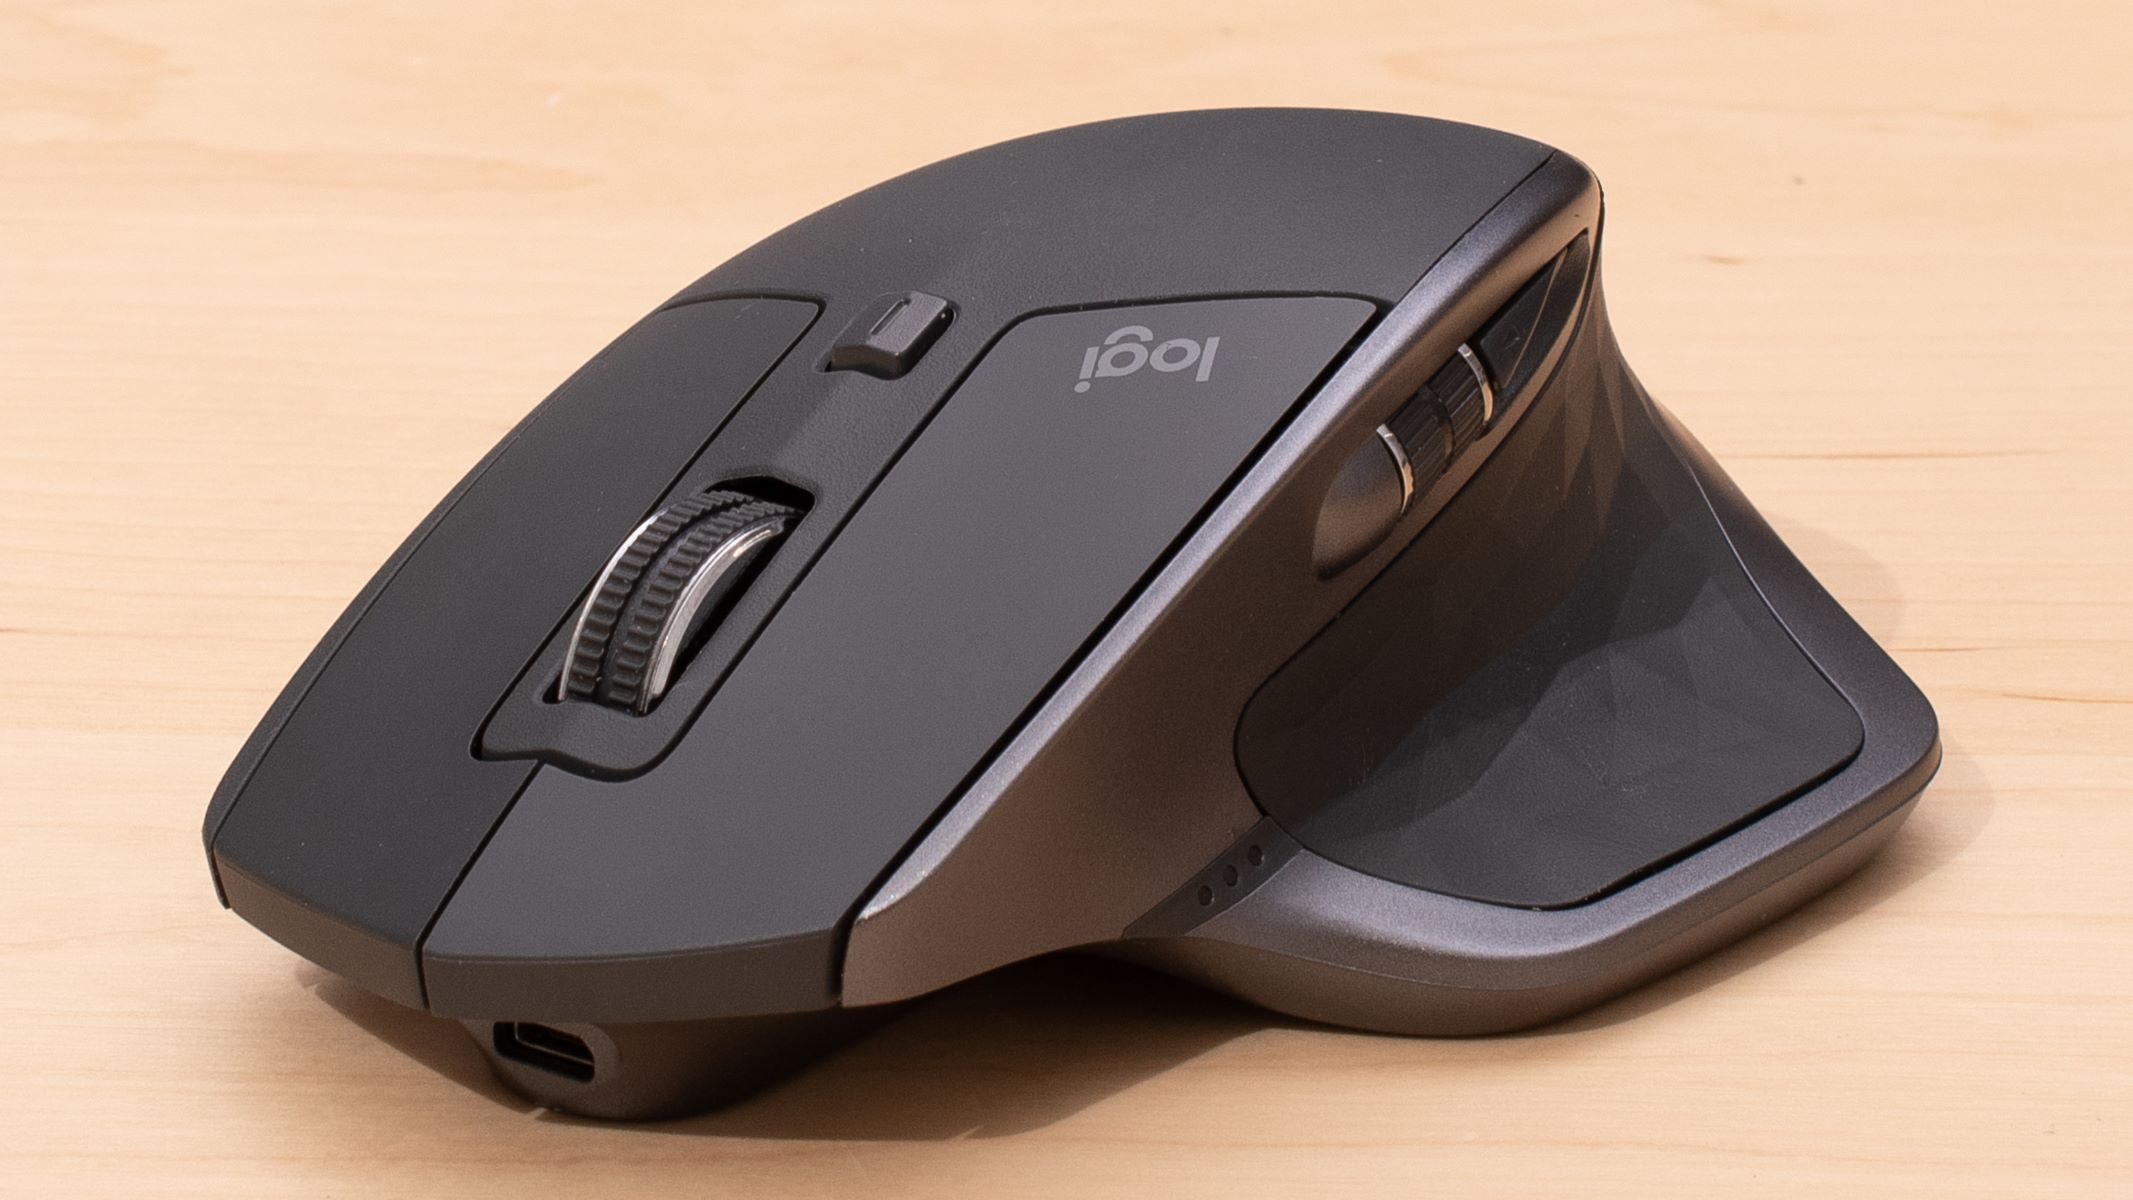
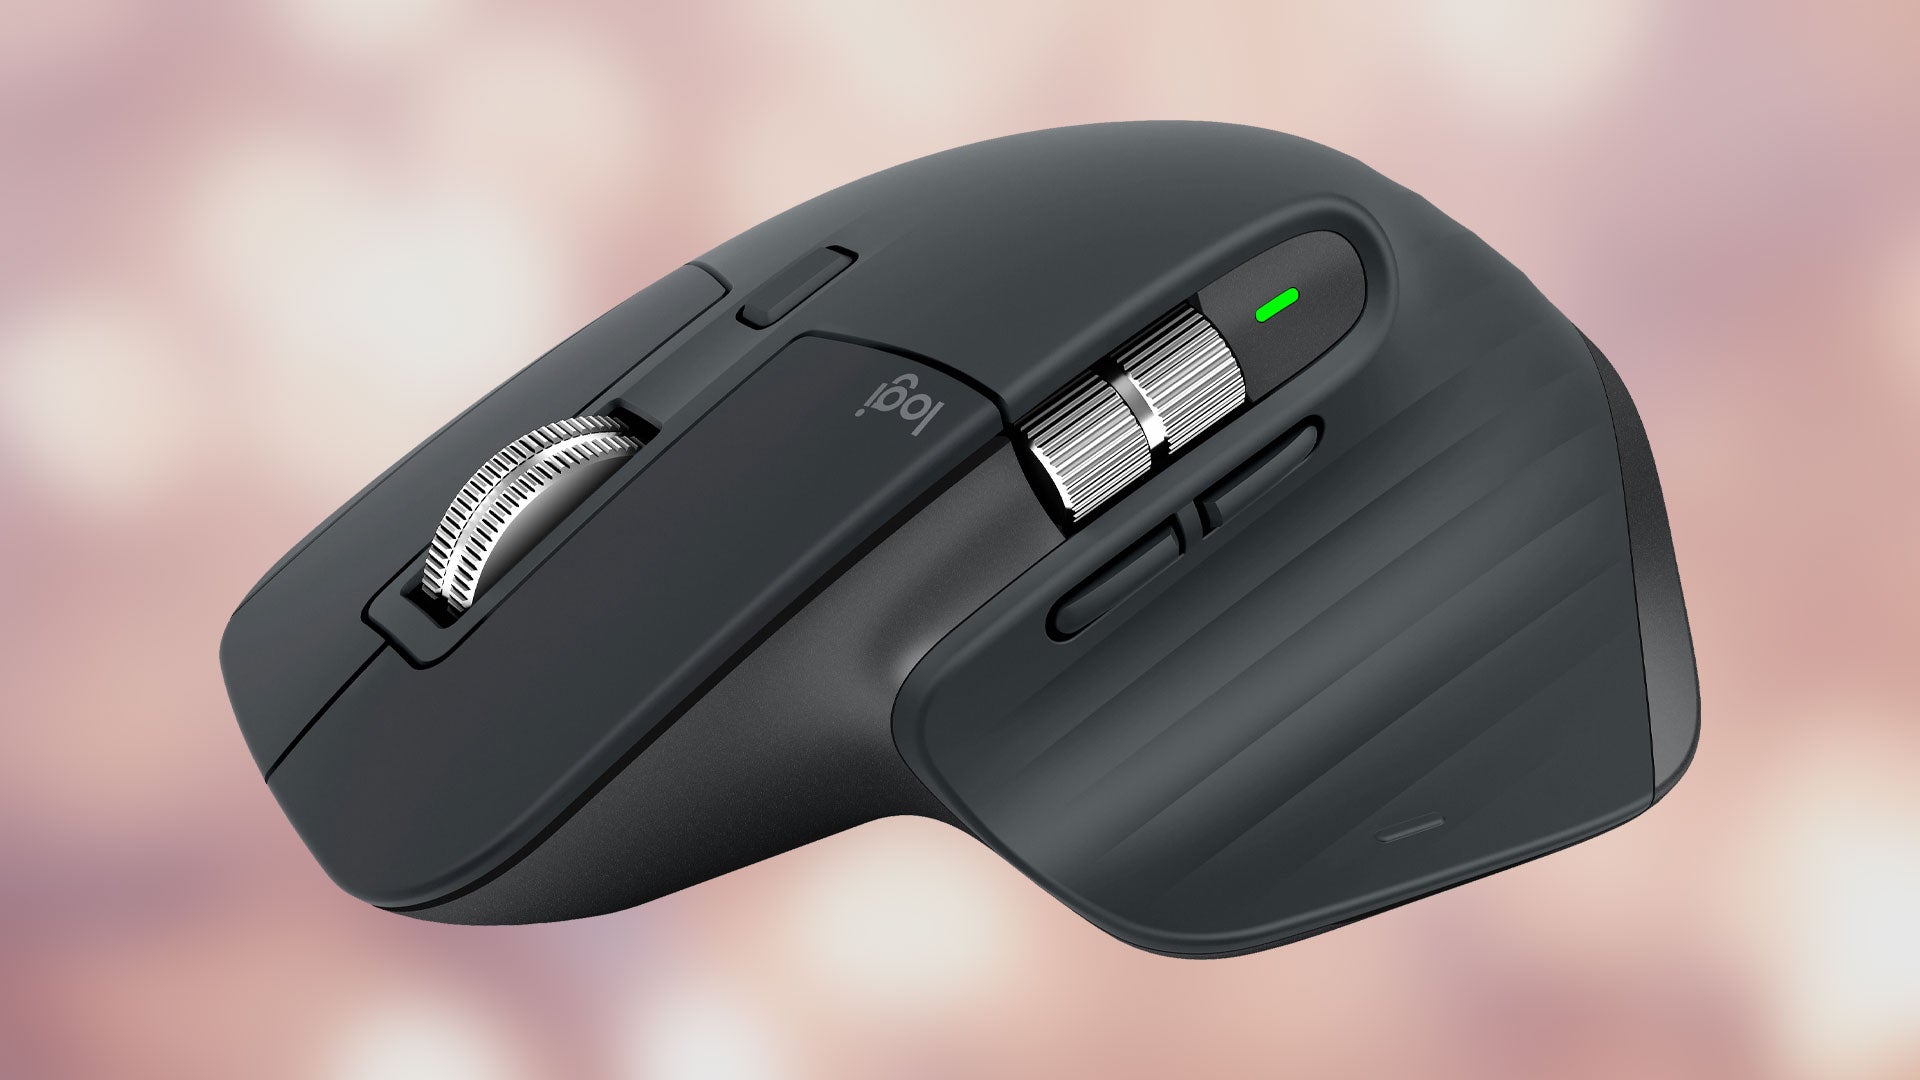
The Logitech MX Master 3 mouse is equipped with a built-in LED indicator that can be used to check the battery level. The LED indicator is located near the thumb rest on the side of the mouse and provides a visual representation of the battery status. Here’s how you can check the battery level using the LED indicator:
Step 1: Look for the LED indicator on the side of your Logitech MX Master 3 mouse. It is usually located near the thumb rest area.
Step 2: Press the battery check button on the underside of the mouse to activate the LED indicator.
Step 3: The LED indicator will illuminate, displaying a color that corresponds to the battery level:
- Green: The battery level is high, and your mouse is adequately powered.
- Yellow: The battery level is moderate, indicating that you may need to consider recharging your mouse soon.
- Red: The battery level is low, and it’s recommended to recharge your mouse as soon as possible to prevent power loss.
Step 4: Take note of the color displayed by the LED indicator to gauge the battery level of your Logitech MX Master 3 mouse.
Step 5: Keep in mind that the LED indicator may turn off automatically after a few seconds to conserve power. Simply press the battery check button again to reactivate the LED indicator if needed.
By using the LED indicator on your Logitech MX Master 3 mouse, you can quickly assess the battery level without the need for any additional software or tools. This method offers a straightforward and reliable way to determine the battery status of your mouse at a glance.
Method 3: Monitoring Battery Level Using Logitech G Hub
If you’re using Logitech G Hub software, you can conveniently monitor the battery level of your Logitech MX Master 3 mouse within the application. Logitech G Hub provides advanced customization options and performance settings for Logitech gaming devices, including the MX Master 3 mouse. Here’s how you can check the battery level using Logitech G Hub:
Step 1: Start by downloading and installing Logitech G Hub from the official Logitech website. Ensure that you have a stable internet connection before proceeding.
Step 2: Once installed, open Logitech G Hub on your computer.
Step 3: Connect your Logitech MX Master 3 mouse to your computer using the provided USB receiver or Bluetooth connection.
Step 4: In the Logitech G Hub software, locate and select your Logitech MX Master 3 mouse from the list of connected devices.
Step 5: Look for the battery level indicator within the Logitech G Hub interface. The battery level should be displayed prominently, indicating the current status of your mouse’s battery.
Step 6: Logitech G Hub may provide additional details such as estimated battery life remaining or notifications when the battery level is low. Pay attention to these indicators to effectively manage your mouse’s power usage.
By following these steps, you can easily check the battery level of your Logitech MX Master 3 mouse using Logitech G Hub. This method allows you to monitor the battery status conveniently within the software interface, providing you with detailed information and control over your mouse’s power consumption.
Method 4: Checking Battery Level on macOS
If you’re using a Mac computer, you can check the battery level of your Logitech MX Master 3 mouse directly from the macOS operating system without the need for additional software. macOS provides a native feature that allows you to monitor the battery level of connected Bluetooth devices, including your Logitech mouse. Here’s how you can check the battery level on macOS:
Step 1: Ensure that your Logitech MX Master 3 mouse is connected to your Mac computer via Bluetooth. If it’s not already paired, go to System Preferences and navigate to the Bluetooth settings to establish the connection.
Step 2: On your Mac computer, click on the Bluetooth icon located in the menu bar at the top-right corner of the screen.
Step 3: From the dropdown menu, locate your Logitech MX Master 3 mouse under the “Devices” section. You should see the battery level displayed next to the mouse’s name.
Step 4: By hovering your mouse cursor over the battery level icon, you can view additional information such as the estimated battery life remaining.
Step 5: Take note of the battery level displayed on macOS to determine the current status of your Logitech MX Master 3 mouse’s battery.
Relying on the macOS native feature to check the battery level of your Logitech MX Master 3 mouse offers a convenient and straightforward method without the need for any additional applications. It allows you to keep track of the battery status directly from your Mac computer’s menu bar, ensuring that you can easily monitor your mouse’s power level at all times.
Conclusion
Regularly checking the battery level of your Logitech MX Master 3 mouse is vital for seamless and uninterrupted usage. By monitoring the battery status, you can avoid sudden power loss, optimize performance, extend battery life, manage your time effectively, and prevent data loss. Thankfully, Logitech provides various methods to help you check the battery level of your mouse.
If you prefer using software, you can utilize Logitech Options or Logitech G Hub to monitor the battery level conveniently. Logitech Options offers a user-friendly interface where you can view the battery level and receive notifications, while Logitech G Hub provides advanced customization options and performance settings along with battery monitoring.
If you prefer a more straightforward approach, you can simply rely on the LED indicator located on the Logitech MX Master 3 mouse itself. The LED indicator illuminates with different colors to indicate the battery level, allowing you to visually assess the power status at a glance.
For Mac users, the macOS operating system provides a native feature that displays the battery level of connected Bluetooth devices, including your Logitech MX Master 3 mouse. You can access this information in the Bluetooth menu on your Mac computer’s menu bar.
Overall, by actively checking the battery level of your Logitech MX Master 3 mouse using any of these methods, you can ensure that your mouse remains adequately powered, extending its functionality and enhancing your overall user experience.