Introduction
Welcome to the exciting world of coding a mechanical keyboard in Arduino! If you're a tech enthusiast, a DIY aficionado, or simply someone who loves to tinker with electronics, this project is perfect for you. In this guide, we'll explore the process of programming a mechanical keyboard using Arduino, from selecting the right components to writing the code and testing the functionality.
Coding a mechanical keyboard provides a fantastic opportunity to delve into the realm of hardware programming while creating a practical and customized device. Whether you're aiming to build a unique keyboard for gaming, programming, or general use, this project allows you to tailor the keyboard to your specific needs and preferences.
Throughout this journey, you'll gain valuable insights into the Arduino environment, understand the intricacies of keyboard matrix wiring, and develop essential coding skills. By the end of this guide, you'll have the knowledge and confidence to embark on your own mechanical keyboard projects, and perhaps even inspire others to join the exciting world of DIY electronics.
So, grab your Arduino board, mechanical switches, and a cup of coffee, and let's dive into the fascinating process of coding a mechanical keyboard in Arduino!
Choosing the Right Components
Before embarking on the journey of coding a mechanical keyboard in Arduino, it’s essential to carefully select the components that will form the foundation of your project. The following key elements play a crucial role in creating a functional and personalized mechanical keyboard:
- Arduino Board: The heart of the project, the Arduino board serves as the microcontroller that will interpret and execute the keystrokes. Opt for a reliable and compatible Arduino board, such as the Arduino Uno or Arduino Pro Micro, which offer sufficient GPIO pins for interfacing with the keyboard matrix.
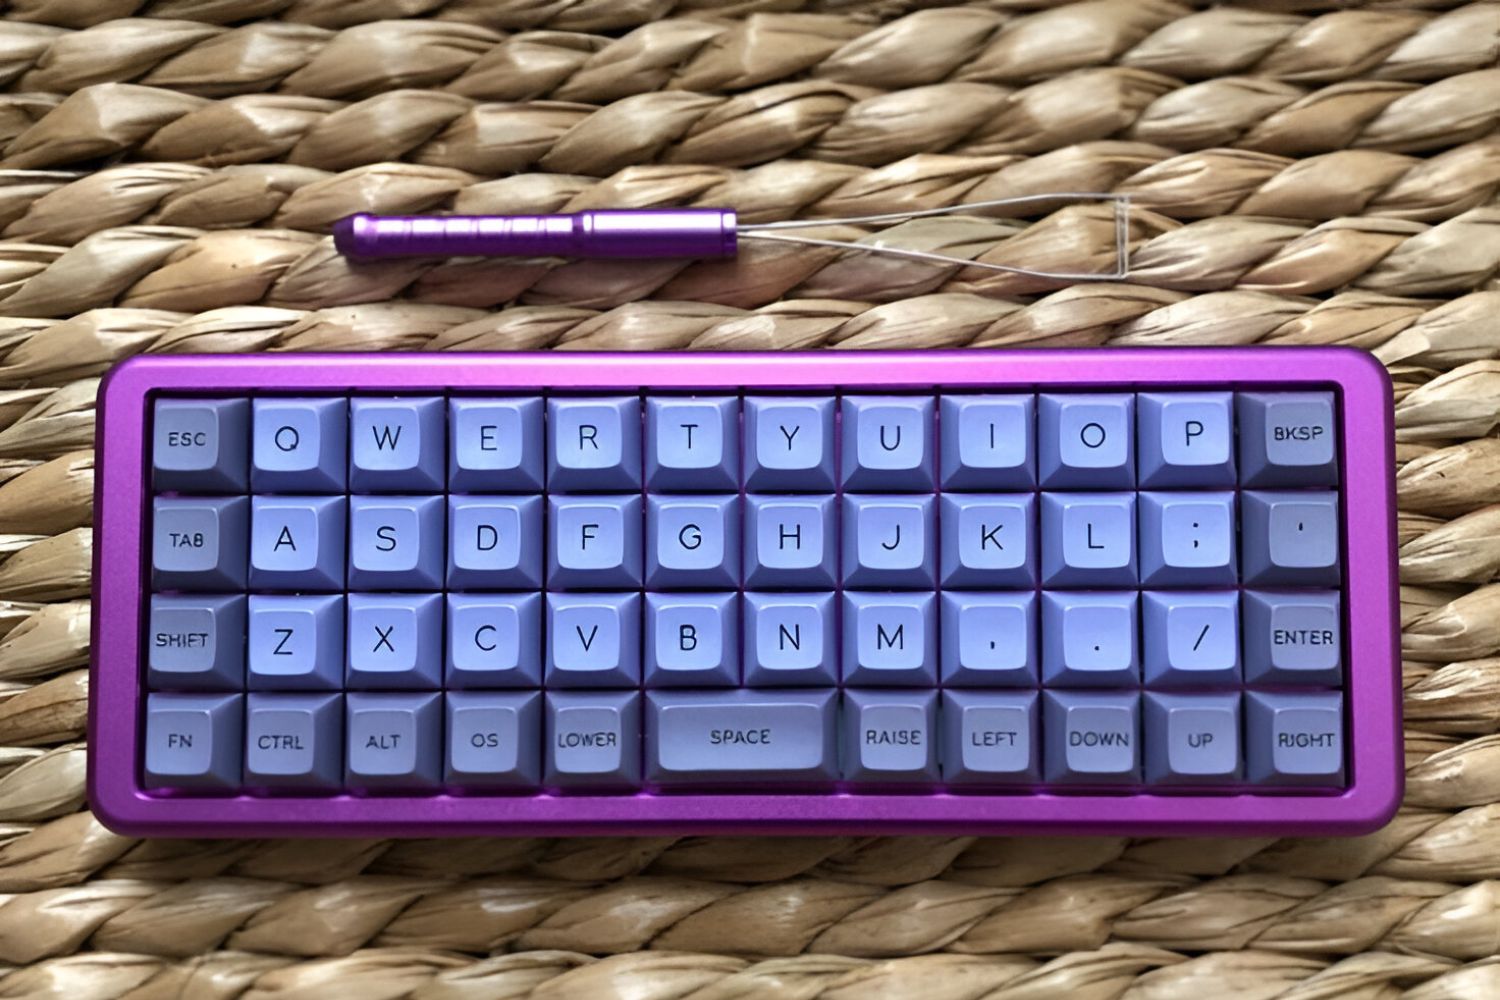
- Mechanical Switches: Choose mechanical switches that align with your typing preferences. Whether you prefer the tactile feedback of Cherry MX switches, the smooth actuation of Gateron switches, or the compact form factor of Kailh low-profile switches, the market offers a wide array of options to suit your typing style and sound preferences.
- Keycaps: Keycaps not only determine the aesthetic appeal of the keyboard but also contribute to the tactile feel and sound of each keystroke. Consider selecting keycaps that complement the chosen switches and enhance the overall typing experience.
- Keyboard Matrix: Plan and design the keyboard matrix layout based on the desired number of keys and their arrangement. This will influence the wiring and coding aspects of the project, so it’s crucial to define the matrix layout early in the component selection process.
- Diodes and Resistors: Depending on the keyboard matrix design, diodes and resistors may be necessary to prevent ghosting and ensure accurate key detection. Understanding the role of diodes and resistors in the matrix circuitry is essential for creating a reliable and responsive keyboard.
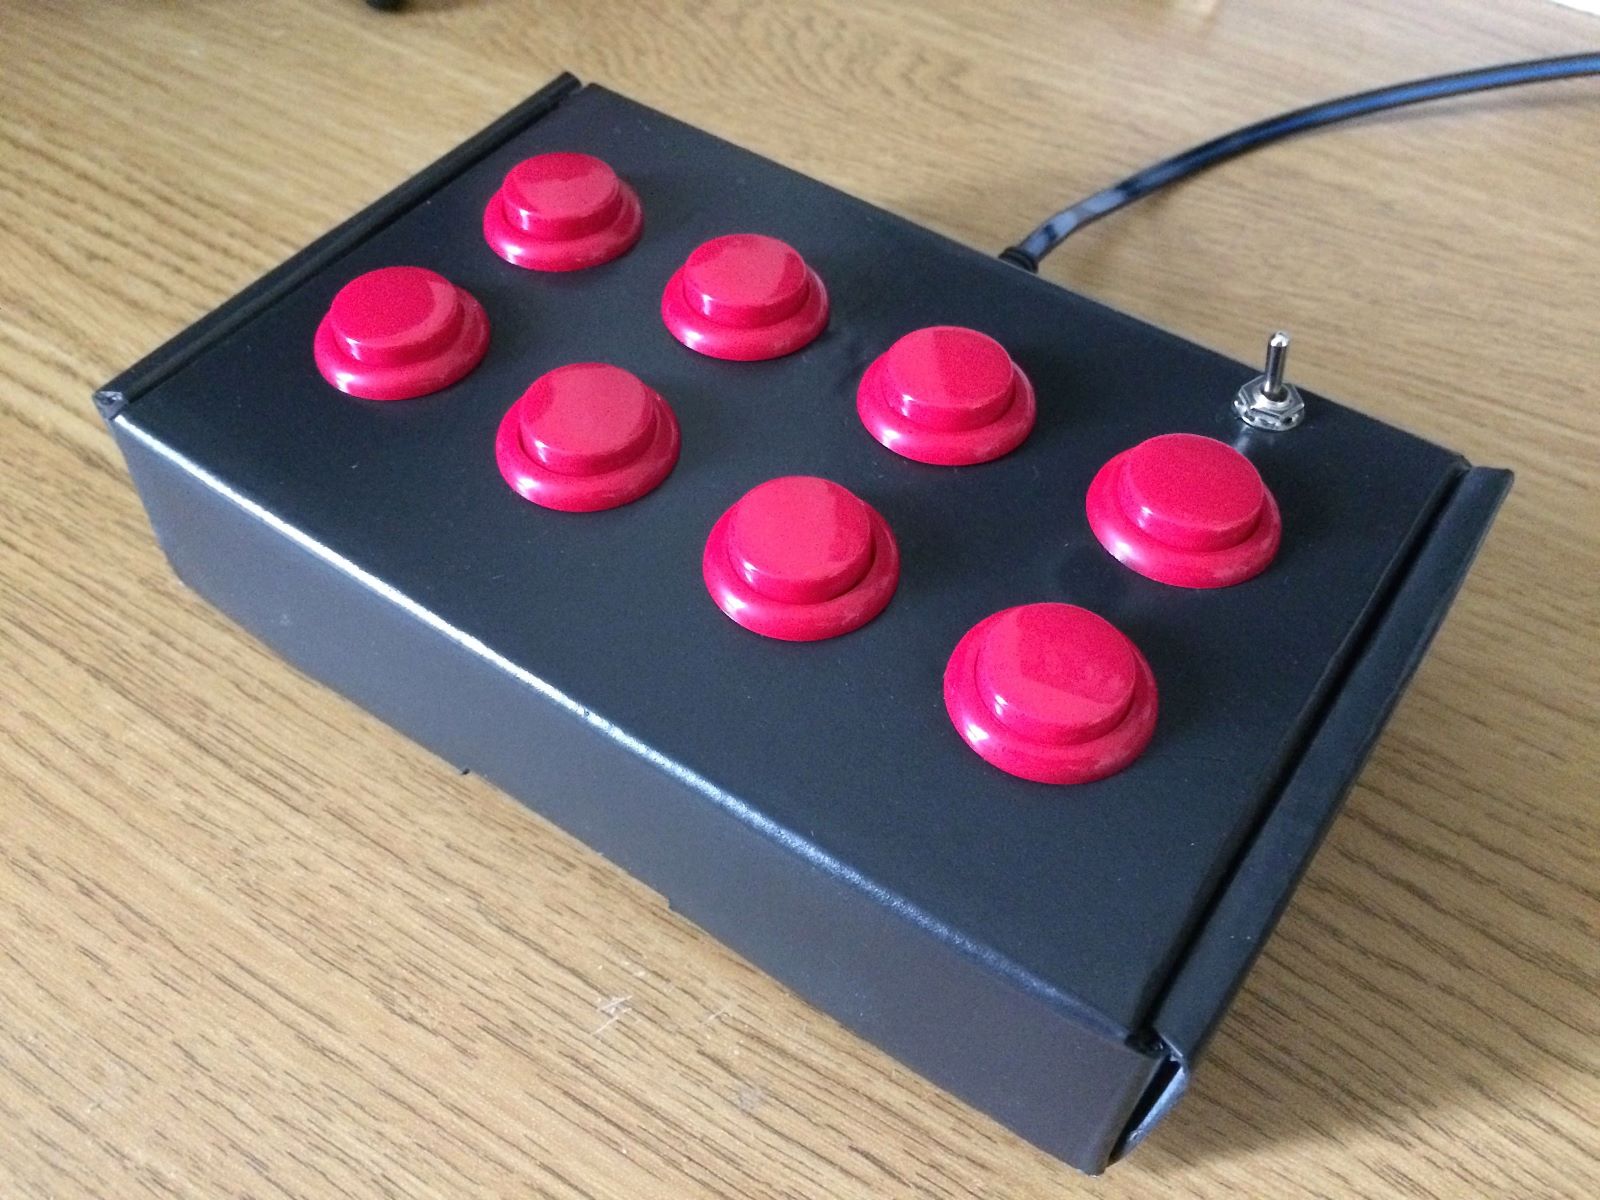
- Enclosure and Mounting: Consider the overall design and ergonomics of the keyboard, including the choice of an enclosure or mounting method. Whether opting for a traditional keyboard case or a more unconventional mounting approach, the enclosure plays a vital role in the keyboard’s aesthetics and functionality.
By carefully selecting these components, you can lay a solid foundation for your mechanical keyboard project. Each component contributes to the keyboard’s performance, aesthetics, and overall user experience, making the selection process a critical aspect of the project’s success.
Setting Up the Arduino Environment
Before diving into the actual coding of the mechanical keyboard, it’s essential to set up the Arduino environment to ensure a smooth and efficient development process. Here’s a step-by-step guide to configuring the Arduino environment for your keyboard project:
- Install the Arduino IDE: Begin by downloading and installing the Arduino Integrated Development Environment (IDE) on your computer. The Arduino IDE serves as the primary platform for writing, compiling, and uploading code to the Arduino board.
- Board Selection: Once the Arduino IDE is installed, select the appropriate board from the “Tools” menu. Choose the specific Arduino board model you are using for your mechanical keyboard project, such as Arduino Uno or Arduino Pro Micro.
- Install Keyboard Libraries: Explore and install any necessary keyboard libraries that will facilitate the communication between the Arduino board and the mechanical switches. Libraries such as the Keyboard.h library enable the Arduino to emulate a keyboard and send keystrokes to a computer or other devices.
- Configure USB Settings: If your mechanical keyboard project involves USB connectivity, ensure that the USB settings and configurations are appropriately defined within the Arduino IDE. This includes specifying the USB protocol, speed, and other relevant parameters.
- Test Communication: Verify the communication between the Arduino board and the computer by uploading a simple test sketch that emulates basic keyboard functions. This initial test ensures that the Arduino board is properly recognized by the computer and can simulate keystrokes effectively.
By meticulously setting up the Arduino environment, you establish a robust foundation for developing and testing the code that will drive your mechanical keyboard. The proper configuration of the Arduino IDE and relevant libraries streamlines the coding process and paves the way for a successful integration between the hardware and software components of the project.
Understanding Keyboard Matrix
One of the fundamental aspects of coding a mechanical keyboard in Arduino is comprehending the concept of a keyboard matrix. The keyboard matrix serves as the backbone of the keyboard’s input mechanism, enabling multiple keys to be pressed simultaneously and detected through a minimal number of input pins on the microcontroller. Here’s a comprehensive overview of the keyboard matrix and its significance in the context of Arduino-based keyboard projects:
The keyboard matrix consists of rows and columns, forming a grid-like structure that corresponds to the layout of the keys on the keyboard. Each intersection point of a row and column represents a unique key position. By selectively activating a specific row and column, the corresponding key at the intersection point can be identified.
For instance, in a 4×4 keyboard matrix, there are 4 rows and 4 columns, resulting in 16 potential key positions. To detect a key press, the Arduino microcontroller sequentially scans each row while monitoring the state of the columns. This scanning process allows the microcontroller to identify which key or keys are currently pressed based on the active row and column combination.
Understanding the keyboard matrix layout is crucial for wiring the mechanical switches to the Arduino board in a manner that facilitates efficient key detection and minimizes the number of input pins required. By organizing the switches into rows and columns, the keyboard matrix optimizes the use of GPIO pins on the microcontroller, enabling the creation of keyboards with varying key counts while conserving hardware resources.
Furthermore, the concept of diodes in the keyboard matrix is pivotal for preventing ghosting and ensuring accurate key detection. By incorporating diodes into the matrix circuitry, the potential for simultaneous key presses to interfere with one another is mitigated, resulting in reliable and precise keystroke recognition.
By grasping the principles of the keyboard matrix, you gain a deeper understanding of the underlying hardware architecture that facilitates the functionality of mechanical keyboards. This knowledge forms the basis for effectively wiring the keyboard matrix, writing the corresponding Arduino code, and ultimately creating a responsive and customizable keyboard tailored to your specific requirements.
Writing the Arduino Code
As you delve into the process of coding a mechanical keyboard in Arduino, the development of the Arduino sketch or code plays a pivotal role in translating the physical keystrokes into digital signals that can be interpreted by the microcontroller. Here are the essential steps and considerations for crafting the Arduino code for your mechanical keyboard project:
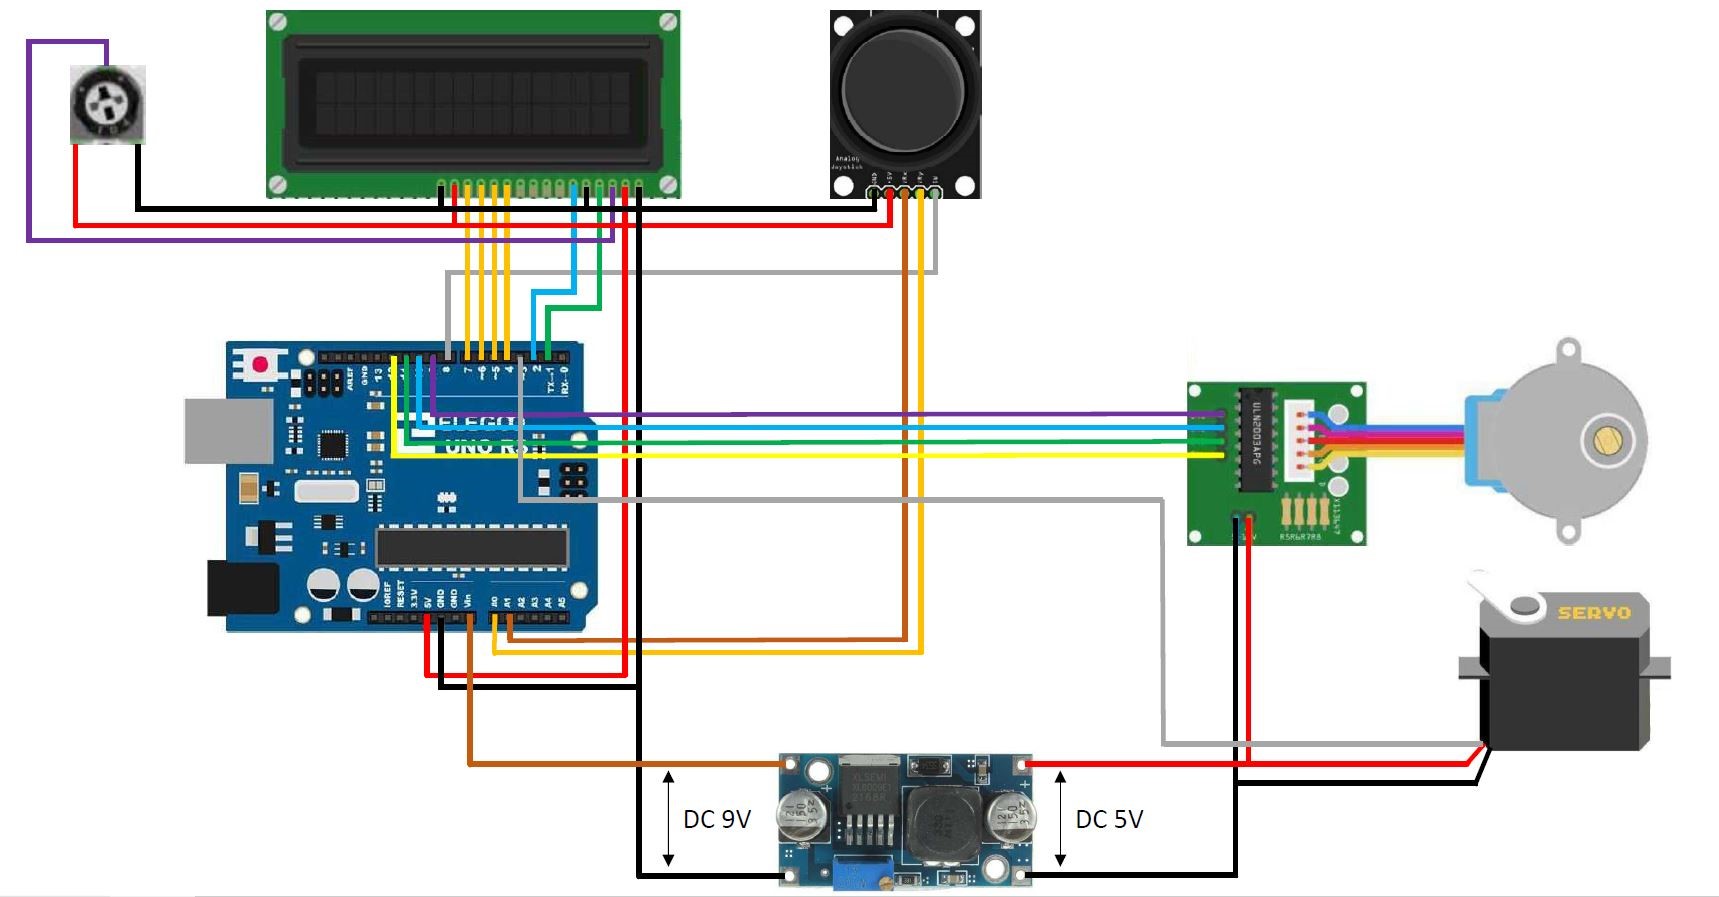
- Matrix Mapping: Begin by mapping the physical layout of the keyboard matrix to the corresponding GPIO pins on the Arduino board. This mapping establishes the relationship between the rows, columns, and the microcontroller’s input/output pins, enabling the identification of pressed keys.
- Debouncing and Key Detection: Implement debouncing algorithms and key detection logic within the Arduino code to address any mechanical switch bounce that may occur during key presses. By incorporating debounce routines, the code can filter out unwanted signal fluctuations and accurately detect valid key presses.
- Keystroke Emulation: Utilize the Keyboard.h library or similar keyboard emulation methods to simulate keystrokes within the Arduino code. Define the corresponding key mappings and sequences to mirror the desired keystrokes when specific keys are detected as pressed in the matrix scanning process.
- Macro and Custom Functions: Explore the potential for integrating macro functions and custom key combinations within the Arduino code to enhance the keyboard’s functionality. This may involve creating shortcuts, macros, or specialized key sequences tailored to specific applications or user preferences.
- LED and Feedback Control: If your mechanical keyboard incorporates LED indicators or feedback mechanisms, incorporate the necessary code to control and manage these visual and tactile elements. This may include adjusting LED brightness, implementing lighting effects, or providing user feedback through visual cues.
Furthermore, commenting and documenting the Arduino code extensively is essential for future reference, troubleshooting, and potential expansion of the keyboard’s features. Clear and descriptive comments within the code enhance its readability and maintainability, ensuring that the logic and functionality remain comprehensible even after prolonged periods of inactivity.
By meticulously crafting the Arduino code to align with the keyboard matrix configuration and intended functionality, you transform the physical keystrokes into actionable digital signals, enabling the Arduino board to emulate a fully functional keyboard tailored to your specific layout and preferences.
Testing and Troubleshooting
Once the Arduino code for your mechanical keyboard is written, the next crucial phase involves thorough testing and troubleshooting to ensure the functionality, reliability, and user experience meet the desired standards. Here’s a comprehensive approach to testing and addressing potential issues in your Arduino-based mechanical keyboard project:
- Key Press Testing: Begin by systematically testing each key on the keyboard to verify its detection and corresponding keystroke emulation. This step ensures that the matrix wiring, Arduino code, and key detection logic are functioning as intended, allowing you to identify any discrepancies or anomalies in the keystroke recognition process.
- Simultaneous Key Presses: Test the keyboard’s capability to detect and handle simultaneous key presses, especially for combinations that are frequently used in typing or gaming scenarios. This evaluation ensures that the keyboard matrix and Arduino code effectively manage multiple concurrent key inputs without experiencing conflicts or unintended keystrokes.
- Debounce Validation: Validate the effectiveness of the debounce routines implemented in the Arduino code by examining the response to rapid or repeated key presses. This step helps identify and address any residual bounce or erratic behavior in the key detection process, ensuring that the keyboard delivers consistent and accurate input signals.
- Functionality Stress Testing: Subject the mechanical keyboard to rigorous usage scenarios that align with its intended applications, such as extended typing sessions, gaming sessions, or specialized key sequences. Stress testing reveals any potential performance limitations, input lag, or unexpected behavior under demanding usage conditions, allowing for refinements and optimizations in the Arduino code and hardware configuration.
- Compatibility and Interfacing: Verify the compatibility and seamless interfacing of the Arduino-based mechanical keyboard with various devices, operating systems, and software applications. This comprehensive testing phase ensures that the keyboard’s emulation and communication capabilities align with the expected standards across a diverse range of usage scenarios.
If any issues or discrepancies are identified during the testing phase, meticulous troubleshooting techniques should be employed to isolate and address the root causes. This may involve revisiting the Arduino code, inspecting the keyboard matrix wiring, and verifying the integrity of the hardware components to rectify any anomalies that impede the keyboard’s optimal performance.
By rigorously testing and effectively troubleshooting the Arduino-based mechanical keyboard, you can refine its functionality, reliability, and user experience, culminating in a fully operational and customized keyboard that seamlessly integrates hardware and software elements to meet your specific requirements.
Conclusion
Coding a mechanical keyboard in Arduino offers an immersive and rewarding journey into the realms of hardware programming, electronics, and customization. Throughout this guide, we’ve explored the intricate process of creating a personalized mechanical keyboard, from selecting the right components to writing the Arduino code and conducting comprehensive testing. By embracing this project, you’ve embarked on a captivating endeavor that not only enhances your technical skills but also empowers you to craft a keyboard tailored to your unique preferences and usage scenarios.
As you’ve navigated through the various stages of this project, you’ve gained valuable insights into the Arduino environment, the nuances of keyboard matrix wiring, and the intricacies of translating physical keystrokes into digital signals. This newfound knowledge equips you with the confidence and expertise to embark on future hardware programming endeavors and expand your creative horizons in the realm of do-it-yourself electronics.
Furthermore, the process of coding a mechanical keyboard in Arduino fosters a deep appreciation for the synergy between hardware and software, as well as the meticulous attention to detail required to ensure a seamless user experience. Whether you’re a hobbyist, a professional developer, or an enthusiast exploring the intersection of technology and creativity, this project serves as a testament to the limitless possibilities that emerge from blending technical proficiency with imaginative expression.
As you reflect on the culmination of this project, envision the endless potential for further customization, refinement, and innovation in the realm of mechanical keyboards. Your newfound expertise in Arduino-based keyboard programming opens doors to a myriad of possibilities, from experimenting with advanced key mapping and macro functions to integrating innovative feedback mechanisms and lighting effects.
Ultimately, the journey of coding a mechanical keyboard in Arduino transcends the mere creation of a functional input device; it embodies the spirit of exploration, ingenuity, and the relentless pursuit of crafting technology that seamlessly aligns with individuality and creativity. Embrace the knowledge and experiences gained from this project, and let them inspire your future endeavors in the captivating world of DIY electronics and hardware programming.


