Introduction
Setting up a flight stick to an Arduino in RobotC opens up a world of possibilities for creating custom control systems for various projects. Whether it's for piloting a drone, controlling a robot, or simulating the experience of flying an aircraft in a virtual environment, integrating a flight stick with an Arduino can provide precise and intuitive control. This guide will walk you through the process of connecting a flight stick to an Arduino and programming it using RobotC, enabling you to harness the full potential of this versatile combination.
By leveraging the capabilities of the Arduino microcontroller and the flexibility of RobotC programming language, you can tailor the behavior of the flight stick to suit your specific needs. This can range from simple tasks such as controlling the movement of a robot arm to more complex applications like navigating a remotely operated vehicle. The ability to map the inputs from the flight stick to different functions or actions further enhances its adaptability, making it a valuable tool for a wide array of projects.
Understanding the fundamentals of interfacing hardware components and writing code for the Arduino in RobotC is essential for successfully setting up a flight stick. This guide aims to demystify this process, providing a step-by-step approach that caters to both beginners and experienced enthusiasts. By the end of this tutorial, you will have the knowledge and confidence to integrate a flight stick with an Arduino and unleash its potential in your projects.
The combination of a flight stick and an Arduino in RobotC represents a convergence of hardware and software that empowers creators to innovate and explore new frontiers in control systems. The tactile feedback and ergonomic design of the flight stick, coupled with the versatility and processing power of the Arduino, form a formidable duo capable of bringing your ideas to life. Let's embark on this journey to unlock the possibilities that await when these two powerful tools are brought together.
Materials Needed
Before embarking on the process of setting up a flight stick to an Arduino in RobotC, it is essential to gather the necessary materials to ensure a smooth and successful integration. The following components and tools will be required for this project:
- Flight Stick: Select a compatible flight stick that suits your project requirements. Ensure that it is equipped with the necessary buttons, triggers, and axes to provide the desired input functionality.
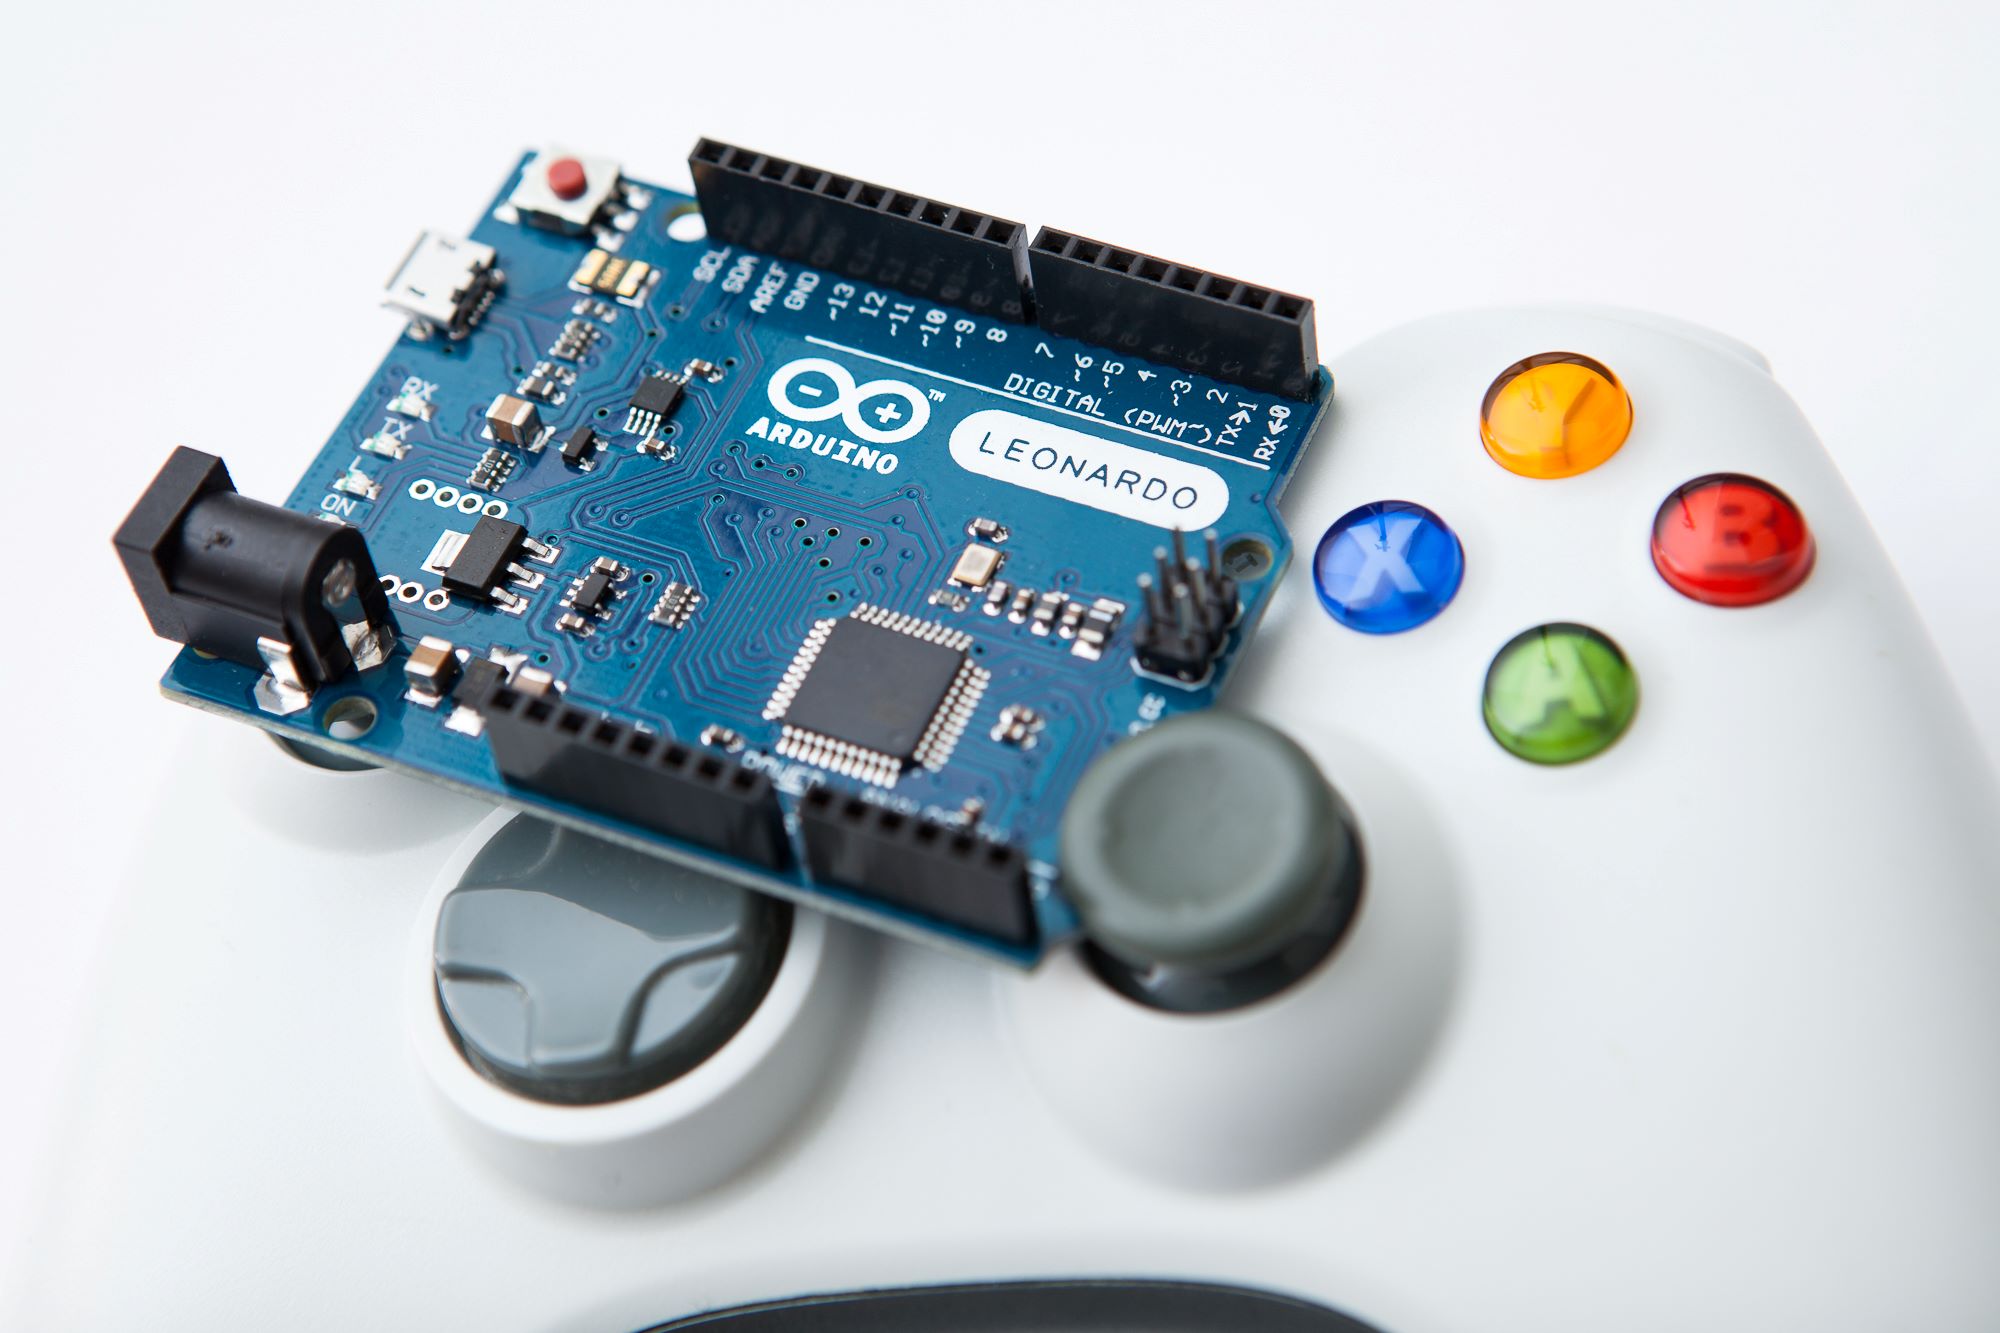
- Arduino Board: Choose an Arduino board that aligns with the specifications of your project. The Arduino Uno, Arduino Mega, or Arduino Leonardo are popular choices for interfacing with input devices such as a flight stick.
- USB Cable: A standard USB cable is essential for connecting the Arduino board to your computer for programming and power supply.
- Jumper Wires: Prepare a set of jumper wires to establish the necessary connections between the flight stick and the Arduino board.
- Breadboard (Optional): Utilize a breadboard for prototyping and creating temporary connections between components during the setup process.
- Computer with RobotC Installed: Ensure that you have a computer with RobotC installed, as it will be used for programming the Arduino to interpret the inputs from the flight stick.
- Screwdriver (If Required): Depending on the specific flight stick model, a screwdriver may be needed to access the internal components for wiring purposes.
By gathering these materials, you will have everything necessary to proceed with the integration of the flight stick with the Arduino in RobotC. It is important to verify the compatibility of the flight stick with the Arduino board and ensure that all required components are readily available before initiating the setup process.
Connecting the Flight Stick to Arduino
Once the necessary materials are assembled, the next step involves establishing the physical connections between the flight stick and the Arduino board. This process typically involves identifying the appropriate pins and interfaces on both the flight stick and the Arduino, and then creating the necessary electrical connections. The following steps outline the general process of connecting a flight stick to an Arduino:
- Identify Flight Stick Outputs: Begin by identifying the various outputs of the flight stick, including buttons, triggers, and axes. Take note of the specific pins or terminals associated with each output, as these will need to be connected to the Arduino.
- Identify Arduino Inputs: Determine the input pins on the Arduino board that will receive the signals from the flight stick. Depending on the model of the Arduino board, these inputs may be analog or digital pins, and they should correspond to the outputs of the flight stick.
- Establish Wiring Connections: Use jumper wires to create the necessary connections between the outputs of the flight stick and the input pins of the Arduino. Ensure that the wiring is secure and follows the correct mapping of outputs to inputs.
- Power Supply: If the flight stick requires power, ensure that it is appropriately powered, either through the Arduino board or an external power source, based on the specifications of the flight stick.
- Verify Connections: Double-check all the wiring connections to confirm that there are no loose connections or short circuits. It is crucial to ensure the integrity of the connections before proceeding to the programming phase.
By carefully following these steps, you can establish the necessary physical connections between the flight stick and the Arduino board, laying the groundwork for the subsequent programming phase. It is important to refer to the documentation and specifications of the flight stick and the Arduino board to ensure accurate pin mapping and compatibility.
Programming the Arduino in RobotC
After successfully connecting the flight stick to the Arduino, the next crucial step is to program the Arduino using RobotC to interpret the input signals from the flight stick. RobotC provides a user-friendly and intuitive platform for writing code to interface with hardware components such as the Arduino. The following steps outline the process of programming the Arduino in RobotC:
- Install RobotC IDE: If not already installed, download and install the RobotC Integrated Development Environment (IDE) on your computer. This software will be used to write, compile, and upload the code to the Arduino board.
- Open a New Program: Launch the RobotC IDE and create a new program dedicated to interfacing with the flight stick. This program will contain the code responsible for reading the input signals from the flight stick and executing the corresponding actions.
- Include Arduino Libraries: In the program, include the necessary Arduino libraries to enable communication with the Arduino board and access its functionalities. These libraries provide pre-written functions that simplify the interaction with the Arduino.
- Define Input Pins: Define the input pins on the Arduino to which the flight stick outputs are connected. This step establishes the communication channels through which the Arduino will receive the signals from the flight stick.
- Read Input Signals: Implement code to read the input signals from the flight stick, including button presses, trigger activations, and axis movements. This involves utilizing functions provided by the Arduino libraries to capture and interpret the analog or digital signals.
- Map Inputs to Actions: Define the behavior or actions associated with specific input signals from the flight stick. For example, a button press may trigger a specific function, or axis movements may control the speed or direction of a motorized mechanism.
- Compile and Upload: Once the code is written, compile it within the RobotC IDE to check for any syntax errors or logical issues. Upon successful compilation, upload the code to the Arduino board to make it operational.
By following these steps and leveraging the capabilities of RobotC, you can program the Arduino to effectively interpret the input signals from the flight stick and translate them into actionable commands for your specific application. The flexibility and versatility of RobotC empower you to create custom control logic tailored to the unique requirements of your project.
Testing the Flight Stick with Arduino
Once the Arduino has been programmed to interpret the input signals from the flight stick, it is essential to conduct thorough testing to ensure that the integration functions as intended. Testing the flight stick with the Arduino involves verifying the responsiveness of the system to different inputs and validating the corresponding outputs or actions. The following steps outline the process of testing the flight stick with the Arduino:
- Power Up the System: Connect the Arduino board to a power source and ensure that the flight stick is also powered, if required. This step is essential to activate the communication between the flight stick and the Arduino.
- Verify Initialization: Confirm that the Arduino initializes successfully and is ready to receive input signals from the flight stick. Check for any error indicators or abnormal behavior during the initialization process.
- Engage Inputs: Begin engaging the various inputs on the flight stick, including buttons, triggers, and axes. Observe the behavior of the system as you interact with the flight stick, and take note of any unexpected responses or lack of responsiveness.
- Monitor Output: If the flight stick is intended to control specific outputs or actions, such as motor movements or on-screen responses, monitor the corresponding outputs as you manipulate the flight stick. Ensure that the outputs align with the expected behavior based on the programmed logic.
- Test Edge Cases: Evaluate the system’s performance under different scenarios, including extreme input values, simultaneous input combinations, and rapid input changes. This step helps uncover any potential issues related to input handling and system stability.
- Refine Code if Necessary: If any discrepancies or unexpected behavior are observed during testing, revisit the code written in RobotC to refine the input handling and response logic. Make necessary adjustments to ensure the system operates reliably across various input scenarios.
- Document Observations: Document the observations and test results, including any anomalies, areas of improvement, or successful performance benchmarks. This documentation serves as a reference for future iterations and troubleshooting.
By meticulously testing the flight stick with the Arduino, you can validate the effectiveness of the integration and identify any areas that require refinement or optimization. This iterative testing process is crucial for fine-tuning the control system and ensuring its reliability in real-world applications.
Conclusion
Integrating a flight stick with an Arduino in RobotC presents a compelling opportunity to create custom control interfaces for a diverse range of projects. Through the careful connection of hardware components, the strategic programming of the Arduino, and the comprehensive testing of the integrated system, enthusiasts and innovators can harness the power of this combination to achieve precise and intuitive control.
By following the step-by-step process outlined in this guide, you have gained the foundational knowledge and practical insights necessary to embark on your own projects that involve interfacing a flight stick with an Arduino. The ability to identify and connect the necessary components, write code in RobotC, and thoroughly test the integrated system represents a valuable skill set that can be applied to various applications, from robotics and automation to simulation and gaming.
Furthermore, the versatility of the Arduino platform, coupled with the flexibility of RobotC programming language, empowers creators to explore innovative control solutions that align with their unique project requirements. Whether it’s designing a custom remote control system, implementing a flight simulation interface, or developing interactive control mechanisms, the integration of a flight stick with an Arduino opens up a world of creative possibilities.
As you continue to delve into the realm of hardware and software integration, remember that experimentation, iteration, and continuous learning are integral to the process of refining and expanding your skills. Embrace the challenges and opportunities that arise, and leverage the knowledge gained from this guide as a springboard for your future endeavors in the exciting intersection of hardware interfacing and programming.
With a solid foundation in connecting and programming the flight stick with an Arduino in RobotC, you are well-equipped to embark on new projects and infuse them with enhanced control capabilities, paving the way for innovation and exploration in the realm of custom control systems.