Introduction
Are you an aviation enthusiast or a gaming aficionado looking to elevate your flight simulation experience? Building your own flight stick can be a rewarding and cost-effective endeavor that allows you to customize the design and functionality to suit your specific needs. Whether you're a hobbyist or a serious gamer, creating your own flight stick can provide a sense of accomplishment and a deeper connection to your virtual flying adventures.
In this guide, we will walk you through the process of designing, gathering components, assembling, and testing your very own flight stick. With a few basic materials and some technical know-how, you can craft a personalized flight stick that meets your exact specifications. From choosing the right materials to calibrating the final product, we'll cover each step in detail to ensure that you can enjoy a seamless and responsive flight control experience.
Embark on this journey with us as we delve into the intricacies of flight stick design and construction. By the end of this guide, you'll be equipped with the knowledge and confidence to create a custom flight stick that enhances your virtual flying escapades. So, roll up your sleeves and get ready to dive into the exciting world of DIY flight stick construction!
Materials Needed
Before embarking on the journey of building your own flight stick, it’s essential to gather the necessary materials and tools to ensure a smooth and successful construction process. Here’s a comprehensive list of the materials you’ll need to bring your custom flight stick to life:
- Microcontroller: The brain of your flight stick, responsible for processing input and sending commands to your computer. Popular choices include Arduino boards or Raspberry Pi.
- Potentiometers: These variable resistors will serve as the primary input devices on your flight stick, enabling precise control over pitch, roll, and throttle.
- Push Buttons and Switches: Essential for triggering various functions such as landing gear deployment, weapon selection, or view changes in your flight simulator.
- Enclosure: A sturdy and ergonomic housing to contain all the electronic components and provide a comfortable grip during operation.
- USB Cable: To connect your flight stick to the computer and ensure seamless communication.
- Soldering Iron and Solder: For securely attaching wires and components to the microcontroller and circuit board.
- Wire and Connectors: To establish electrical connections between the components and ensure proper signal transmission.
- 3D Printer or Woodworking Tools: Depending on your design preferences, you’ll need access to a 3D printer or woodworking tools to create the physical structure of your flight stick.
- Calipers and Measurement Tools: For precise dimensioning and alignment of components within the flight stick assembly.
- Electrical Tape and Heat Shrink Tubing: To insulate and protect exposed wires and connections from potential damage.
With these materials in hand, you’ll be well-prepared to move on to the next phase of the flight stick construction process—designing the physical layout and selecting the appropriate electronic components to bring your vision to life.
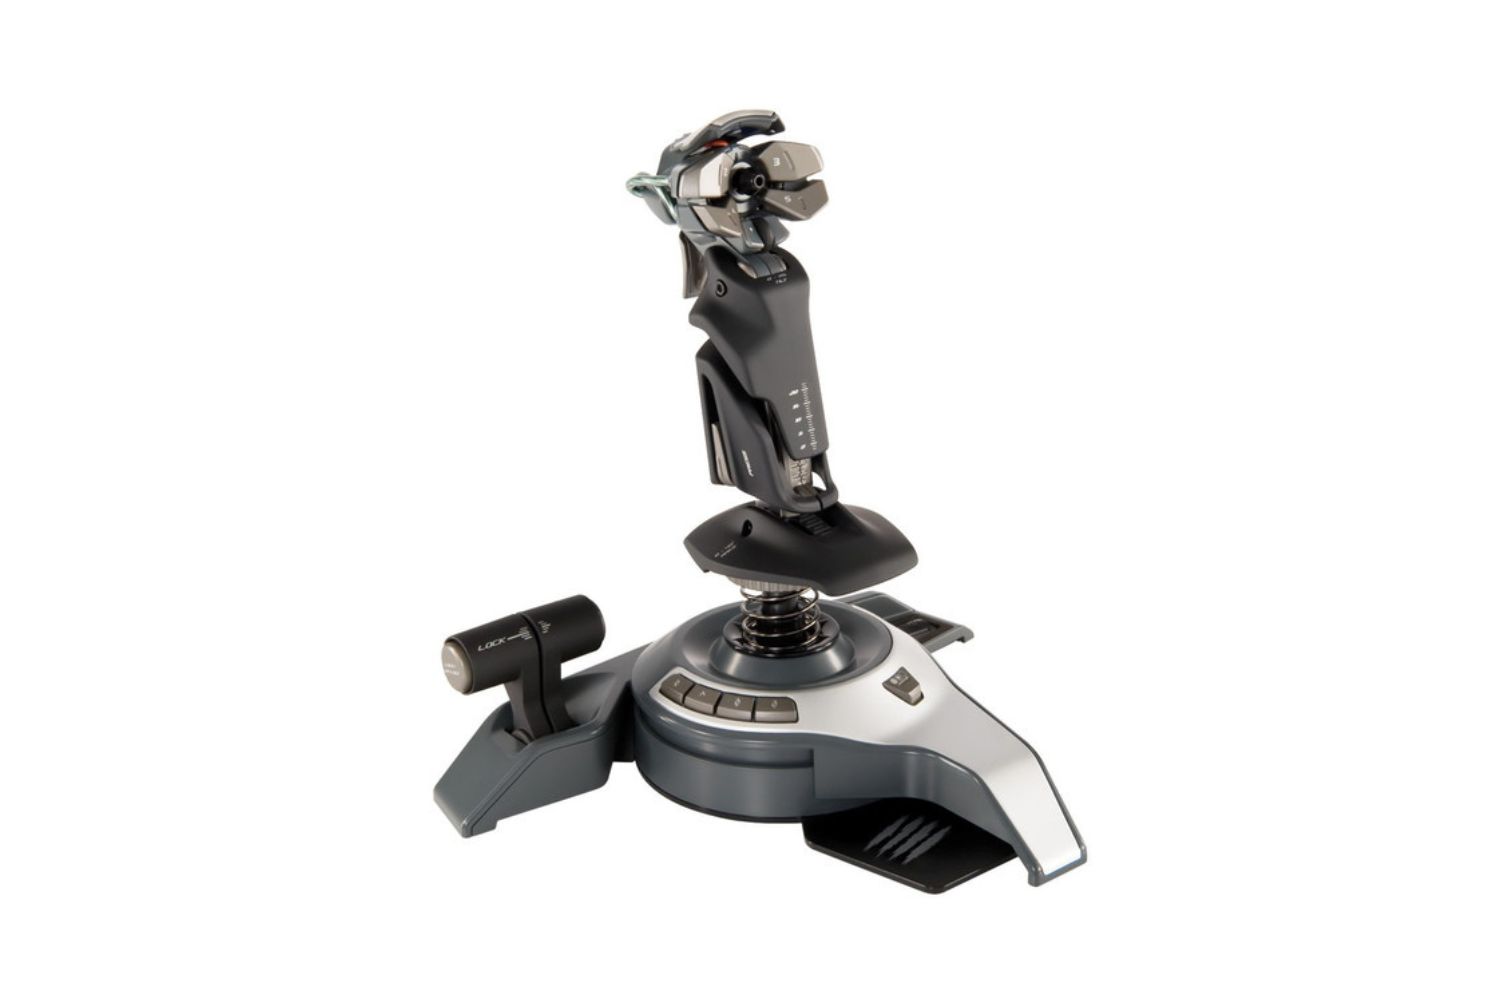
Step 1: Designing the Flight Stick
Designing your own flight stick is an exciting and crucial first step in the construction process. Whether you prefer a classic joystick design or a more elaborate control panel with multiple switches and buttons, careful planning and consideration of ergonomics are essential to create a functional and comfortable interface. Here’s a detailed breakdown of the key aspects to consider when designing your custom flight stick:
- Form Factor: Determine the overall shape and size of your flight stick, taking into account your hand size and the available space for mounting components. Consider ergonomic principles to ensure comfortable and fatigue-free operation during extended use.
- Control Layout: Decide on the arrangement of potentiometers, buttons, and switches to best mimic the controls of your favorite aircraft or optimize functionality for your preferred flight simulator. Consider the placement of your fingers and thumbs for intuitive and precise control inputs.
- Material Selection: Choose the material for the flight stick enclosure based on your design preferences and access to fabrication tools. Whether it’s 3D-printed plastic, CNC-machined aluminum, or handcrafted wood, the material should provide durability and a professional finish.
- Integration of Display and LEDs: If desired, plan for the inclusion of a small display for vital flight information or LED indicators for system status feedback. These additions can enhance the immersive experience and provide valuable visual cues during gameplay.
- Wiring and Cable Management: Consider the routing of internal wiring and the placement of connectors to ensure a tidy and serviceable internal layout. Proper cable management will facilitate future maintenance and troubleshooting, if necessary.
- Aesthetics and Customization: Explore opportunities for personalizing the appearance of your flight stick, such as custom paint finishes, decals, or themed embellishments to reflect your unique style and preferences.
By carefully considering these design elements, you can create a flight stick that not only meets your functional requirements but also reflects your individuality and passion for aviation or gaming. Once the design phase is complete, you can proceed to the exciting stage of gathering the electronic components and bringing your vision to life.
Step 2: Gathering the Components
With the design of your custom flight stick finalized, it’s time to gather the essential electronic components and hardware that will form the core of your control system. Ensuring that you have the right components on hand is crucial for a seamless and successful assembly process. Here’s a comprehensive list of the components you’ll need to bring your flight stick to life:
- Microcontroller: Select a microcontroller board, such as an Arduino or Raspberry Pi, to serve as the central processing unit for your flight stick. Ensure that it has sufficient analog and digital input/output pins to accommodate your control inputs and communication with the computer.
- Potentiometers: Acquire high-quality potentiometers to capture precise analog input for pitch, roll, and throttle control. Consider the resistance values and form factor that best suit your design requirements.
- Push Buttons and Switches: Choose durable and responsive momentary push buttons and switches to actuate various functions within your flight simulator. Opt for options with a tactile feel and reliable electrical contacts.
- USB Interface: Obtain a USB interface board or module to facilitate the seamless connection of your flight stick to your computer. This will ensure compatibility and ease of setup for plug-and-play functionality.
- Enclosure Components: If you’re fabricating a custom enclosure, procure the necessary materials, such as 3D printing filament, acrylic sheets, or wood panels, based on your chosen design. Additionally, consider fasteners, adhesives, and finishing materials for assembly and aesthetics.
- Electrical Components: Stock up on essential electrical components, including wires, connectors, resistors, and capacitors, to establish the necessary electrical connections and ensure signal integrity within the flight stick assembly.
- Soldering Tools and Supplies: Ensure that you have a quality soldering iron, solder, and related tools for assembling and soldering electronic components onto the circuit board or microcontroller.
- Calibration and Testing Tools: Prepare measurement tools, such as multimeters and calibration software, to verify the functionality and accuracy of the control inputs during the testing phase.
By gathering these components, you’ll be well-equipped to proceed with the assembly phase and bring your meticulously designed flight stick to fruition. The careful selection of high-quality components is essential for achieving reliable performance and a satisfying user experience.
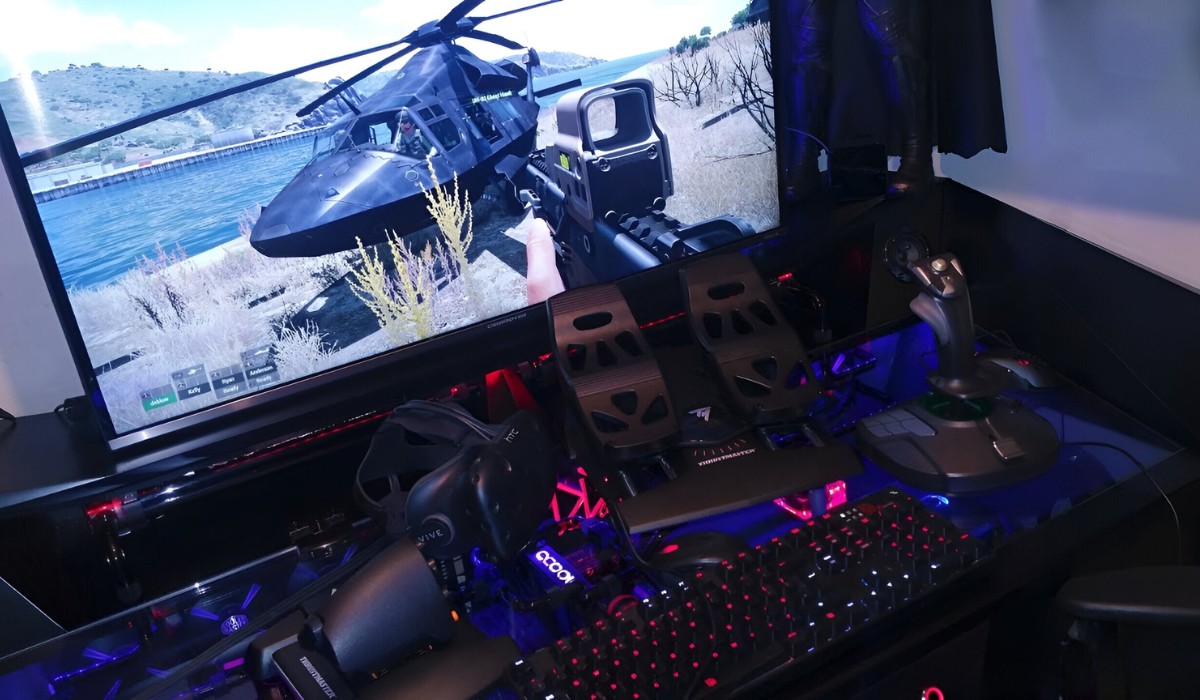
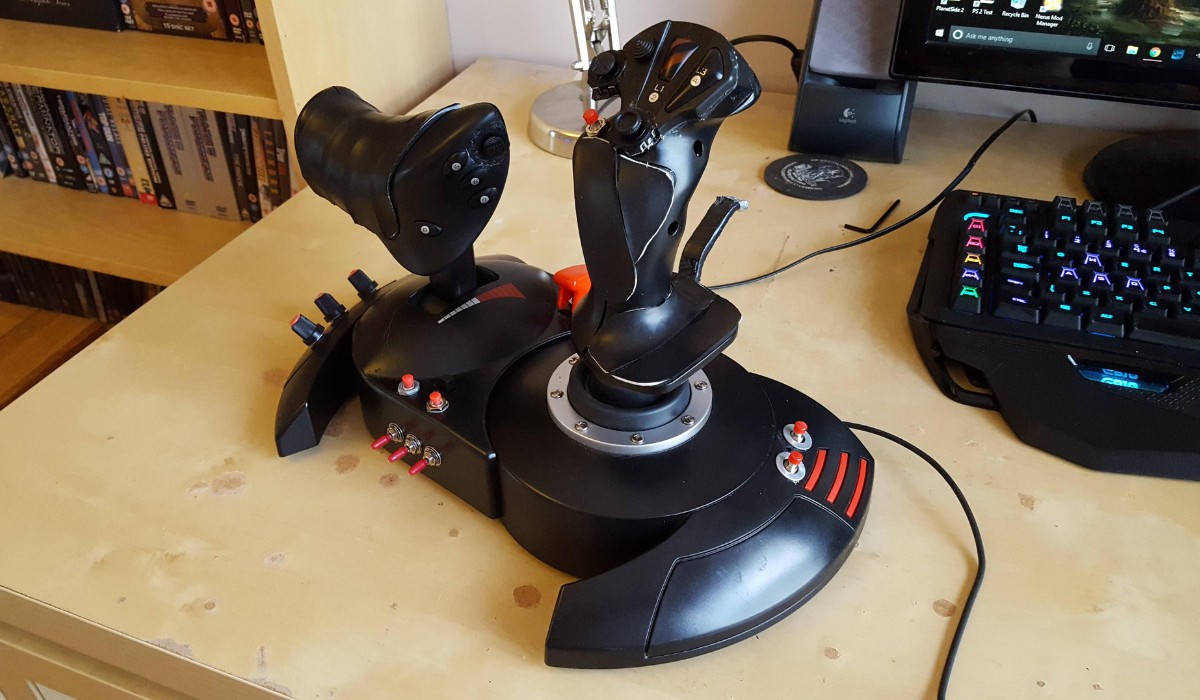
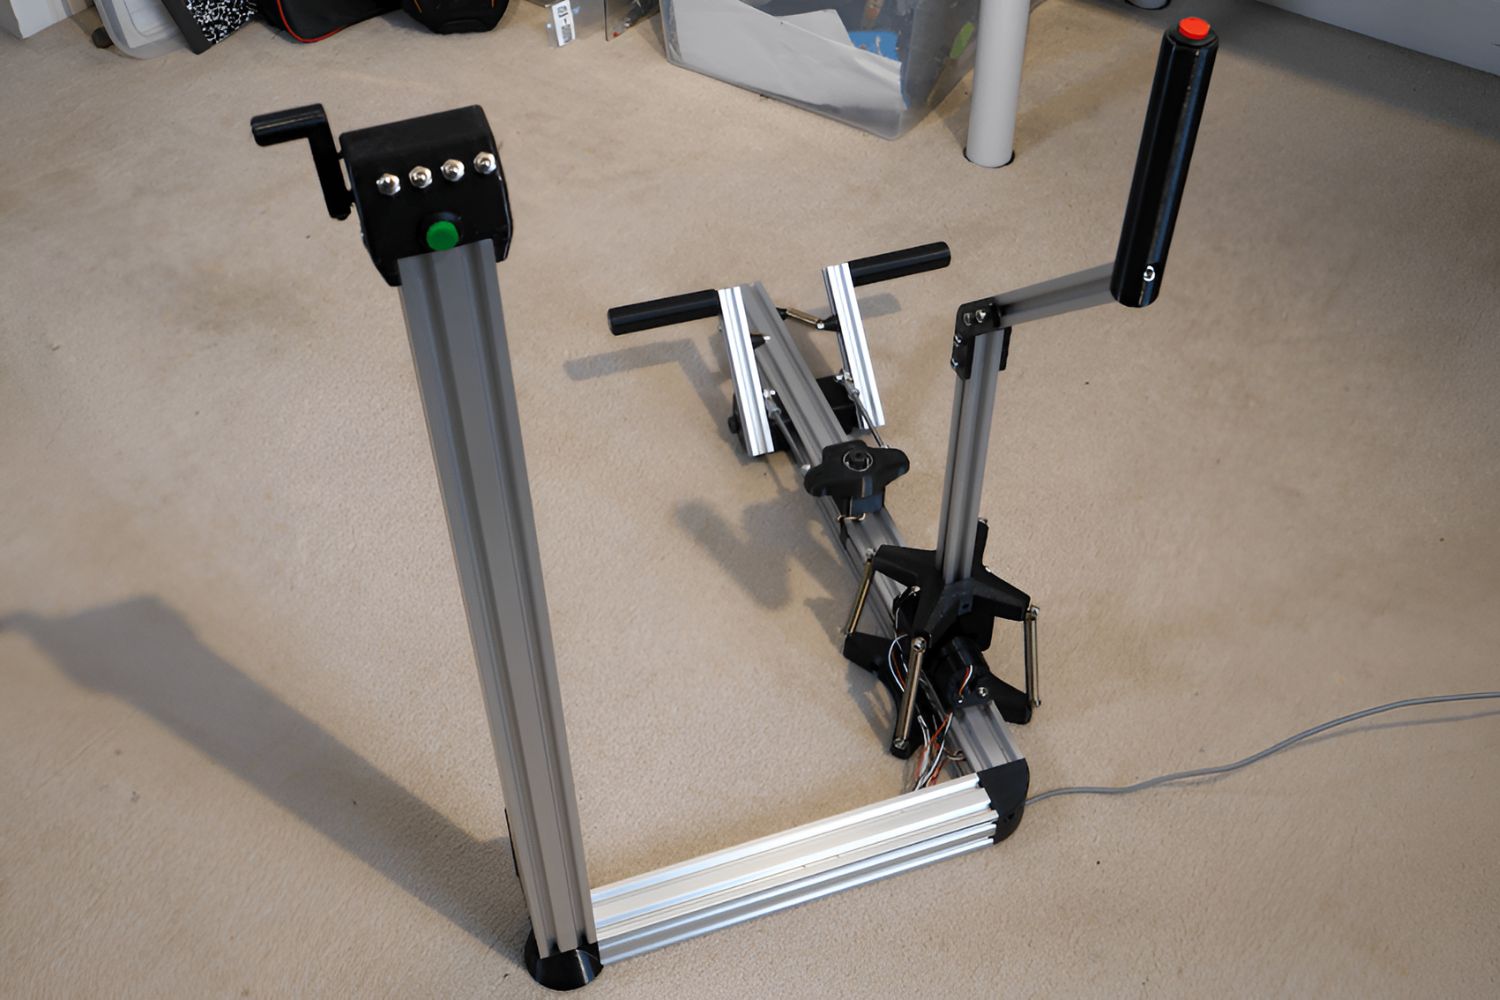
Step 3: Assembling the Flight Stick
As you embark on the assembly phase of your DIY flight stick project, you’ll have the opportunity to bring together the carefully chosen components and witness your design take physical form. This hands-on process involves integrating electronic elements, crafting the physical enclosure, and ensuring that all components work seamlessly together. Here’s a detailed overview of the essential steps involved in assembling your custom flight stick:
- Mounting Components: Begin by securely mounting the potentiometers, push buttons, switches, and any additional control elements within the designated positions in the flight stick enclosure. Ensure proper alignment and ergonomic placement for intuitive operation.
- Wiring and Connections: Establish the necessary electrical connections between the components, ensuring that the wiring is neatly routed and properly secured within the enclosure. Use appropriate connectors and soldering techniques for reliable and durable connections.
- Microcontroller Integration: Connect the potentiometers, buttons, and switches to the designated input pins on the microcontroller, following the wiring diagram or pinout specifications. Securely mount the microcontroller within the enclosure, considering accessibility for future maintenance.
- Enclosure Assembly: If you’re fabricating a custom enclosure, carefully assemble the 3D-printed, machined, or handcrafted components to form a sturdy and ergonomic housing for the internal electronics. Pay attention to detail and finish to achieve a professional and aesthetically pleasing result.
- USB Interface Setup: Connect the USB interface board or module to the microcontroller, ensuring proper communication and compatibility with your computer. Secure the USB cable within the enclosure and provide strain relief to prevent accidental disconnection.
- Testing and Initial Calibration: Power up the assembled flight stick and verify the functionality of the control inputs, buttons, and switches. Use calibration software or built-in tools to ensure that the analog inputs provide accurate and responsive control signals to the computer.
- Finalization and Aesthetics: Complete any remaining wiring, secure loose components, and add finishing touches to the enclosure, such as custom labels, grips, or surface treatments. Ensure that the flight stick not only performs flawlessly but also looks impressive and reflects your design intent.
By meticulously following these assembly steps, you’ll transform a collection of electronic components and raw materials into a fully functional and personalized flight stick. The assembly phase marks a significant milestone in your DIY journey, bringing you one step closer to experiencing the thrill of piloting virtual aircraft with your own creation.
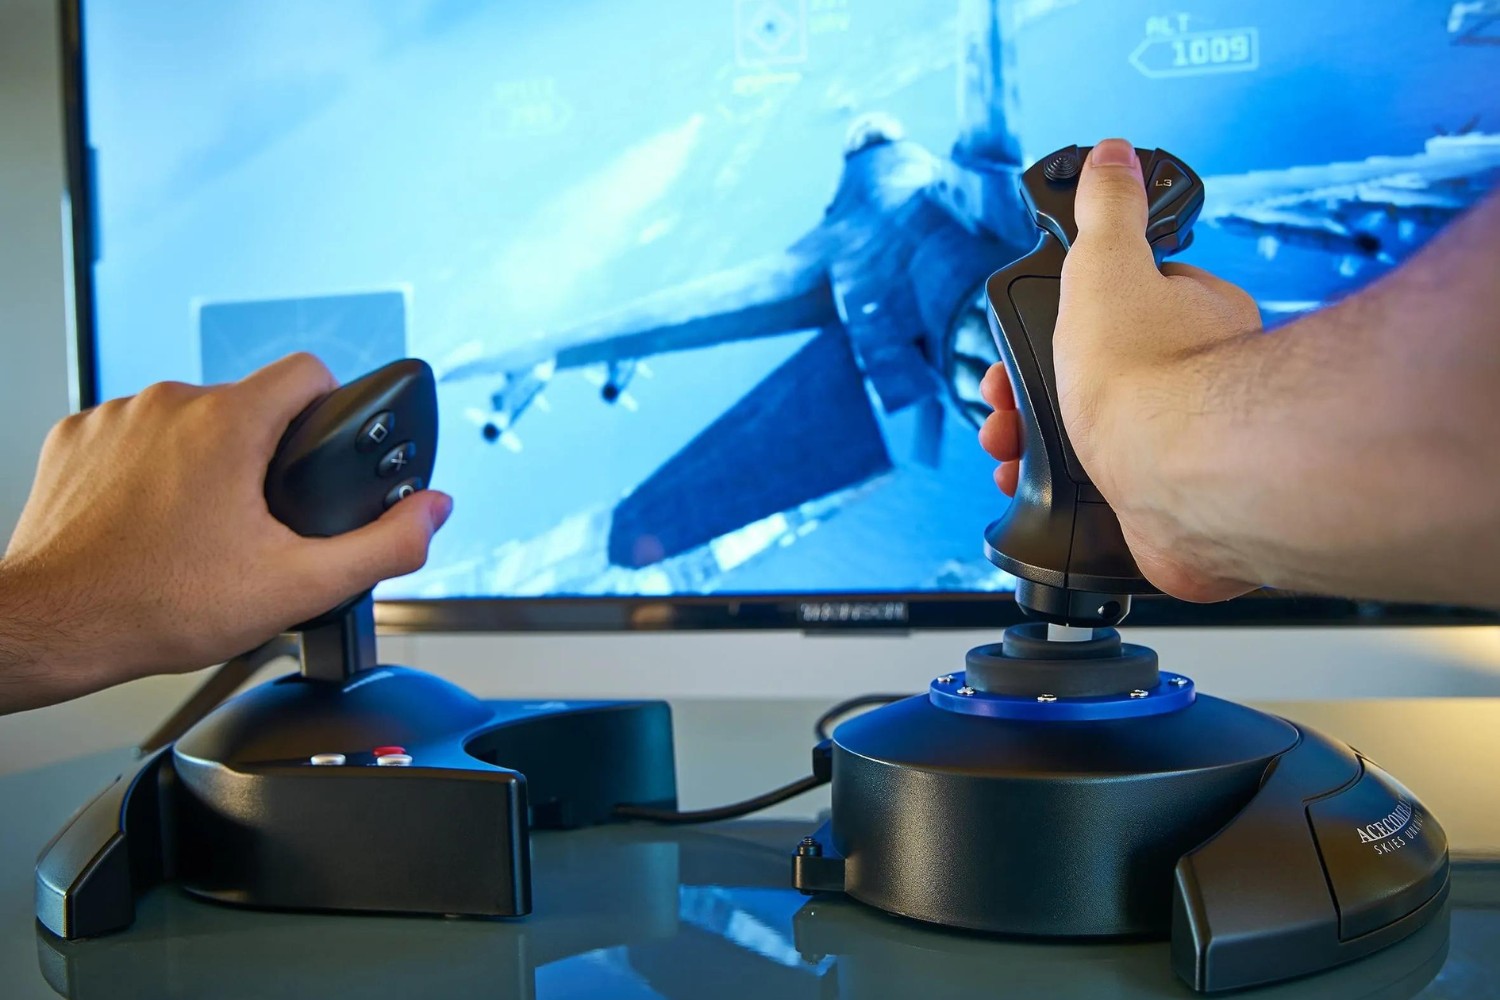
Step 4: Testing and Calibration
Once the assembly of your custom flight stick is complete, it’s crucial to thoroughly test and calibrate the device to ensure optimal performance and responsiveness. This phase involves validating the functionality of each control input, fine-tuning sensitivity, and confirming seamless communication with the computer for an immersive and reliable flight simulation experience. Here’s a comprehensive guide to testing and calibrating your DIY flight stick:
- Functional Testing: Begin by systematically testing each control input, including pitch, roll, and throttle, to verify that the potentiometers and switches are providing accurate and consistent signals. Actuate the push buttons and switches to confirm that they trigger the intended functions within the flight simulator software.
- Range and Sensitivity Calibration: Use calibration software or built-in tools to adjust the range and sensitivity of the potentiometers, ensuring that the full range of motion translates to the desired control outputs in the flight simulator. Fine-tune the sensitivity to match your preferred flying style and level of precision.
- Button and Switch Response: Test the responsiveness of the push buttons and switches, ensuring that they reliably trigger the assigned functions without any delays or unintended activations. Adjust debounce settings if necessary to eliminate any erratic behavior.
- Communication with the Computer: Connect the flight stick to your computer and verify that it is detected and recognized as a valid input device. Test the functionality within your preferred flight simulator software, confirming that all control inputs and functions operate as expected without any glitches or compatibility issues.
- Realistic Flight Scenarios: Engage in test flights within the flight simulator, simulating various flying conditions and maneuvers to assess the responsiveness and accuracy of the flight stick. Confirm that the controls provide a realistic and immersive experience, allowing you to effectively pilot different aircraft types and handle diverse in-game scenarios.
- User Feedback and Iteration: Gather feedback from test users, if available, to identify any areas for improvement or refinement. Consider iterative adjustments to the calibration settings based on user preferences and ergonomic considerations to enhance the overall usability of the flight stick.
By meticulously testing and calibrating your DIY flight stick, you’ll ensure that it delivers a seamless and immersive control experience, enhancing your enjoyment of virtual flying adventures. This phase represents the final fine-tuning of your creation, culminating in a personalized and responsive flight control interface that reflects your passion for aviation and gaming.
Conclusion
Congratulations on completing the journey of designing, gathering components, assembling, and testing your very own custom flight stick! Through this process, you’ve not only crafted a personalized control interface for your flight simulation adventures but also gained valuable hands-on experience in DIY electronics and fabrication. As you reflect on this rewarding endeavor, consider the following key takeaways:
- Personalization and Customization: By building your own flight stick, you’ve tailored the design and functionality to align with your specific preferences and flying style. This level of customization ensures a more immersive and enjoyable flight simulation experience.
- Technical Proficiency: Engaging in the construction of a flight stick has provided you with practical knowledge of electronic components, microcontroller programming, and assembly techniques. These skills can be further honed and applied to future DIY projects and creative endeavors.
- Problem-Solving and Iteration: Throughout the process, you’ve encountered challenges and opportunities for refinement, fostering a mindset of problem-solving and continuous improvement. Embracing iteration and learning from each stage of the project is a valuable skill that transcends DIY electronics.
- Sense of Accomplishment: The completion of your custom flight stick represents a significant achievement, instilling a sense of pride and satisfaction in your ability to conceive, design, and realize a complex technical project. This accomplishment serves as a testament to your creativity and determination.
- Community and Sharing: Consider sharing your experiences and insights with fellow enthusiasts and aspiring DIYers, contributing to a vibrant community of makers and innovators. Your journey can inspire others to embark on their own DIY projects and foster a culture of knowledge sharing and collaboration.
As you integrate your newly crafted flight stick into your flight simulation setup, take pride in the fact that it is a manifestation of your creativity and passion for aviation or gaming. Embrace the unique features and design elements that set your creation apart, and revel in the enhanced control and immersion it brings to your virtual flying escapades.
Remember, the journey of DIY flight stick construction is not just about the end product, but the skills, experiences, and joy derived from the process itself. Whether you soar through virtual skies or engage in future DIY endeavors, may the knowledge and fulfillment gained from this project continue to inspire and empower you in your pursuits.