Introduction
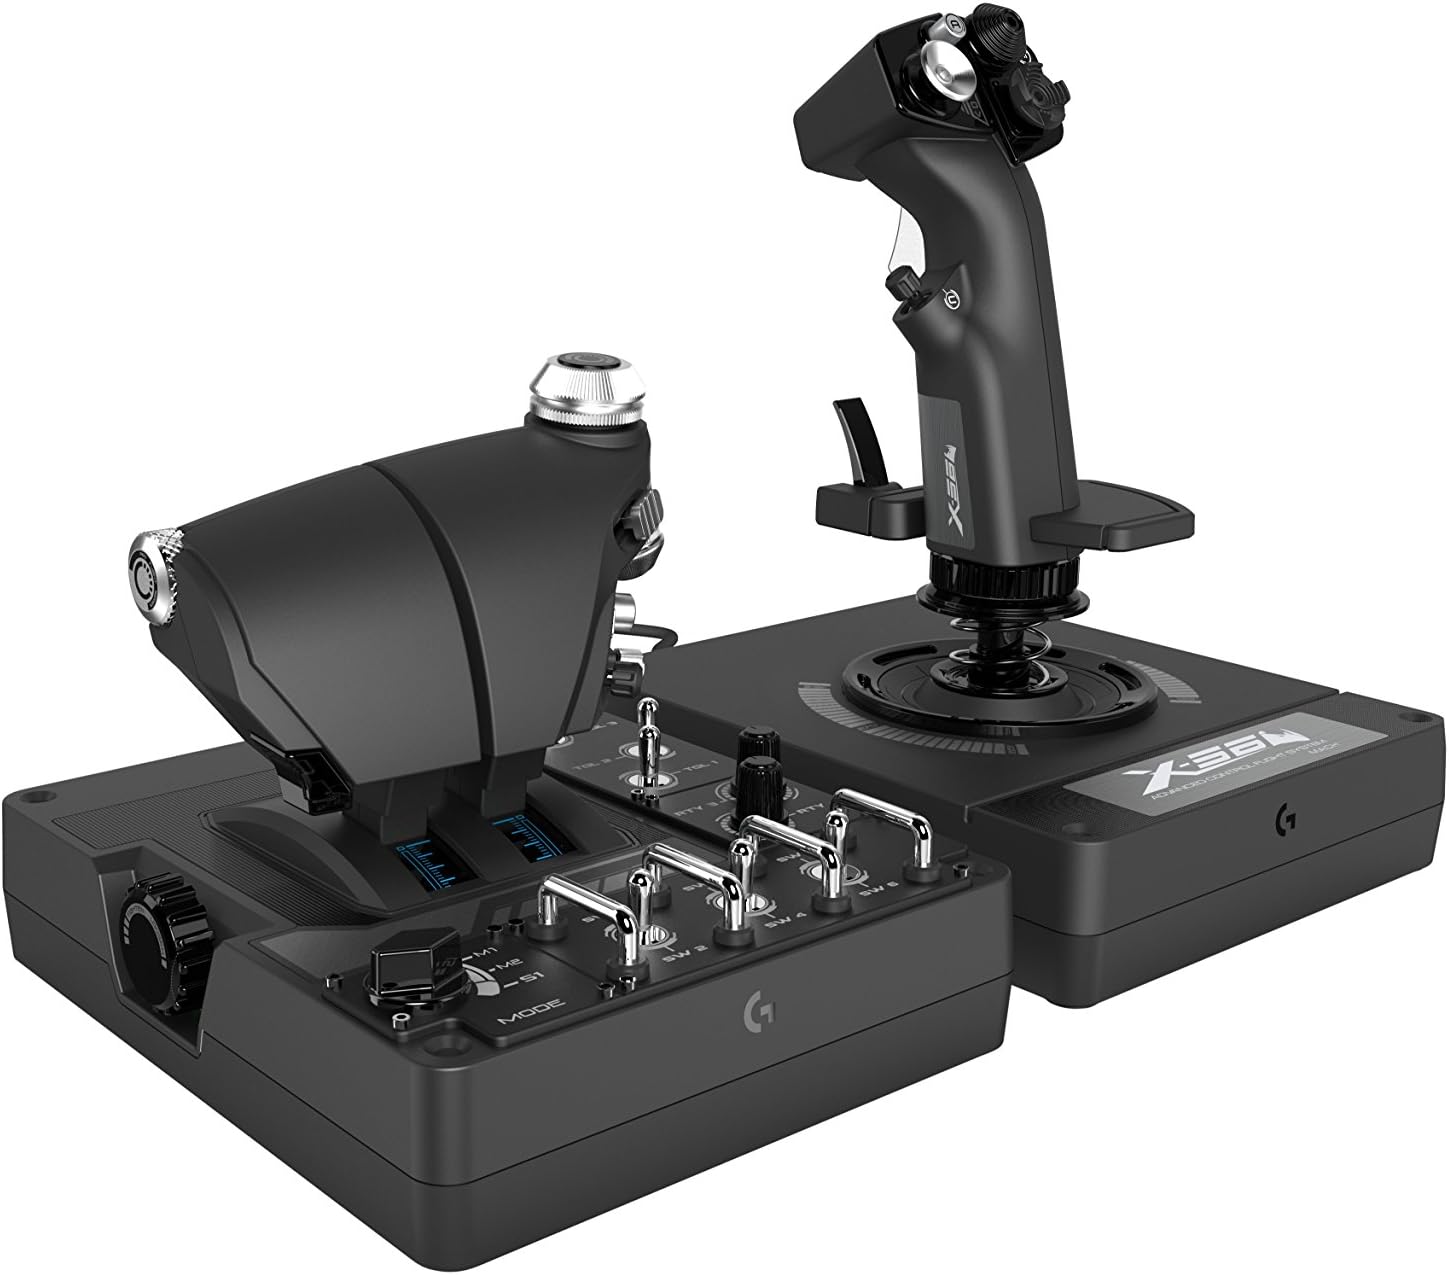
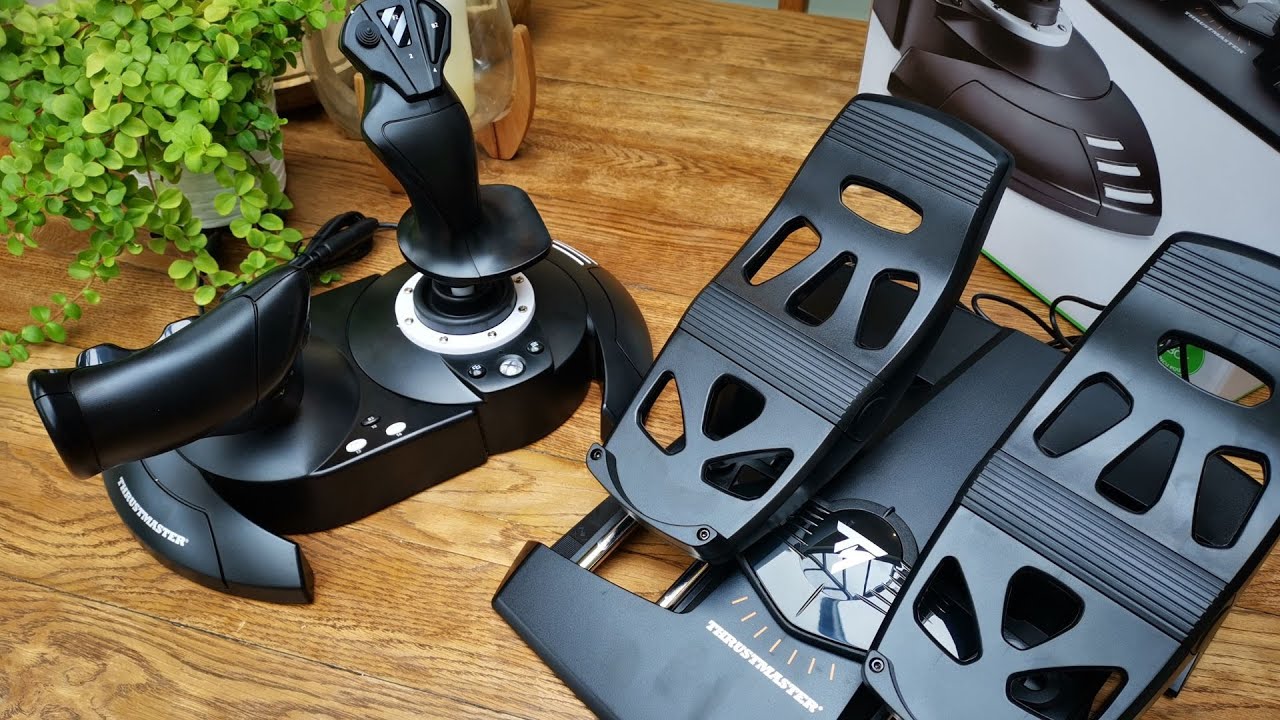
Welcome to the exhilarating world of aerial combat in Call of Duty: WWII (COD WW2). To truly immerse yourself in the heart-pounding action, you'll need a reliable and responsive flight stick controller. The Thrustmaster T-Flight Hotas X is a popular choice among gamers for its precision and ergonomic design, making it the perfect companion for taking to the skies in COD WW2.
In this guide, we'll walk you through the process of setting up and configuring the Thrustmaster T-Flight Hotas X flight stick controller specifically for use with COD WW2. Whether you're a seasoned pilot or a newcomer to flight simulation, we'll provide step-by-step instructions to ensure that you're ready to soar into battle with confidence.
Before we dive into the setup process, it's important to note that the Thrustmaster T-Flight Hotas X offers a range of customizable features that can significantly enhance your gaming experience. From adjusting sensitivity settings to mapping controls for optimal performance, we'll explore how to harness the full potential of this versatile flight stick controller.
So, buckle up and prepare for an adrenaline-fueled journey as we guide you through the setup and configuration of the Thrustmaster T-Flight Hotas X for an unparalleled COD WW2 aerial combat experience.
Unboxing and Connecting the Thrustmaster T-Flight Hotas X
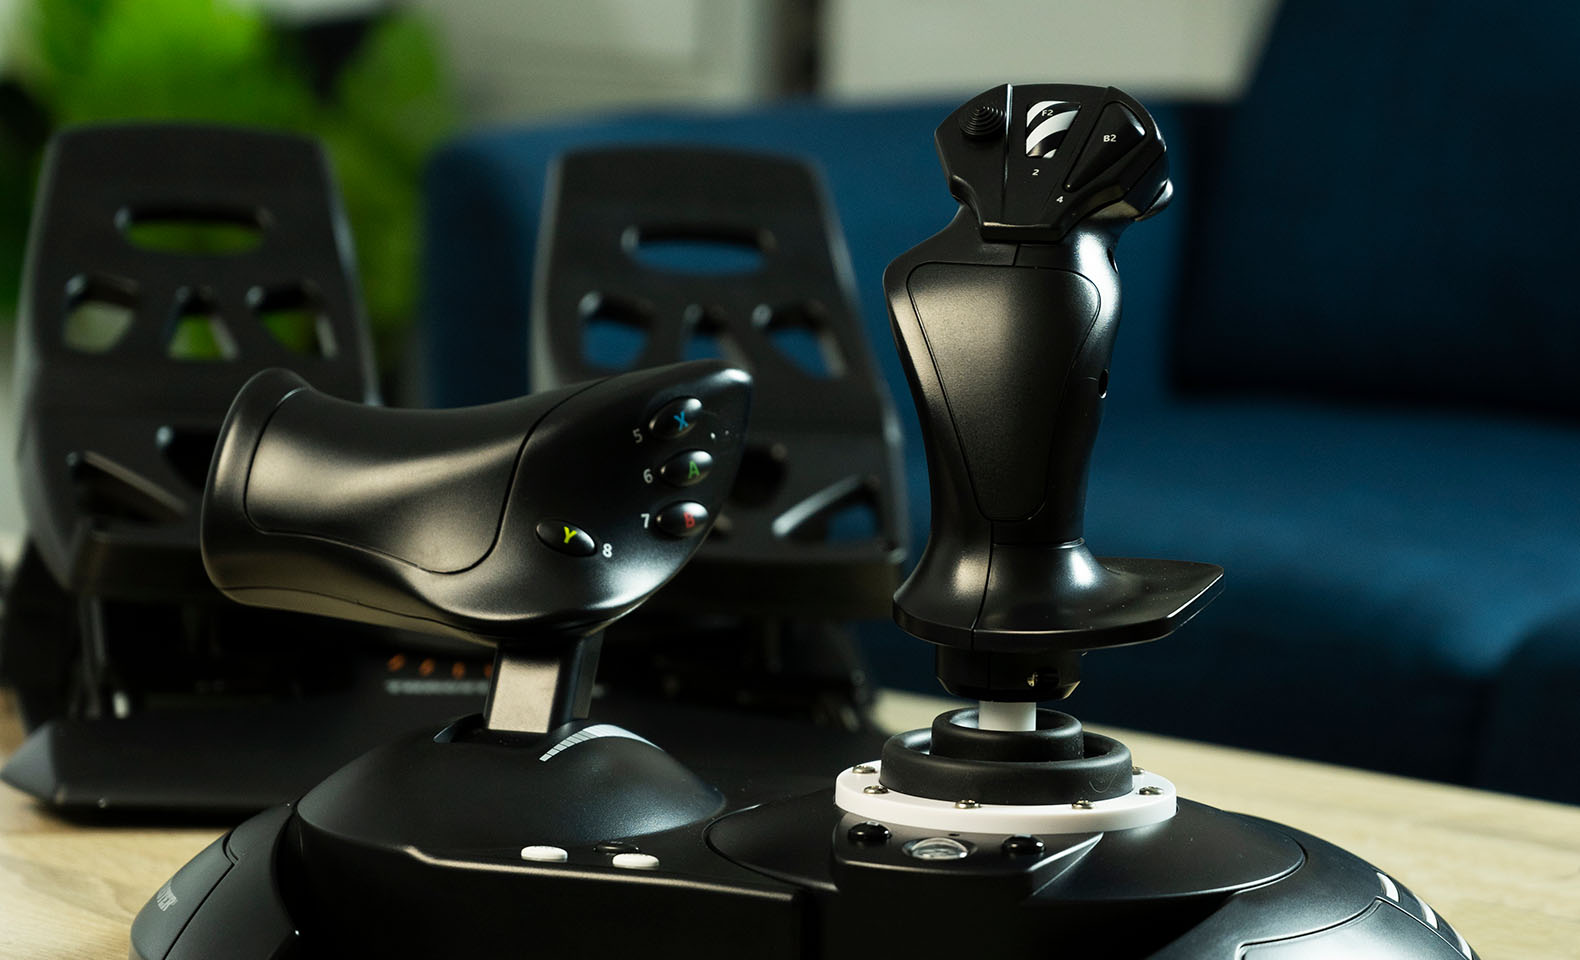
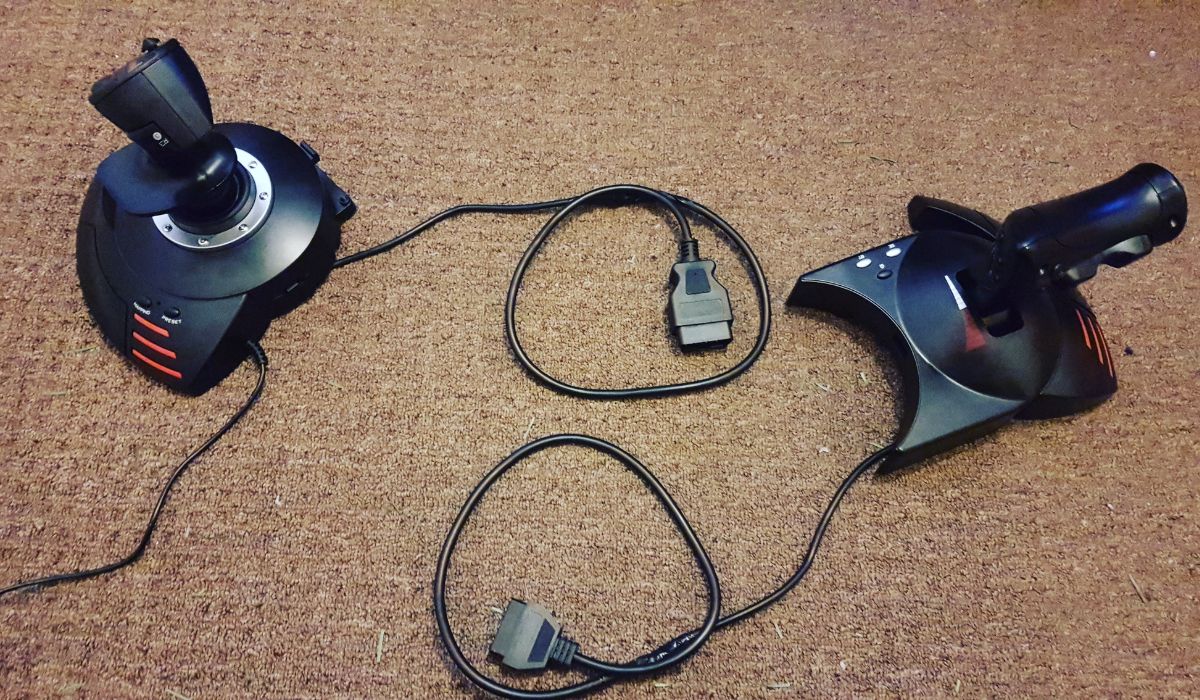
Upon unboxing the Thrustmaster T-Flight Hotas X, you’ll be greeted by a sleek and ergonomic flight stick controller that exudes quality and precision. The package typically includes the flight stick itself, a detachable throttle control, and a USB cable for connectivity. The intuitive design of the controller ensures that it fits comfortably in your hands, providing a natural grip for extended gaming sessions.
Connecting the Thrustmaster T-Flight Hotas X is a straightforward process. Begin by identifying a suitable location for the controller, ensuring that there is ample space for unrestricted movement during gameplay. Once you’ve chosen the ideal placement, connect the USB cable to a vacant port on your gaming console or PC. The plug-and-play nature of the controller means that it should be automatically recognized by the system, requiring no additional setup at this stage.
For enhanced stability and ease of use, consider securing the controller to a stable surface using the integrated clamping system. This ensures that the Thrustmaster T-Flight Hotas X remains firmly in place, even during intense aerial maneuvers. Additionally, the detachable throttle control can be positioned to suit your preference, allowing for personalized comfort and control during gameplay.
With the Thrustmaster T-Flight Hotas X now connected and ready for action, you’re one step closer to immersing yourself in the high-stakes aerial combat of COD WW2. The next phase of the setup process involves installing the necessary drivers to ensure seamless compatibility and optimal performance with your gaming platform.
Installing the Necessary Drivers
Before unleashing the full potential of the Thrustmaster T-Flight Hotas X in COD WW2, it’s crucial to ensure that the required drivers are installed to facilitate seamless communication between the controller and your gaming platform. Fortunately, the process of installing these drivers is relatively straightforward, and it’s essential for unlocking the controller’s advanced features and optimizing its performance.
Begin by visiting the official Thrustmaster website to access the dedicated support section. Here, you’ll find a comprehensive repository of drivers and software tailored to your specific controller model. Locate the appropriate drivers for the T-Flight Hotas X, ensuring that they are compatible with your operating system. Whether you’re using a PC or gaming console, Thrustmaster provides a range of driver options to accommodate various platforms.
Once you’ve downloaded the requisite drivers, proceed to install them according to the provided instructions. This typically involves running the installation package and following the on-screen prompts to complete the setup. During the installation process, it’s advisable to keep the T-Flight Hotas X connected to your system to ensure that the drivers are properly associated with the controller.
Upon successful installation, you’ll have access to a suite of customization options and settings that allow you to tailor the controller to your preferences. From adjusting sensitivity levels to programming custom button configurations, the installed drivers empower you to fine-tune the Thrustmaster T-Flight Hotas X for an optimized gaming experience.
With the drivers in place, the T-Flight Hotas X is now fully integrated with your gaming platform, ready to deliver unparalleled responsiveness and precision in the skies of COD WW2. The next crucial step involves configuring the controller specifically for optimal performance in the game.
Configuring the Controller for COD WW2
As you prepare to take flight in the immersive world of COD WW2, configuring the Thrustmaster T-Flight Hotas X to suit the demands of aerial combat is essential for a seamless and responsive gaming experience. With its customizable features and ergonomic design, the T-Flight Hotas X offers a range of options to tailor the controller to your preferred playstyle and optimize its performance in the game.
Start by launching COD WW2 and navigating to the game’s settings or options menu. Within the control settings, locate the section dedicated to input devices or controllers. Here, you’ll have the opportunity to map the various functions of the T-Flight Hotas X to correspond with the in-game actions, such as throttle control, flight maneuvers, weapon systems, and more.
With the ability to assign specific functions to different buttons and axes on the controller, take the time to create a configuration that aligns with your piloting preferences. Whether you prioritize precise aiming, swift maneuverability, or streamlined weapon management, customizing the controller’s layout within the game settings allows you to optimize your efficiency and control in the skies of COD WW2.
Furthermore, the T-Flight Hotas X offers adjustable sensitivity settings, providing the flexibility to fine-tune the responsiveness of the controller to your liking. Experiment with different sensitivity levels to find the ideal balance between precision and agility, ensuring that the controller’s movements seamlessly translate into your in-game actions.
Additionally, consider exploring any advanced settings within COD WW2 that cater specifically to flight controls. These options may include adjustments for dead zones, axis inversion, and other parameters that can further refine the responsiveness and accuracy of the T-Flight Hotas X during aerial combat scenarios.
By meticulously configuring the Thrustmaster T-Flight Hotas X to harmonize with the gameplay mechanics of COD WW2, you’ll be equipped to dominate the skies with unparalleled control and finesse. With the controller now optimized for combat, the next step involves testing and adjusting the settings to ensure a seamless integration between the T-Flight Hotas X and the adrenaline-fueled world of COD WW2.
Testing and Adjusting the Settings
With the Thrustmaster T-Flight Hotas X configured to your specifications, it’s time to put the controller through its paces in the intense aerial battles of COD WW2. Before diving into the heart-pounding action, it’s prudent to conduct thorough testing and make any necessary adjustments to ensure that the controller seamlessly integrates with the game, providing optimal responsiveness and precision.
Begin by entering a training or practice mode within COD WW2 to familiarize yourself with the T-Flight Hotas X’s performance in a controlled environment. Take note of how the controller responds to your inputs, including throttle adjustments, flight maneuvers, and weapon controls. Assess the overall feel and responsiveness of the controller, paying close attention to any areas that may require fine-tuning.
During this testing phase, consider experimenting with different sensitivity settings to gauge their impact on your control and accuracy in the game. By adjusting the sensitivity levels, you can refine the controller’s responsiveness to align with your piloting style, striking a balance between precision aiming and agile maneuverability.
Furthermore, evaluate the custom button configurations you’ve implemented for the T-Flight Hotas X within COD WW2. Ensure that the assigned functions align with your intuitive expectations during gameplay, allowing for seamless execution of critical actions such as weapon selection, targeting, and defensive maneuvers.
As you test the controller in various combat scenarios, take note of any specific challenges or areas where the controller’s performance may benefit from further adjustments. Whether it involves refining the throttle response, fine-tuning the control sensitivity, or reassigning specific functions to different buttons, the testing phase provides valuable insights for optimizing the T-Flight Hotas X’s performance in COD WW2.
Throughout the testing process, maintain an open-minded approach to refining the controller settings, recognizing that incremental adjustments can significantly enhance your overall gaming experience. By iteratively fine-tuning the T-Flight Hotas X’s configuration based on your testing observations, you’ll be poised to soar into the skies of COD WW2 with unwavering confidence in your controller’s capabilities.
Conclusion
As you embark on your aerial exploits in COD WW2 with the Thrustmaster T-Flight Hotas X at your command, you’ve journeyed through the essential steps of setting up and optimizing the controller for an unparalleled gaming experience. From unboxing and connecting the controller to fine-tuning its settings for precision and responsiveness in the game, you’ve laid the groundwork for dominating the skies with seamless control and unwavering confidence.
The process of configuring the T-Flight Hotas X has empowered you to tailor the controller to your unique playstyle, harnessing its customizable features to optimize performance in the adrenaline-fueled world of aerial combat. By installing the necessary drivers and meticulously adjusting the controller’s settings, you’ve unlocked its full potential, ensuring that it seamlessly integrates with COD WW2 to elevate your gaming experience.
Throughout this journey, you’ve embraced the versatility of the T-Flight Hotas X, leveraging its ergonomic design and customizable features to create a personalized gaming setup that aligns with your piloting preferences. Whether it’s mapping control functions, adjusting sensitivity settings, or refining button configurations, you’ve honed the controller to serve as a seamless extension of your expertise in the skies of COD WW2.
As you conclude this setup process, armed with a finely tuned Thrustmaster T-Flight Hotas X, you’re poised to dominate the aerial battlegrounds with unparalleled precision and control. The thorough testing and adjustments have honed the controller to harmonize seamlessly with the game’s mechanics, ensuring that every maneuver and action is executed with unwavering accuracy and finesse.
With the Thrustmaster T-Flight Hotas X now primed for action, you’re ready to soar into the immersive world of COD WW2, equipped with a meticulously configured controller that amplifies your aerial prowess. Whether engaging in intense dogfights or executing daring bombing runs, the T-Flight Hotas X stands as your trusted companion, empowering you to navigate the skies with unparalleled mastery and confidence.
As you prepare to take flight, armed with a finely tuned Thrustmaster T-Flight Hotas X, the exhilarating aerial battles of COD WW2 await, inviting you to unleash your skills and dominate the skies with unrivaled precision and control.