Introduction
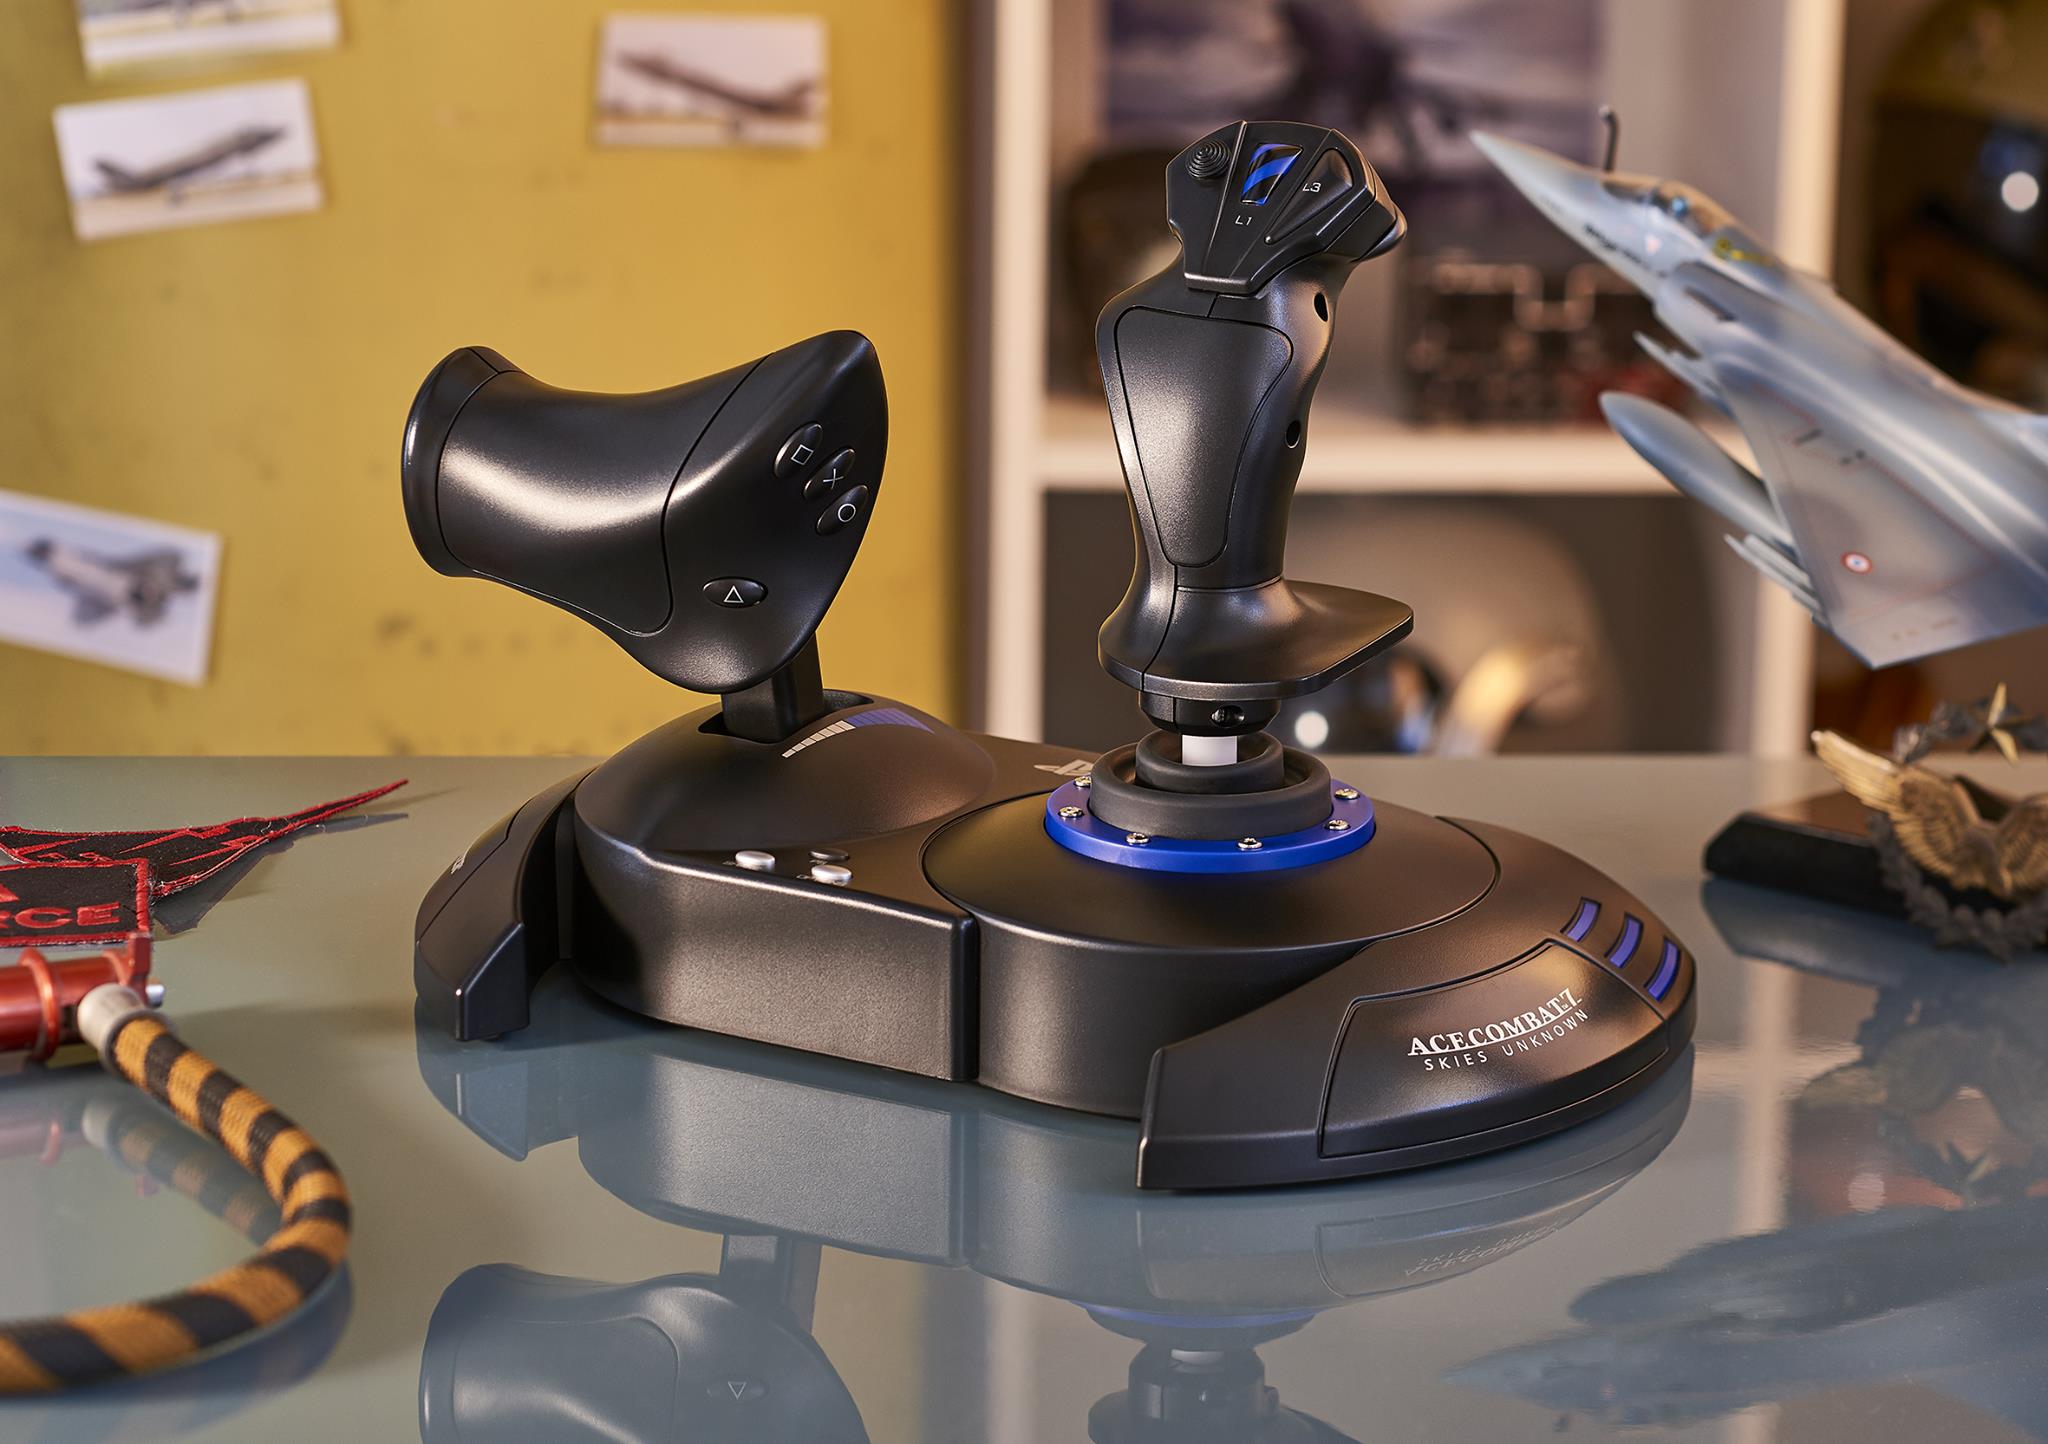
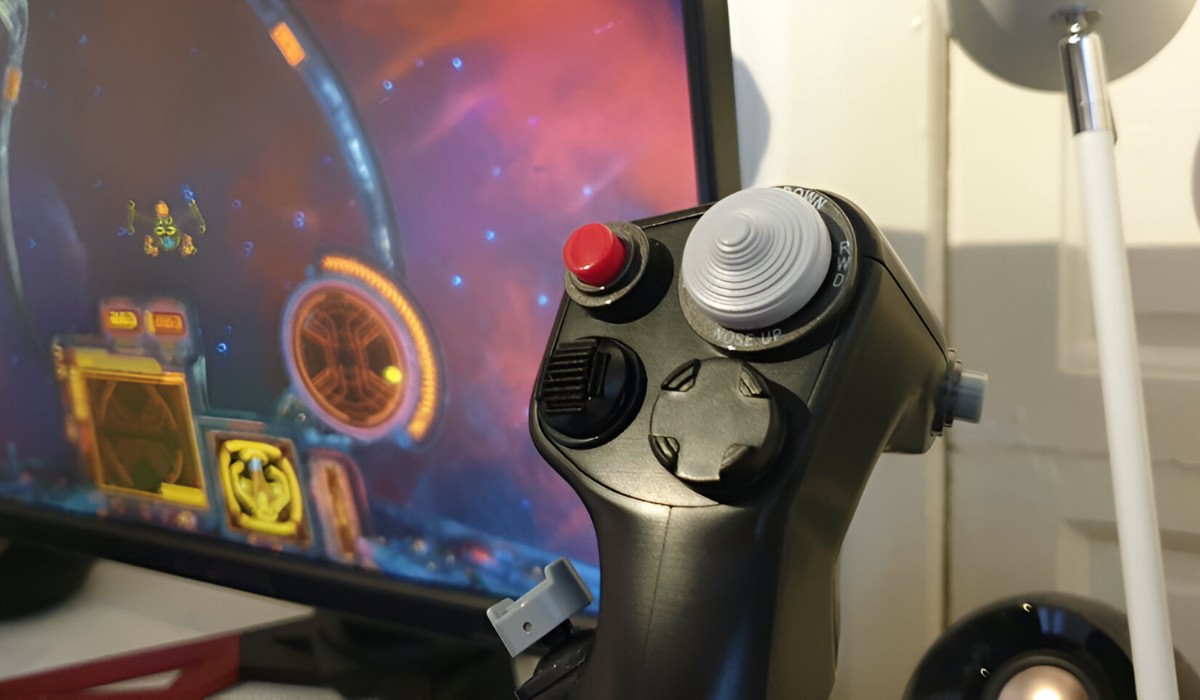
So, you’ve got your hands on the Hori Ace Combat 7 Hotas Flight Stick for Xbox One, and you’re ready to take your flight simulation experience to new heights. While the default buttons may serve their purpose, customizing them can add a personal touch and enhance your gaming experience. Whether you’re looking to replace worn-out buttons, upgrade to more responsive ones, or simply change the aesthetic, this guide will walk you through the process of changing the buttons on your Hori Ace Combat 7 Hotas Flight Stick for Xbox One.
Customizing your flight stick buttons can not only improve the look and feel of your setup but also cater to your specific gaming preferences. From choosing buttons with a different texture for better grip to selecting ones with more tactile feedback, the possibilities are endless. Additionally, swapping out buttons can be a fun and rewarding DIY project that allows you to put your personal stamp on your gaming gear.
In the following sections, we’ll delve into the step-by-step process of removing the existing buttons, choosing and installing new ones, and testing and adjusting the replacements. By the end of this guide, you’ll have the knowledge and confidence to customize your Hori Ace Combat 7 Hotas Flight Stick for Xbox One with the buttons that best suit your gaming needs. So, grab your flight stick, roll up your sleeves, and let’s get started on this exciting customization journey!
Removing the Existing Buttons
Before you can install new buttons on your Hori Ace Combat 7 Hotas Flight Stick for Xbox One, you’ll need to remove the existing ones. This process requires careful attention to avoid damaging the flight stick or its internal components. Here’s a step-by-step guide to safely remove the existing buttons:
- Prepare Your Workspace: Find a well-lit and spacious area to work in. Ensure that you have all the necessary tools, such as a small screwdriver and tweezers, within reach. It’s also a good idea to have a small container to keep the screws and removed buttons organized.
- Disconnect the Flight Stick: Unplug the Hori Ace Combat 7 Hotas Flight Stick from your Xbox One console or PC to prevent any accidental inputs during the button removal process.
- Identify the Screws: Using the small screwdriver, carefully locate and remove the screws that secure the button panel in place. Keep the screws in a safe place to avoid misplacement.
- Handle with Care: Gently lift the button panel to access the existing buttons. Take note of the orientation of each button and its corresponding connection to the internal circuitry. This will be helpful when installing the new buttons.
- Remove the Buttons: Using the tweezers, carefully disconnect the existing buttons from their sockets. Exercise caution to avoid bending or damaging the delicate connector pins.
- Inspect for Damage: With the buttons removed, take a moment to inspect the button panel and internal components for any signs of wear or damage. This is also a good opportunity to clean any dust or debris that may have accumulated.
- Store the Removed Buttons: Place the removed buttons in a secure location, preferably in the container you prepared earlier, to prevent them from getting lost or damaged.
With the existing buttons successfully removed, you’re now ready to move on to the exciting process of choosing and installing new buttons on your Hori Ace Combat 7 Hotas Flight Stick for Xbox One.
Choosing and Installing New Buttons
Now that you’ve removed the existing buttons from your Hori Ace Combat 7 Hotas Flight Stick for Xbox One, it’s time to explore the exciting world of custom buttons. When selecting new buttons, consider factors such as material, color, size, and tactile feedback to tailor your gaming experience to your preferences. Here’s a comprehensive guide to choosing and installing new buttons:
- Research and Select Buttons: Browse through online stores or visit local gaming accessory shops to explore the variety of replacement buttons available. Consider the aesthetics, functionality, and compatibility of the buttons with your flight stick.
- Check Compatibility: Ensure that the new buttons are compatible with your Hori Ace Combat 7 Hotas Flight Stick for Xbox One. Look for buttons specifically designed for use with your model to guarantee a seamless fit and functionality.
- Consider Tactile Feedback: If tactile feedback is important to you, opt for buttons that offer a satisfying click or responsive touch. This can enhance the overall gaming experience and provide a sense of precision during gameplay.
- Inspect the Installation Mechanism: Before making a purchase, familiarize yourself with the installation mechanism of the new buttons. Some may simply snap into place, while others might require soldering or intricate assembly.
- Follow Installation Instructions: Once you’ve acquired the new buttons, carefully follow the installation instructions provided by the manufacturer. Pay close attention to the orientation and alignment of the buttons to ensure a secure and functional fit.
- Test the Buttons: After installing the new buttons, perform a thorough functionality test. Press each button to verify that it registers inputs correctly and feels comfortable to use. Make any necessary adjustments to the installation if needed.
- Secure the Button Panel: Once you’re satisfied with the installation and functionality of the new buttons, carefully secure the button panel back onto the flight stick using the previously removed screws.
By carefully selecting and installing new buttons, you can personalize your Hori Ace Combat 7 Hotas Flight Stick for Xbox One to better suit your gaming style and preferences. The next section will guide you through testing and adjusting the newly installed buttons to ensure they integrate seamlessly with your gaming experience.
Testing and Adjusting the New Buttons
With the new buttons successfully installed on your Hori Ace Combat 7 Hotas Flight Stick for Xbox One, it’s time to ensure that they perform as expected and integrate seamlessly into your gaming setup. Testing and adjusting the new buttons is crucial to fine-tune their responsiveness and ensure a satisfying gaming experience. Here’s a detailed guide to testing and adjusting the newly installed buttons:
- Functional Testing: Begin by testing each new button to confirm that it registers inputs accurately. Launch a flight simulation game or any software that allows button customization to verify that each button responds as intended.
- Comfort and Ergonomics: Evaluate the comfort and ergonomics of the new buttons during gameplay. Pay attention to the tactile feedback, button placement, and ease of use to determine if any adjustments are necessary.
- Customization Options: If your flight stick software allows for button remapping or customization, take advantage of these features to tailor the new buttons to your preferred functions. This can optimize the layout for a more intuitive and personalized gaming experience.
- Feedback and Responsiveness: Consider the feedback and responsiveness of the new buttons during intense gaming sessions. Assess whether they enhance your control and precision, or if any modifications are required to better suit your gaming style.
- Fine-Tuning and Adjustments: If you encounter any issues or feel the need to make adjustments, refer to the installation instructions and consider consulting online resources or gaming communities for guidance on fine-tuning the new buttons.
- Long-Term Testing: Engage in extended gaming sessions to thoroughly evaluate the performance and durability of the new buttons over time. This long-term testing can reveal any potential issues or areas for further improvement.
- Share Your Experience: Consider sharing your experience with the new buttons on gaming forums or communities. Engaging with fellow gamers can provide valuable insights and recommendations for optimizing the functionality of the buttons.
By meticulously testing and adjusting the newly installed buttons, you can ensure that they seamlessly integrate into your gaming experience, offering enhanced control, comfort, and responsiveness. With the buttons customized to your preferences, you’re ready to embark on thrilling virtual flights with confidence and precision.