Introduction
So, you've just gotten your hands on the Saitek X52 Flight Stick, a top-notch controller designed to elevate your flight simulation experience to new heights. Whether you're a seasoned virtual aviator or a newcomer to the world of flight simulation, this article will guide you through the process of connecting, installing, and configuring the Saitek X52 Flight Stick with ease.
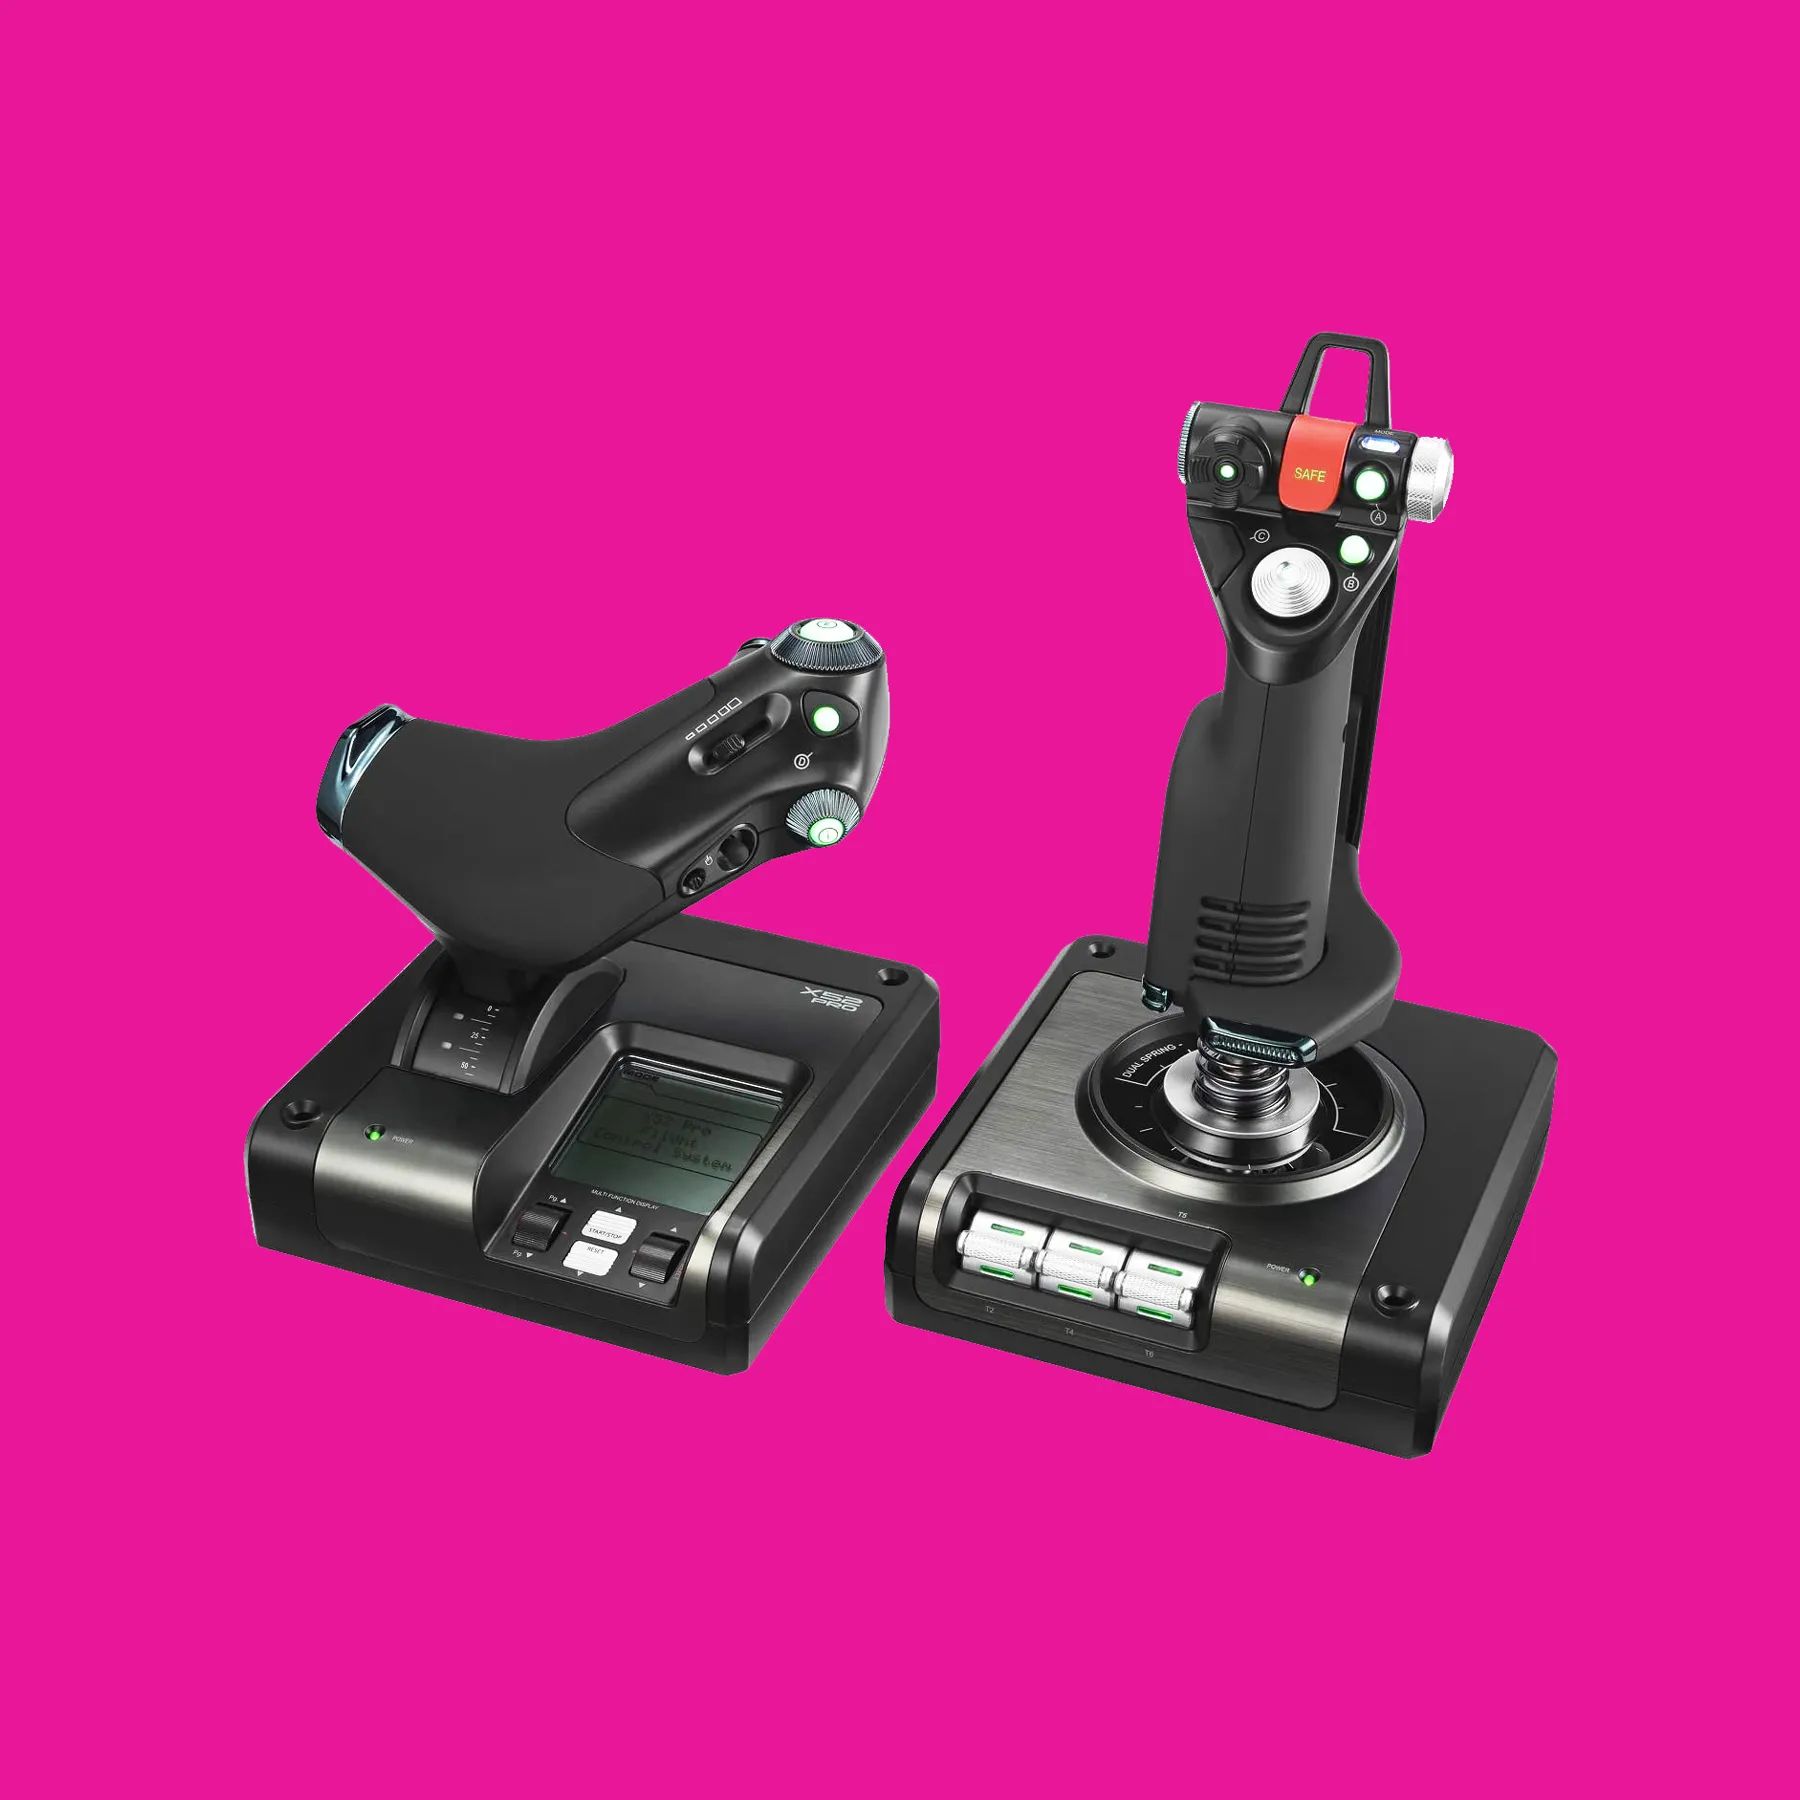
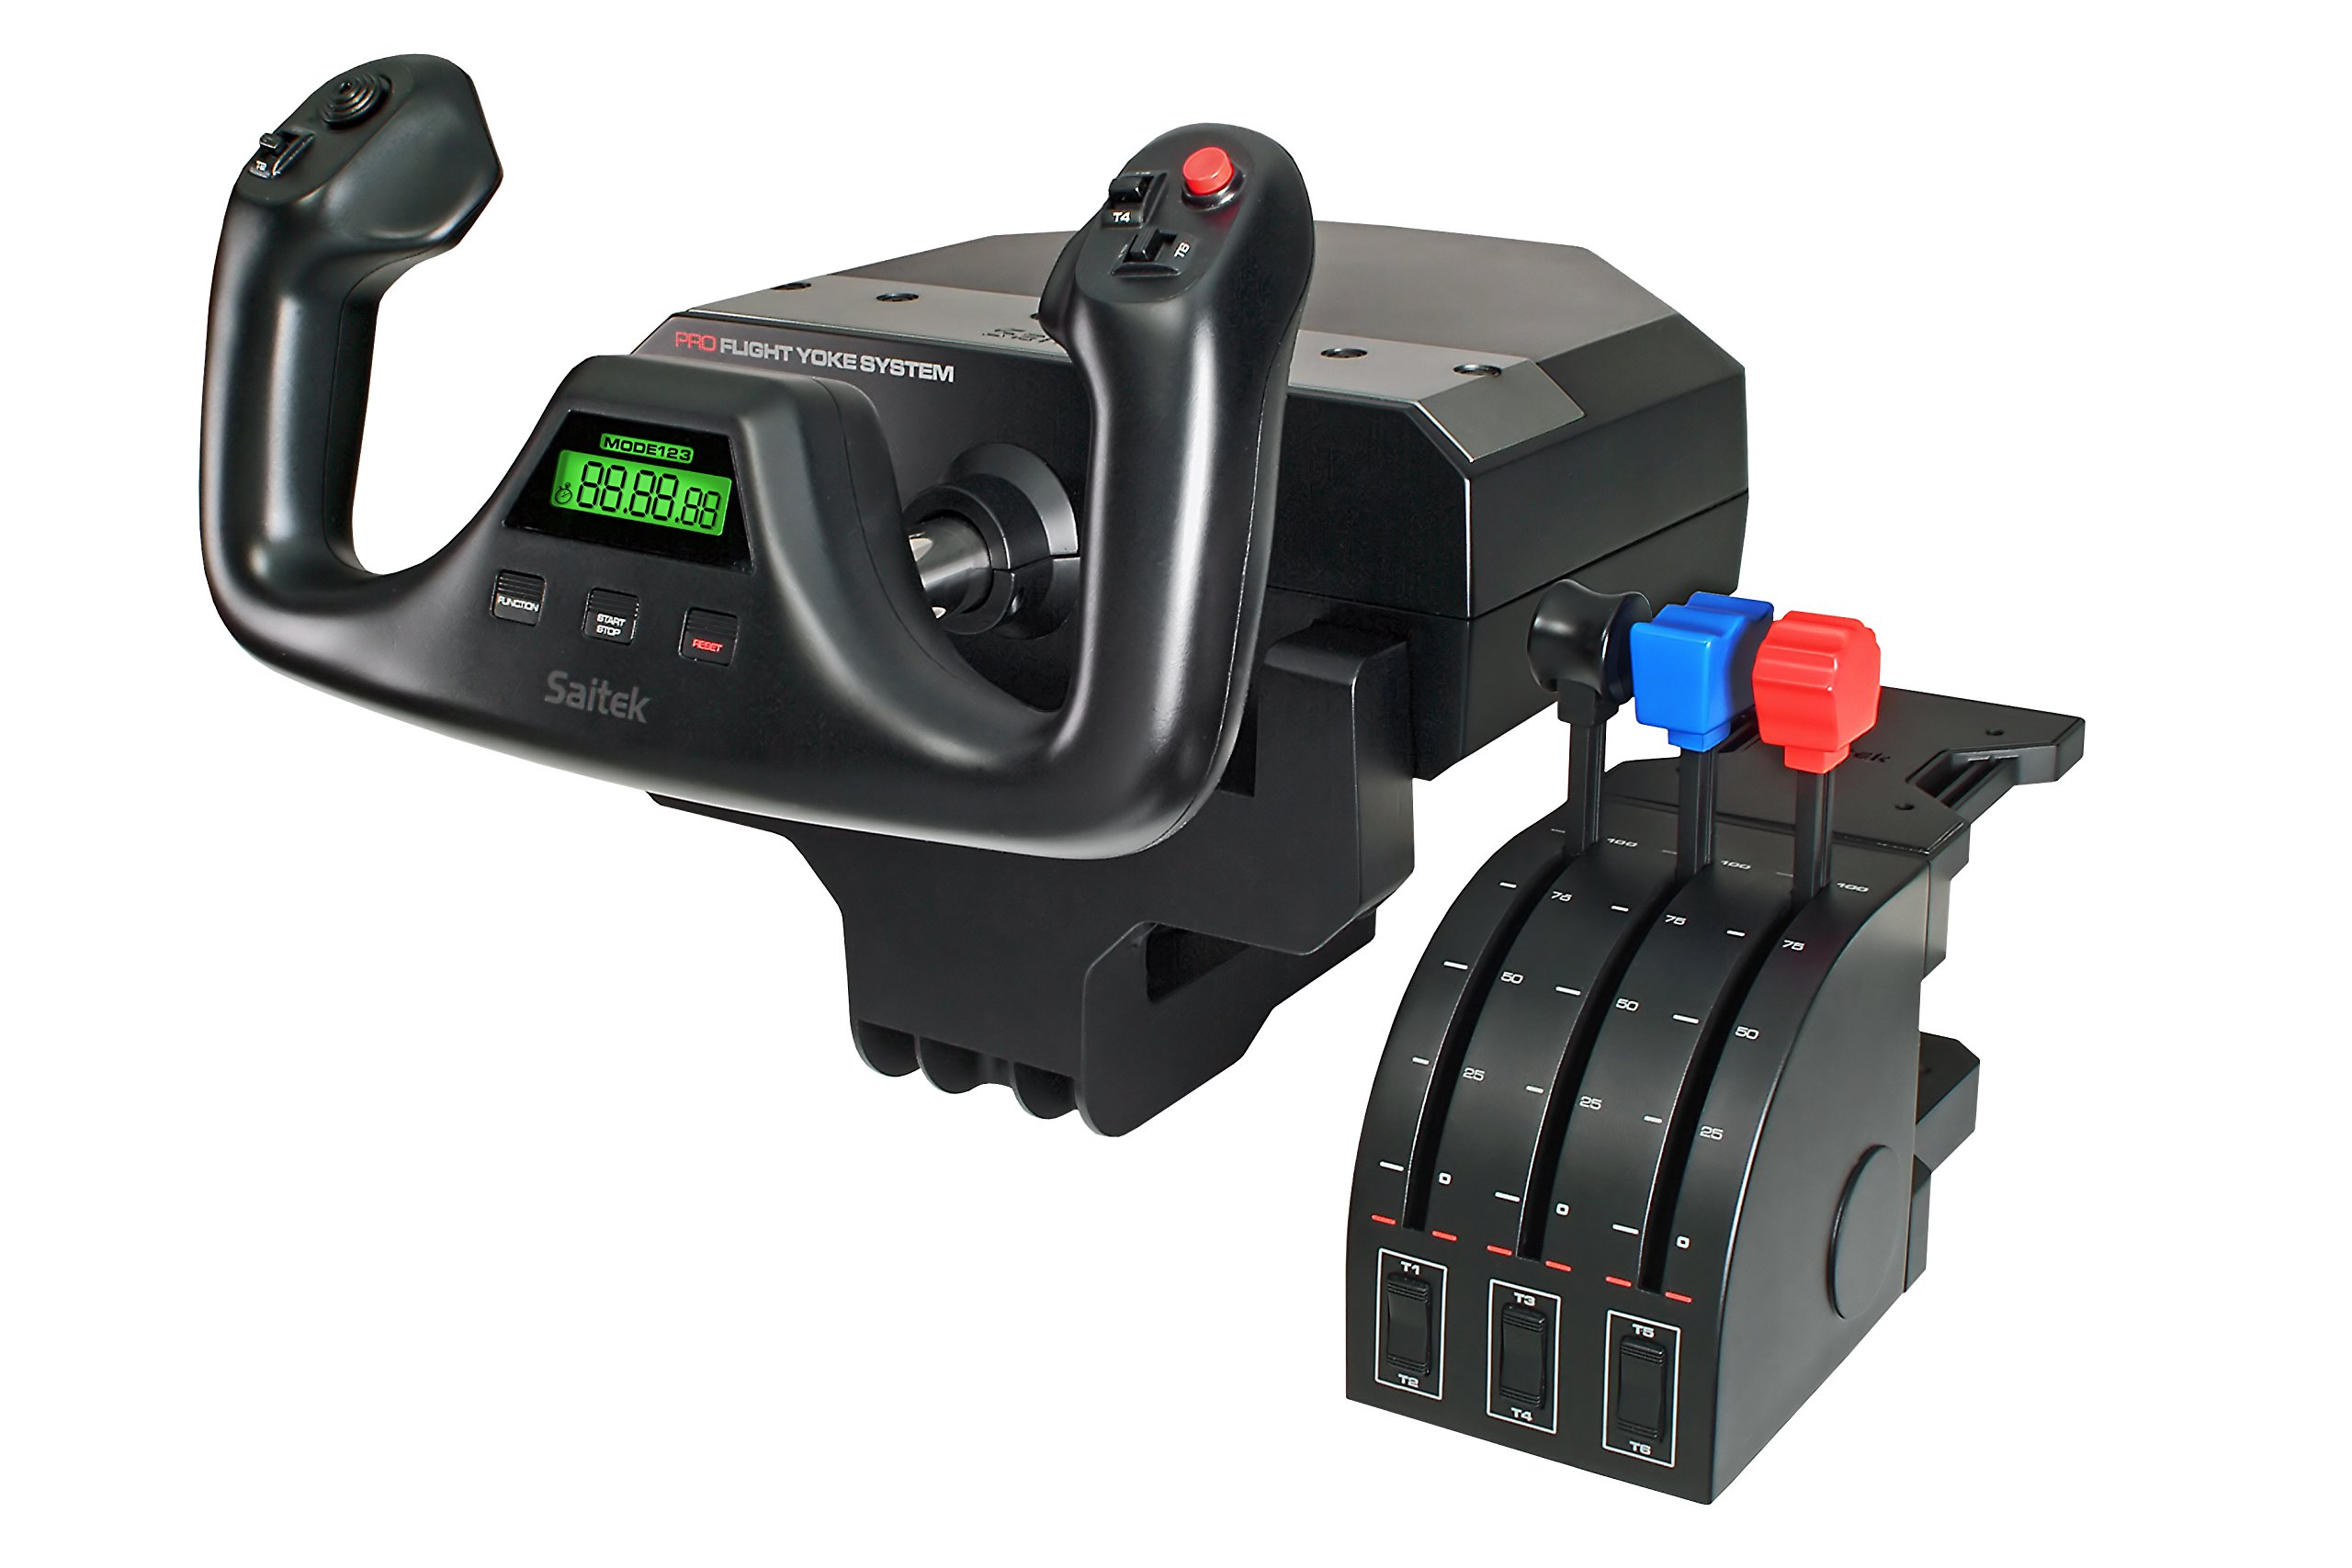
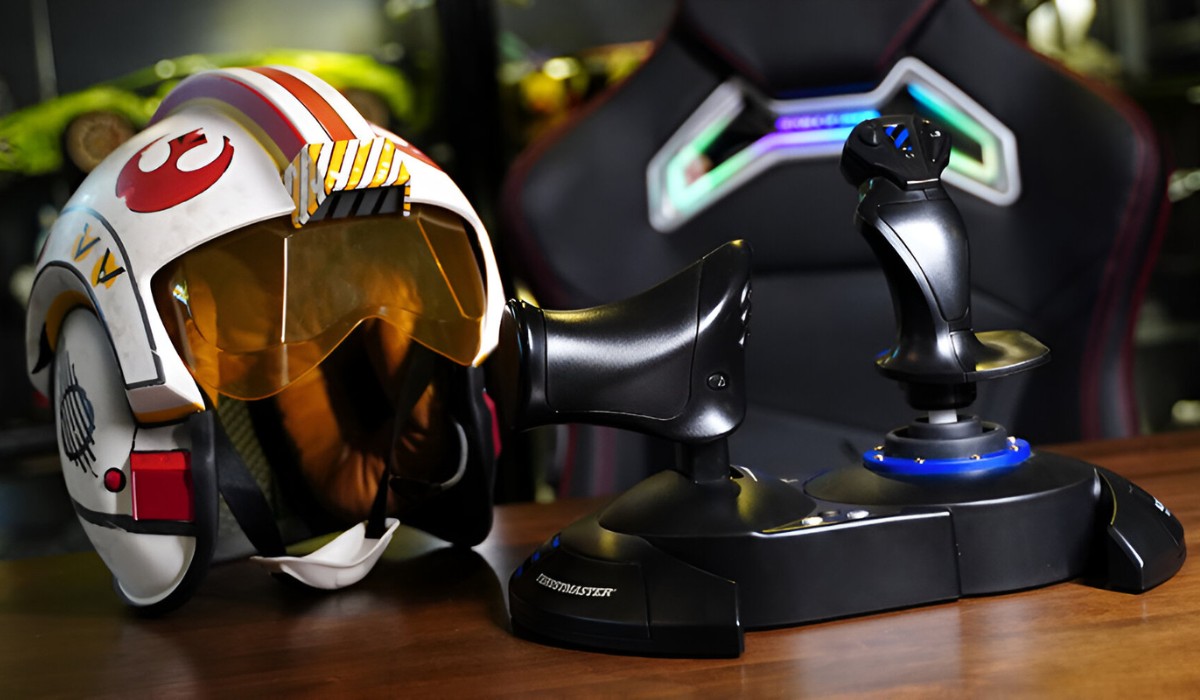
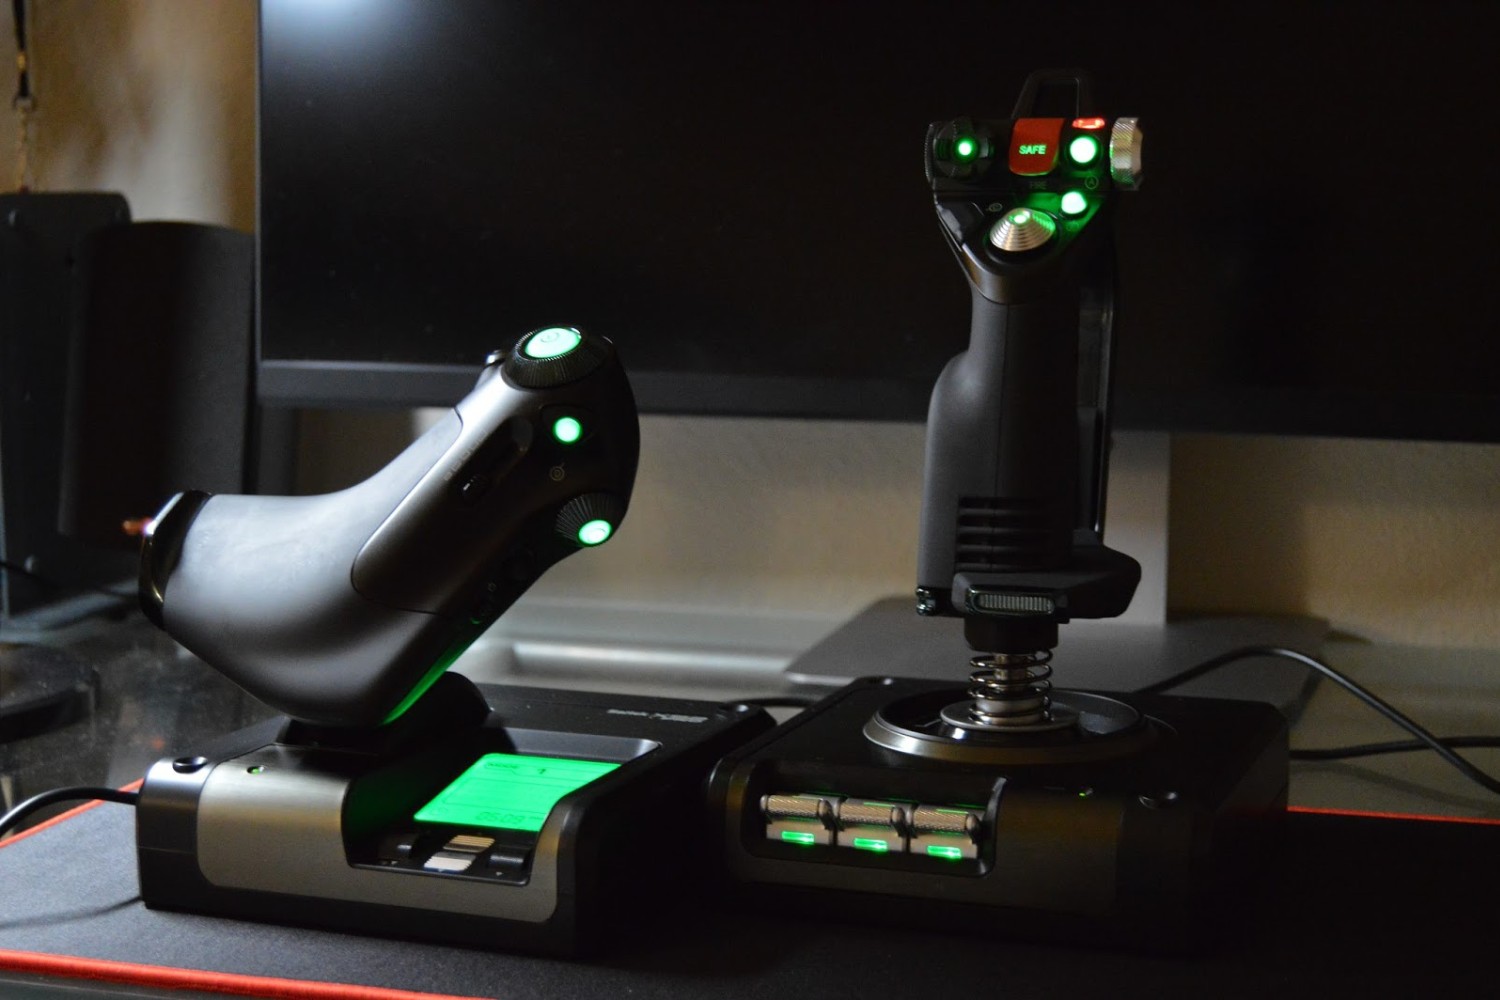
The Saitek X52 Flight Stick is a high-quality peripheral that offers an immersive and realistic flight control experience. With its ergonomic design, multitude of customizable buttons and switches, and precise control mechanisms, this flight stick is a popular choice among flight simulation enthusiasts and professional pilots alike.
In this comprehensive guide, you'll learn how to seamlessly integrate the Saitek X52 Flight Stick into your flight simulation setup. From checking system requirements to testing the functionality of the flight stick, each step is outlined in detail to ensure a smooth and hassle-free experience.
Whether you're piloting a commercial airliner, executing daring aerobatic maneuvers, or engaging in thrilling dogfights in the virtual skies, the Saitek X52 Flight Stick is poised to become an indispensable tool in your virtual cockpit. Let's dive in and explore the seamless process of connecting, installing, and configuring this exceptional flight stick.
Checking System Requirements
Before delving into the setup process, it's crucial to ensure that your system meets the necessary requirements to support the Saitek X52 Flight Stick. This step is essential to guarantee optimal performance and compatibility with your flight simulation software. The following are the key system requirements to consider:
- Operating System: Verify that your operating system is compatible with the Saitek X52 Flight Stick. This flight stick is designed to work seamlessly with various versions of Windows, including Windows 10, Windows 8, and Windows 7. Additionally, it is compatible with certain versions of macOS, ensuring a wide range of users can benefit from its functionality.
- USB Port: Ensure that your computer has an available USB port to connect the Saitek X52 Flight Stick. This flight stick utilizes a USB interface for connectivity, allowing for quick and straightforward setup.
- System Resources: Check that your system meets the necessary hardware specifications, including processor speed, RAM, and available storage space. While the Saitek X52 Flight Stick is designed to be compatible with a wide range of systems, verifying these resources can help prevent performance issues during operation.
- Driver Compatibility: Confirm that the necessary drivers for the Saitek X52 Flight Stick are available for your operating system. Accessing the latest drivers from the official Saitek website ensures that the flight stick can function optimally with your system.
By carefully assessing these system requirements, you can preemptively address any potential compatibility issues and streamline the setup process. This proactive approach sets the stage for a seamless integration of the Saitek X52 Flight Stick into your flight simulation environment, allowing you to focus on the immersive experience that awaits.
Connecting the Saitek X52 Flight Stick
With the system requirements verified, it’s time to embark on the process of connecting the Saitek X52 Flight Stick to your computer. The following steps will guide you through the seamless setup:
- Locate an Available USB Port: Identify an available USB port on your computer where you can connect the Saitek X52 Flight Stick. The USB interface ensures a simple and direct connection, facilitating quick access to the flight stick’s features.
- Secure Connection: Gently insert the USB connector from the Saitek X52 Flight Stick into the USB port on your computer. Ensure that the connection is secure to establish a reliable link between the flight stick and your system.
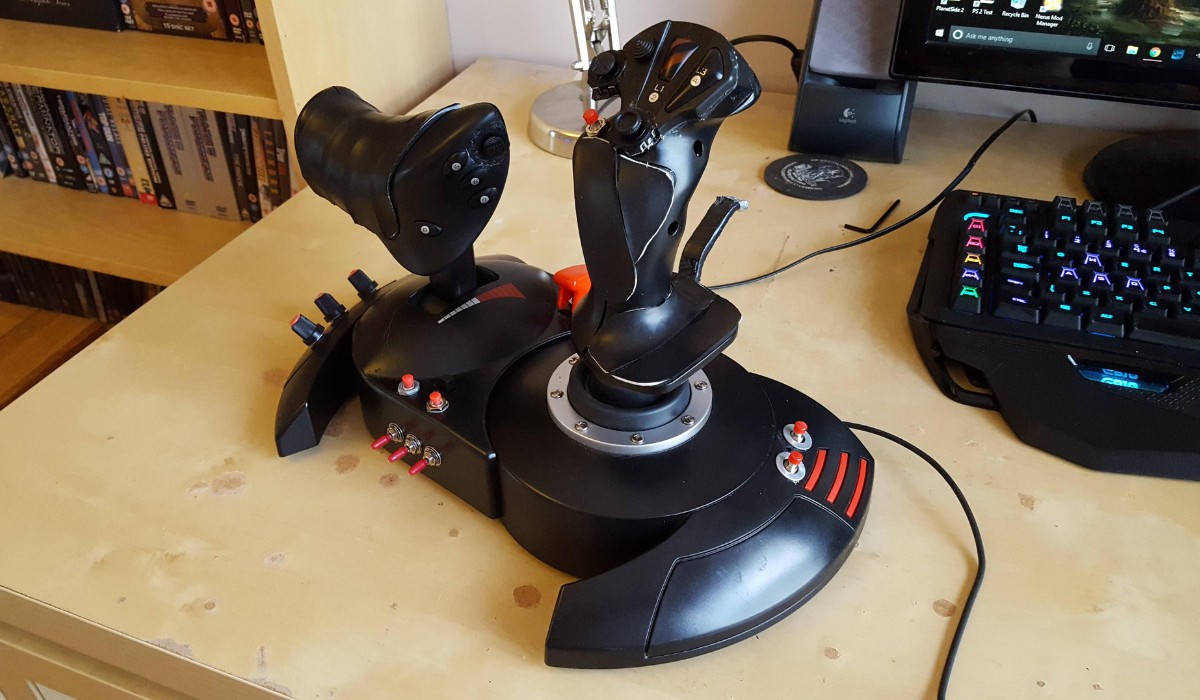
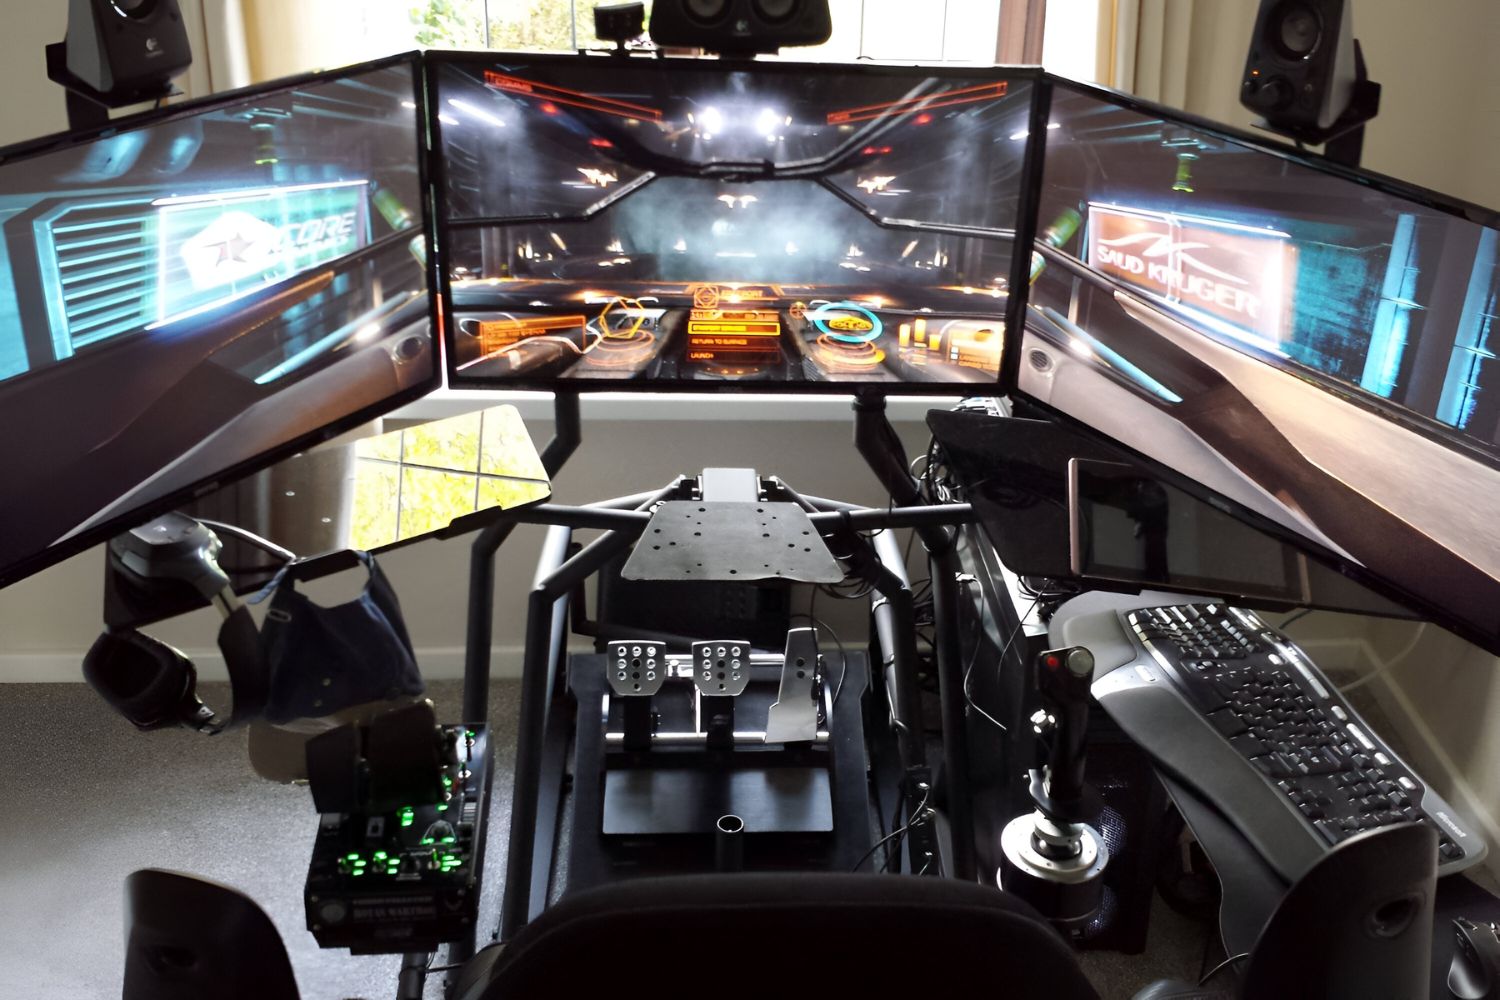
- Positioning the Flight Stick: Place the Saitek X52 Flight Stick in a convenient and ergonomic position within your flight simulation setup. Whether mounted on a dedicated joystick stand or positioned on your desktop, optimizing the placement enhances accessibility and comfort during operation.
- Power Up the Flight Stick: Once connected, power up the Saitek X52 Flight Stick. The device should initialize, and the LED indicators may illuminate to signify its readiness for configuration and use.
By following these straightforward steps, you can establish a solid connection between the Saitek X52 Flight Stick and your computer, setting the stage for the subsequent installation and configuration processes. The seamless integration of the flight stick into your flight simulation environment brings you one step closer to immersing yourself in the captivating world of virtual aviation.
Installing Drivers
Once the Saitek X52 Flight Stick is connected to your computer, the next vital step is to install the necessary drivers to ensure seamless communication and optimal functionality. The following steps outline the process of installing drivers for the Saitek X52 Flight Stick:
- Access the Official Saitek Website: Navigate to the official Saitek website to obtain the latest drivers for the X52 Flight Stick. The website typically provides a dedicated support section where you can locate and download the appropriate drivers for your operating system.
- Identify the Correct Drivers: Ensure that you select the drivers that correspond to your specific operating system. Whether you are using Windows or macOS, choosing the correct drivers is crucial for compatibility and optimal performance.
- Download and Run the Driver Installer: After obtaining the driver package, proceed to run the installer. Follow the on-screen prompts to initiate the installation process, which typically involves accepting the end-user license agreement and specifying the installation directory.
- Complete the Installation: Once the installation is underway, allow the process to complete. Depending on your system, you may be prompted to restart your computer to finalize the driver installation.
By diligently following these steps, you can ensure that the Saitek X52 Flight Stick is equipped with the requisite drivers, enabling it to interface seamlessly with your operating system and flight simulation software. The installation of drivers forms a pivotal component of the setup process, laying the groundwork for a cohesive and responsive integration of the flight stick into your virtual cockpit environment.
Configuring the Saitek X52 Flight Stick
With the drivers successfully installed, the next step involves configuring the Saitek X52 Flight Stick to align with your preferences and the requirements of your flight simulation software. Customizing the button assignments, axis settings, and other parameters can significantly enhance your control and immersion in the virtual cockpit. Follow these steps to configure the Saitek X52 Flight Stick:
- Access the Control Panel Software: Use the Saitek control panel software, which is typically included with the driver package or available for download from the official website. Launch the software to access a comprehensive suite of configuration options for the X52 Flight Stick.
- Button Mapping and Assignments: Customize the functionality of the numerous buttons, switches, and dials on the flight stick to suit your specific needs. Assign commands such as landing gear deployment, flaps control, or autopilot engagement to streamline your piloting experience.
- Axis Calibration: Calibrate the various axes of the flight stick, including the pitch, roll, and throttle controls, to ensure precise and responsive input during flight operations. Fine-tuning these settings can significantly enhance the realism and control sensitivity in your simulations.
- Profile Management: Utilize the software to create and manage multiple profiles for different aircraft or simulation scenarios. This feature enables seamless transitions between aircraft types and ensures that your control configurations are optimized for each unique flying experience.
By engaging with the comprehensive configuration options provided by the Saitek control panel software, you can tailor the functionality of the X52 Flight Stick to align with your piloting preferences and the specific demands of your favorite flight simulation software. This personalized approach to configuration sets the stage for a deeply immersive and tailored flight control experience, elevating the enjoyment and authenticity of your virtual aviation endeavors.
Testing the Saitek X52 Flight Stick
Once the Saitek X52 Flight Stick is connected, drivers are installed, and configurations are set, it’s time to ensure that the flight stick operates as intended. Testing the functionality of the flight stick is a crucial step to verify its responsiveness and seamless integration with your flight simulation software. Follow these steps to effectively test the Saitek X52 Flight Stick:
- Launch the Flight Simulation Software: Open your preferred flight simulation software and access a suitable aircraft or scenario for testing the Saitek X52 Flight Stick. Ensure that the software recognizes the flight stick as the primary control input device.
- Control Surface Movements: Engage the flight controls on the Saitek X52 Flight Stick to observe the corresponding movements of the control surfaces within the simulation. Verify that the pitch, roll, and yaw inputs translate accurately to the virtual aircraft’s behavior, reflecting the flight stick’s physical movements.
- Button and Switch Functionality: Test the assigned functions of the various buttons, switches, and dials on the flight stick. Confirm that each input triggers the intended action within the simulation, such as deploying landing gear, adjusting flaps, or engaging specific aircraft systems.
- Throttle Response: Manipulate the throttle control on the flight stick and observe the corresponding changes in engine power and aircraft speed within the simulation. Ensure that the throttle response is smooth and accurately reflects your inputs.
- Profile Switching: If you have configured multiple profiles, test the seamless transition between them to confirm that the control settings adapt appropriately to different aircraft or simulation scenarios.
By meticulously testing the Saitek X52 Flight Stick, you can validate its seamless integration with your flight simulation environment and confirm that it delivers the precise and immersive control experience it is designed to provide. This testing phase ensures that the flight stick meets your expectations and functions flawlessly, setting the stage for countless captivating virtual flights and adventures.