Introduction
If you're a fan of classic flight simulation games, you may be eager to dust off your old gameport flight stick and relive the nostalgic experience of piloting virtual aircraft. However, with the evolution of technology, the compatibility of these vintage peripherals with modern systems can be a challenge. Fortunately, for those running Windows 98, it's still possible to connect and use a gameport flight stick. In this guide, we'll walk you through the step-by-step process of installing and configuring a gameport flight stick on your Windows 98 system.
Whether you're a seasoned enthusiast or a newcomer to the world of flight simulation, the allure of using a gameport flight stick lies in its ability to provide a more immersive and realistic flying experience. The tactile feedback and precise control offered by these devices can greatly enhance the enjoyment of flight simulation games, making the investment of time and effort in setting up these peripherals well worth it.
In the following sections, we'll cover everything you need to know to successfully install and configure your gameport flight stick on a Windows 98 system. From checking compatibility and gathering the necessary equipment to installing drivers and calibrating the flight stick, this guide will equip you with the knowledge and confidence to embark on your virtual flying adventures. So, let's dive in and bring your vintage flight stick back to life on your Windows 98 machine!
Step 1: Check Compatibility
Before diving into the installation process, it’s crucial to ensure that your gameport flight stick is compatible with your Windows 98 system. Since gameport peripherals are a product of a bygone era, compatibility issues may arise when attempting to connect them to modern systems. However, Windows 98, renowned for its legacy support, remains a viable platform for using these classic devices.
Start by verifying that your Windows 98 system has a functional gameport connector. This port, often found on sound cards, serves as the interface for connecting gameport devices. Inspect the back of your computer for a 15-pin female gameport connector, which resembles a larger version of a joystick or MIDI connector. If your system lacks a built-in gameport, you may consider installing a compatible sound card with a gameport interface to enable connectivity.
Additionally, check the compatibility of your gameport flight stick with Windows 98 by referring to the manufacturer’s documentation or visiting their official website. Look for any available drivers or compatibility updates specifically designed for Windows 98. Some manufacturers may provide downloadable patches or instructions for configuring their peripherals with legacy operating systems.
It’s important to note that while Windows 98 offers robust support for legacy hardware, certain gameport flight sticks may require specific drivers or software to function optimally. In cases where the manufacturer no longer provides support for Windows 98, community forums and enthusiast websites dedicated to retro gaming and hardware can be valuable resources for finding workarounds and solutions.
By confirming the compatibility of your gameport flight stick with Windows 98 and ensuring the availability of necessary drivers or workarounds, you can proceed with confidence to the next steps of the installation process. With the groundwork laid for a seamless integration, you’re one step closer to reliving the golden age of flight simulation gaming with your vintage flight stick on Windows 98.
Step 2: Gather Necessary Equipment
Before embarking on the installation of your gameport flight stick, it’s essential to gather the necessary equipment to ensure a smooth and hassle-free setup process. Here’s a rundown of the items you’ll need:
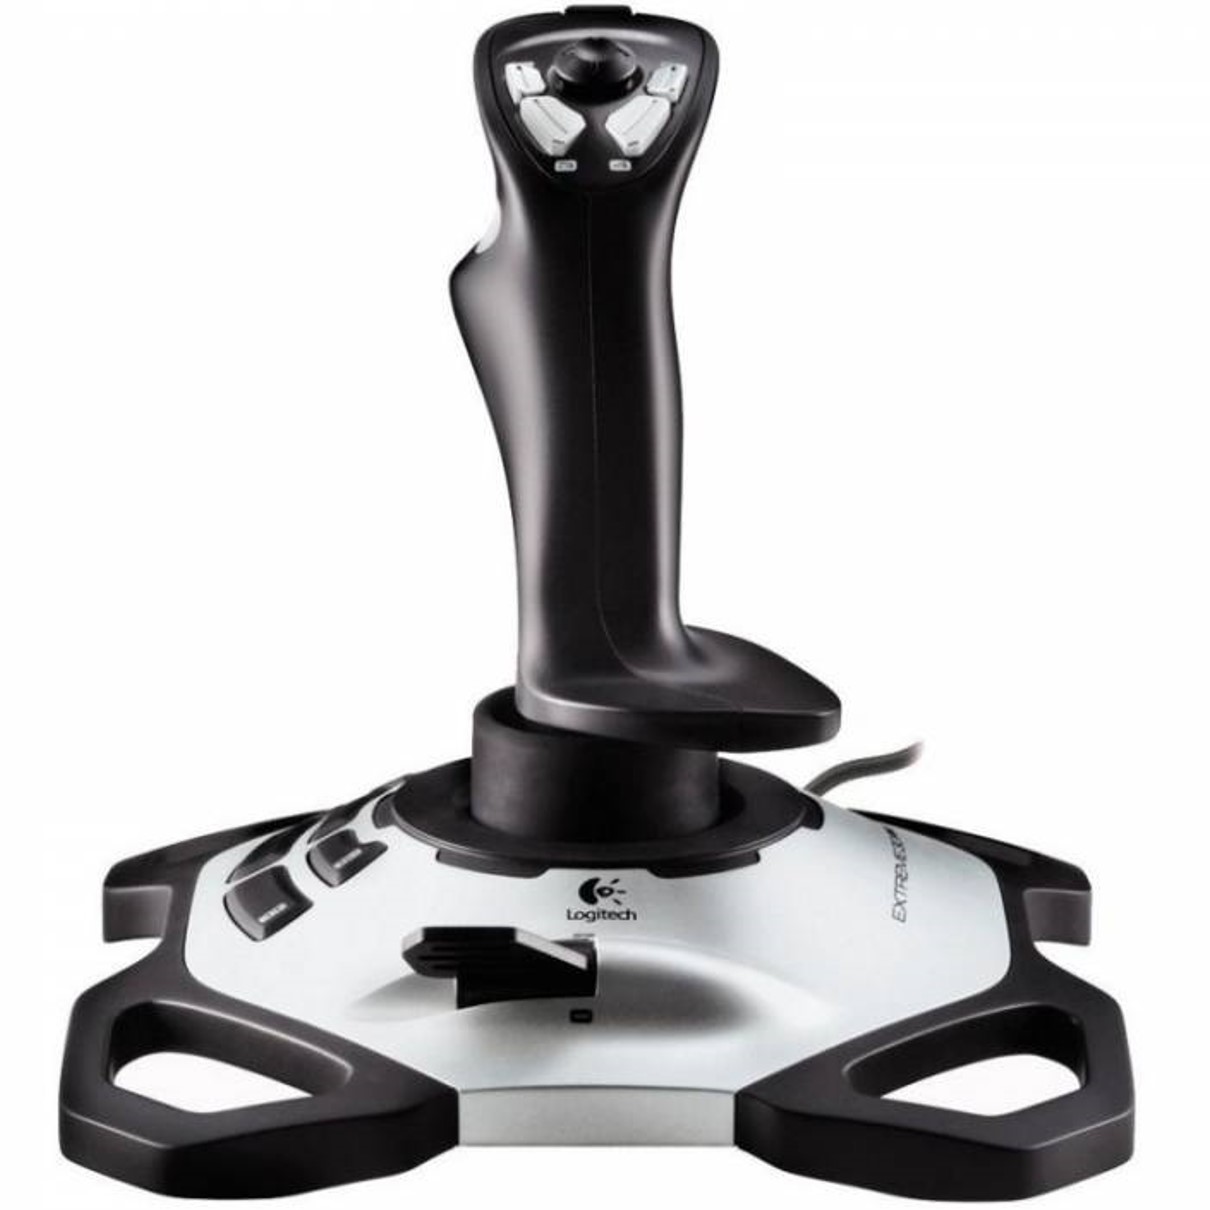
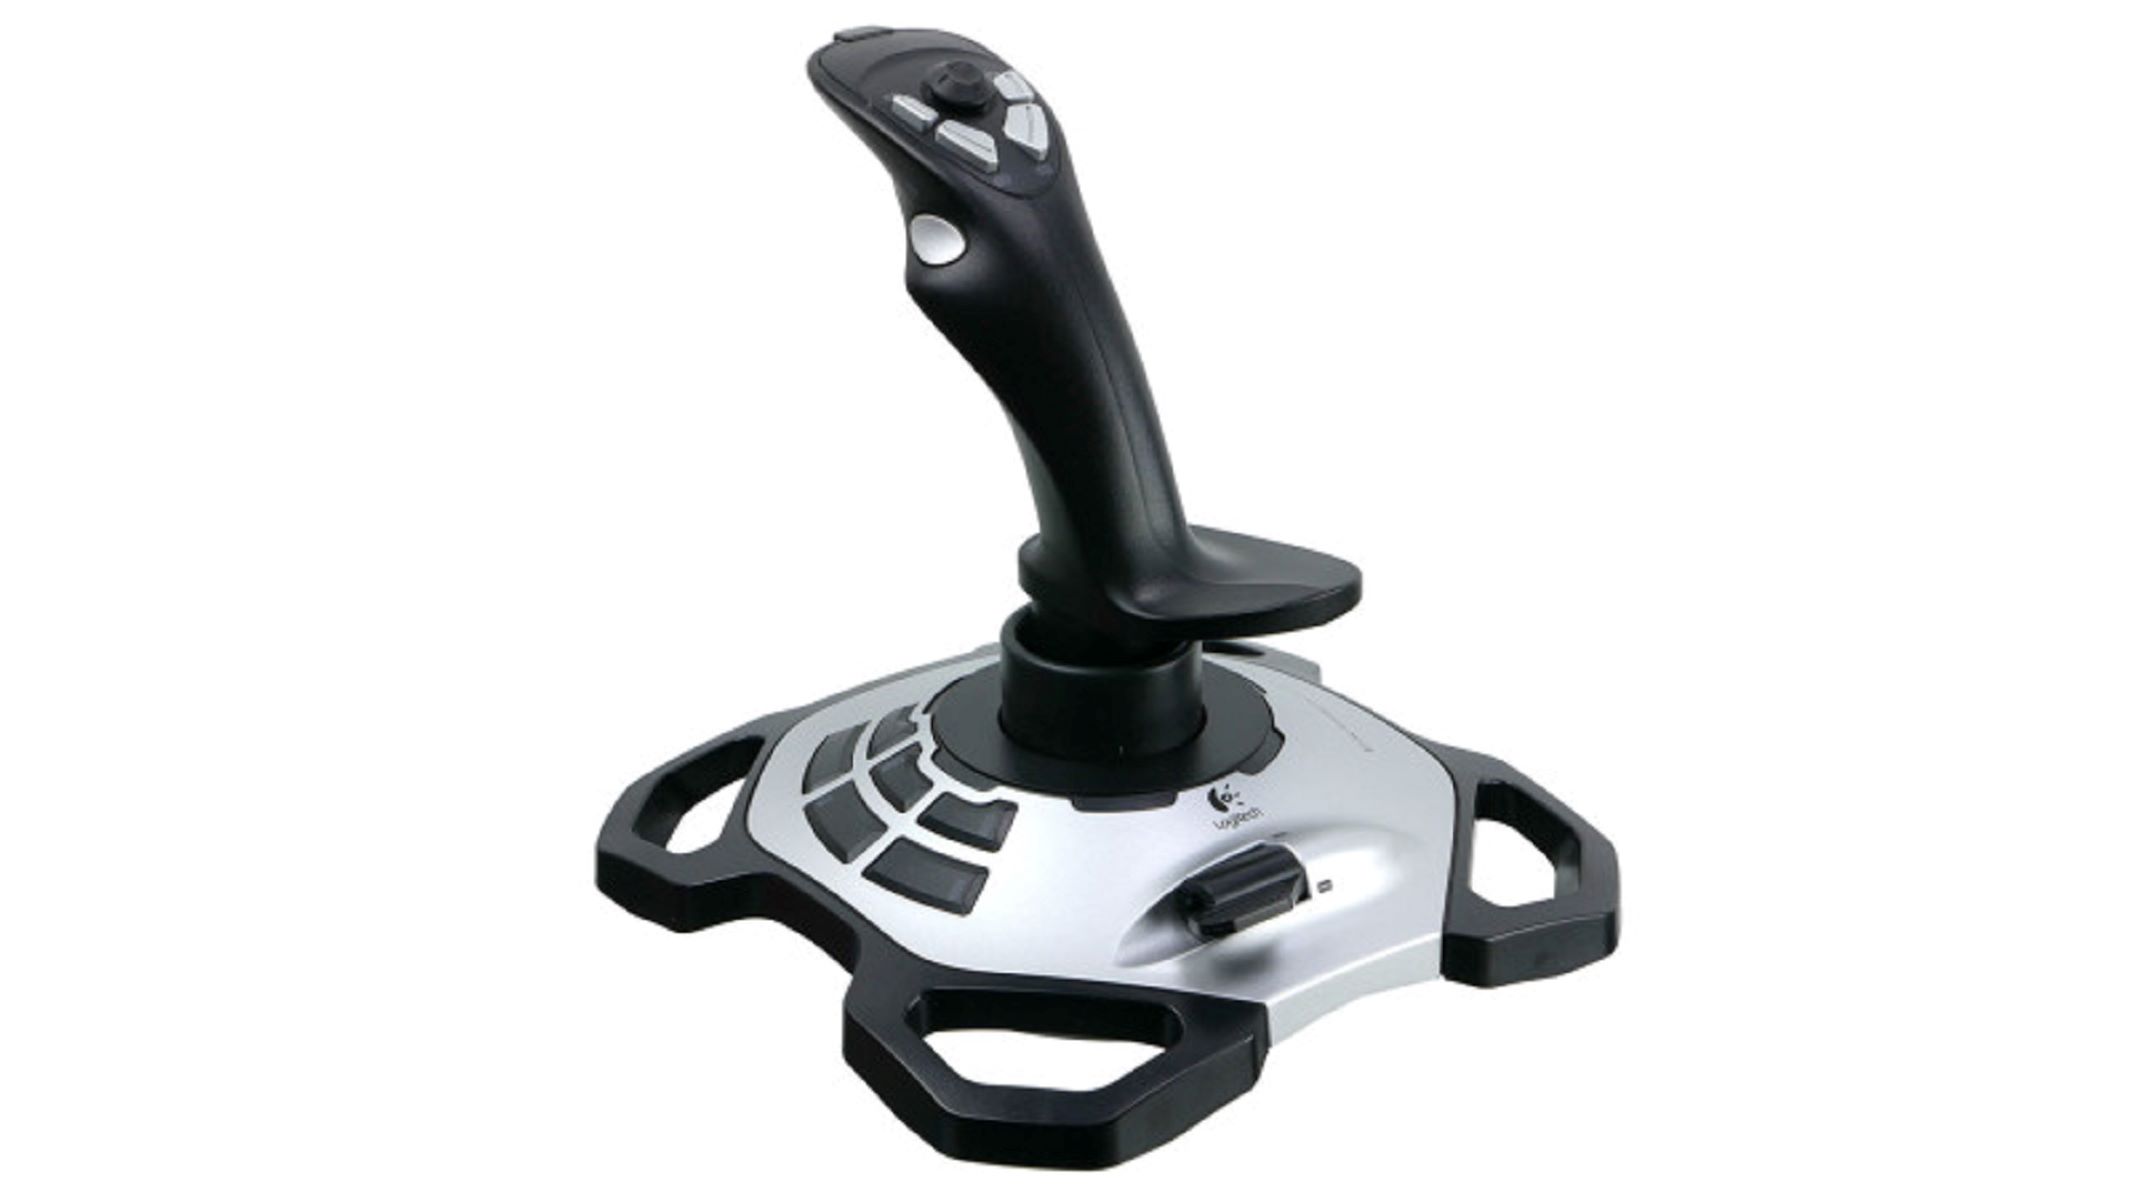
- Gameport Flight Stick: Ensure that your vintage flight stick is in good working condition. Inspect the physical condition of the device, including the joystick, buttons, and throttle control, to verify that it’s free from damage or wear that may hinder its performance.
- Windows 98 System: Prepare the Windows 98 computer or compatible system where you intend to connect and use the gameport flight stick. Ensure that the system is powered on and operational, ready to accommodate the installation process.
- Gameport Connector: Confirm that your Windows 98 system is equipped with a functional gameport connector. If your system lacks a built-in gameport, consider installing a compatible sound card with a gameport interface to facilitate connectivity.
- Driver Software (if available): Check if the manufacturer of your gameport flight stick provides specific driver software for Windows 98. If available, download the drivers and any related software from the manufacturer’s official website or installation media provided with the device.
- Documentation and Cables: Retrieve any accompanying documentation, manuals, or cables that came with your gameport flight stick. These resources may contain valuable information, such as installation instructions, button mapping, and calibration procedures, to assist you during the setup process.
By ensuring that you have all the necessary equipment at your disposal, you can streamline the installation process and address any potential issues promptly. With these items in hand, you’re well-prepared to proceed to the next steps of installing and configuring your gameport flight stick on your Windows 98 system.
Step 3: Install the Gameport Flight Stick
With the necessary equipment assembled, it’s time to proceed with the physical installation of your gameport flight stick on your Windows 98 system. Follow these steps to ensure a successful setup:
- Locate the Gameport Connector: Identify the 15-pin female gameport connector on your Windows 98 system. This connector is typically found on the back of the computer, often integrated into the sound card. If your system lacks a built-in gameport, consider installing a compatible sound card with a gameport interface to enable connectivity.
- Connect the Flight Stick: Carefully plug the male gameport connector from your flight stick into the female gameport connector on your Windows 98 system. Ensure that the connection is secure and aligned correctly to prevent any damage to the connectors.
- Secure the Flight Stick: Once connected, position the flight stick in an accessible and ergonomic location near your computer. This ensures ease of access and comfortable usage during flight simulation sessions.
- Verify Physical Connection: After connecting the flight stick, visually inspect the connection to confirm that it’s properly seated and secured. Any loose connections may result in erratic behavior or malfunctions during operation.
Upon completing these steps, the physical installation of your gameport flight stick on your Windows 98 system is accomplished. The successful connection of the flight stick sets the stage for the subsequent steps, including the installation of drivers and the calibration process, which are essential for optimal functionality and precise control during gameplay.
By following these straightforward installation steps, you’ve laid the groundwork for integrating your vintage flight stick with your Windows 98 system, bringing you one step closer to reliving the immersive experience of classic flight simulation gaming.
Step 4: Install Drivers
After physically connecting your gameport flight stick to your Windows 98 system, the next crucial step is to install the necessary drivers to enable seamless communication and functionality between the device and the operating system. Follow these steps to install the drivers for your gameport flight stick:
- Check Manufacturer’s Documentation: Refer to the documentation provided by the manufacturer of your gameport flight stick to determine the recommended method for installing drivers on a Windows 98 system. Manufacturers often include specific instructions and software installation procedures tailored to legacy operating systems.
- Download Drivers (if Available): Visit the manufacturer’s official website to check for the availability of Windows 98-compatible drivers for your gameport flight stick. If the manufacturer provides downloadable drivers for legacy systems, download the appropriate software package to your Windows 98 computer.
- Run Driver Installation: Once the driver software is obtained, run the installation program and follow the on-screen prompts to install the drivers for your gameport flight stick. Pay close attention to any specific instructions provided by the manufacturer regarding the installation process.
- Reboot the System: After the driver installation is complete, reboot your Windows 98 system to ensure that the newly installed drivers are fully integrated and operational. Rebooting the system allows the drivers to initialize and become active, preparing the flight stick for calibration and usage.
By meticulously following these steps, you can ensure that the drivers for your gameport flight stick are properly installed and ready for use with your Windows 98 system. The successful installation of drivers is a pivotal milestone in the process of integrating your vintage flight stick, setting the stage for the final step of calibrating the device to deliver precise and responsive control during flight simulation experiences.
With the drivers installed and the system rebooted, your gameport flight stick is now equipped with the necessary software support to function seamlessly with your Windows 98 setup, bringing you closer to enjoying the immersive and nostalgic thrill of classic flight simulation games.
Step 5: Calibrate the Flight Stick
Once the drivers are successfully installed, the final essential step in setting up your gameport flight stick on Windows 98 is calibrating the device to ensure accurate and responsive control during flight simulation gameplay. Follow these steps to calibrate your flight stick:
- Access Calibration Settings: Navigate to the Control Panel on your Windows 98 system and locate the “Game Controllers” or “Joysticks” option. This section allows you to access the calibration settings for your flight stick.
- Open Calibration Utility: Within the “Game Controllers” or “Joysticks” settings, select your gameport flight stick from the list of available controllers. Look for an option to calibrate or configure the selected device, and open the calibration utility or settings interface.
- Follow Calibration Instructions: The calibration utility typically provides step-by-step instructions for calibrating the flight stick. This process involves centering the joystick, testing button inputs, and adjusting sensitivity settings to ensure smooth and precise control during gameplay.
- Test Calibration: After completing the calibration process, test the flight stick’s responsiveness and functionality within the calibration utility. Verify that the joystick, buttons, and throttle control are accurately mapped and provide the expected input responses.
- Save Calibration Settings: Once satisfied with the calibration results, save the settings within the calibration utility. This ensures that the flight stick’s configuration is preserved for future use, maintaining consistent performance across different flight simulation games.
By meticulously calibrating your gameport flight stick, you optimize its performance and responsiveness, allowing for precise and immersive control during virtual flight experiences. The calibration process fine-tunes the device to meet your preferences and ensures that it operates seamlessly within the Windows 98 environment, delivering an authentic and enjoyable flight simulation gaming experience.
With the flight stick successfully calibrated and fine-tuned to your liking, you’re now ready to embark on thrilling virtual flights, leveraging the tactile feedback and precise control offered by your vintage gameport flight stick on your Windows 98 system. The completion of the calibration process signifies the culmination of your efforts in reviving this classic peripheral for an enriching and nostalgic gaming experience.
Conclusion
Congratulations! By following this comprehensive guide, you’ve successfully resurrected and integrated your vintage gameport flight stick with your Windows 98 system, paving the way for immersive and nostalgic flight simulation experiences. Let’s recap the key takeaways from this installation journey:
- Compatibility Confirmation: Prior to installation, you verified the compatibility of your gameport flight stick with Windows 98, ensuring that the system can accommodate the classic peripheral.
- Equipment Preparation: You gathered all the necessary equipment, including the flight stick, Windows 98 system, gameport connector, driver software, and documentation, setting the stage for a seamless installation process.
- Physical Installation: With precision, you physically connected the gameport flight stick to your Windows 98 system, ensuring a secure and reliable connection for optimal performance.
- Driver Installation: You installed the requisite drivers, obtained from the manufacturer’s website, to facilitate seamless communication between the flight stick and the Windows 98 operating system.
- Calibration Process: Through meticulous calibration, you fine-tuned the flight stick’s settings, ensuring precise and responsive control during virtual flight experiences.
As a result of your dedication and meticulous approach, your vintage gameport flight stick is now primed for action, ready to transport you to the golden era of flight simulation gaming. The tactile feedback and precise control offered by this classic peripheral will undoubtedly enrich your gaming experiences, allowing you to relive the thrill of virtual flight with authenticity and nostalgia.
Whether you’re piloting historic aircraft or engaging in thrilling dogfights, the integration of your gameport flight stick with your Windows 98 system opens the door to a world of captivating and immersive flight simulation adventures. Embrace the nostalgia, savor the tactile feedback, and soar through virtual skies with the confidence that your vintage flight stick is fully optimized for an unforgettable gaming journey.
With your gameport flight stick successfully installed, calibrated, and ready for action, it’s time to embark on exhilarating virtual flights, embracing the timeless appeal of classic flight simulation gaming on your Windows 98 system. So, buckle up, engage the throttle, and let the nostalgia-filled skies become your playground once more!