Introduction
So, you’ve decided to take your flight simulation experience to the next level by investing in a flight stick. Congratulations! A flight stick, also known as a joystick, is a crucial peripheral for enthusiasts who want to immerse themselves in the world of virtual aviation. Whether you’re a seasoned pilot or a novice looking to explore the skies, a well-configured flight stick can significantly enhance your gaming or simulation experience.
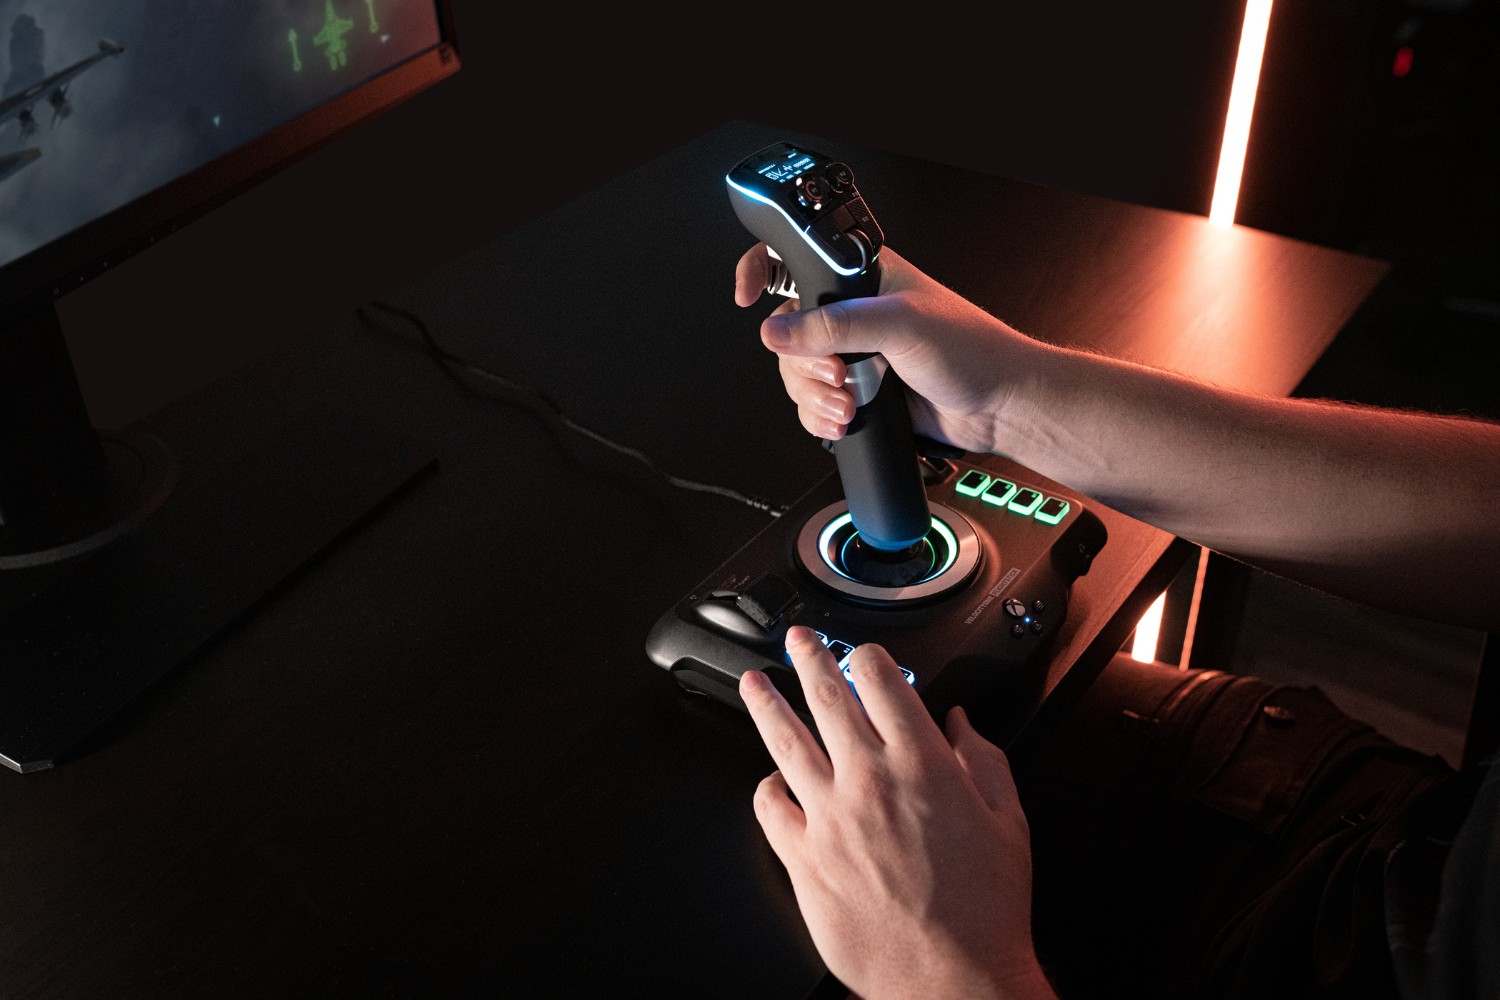
With its ergonomic design and intuitive controls, a flight stick allows you to maneuver aircraft with precision, making every ascent, descent, and turn feel realistic and immersive. However, before you can soar through virtual skies, you’ll need to set up your flight stick properly. This guide will walk you through the essential steps to get your flight stick up and running, from choosing the right one for your needs to calibrating and testing it to ensure optimal performance.
By the end of this tutorial, you’ll be ready to take off and navigate the virtual skies with confidence, knowing that your flight stick is configured to deliver an authentic and enjoyable flying experience. So, let’s dive in and explore the world of flight stick setup!
Choosing the Right Flight Stick
When it comes to selecting a flight stick, there are several factors to consider to ensure that you find the perfect match for your needs and preferences. With a wide range of options available on the market, it’s essential to evaluate the following aspects before making your decision:
- Compatibility: Before purchasing a flight stick, verify that it is compatible with your computer’s operating system. Some models are designed specifically for Windows, while others are compatible with macOS and even gaming consoles. Ensure that the flight stick you choose is supported by your system to avoid compatibility issues.
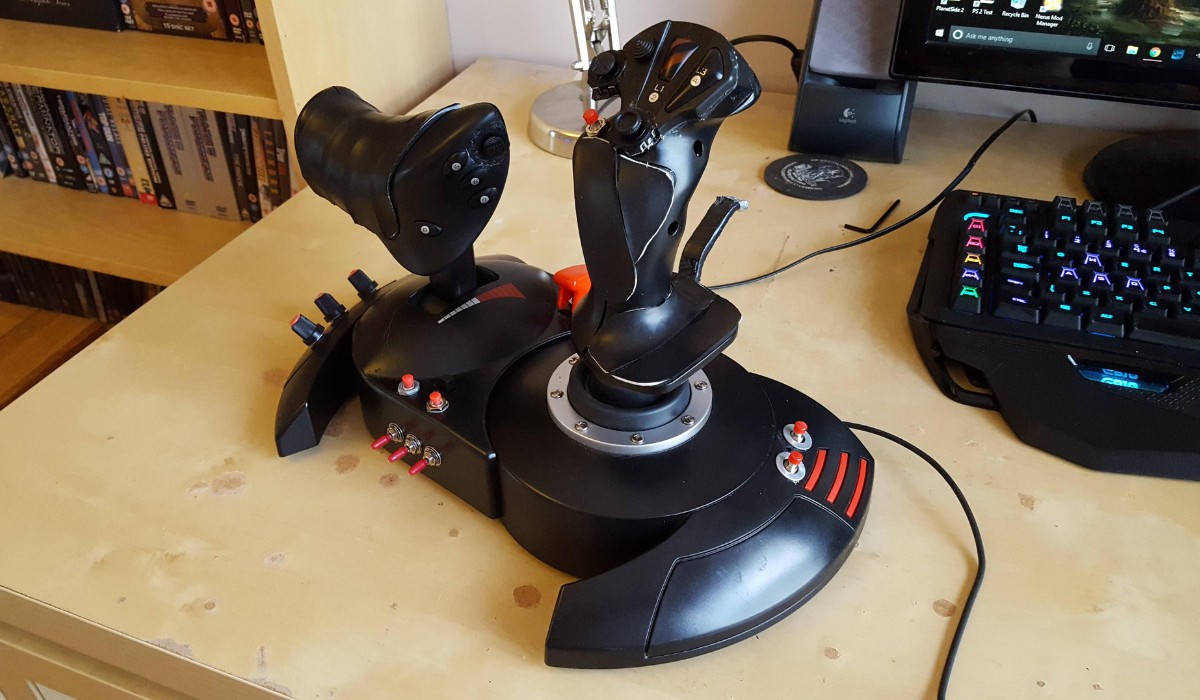
- Features and Controls: Assess the features and controls offered by the flight stick. Look for ergonomic designs, programmable buttons, adjustable resistance, and a smooth, responsive throttle. Consider whether you need additional features such as rudder controls or a separate throttle quadrant, depending on the type of flying experience you desire.
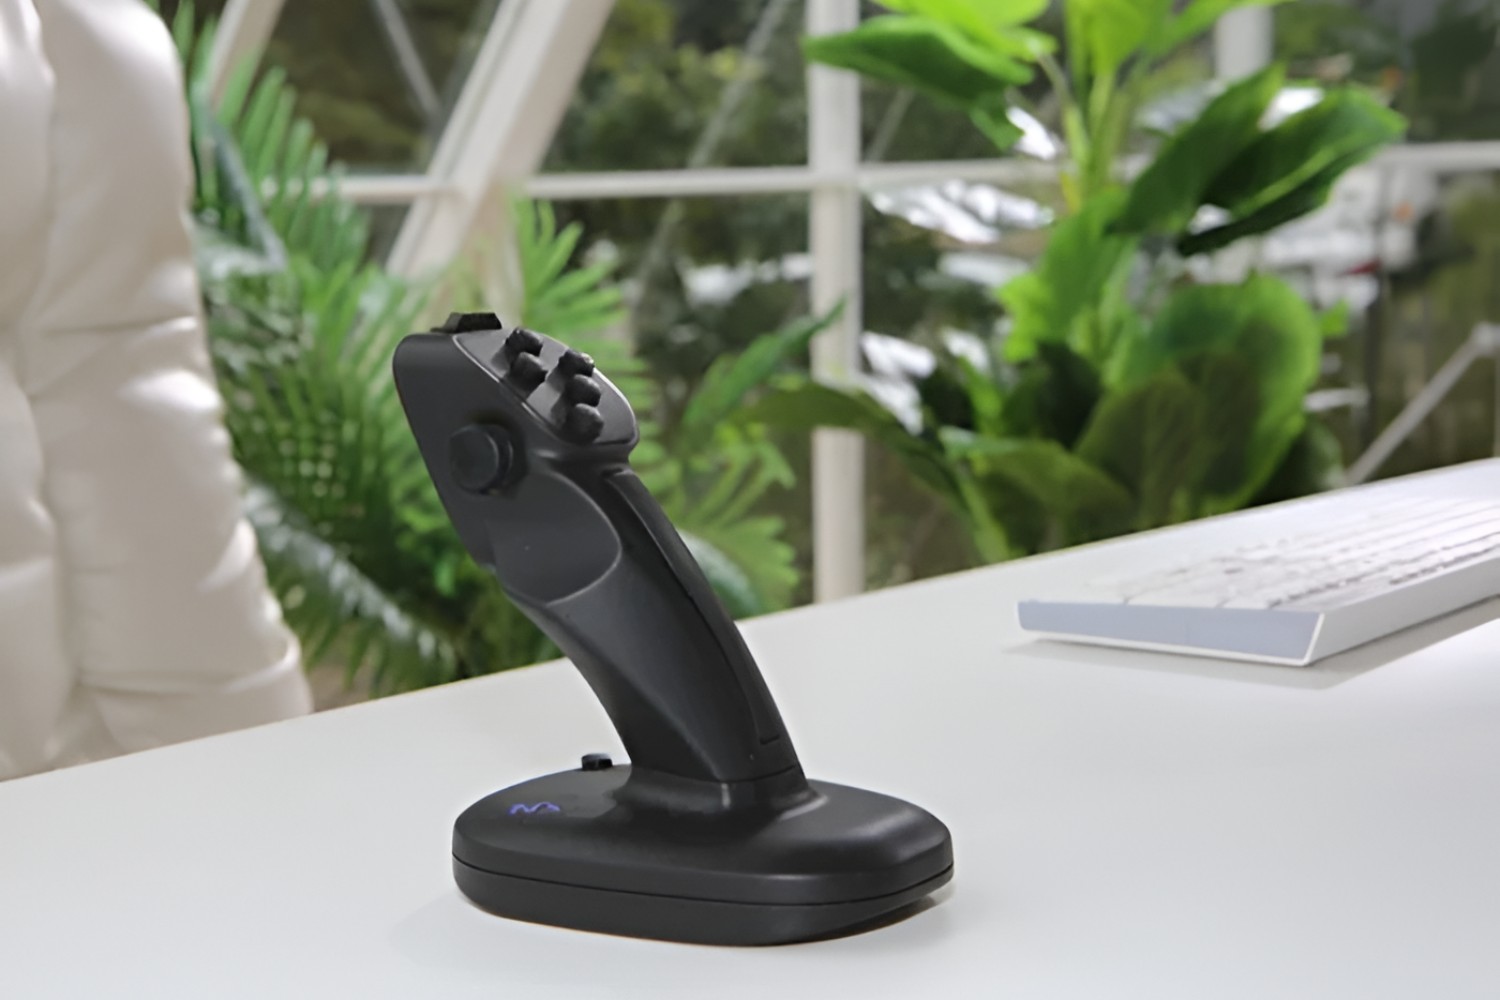
- Build Quality: Durability is a crucial factor, especially if you plan to use the flight stick regularly. Look for sturdy construction, comfortable grips, and a stable base to ensure that the device can withstand extended use without compromising performance.
- Reviews and Recommendations: Research customer reviews and seek recommendations from experienced flight simulation enthusiasts. Real-world experiences can provide valuable insights into the performance, reliability, and overall satisfaction with a particular flight stick model.
- Budget Considerations: Set a budget for your flight stick purchase and explore options within that range. While high-end models offer advanced features, there are also budget-friendly flight sticks that deliver excellent performance for beginners and casual users.
By carefully evaluating these factors, you can make an informed decision and select a flight stick that aligns with your preferences and requirements. Whether you prioritize precision, customization, or immersive controls, choosing the right flight stick is the first step toward an exceptional flight simulation experience.
Connecting the Flight Stick to Your Computer
Once you’ve chosen the perfect flight stick, the next step is to connect it to your computer or gaming console. The process may vary slightly based on the model of your flight stick and the type of interface it utilizes. Here’s a general overview of how to connect your flight stick:
- USB Connection: Most modern flight sticks connect to your computer via a USB interface. Simply plug the USB connector into an available USB port on your computer. Windows and macOS systems typically recognize the device automatically, making it ready for configuration and use.
- Driver Installation: In some cases, you may need to install specific drivers for the flight stick to function correctly. Manufacturers often provide driver software either on a CD included with the product or as a downloadable file from their website. Follow the instructions provided to install the drivers, if necessary, to ensure seamless compatibility with your system.
- Wireless Connectivity: If your flight stick utilizes wireless connectivity, follow the manufacturer’s instructions to pair the device with your computer or gaming console. This may involve using Bluetooth technology or a proprietary wireless receiver that plugs into a USB port.
- Calibration: Once the flight stick is connected, it’s advisable to proceed with the calibration process to ensure that the device’s axes and controls are properly configured. Calibration helps optimize the sensitivity and range of motion of the flight stick, enhancing its performance during flight simulations.
By following these steps, you can establish a reliable connection between your flight stick and your computer, setting the stage for an immersive and responsive flight simulation experience. With the hardware in place, the next crucial step is to ensure that the necessary drivers are installed and the flight stick is calibrated for optimal performance.
Installing Drivers
After connecting your flight stick to your computer, it’s essential to ensure that the appropriate drivers are installed to enable seamless communication between the device and your operating system. While many modern flight sticks are plug-and-play, meaning they are automatically recognized by the system and do not require additional drivers, some models may benefit from specific driver installations to unlock advanced features and ensure optimal functionality.
Here’s a general guide to installing drivers for your flight stick:
- Manufacturer’s Website: Visit the official website of the flight stick’s manufacturer to locate the latest drivers for your specific model. Manufacturers often provide driver downloads in the support or downloads section of their website, categorized by product model and operating system.
- Download and Install: Download the appropriate driver for your operating system, whether it’s Windows, macOS, or another platform. Once the driver file is downloaded, run the installation package and follow the on-screen instructions to complete the installation process.
- Restart Your Computer: After the driver installation is complete, it’s advisable to restart your computer to ensure that the changes take effect. A reboot allows the system to recognize and initialize the newly installed drivers, preparing the flight stick for configuration and use.
- Verify Device Recognition: Upon restarting your computer, verify that the flight stick is recognized by the system. You can check the device manager or system information to confirm that the flight stick is listed without any errors or warnings, indicating successful driver installation.
By installing the appropriate drivers for your flight stick, you can unlock its full potential and access any specialized features or customization options offered by the manufacturer. Additionally, up-to-date drivers can enhance compatibility and performance, ensuring a smooth and responsive experience during flight simulations. With the drivers in place, you’re one step closer to fully integrating your flight stick into your virtual aviation setup.
Calibrating the Flight Stick
Calibrating your flight stick is a crucial step that ensures its axes and controls are properly configured, optimizing its responsiveness and accuracy during flight simulations. By calibrating the device, you can fine-tune its sensitivity, dead zones, and range of motion, tailoring it to your preferences and enhancing the overall flying experience. Here’s a comprehensive guide to calibrating your flight stick:
- Accessing Calibration Tools: Most operating systems provide built-in calibration tools that allow you to configure and calibrate input devices such as joysticks. On Windows, you can access the “Set up USB game controllers” utility in the Control Panel or the “Devices and Printers” section. For macOS, the “Joystick and Gamepad Tester” or “System Preferences” may offer calibration options.
- Axis Calibration: Begin by calibrating each axis of the flight stick, including the pitch, roll, and yaw axes. Follow the on-screen instructions to move the corresponding controls through their full range of motion. The calibration tool will detect and record the input from each axis, allowing you to verify the responsiveness and linearity of the controls.
- Dead Zone Adjustment: Some calibration tools enable you to adjust the dead zones, which are regions where minimal joystick movement does not register as input. Fine-tune the dead zones to eliminate any unintended drift or jitter in the flight stick’s input, ensuring precise and stable control during flight simulations.
- Button Mapping: If your flight stick features programmable buttons or switches, take advantage of the calibration tool to assign specific functions to these controls. Mapping buttons for landing gear, flaps, or other aircraft systems can streamline your cockpit management and enhance the realism of your flying experience.
- Testing and Refinement: After calibrating the flight stick, conduct test flights in your preferred flight simulation software to evaluate its performance. Make adjustments as needed, revisiting the calibration settings to achieve the desired responsiveness and precision in controlling your virtual aircraft.
By meticulously calibrating your flight stick, you can customize its behavior to suit your flying style and preferences, ensuring that it responds accurately to your inputs and maneuvers. This personalized calibration process enhances the immersion and realism of your flight simulations, allowing you to enjoy a tailored and responsive flying experience that mirrors real-world aviation controls.
Testing the Flight Stick
After completing the setup, connection, driver installation, and calibration of your flight stick, it’s time to put the device to the test and ensure that it performs as expected during actual flight simulations. Testing the flight stick allows you to verify its responsiveness, accuracy, and overall functionality, providing an opportunity to fine-tune any remaining settings for an optimal flying experience. Here’s a comprehensive guide to testing your flight stick:
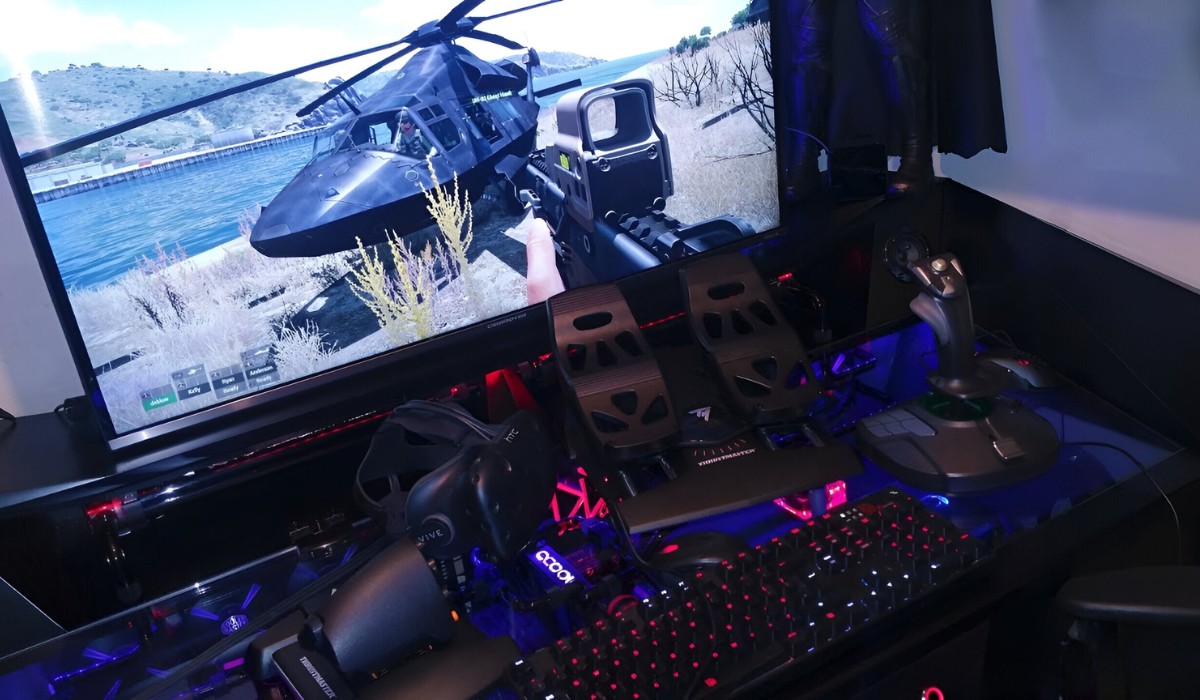
- Flight Simulation Software: Launch your preferred flight simulation software, whether it’s a realistic flight simulator or a combat aviation game. Choose an aircraft and scenario that align with your interests and proficiency level, allowing you to focus on testing the flight stick’s performance in a familiar environment.
- Control Inputs: As you begin your virtual flight, pay close attention to the responsiveness and precision of the flight stick’s controls. Test the pitch, roll, and yaw axes, observing how the aircraft reacts to your inputs. Evaluate the smoothness of control movements and the accuracy of your maneuvers, ensuring that the flight stick accurately translates your actions into in-game aircraft movements.
- Button and Switch Functions: Utilize the programmable buttons and switches on the flight stick to interact with various cockpit systems and aircraft functions. Test the functionality of these controls, such as gear deployment, flaps adjustment, or weapon systems activation, confirming that each input corresponds to the intended in-game action.
- Feedback and Comfort: Pay attention to the tactile feedback and comfort of using the flight stick during the testing phase. Assess the grip comfort, button accessibility, and overall ergonomics of the device, ensuring that it provides a comfortable and immersive interface for extended flight sessions.
- Refinement and Iteration: Based on your testing experience, make note of any areas that may require further refinement or adjustment. Return to the calibration settings if necessary, fine-tuning the sensitivity, dead zones, or button mappings to address any performance concerns and optimize the flight stick for your specific preferences.
By thoroughly testing the flight stick in a simulated flight environment, you can gain valuable insights into its performance and usability, allowing you to make informed adjustments and refinements to enhance your overall flying experience. Whether you’re navigating through virtual skies or engaging in aerial combat scenarios, a well-tested and calibrated flight stick becomes an indispensable tool for immersive and enjoyable flight simulations.