Introduction
Introduction
Welcome to the world of flight simulation! Whether you're a seasoned virtual aviator or just starting out, having a properly calibrated flight stick is crucial for an immersive and enjoyable flying experience. In this guide, we'll walk through the process of calibrating your flight stick to ensure optimal performance and responsiveness.
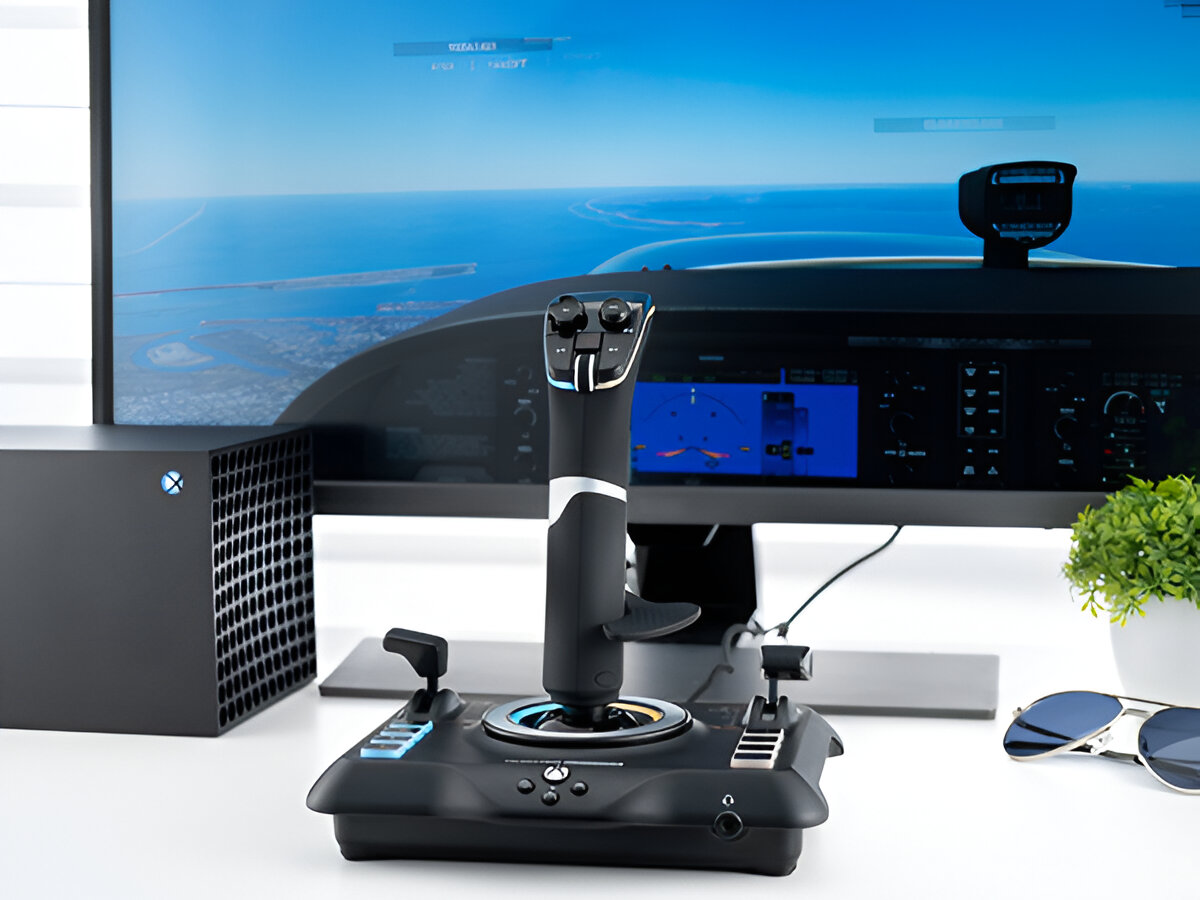
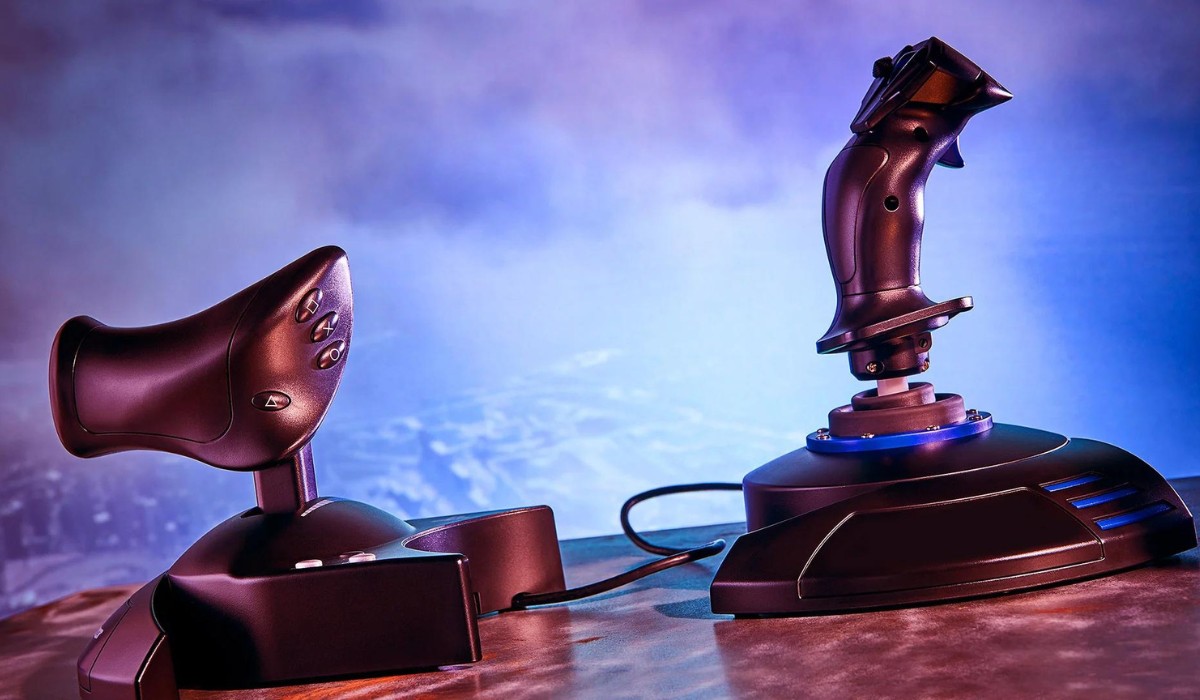
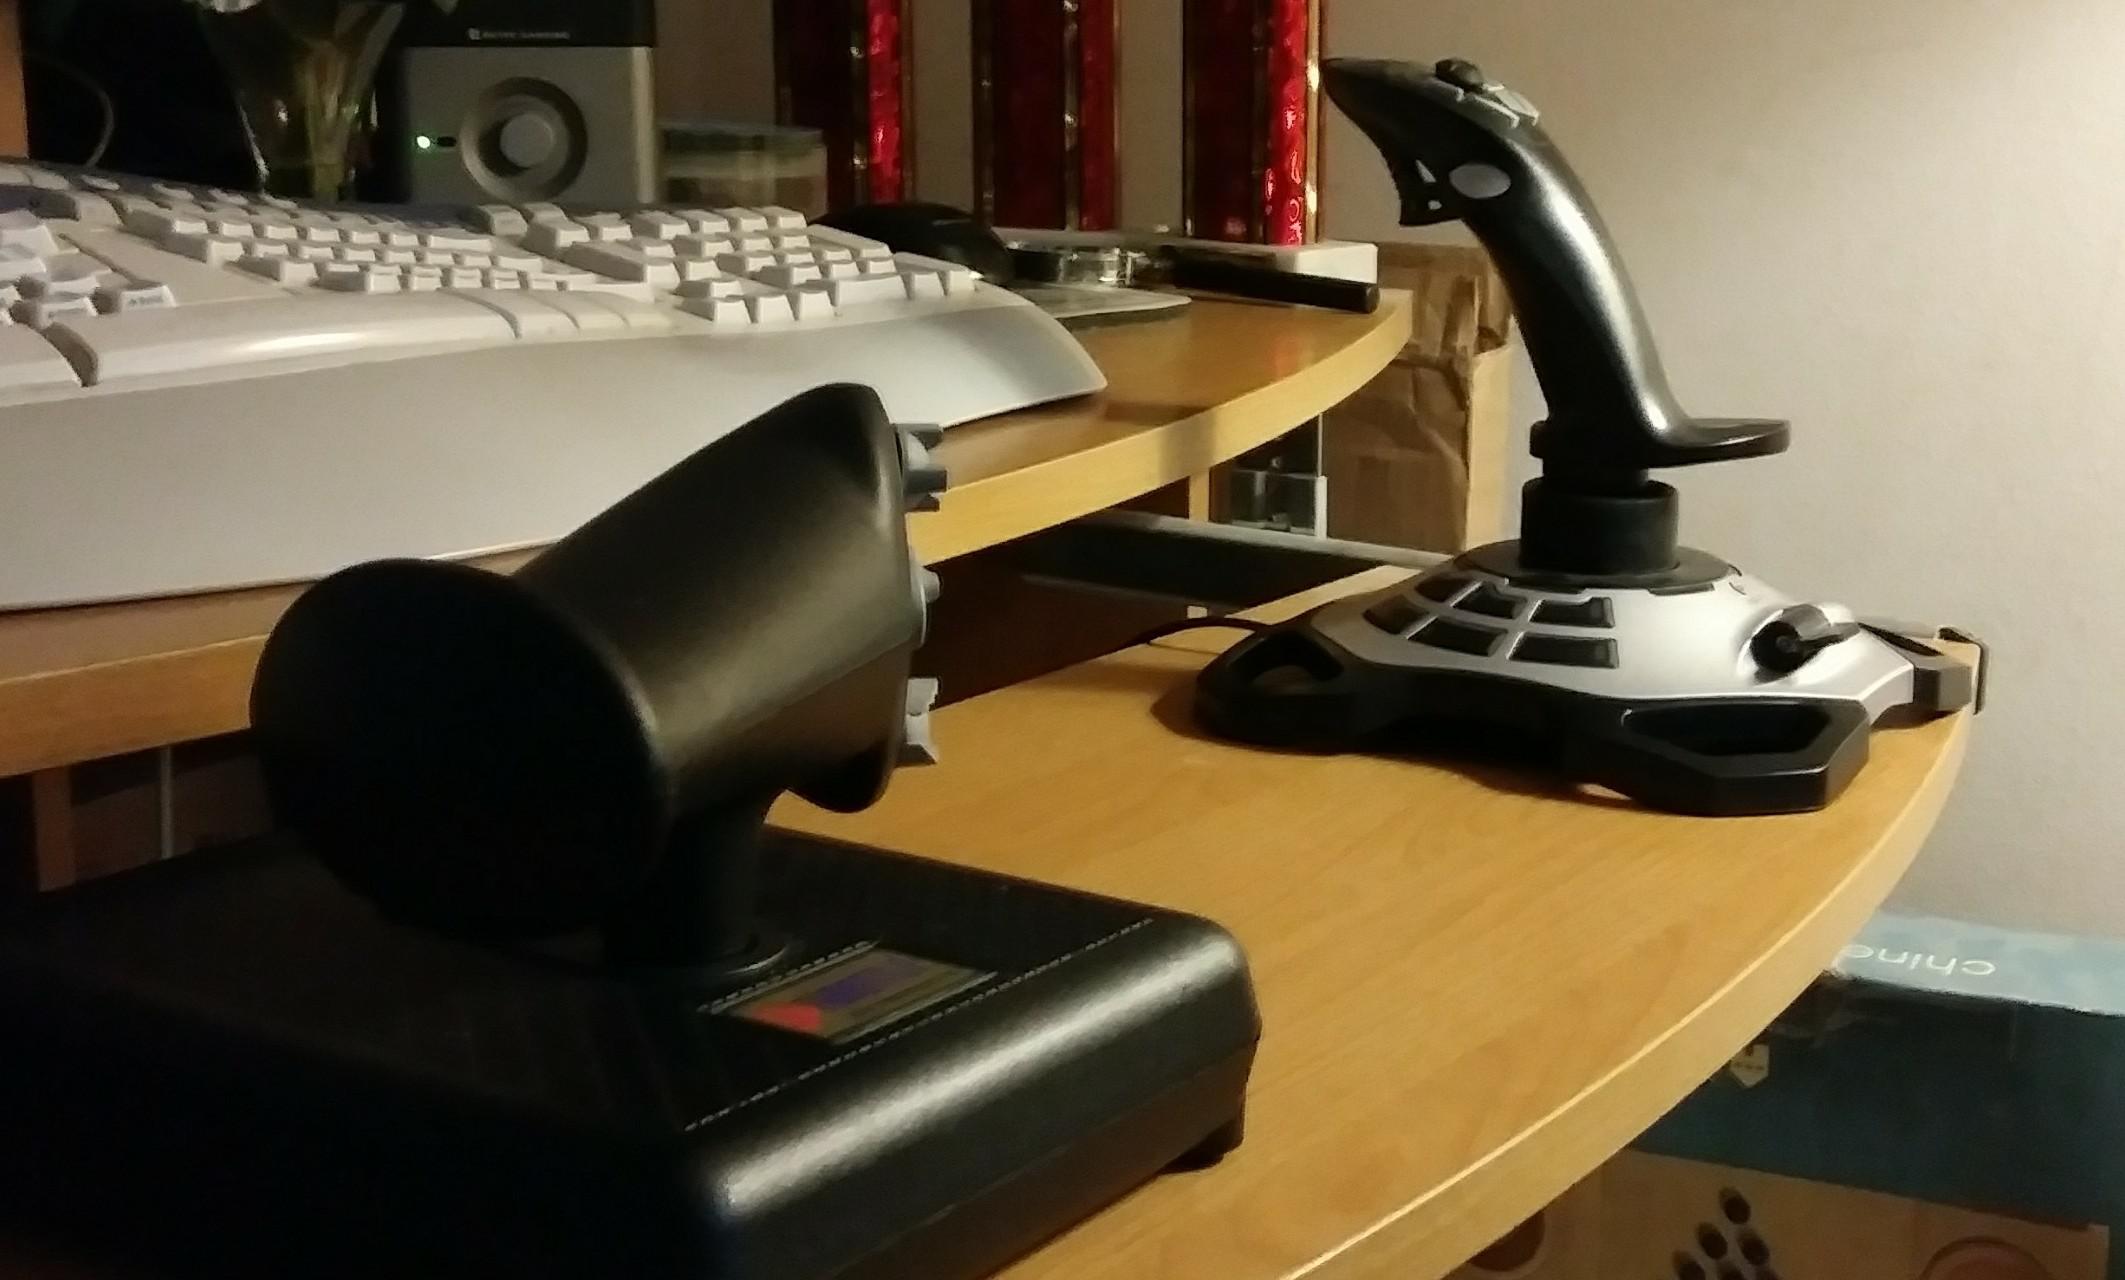
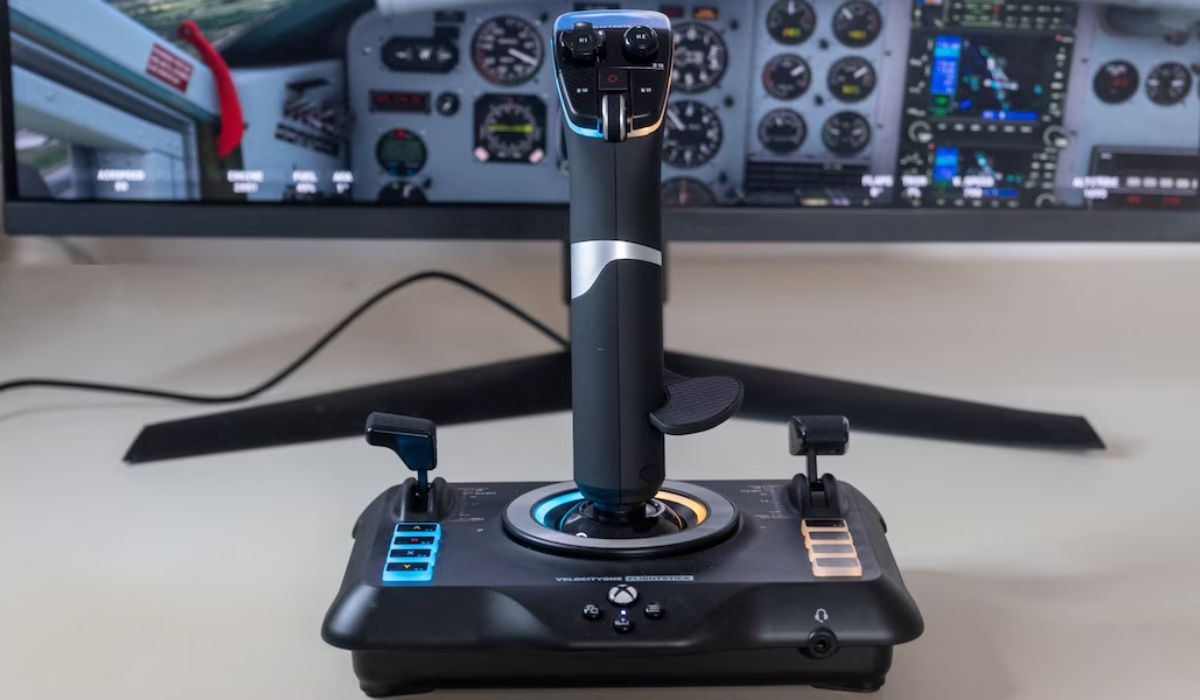
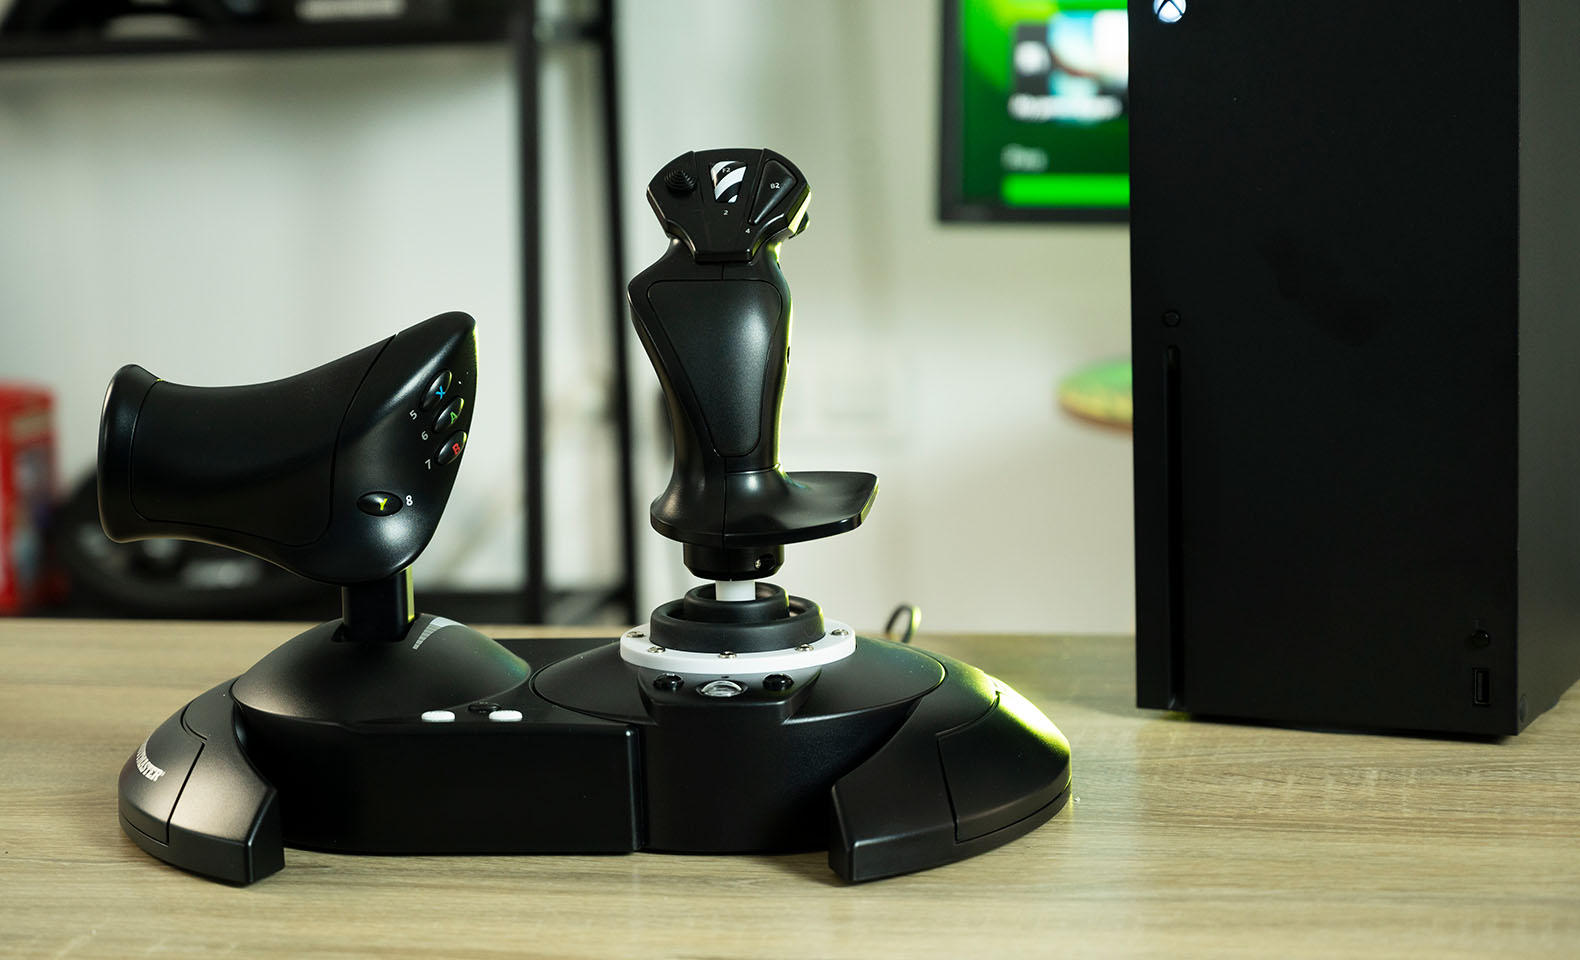
A flight stick, also known as a joystick, is a controller designed to replicate the controls of an aircraft. It typically consists of a vertical stick that can be tilted forward, backward, left, and right, along with various buttons and triggers. Flight sticks come in a range of complexities, from basic models with minimal buttons to advanced setups with integrated throttle controls and multiple programmable inputs.
Calibrating a flight stick involves configuring its sensitivity, dead zones, and button assignments to match your preferences and ensure precise control during flight simulations. Proper calibration can significantly enhance the accuracy and responsiveness of the flight stick, ultimately improving your overall gaming or simulation experience.
Whether you're piloting a commercial airliner, engaging in dogfights in a combat aircraft, or exploring the skies in a general aviation plane, a well-calibrated flight stick can make all the difference in how you interact with your virtual aircraft.
In the following sections, we'll delve into the intricacies of flight stick calibration, from understanding the components of the flight stick to installing the necessary software, performing the calibration process, and testing the results. By the end of this guide, you'll be equipped with the knowledge and skills to fine-tune your flight stick for an optimal flying experience. So, let's embark on this journey to elevate your flight simulation adventures through precise and customized flight stick calibration.
Understanding the Flight Stick
Before delving into the calibration process, it’s essential to grasp the fundamental components and functionalities of a flight stick. Understanding the intricacies of this essential flight simulation peripheral will pave the way for a more informed calibration process.
A typical flight stick comprises several key elements that collectively enable intuitive and precise control over your virtual aircraft. The primary component is the joystick itself, which mimics the control column of an actual aircraft. This joystick allows for pitch and roll movements, enabling you to maneuver your aircraft along its lateral and longitudinal axes.
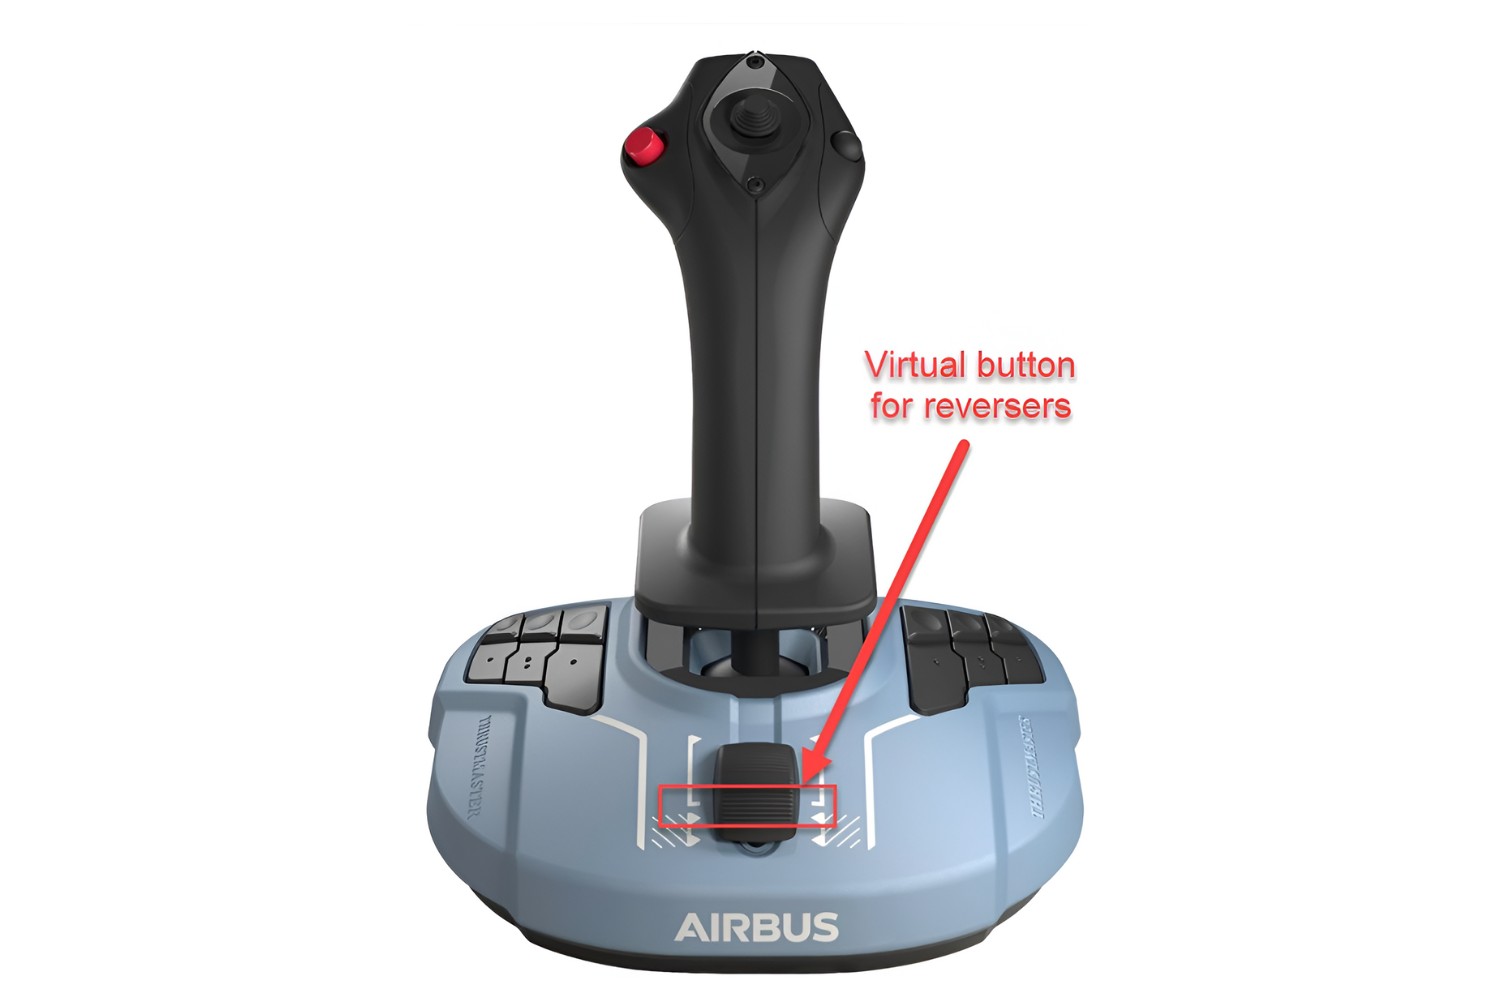
In addition to the joystick, most flight sticks feature an array of buttons, triggers, and hat switches. These auxiliary controls serve various purposes, such as deploying landing gear, adjusting flaps, activating weapons systems (in combat simulations), and panning the in-game camera. Advanced flight sticks may also incorporate a throttle lever, enabling seamless control over the aircraft’s engine power.
Understanding the layout and functionality of these controls is crucial for effective calibration. For instance, knowing the location and purpose of each button and switch will allow you to assign custom functions during the calibration process, tailoring the flight stick to your specific preferences and the requirements of the simulation software.
Moreover, comprehending the concept of dead zones and sensitivity settings is pivotal. Dead zones refer to the regions around the center position of the joystick where minimal input is registered, preventing unintended movements. Sensitivity settings, on the other hand, determine the degree of response to joystick movements, influencing the aircraft’s handling characteristics in the simulated environment.
By familiarizing yourself with the anatomy and functionality of the flight stick, you’ll be better equipped to navigate the calibration process with confidence and precision. The next step in this guide will focus on installing the necessary software to facilitate the calibration of your flight stick.
Installing the Necessary Software
Calibrating your flight stick effectively requires the appropriate software to facilitate the process and ensure seamless integration with your flight simulation setup. The software serves as the interface through which you can customize and fine-tune various aspects of the flight stick’s performance. Here’s a step-by-step guide to installing the essential software for your flight stick:
- Manufacturer’s Website: Begin by visiting the official website of the flight stick’s manufacturer. Most reputable manufacturers provide dedicated software for their flight sticks, offering comprehensive customization options and firmware updates. Look for the "Support" or "Downloads" section of the website to locate the appropriate software for your specific model.
- Driver Installation: Once you’ve identified the relevant software, download the latest drivers for your flight stick. Drivers are essential for establishing communication between the flight stick and your computer, enabling the recognition of the device and the implementation of custom settings. Follow the on-screen instructions to install the drivers, ensuring that you select the appropriate operating system version (e.g., Windows, macOS, or Linux).
- Configuration Utility: In addition to drivers, many flight stick software packages include configuration utilities that empower users to customize axis sensitivity, button assignments, dead zones, and other parameters. After installing the drivers, launch the configuration utility and familiarize yourself with its interface. This tool will be instrumental in fine-tuning the flight stick to align with your preferences and the demands of your chosen flight simulation software.
- Firmware Updates: While configuring the flight stick, it’s advisable to check for firmware updates using the provided software. Firmware updates can introduce performance enhancements, bug fixes, and compatibility improvements, ensuring that your flight stick operates optimally with the latest features and refinements.
By meticulously following these steps, you’ll establish a solid foundation for calibrating your flight stick. The installed software will serve as the gateway to a personalized and finely tuned flight control experience, setting the stage for the upcoming calibration process. With the necessary software in place, you’re ready to embark on the next phase: calibrating the flight stick to suit your specific flying preferences and requirements.
Calibrating the Flight Stick
With the essential software installed, you’re now poised to embark on the pivotal process of calibrating your flight stick. This step is crucial for tailoring the device to your unique preferences and ensuring optimal responsiveness during flight simulations. Here’s a comprehensive guide to calibrating your flight stick:
- Accessing the Configuration Utility: Launch the configuration utility provided by the flight stick’s manufacturer. This software interface will grant you access to a range of customization options, enabling you to fine-tune axis sensitivity, dead zones, button assignments, and other parameters. Familiarize yourself with the layout and functionality of the configuration utility to prepare for the calibration process.
- Axis Sensitivity Adjustment: Begin by adjusting the sensitivity settings for the pitch and roll axes of the flight stick. Fine-tune these settings to match your desired level of responsiveness, taking into account factors such as the type of aircraft you intend to simulate and your personal flying style. Experiment with different sensitivity levels to find the optimal balance between precision and smooth control inputs.
- Dead Zone Configuration: Next, address the dead zones of the flight stick. Dead zones are crucial for mitigating unintended movements around the joystick’s center position. Customize the dead zone settings to eliminate any unwanted jitter or drift while maintaining a comfortable neutral position for the stick. A well-configured dead zone ensures that your inputs are accurately reflected in the simulation without erratic behavior.
- Button Assignments: Utilize the configuration utility to assign specific functions to the buttons, triggers, and hat switches on the flight stick. Consider the requirements of your chosen flight simulation software and allocate functions accordingly. For instance, you may assign landing gear controls, view adjustments, or weapon systems activation to the available inputs, streamlining your in-game interactions.
- Throttle Calibration (if applicable): If your flight stick incorporates a throttle lever, ensure that it is calibrated to deliver smooth and precise control over the aircraft’s engine power. Adjust the throttle sensitivity and range to match the performance characteristics of the aircraft you intend to pilot, optimizing your command over propulsion systems.
By meticulously fine-tuning these parameters within the configuration utility, you’ll sculpt your flight stick to harmonize with your unique flying preferences and the demands of your chosen flight simulation software. The calibrated flight stick will empower you to execute precise maneuvers, interact seamlessly with in-game systems, and immerse yourself in the captivating world of virtual aviation. Once the calibration process is complete, it’s time to put your customized settings to the test through comprehensive flight simulations.
Testing the Calibration
After meticulously calibrating your flight stick, it’s essential to validate the effectiveness of your custom settings through thorough testing in a variety of flight simulation scenarios. Testing the calibration serves as the final confirmation of your adjustments, ensuring that the flight stick delivers the desired level of precision and responsiveness. Here’s a detailed overview of the testing phase:
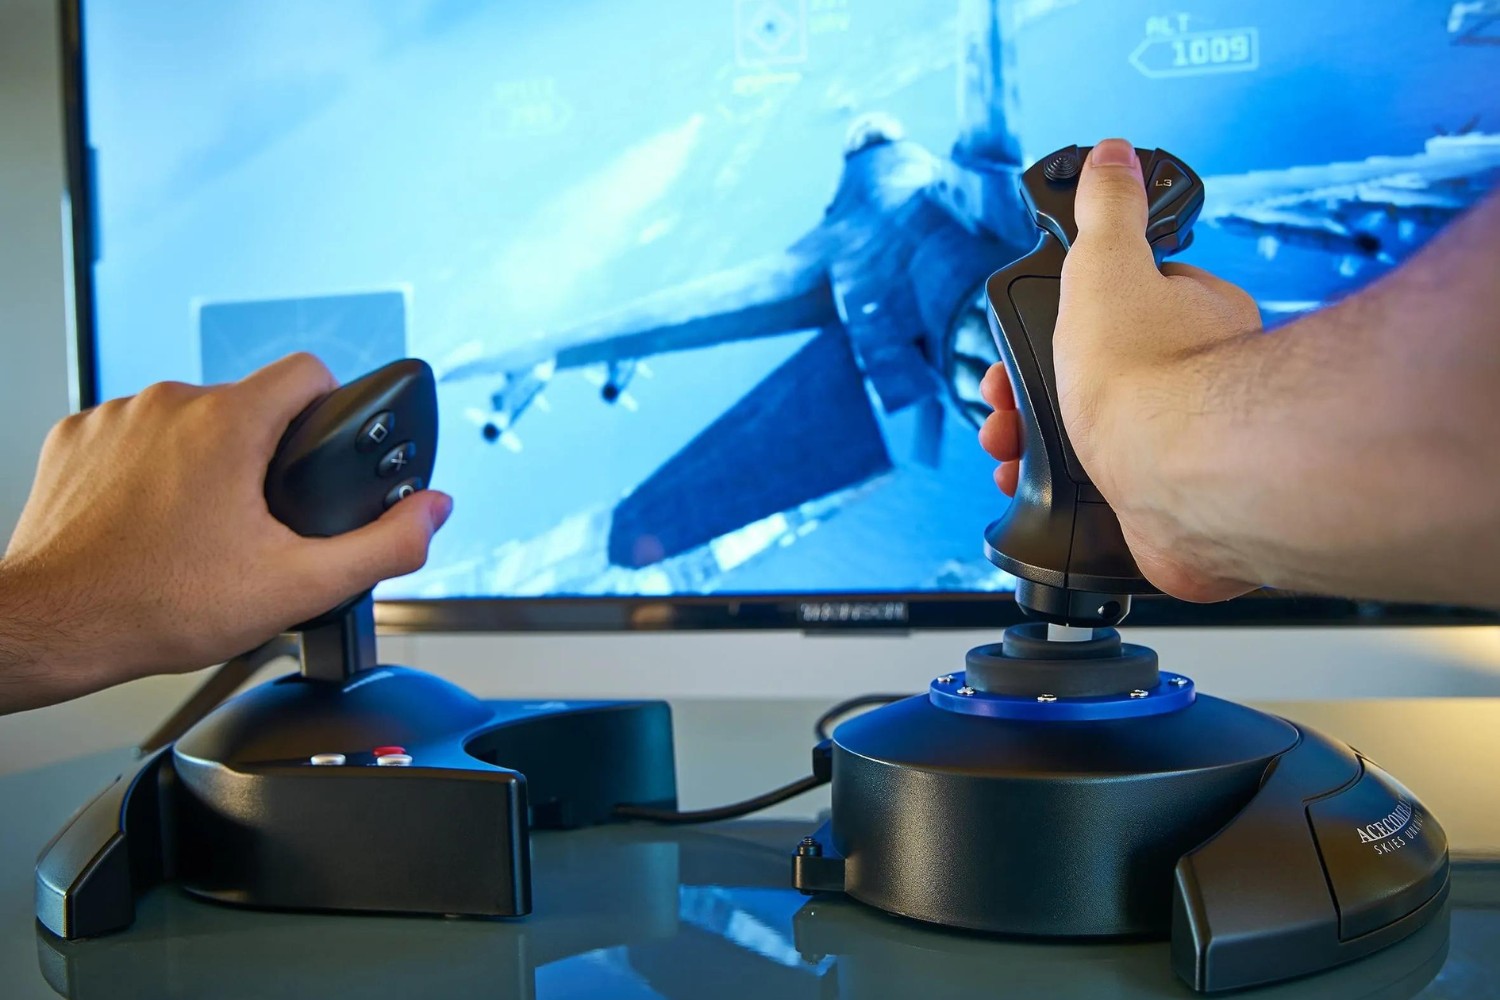
- Flight Simulation Software: Launch your preferred flight simulation software and select a suitable aircraft and environment for testing. Whether you’re piloting a commercial airliner, a nimble fighter jet, or a general aviation aircraft, choose an aircraft that aligns with your interests and proficiency level.
- Basic Maneuvers: Begin by executing fundamental flight maneuvers, such as climbs, descents, turns, and level flight. Pay close attention to how the calibrated flight stick translates your inputs into precise aircraft movements. Assess the smoothness and accuracy of control, ensuring that the aircraft responds predictably to your commands without undue sensitivity or sluggishness.
- Control Surface Adjustments: Engage the control surfaces, such as ailerons, elevators, and rudders, to gauge the flight stick’s ability to influence these elements effectively. Verify that your inputs result in proportional and consistent adjustments to the aircraft’s attitude and heading, reflecting the calibrated sensitivity and dead zone settings.
- Button Functionality: Test the assigned functions of the buttons, triggers, and hat switches on the flight stick. Verify that each control input triggers the intended in-game action, such as retracting landing gear, adjusting cockpit views, or deploying auxiliary systems. Confirm that the button assignments align with your operational needs and enhance your overall flight experience.
- Throttle Control (if applicable): If your flight stick includes a throttle lever, assess its responsiveness and precision during throttle adjustments. Validate that the calibrated throttle settings provide smooth and accurate control over the aircraft’s engine power, allowing you to modulate thrust seamlessly throughout various flight phases.
Throughout the testing phase, maintain an attentive focus on the synergy between your calibrated flight stick and the virtual aircraft’s responses. By scrutinizing the performance of the flight stick across diverse flight scenarios, you’ll gain valuable insights into the effectiveness of your calibration adjustments and the overall enhancement of your flight simulation experience.
Upon completing the testing phase, take note of any observations or refinements that may further optimize the flight stick’s performance. By iteratively fine-tuning the calibration based on your testing outcomes, you can continually elevate the precision and responsiveness of your flight stick, ensuring a tailored and immersive experience in the realm of virtual aviation.