Introduction
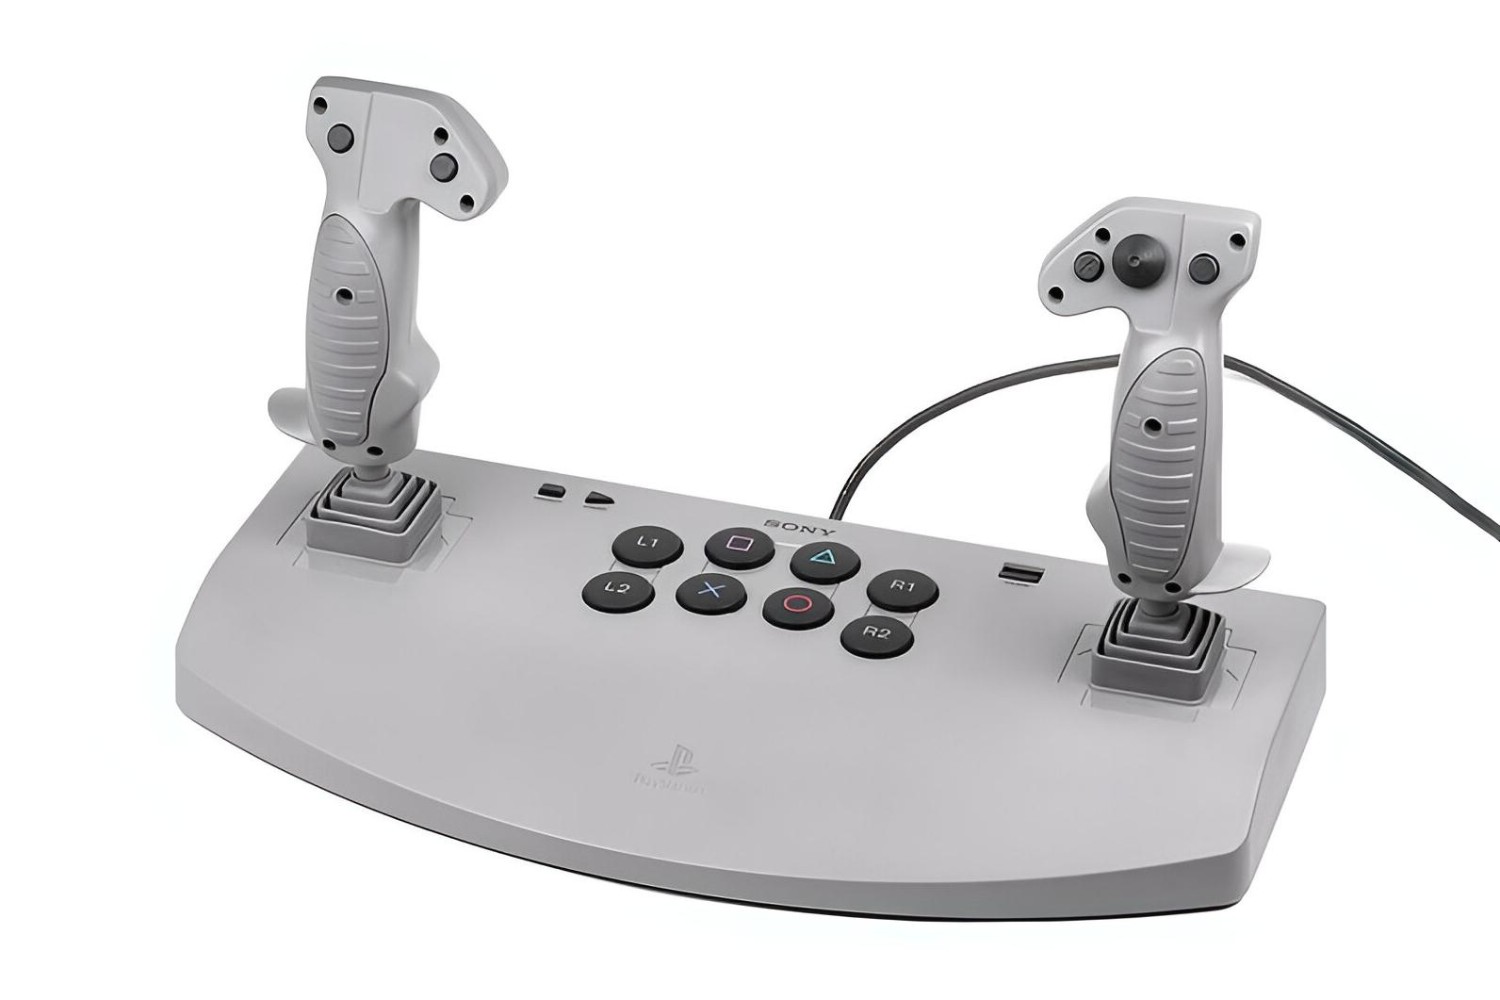
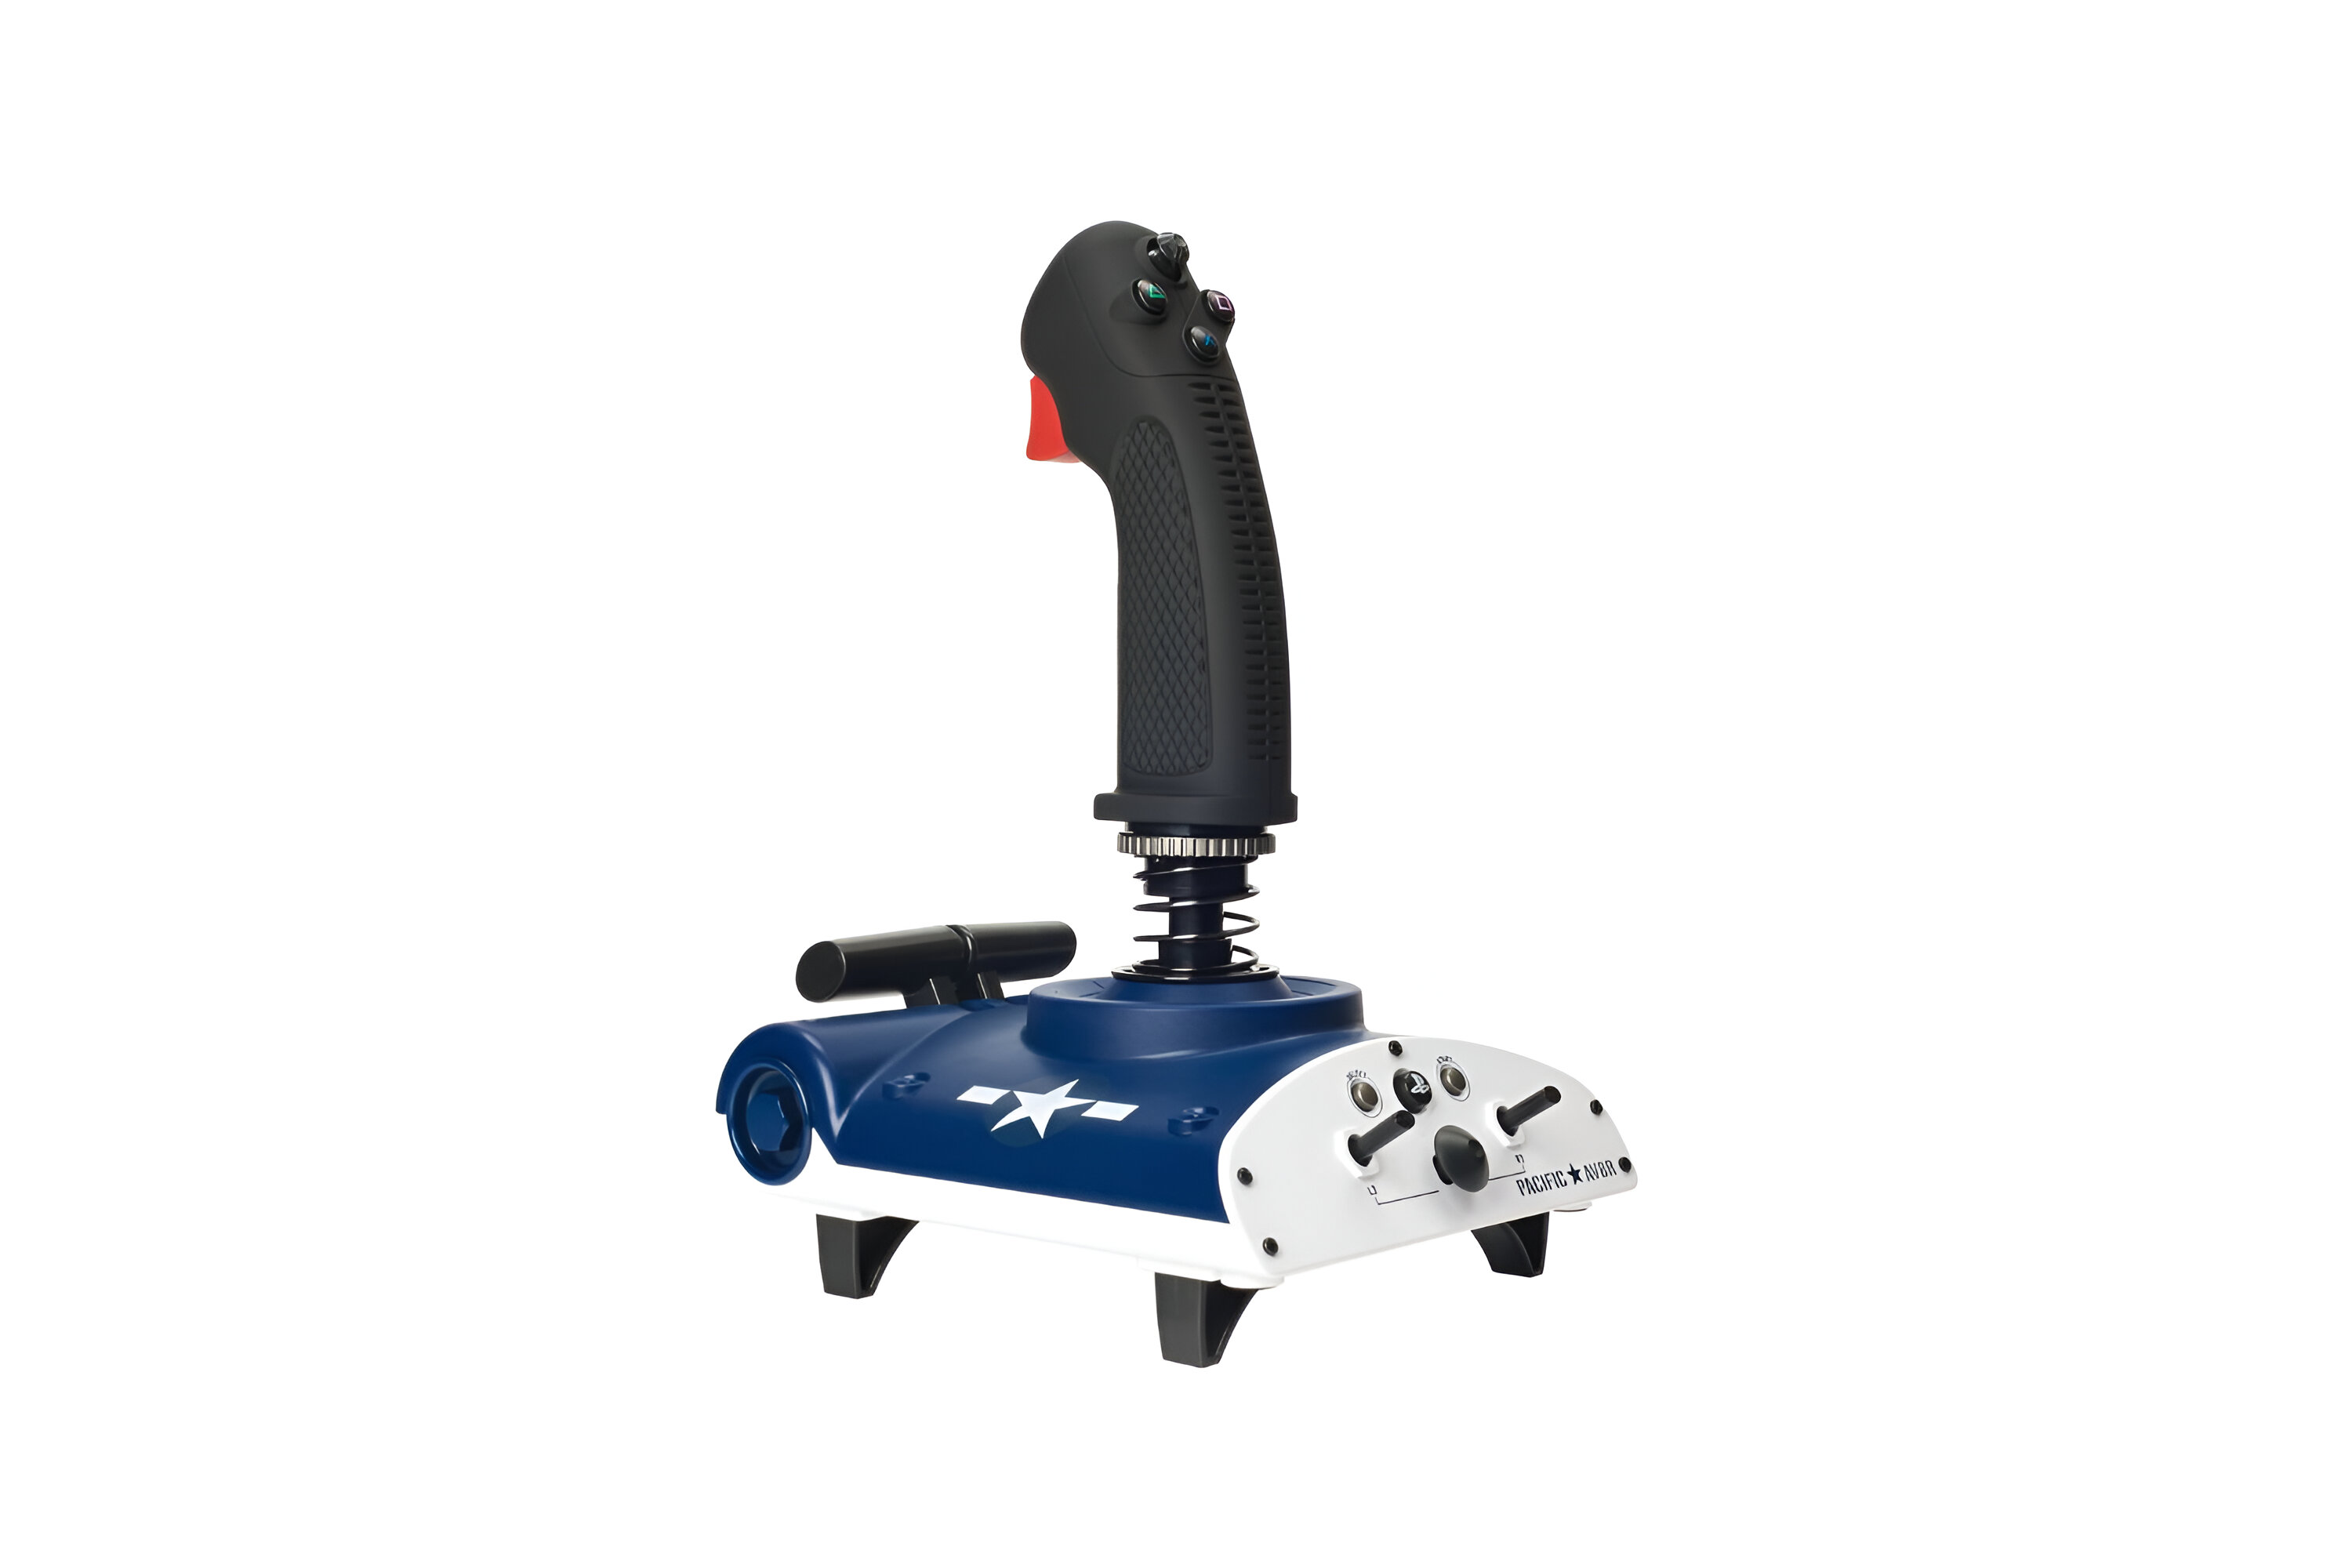
So, you've got your hands on the PS3 Pacific Aviator Flight Stick, but you want to use it with your PC for an immersive gaming experience. Fear not, as with a few simple steps, you can make this happen and take your flight simulation to new heights. The Pacific Aviator Flight Stick is designed to provide a realistic and responsive control experience, and with the right drivers and configurations, you can enjoy its full functionality on your PC.
In this guide, we will walk through the process of making the PS3 Pacific Aviator Flight Stick work seamlessly with your PC. From checking compatibility to installing drivers and configuring settings, we've got you covered. By the end of this tutorial, you'll be ready to take to the virtual skies with confidence, knowing that your flight stick is fully optimized for PC gaming.
Let's dive in and get your PS3 Pacific Aviator Flight Stick ready for action on your PC. Whether you're a seasoned flight simulation enthusiast or a newcomer to the world of virtual aviation, this guide will equip you with the knowledge to harness the full potential of your flight stick and elevate your gaming experience.
Checking Compatibility
Before diving into the process of making the PS3 Pacific Aviator Flight Stick work with your PC, it’s crucial to ensure that your system and the flight stick are compatible. The Pacific Aviator Flight Stick is designed for use with the PlayStation 3 console, but with the right approach, it can also be compatible with PC systems.
Firstly, check the system requirements for the Pacific Aviator Flight Stick and compare them to your PC’s specifications. Ensure that your PC meets or exceeds the necessary requirements, such as available USB ports, operating system compatibility, and any specific software requirements.
Next, verify that your PC’s operating system supports the Pacific Aviator Flight Stick. While the flight stick is primarily designed for use with the PlayStation 3, it can be compatible with Windows-based systems with the appropriate drivers and configurations.
Additionally, consider the compatibility of the games or flight simulation software you intend to use with the Pacific Aviator Flight Stick. Some titles may have built-in support for specific controllers, including flight sticks, while others may require additional configuration or third-party software to recognize and utilize the flight stick’s inputs.
By ensuring compatibility between your PC, operating system, and the Pacific Aviator Flight Stick, you can lay the foundation for a seamless integration that maximizes the performance and functionality of the flight stick during gaming sessions. Once you’ve confirmed compatibility, you can proceed to the next steps of installing drivers and configuring settings to optimize the flight stick for PC use.
Installing Drivers
With the compatibility checks completed, the next crucial step in making the PS3 Pacific Aviator Flight Stick work with your PC is installing the necessary drivers. Since the flight stick is designed for the PlayStation 3, it requires specific drivers to enable seamless functionality on a Windows-based PC.
Begin by visiting the official website of the Pacific Aviator Flight Stick’s manufacturer or the support page for the specific model. Look for the drivers or software downloads section, where you can find the appropriate drivers for PC compatibility. Download the latest drivers compatible with your PC’s operating system, ensuring that you select the correct version, whether it’s for Windows 7, 8, 10, or later.
Once the drivers are downloaded, follow the installation instructions provided by the manufacturer. This typically involves running the installer and following the on-screen prompts to complete the installation process. During the installation, ensure that the flight stick is not connected to your PC until prompted to do so, as this can help prevent any potential driver conflicts.
After the drivers are successfully installed, connect the PS3 Pacific Aviator Flight Stick to an available USB port on your PC. Windows should automatically detect the newly connected device and attempt to install any additional drivers or configure the flight stick for use. Follow any remaining on-screen instructions to finalize the setup and ensure that the flight stick is recognized by your PC.
By installing the appropriate drivers for the Pacific Aviator Flight Stick, you pave the way for seamless integration and optimal performance when using the flight stick with your PC. These drivers enable the PC to recognize and communicate with the flight stick, allowing you to leverage its full range of features and controls during gaming sessions.
Configuring Settings
Once the drivers are successfully installed and the PS3 Pacific Aviator Flight Stick is recognized by your PC, it’s time to configure the settings to ensure smooth and precise operation during gaming. Proper configuration of the flight stick settings can enhance responsiveness and tailor the controls to your preferences, ultimately improving your overall gaming experience.
Begin by accessing the control settings within the flight simulation software or game that you intend to play. Look for options related to input devices, controllers, or joysticks. In many cases, you can calibrate and customize the controls specifically for the Pacific Aviator Flight Stick. This may involve mapping buttons, adjusting sensitivity, dead zones, and fine-tuning axis movements to align with your desired level of control.
Some games or simulation software may offer predefined profiles or configurations for popular flight sticks, including the Pacific Aviator Flight Stick. Take advantage of these if available, as they can provide a solid starting point for your custom settings and may already be optimized for the best gaming experience.
Additionally, explore the software provided by the flight stick’s manufacturer, if available, for further customization options. This software may offer advanced settings, button remapping, and the ability to create custom profiles tailored to different games or scenarios.
Experiment with different settings and configurations to find the optimal setup that suits your play style and preferences. This may involve adjusting the sensitivity of the flight stick, fine-tuning dead zones to eliminate unintended movements, and mapping buttons for specific in-game functions such as landing gear, throttle control, or weapon systems.
By configuring the settings to align with your preferences and gaming requirements, you can maximize the potential of the Pacific Aviator Flight Stick, allowing for precise and immersive control during your virtual flights. Whether you’re navigating through turbulent skies or engaging in aerial combat, the right settings can make all the difference in your gaming performance and enjoyment.
Testing the Flight Stick
After completing the installation of drivers and configuring the settings for the PS3 Pacific Aviator Flight Stick on your PC, it’s essential to thoroughly test its functionality to ensure that it operates seamlessly and responds accurately to your inputs. Testing the flight stick allows you to validate its performance, identify any potential issues, and make further adjustments if necessary before diving into your favorite flight simulation titles.
Begin by launching the flight simulation software or game that you intend to play. Once in the game, access the control settings or options menu to verify that the Pacific Aviator Flight Stick is recognized and properly configured. Look for any indicators or on-screen prompts that confirm the detection of the flight stick and its assigned controls.
Next, engage in a series of test flights or scenarios within the game to put the flight stick through its paces. Pay close attention to the responsiveness of the controls, the accuracy of axis movements, and the functionality of buttons and switches. Test various in-game maneuvers, such as takeoffs, landings, aerial maneuvers, and combat actions, to assess how well the flight stick translates your inputs into the virtual environment.
During testing, be mindful of any potential issues such as input lag, unresponsive buttons, or erratic axis movements. If you encounter any issues, revisit the control settings to make further adjustments, recalibrate the flight stick if necessary, or verify that the drivers are up to date. Fine-tuning the settings based on your testing experience can significantly enhance the overall performance and precision of the flight stick.
Consider testing the flight stick across a range of games or simulation titles to gauge its versatility and adaptability to different virtual aviation experiences. Each game may have unique control requirements, and thorough testing can help you tailor the settings to suit specific gameplay scenarios and challenges.
By thoroughly testing the PS3 Pacific Aviator Flight Stick on your PC, you can gain confidence in its reliability and performance, ensuring that it delivers a satisfying and immersive gaming experience. Effective testing allows you to identify and address any potential issues proactively, empowering you to make the most of your flight stick during virtual flights and aerial adventures.
Conclusion
Embarking on the journey to make the PS3 Pacific Aviator Flight Stick compatible with your PC has equipped you with the essential knowledge and steps to seamlessly integrate this controller into your gaming setup. By following the outlined process of checking compatibility, installing drivers, configuring settings, and testing the flight stick, you’ve taken significant strides toward optimizing its performance for immersive flight simulation experiences on your PC.
Ensuring compatibility between the flight stick, your PC, and the games or simulation software you intend to play is a crucial first step. By verifying compatibility, you set the stage for a smooth integration that maximizes the functionality of the Pacific Aviator Flight Stick within your gaming environment.
Installing the appropriate drivers for the flight stick is a pivotal milestone, enabling your PC to recognize and communicate effectively with the controller. This step unlocks the full potential of the flight stick, allowing you to leverage its features and controls with precision and responsiveness.
Configuring the settings, whether within the game or through dedicated software, empowers you to tailor the flight stick’s controls to your preferences and play style. Fine-tuning sensitivity, button mapping, and axis movements can significantly enhance your gaming experience, providing a customized and immersive flight simulation environment.
Thoroughly testing the flight stick across various scenarios and games allows you to validate its performance and identify any areas for further refinement. By conducting comprehensive testing, you can fine-tune the settings, address any potential issues, and ensure that the flight stick operates seamlessly, delivering a satisfying and immersive gaming experience.
Armed with the knowledge gained from this guide, you are now well-prepared to take to the virtual skies with confidence, knowing that your PS3 Pacific Aviator Flight Stick is optimized for PC gaming. Whether you’re navigating through realistic flight simulations or engaging in thrilling aerial combat, the integration of the flight stick into your PC gaming setup opens the door to a world of immersive and exhilarating experiences.
Embrace the versatility and precision of the Pacific Aviator Flight Stick as you embark on your virtual aviation adventures, and let its responsive controls elevate your gaming pursuits to new heights.