Introduction
Welcome to the world of electric guitar playing! Whether you're a seasoned musician or just starting out, understanding how to adjust the intonation on your electric guitar is crucial for achieving optimal sound quality. Intonation refers to the accuracy of the guitar's pitch at different fret positions along the neck. When properly adjusted, the guitar will produce harmonious and in-tune notes across all frets, ensuring that your chords and solos sound their best.
Learning to adjust the intonation on your electric guitar empowers you to fine-tune its performance, enabling you to play with precision and clarity. This process involves making subtle adjustments to the length of the strings, ensuring that each note rings true and resonates with the correct pitch. By mastering the art of intonation adjustment, you can elevate your playing experience and unlock the full potential of your instrument.
In this guide, we'll walk through the step-by-step process of adjusting the intonation on an electric guitar. You'll learn about the tools you'll need, how to tune the guitar for the best starting point, and the techniques for adjusting the bridge saddle and fine-tuning the intonation. By the end of this tutorial, you'll have the knowledge and skills to optimize the intonation of your electric guitar, allowing you to play with confidence and achieve a professional-quality sound.
Now, let's dive into the world of intonation adjustment and unlock the true potential of your electric guitar.
What is Intonation?
Intonation in the context of an electric guitar refers to the accuracy of the instrument’s pitch across all fret positions. When a guitar has proper intonation, each note played at any fret will ring true to its intended pitch. However, if the intonation is off, the notes played higher up the neck may sound sharp or flat, leading to a lack of clarity and harmony in your music.
Intonation is affected by the length of the guitar strings and the position of the bridge saddle. When the length of the strings is not precisely set, the guitar may produce notes that are slightly out of tune when played at different fret positions. This discrepancy can result from factors such as changes in string tension, wear and tear on the strings, or variations in the guitar’s setup over time.
Proper intonation is crucial for achieving a balanced and harmonious sound, especially when playing chords and melodies that span multiple frets. Without accurate intonation, even the most skillfully executed performance can sound off-key and lack the desired tonal quality.
Understanding intonation empowers guitarists to optimize the instrument’s playability and sound quality. By learning to adjust the intonation, musicians can ensure that their electric guitars produce clear, resonant, and in-tune notes across the entire fretboard. This attention to detail is essential for creating professional-grade recordings, delivering captivating live performances, and experiencing the full potential of the electric guitar.
Now that we’ve established the importance of intonation, let’s delve into the tools needed to adjust the intonation on an electric guitar.
Tools Needed
Before embarking on the journey of adjusting the intonation on your electric guitar, it’s essential to gather the necessary tools to ensure a smooth and effective process. Having the right tools at your disposal will enable you to make precise adjustments and achieve optimal intonation, enhancing the overall playability and sound quality of your instrument.
The following tools are commonly used for adjusting the intonation on an electric guitar:
- Electronic Tuner: An accurate electronic tuner is indispensable for ensuring that the guitar strings are tuned to the correct pitches before adjusting the intonation. Tuning the strings to the standard EADGBE (E – A – D – G – B – E) ensures a reliable starting point for the intonation adjustment process.
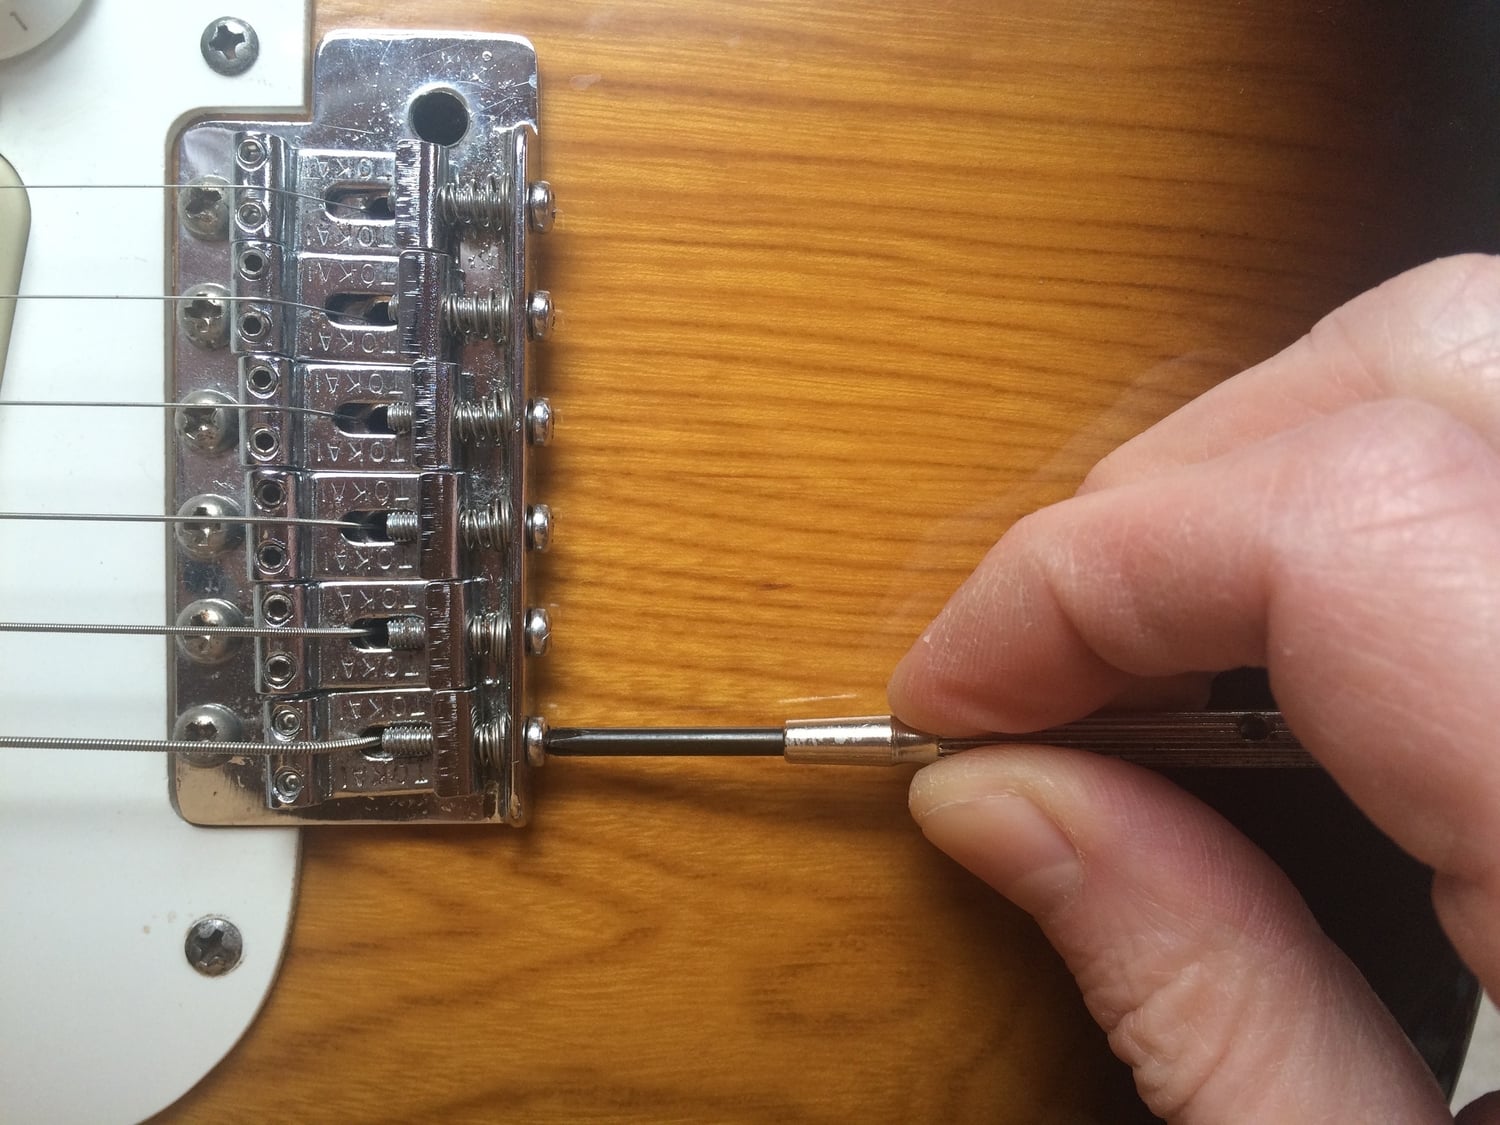
- Screwdriver: A small screwdriver, typically a Phillips or flathead, is used to make adjustments to the bridge saddle. The screwdriver allows for precise alterations to the saddle’s position, which directly affects the string length and, consequently, the intonation.
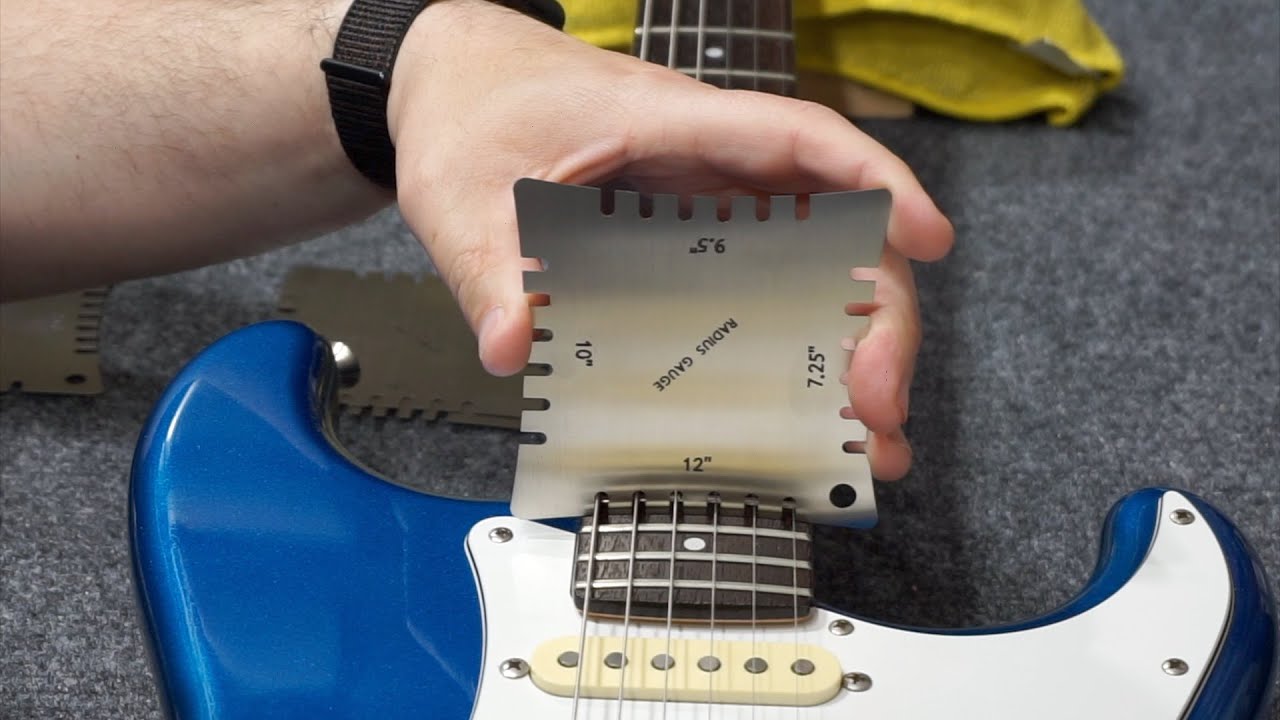
- Tape Measure or Ruler: Measuring the distance between the nut and the 12th fret, as well as the 12th fret and the bridge saddle, requires a tape measure or ruler. Accurate measurements are essential for achieving proper intonation, as they dictate the string length and fret-to-fret pitch consistency.
- Capo: While not essential, a capo can be useful for temporarily raising the pitch of the strings, allowing for easier access to the bridge saddle during the intonation adjustment process.
- Clean Cloth: Keeping a clean cloth handy is helpful for wiping down the guitar and strings, ensuring a clear view of the bridge saddle and facilitating smooth adjustments without any interference from dirt or grime.
By having these tools readily available, you’ll be well-equipped to undertake the intonation adjustment process with confidence and precision. Now that we’ve covered the essential tools, let’s proceed to the next step: tuning the guitar to establish the starting point for intonation adjustments.
Tuning the Guitar
Before delving into the intricacies of adjusting the intonation on an electric guitar, it’s crucial to ensure that the instrument is accurately tuned. Proper tuning serves as the foundation for the intonation adjustment process, providing a reliable starting point for making precise adjustments to the string lengths and bridge saddle positions.
To begin, use a reliable electronic tuner to tune each string to its standard pitch. The standard tuning for a 6-string electric guitar is EADGBE, starting from the lowest (6th) string to the highest (1st) string. Ensure that each string is tuned accurately, as any discrepancies in pitch can impact the effectiveness of the intonation adjustments.
Once the guitar is tuned to standard pitch, play each open string and check the tuner to verify that the notes are in tune. If any strings are consistently sharp or flat, make the necessary adjustments using the tuning pegs until each string resonates at the correct pitch when played open.
After confirming that the guitar is accurately tuned, it’s advisable to play a few basic chords and check for any noticeable tuning issues across different fret positions. Pay close attention to the overall harmonic balance and tonal consistency as you strum through various chords and notes. If you detect any persistent tuning discrepancies when playing at different frets, it’s a clear indication that the intonation requires adjustment.
By establishing precise tuning, you create a solid groundwork for the subsequent steps in the intonation adjustment process. With the guitar in tune, you’re now ready to proceed to the next phase: adjusting the bridge saddle to optimize the instrument’s intonation.
Adjusting the Bridge Saddle
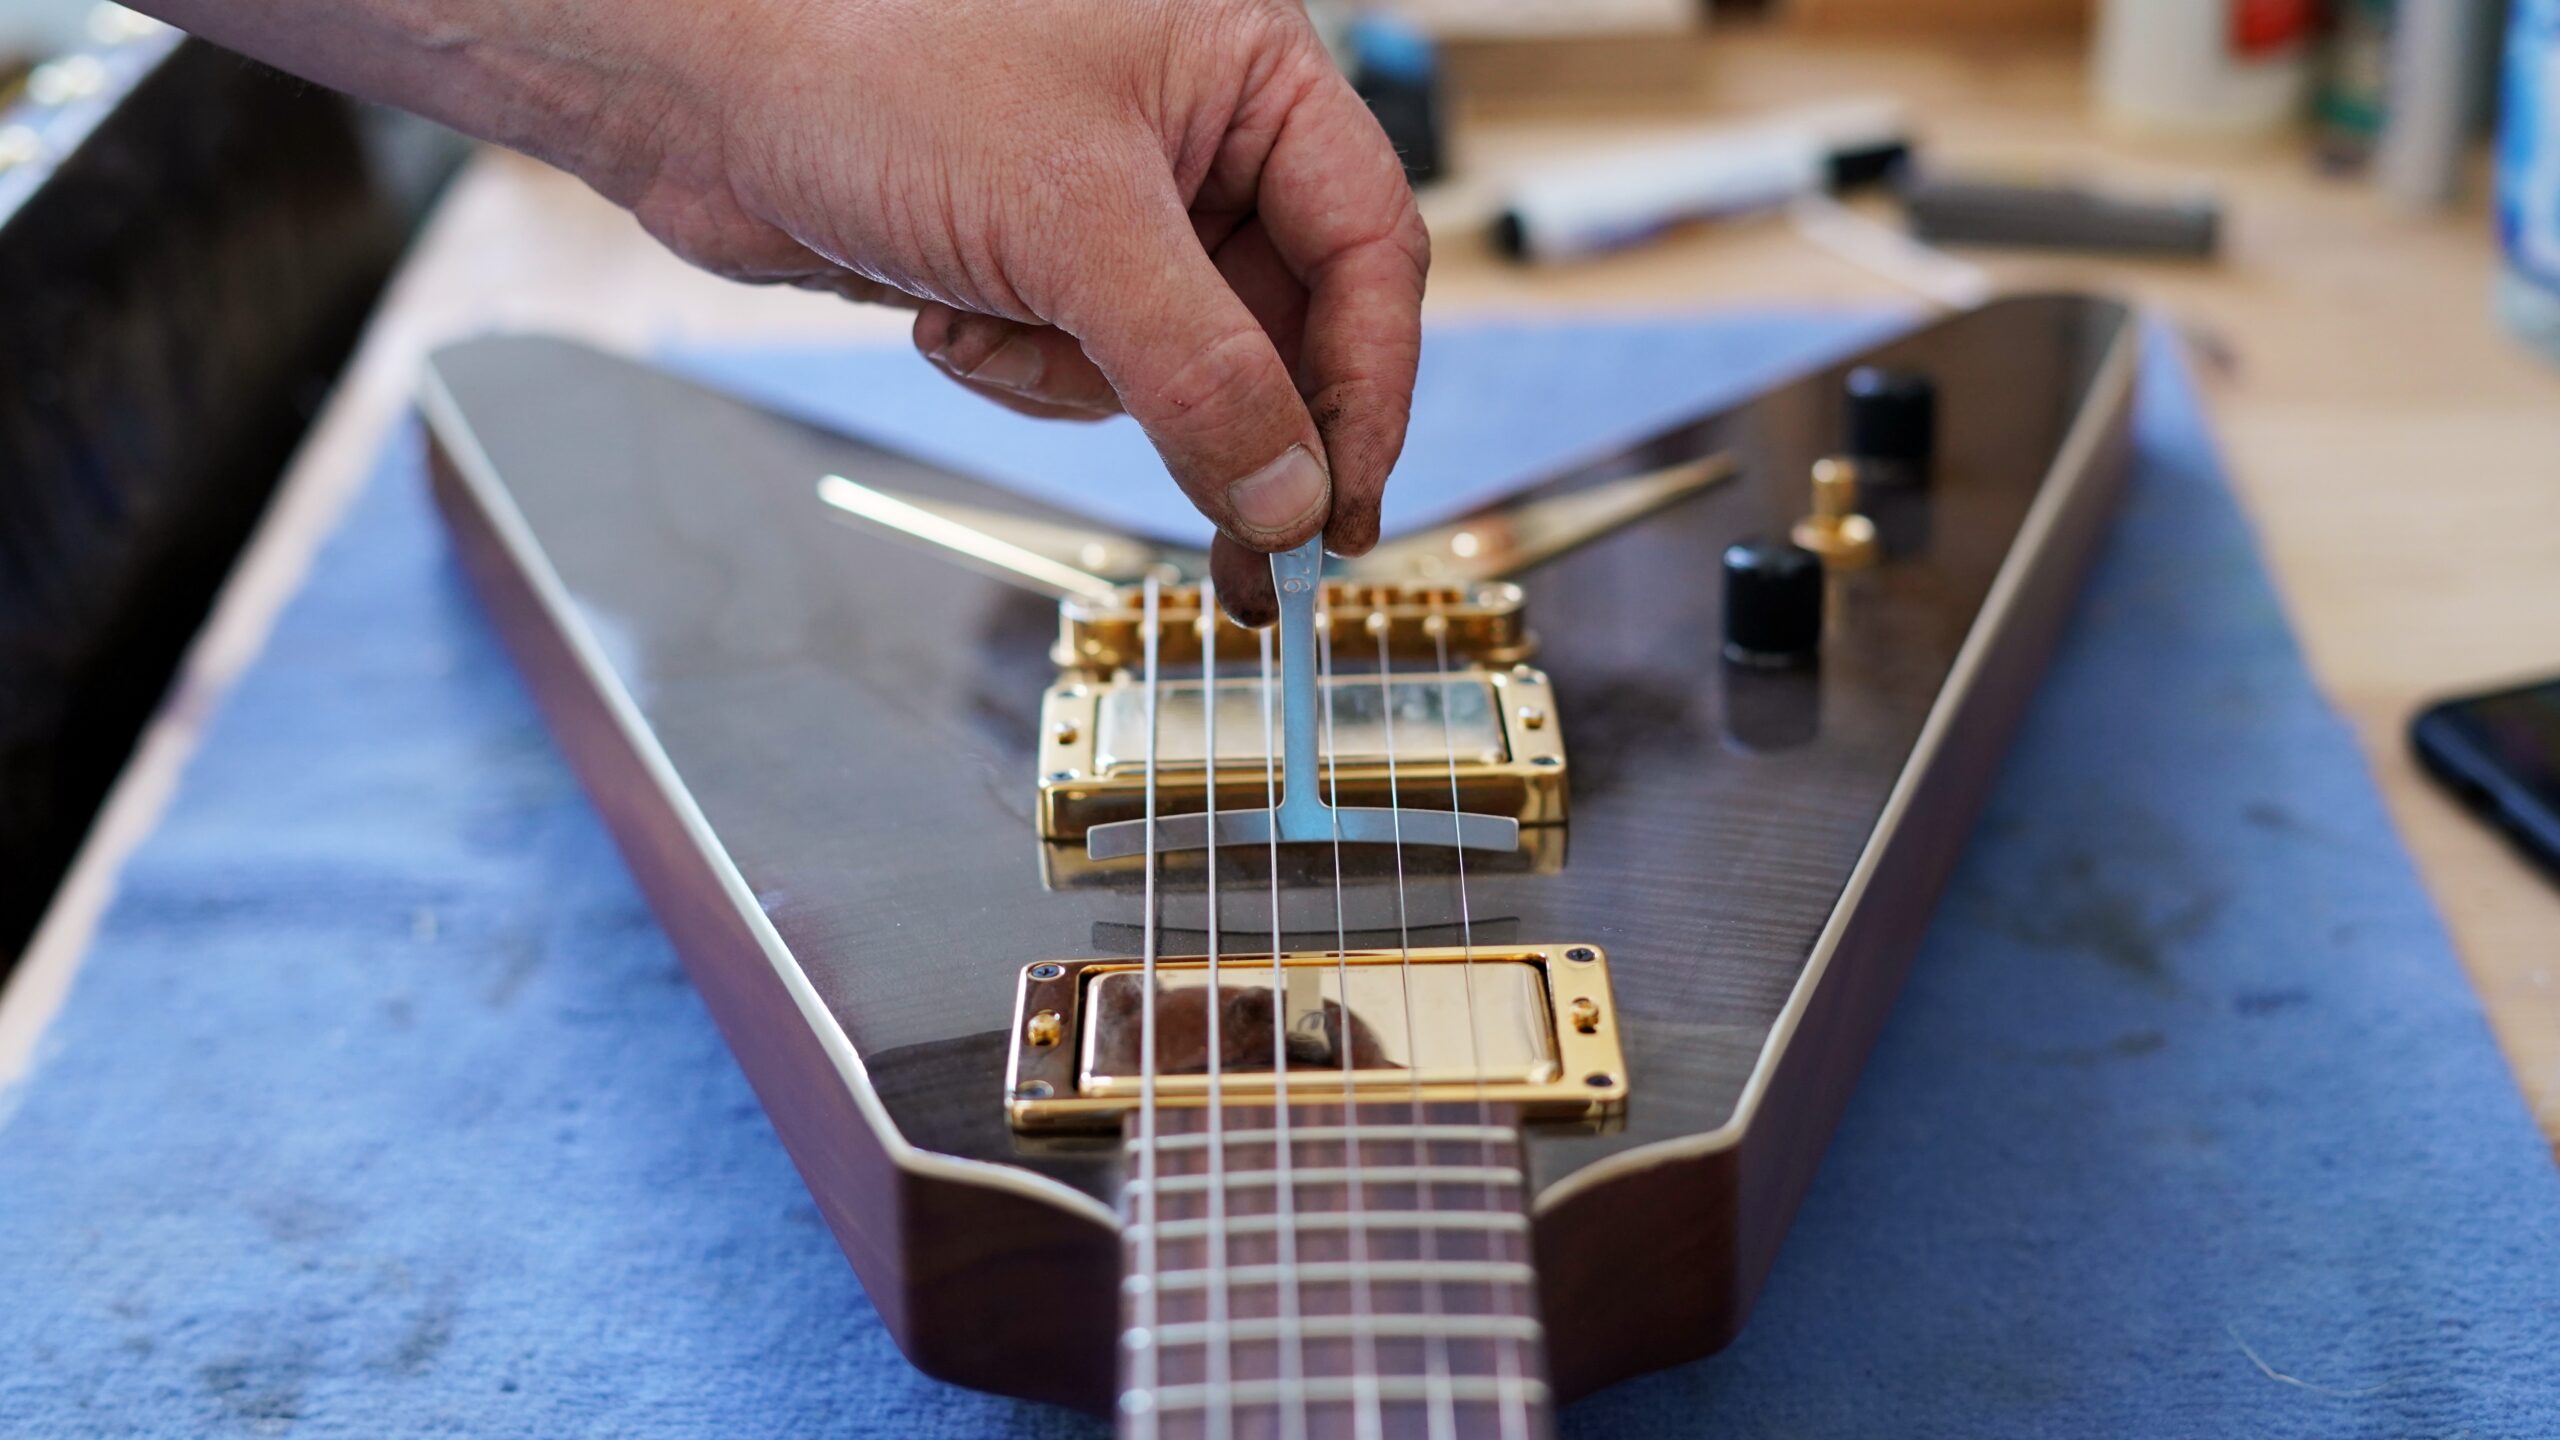
The bridge saddle plays a pivotal role in determining the intonation of an electric guitar. By making precise adjustments to the position of the bridge saddle, you can effectively alter the length of the strings, thereby fine-tuning the instrument’s intonation. Before proceeding with this step, it’s essential to understand the mechanics of the bridge saddle and its impact on the guitar’s overall pitch accuracy.
The bridge saddle is located on the bridge of the guitar and serves as the point of contact for the strings. It is adjustable, allowing for precise modifications to the string length, which directly influences the intonation. To begin the adjustment process, follow these steps:
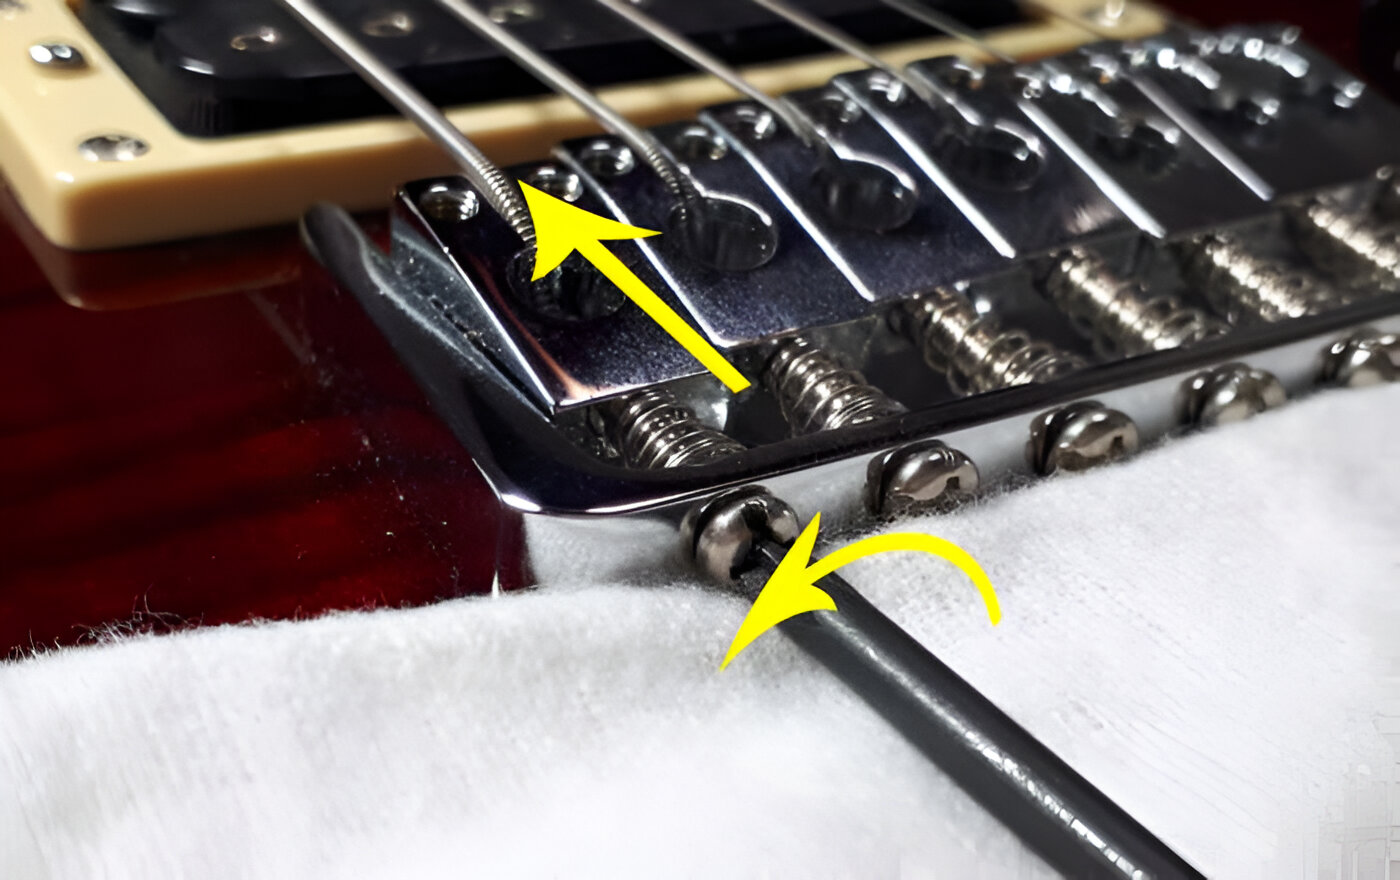
- Loosen the String Tension: Before adjusting the bridge saddle, it’s advisable to loosen the string tension to prevent potential damage or strain on the strings. Using an appropriate tool, such as a screwdriver, carefully turn the saddle adjustment screws counterclockwise to reduce the tension on the strings.
- Measure the String Length: Using a tape measure or ruler, determine the distance between the nut and the 12th fret, as well as the 12th fret and the bridge saddle. These measurements provide crucial insights into the current string length and serve as the basis for making accurate adjustments to the intonation.
- Adjust the Saddle Position: With the measurements in mind, use the screwdriver to carefully move the bridge saddle back or forth, depending on whether the notes played at higher fret positions are sharp or flat. Small, incremental adjustments to the saddle position can have a significant impact on the intonation, so proceed with caution and precision.
- Retune the Guitar: After making adjustments to the bridge saddle, retune the guitar to standard pitch using an electronic tuner. It’s essential to ensure that the strings are accurately tuned before proceeding to check the intonation.
By methodically adjusting the bridge saddle and meticulously measuring the string lengths, you can effectively fine-tune the intonation of your electric guitar. This process demands patience and attention to detail, as even minor adjustments can yield substantial improvements in the instrument’s pitch accuracy.
With the bridge saddle adjustments complete, it’s time to move on to the next step: checking the intonation to evaluate the effectiveness of the adjustments made thus far.
Checking the Intonation
After making adjustments to the bridge saddle, it’s essential to check the intonation to assess the impact of the modifications on the guitar’s pitch accuracy. This step involves evaluating the notes played at different fret positions to determine whether the intonation adjustments have effectively aligned the instrument’s pitch across the fretboard.
To check the intonation, follow these steps:
- Play the Open String: Begin by playing each string open, ensuring that it is accurately tuned to its standard pitch. Use an electronic tuner to verify the pitch of each open string and make any necessary tuning adjustments.
- Play the 12th Fret: Next, fret each string at the 12th fret and play the note. Compare the pitch of the 12th fret note to the open string pitch. If the 12th fret note is sharp, it indicates that the string length is too short, requiring the bridge saddle to be adjusted further back. Conversely, if the 12th fret note is flat, the string length is too long, necessitating the bridge saddle to be moved forward.
- Repeat for Each String: Perform the same assessment for each string, playing the open string followed by the 12th fret note and comparing their pitches. Take note of any discrepancies in pitch and identify whether the string length needs further adjustment to achieve optimal intonation.
During the intonation check, it’s crucial to listen attentively and discern any tonal inconsistencies or deviations from the intended pitch. The goal is to achieve a harmonious and in-tune sound across all fret positions, ensuring that chords and melodies resonate with clarity and accuracy.
If the intonation check reveals persistent sharp or flat notes at the 12th fret, revisit the bridge saddle adjustments, making incremental modifications to refine the string lengths and align the pitch across the fretboard. It’s important to approach the intonation check methodically, carefully addressing any discrepancies to achieve a balanced and accurate intonation.
Once the intonation has been meticulously checked and any necessary adjustments have been made, proceed to the final step: fine-tuning the intonation to achieve optimal pitch accuracy and sonic clarity.
Fine-Tuning the Intonation
After checking the intonation and making initial adjustments to the bridge saddle, the final step involves fine-tuning the intonation to achieve optimal pitch accuracy and sonic clarity across the fretboard. This meticulous process ensures that the guitar produces harmonious and in-tune notes at every fret position, allowing for a seamless and enjoyable playing experience.
To fine-tune the intonation, follow these steps:
- Refine Bridge Saddle Adjustments: Based on the results of the intonation check, make precise refinements to the bridge saddle positions to address any remaining discrepancies in pitch at different fret positions. Small, incremental adjustments can significantly impact the intonation, so approach this step with patience and attention to detail.
- Retune the Guitar: After refining the bridge saddle adjustments, retune the guitar to standard pitch using an electronic tuner. It’s essential to ensure that the strings are accurately tuned before proceeding with the final evaluation of the intonation.
- Play Chords and Melodies: Strum through various chords and play melodies across different fret positions, paying close attention to the tonal consistency and harmonic balance. Listen for any lingering sharp or flat notes and assess the overall pitch accuracy to gauge the effectiveness of the refined intonation adjustments.
- Reassess and Fine-Tune: If any persistent intonation issues are detected during play, revisit the bridge saddle adjustments and make further refinements to the string lengths. Repeat the process of retuning the guitar and evaluating the pitch accuracy until the instrument produces clear, resonant, and in-tune notes across the entire fretboard.
By methodically fine-tuning the intonation, you can elevate the playability and sonic quality of your electric guitar, ensuring that it delivers a professional-grade performance. This meticulous attention to detail is essential for achieving a balanced and harmonious sound, allowing you to play with confidence and precision.
Once the intonation has been finely tuned and the guitar produces clear and in-tune notes across all fret positions, you have successfully optimized the pitch accuracy of your electric guitar. With the intonation adjustment process complete, you can now enjoy the enhanced playability and sonic excellence of your instrument, unlocking its full potential for captivating performances and recordings.
Conclusion
Congratulations on mastering the art of adjusting the intonation on an electric guitar! By understanding the nuances of intonation and following the step-by-step process outlined in this guide, you have gained the knowledge and skills to optimize the pitch accuracy of your instrument, ensuring that it produces clear, resonant, and in-tune notes across the entire fretboard.
Throughout this journey, you’ve learned about the critical role of intonation in achieving a balanced and harmonious sound. From tuning the guitar to making precise adjustments to the bridge saddle and fine-tuning the intonation, you’ve embraced the meticulous process of optimizing the instrument’s pitch accuracy, empowering you to play with confidence and precision.
As you continue to explore the world of electric guitar playing, remember that maintaining optimal intonation is an ongoing endeavor. Changes in string tension, environmental factors, and the natural wear of components can impact the intonation over time. Regularly checking and adjusting the intonation will ensure that your guitar continues to deliver a professional-grade performance, allowing you to fully express your musical creativity.
By honing your intonation adjustment skills, you’ve unlocked the full potential of your electric guitar, paving the way for captivating performances and inspiring musical experiences. Embrace the art of intonation adjustment as a foundational aspect of your musical journey, and let your passion for playing the electric guitar shine through in every note and chord.
Now, armed with the expertise to optimize the intonation of your electric guitar, you’re poised to embark on a musical odyssey filled with sonic excellence and artistic expression. So, pick up your guitar, let the strings resonate, and immerse yourself in the captivating world of intonated melodies and harmonious chords.