Introduction
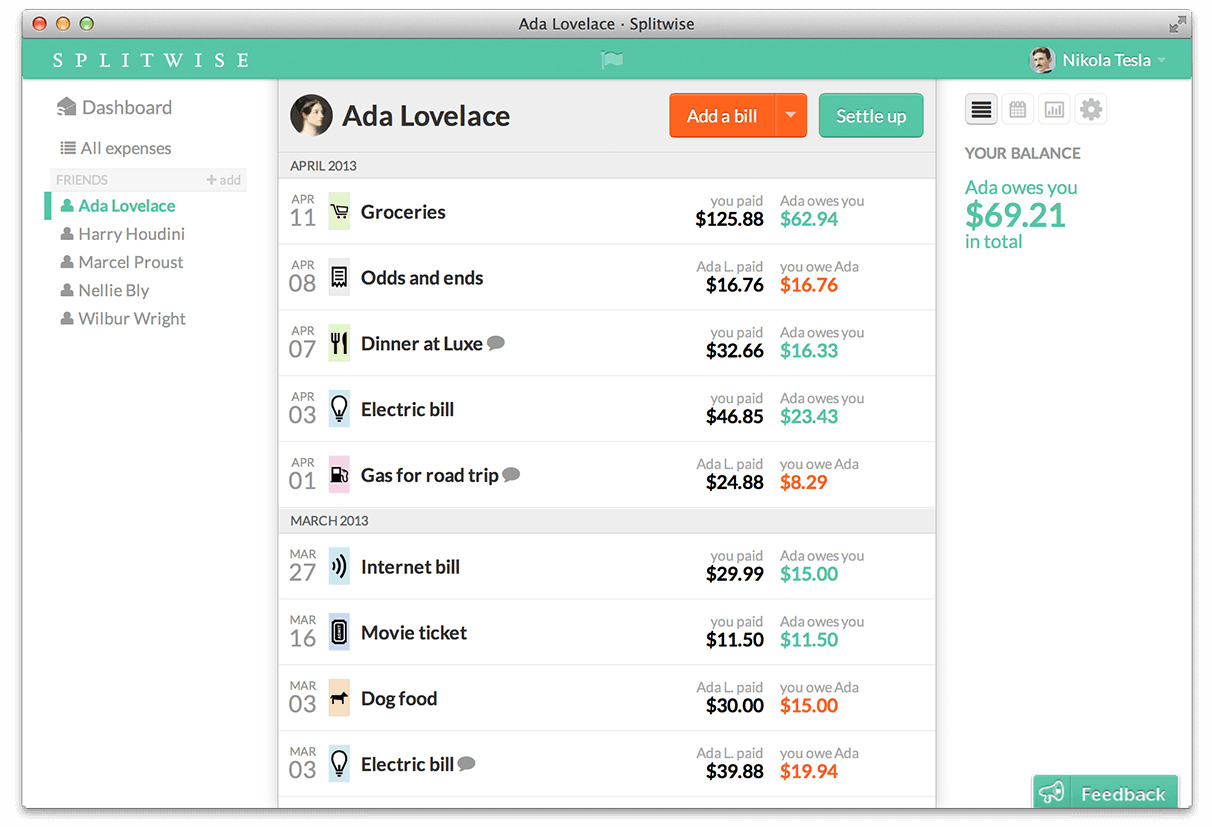
Splitwise is a popular expense management app that helps you track and split expenses with friends, family, and roommates. It allows you to easily manage shared expenses, keep track of who owes who, and settle debts effortlessly.
One of the key features of Splitwise is the ability to set your preferred currency for tracking expenses. By default, Splitwise uses the currency based on your location. However, if you’re traveling or need to work with a different currency, you can easily change the currency settings in Splitwise.
In this guide, we will walk you through the step-by-step process of changing the currency in Splitwise. Whether you’re planning a trip abroad or simply need to switch to a different currency, this tutorial will help you make the necessary adjustments and ensure that your expense tracking remains accurate.
Before we dive into the steps, it’s important to note that changing the currency in Splitwise will affect all future expenses and calculations, as well as any existing debts. Therefore, it’s crucial to double-check the currency settings to avoid any discrepancies in the amounts owed.
Now, let’s get started and learn how to change the currency in Splitwise.
Step 1: Sign in to Splitwise
The first step to changing the currency in Splitwise is to sign in to your Splitwise account. You can access Splitwise through the website or by using the mobile app, available for both iOS and Android devices.
If you haven’t already, download the Splitwise app from the App Store or Google Play Store and install it on your mobile device. Once installed, open the app and sign in using your registered email address and password.
If you prefer using the website, open your preferred web browser and enter “www.splitwise.com” in the address bar. On the Splitwise homepage, click on the “Sign in” button located in the top right corner. Enter your credentials and click on the “Sign in” button to access your Splitwise account.
Signing in to your Splitwise account ensures that you have the necessary access and privileges to make changes to your account settings, including changing the currency.
Once you have successfully signed in, you will be able to move on to the next step of the process: opening the settings menu.
Step 2: Open the Settings Menu
After signing in to your Splitwise account, you need to navigate to the settings menu to access the currency options. The settings menu allows you to make various changes to your account settings, including your preferred currency.
To open the settings menu, look for the icon or button that resembles three horizontal lines or a gear icon. This icon is usually located in the top right corner of the app or website interface. In the mobile app, the icon is typically found in the top left corner.
Tap or click on the icon to open the settings menu. This will reveal a dropdown or sidebar menu with several options related to your account preferences and settings.
Scroll through the menu options until you find the “Settings” or “Account Settings” option. Once you locate it, click or tap on it to access the settings page.
In the settings page, you should see a list of different sections or categories related to your account preferences. Look for the section that pertains to currencies or currency settings. The exact placement and label might vary depending on the Splitwise version or interface you are using.
Now that you have successfully opened the settings menu, you’re ready to proceed to the next step: selecting the “Currencies” option.
Step 3: Select the “Currencies” Option
Once you have accessed the settings menu in Splitwise, it’s time to select the “Currencies” option. This step will allow you to view and modify the available currency settings.
Within the settings page, look for the section or tab that is labeled “Currencies” or something similar. This section is usually dedicated to managing the currency options in Splitwise.
Click or tap on the “Currencies” option to open the currency settings page. Here, you will see a list of the available currencies that you can choose from, along with any currencies that you have previously added.
If you’re planning to switch to a currency that is already listed, you can directly select it from the available options. Simply click or tap on the desired currency to select it as your new default currency.
However, if the currency you want to switch to is not listed, don’t worry. Splitwise provides the option to add new currencies as well. Look for an “Add Currency” or similar button to add your preferred currency to the list.
After selecting the currency or adding a new one, don’t forget to save the changes. Look for a “Save” or “Apply” button on the page, usually located at the bottom or the top-right corner. Click or tap on the button to save your new currency selection.
Now that you have successfully selected the “Currencies” option and made the necessary changes, you’re ready to proceed to the next step: adding a new currency (if required) or setting the default currency.
Step 4: Add a New Currency
If the currency you want to switch to is not available in the list of predefined options in Splitwise, you have the option to add a new currency. Adding a new currency allows you to accurately track your expenses in the desired currency.
On the currency settings page, look for an “Add Currency” or similar button. This button is usually located near the list of available currencies.
Click or tap on the “Add Currency” button to proceed with adding a new currency. A pop-up or input field will appear, allowing you to enter the details of the new currency.
In the pop-up or input field, you will need to provide the name of the currency along with its corresponding symbol or code. Make sure to enter the appropriate details accurately to ensure the correct representation of the currency.
Once you have entered the currency details, click or tap on the “Save” or “Add” button to save the new currency. The added currency will now be available for selection in the list of currencies.
It’s important to note that adding a new currency will only affect your Splitwise account and the expenses you track within the app. It does not have any impact on actual currency exchange rates or conversions.
Now that you have successfully added a new currency, you can proceed to the next step: setting the default currency for your Splitwise account.
Step 5: Set the Default Currency
Now that you have added a new currency or selected a currency from the available options, it’s time to set it as the default currency for your Splitwise account. The default currency is the currency in which all future expenses and calculations will be displayed.
On the currency settings page, you should see a section or option labeled “Default Currency” or something similar. This section allows you to specify the currency that you want to use as the default.
Click or tap on the drop-down menu within the “Default Currency” section. A list of the available currencies, including the currency you added or selected, will be displayed.
Scroll through the list and find the desired currency that you want to set as the default. Click or tap on the currency to select it as the default for your Splitwise account.
Once you have selected the default currency, make sure to save the changes. Look for a “Save” or “Apply” button on the page and click or tap on it to save your new default currency selection.
After saving the changes, the selected currency will now be used as the default currency in all your Splitwise transactions and calculations. All expenses, debts, and balances will be displayed in this currency moving forward.
It’s important to note that changing the default currency will not automatically convert existing expenses or debts to the new currency. We will address these conversions in the next steps to ensure accurate tracking of your finances.
Now that you have successfully set the default currency, you can proceed to the next step: converting existing debts to the new currency.
Step 6: Convert Existing Debts to New Currency
Changing the default currency in Splitwise does not automatically convert existing debts from the previous currency to the new currency. To ensure accurate tracking of your expenses and balances, you will need to manually convert the existing debts to the new currency.
To convert existing debts, follow these steps:
- Review your existing debts: Take a look at your list of recorded debts in Splitwise. Identify the debts that need to be converted to the new currency.
- Calculate the conversion rate: Determine the exchange rate between the old currency and the new currency. You can use online currency converters or refer to official financial sources for the most accurate exchange rate.
- Convert the debts: For each debt that needs to be converted, multiply the amount owed in the old currency by the conversion rate. This will give you the equivalent amount in the new currency.
- Update the debts in Splitwise: Edit each debt entry in Splitwise and replace the old amount with the new amount in the new currency. Make sure to save the changes after updating each debt.
By manually converting the existing debts to the new currency, you ensure that the balances and calculations in Splitwise accurately reflect the changes in currency.
It’s important to note that the responsibility for the currency conversion lies with the users involved in the debt. Make sure to communicate with your friends, family, or roommates about the currency change to avoid any confusion or discrepancies in the debts.
Now that you have successfully converted the existing debts to the new currency, you can proceed to the final step: updating individual expenses with the new currency.
Step 7: Update Individual Expenses with New Currency
In addition to converting existing debts, it’s also important to update individual expenses with the new currency in Splitwise. This step ensures that all expenses are accurately reflected in the chosen currency and helps maintain consistency across your records.
To update individual expenses with the new currency, follow these steps:
- Review your list of recorded expenses: Go through your list of recorded expenses in Splitwise and identify the expenses that need to be updated with the new currency.
- Edit each expense: Click or tap on each expense that needs to be updated. In the edit mode, you will see an option to update the amount and currency of the expense.
- Convert the amount: Multiply the original amount in the old currency by the conversion rate to calculate the equivalent amount in the new currency.
- Update the expense details: Replace the original amount with the converted amount in the new currency. Make sure to save the changes after updating each expense.
- Repeat for all expenses: Repeat the process for all expenses that need to be updated with the new currency.
By updating individual expenses with the new currency, you ensure that each transaction is accurately recorded and accounted for in Splitwise’s currency settings.
It’s worth noting that updating expenses with the new currency may also involve communication and consensus among the parties involved in the expense. Make sure to discuss and agree upon the currency change with your friends, family, or roommates to avoid any misunderstandings.
Now that you have successfully updated individual expenses with the new currency, you have completed the process of changing the currency in Splitwise.
Conclusion
Changing the currency in Splitwise is a straightforward process that allows you to track and manage your expenses in the currency of your choice. Whether you’re traveling abroad or need to work with a different currency, Splitwise provides the flexibility to adapt to your needs.
In this guide, we covered the step-by-step process to change the currency in Splitwise. We started by signing in to your Splitwise account, then opened the settings menu, and selected the “Currencies” option. We learned how to add a new currency if it wasn’t available in the predefined options and set the new currency as the default for your account.
We also discussed the importance of manually converting existing debts to the new currency and updating individual expenses to ensure accurate tracking and calculations. By following these steps, you can maintain consistency and accuracy in your Splitwise records.
Remember, communication is key when changing the currency in Splitwise. Make sure to discuss the currency change with your friends, family, or roommates to avoid any confusion or discrepancies. Collaborating and keeping everyone informed will help maintain transparency and ensure smooth expense sharing.
Now that you are armed with the knowledge of how to change the currency in Splitwise, you can confidently navigate the app and track your expenses conveniently, even in different currencies. Enjoy the benefits of accurate expense tracking and smoother financial management with Splitwise!


