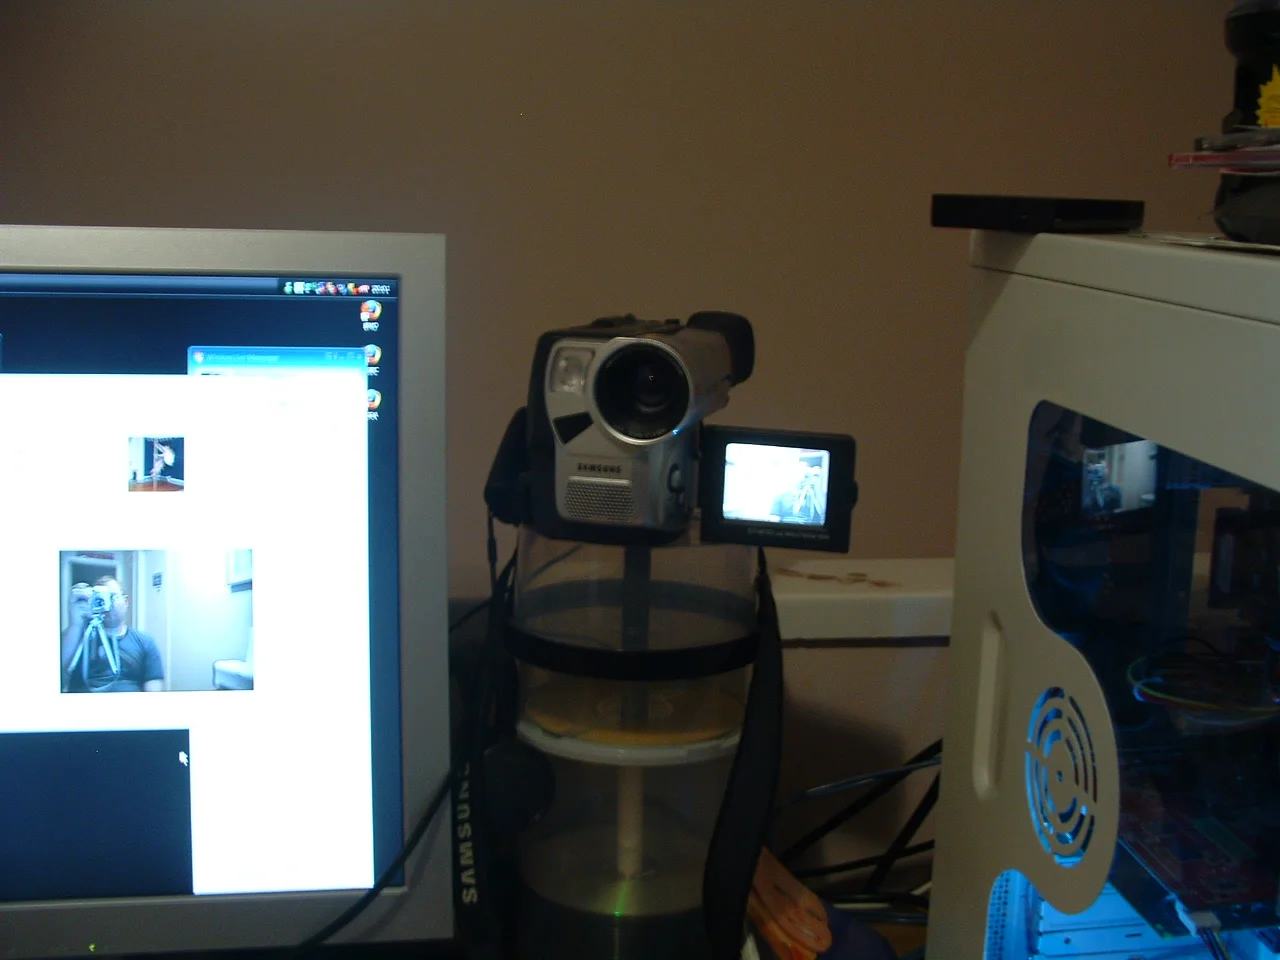
Introduction
Are you looking to elevate the quality of your video calls and live streams? Using a camcorder as a webcam can significantly enhance the visual and audio experience, providing clearer images and better sound quality compared to traditional webcams. By leveraging the advanced features of a camcorder, you can take your online communication and content creation to the next level.
In this comprehensive guide, we will walk you through the process of transforming your camcorder into a high-quality webcam. Whether you are a content creator, a business professional, or simply someone who values superior video communication, this step-by-step tutorial will equip you with the knowledge and skills to harness the full potential of your camcorder.
By the end of this guide, you will have the expertise to seamlessly integrate your camcorder into various video conferencing platforms, live streaming applications, and recording software. Get ready to unlock the power of your camcorder and elevate your online presence with professional-grade video quality.
Let's dive into the essential steps to harness the full potential of your camcorder as a top-tier webcam.
Step 1: Check Compatibility and Requirements
Before embarking on the process of using your camcorder as a webcam, it is crucial to ensure that your equipment and software are compatible and meet the necessary requirements. Here are the key considerations to keep in mind:
- Camcorder Compatibility: Verify whether your camcorder supports the functionality to be used as a webcam. Not all camcorders are designed with this capability, so consulting the user manual or visiting the manufacturer’s website can provide valuable insights.
- Connection Interface: Identify the connection ports available on your camcorder, such as HDMI, USB, or AV outputs. Additionally, check if your computer has compatible input ports to establish a connection with the camcorder.
- Operating System Compatibility: Ensure that your computer’s operating system is compatible with the camcorder and any required software or drivers. Compatibility issues can hinder the seamless integration of the camcorder as a webcam.
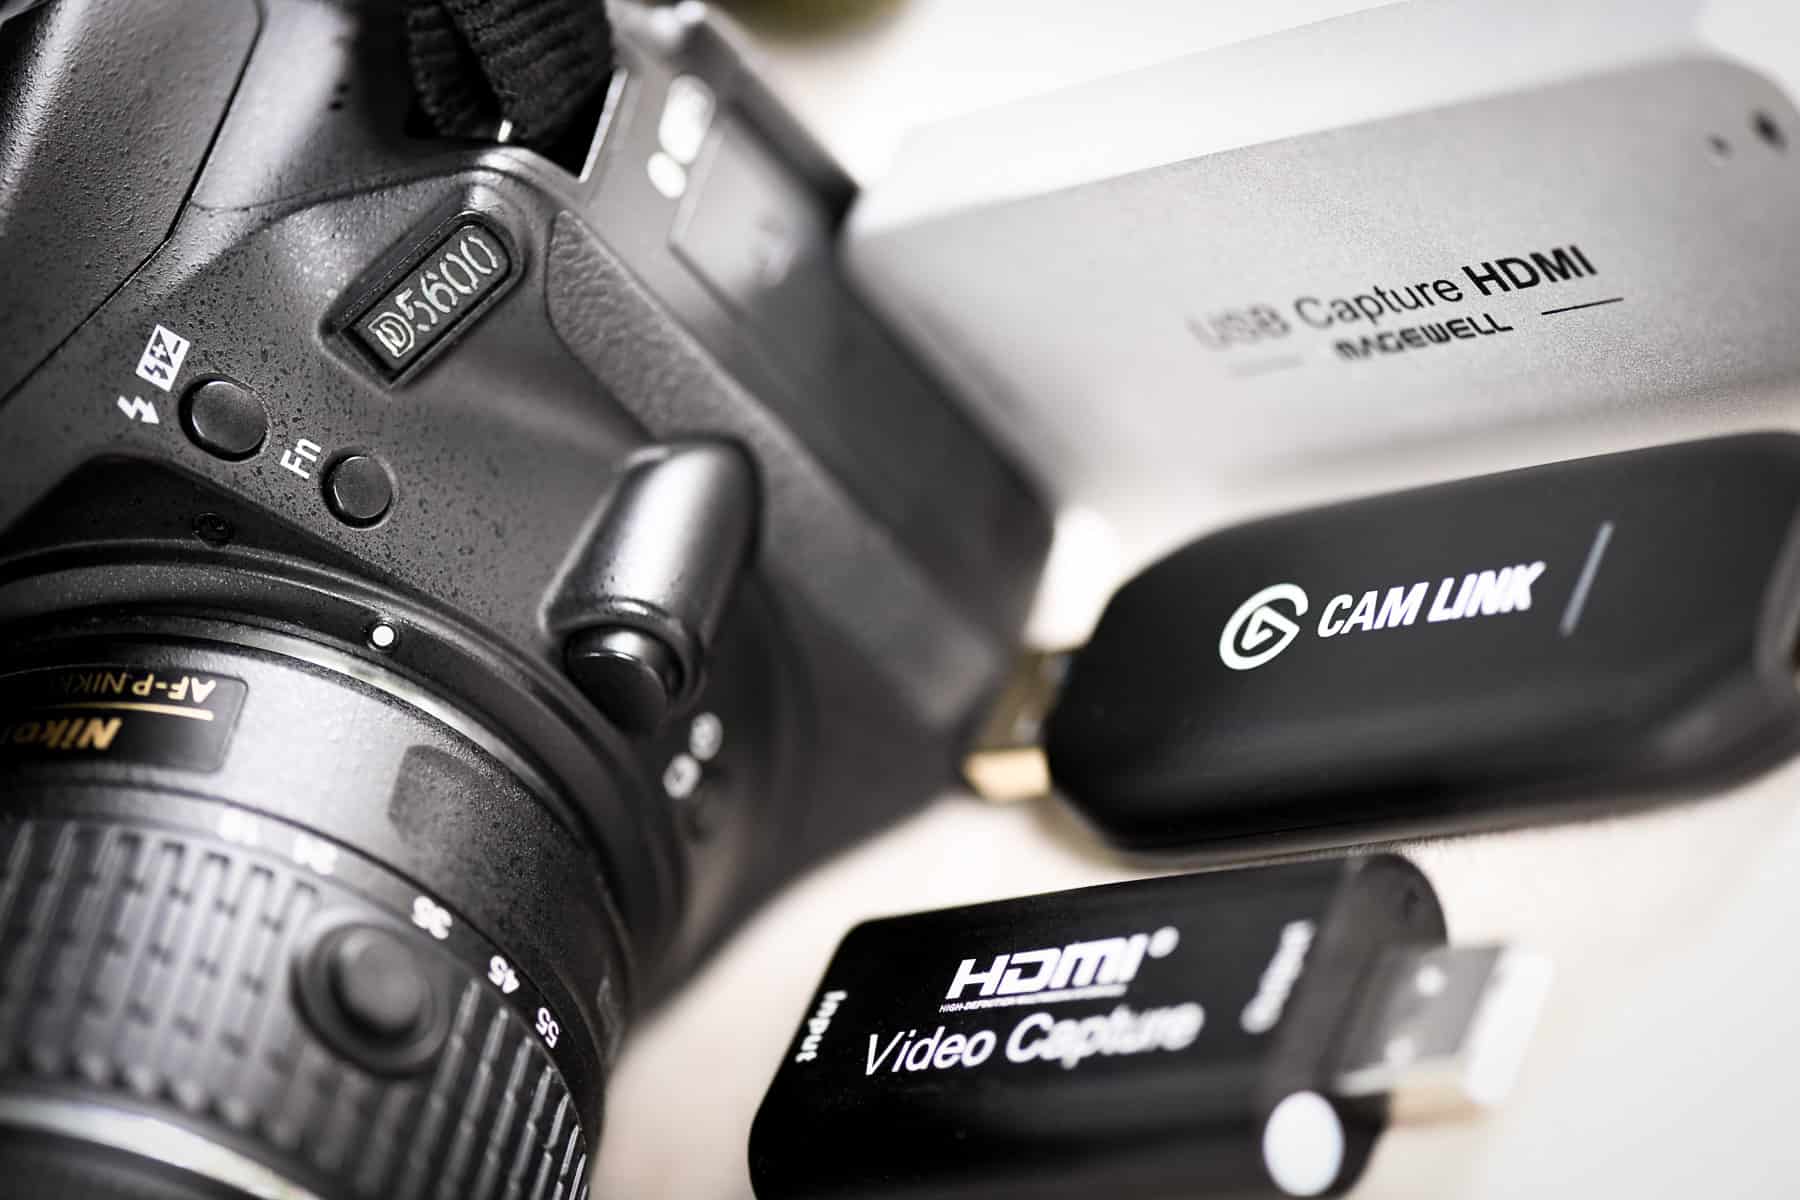
- Additional Hardware: Depending on the specific requirements of your camcorder and computer, you may need additional hardware such as capture cards, USB adapters, or audio interfaces to facilitate the connection and optimize performance.
- Software and Drivers: Research the software and drivers needed to enable the camcorder’s webcam functionality. Check for updates or specific applications recommended by the camcorder manufacturer for optimal performance.
By carefully assessing the compatibility and requirements, you can proactively address any potential obstacles and ensure a smooth transition to using your camcorder as a high-quality webcam. Once you have confirmed the compatibility and gathered the necessary components, you are ready to proceed to the next step of connecting your camcorder to your computer.
Step 2: Connect Your Camcorder to Your Computer
Now that you have verified the compatibility and gathered the essential components, it’s time to establish the physical connection between your camcorder and computer. Follow these steps to seamlessly connect the two devices:
- Identify the Connection Port: Locate the appropriate output port on your camcorder, such as HDMI, USB, or AV, and the corresponding input port on your computer. If your camcorder utilizes HDMI, you may need an HDMI capture card to facilitate the connection.
- Use the Correct Cable: Select the appropriate cable to connect your camcorder to your computer based on the available ports. For example, if your camcorder features a USB output, use a USB cable for the connection. Ensure that the cable is in good condition to prevent signal loss or interruptions.
- Power On Your Camcorder: Turn on your camcorder and set it to the appropriate mode for live streaming or webcam functionality. Refer to the camcorder’s manual for specific instructions on activating the webcam feature.
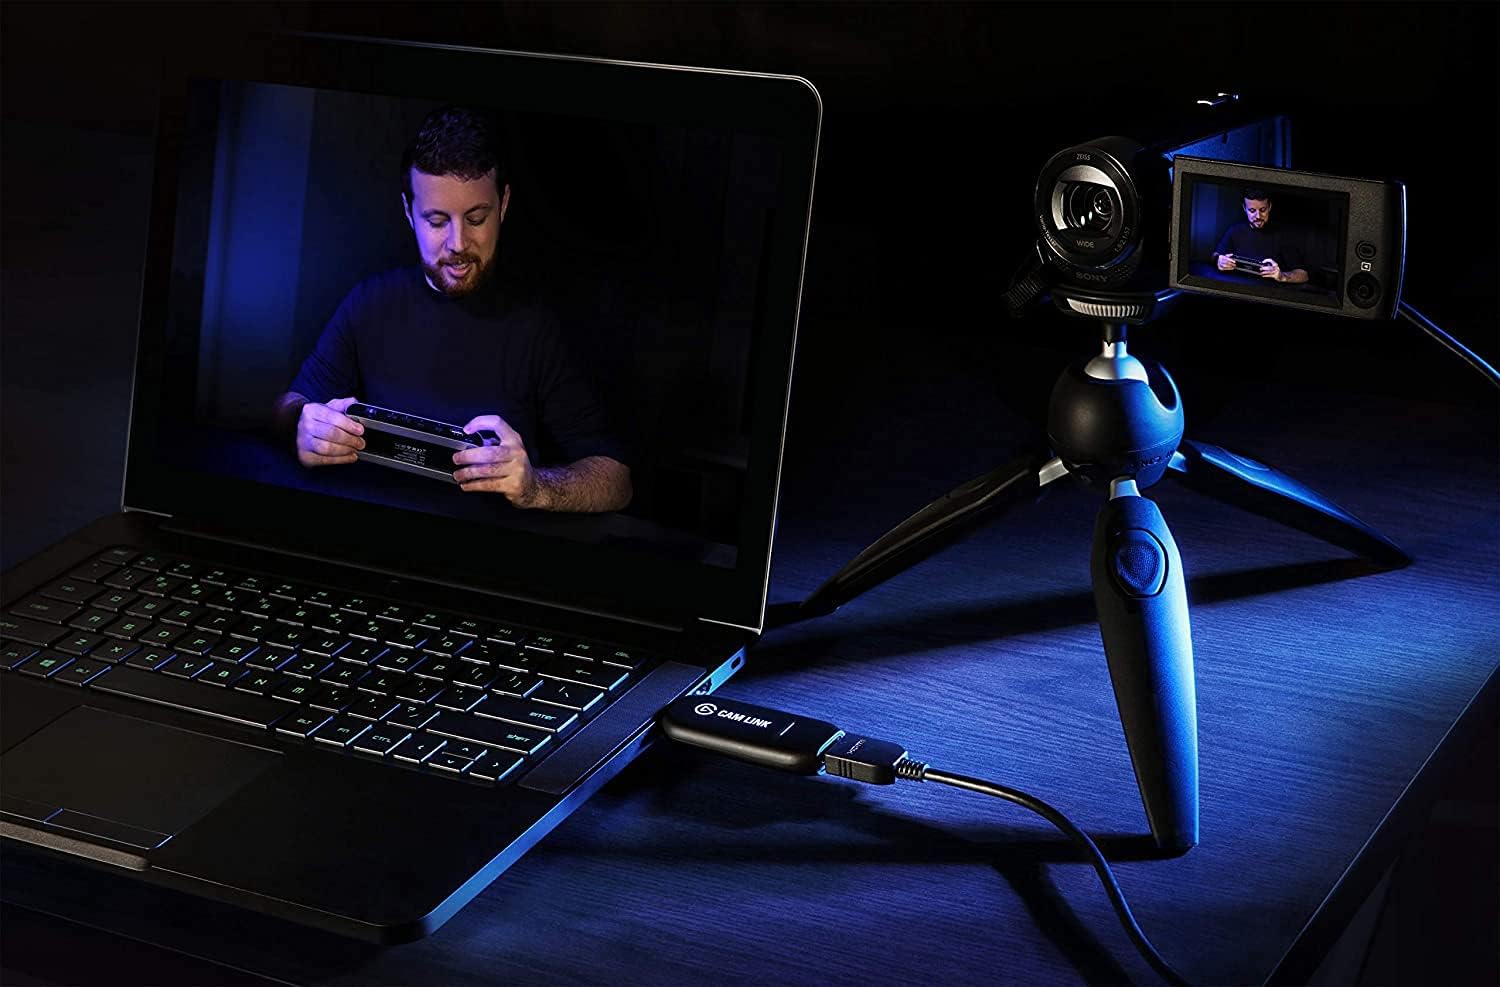
- Connect to Your Computer: Plug one end of the cable into the output port on your camcorder and the other end into the corresponding input port on your computer. Depending on the connection type, your computer may automatically detect the camcorder as a new device.
- Install Additional Hardware (If Required): If your setup necessitates the use of capture cards or USB adapters, follow the manufacturer’s instructions to install and configure the additional hardware for optimal performance.
Once the physical connection is established, your camcorder is poised to function as a high-quality webcam, ready to deliver exceptional video and audio performance for your online communication and content creation endeavors. With the connection in place, you are now prepared to proceed to the next step of installing the necessary software and drivers to enable the webcam functionality of your camcorder.
Step 3: Install Necessary Software and Drivers
With your camcorder successfully connected to your computer, the next crucial step is to install the essential software and drivers that will enable the camcorder to function as a webcam. Follow these guidelines to ensure a seamless installation process:
- Visit the Manufacturer’s Website: Access the official website of the camcorder’s manufacturer to obtain the latest drivers and software specifically designed for webcam functionality. Look for the support or downloads section to locate the necessary files.
- Download and Install Drivers: If the webcam functionality requires specific drivers, download them from the manufacturer’s website and follow the installation instructions provided. Ensure that you are installing the drivers compatible with your computer’s operating system.
- Install Webcam Software: Some camcorders may come with proprietary software that enhances the webcam capabilities, offering advanced features for video settings, audio adjustments, and additional functionalities. Install the recommended webcam software to optimize the performance of your camcorder.
- Check for Firmware Updates: Verify if there are any firmware updates available for your camcorder. Upgrading the firmware can address potential compatibility issues and introduce new features that enhance the webcam functionality.
- Configure Audio Settings: Depending on your camcorder model, you may need to adjust the audio settings to ensure that the built-in microphone or external audio input is recognized and configured for optimal performance as a webcam.
By diligently installing the necessary software, drivers, and firmware updates, you can harness the full potential of your camcorder as a webcam, delivering superior video quality and enhanced audio clarity for your online interactions and content creation. With the software and drivers in place, you are now ready to proceed to the pivotal step of setting up your camcorder as a webcam.
Step 4: Set Up Your Camcorder as a Webcam
Now that you have completed the essential preparations, it’s time to configure your camcorder to function as a high-quality webcam. Follow these steps to seamlessly set up your camcorder for optimal performance:
- Access Webcam Settings: Navigate to the settings menu on your camcorder to locate the webcam or live streaming options. Depending on the model, these settings may be found in the video or connectivity settings section. Refer to the user manual for specific guidance.
- Activate Webcam Mode: Enable the webcam functionality on your camcorder. This may involve selecting “Webcam” or “Live Stream” mode from the settings menu. Some camcorders may require you to connect to a computer before activating the webcam feature.
- Adjust Video Quality: Configure the video resolution, frame rate, and exposure settings to achieve the desired video quality for your webcam. Higher resolutions and frame rates can enhance the visual clarity of your video feed, providing a professional appearance during video calls and live streams.
- Optimize Audio Settings: Access the audio settings on your camcorder to adjust the microphone input levels, noise reduction, and audio enhancements. Clear and balanced audio is essential for effective communication during online interactions.
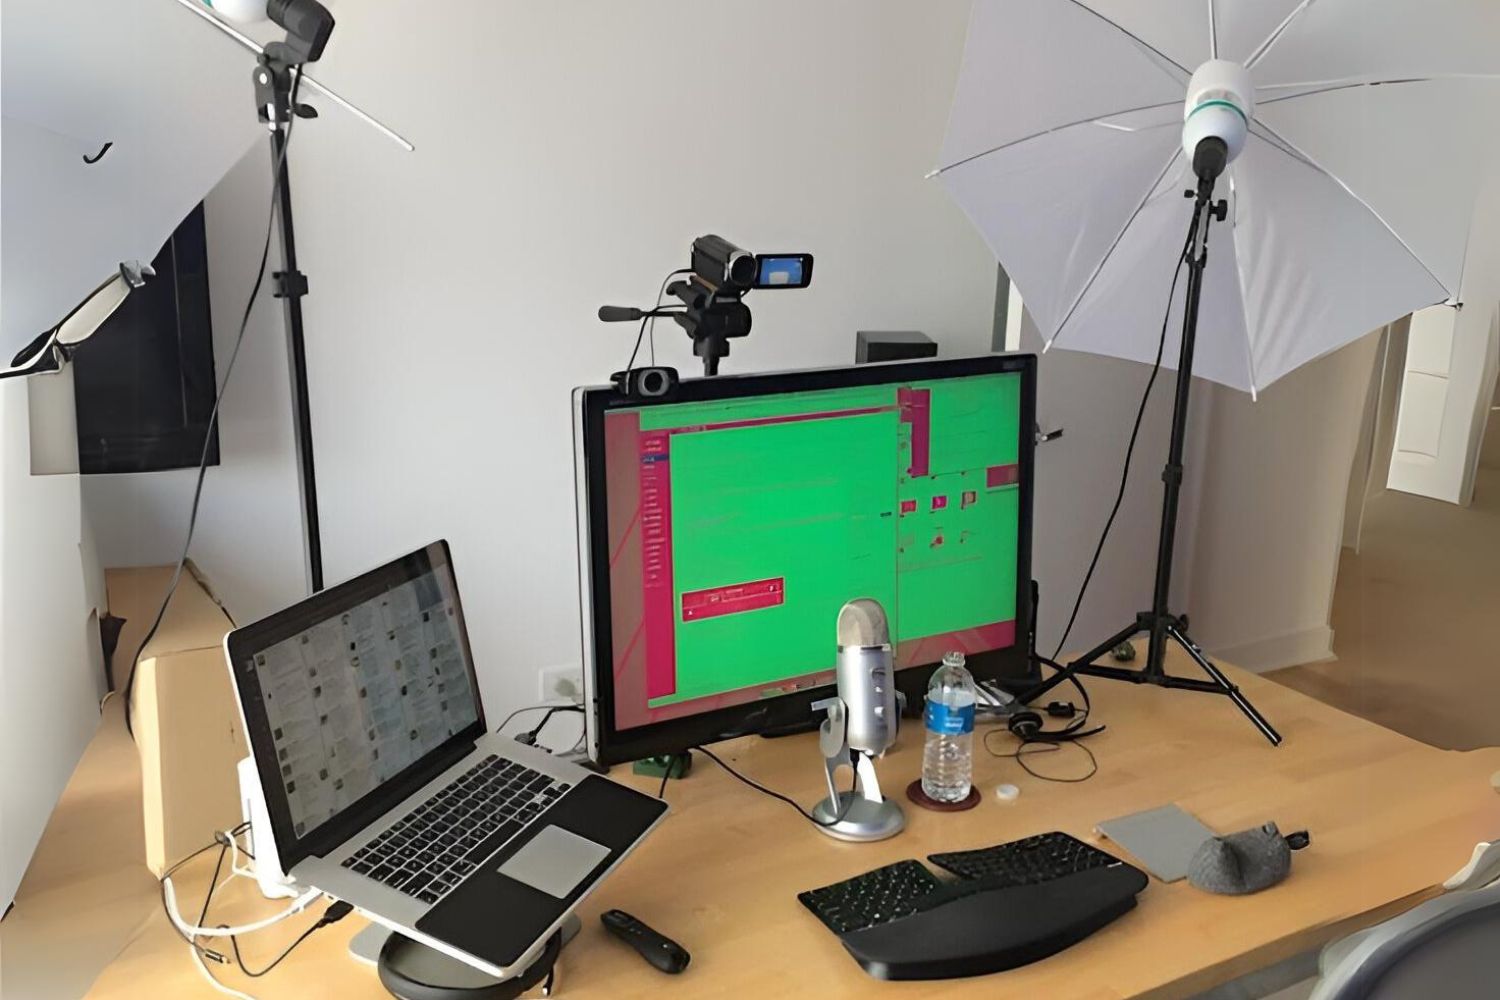
- Positioning and Framing: Set up your camcorder in an ideal position for video capture, ensuring that the framing and composition of the video feed are visually appealing and conducive to effective communication. Consider factors such as lighting, background, and camera angles.
By meticulously configuring your camcorder for webcam functionality, you can leverage its advanced features to deliver exceptional video and audio performance, elevating the quality of your online presence and content creation. With the camcorder set up as a webcam, you are now poised to proceed to the final step of adjusting settings and testing the performance of your newly transformed webcam.
Step 5: Adjust Settings and Test Your Camcorder as a Webcam
As you near the completion of the process to utilize your camcorder as a webcam, it’s essential to fine-tune the settings and conduct thorough testing to ensure optimal performance. Follow these key steps to adjust settings and validate the functionality of your camcorder as a webcam:
- Check Video and Audio Alignment: Verify that the video and audio are synchronized correctly. Ensure that there are no noticeable delays between the audio and video feed, as synchronization is crucial for effective communication.
- Test Different Lighting Conditions: Assess the performance of your camcorder webcam under varied lighting conditions, including natural light, artificial light, and low-light environments. Adjust the exposure settings to achieve balanced and clear visuals in different lighting scenarios.
- Explore Autofocus and White Balance: Experiment with the autofocus functionality and white balance settings to ensure that the video feed maintains sharp focus and accurate color representation. These adjustments contribute to a professional and visually appealing appearance.
- Conduct Audio Tests: Engage in test calls or recordings to evaluate the audio quality of your camcorder webcam. Pay attention to background noise, clarity of speech, and the overall audio performance to make necessary adjustments.
- Compatibility Testing: Connect your camcorder webcam to various video conferencing platforms, live streaming applications, and recording software to confirm compatibility and seamless integration. Verify that the webcam feed is recognized and functions effectively across different platforms.
By meticulously adjusting the settings and conducting comprehensive testing, you can ensure that your camcorder webcam delivers exceptional video and audio quality across a range of usage scenarios. The thorough evaluation of your camcorder webcam’s performance prepares you to confidently integrate it into your professional endeavors, content creation pursuits, and online interactions.
Conclusion
Congratulations! You have successfully transformed your camcorder into a powerful and versatile webcam, unlocking the potential to elevate your video communication, live streaming, and content creation endeavors. By following the comprehensive steps outlined in this guide, you have gained the expertise to harness the advanced features of your camcorder, delivering superior video quality and enhanced audio performance for your online interactions.
Through meticulous attention to compatibility, physical connections, software installation, and precise configuration, you have seamlessly integrated your camcorder as a top-tier webcam, poised to meet the demands of professional video communication and content creation. The careful adjustments and thorough testing have ensured that your camcorder webcam performs optimally under varied conditions, providing clear visuals and balanced audio for a captivating online presence.
With your camcorder now serving as a high-quality webcam, you are equipped to engage in impactful video calls, live streams, virtual meetings, and content production with confidence and professionalism. Whether you are a content creator, business professional, educator, or enthusiast, the enhanced capabilities of your camcorder webcam empower you to make a lasting impression and deliver compelling visual experiences.
Embrace the opportunities that your transformed camcorder webcam presents, and explore the myriad possibilities to connect, communicate, and create with unparalleled video and audio quality. As you embark on this new chapter of enhanced video capabilities, continue to explore and innovate, leveraging the full potential of your camcorder to leave a lasting impact in the digital realm.


