Introduction
Connecting a USB microphone to a camcorder can significantly enhance the audio quality of your video recordings. By integrating a high-quality USB microphone with your camcorder, you can capture clear and professional-grade audio, resulting in a more immersive viewing experience for your audience. Whether you are a vlogger, filmmaker, or content creator, understanding how to effectively connect and utilize a USB microphone with your camcorder is essential for producing top-notch video content.
In this guide, we will explore the process of connecting a USB microphone to a camcorder, including the necessary steps to ensure seamless integration and optimal audio performance. By following these instructions, you will be able to elevate the overall quality of your video productions and deliver captivating audio-visual experiences to your viewers.
Before delving into the technical aspects of this setup, it’s important to understand the fundamental components involved in this process. By gaining insight into the functionalities of USB microphones and camcorders, you will be better equipped to navigate the connection and configuration procedures with confidence and proficiency.
Understanding the USB Microphone and Camcorder
Before embarking on the process of connecting a USB microphone to a camcorder, it’s crucial to comprehend the key features and functionalities of both devices. This understanding will facilitate a smoother integration process and enable you to leverage the full potential of your equipment.
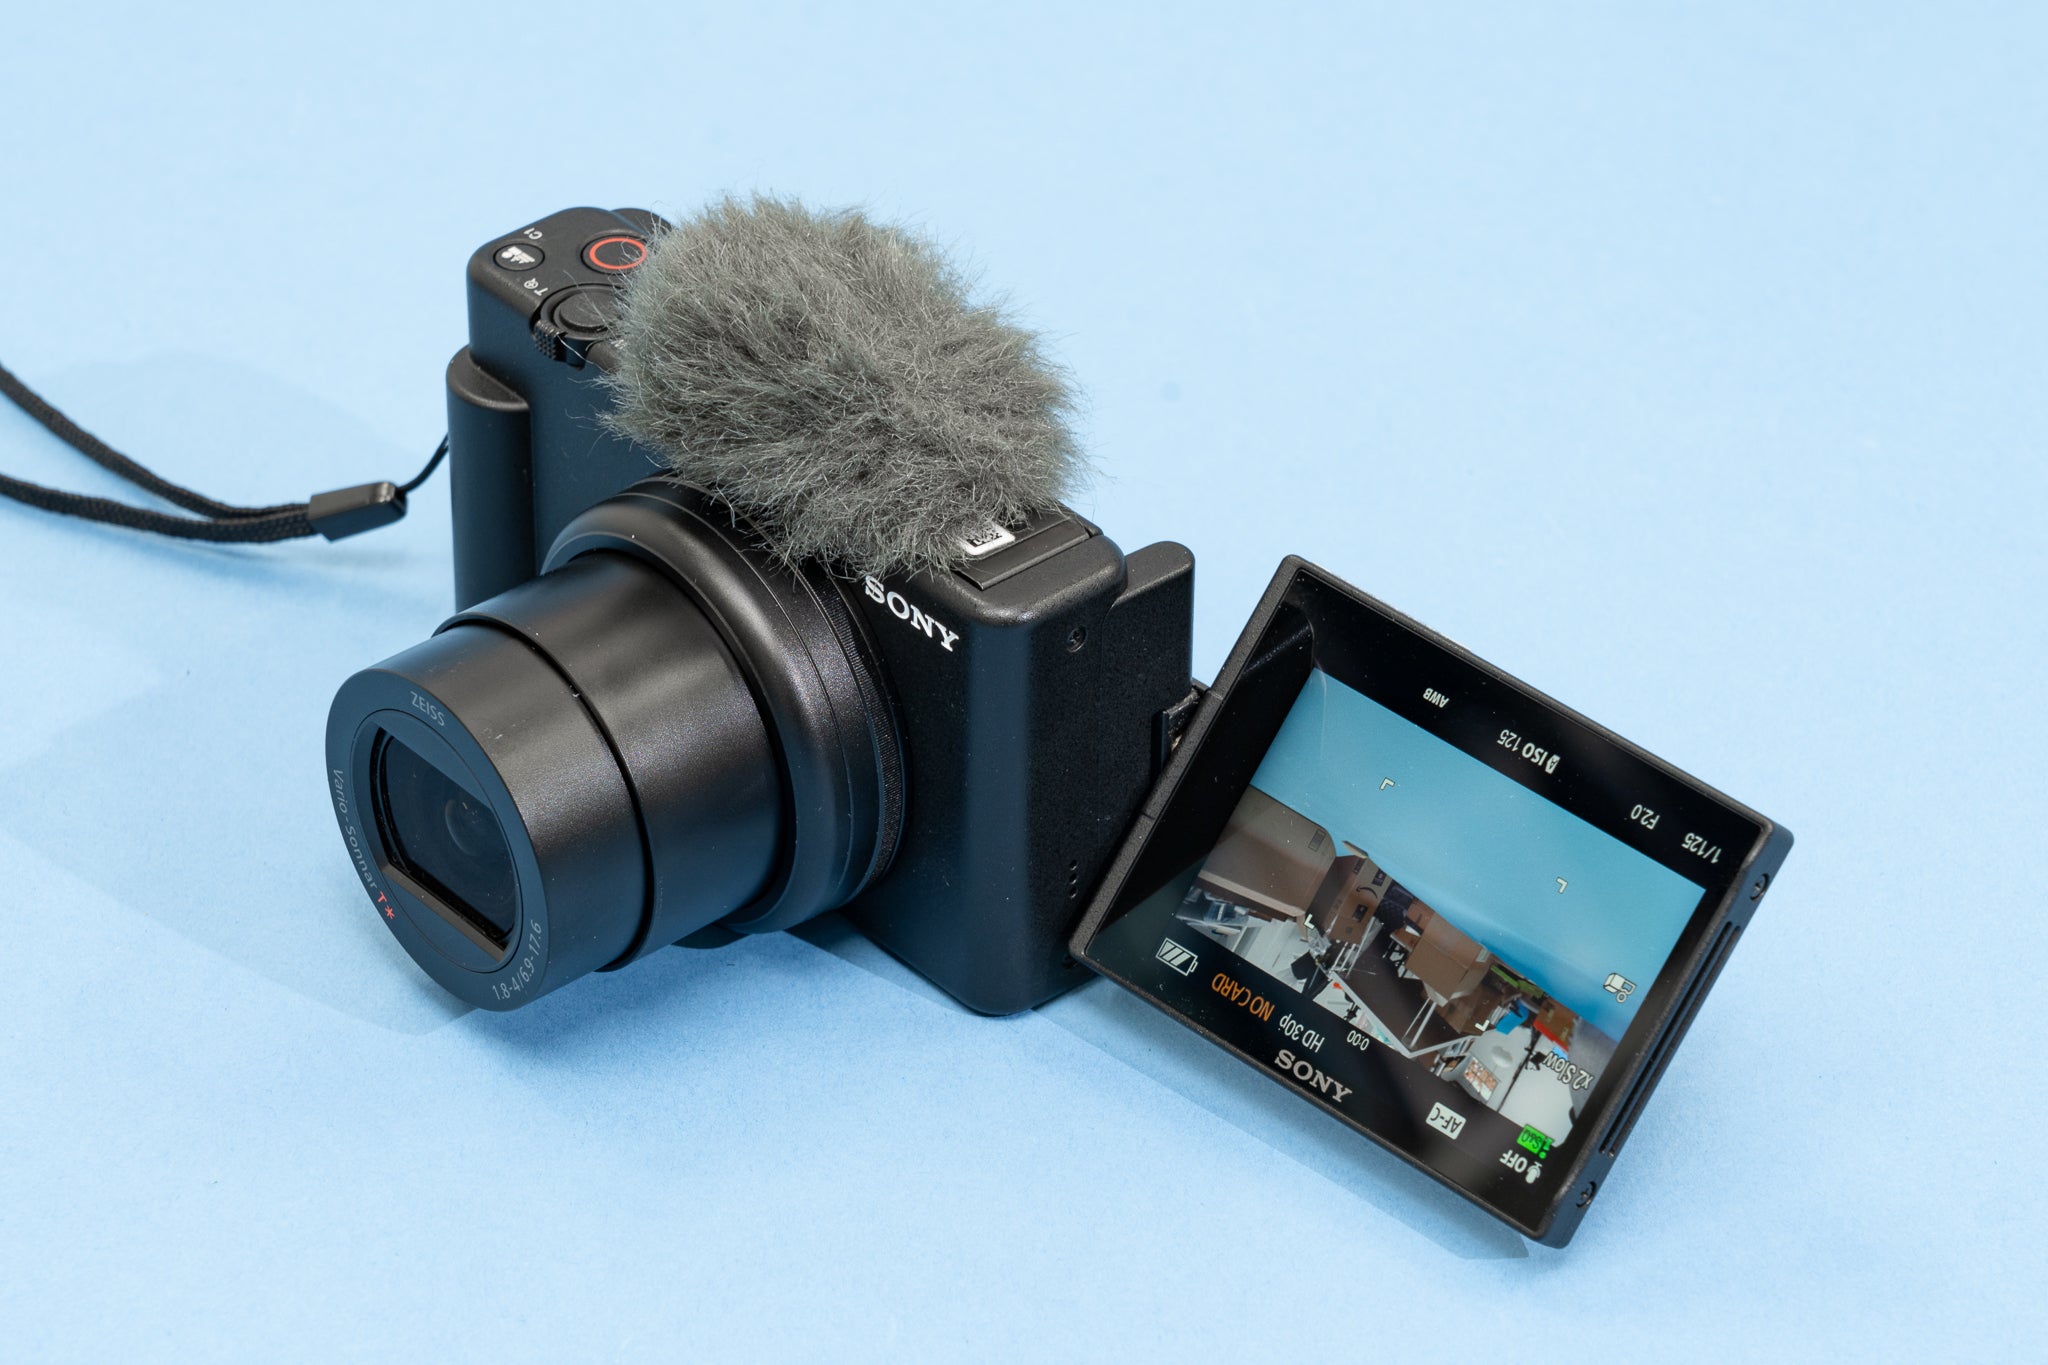
USB Microphone:
- A USB microphone is a versatile audio input device that connects directly to a computer or other compatible devices via a USB port. Unlike traditional microphones that require XLR cables and audio interfaces, USB microphones offer a plug-and-play functionality, making them incredibly user-friendly.
- These microphones are available in various designs, including condenser, dynamic, and shotgun models, each catering to specific recording needs. Additionally, many USB microphones feature built-in preamps and analog-to-digital converters, ensuring high-quality audio capture without the need for additional equipment.
- Prior to connecting a USB microphone to a camcorder, it’s essential to ascertain whether the camcorder supports external audio input via USB. While some camcorders may have this capability, others may require alternative connection methods, such as a 3.5mm microphone input.
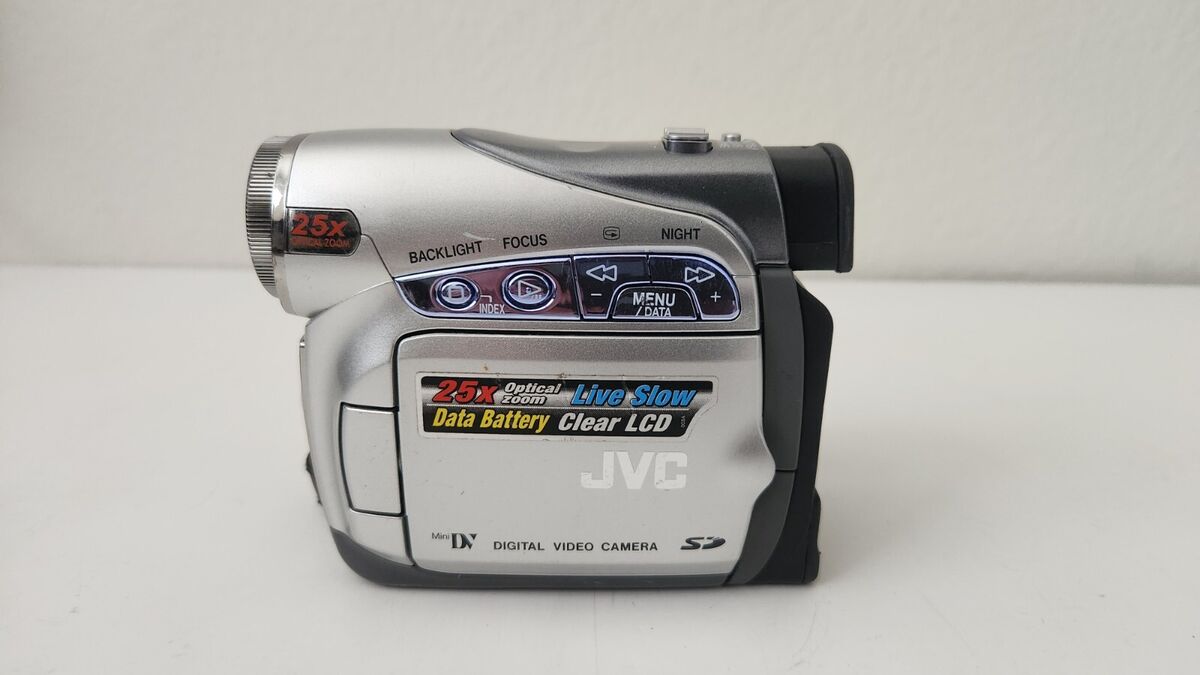
Camcorder:
- A camcorder is a portable video camera that integrates video recording and audio capture capabilities. These devices are designed for capturing high-quality footage and audio in a single, compact unit, making them ideal for various applications, including filmmaking, vlogging, and live event coverage.
- When selecting a camcorder for use with a USB microphone, it’s important to ensure that the device offers compatibility with external audio inputs. This may involve verifying the presence of USB audio input functionality or alternative audio input ports, such as 3.5mm microphone jacks or XLR inputs.
- Understanding the audio recording settings and features of the camcorder is crucial for optimizing the integration of a USB microphone. This includes familiarity with audio level controls, input selection options, and audio monitoring capabilities, all of which contribute to achieving the desired audio quality.
By gaining a comprehensive understanding of the USB microphone and camcorder, you can proceed with confidence as you prepare to connect these devices for enhanced audio recording. With this knowledge in mind, you are well-equipped to embark on the next steps of the integration process, ensuring seamless compatibility and optimal audio performance.
Connecting the USB Microphone to the Camcorder
Once you have familiarized yourself with the USB microphone and camcorder, the next step is to establish a physical connection between the two devices. This process may vary depending on the specific models and features of your equipment, but the following general steps provide a foundational guide for integrating a USB microphone with a camcorder.
Verify Compatibility:
Before proceeding with the connection, it’s essential to confirm that your camcorder supports the direct input of audio from a USB microphone. This information can typically be found in the camcorder’s user manual or specifications. If your camcorder does not support USB audio input, alternative connection methods, such as using a 3.5mm microphone input or an external audio recorder, may be necessary.
Connect the USB Microphone:
Begin by locating the USB port on your camcorder. This port may be labeled as “USB Audio In” or something similar, depending on the model. With the USB microphone in hand, insert the USB connector into the designated port on the camcorder. Ensure that the connection is secure to prevent any potential audio interruptions during recording.
Power and Initialization:
Once the USB microphone is connected to the camcorder, power on both devices. Some USB microphones may require a brief initialization period upon connection, so allow a few moments for the devices to recognize each other. If your USB microphone features any adjustable settings, such as gain control or polar pattern selection, ensure that these are configured according to your recording requirements.
Confirm Audio Input Selection:
Navigate to the audio input settings on your camcorder to ensure that the USB microphone is selected as the primary audio input source. This step is crucial for directing the audio signal from the USB microphone to the camcorder’s recording system. Depending on the camcorder model, this selection process may involve accessing the device’s menu and input/output settings.
Secure Cabling and Positioning:
Once the USB microphone is connected and the audio input is confirmed, take a moment to secure any cabling and position the microphone according to your recording setup. Proper cable management and microphone placement contribute to a tidy and efficient recording environment, minimizing the risk of accidental cable disconnection or interference during filming.
By following these steps, you can effectively connect a USB microphone to your camcorder, paving the way for enhanced audio recording capabilities. With the physical integration complete, the next phase involves adjusting the audio settings on both the USB microphone and the camcorder to optimize the recording quality and achieve the desired audio output.
Adjusting Settings for Audio Recording
With the USB microphone successfully connected to the camcorder, the next crucial step involves fine-tuning the audio settings to ensure optimal recording quality. Both the USB microphone and the camcorder offer various adjustable parameters that can significantly impact the audio output. By carefully configuring these settings, you can achieve clear, balanced, and professional-grade audio recordings for your video projects.
USB Microphone Settings:
Many USB microphones feature built-in controls for adjusting key parameters such as gain, polar patterns, and headphone monitoring. Gain control allows you to adjust the microphone’s sensitivity to capture audio at the desired volume level. Depending on your recording environment, you may need to experiment with the gain settings to prevent audio distortion or ensure adequate signal strength.
Polar pattern selection is another essential feature found in some USB microphones, offering options such as cardioid, omnidirectional, and bidirectional patterns. Understanding the ideal polar pattern for your recording scenario enables you to focus the microphone’s sensitivity and reject unwanted ambient noise, contributing to cleaner audio capture.
Headphone monitoring, if available on your USB microphone, allows real-time audio monitoring during recording. This feature enables you to listen to the captured audio directly from the microphone, providing valuable feedback on the recording quality and ensuring that audio levels and tonal characteristics are captured as intended.
Camcorder Audio Settings:
Depending on the model and features of your camcorder, you may have access to a range of audio settings that directly impact the recorded sound. Common audio adjustments on camcorders include input level control, audio monitoring options, and audio processing features.
Input level control allows you to adjust the sensitivity of the audio input, ensuring that the signal from the USB microphone is captured at an optimal level without clipping or distortion. Monitoring the audio levels on the camcorder’s display or through headphone output facilitates real-time assessment of the audio input, enabling adjustments as needed during recording.
Some camcorders offer audio processing features such as equalization, noise reduction, and wind noise suppression. Understanding and utilizing these features can further enhance the audio quality, providing a polished and professional sound to complement your video footage.
By carefully adjusting the settings on both the USB microphone and the camcorder, you can harness the full potential of your audio recording setup. These adjustments play a pivotal role in capturing high-quality sound that complements the visual content, resulting in engaging and immersive video productions.
Testing the Setup
Before commencing with your actual recording or filming, it is imperative to conduct a thorough test of the integrated USB microphone and camcorder setup. Testing the setup allows you to identify and address any potential issues, ensure optimal audio performance, and make any necessary adjustments before capturing your intended content.
Audio Input Verification:
Initiate the testing process by confirming that the camcorder recognizes the USB microphone as the primary audio input source. This verification can typically be performed through the camcorder’s audio input settings, where you should be able to visually confirm the presence of audio signal from the USB microphone. If the camcorder offers audio meters or level indicators, monitor these to ensure that the signal is being received at the desired volume level without clipping or distortion.
Sound Quality Assessment:
Record a brief sample of audio using the integrated USB microphone and play it back for evaluation. This sample can involve speaking into the microphone at varying volumes, capturing ambient sounds, or simulating the audio conditions expected during your actual recording. By listening to the recorded sample, you can assess the sound quality, clarity, and overall tonal characteristics, ensuring that the audio output aligns with your expectations.
Environmental Considerations:
During the testing phase, take note of any environmental factors that may impact the audio recording. This includes identifying and mitigating potential sources of background noise, assessing the impact of room acoustics on the audio capture, and addressing any external factors that could affect the overall sound quality. By proactively addressing these considerations, you can optimize the setup for the specific recording environment.
Adjustment Iteration:
If the initial testing reveals any areas for improvement, take the opportunity to iteratively adjust the settings on both the USB microphone and the camcorder. This may involve fine-tuning the gain levels, experimenting with different polar patterns, adjusting input levels on the camcorder, or refining any audio processing features to achieve the desired sound quality.
Real-time Monitoring:
Utilize real-time monitoring capabilities, such as headphone output from the USB microphone or the camcorder, to assess the audio quality during testing. This allows you to make immediate adjustments and ensures that the recorded audio meets your standards before proceeding with actual recording sessions.
By thoroughly testing the integrated USB microphone and camcorder setup, you can address any potential challenges, optimize the audio performance, and instill confidence in the recording process. This proactive approach sets the stage for capturing high-quality audio that seamlessly complements your visual content, resulting in compelling and immersive video productions.
Conclusion
Mastering the process of connecting a USB microphone to a camcorder opens up a world of possibilities for content creators, filmmakers, and videographers. By understanding the functionalities of the USB microphone and camcorder, establishing a seamless physical connection, adjusting audio settings, and conducting thorough testing, you can elevate the overall quality of your video productions through enhanced audio recording capabilities.
Through this guide, you have gained valuable insights into the integration of a USB microphone with a camcorder, empowering you to harness the full potential of your audio recording setup. The foundational knowledge of USB microphone features, camcorder functionalities, and the intricacies of connecting and configuring these devices sets the stage for capturing professional-grade audio that complements your visual content.
As you embark on your creative endeavors, whether in vlogging, filmmaking, or any other video production, the ability to seamlessly integrate a USB microphone with your camcorder equips you to deliver captivating audio-visual experiences to your audience. The clarity, depth, and immersive qualities of the audio captured through this setup contribute to the overall impact and engagement of your video content.
By leveraging the capabilities of a USB microphone and a camcorder in tandem, you have the power to craft compelling narratives, document memorable moments, and immerse your viewers in rich, high-fidelity audio experiences. The seamless integration of these devices expands your creative toolkit, enabling you to explore new realms of storytelling and expression through the synergy of exceptional audio and visual elements.
As you continue to refine your skills and expand your repertoire of video productions, the knowledge and proficiency gained in connecting a USB microphone to a camcorder serve as a cornerstone for achieving excellence in audio recording. Embrace the potential of this integration, experiment with different recording scenarios, and unleash the full spectrum of audio creativity in your video projects.
With a solid foundation in integrating and optimizing audio recording setups, you are poised to captivate, inspire, and immerse your audience in the captivating fusion of sight and sound, elevating your video productions to new heights of quality and impact.