Introduction
Understanding the Importance of Quality Audio in Video Production
When it comes to video production, capturing high-quality audio is just as crucial as obtaining stunning visuals. Whether you are shooting a short film, vlog, interview, or any other type of video content, the audio quality can significantly impact the overall viewing experience. Poor audio can distract viewers from the message you are trying to convey, while pristine sound can elevate the professionalism and impact of your production.
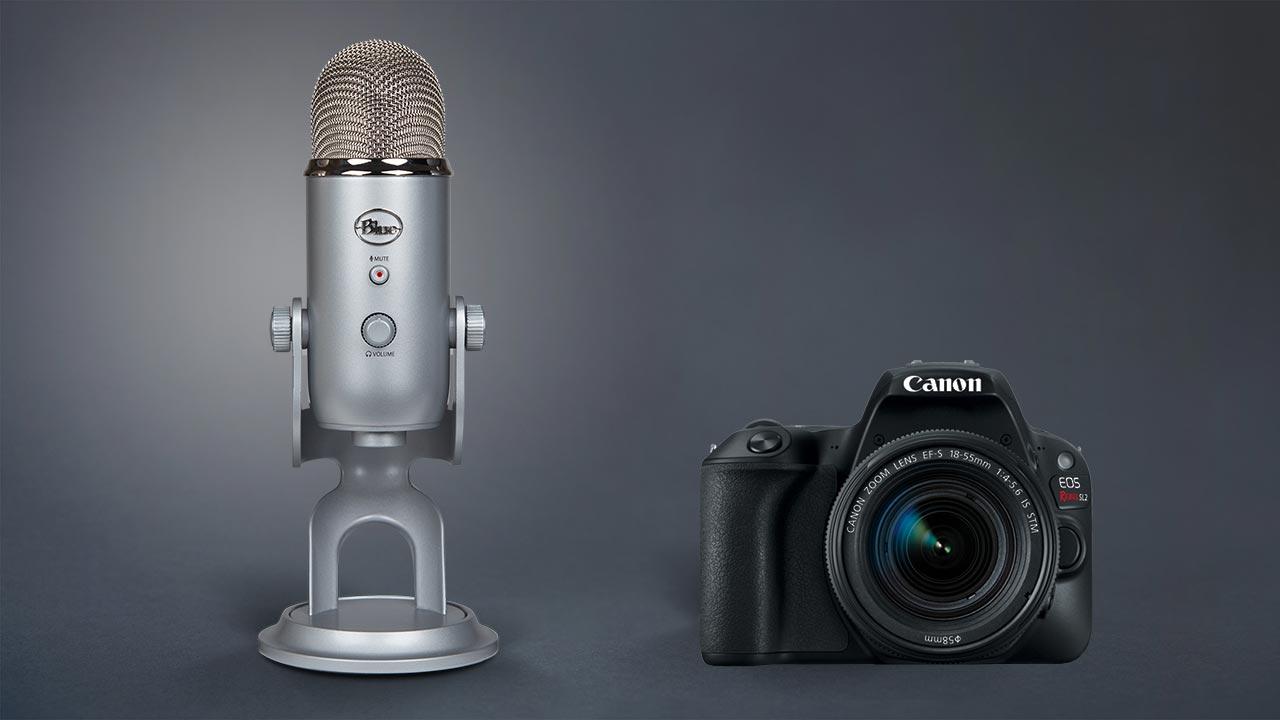
While DSLR cameras are renowned for their exceptional video-capturing capabilities, their built-in microphones often fall short in delivering the level of audio quality necessary for professional-grade content. This is where external microphones come into play, allowing videographers to capture clear, crisp, and immersive audio that complements the visual aspects of their productions.
In this comprehensive guide, we will delve into the intricacies of recording audio with a DSLR camera, from understanding audio inputs to selecting the right microphone for your specific needs. Additionally, we will explore the process of setting up your microphone with your DSLR camera and adjusting audio settings to achieve optimal results. By the end of this guide, you will be equipped with the knowledge and techniques to capture high-quality audio that enhances the overall impact of your video productions.
Understanding Audio Inputs on a DSLR Camera
Before delving into the process of recording audio with a DSLR camera, it is essential to grasp the fundamentals of audio inputs and their significance in the overall recording workflow. DSLR cameras are equipped with built-in audio inputs that allow for the connection of external microphones to capture enhanced audio quality. These audio inputs typically come in the form of 3.5mm microphone jacks, providing a convenient way to integrate external audio devices into the recording setup.
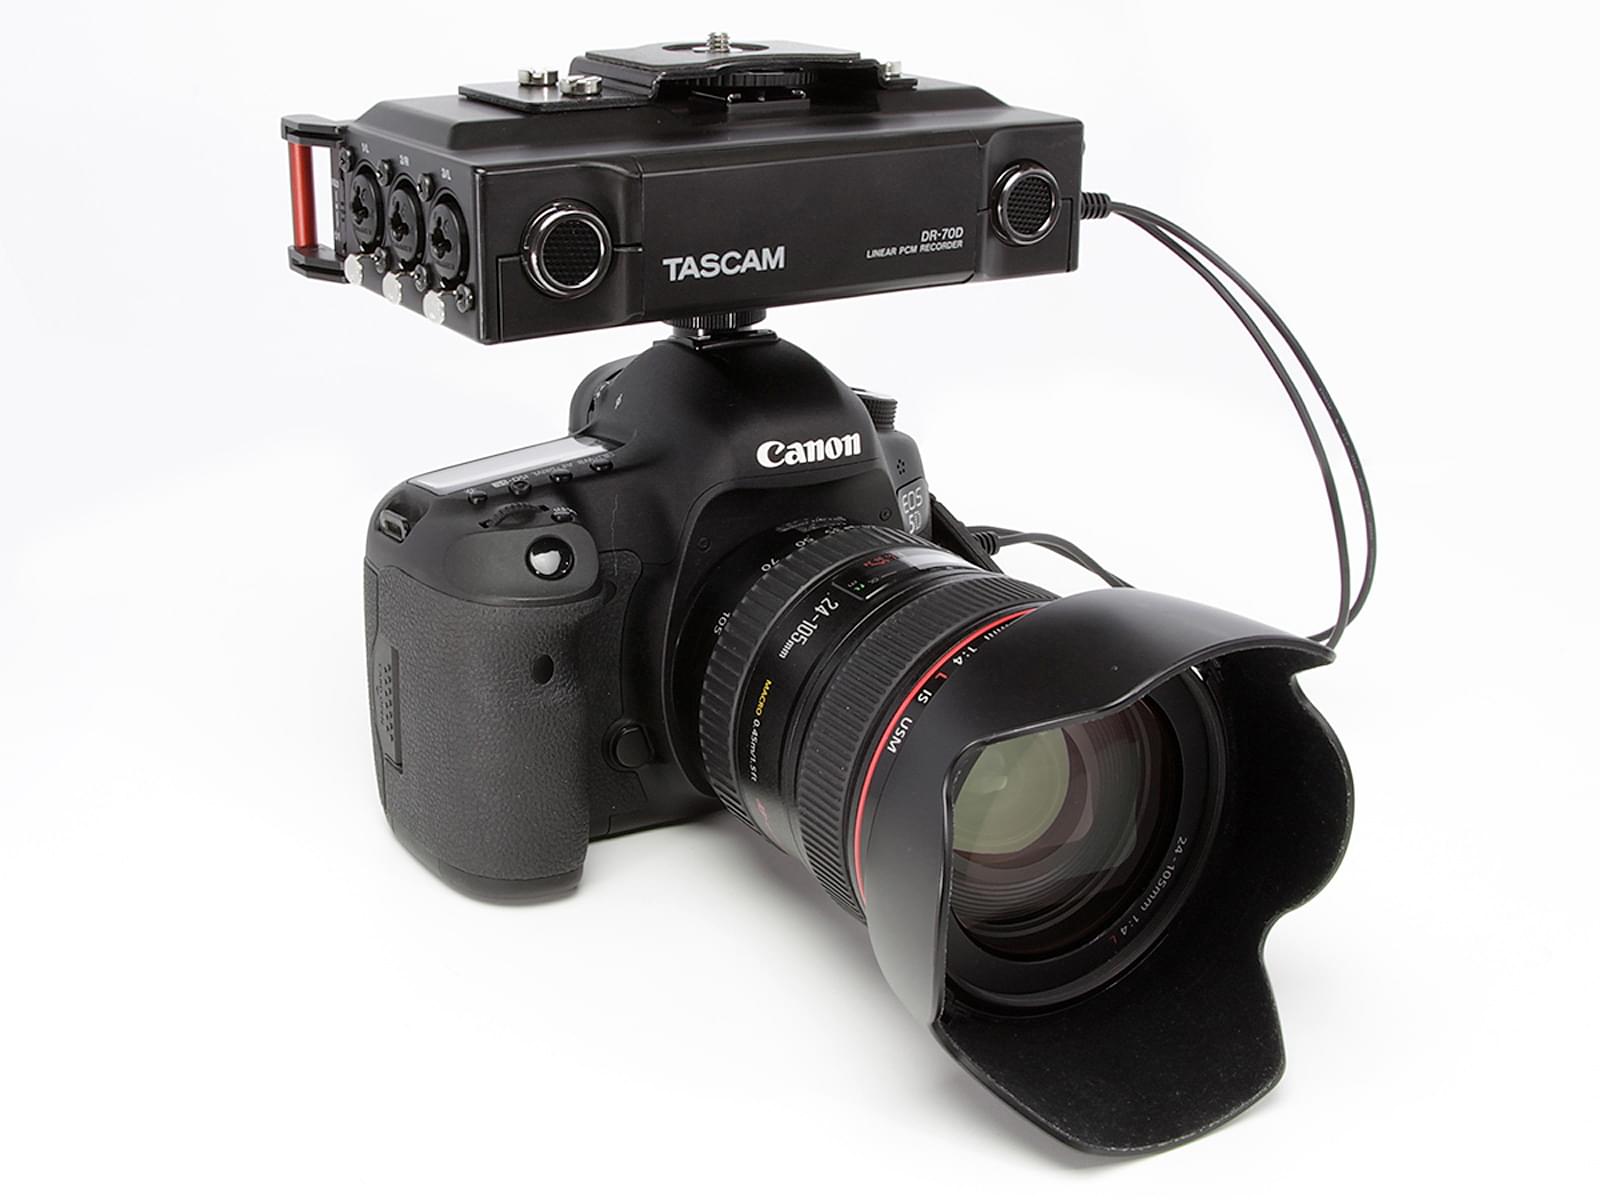
Understanding the capabilities and limitations of audio inputs on DSLR cameras is crucial for achieving optimal audio recording results. While these inputs offer flexibility in connecting a variety of external microphones, it is important to note that not all DSLR cameras feature advanced audio input options such as XLR inputs, which are commonly found on professional video cameras and audio recording devices. As a result, videographers working with DSLR cameras may need to consider additional accessories or audio adapters to accommodate specific microphone types.
Furthermore, it is essential to be mindful of the audio input levels on DSLR cameras to prevent audio distortion or excessively low volume levels. Some DSLR models provide manual control over audio input levels, allowing videographers to fine-tune the sensitivity of the connected microphones for optimal performance. Understanding how to adjust these input levels effectively can significantly impact the overall audio quality of your recordings.
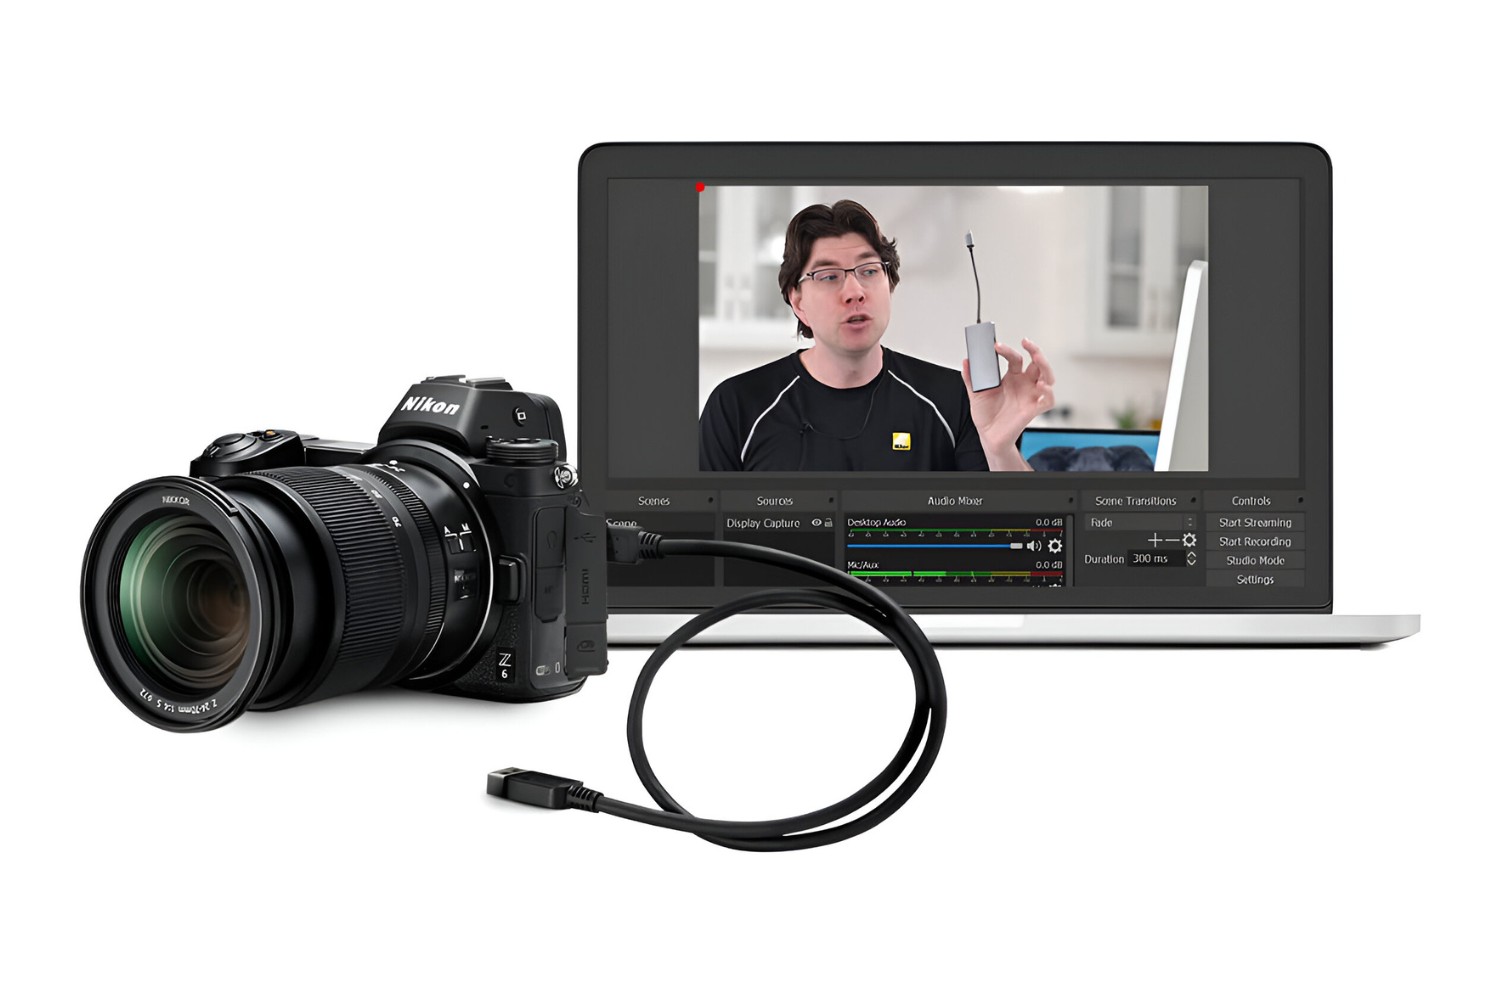
Additionally, certain DSLR cameras offer features such as audio level meters and headphone jacks, enabling videographers to monitor and adjust audio levels in real time. This capability empowers content creators to make on-the-fly adjustments to ensure that the audio being captured aligns with their desired quality standards.
By familiarizing yourself with the audio inputs available on your DSLR camera and the associated features, you can make informed decisions regarding the selection and setup of external microphones, ultimately contributing to the production of high-quality audio content that complements your visual storytelling.
Choosing the Right Microphone for Your Needs
When it comes to recording audio with a DSLR camera, selecting the appropriate microphone is a critical decision that directly influences the quality and character of the audio captured. The diverse range of microphones available on the market offers videographers a multitude of options, each tailored to specific recording scenarios and environments. Understanding the key considerations when choosing a microphone for your DSLR camera is essential for achieving optimal audio results.
One of the primary factors to consider when selecting a microphone is the intended application or content type. Different microphones are designed to excel in specific recording situations, whether it be capturing dialogue in interviews, recording ambient sounds in nature settings, or documenting on-the-go vlogs. For instance, lavalier microphones, also known as lapel mics, are ideal for hands-free recording and close-miking applications, making them suitable for interviews and presentations.
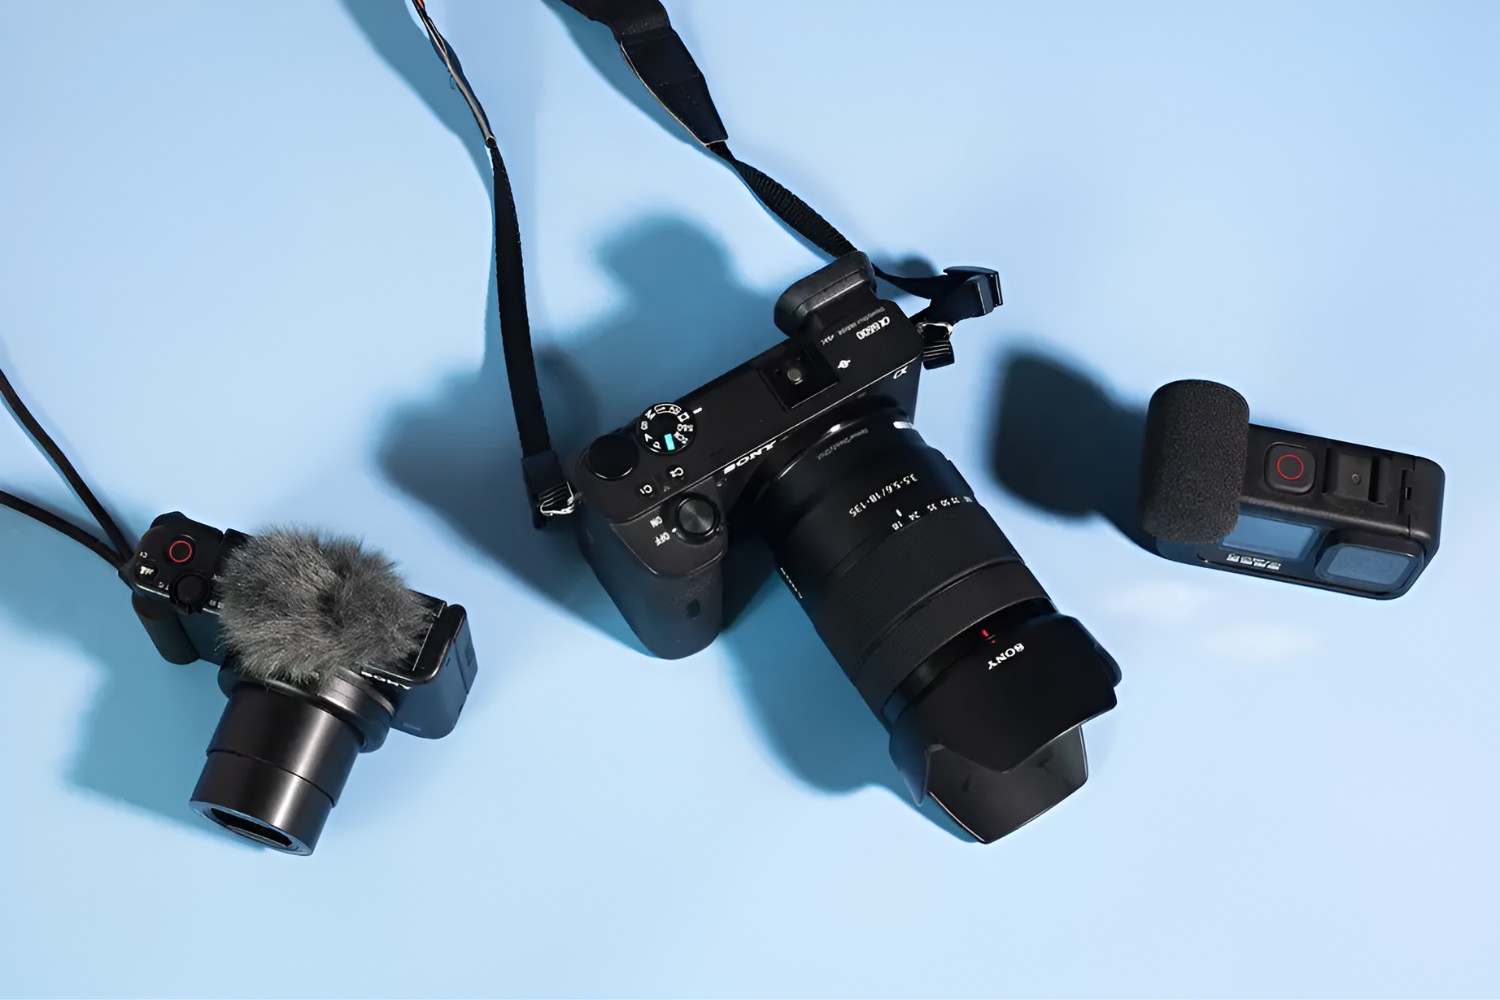
Furthermore, the microphone’s directional characteristics play a significant role in its suitability for particular recording scenarios. Shotgun microphones, known for their highly directional pickup patterns, excel in capturing focused sound sources while minimizing ambient noise, making them ideal for outdoor filming and capturing dialogue in controlled environments. On the other hand, omnidirectional microphones offer a more expansive pickup pattern, making them suitable for capturing ambient sounds and creating a sense of spatial immersion in recordings.
Considerations such as microphone connectivity and power requirements are also crucial when choosing a microphone for DSLR camera use. Many external microphones utilize 3.5mm TRS or TRRS connectors for seamless integration with DSLR cameras, while certain models may require additional power sources, such as batteries or phantom power, to operate effectively. Understanding the compatibility and power needs of the microphone ensures a smooth and reliable setup process.
Moreover, the physical form factor and mounting options of the microphone should align with the practical requirements of your recording setup. Whether you opt for a compact on-camera microphone, a handheld reporter-style microphone, or a discreet lavalier mic, the physical design and mounting flexibility should complement your filming style and logistical needs.
By carefully evaluating these factors and matching them to the specific requirements of your video productions, you can confidently select the right microphone for your DSLR camera, paving the way for capturing exceptional audio that elevates the impact of your visual storytelling.
Setting Up Your Microphone with Your DSLR Camera
Once you have chosen the appropriate microphone for your DSLR camera, the next crucial step is to ensure a seamless and effective setup that maximizes the microphone’s performance and compatibility with your recording device. Properly configuring the connection between your microphone and DSLR camera is essential for capturing high-quality audio that enhances the overall impact of your video productions.
The first consideration when setting up your microphone with your DSLR camera is to verify the compatibility of the microphone’s connector with the audio input on your camera. Most external microphones designed for DSLR use feature 3.5mm TRS (Tip-Ring-Sleeve) or TRRS (Tip-Ring-Ring-Sleeve) connectors, which can be directly plugged into the camera’s microphone input jack. It is essential to ensure a secure and snug connection to prevent audio interference or disconnection during recording.
Depending on the microphone type and mounting options, additional accessories such as shock mounts, wind protection, and extension cables may be required to optimize the physical setup and mitigate handling noise or environmental disturbances. For example, shotgun microphones often benefit from shock mounts to isolate them from camera and handling vibrations, while windshields or deadcats are essential for outdoor recording to minimize wind noise.
Once the physical connection and accessories are in place, it is crucial to configure the audio input settings on your DSLR camera to align with the specifications of the connected microphone. Some DSLR models offer manual control over audio input levels, allowing videographers to adjust the sensitivity of the microphone to suit the recording environment and sound source. It is advisable to perform audio level tests and monitor the input levels through the camera’s audio meters to ensure optimal signal-to-noise ratios and prevent audio distortion.
Furthermore, certain DSLR cameras provide options for selecting microphone input types, such as line-level or microphone-level inputs, which should be adjusted according to the specifications of the connected microphone. Additionally, enabling features such as low-cut filters or audio gain control can further enhance the audio recording capabilities of your DSLR camera when paired with an external microphone.
By meticulously setting up your microphone with your DSLR camera and fine-tuning the audio input configurations, you can harness the full potential of your chosen microphone, resulting in pristine audio recordings that complement and elevate the visual elements of your video productions.
Adjusting Audio Settings on Your DSLR Camera
Optimizing the audio settings on your DSLR camera is a crucial aspect of capturing high-quality sound that enhances the overall impact of your video productions. While the built-in microphones of DSLR cameras may suffice for casual shooting, integrating external microphones and fine-tuning the audio settings can elevate the audio quality to professional standards, enriching the viewer’s auditory experience.
One of the primary considerations when adjusting audio settings on your DSLR camera is the control over audio input levels. Many DSLR models offer manual control options, allowing videographers to adjust the sensitivity of the connected microphones to suit the recording environment and sound source. It is imperative to monitor the audio levels through the camera’s audio meters and perform test recordings to ensure optimal signal-to-noise ratios and prevent audio distortion or clipping.
Additionally, certain DSLR cameras provide features such as audio gain control, which enables users to fine-tune the amplification of the incoming audio signal. This capability is particularly valuable in situations where the microphone output levels need to be adjusted to achieve balanced and distortion-free audio recordings. By utilizing audio gain control, videographers can effectively manage dynamic sound sources and maintain consistent audio levels throughout their recordings.
Furthermore, some DSLR models offer options for selecting microphone input types, such as line-level or microphone-level inputs. Understanding the specific requirements of your connected microphone and configuring the input type accordingly ensures optimal signal matching and compatibility, resulting in clean and accurate audio capture. This attention to detail in adjusting input types contributes to the overall fidelity and clarity of recorded audio.
Another essential feature to consider when adjusting audio settings is the availability of low-cut filters or high-pass filters on DSLR cameras. These filters are designed to attenuate low-frequency rumble and background noise, particularly useful in outdoor or noisy environments. Engaging the low-cut filters can effectively enhance the intelligibility of dialogue and reduce unwanted low-frequency artifacts in the recorded audio, contributing to a cleaner and more focused sound.
By familiarizing yourself with the audio settings available on your DSLR camera and leveraging the manual control options, audio gain control, input type configurations, and filtering capabilities, you can effectively tailor the audio recording parameters to suit the specific requirements of your video productions. This proactive approach to adjusting audio settings empowers videographers to capture pristine sound that complements the visual storytelling, resulting in immersive and impactful content.
Tips for Recording High-Quality Audio with a DSLR Camera
Recording high-quality audio with a DSLR camera requires attention to detail and a strategic approach to maximize the potential of your equipment. By incorporating the following tips into your recording workflow, you can elevate the audio quality of your video productions and create a more immersive and engaging viewer experience.
- Choose the Right Microphone: Selecting the appropriate microphone for your specific recording needs is crucial. Consider factors such as microphone type, directional characteristics, and connectivity to ensure compatibility with your DSLR camera and optimal performance in various recording environments.
- Test and Monitor Audio Levels: Before embarking on a recording session, conduct thorough audio level tests and monitor the input levels through your DSLR camera’s audio meters. This practice helps prevent audio distortion and ensures that the audio signal is appropriately balanced for clear and pristine recordings.
- Utilize Wind Protection: When recording outdoors, especially in windy conditions, employing wind protection accessories such as foam windscreens or furry windshields can effectively minimize wind noise and prevent disruptive audio artifacts, preserving the clarity of your recordings.
- Implement Shock Mounts: For shotgun microphones and other external mics susceptible to handling and mechanical vibrations, utilizing shock mounts or suspension systems helps isolate the microphone from unwanted noise and ensures smoother, disturbance-free audio capture.
- Monitor Audio in Real Time: If your DSLR camera features a headphone jack or audio monitoring capabilities, utilize these tools to monitor the audio in real time. This allows you to detect and address any issues promptly, ensuring that the recorded audio meets your quality standards.
- Position Microphones Strategically: When using external microphones, pay attention to their positioning relative to the sound source. Proper microphone placement and orientation can significantly impact the clarity and presence of the recorded audio, enhancing the overall sonic character of your productions.
- Engage Low-Cut Filters: In environments with low-frequency rumble or background noise, activate the low-cut filters or high-pass filters available on your DSLR camera to attenuate unwanted low-frequency artifacts. This helps refine the audio quality and maintains a cleaner, more focused sound.
- Experiment with Audio Settings: Familiarize yourself with the audio settings and controls on your DSLR camera, including input level adjustments, audio gain control, and input type configurations. Experimenting with these settings allows you to tailor the audio parameters to suit specific recording scenarios and optimize the audio capture process.
- Perform Sound Checks: Prior to formal recording sessions, conduct thorough sound checks to evaluate the performance of your microphone setup and ensure that all audio components are functioning as intended. Address any issues or anomalies during the sound check phase to preemptively resolve potential audio challenges.
- Invest in Quality Accessories: Consider investing in high-quality microphone accessories such as extension cables, pop filters, and audio adapters to expand the versatility and reliability of your recording setup. Quality accessories contribute to a more robust and professional audio recording environment.
By integrating these tips into your audio recording practices, you can harness the full potential of your DSLR camera and external microphones, resulting in high-quality audio that enhances the impact and immersive nature of your video productions.