Introduction
When it comes to capturing high-quality audio for video recording, having the right equipment and knowing how to use it effectively can make a significant difference. One common challenge videographers and content creators face is ensuring that the audio quality matches the high-definition visuals provided by DSLR cameras. Fortunately, with the right knowledge and tools, it's possible to achieve professional-grade audio to complement the stunning visuals captured by DSLR cameras.
In this comprehensive guide, we will delve into the process of connecting a Blue Microphone to a DSLR camera to capture exceptional audio for video recording. By understanding the key features of the Blue Microphone, gaining insight into the functionality of DSLR cameras, and learning how to effectively connect and adjust settings for optimal audio recording, you will be well-equipped to elevate the overall quality of your video productions.
Whether you're a seasoned videographer looking to enhance your audio recording setup or a content creator venturing into the world of DSLR videography for the first time, this guide will provide you with valuable insights and practical steps to seamlessly integrate a Blue Microphone with your DSLR camera. Let's embark on this journey to unlock the full potential of your audio-visual creations.
Understanding the Blue Microphone
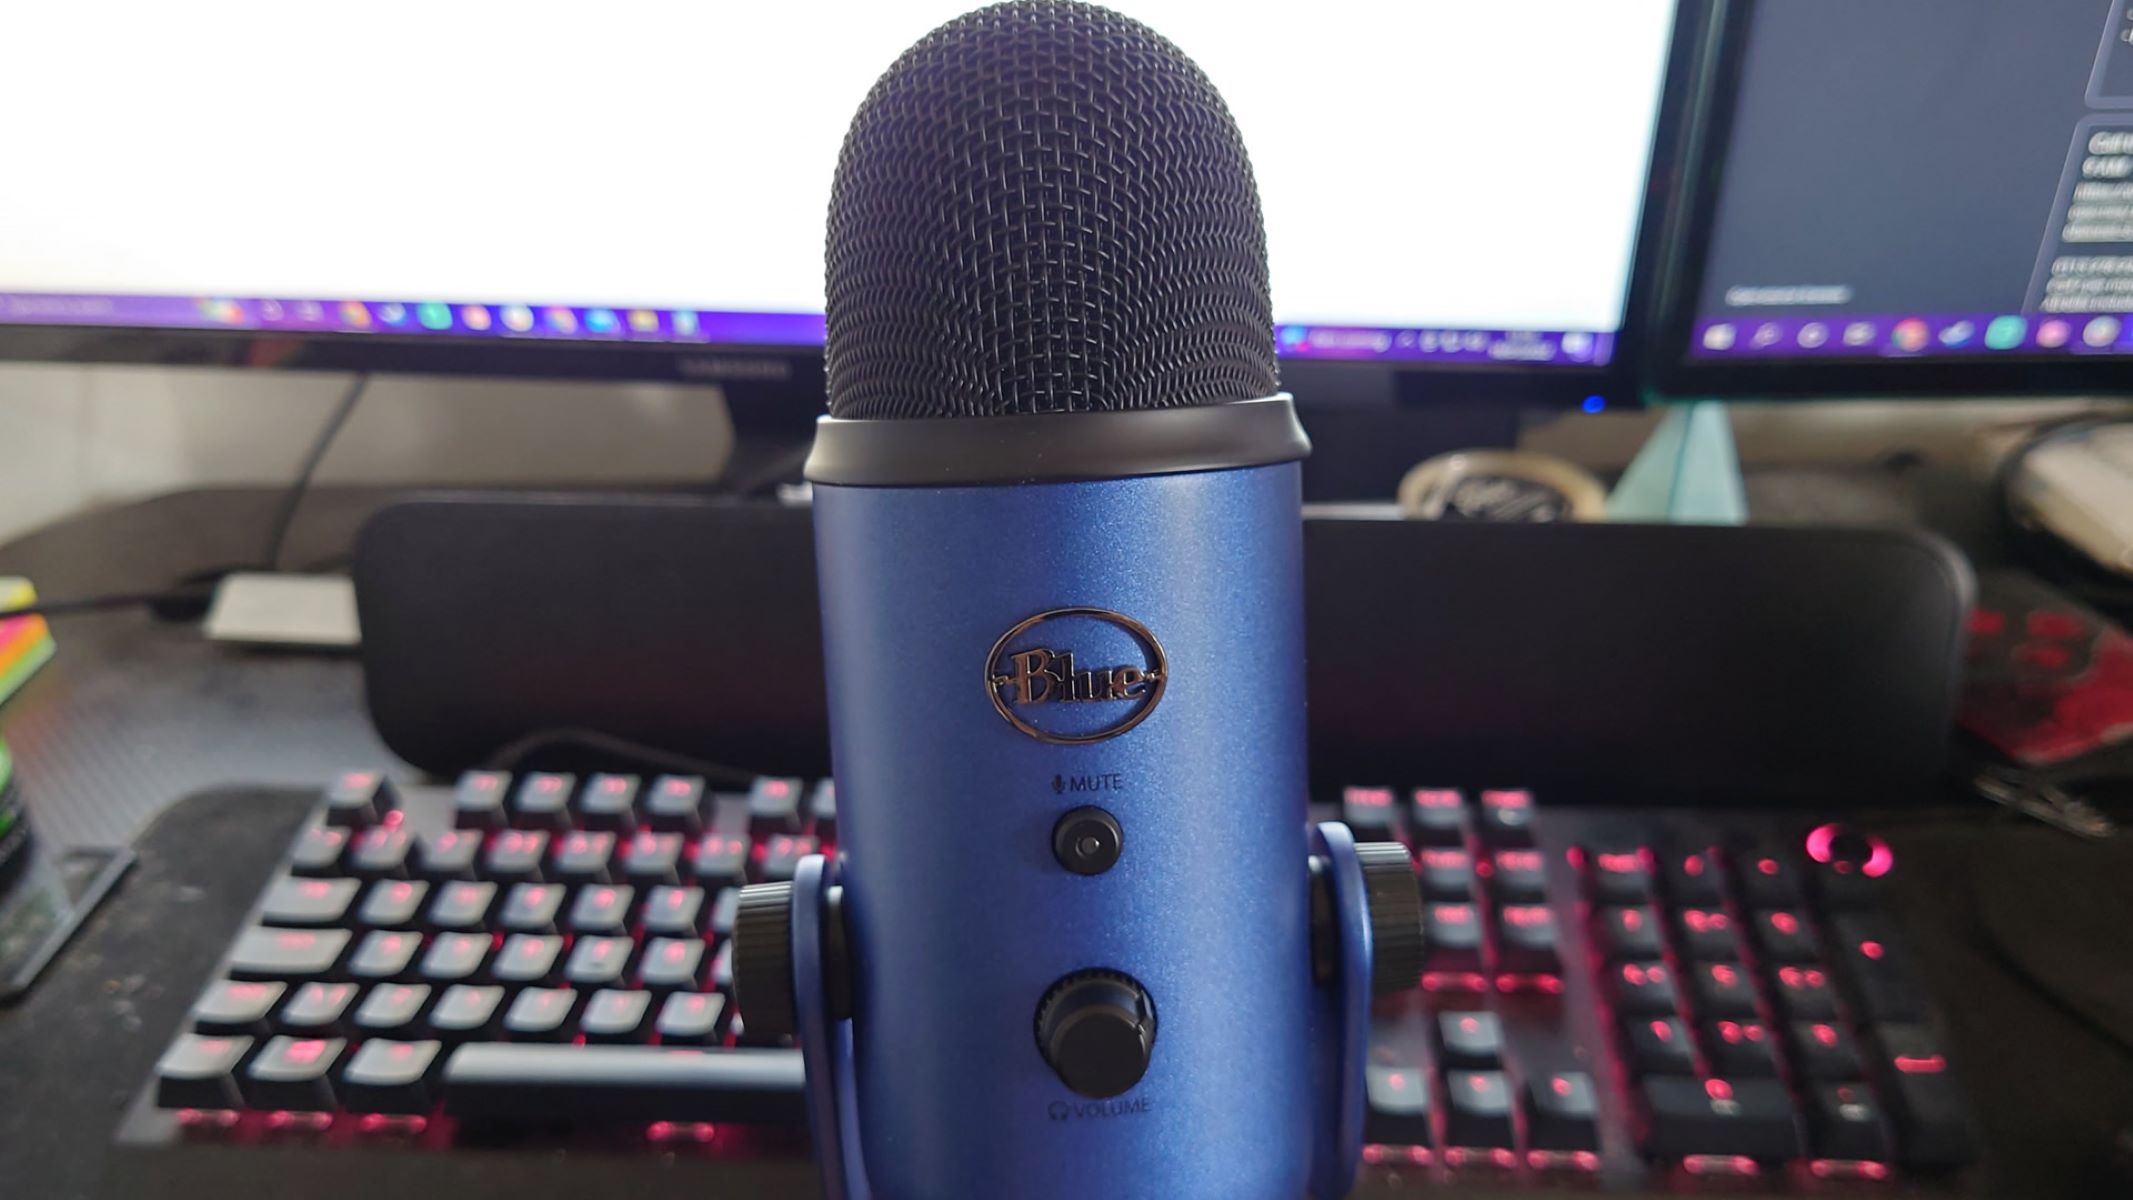
Blue Microphones are renowned for their exceptional audio quality and innovative designs, making them a popular choice among content creators, musicians, and audio professionals. Understanding the key features and functionality of a Blue Microphone is essential for harnessing its full potential when integrating it with a DSLR camera.
One of the standout features of Blue Microphones is their versatility, catering to a wide range of recording needs. Whether you opt for the Blue Yeti, Blue Snowball, or another model from their diverse lineup, these microphones offer various polar patterns, including cardioid, bidirectional, omnidirectional, and stereo. This versatility allows you to adapt the microphone’s sensitivity and directionality based on the recording environment and desired audio capture.
Furthermore, Blue Microphones are equipped with high-quality condenser capsules, enabling them to capture rich, detailed sound with exceptional clarity. This is particularly advantageous for capturing vocals, musical instruments, ambient sounds, and other audio sources with precision, contributing to a professional-grade audio recording.
Another noteworthy aspect of Blue Microphones is their user-friendly design and intuitive controls. Many models feature built-in gain control, headphone monitoring jacks, and mute buttons, providing convenient access to essential functions during recording sessions. Additionally, the plug-and-play nature of Blue Microphones facilitates seamless connectivity with various devices, including computers, audio interfaces, and, as we will explore, DSLR cameras.
By familiarizing yourself with the capabilities and characteristics of the Blue Microphone you intend to use, you can leverage its advanced features to capture exceptional audio that elevates the overall quality of your video productions. With this understanding in place, you are ready to explore the intricacies of integrating a Blue Microphone with a DSLR camera to achieve optimal audio-visual synergy.
Understanding the DSLR Camera
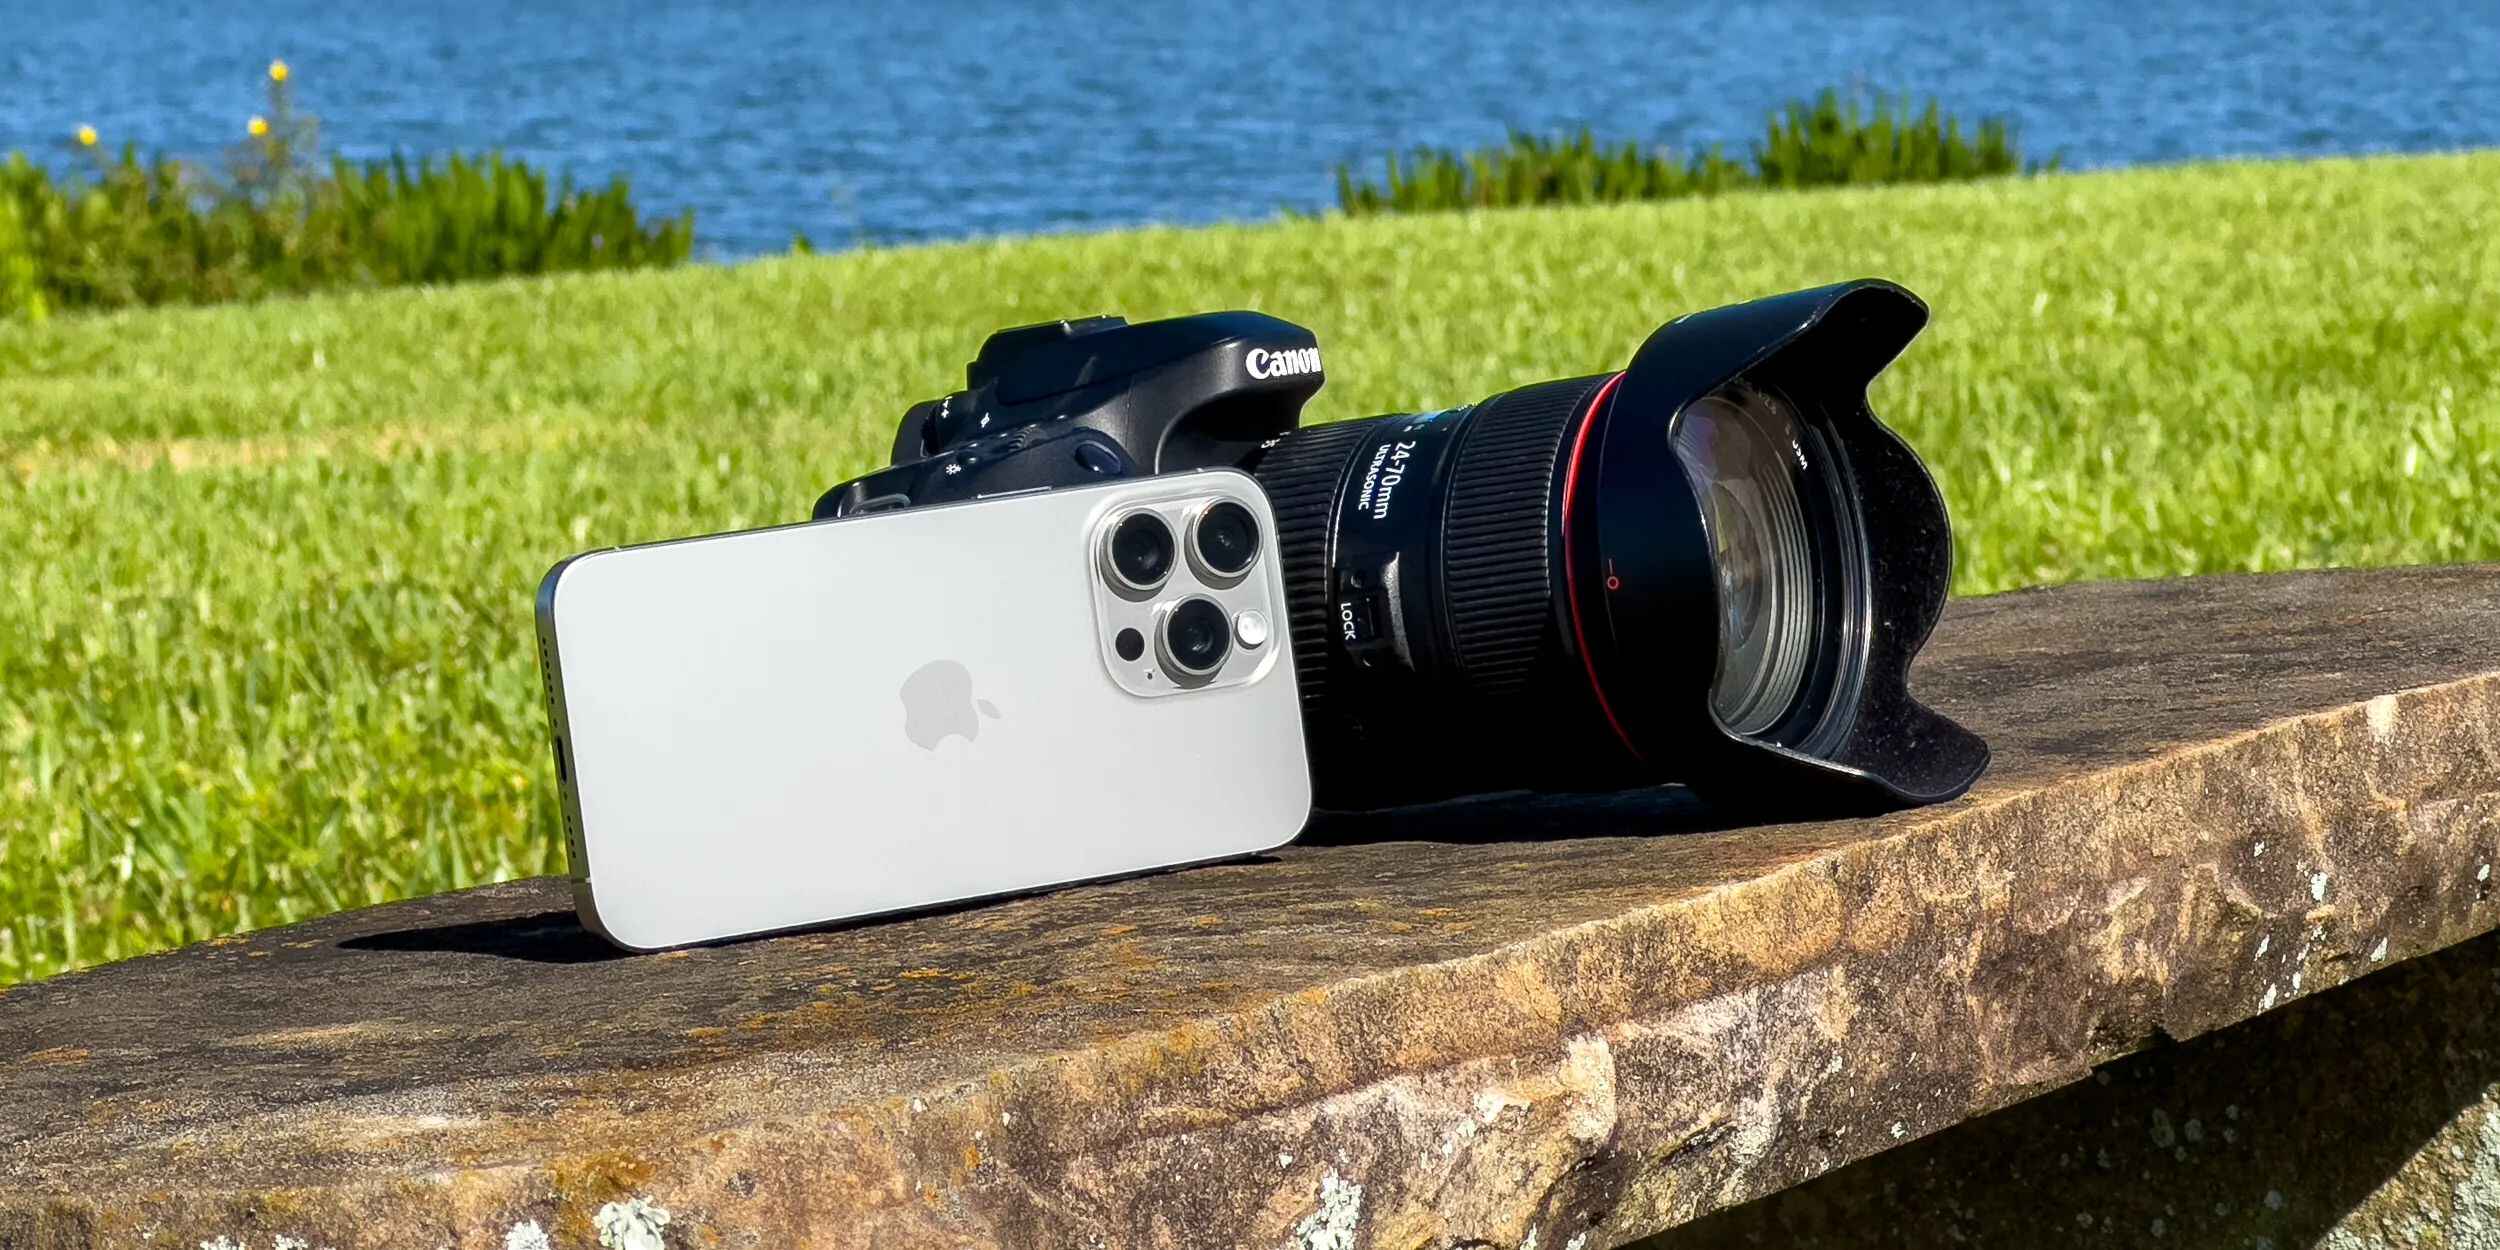
DSLR (Digital Single-Lens Reflex) cameras are revered for their versatility, high-quality imaging capabilities, and the ability to capture stunning visuals in various shooting conditions. While they are primarily known for their exceptional photography features, many DSLR models also offer impressive video recording functionality, making them a popular choice for videographers and content creators.
Key features of DSLR cameras that are particularly relevant to audio-visual integration include their interchangeable lenses, large image sensors, and advanced manual controls. The ability to use different lenses, such as wide-angle, prime, or zoom lenses, empowers videographers to achieve diverse perspectives and focal lengths, enhancing the visual storytelling potential of their productions.
Furthermore, the large image sensors found in DSLR cameras contribute to superior low-light performance and depth of field control, allowing for visually captivating footage even in challenging lighting conditions. This capability is especially beneficial for achieving cinematic aesthetics and capturing nuanced details in both still images and videos.
Moreover, the advanced manual controls offered by DSLR cameras, including adjustable aperture, shutter speed, and ISO settings, provide videographers with precise command over the exposure and overall look of their footage. This level of control is instrumental in achieving the desired visual style and ensuring consistency across different shooting scenarios.
Additionally, many modern DSLR cameras are equipped with audio input jacks, enabling the direct connection of external microphones for enhanced audio recording. This feature is pivotal for content creators who seek to elevate the production quality of their videos by capturing high-fidelity sound that complements the exceptional visuals provided by DSLR cameras.
By understanding the key features and capabilities of DSLR cameras, particularly in the context of video recording and audio integration, content creators and videographers can leverage the full potential of these powerful imaging tools to produce captivating and immersive visual content. With this knowledge at hand, we can proceed to explore the seamless integration of a Blue Microphone with a DSLR camera to achieve exceptional audio-visual synergy in video productions.
Connecting the Blue Microphone to the DSLR Camera
Integrating a Blue Microphone with a DSLR camera involves establishing a direct audio connection to ensure high-quality sound capture during video recording sessions. While DSLR cameras feature built-in microphones, their audio capabilities are often limited in comparison to external microphones, making the integration of a Blue Microphone a compelling choice for content creators seeking professional-grade audio performance.
The first step in connecting a Blue Microphone to a DSLR camera is to identify the appropriate interface for audio input on the camera. Many DSLR models are equipped with a 3.5mm microphone input jack, which serves as the primary connection point for external microphones, including the Blue Microphone. This standard interface allows for seamless compatibility and direct audio transfer from the microphone to the camera.
Once the microphone input jack on the DSLR camera is identified, the next step is to use a compatible audio cable to establish the connection between the Blue Microphone and the camera. Depending on the specific model of the Blue Microphone and the DSLR camera, it may be necessary to use a suitable audio cable with the appropriate connectors, such as a 3.5mm TRS (Tip-Ring-Sleeve) or TRRS (Tip-Ring-Ring-Sleeve) cable, to ensure a secure and reliable connection.
After connecting the Blue Microphone to the DSLR camera via the designated microphone input jack, it is essential to verify the stability of the connection and ensure that the cable is securely fastened to prevent any potential audio interruptions during recording. Additionally, it is advisable to position the microphone in a suitable location, such as on a shock mount or microphone stand, to optimize sound capture and minimize handling noise or vibrations.
By establishing a direct audio connection between the Blue Microphone and the DSLR camera, content creators can harness the microphone’s superior audio capture capabilities to elevate the overall sound quality of their video productions. With the physical connection in place, the next crucial step is to adjust the audio recording settings on the DSLR camera to optimize the sound input from the Blue Microphone, as we will explore in the following section.
Adjusting Settings for Audio Recording
After connecting the Blue Microphone to the DSLR camera, it is essential to configure the audio recording settings to ensure optimal sound capture and quality. DSLR cameras offer various audio settings that allow users to adjust the input levels, monitor audio levels, and select the appropriate recording format, contributing to the overall audio-visual synergy of the video production.
One of the primary settings to consider is the microphone input level or gain control. This setting determines the sensitivity of the microphone input and directly impacts the volume and clarity of the recorded audio. It is crucial to set the input level at an appropriate gain to prevent audio distortion or excessively low sound levels. Many DSLR cameras feature manual gain control, enabling users to fine-tune the input level based on the audio source and recording environment.
Furthermore, monitoring the audio levels during recording is essential to ensure that the sound input from the Blue Microphone is within the optimal range. DSLR cameras equipped with audio level meters or headphone monitoring jacks allow users to visually or audibly monitor the incoming audio signal, enabling real-time adjustments to maintain balanced and distortion-free sound capture.
Another crucial consideration is the selection of the audio recording format and quality settings. DSLR cameras typically offer options for recording audio in different formats, such as uncompressed PCM (Pulse Code Modulation) or compressed audio formats. Additionally, users can adjust the sample rate and bit depth to align with their specific audio recording requirements, ensuring that the captured sound maintains its fidelity and integrity throughout the recording process.
Additionally, some DSLR cameras provide advanced audio features, such as wind noise reduction, low-cut filters, and audio level limiters, which can enhance the overall audio recording experience when using an external microphone like the Blue Microphone. These features help mitigate unwanted environmental noise, improve the clarity of the recorded sound, and prevent audio peaks that could result in distortion.
By meticulously adjusting the audio recording settings on the DSLR camera to complement the capabilities of the Blue Microphone, content creators can achieve exceptional audio quality that enhances the overall impact of their video productions. With the settings optimized for audio recording, the next step is to test the integrated setup to ensure seamless functionality and superior audio-visual performance, as we will explore in the following section.
Testing the Setup
Before embarking on a video recording session, it is imperative to conduct a thorough test of the integrated setup comprising the Blue Microphone and the DSLR camera. Testing the setup allows content creators to verify the functionality of the audio-visual integration, assess the quality of sound capture, and address any potential issues or adjustments before commencing formal recording.
The initial step in testing the setup involves verifying the physical connection between the Blue Microphone and the DSLR camera. Confirm that the audio cable is securely connected to both devices, and there are no loose connections or interference that could impede the transmission of sound from the microphone to the camera. Additionally, ensure that the microphone is positioned appropriately to capture the desired audio source with optimal clarity and fidelity.
Once the physical connection is confirmed, proceed to test the audio input levels by speaking or generating sound near the Blue Microphone. Monitor the audio level meters on the DSLR camera or use the headphone monitoring feature to gauge the incoming sound levels. Adjust the microphone input level or gain control on the camera as needed to maintain balanced audio levels and prevent distortion or excessively low volume.
After confirming the audio input levels, conduct a brief recording test to capture a sample of audio using the integrated setup. Speak into the microphone or produce sound that represents the typical audio sources encountered during video recording sessions. This test recording allows content creators to assess the sound quality, clarity, and overall performance of the Blue Microphone in conjunction with the DSLR camera.
During the test recording, pay attention to any potential issues such as background noise, handling noise, or audio artifacts that may affect the quality of the recorded sound. Make adjustments to the microphone position, input levels, or audio settings on the DSLR camera as necessary to address these issues and optimize the sound capture for the intended video production.
By thoroughly testing the integrated setup, content creators can fine-tune the audio-visual synergy of the Blue Microphone and the DSLR camera to deliver exceptional audio quality that complements the high-definition visuals. This proactive approach ensures that the video recording session will proceed with confidence, knowing that the audio components are seamlessly integrated and optimized for superior performance.
Conclusion
Integrating a Blue Microphone with a DSLR camera to achieve professional-grade audio-visual synergy is a transformative endeavor for content creators and videographers. By understanding the key features of the Blue Microphone, gaining insight into the functionality of DSLR cameras, and learning how to effectively connect and adjust settings for optimal audio recording, individuals can elevate the overall quality of their video productions.
With a comprehensive understanding of the Blue Microphone’s advanced features, including its versatile polar patterns, high-quality condenser capsules, and user-friendly design, content creators can harness its exceptional audio capture capabilities to enhance the sound quality of their video recordings. This knowledge empowers them to leverage the microphone’s versatility and precision to capture vocals, musical instruments, ambient sounds, and other audio sources with remarkable clarity and detail.
Similarly, by delving into the capabilities of DSLR cameras, particularly in the context of video recording and audio integration, content creators gain the necessary insights to leverage the full potential of these powerful imaging tools. Understanding the interchangeable lenses, large image sensors, advanced manual controls, and audio input features of DSLR cameras enables individuals to produce captivating and immersive visual content while seamlessly integrating high-fidelity sound from the Blue Microphone.
Connecting the Blue Microphone to the DSLR camera involves establishing a direct audio connection and ensuring a secure and reliable link between the microphone and the camera’s microphone input jack. By carefully selecting the appropriate audio cable and positioning the microphone for optimal sound capture, content creators can seamlessly integrate the Blue Microphone with the DSLR camera to achieve exceptional audio-visual synergy.
Furthermore, adjusting the audio recording settings on the DSLR camera, including the microphone input level, audio monitoring, and recording format, allows content creators to optimize the sound input from the Blue Microphone and maintain balanced, distortion-free audio capture. Leveraging advanced audio features, such as wind noise reduction and low-cut filters, contributes to the overall clarity and fidelity of the recorded sound.
Thoroughly testing the integrated setup ensures that the Blue Microphone and the DSLR camera function harmoniously to deliver exceptional audio quality that complements the high-definition visuals. By conducting comprehensive tests and making necessary adjustments, content creators can proceed with confidence, knowing that the audio components are seamlessly integrated and optimized for superior performance.
By mastering the art of integrating a Blue Microphone with a DSLR camera, content creators and videographers can elevate the overall quality of their video productions, delivering captivating visuals accompanied by immersive, high-fidelity sound. This transformative process empowers individuals to create compelling audio-visual content that resonates with audiences and sets new standards for creative excellence.