Introduction
Introduction
So, you've captured some amazing moments with your trusty camcorder, and now you're eager to transfer the footage to your computer for editing, sharing, or safekeeping. The process of capturing video from your camcorder to your computer may seem daunting at first, but with the right tools and know-how, it can be a straightforward and rewarding experience.
In this guide, we'll walk you through the essential steps to seamlessly transfer your video recordings from your camcorder to your computer. From connecting your camcorder to selecting the right software, to the actual transfer process and video editing, we've got you covered. Whether you're a novice or a seasoned videographer, this comprehensive guide will equip you with the knowledge and confidence to make the most of your captured footage.
Capturing video from your camcorder to your computer opens up a world of possibilities. Once your footage is safely stored on your computer, you can edit it to perfection, add special effects, and create professional-looking videos. Furthermore, you can easily share your creations with friends and family, or even upload them to online platforms to showcase your talent to a wider audience.
With the rise of digital technology, the process of transferring video from a camcorder to a computer has become more streamlined and user-friendly. The availability of various software options and the prevalence of high-speed connectivity have made this task more accessible than ever. By following the steps outlined in this guide, you'll be well on your way to harnessing the full potential of your video recordings.
So, without further ado, let's dive into the intricacies of connecting your camcorder to your computer, choosing the right software, transferring your video files, and ultimately, editing and saving your precious footage. By the end of this guide, you'll be equipped with the knowledge and skills to effortlessly capture video from your camcorder to your computer, unlocking a world of creative possibilities.
Connecting Your Camcorder to Your Computer
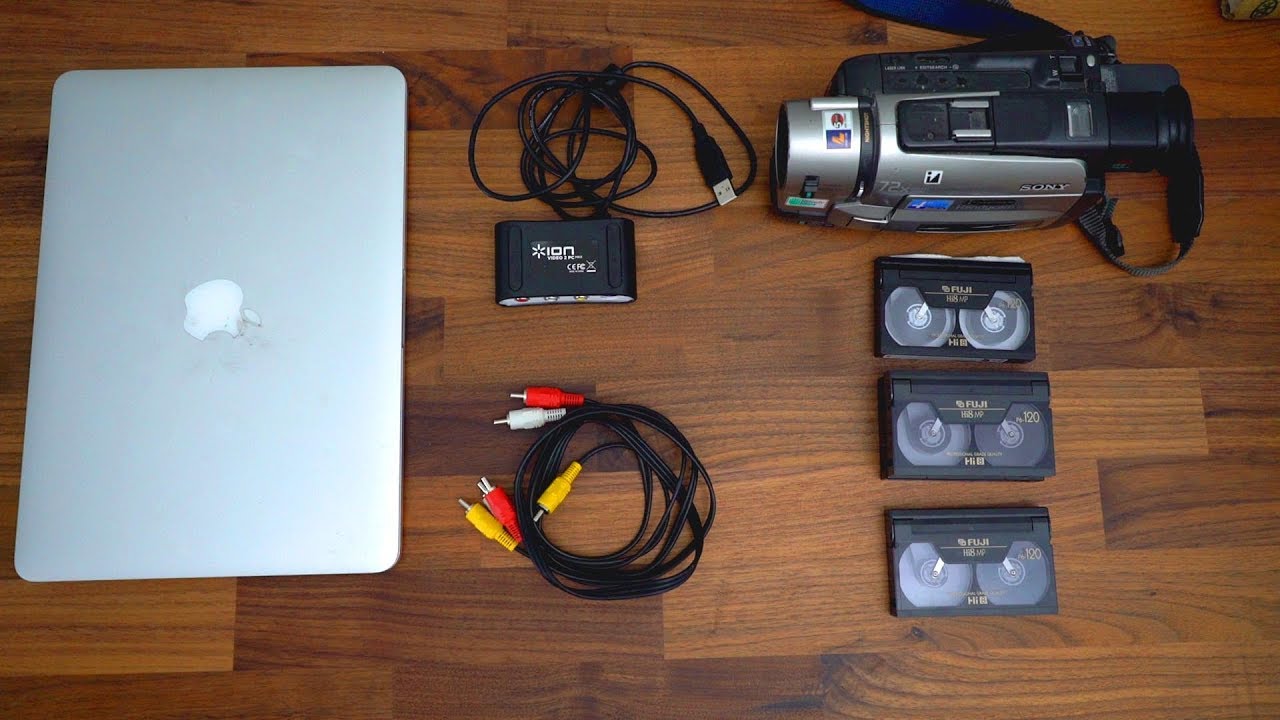
Before you can begin the process of transferring video from your camcorder to your computer, you’ll need to establish a physical connection between the two devices. The method of connection may vary depending on the type of camcorder you have and the available ports on your computer. Here’s a step-by-step guide to help you seamlessly connect your camcorder to your computer:
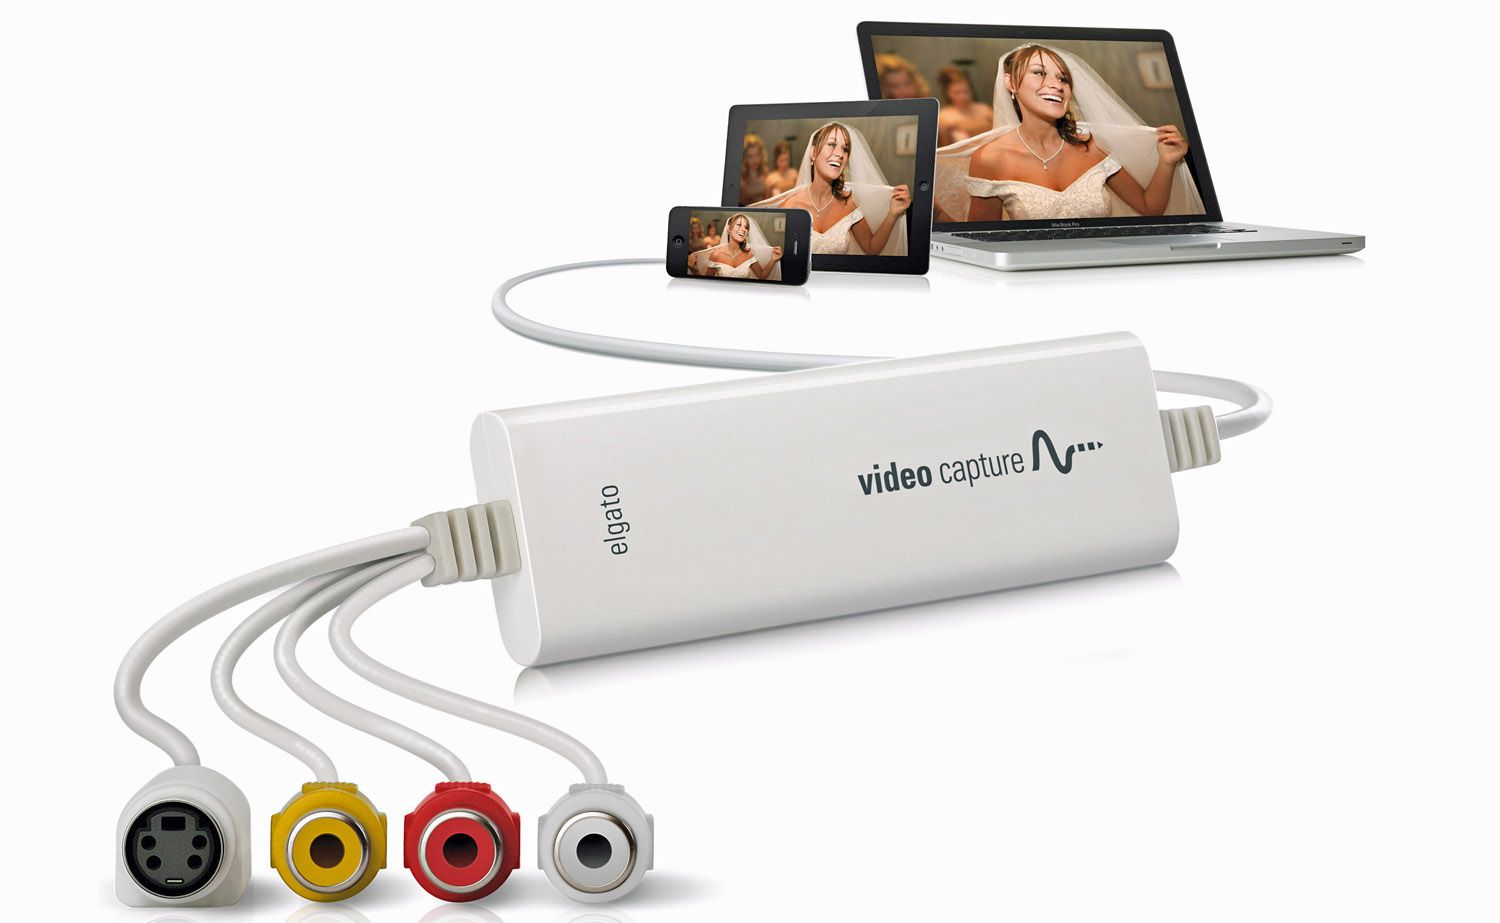
- Check Your Camcorder’s Ports: Start by identifying the ports available on your camcorder. Common ports include USB, HDMI, FireWire, and AV-out. Depending on the age and model of your camcorder, it may have one or more of these ports.
- Identify Your Computer’s Ports: Next, determine the available ports on your computer. Most modern computers have USB ports, while some may also feature FireWire or HDMI ports. Ensure that you have the necessary cables to connect your camcorder to your computer.
- Select the Appropriate Cable: Once you’ve identified the ports on both your camcorder and computer, select the appropriate cable to establish a connection. For USB connections, a standard USB cable with the compatible connectors for your camcorder and computer will suffice.
- Power Up Your Camcorder: Before connecting it to your computer, ensure that your camcorder is powered on. Some camcorders require you to switch to a specific mode, such as “PC Connect” or “Playback,” to enable data transfer.
- Connect the Cable: With your camcorder powered on, connect one end of the cable to the appropriate port on your camcorder and the other end to a vacant USB or FireWire port on your computer. If you’re using an HDMI cable, you may need an HDMI input device on your computer.
- Recognize the Connection: Once the cable is securely connected, your computer should recognize the camcorder as a new device. Depending on your operating system, you may receive a notification indicating that a new device has been detected.
By following these steps, you’ll establish a solid physical connection between your camcorder and computer, laying the groundwork for the subsequent stages of transferring and editing your video footage.
Choosing the Right Software
Once you’ve successfully connected your camcorder to your computer, the next crucial step is selecting the appropriate software to facilitate the transfer of video from your camcorder to your computer. The choice of software can significantly impact the ease and efficiency of the transfer process, as well as the subsequent editing and organization of your video files. Here are the key considerations when choosing the right software for your needs:
- Operating System Compatibility: Ensure that the software you select is compatible with your computer’s operating system. Whether you’re using Windows, macOS, or Linux, there are various software options tailored to each platform. Compatibility is essential to ensure seamless installation and functionality.
- Manufacturer’s Software: Many camcorder manufacturers provide proprietary software designed specifically for transferring and managing video files from their devices. These software offerings often provide seamless integration with the camcorder’s features and may offer additional functionalities tailored to the specific model.
- Video Editing Capabilities: If you plan to edit your video footage after transferring it to your computer, consider software that offers robust video editing capabilities. Look for features such as timeline editing, special effects, transitions, and audio enhancement tools to elevate the quality of your videos.
- File Management and Organization: Efficient file management is essential, especially if you capture a significant amount of video content. Choose software that allows you to easily organize and categorize your video files, making it simple to locate and access specific recordings when needed.
- Transfer Speed and Stability: Opt for software that ensures fast and stable transfer of video files from your camcorder to your computer. A reliable transfer process minimizes the risk of data loss or corruption, preserving the integrity of your valuable footage.
- User-Friendly Interface: The software’s user interface plays a crucial role in the overall user experience. Look for intuitive, user-friendly software that streamlines the transfer process, making it accessible to users of varying technical expertise.
By carefully considering these factors, you can make an informed decision when selecting the right software for capturing video from your camcorder to your computer. Whether you opt for manufacturer-provided software, third-party applications, or comprehensive video editing suites, the chosen software should align with your specific requirements and enhance your overall video capture and editing experience.
Transferring Video from Camcorder to Computer
With your camcorder successfully connected to your computer and the appropriate software in place, you’re now ready to embark on the crucial stage of transferring your video footage. This process involves moving the video files from your camcorder to your computer’s storage, allowing for easy access, editing, and sharing. Here’s a step-by-step guide to facilitate a seamless transfer of video from your camcorder to your computer:
- Launch the Software: Start by launching the software you’ve selected for transferring video files. Depending on the software, you may need to follow specific prompts to initiate the transfer process.
- Select the Transfer Option: Once the software is running, navigate to the section or feature that enables video transfer from your camcorder. This may involve selecting your camcorder as the source device and specifying the destination folder on your computer.
- Initiate the Transfer: With the source and destination identified, initiate the transfer process within the software. Depending on the size of the video files and the transfer speed, this process may take some time. Ensure that your computer remains powered and uninterrupted during the transfer.
- Monitor the Transfer Progress: Many software applications provide a visual progress indicator during the transfer process. Monitor this indicator to ensure that the transfer is proceeding smoothly and that no errors or interruptions occur.
- Verify the Transferred Files: Once the transfer is complete, verify that the video files have been successfully transferred to your computer. Navigate to the designated destination folder and confirm that the transferred files are intact and accessible.
- Safely Disconnect Your Camcorder: After confirming the successful transfer, safely disconnect your camcorder from your computer. Follow the manufacturer’s guidelines for safely ejecting the device to prevent data loss or damage.
By following these steps, you can effectively transfer video from your camcorder to your computer, ensuring that your valuable footage is securely stored and ready for further processing. With the video files now residing on your computer, you’re poised to explore the realm of video editing, organization, and sharing, leveraging the full potential of your captured content.
Editing and Saving Your Video
Now that you’ve successfully transferred your video footage from your camcorder to your computer, it’s time to unleash your creativity and bring your videos to life through the process of editing and saving. Whether you aim to refine the visual aesthetics, add captivating effects, or simply trim and arrange your footage, the editing phase allows you to craft compelling narratives and captivating visual experiences. Here’s a comprehensive guide to editing and saving your video content:
- Choose Your Editing Software: Select a video editing software that aligns with your editing goals and technical proficiency. Whether you opt for user-friendly entry-level software or professional-grade editing suites, ensure that the chosen software offers the features you require.
- Import Your Video Footage: Within your chosen editing software, import the video files that you transferred from your camcorder. Organize your footage into a logical structure, making it easier to access specific clips during the editing process.
- Explore Editing Tools: Familiarize yourself with the various editing tools available within the software. These may include timeline-based editing, transitions, special effects, audio manipulation, and color correction features. Experiment with these tools to enhance the visual appeal and storytelling aspects of your videos.
- Trim and Arrange Footage: Use the editing software to trim excess footage, arrange sequences, and create a cohesive narrative flow. Pay attention to pacing, continuity, and visual impact as you craft your video composition.
- Add Creative Elements: Elevate your videos by incorporating creative elements such as titles, captions, overlays, and visual effects. These elements can enhance the overall production value of your videos and engage viewers on a deeper level.
- Preview and Refine: Preview your edited video to assess the overall impact and identify areas for refinement. Make necessary adjustments to achieve the desired visual and narrative coherence.
- Save Your Edited Video: Once you’re satisfied with the editing process, save your edited video in the desired format and resolution. Consider the intended use of the video – whether for online sharing, personal archives, or professional presentations – and select the appropriate settings for optimal playback.
By following these steps, you can unleash your creative vision and transform your raw video footage into polished, captivating visual stories. With the editing process complete, you now have a refined video ready for sharing with your audience, whether it’s through online platforms, personal archives, or professional presentations. Embrace the power of video editing to amplify the impact of your captured moments and showcase your storytelling prowess.


