Introduction
Welcome to the world of videography! Installing a camcorder device is an exciting endeavor that opens up a realm of creative possibilities. Whether you're an aspiring filmmaker, a vlogger, or simply looking to capture precious moments, a camcorder can be an invaluable tool. In this guide, we'll walk through the step-by-step process of setting up your camcorder device, from unboxing to conducting the initial test.
Installing a camcorder involves several key steps, each of which is essential to ensure smooth operation and optimal performance. By following this guide, you'll gain a comprehensive understanding of how to set up your camcorder and be well-equipped to start recording high-quality videos.
Before we dive into the installation process, it's important to note that each camcorder model may have specific requirements and features. Therefore, it's crucial to refer to the manufacturer's instructions and user manual for detailed guidance. Additionally, make sure to have a clear workspace with ample lighting and a power source to facilitate the installation process.
Now, let's embark on this journey to unleash the full potential of your camcorder device. Get ready to capture life's moments in stunning detail and bring your creative vision to life!
Step 1: Unboxing and Checking the Contents
The first step in installing your camcorder device is the exciting process of unboxing. Carefully remove the camcorder from its packaging, ensuring that you handle it with the utmost care to prevent any damage. As you unbox the device, take note of the various components and accessories included in the package. These may include:
- Camcorder body
- Lens
- Battery
- Battery charger
- Memory card
- USB cable
- User manual and warranty information
Once you have all the components laid out, carefully inspect each item to ensure that it is in perfect condition. Look for any signs of damage or missing parts. It’s essential to address any issues with the contents before proceeding with the installation.
Next, familiarize yourself with the various buttons, ports, and features of the camcorder body. This will provide you with a basic understanding of the device’s layout and prepare you for the installation process. Additionally, take a moment to review the user manual to gain insights into the functions and capabilities of your specific camcorder model.
By thoroughly checking the contents and becoming acquainted with the components, you’ll set the stage for a smooth and successful installation process. With everything in order, you’re now ready to move on to the next step of installing the battery and memory card.
Step 2: Installing the Battery and Memory Card
With the contents of the camcorder package checked and in good condition, it’s time to proceed to the next crucial step: installing the battery and memory card. These components are essential for powering the camcorder and storing your captured footage, so it’s important to handle them with care.
Begin by locating the battery and the battery compartment on the camcorder body. Depending on the model, the battery compartment may be located on the bottom or rear of the device. Carefully insert the battery into the compartment, ensuring that it is securely in place. Most camcorder batteries have a specific orientation for insertion, so be mindful of aligning the contacts correctly.
Once the battery is installed, it’s time to insert the memory card. Locate the memory card slot on the camcorder, typically found near the battery compartment or on the side of the device. Gently insert the memory card into the slot, taking care to align it in the correct orientation. Push the memory card into place until it clicks, indicating that it is securely inserted.
Before proceeding, it’s important to verify that both the battery and memory card are properly installed. Check for any indication that they are not fully seated or inserted incorrectly. Proper installation of these components is crucial for the camcorder to function optimally and avoid potential issues during operation.
With the battery and memory card successfully installed, your camcorder is now equipped with the necessary power source and storage capacity to begin capturing unforgettable moments. The next step involves attaching the lens and any additional accessories to further enhance the capabilities of your camcorder.
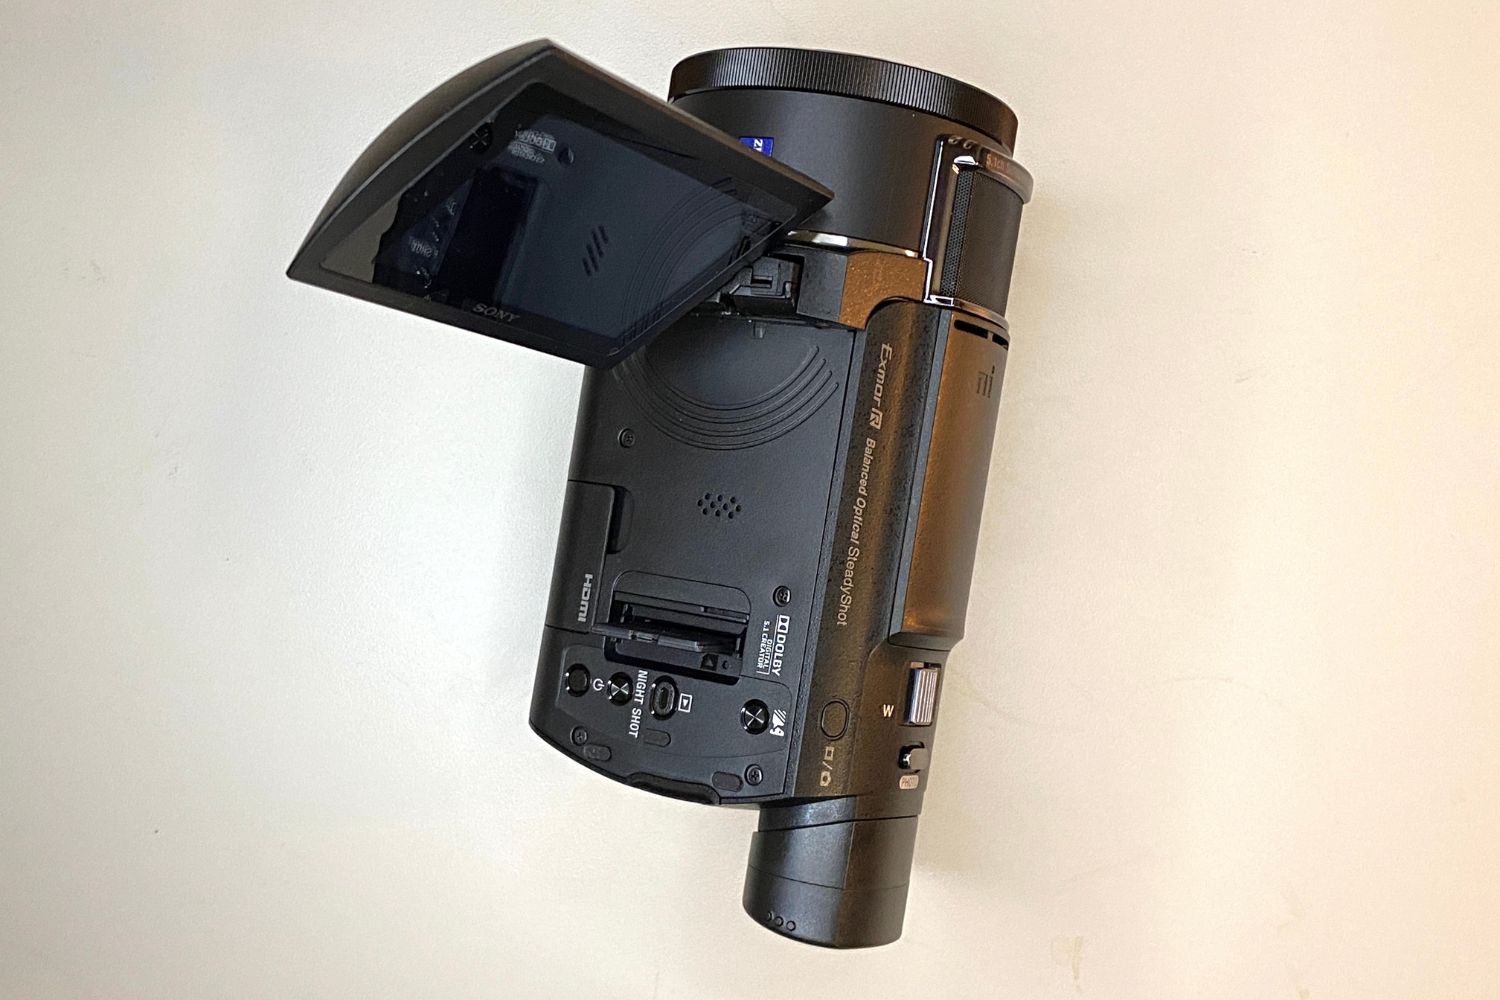
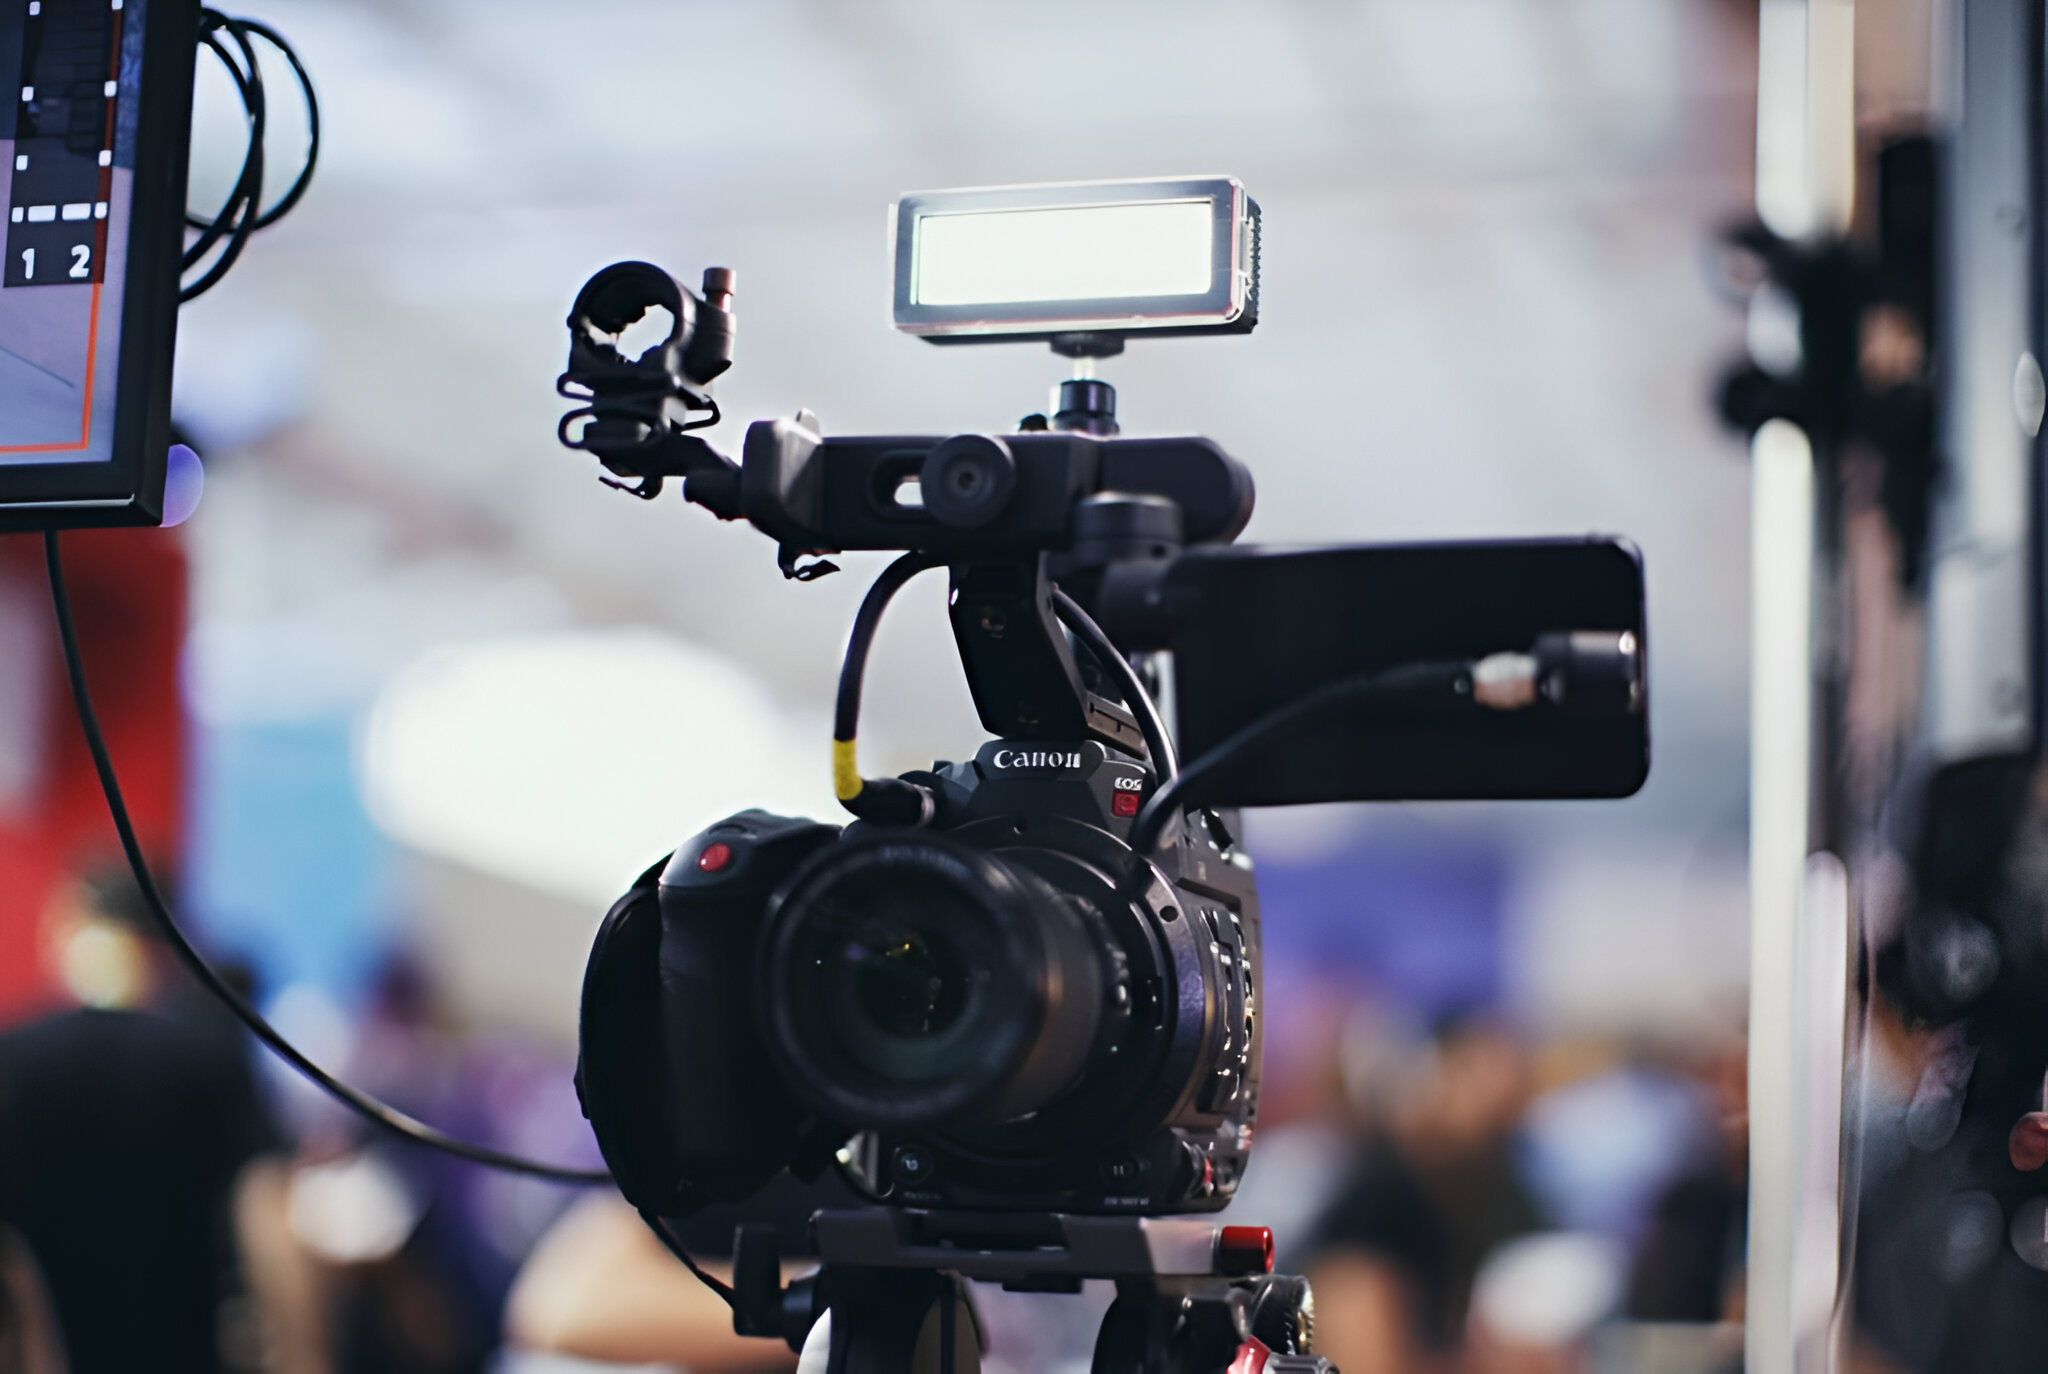
Step 3: Attaching the Lens and Accessories
As you progress with the installation of your camcorder device, the next step involves attaching the lens and any additional accessories that may enhance its functionality. The lens is a critical component that directly impacts the quality and versatility of the footage you capture, making it essential to handle it with care during the attachment process.
Begin by removing the lens cap and carefully aligning the lens with the designated mount on the camcorder body. Depending on the model, the lens attachment mechanism may involve aligning guide marks or rotating the lens until it locks into place. Ensure that the lens is securely attached to the camcorder to prevent any potential issues during operation.
Once the lens is attached, take a moment to inspect it for any smudges or dust particles that may affect the quality of your footage. Use a lens cleaning cloth to gently remove any imperfections, ensuring that the lens is in optimal condition for capturing clear and sharp images.
Depending on your specific camcorder model, there may be additional accessories or attachments that can further expand its capabilities. These may include external microphones, lens filters, or external lighting equipment. If applicable, carefully attach these accessories according to the manufacturer’s instructions, ensuring that they are securely fitted to the camcorder.
By attaching the lens and any additional accessories with precision and attention to detail, you’ll maximize the potential of your camcorder device and be well-prepared to capture a diverse range of subjects and environments. With the lens and accessories in place, the next step involves connecting the camcorder to a computer to facilitate the installation of necessary software.
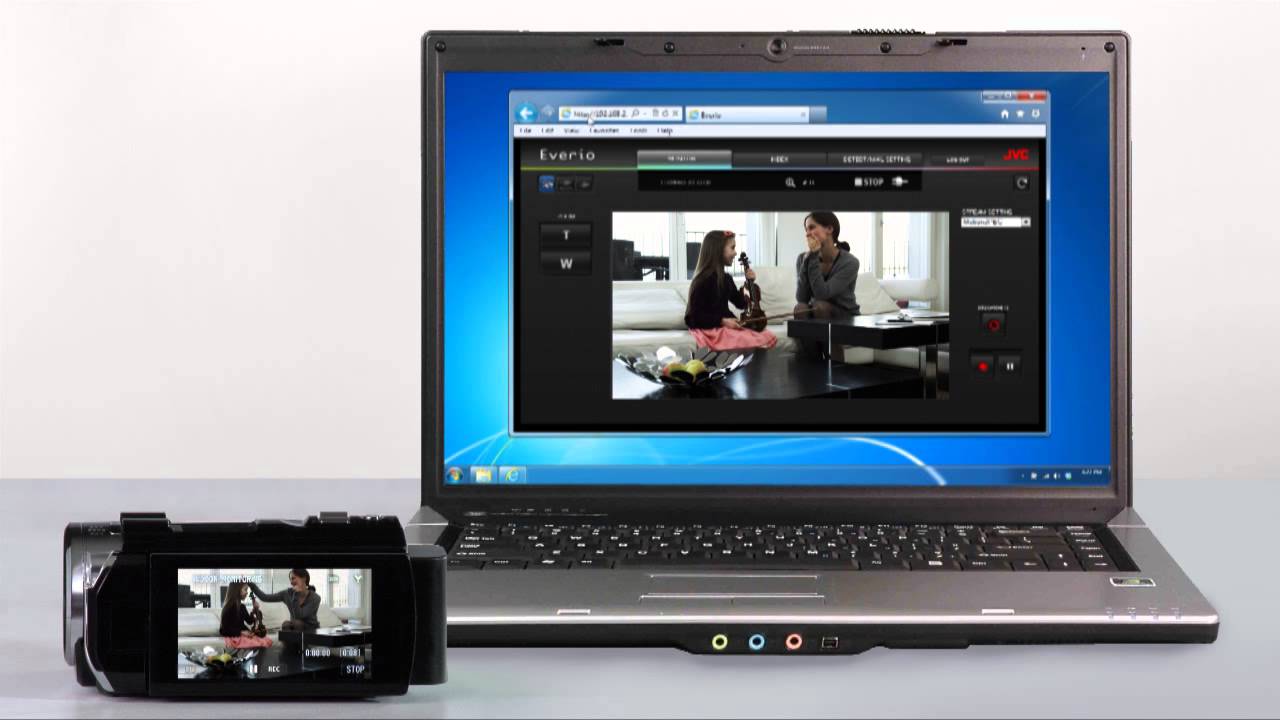
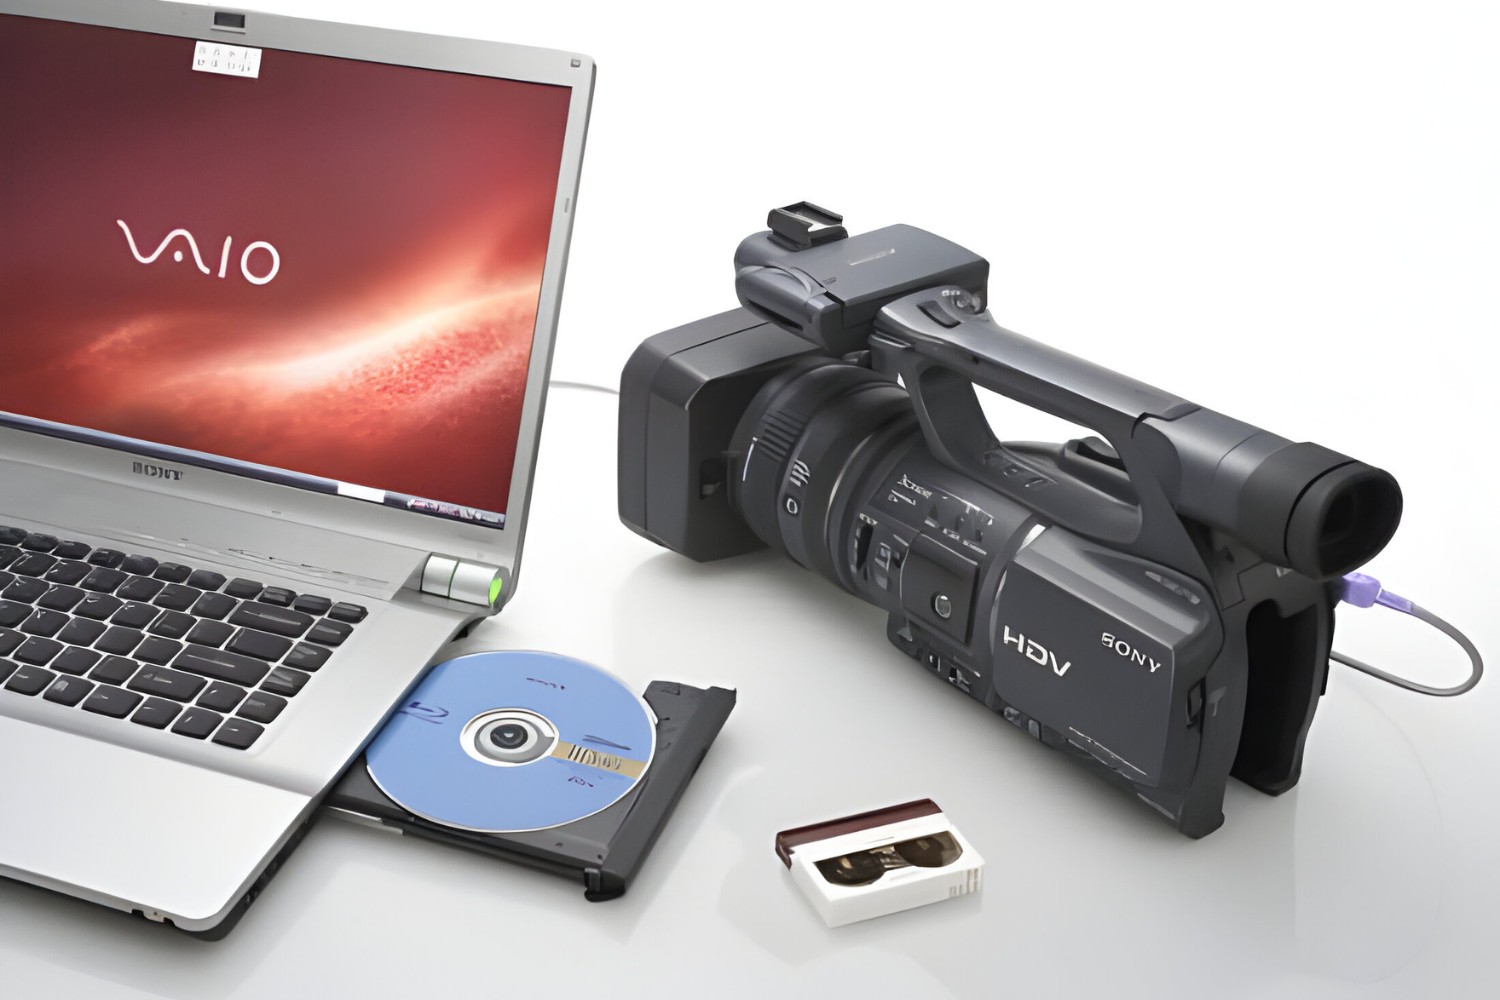
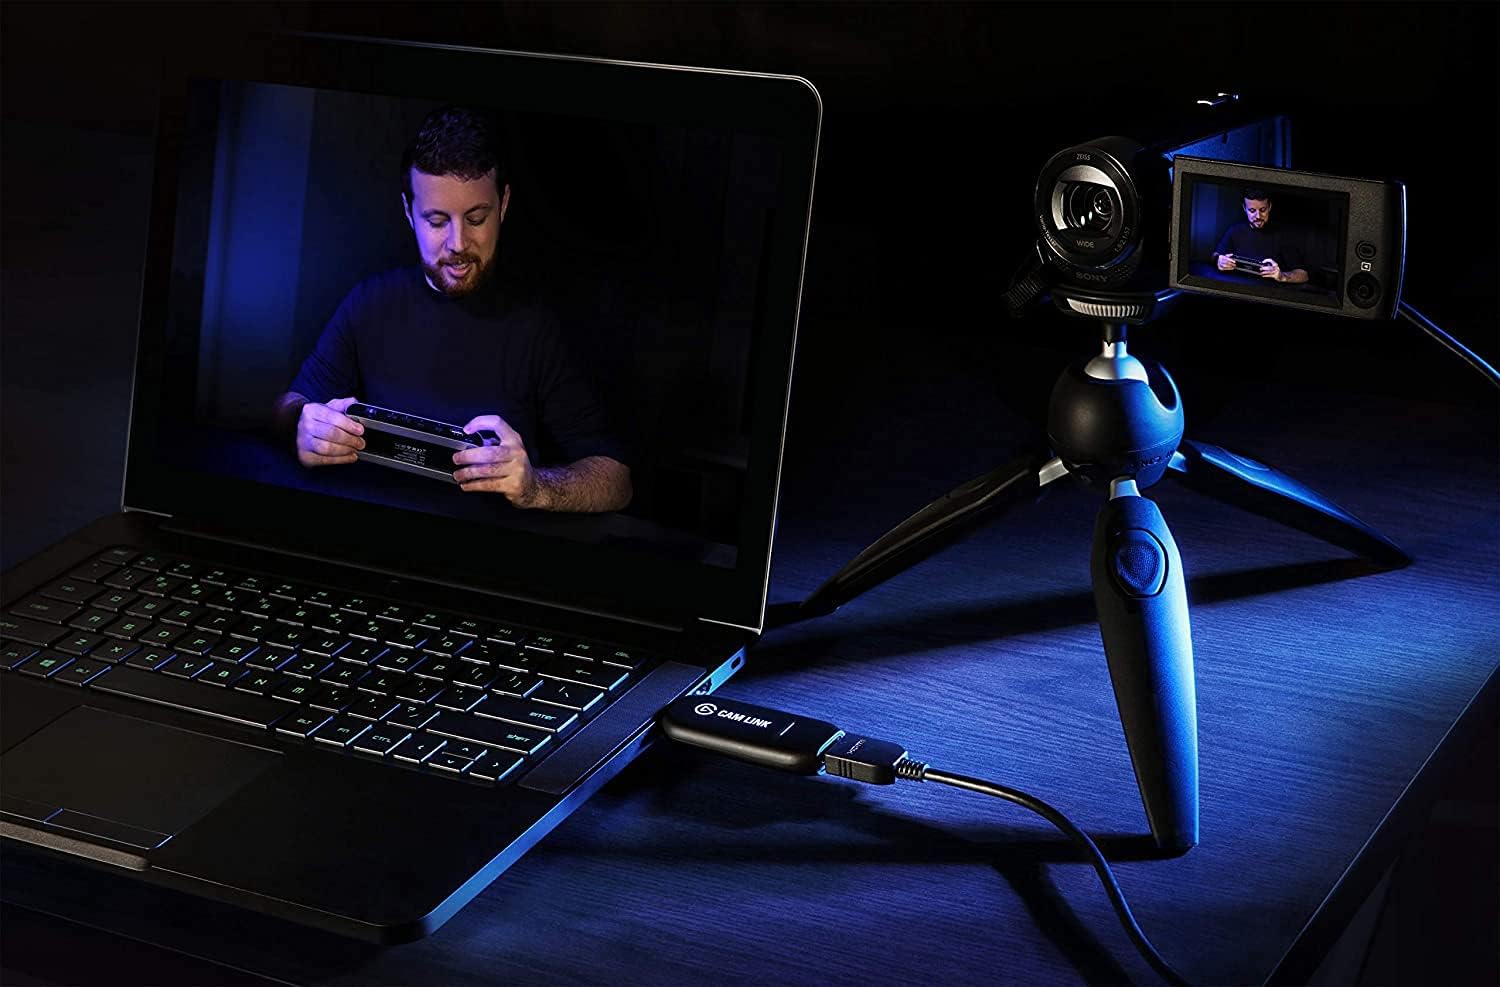
Step 4: Connecting the Camcorder to a Computer
Connecting your camcorder to a computer is a pivotal step in the installation process, as it facilitates the transfer of captured footage and enables the installation of essential software for managing and editing your videos. Before proceeding, ensure that your computer is powered on and has the necessary USB ports available for the connection.
Begin by locating the appropriate USB cable included with your camcorder. Depending on the model, the cable may have specific connectors for the camcorder and the computer. Carefully connect one end of the USB cable to the designated port on the camcorder, ensuring a secure fit to establish a reliable connection.
With the camcorder end of the USB cable securely attached, locate an available USB port on your computer. Insert the opposite end of the USB cable into the USB port, taking care to align the connector correctly. Once connected, your computer should recognize the camcorder as a removable storage device, allowing you to access the captured footage and transfer it to your computer for further processing.
It’s important to note that some camcorder models may require specific drivers or software to be installed on your computer to enable seamless connectivity and file transfer. Refer to the user manual or the manufacturer’s instructions to determine if any additional software is necessary for your particular camcorder model.
By successfully connecting your camcorder to your computer, you’ll gain access to your captured videos and be ready to proceed with the installation of any required software to manage and edit your footage. With the camcorder connected, the next step involves installing the necessary software to fully utilize the capabilities of your device.
Step 5: Installing the Necessary Software
Once your camcorder is connected to your computer, the next crucial step is to install the necessary software to manage, edit, and enhance your captured footage. Depending on your camcorder model and the specific features it offers, the required software may vary. It’s essential to follow the manufacturer’s recommendations and instructions to ensure seamless compatibility and functionality.
Begin by referring to the user manual or the documentation provided with your camcorder to identify the recommended software for managing and editing your videos. Many camcorder manufacturers offer proprietary software tailored to their devices, providing intuitive tools for organizing, editing, and sharing your video content.
Visit the manufacturer’s official website or the designated support page to download the recommended software for your camcorder model. Ensure that you select the appropriate software version compatible with your computer’s operating system to avoid any compatibility issues during installation.
Once the software is downloaded, proceed with the installation process by following the provided instructions. This typically involves running the installation file and following the on-screen prompts to complete the setup. During the installation, you may have the option to customize the installation settings based on your preferences.
After the software is successfully installed, launch the application and familiarize yourself with its features and capabilities. Depending on the software provided, you may have access to tools for organizing your video library, editing footage, applying effects, and exporting your finalized videos in various formats.
By installing the recommended software for your camcorder, you’ll unlock the full potential of your device and gain access to powerful tools for managing and enhancing your video content. With the software installed and ready for use, the next step involves testing your camcorder to ensure that it is functioning as expected.
Step 6: Testing the Camcorder
With the camcorder device fully set up and the necessary software installed, it’s time to conduct a comprehensive test to ensure that the device is functioning optimally and ready to capture stunning footage. Testing the camcorder allows you to familiarize yourself with its features, settings, and performance, providing valuable insights into its capabilities.
Before initiating the test, ensure that the camcorder is powered on and that the battery has been adequately charged. Additionally, verify that the memory card has been inserted correctly and has sufficient storage capacity to accommodate the test footage.
Begin by navigating through the camcorder’s menu to review and adjust the settings according to your preferences. This may include configuring the resolution, frame rate, white balance, and other settings that impact the quality and characteristics of the captured footage. Familiarize yourself with the camcorder’s interface and controls to navigate through its various modes and features.
Once you have configured the settings to your liking, aim the camcorder at a suitable subject or scene to begin recording. Capture a variety of footage in different lighting conditions and environments to assess the camcorder’s performance across diverse scenarios. Pay attention to the clarity, color accuracy, and stability of the footage as you record various scenes.
While testing the camcorder, explore its additional features and functionalities, such as zoom capabilities, image stabilization, and audio recording. Experiment with different shooting angles and camera movements to gauge the versatility and responsiveness of the camcorder in capturing dynamic content.
After capturing the test footage, review the recordings on the camcorder’s display or transfer them to your computer for a more detailed analysis. Evaluate the quality of the footage, audio clarity, and overall performance to identify any areas that may require adjustments or further exploration.
By conducting a thorough test of the camcorder, you’ll gain valuable insights into its capabilities and be better prepared to leverage its features for your creative endeavors. With the test completed, you can confidently embark on your videography journey, equipped with a fully installed and tested camcorder ready to capture life’s memorable moments.
Conclusion
Congratulations! You have successfully navigated through the installation process of your camcorder device, from unboxing and checking the contents to conducting a comprehensive test of its capabilities. By following the step-by-step guide, you have gained a thorough understanding of how to set up your camcorder and unleash its full potential for capturing high-quality videos.
Throughout the installation process, you have meticulously unboxed the camcorder, ensuring that all components and accessories are in pristine condition and ready for use. You have installed the battery and memory card, providing the essential power source and storage capacity for your camcorder’s operations.
Attaching the lens and any additional accessories has expanded the capabilities of your camcorder, allowing you to capture a diverse range of subjects and environments with precision and creativity. Connecting the camcorder to your computer and installing the necessary software has facilitated seamless file transfer and provided powerful tools for managing and enhancing your video content.
Finally, by conducting a comprehensive test of the camcorder, you have familiarized yourself with its features, settings, and performance, ensuring that it is ready to capture stunning footage across various scenarios. Your diligence and attention to detail throughout the installation process have equipped you with the knowledge and confidence to embark on your videography journey.
As you venture into the world of videography, continue to explore the capabilities of your camcorder, experiment with different shooting techniques, and unleash your creativity to produce captivating videos. Refer to the user manual and manufacturer’s resources for ongoing support and guidance as you further hone your skills and expand your videography repertoire.
With your camcorder fully installed and tested, you are now poised to capture life’s memorable moments with precision, artistry, and the assurance of a well-prepared videography setup at your disposal.