Introduction
When faced with a broken camcorder screen, retrieving your precious videos may seem like an insurmountable challenge. However, there are several methods you can employ to access the footage stored on your camcorder, even with a non-functional screen. Whether you opt to use a TV or external monitor, a computer, or a video capture device, each approach offers a viable solution to recover your videos. By following the steps outlined in this guide, you can successfully retrieve your video files and continue enjoying your captured memories.
In the following sections, we will explore each method in detail, providing step-by-step instructions to help you navigate the process with ease. Regardless of your technical expertise, these methods are designed to be accessible and user-friendly, ensuring that you can retrieve your videos without the need for advanced technical knowledge or specialized equipment. Let's delve into these solutions and empower you to overcome the obstacle presented by a broken camcorder screen.
By leveraging the available technology and adopting a resourceful mindset, you can effectively extract the videos from your camcorder and preserve your cherished moments. Whether you choose to connect your camcorder to a TV or external monitor, transfer the videos to a computer, or utilize a video capture device, the options available to you are versatile and adaptable to your specific circumstances. With a proactive approach and the guidance provided in this article, you can successfully retrieve your videos and continue reliving the memories captured by your camcorder.
Using a TV or External Monitor
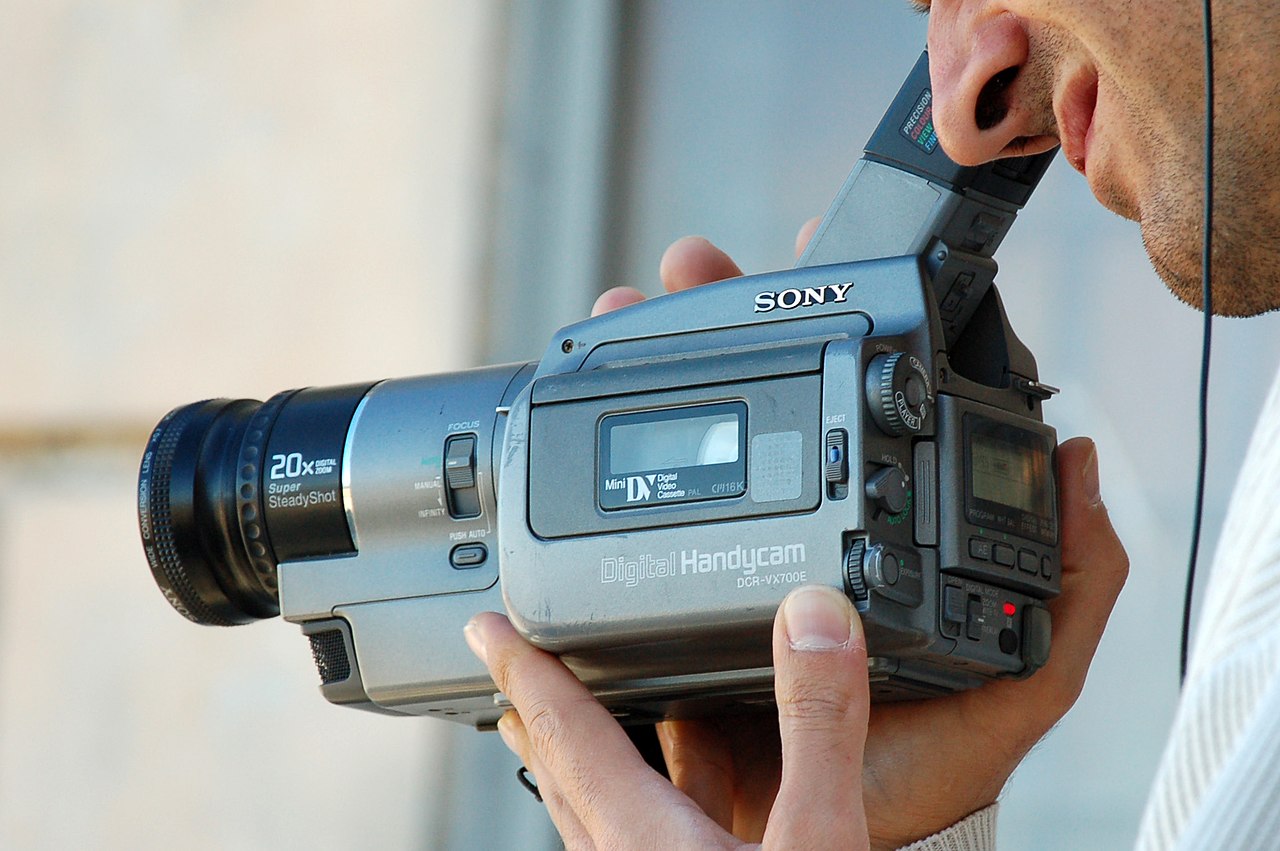
If your camcorder has a broken screen, using a TV or an external monitor is an effective method to access and view your videos. Most camcorders are equipped with an AV-out port, which allows you to connect the camcorder to a TV or monitor using the appropriate cables. Here’s how you can retrieve your videos using this method:
- Locate the AV-out port: Examine your camcorder for the AV-out port, typically a 3.5mm or 2.5mm jack, and identify the corresponding cable required for connection to a TV or monitor.
- Connect the camcorder to the TV or monitor: Using the compatible AV cable, connect the camcorder to the TV or external monitor. Ensure that both devices are powered on and set to the appropriate input source.
- Access the video playback: Once connected, navigate the camcorder’s menu or controls to initiate video playback. The videos should be displayed on the TV or monitor, allowing you to view and select the desired files for playback or transfer.
By following these simple steps, you can effectively bypass the broken screen on your camcorder and access your videos using a TV or external monitor. This method provides a straightforward and practical solution, enabling you to continue enjoying your captured moments without the hindrance of a malfunctioning camcorder screen.
Using a TV or external monitor not only facilitates video playback but also allows you to transfer the videos to another storage device, such as a computer or external hard drive, for safekeeping. This approach offers versatility and convenience, making it a valuable option for retrieving videos from a camcorder with a broken screen.
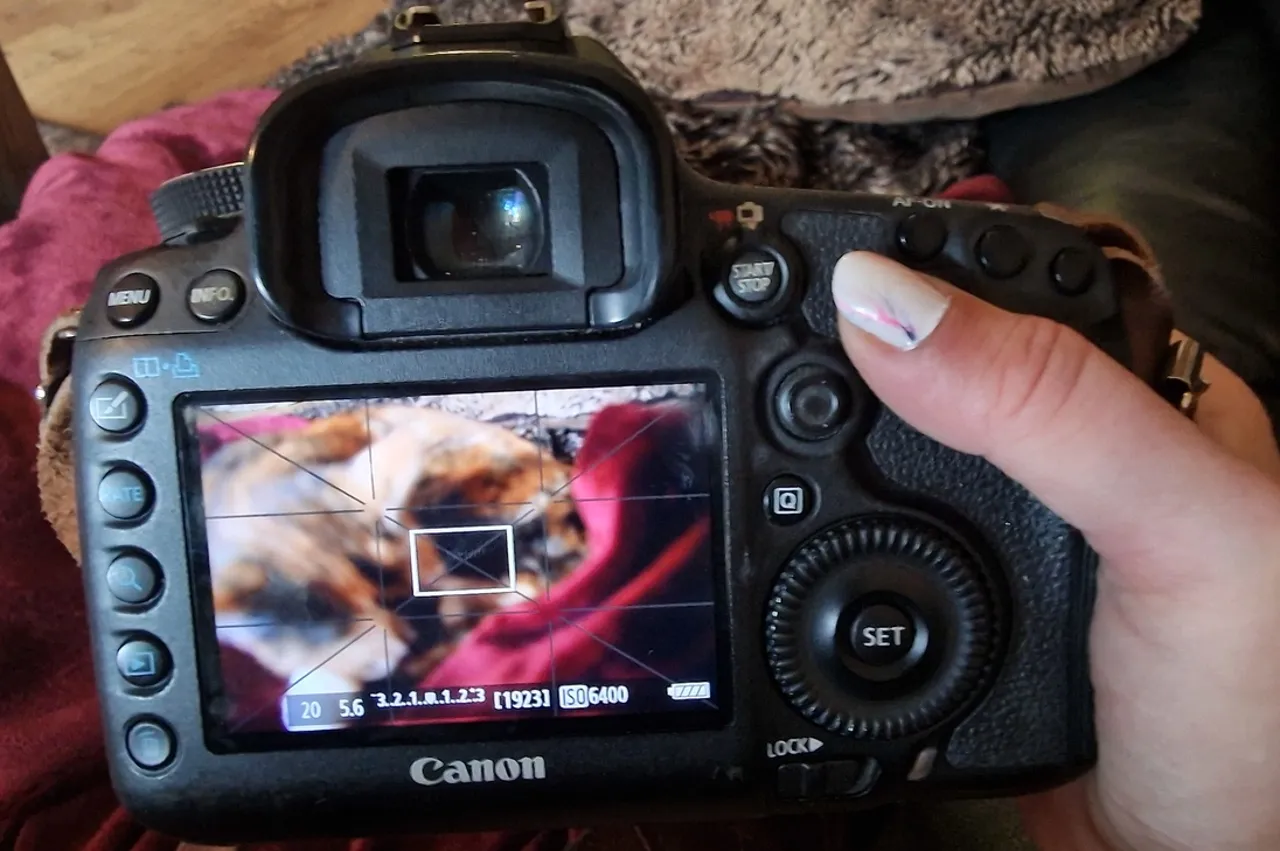
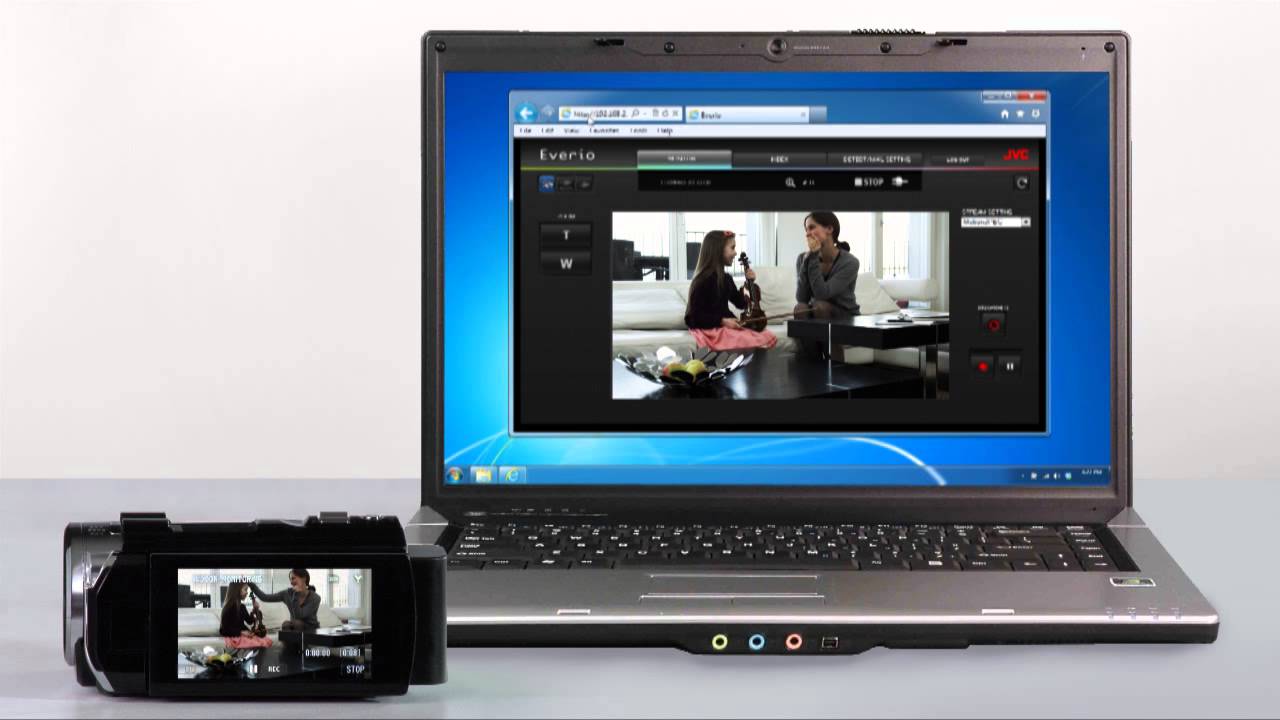
Using a Computer
When faced with a broken camcorder screen, leveraging a computer provides an alternative method to retrieve your videos. By connecting your camcorder to a computer, you can access and transfer the video files, allowing you to preserve and enjoy your captured memories. Here’s how you can accomplish this:
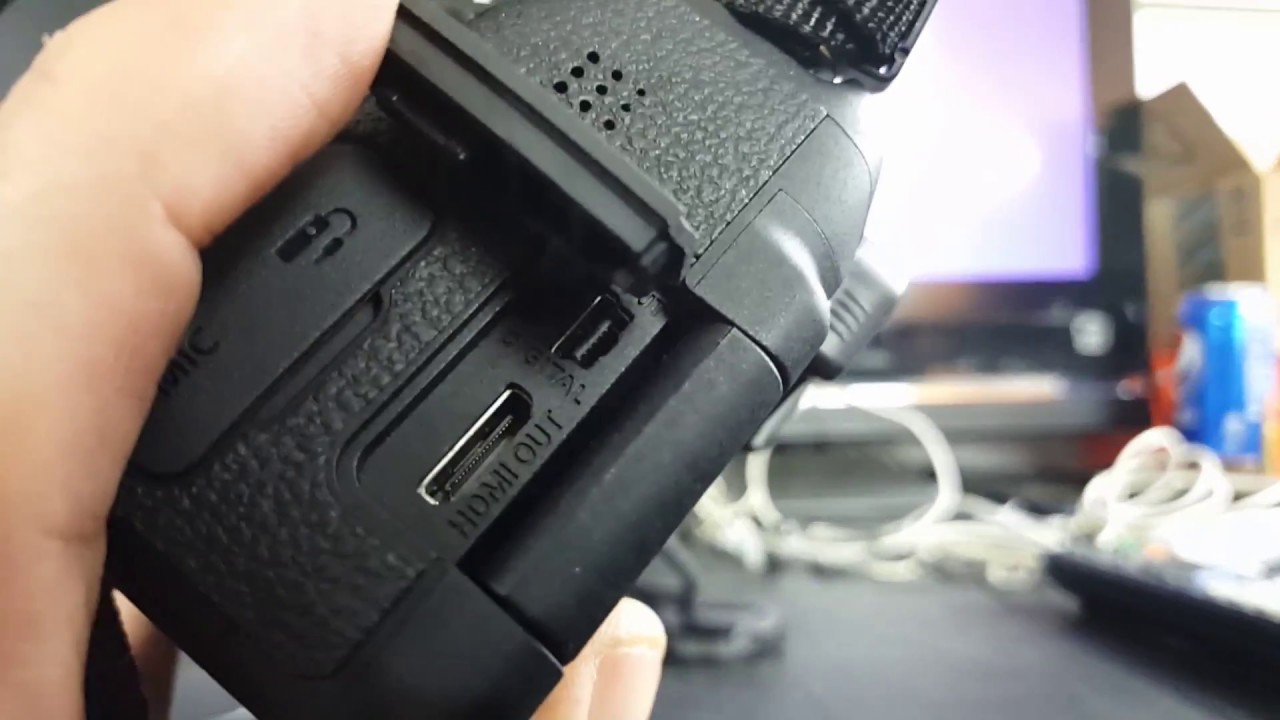
- Identify the connection port: Locate the appropriate port on your camcorder for connecting to a computer. This may be a USB port or another type of interface, depending on the model of your camcorder.
- Connect the camcorder to the computer: Use the compatible cable to connect your camcorder to the USB port on your computer. Ensure that both devices are powered on and ready for the connection.
- Access the camcorder storage: Upon successful connection, your computer should recognize the camcorder as an external storage device. Navigate to the file explorer or media management software on your computer to access the camcorder’s storage and locate the video files.
- Transfer the videos: Once you have accessed the video files, you can proceed to transfer them to your computer’s hard drive or another storage location. This ensures that your videos are safely preserved and accessible for future viewing.
Using a computer to retrieve videos from a camcorder with a broken screen offers a convenient and efficient solution. This method not only allows you to access the videos but also provides the opportunity to organize and store them securely on your computer, ensuring that your cherished memories remain intact.
By following these straightforward steps, you can successfully bypass the obstacle posed by a broken camcorder screen and gain access to your video files using a computer. This method is adaptable to various camcorder models and is designed to simplify the process of video retrieval, empowering you to continue enjoying your captured moments.
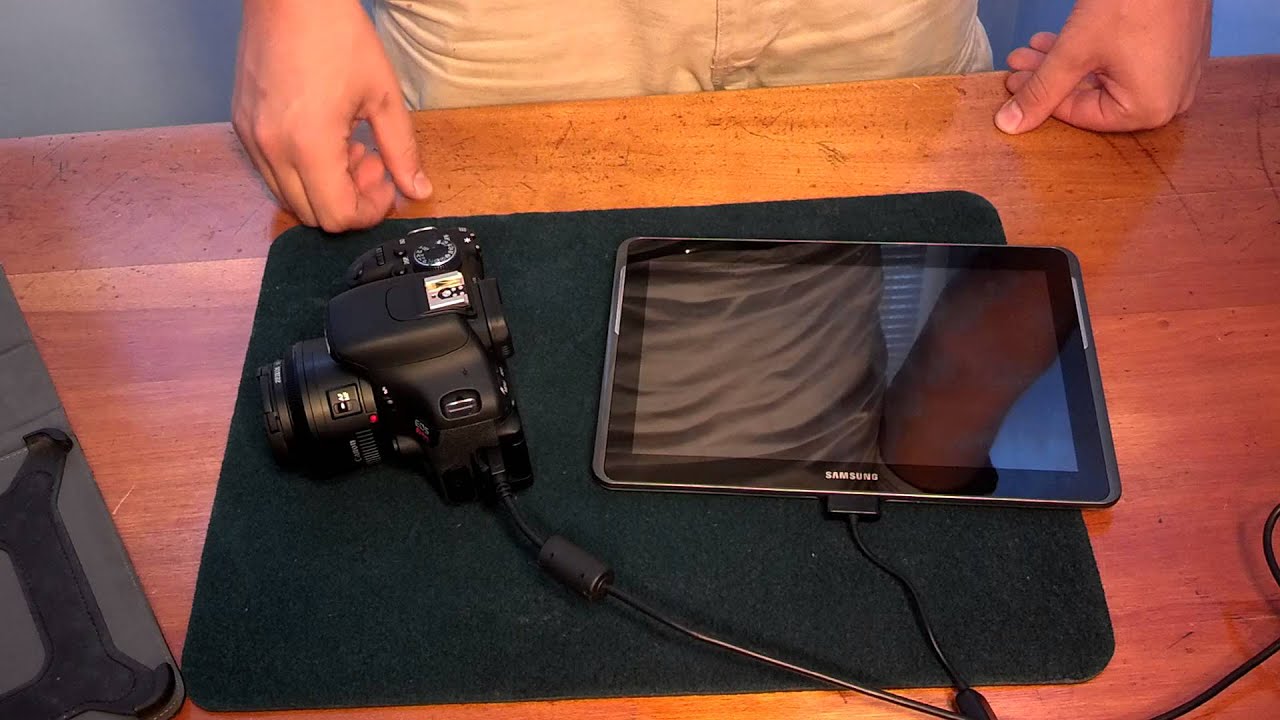
Using a Video Capture Device
When confronted with a broken camcorder screen, employing a video capture device offers an effective method to retrieve your videos and bypass the screen-related hindrance. A video capture device serves as an intermediary tool, enabling you to transfer the video feed from your camcorder to a computer or storage device without relying on the camcorder’s screen. Here’s how you can utilize a video capture device to access your videos:
- Acquire a video capture device: Obtain a video capture device that is compatible with your camcorder and computer. These devices are available in various models and connectivity options, allowing you to select one that suits your specific requirements.
- Connect the camcorder to the video capture device: Using the appropriate cables and connectors, establish a connection between your camcorder and the video capture device. Ensure that the connections are secure and the devices are powered on.
- Connect the video capture device to the computer: Once the camcorder is linked to the video capture device, connect the capture device to your computer using the provided interface or cable. This establishes a pathway for transferring the video feed to your computer for viewing and storage.
- Initiate video capture and transfer: Utilize the software or application associated with the video capture device to initiate the video feed transfer from your camcorder to the computer. Follow the provided instructions to ensure a seamless transfer process.
Utilizing a video capture device offers a practical and versatile solution for retrieving videos from a camcorder with a broken screen. This method circumvents the screen-related impediment and empowers you to access and preserve your videos with ease.
By following these steps and leveraging a video capture device, you can effectively overcome the challenge posed by a broken camcorder screen and continue enjoying your captured memories. This method provides a seamless and reliable approach to video retrieval, ensuring that your cherished moments remain accessible and intact.