Introduction
So, you've just captured some amazing moments on your Panasonic camcorder and now you're eager to relive those memories on the big screen. Connecting your Panasonic camcorder to your TV is a straightforward process that will allow you to enjoy your videos with friends and family in the comfort of your living room. Whether you want to review your footage, share it with others, or simply enjoy it on a larger display, linking your camcorder to your TV is the way to go.
In this step-by-step guide, you'll learn how to easily hook up your Panasonic camcorder to your TV and start watching your videos in no time. All you need are a few simple tools and a clear understanding of the connection process. By following these instructions, you'll be able to seamlessly transfer your videos from your camcorder to your TV screen, creating an immersive viewing experience for everyone involved. Let's dive in and get ready to connect your Panasonic camcorder to your TV for an enjoyable video playback experience.
Step 1: Gather the necessary cables
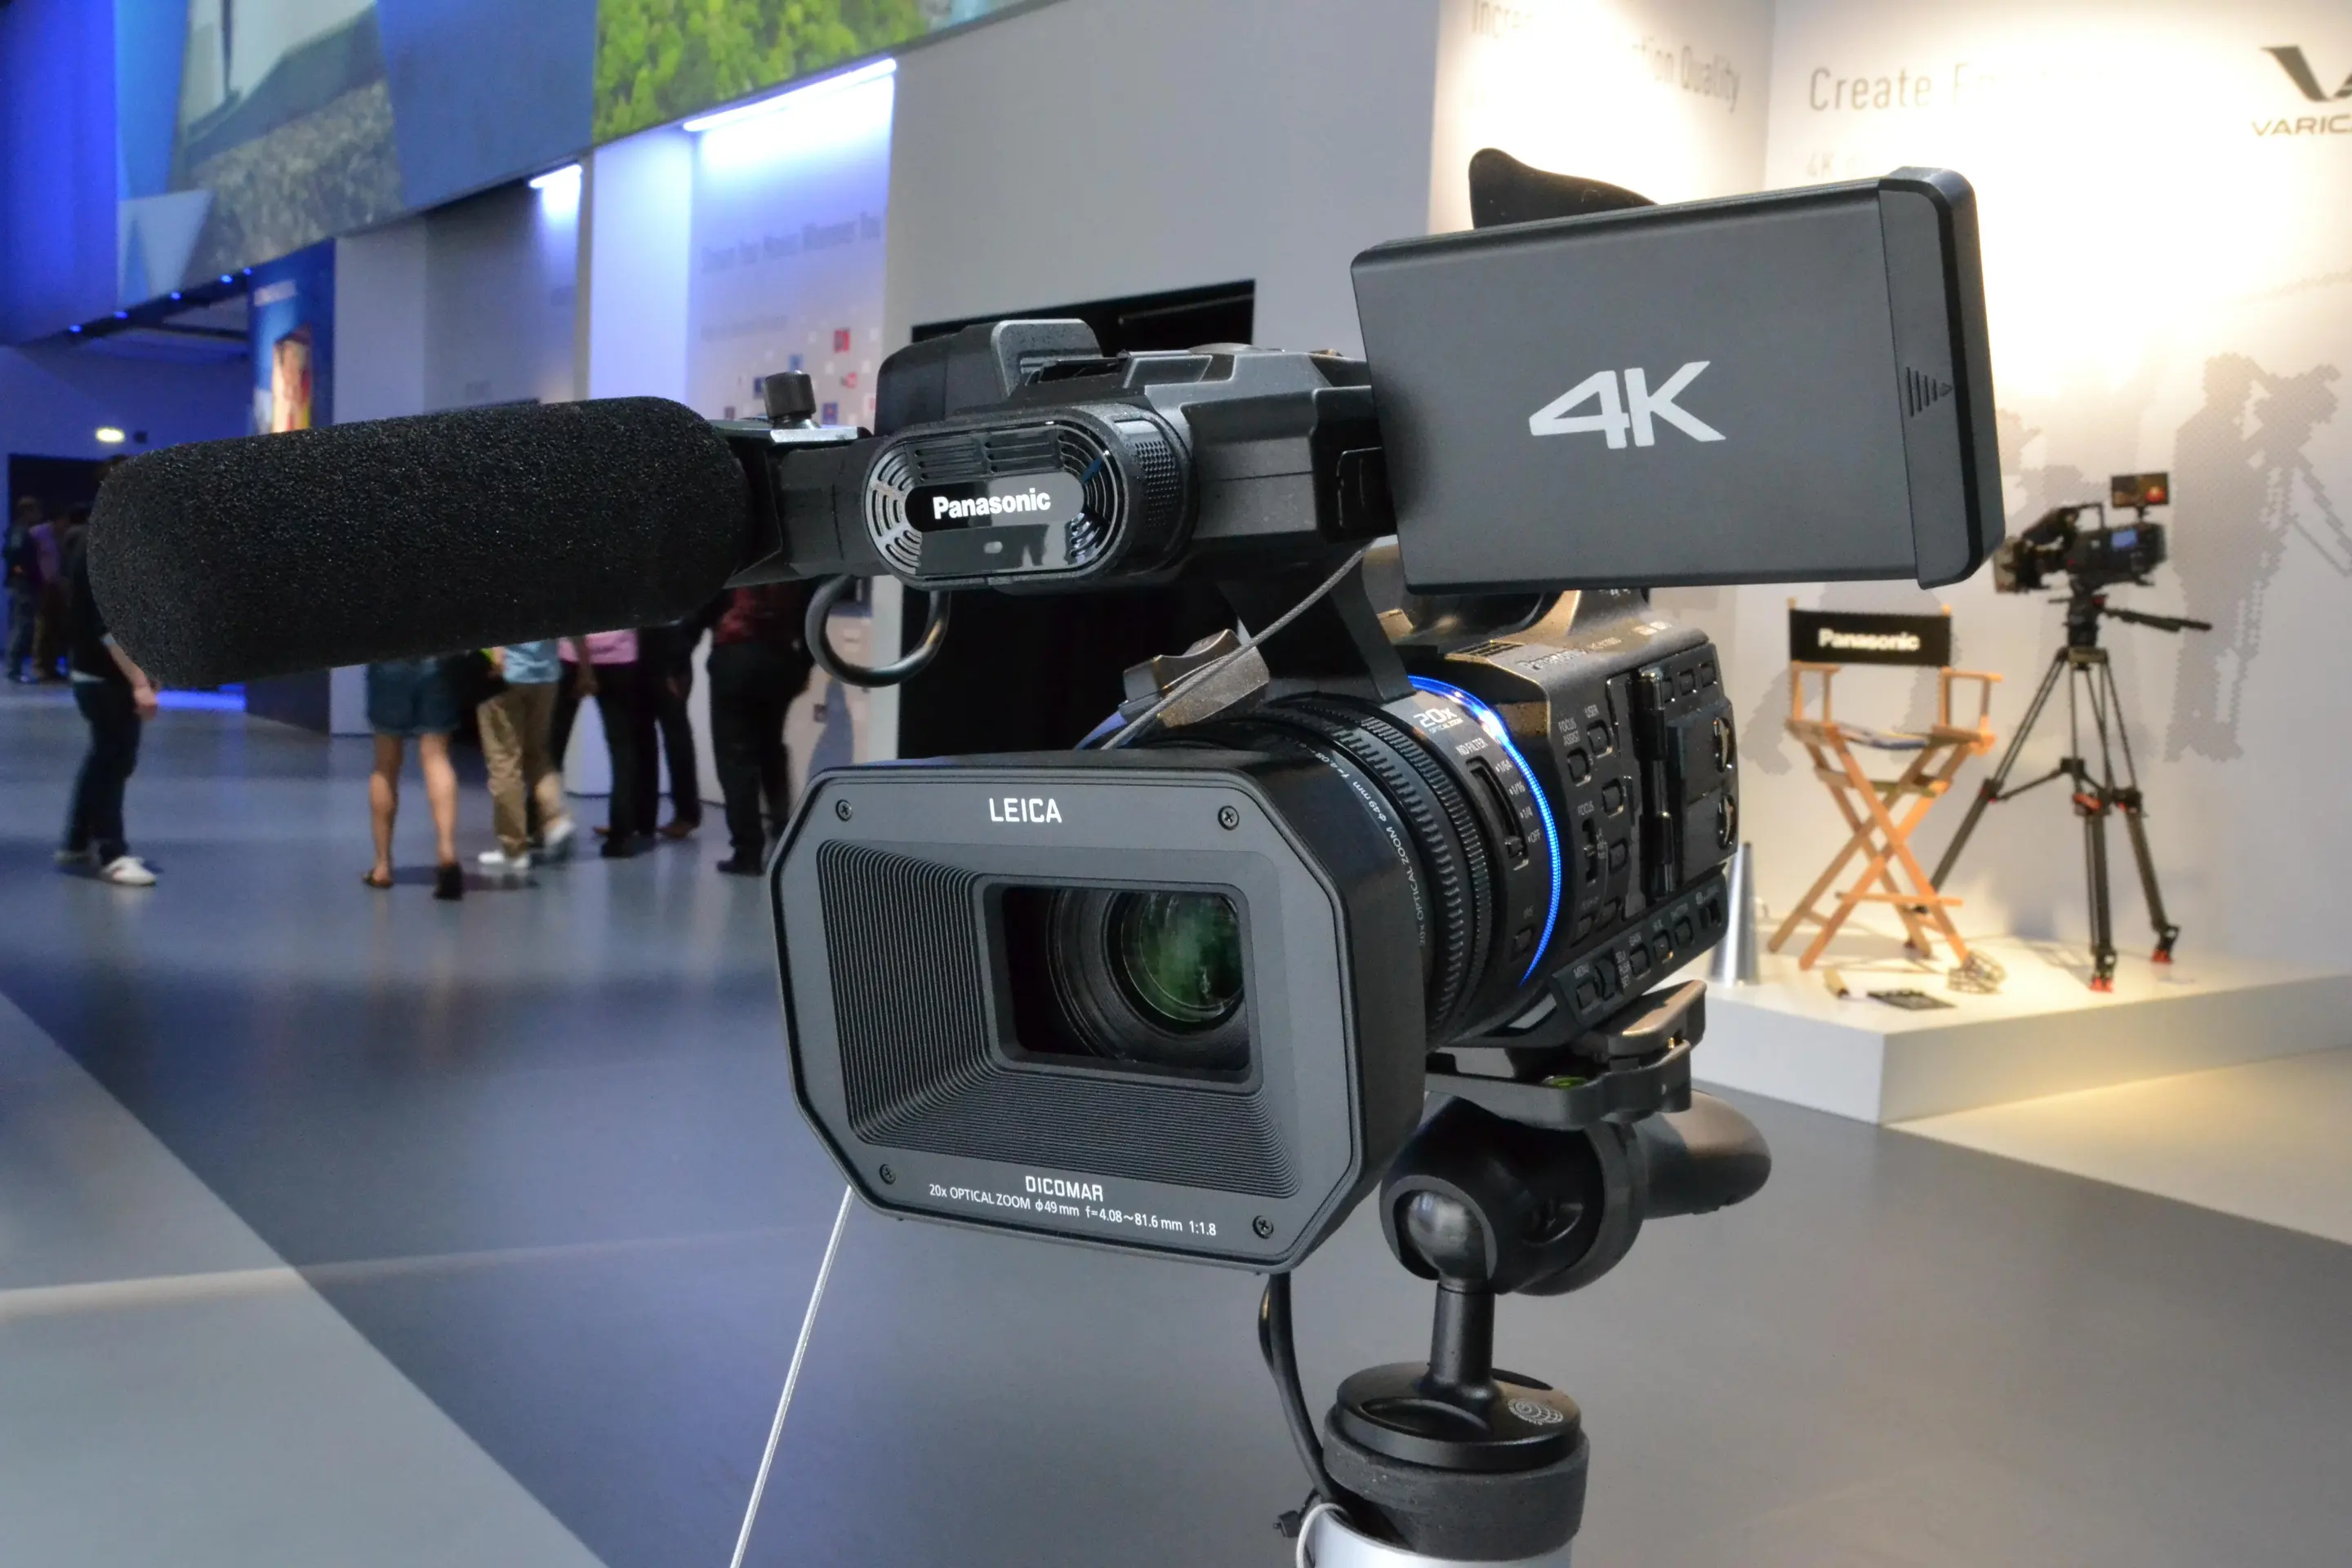
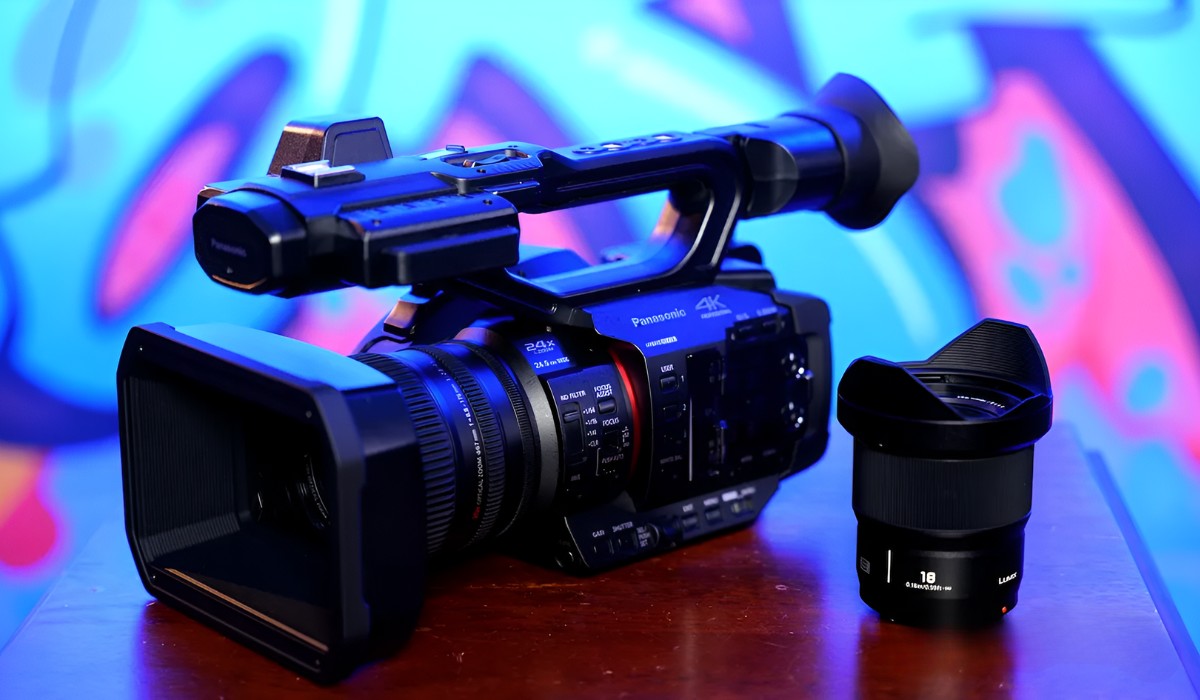
Before you begin the process of connecting your Panasonic camcorder to your TV, it’s essential to gather the necessary cables to establish a seamless connection. The specific cables you’ll need may vary depending on the model of your camcorder and your TV, but the following are commonly used:
- HDMI cable: If your Panasonic camcorder and TV are equipped with HDMI ports, an HDMI cable is an excellent option for transmitting high-quality audio and video signals between the two devices.
- AV cable: Also known as an audio/video cable, this type of connection typically consists of three color-coded cables (red, white, and yellow) that carry audio and video signals from the camcorder to the TV.
- USB cable: Some Panasonic camcorders can be connected to the TV via a USB cable, allowing for data transfer and video playback.
- Adapter cables: Depending on the specific input and output ports available on your camcorder and TV, you may need adapter cables to ensure compatibility and a secure connection.
Once you’ve identified the appropriate cables for your devices, ensure that they are in good working condition and free from any damage that could affect the quality of the connection. It’s also helpful to have the user manuals for both your camcorder and TV on hand, as they can provide valuable insights into the types of cables supported and the optimal connection methods for your specific models.
Step 2: Connect the camcorder to the TV
Once you’ve gathered the necessary cables, it’s time to proceed with connecting your Panasonic camcorder to your TV. The specific steps may vary based on the available input and output ports on your devices, so refer to the user manuals for detailed guidance. Here’s a general outline of the process:
- Identify the output port on the camcorder: Locate the output port on your Panasonic camcorder, which is typically labeled as “HDMI,” “AV OUT,” or “USB OUT,” depending on the type of connection you’re using. If you’re unsure about the port location, consult the camcorder’s user manual for clarification.
- Identify the input port on the TV: Similarly, identify the corresponding input port on your TV, which may be labeled as “HDMI,” “AV IN,” or “USB IN.” This is where you’ll connect the cable from your camcorder to establish the link between the two devices.
- Connect the cables: Depending on the type of connection you’re using, carefully plug the appropriate cable into the output port on your camcorder and the corresponding input port on your TV. Ensure a secure and snug connection to prevent signal loss or interference during video playback.
- Power on the devices: With the cables securely connected, power on your Panasonic camcorder and your TV. This allows both devices to recognize the connection and prepare for video playback.
It’s important to note that the specific steps for connecting your camcorder to your TV may vary based on the models and features of your devices. Always refer to the user manuals for detailed instructions tailored to your specific equipment. Additionally, if you encounter any challenges during the connection process, don’t hesitate to seek assistance from the manufacturer’s customer support or online resources for troubleshooting tips.
Step 3: Turn on the camcorder and TV
With the camcorder and TV connected, it’s time to power on both devices to initiate the video playback process. Here’s a simple guide to ensure a smooth start-up:
- Power on the camcorder: Press the power button on your Panasonic camcorder to turn it on. Depending on the model, you may need to adjust the camcorder’s settings to enable video output through the connected cable. Refer to the user manual for specific instructions on activating the video output feature.
- Power on the TV: Using the TV’s remote control or power button, switch on your TV to prepare for the incoming video signal from the camcorder. Once the TV is powered on, select the corresponding input source that matches the port to which the camcorder is connected. This input source may be labeled as “HDMI,” “AV,” or “USB,” depending on the connection type.
- Adjust the TV settings (if necessary): In some cases, you may need to adjust the TV’s display settings to optimize the video playback from the camcorder. This can include adjusting the aspect ratio, picture mode, or input settings to ensure the best viewing experience for your videos.
By following these steps, you’ll effectively power on both the camcorder and TV, setting the stage for seamless video playback on the larger screen. Keep in mind that specific instructions for powering on and configuring your devices may vary based on the models and features, so always refer to the user manuals for detailed guidance tailored to your equipment.
Step 4: Select the input source on the TV
After powering on your camcorder and TV, the next crucial step is to select the correct input source on your TV to receive the video signal from the connected camcorder. Here’s a simple guide to help you navigate this process:
- Access the input/source menu: Using your TV’s remote control, locate the input or source button, which may be labeled as “Input,” “Source,” “TV/Video,” or a similar designation. Press this button to access the input/source menu on your TV.
- Choose the corresponding input source: Within the input/source menu, you should see a list of available input sources, including HDMI, AV, USB, or other relevant options. Select the input source that corresponds to the port into which you’ve connected your Panasonic camcorder. For example, if you connected the camcorder using an HDMI cable, choose the HDMI input source from the menu.
- Confirm the selection: Once you’ve chosen the correct input source, confirm the selection to switch the TV’s display to the input channel that receives the video signal from your camcorder. You should now see the video playback from your camcorder on the TV screen.
It’s important to note that the specific steps for selecting the input source on your TV may vary based on the brand and model of your TV. If you encounter any challenges or are unsure about the input selection process, refer to the TV’s user manual for detailed instructions on navigating the input/source menu and choosing the appropriate input source for external devices.
Step 5: Play the video from the camcorder
With your Panasonic camcorder successfully connected to your TV and the input source selected, you’re now ready to play the videos stored on the camcorder for an immersive viewing experience. Here’s a simple guide to get your videos playing on the big screen:
- Navigate the camcorder’s menu: Using the camcorder’s controls or touchscreen interface, access the video playback menu to browse through the available videos stored on the device. Depending on the camcorder model, you may need to navigate to the playback or media gallery section to view your recorded videos.
- Select the desired video: Once you’ve accessed the video playback menu, choose the specific video you’d like to play on the TV. Use the camcorder’s controls to highlight and select the video file that you wish to watch on the larger display.
- Initiate video playback: After selecting the desired video, initiate the playback function on the camcorder. This may involve pressing a play button, selecting a playback option from the menu, or tapping the touchscreen to begin playing the video.
- Enjoy the viewing experience: As the video starts playing on the camcorder, you should see the footage mirrored on the TV screen, allowing you and your audience to enjoy the content in a larger format with enhanced visual impact and clarity.
By following these steps, you can seamlessly play the videos from your Panasonic camcorder on your TV, creating an engaging and enjoyable viewing experience for yourself and others. Keep in mind that specific playback controls and menu navigation on the camcorder may vary based on the model and features, so refer to the camcorder’s user manual for detailed instructions tailored to your specific device.
Conclusion
Connecting your Panasonic camcorder to your TV opens up a world of possibilities for sharing and enjoying your recorded videos in a larger format. By following the simple steps outlined in this guide, you can easily bridge the gap between your camcorder and TV, creating a seamless connection for immersive video playback. Whether you’re reliving cherished memories, sharing your creative work with others, or simply indulging in high-quality video content, the process of linking your camcorder to your TV is an essential aspect of enhancing your viewing experience.
From gathering the necessary cables to navigating the input/source menu on your TV, each step plays a vital role in ensuring a smooth and successful connection between your devices. By familiarizing yourself with the specific ports, cables, and settings required for the connection, you can effortlessly transition from recording videos on your camcorder to watching them on the expansive screen of your TV.
As technology continues to evolve, the ability to seamlessly integrate different devices for enhanced functionality becomes increasingly important. By mastering the art of connecting your Panasonic camcorder to your TV, you empower yourself to fully appreciate and share your video content in a more impactful and engaging manner.
So, go ahead and put these steps into action, and immerse yourself in the captivating world of video playback on your TV, courtesy of your trusty Panasonic camcorder.