Introduction
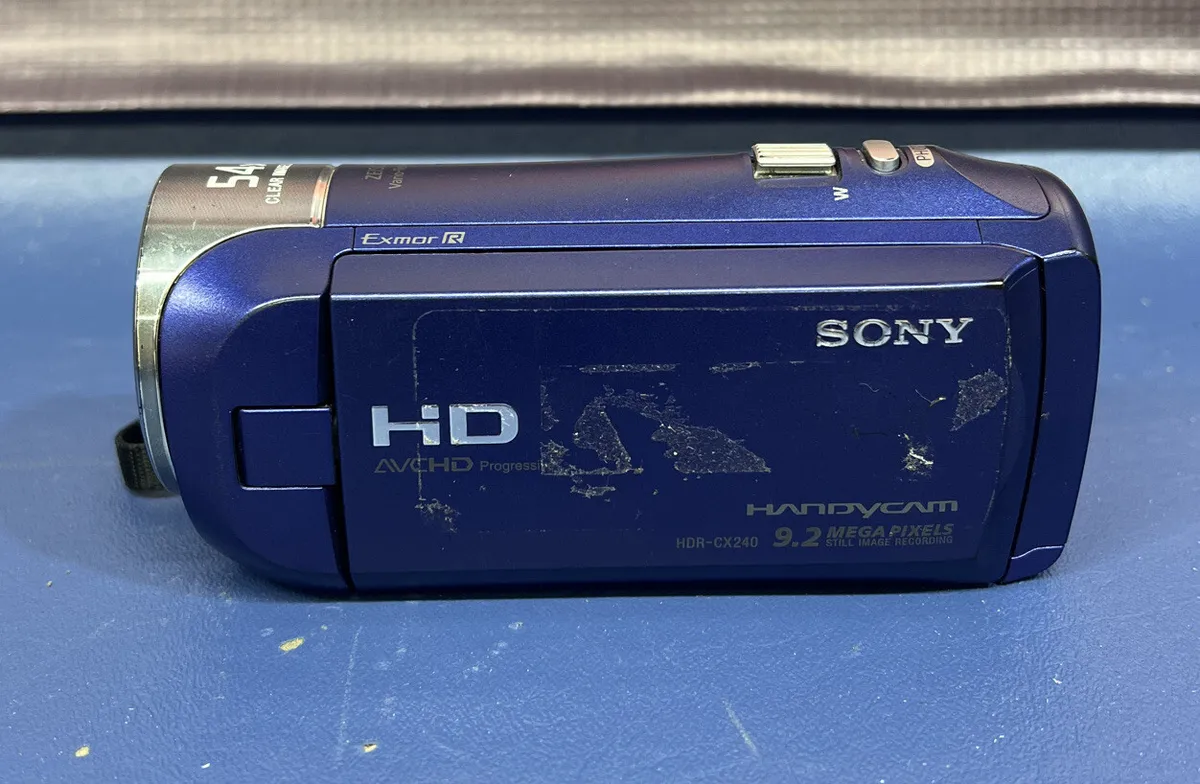
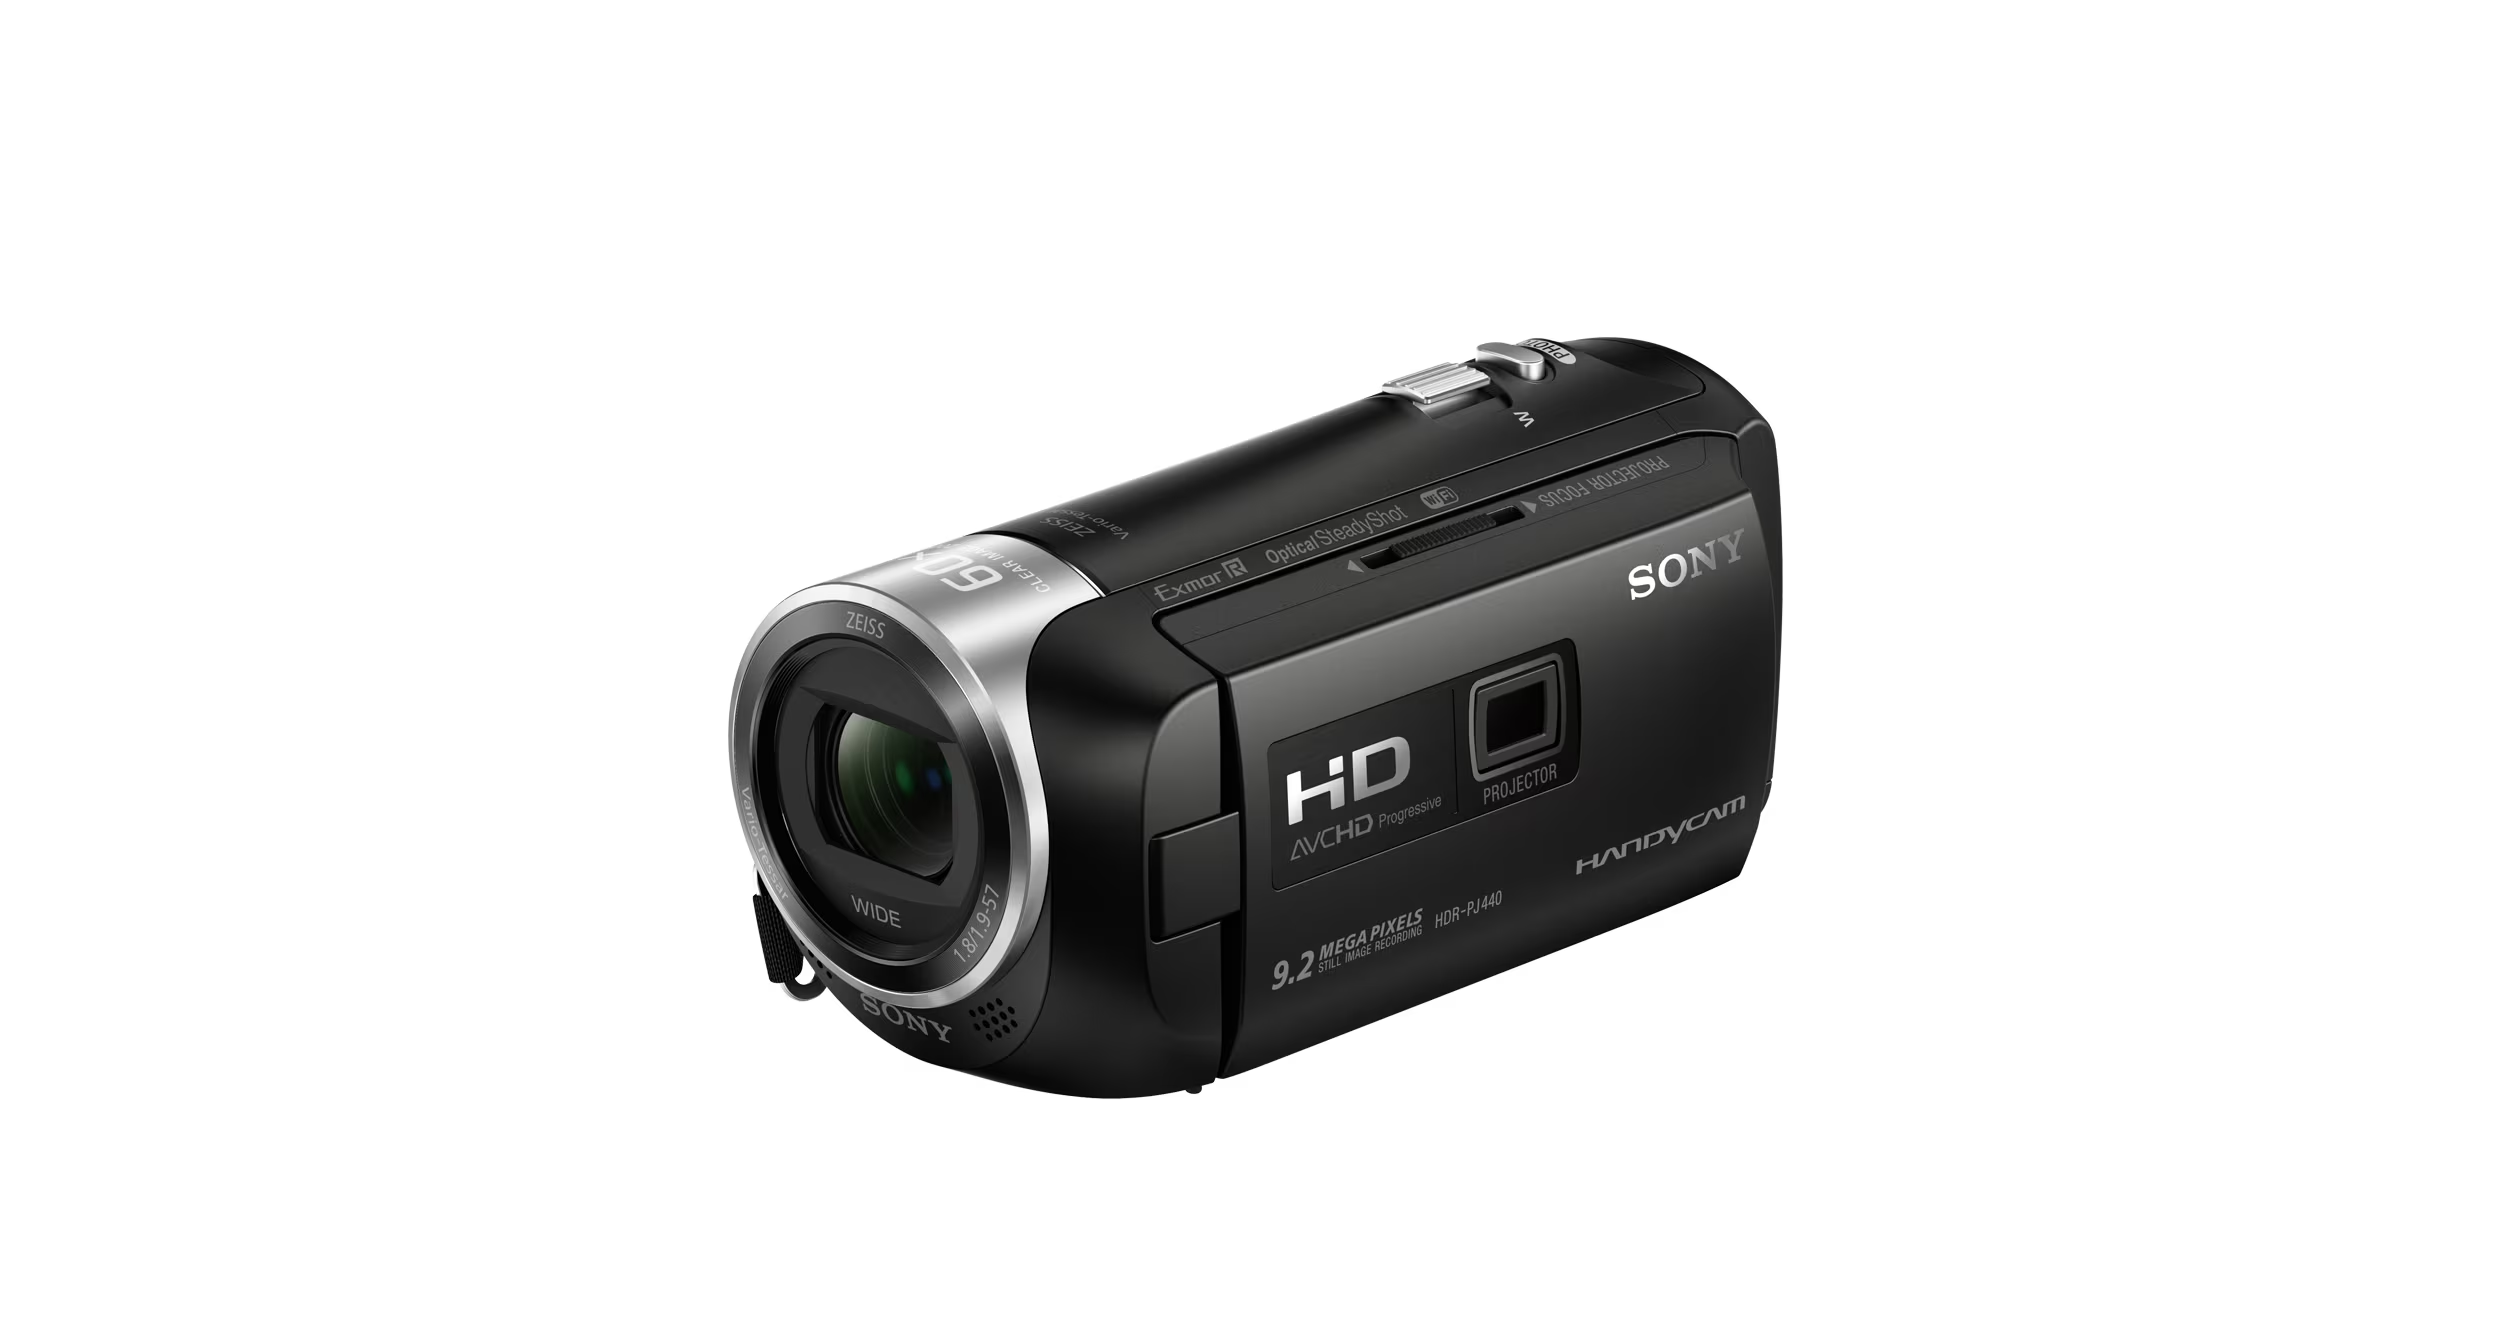
Are you looking for a hassle-free way to remove unwanted images from your Sony HD camcorder? Whether you're a professional videographer or a casual user, knowing how to delete images directly from your camcorder can help you free up space and keep your device organized. In this guide, we'll walk you through the step-by-step process of deleting images on your Sony HD camcorder, allowing you to streamline your content management and ensure that your device is always ready to capture new memories.
With the increasing popularity of high-definition camcorders, such as the Sony HD series, users often find themselves capturing numerous images and videos during their shooting sessions. However, the accumulation of unwanted or redundant images can consume valuable storage space and make it challenging to navigate through your media library. By learning how to delete images directly from your camcorder, you can maintain an efficient workflow and avoid the need for external devices or complex software.
Whether you're a videography enthusiast who frequently records events and documentaries or a casual user who captures everyday moments, knowing how to delete images on your Sony HD camcorder is a valuable skill. By following the simple steps outlined in this guide, you can confidently manage your media content, ensuring that your camcorder remains a reliable tool for capturing high-quality videos and images.
Stay tuned as we delve into the specific steps required to delete images on your Sony HD camcorder. With our comprehensive instructions, you'll be able to navigate the image deletion process with ease, empowering you to maintain an organized and efficient workflow. Let's get started on streamlining your media library and optimizing your Sony HD camcorder for your next recording session.
Step 1: Power on the Sony HD Camcorder
Before initiating the process of deleting images from your Sony HD camcorder, it is essential to ensure that the device is powered on and ready for operation. Start by locating the power button, typically situated on the body of the camcorder or integrated into the LCD screen. Depress the power button to activate the device, allowing the internal systems to initialize and prepare for user interaction.
Upon powering on the Sony HD camcorder, you may encounter a brief startup sequence, during which the device’s display screen illuminates, and the operational components become functional. Depending on the specific model of the camcorder, you may be prompted to enter a passcode or navigate through an initial menu. Follow the on-screen instructions, if applicable, to access the main interface of the camcorder.
Ensuring that your Sony HD camcorder is powered on is the first crucial step in the image deletion process. By activating the device, you gain access to the necessary functions and settings required to manage your media content effectively. Once the camcorder is powered on and the display is active, you can proceed to the subsequent steps outlined in this guide, allowing you to confidently delete unwanted images and optimize the storage space on your device.
Now that your Sony HD camcorder is powered on and ready for operation, you’re prepared to navigate through the image deletion process seamlessly. With the device activated, you’re one step closer to efficiently managing your media library and ensuring that your camcorder remains a reliable tool for capturing high-quality videos and images.
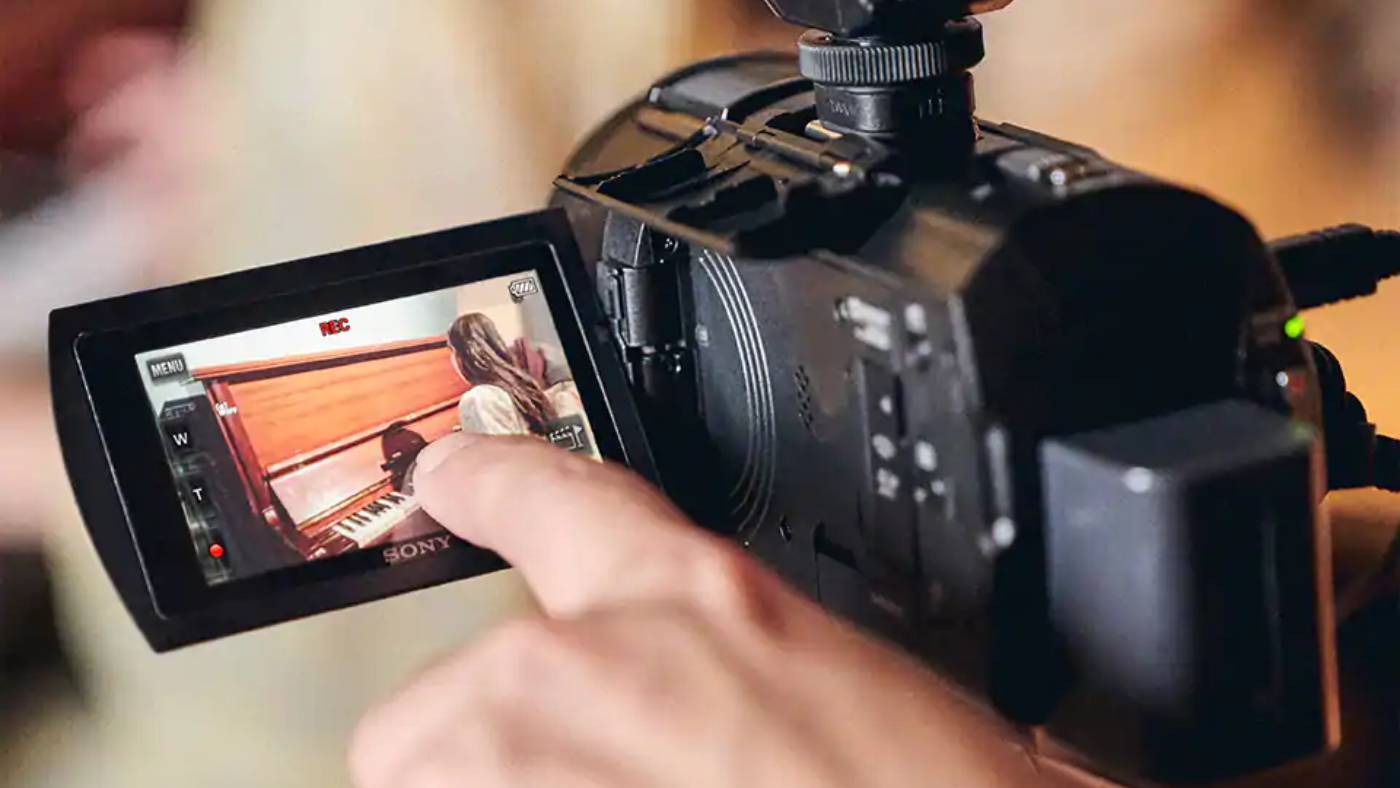
Step 2: Access the Image Playback Menu
Once your Sony HD camcorder is powered on, the next step in the image deletion process involves accessing the image playback menu. This menu provides you with the necessary interface to view and manage the images and videos stored on your device, enabling you to select and delete specific items as needed. To access the image playback menu, navigate to the main interface of your camcorder by using the integrated control buttons or touchscreen display, depending on the model.
Locate the playback or menu button on your Sony HD camcorder, typically positioned within easy reach for convenient access. Upon pressing this button, the image playback menu will appear on the display screen, presenting you with a visual representation of your stored images and videos. This intuitive interface allows you to browse through your media library, select individual items, and proceed with the deletion process.
Depending on the design of your Sony HD camcorder, the image playback menu may offer additional features, such as thumbnail previews, sorting options, and categorization tools. Familiarize yourself with the navigation controls and menu structure to efficiently locate the images you wish to delete. By accessing the image playback menu, you gain full visibility and control over the content stored on your camcorder, empowering you to manage your media library with precision.
Accessing the image playback menu is a pivotal step in the image deletion process, as it serves as the gateway to identifying and selecting the specific images you intend to remove from your Sony HD camcorder. With the playback menu at your fingertips, you’re poised to streamline your media management and create a clutter-free environment within your device, ensuring that it remains optimized for capturing new content.
Step 3: Select the Image to Delete
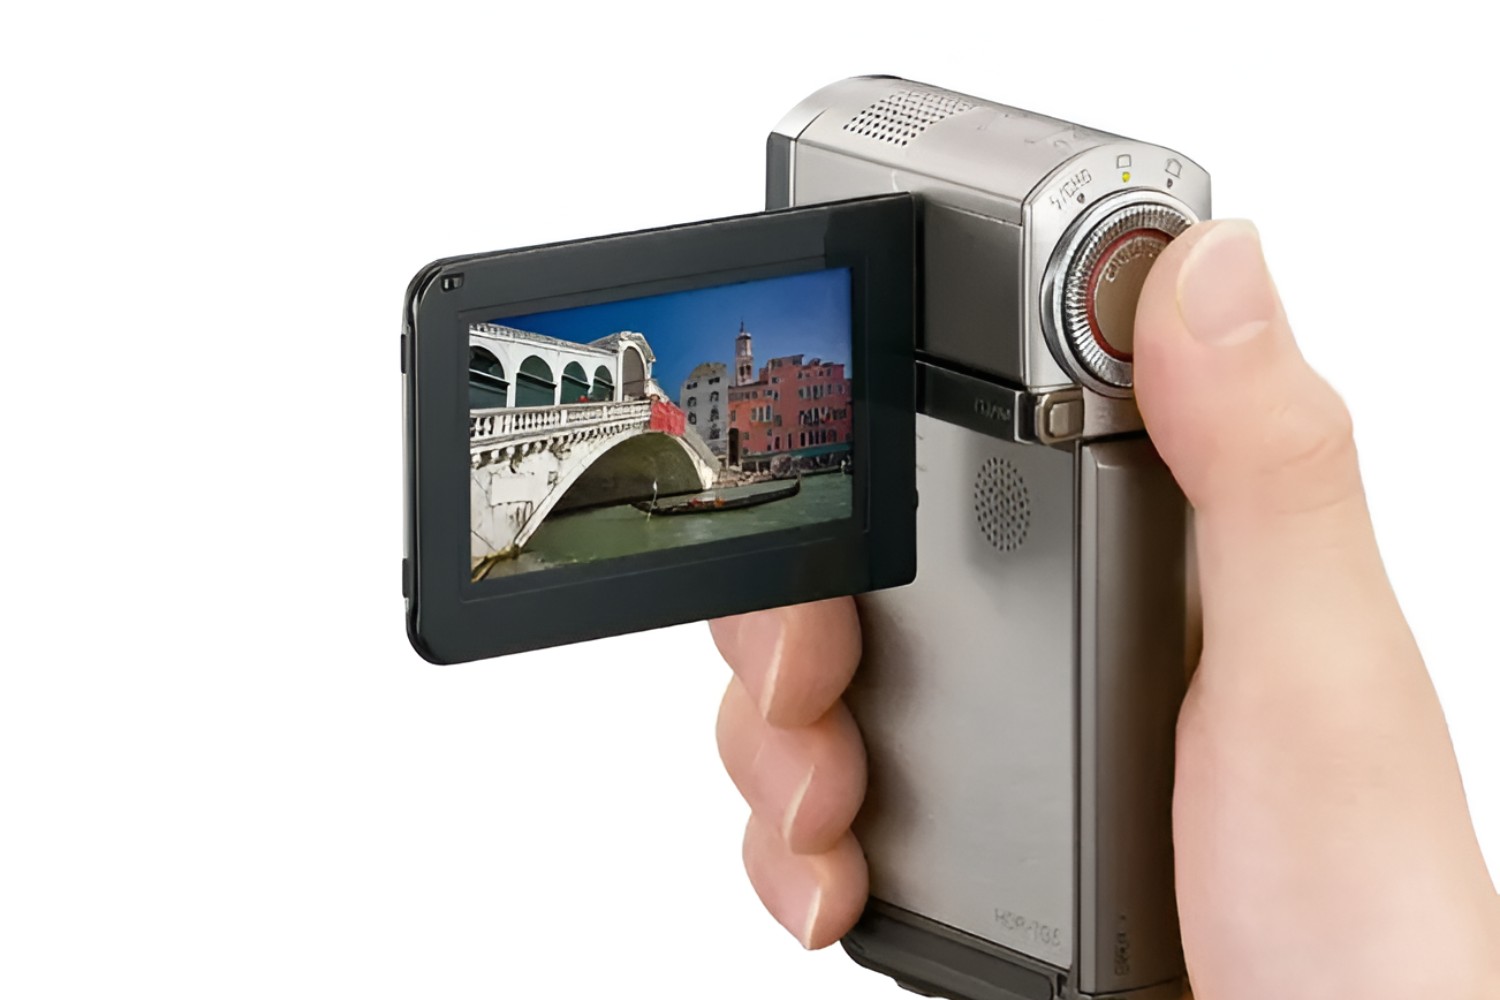
Once you have accessed the image playback menu on your Sony HD camcorder, the next crucial step in the image deletion process involves selecting the specific image or images that you wish to delete. Navigate through the visual representation of your media library using the integrated controls or touchscreen interface, depending on the model of your camcorder, to locate the image you intend to remove.
As you browse through the images displayed in the playback menu, take advantage of the thumbnail previews or detailed view options to identify the content you wish to delete accurately. Utilize the navigation controls to highlight and select the targeted image, ensuring that you have a clear visual confirmation before proceeding with the deletion process. Some Sony HD camcorders offer the ability to play back the selected image for verification before initiating deletion, providing an added layer of assurance.
It is essential to exercise caution and precision when selecting the image to delete, as this step determines the specific content that will be permanently removed from your camcorder. Take your time to review the images and confirm your selection before proceeding, minimizing the risk of unintentional deletion and ensuring that your media library remains organized and free from unnecessary clutter.
By carefully selecting the image to delete, you demonstrate a deliberate approach to managing your media content on the Sony HD camcorder. This step empowers you to maintain control over your stored images and videos, enabling you to curate a collection that aligns with your creative vision and storage requirements.
Step 4: Delete the Image
After selecting the specific image you wish to remove from your Sony HD camcorder, the next step involves initiating the deletion process. Depending on the model of your camcorder, you may be required to press a designated delete button or access a contextual menu to proceed with the deletion. Familiarize yourself with the operational controls and on-screen prompts to confidently execute the deletion action.
Upon confirming your selection, the camcorder will typically prompt you to verify the deletion, ensuring that you have the opportunity to reconsider your action and prevent accidental removal of valuable content. Take this opportunity to review the selected image and confirm your intent to delete it from the device. By providing a confirmation prompt, the camcorder prioritizes user control and mitigates the risk of unintended deletions.
Once you have confirmed the deletion, the image will be permanently removed from your Sony HD camcorder, freeing up storage space and decluttering your media library. The device may display a brief notification or visual cue to indicate the successful deletion of the selected image, providing you with immediate feedback regarding the action you’ve initiated.
By executing the deletion process, you demonstrate your commitment to managing your media content efficiently and maintaining a streamlined collection of images and videos on your Sony HD camcorder. This proactive approach ensures that your device remains optimized for capturing new content and minimizes the presence of redundant or unwanted images within your storage space.
Step 5: Confirm Deletion
Following the deletion of the selected image from your Sony HD camcorder, it is essential to confirm the success of the deletion process. The confirmation step provides you with the assurance that the targeted image has been permanently removed from the device, allowing you to proceed with confidence and clarity regarding the state of your media library.
Upon the successful deletion of the image, the camcorder may display a confirmation message or visual indicator to signify the completion of the deletion process. This immediate feedback serves as a reassurance that the selected image has been effectively removed from the storage space, freeing up room for new content and contributing to the overall organization of your media library.
Take a moment to verify the absence of the deleted image from the playback menu or gallery interface on your Sony HD camcorder. By confirming that the image is no longer present within your media library, you can solidify your confidence in the deletion process and ensure that your device accurately reflects the changes you’ve implemented.
By confirming the deletion of the image, you demonstrate a proactive approach to managing your media content and maintaining an organized storage environment on your Sony HD camcorder. This final step in the image deletion process provides you with the closure and validation necessary to proceed with your creative endeavors, knowing that your device is optimized for capturing new and meaningful content.
Conclusion
Mastering the process of deleting images on your Sony HD camcorder empowers you to maintain an efficient and organized media library, ensuring that your device remains ready to capture new and memorable moments. By following the step-by-step guide outlined in this article, you have gained valuable insights into the seamless process of deleting images directly from your camcorder, eliminating the need for external devices or complex software.
From powering on the camcorder to accessing the image playback menu, selecting and deleting specific images, and confirming the successful deletion, each step contributes to a streamlined and deliberate approach to managing your media content. This comprehensive process enables you to exercise precise control over the images and videos stored on your Sony HD camcorder, allowing you to curate a collection that aligns with your creative vision and storage requirements.
By embracing the deletion process as an integral aspect of media management, you demonstrate a proactive commitment to optimizing your camcorder for future recording sessions. The ability to efficiently remove unwanted or redundant images from your device not only frees up valuable storage space but also contributes to a clutter-free and organized environment, enhancing your overall user experience.
As you continue to explore the capabilities of your Sony HD camcorder, remember that the knowledge and proficiency gained in managing your media content directly on the device serve as valuable assets in your creative pursuits. By leveraging the insights provided in this guide, you can confidently navigate the image deletion process, ensuring that your camcorder remains a reliable tool for capturing high-quality videos and images.
With a clear understanding of the steps involved in deleting images on your Sony HD camcorder, you are well-equipped to maintain a cohesive and purposeful media library, enabling you to focus on capturing and preserving the moments that matter most.