Introduction
Welcome to our guide on how to connect a surround sound system to a TV. If you’re a movie buff, gamer, or simply enjoy immersive audio, a surround sound system can take your entertainment experience to the next level. By connecting your TV to a surround sound system, you can enjoy rich, high-quality sound that enhances your favorite movies, TV shows, and games.
Setting up a surround sound system may seem daunting at first, especially if you’re not familiar with audio equipment and technology. However, with the right information and instructions, you’ll be able to easily connect your surround sound system to your TV and start enjoying immersive audio in no time.
In this guide, we’ll walk you through the step-by-step process of connecting your surround sound system to your TV. We’ll cover everything from gathering the necessary equipment to adjusting the sound settings for optimal performance. Whether you’re a tech-savvy individual or a beginner in audio setups, this guide will provide you with the knowledge you need to successfully connect your surround sound system.
Before we get started, it’s important to note that this guide assumes you already have a surround sound system and a compatible TV. If you haven’t yet purchased a surround sound system, we recommend doing some research to find the one that best suits your needs and budget. Additionally, make sure to check for any specific instructions or compatibility requirements provided by the manufacturer of your TV and surround sound system.
Now that we have an overview of what to expect, let’s dive into the step-by-step process of connecting your surround sound system to your TV. By the end of this guide, you’ll be able to enjoy the immersive audio experience that a surround sound system provides.
Step 1: Gather the Necessary Equipment
The first step in connecting a surround sound system to your TV is to gather all the necessary equipment. Here’s a list of items you’ll need:
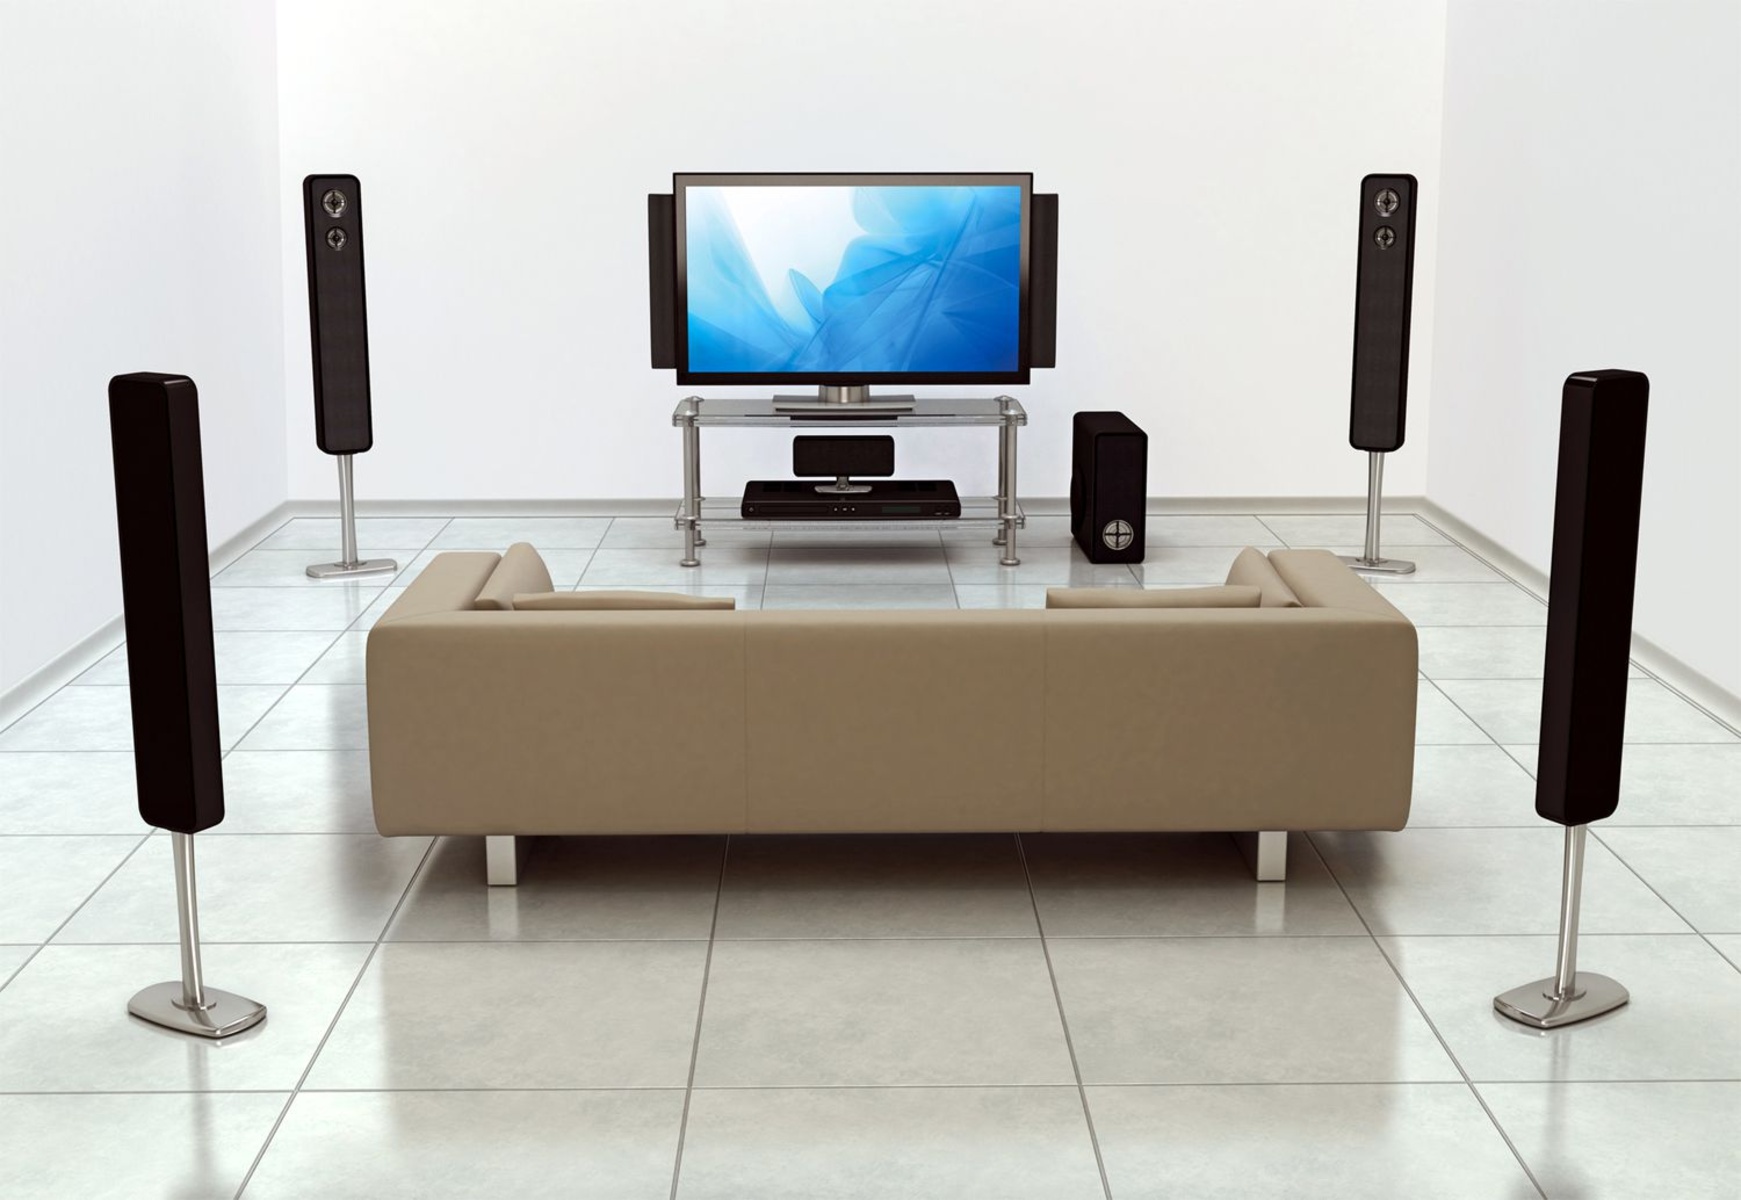
- Surround Sound System: This includes the receiver, speakers, and subwoofer. Make sure your surround sound system is compatible with your TV.
- TV: Ensure that your TV has audio output options that are compatible with your surround sound system.
- Audio Cables: You’ll need RCA, HDMI, or optical cables, depending on the available audio output options on your TV and the input options on your surround sound system.
- Power Cables: Ensure that you have all the necessary power cables to connect and supply power to your surround sound system.
- Remote Control: Keep the remote control for your TV handy, as you may need to adjust settings during the setup process.
Once you’ve gathered all the necessary equipment, it’s a good idea to check if you have all the required cables and make sure they are in good condition. If any cables are damaged or missing, you’ll need to purchase replacements before proceeding with the setup.
Remember to refer to the user manuals of your TV and surround sound system for any specific equipment requirements or recommendations. Following the manufacturer’s instructions will ensure a successful setup and prevent any compatibility issues.
With all the necessary equipment at hand, you’re now ready to move on to the next step: evaluating your surround sound system. This will help you determine its compatibility and ensure a seamless connection with your TV.
Step 2: Evaluate Your Surround Sound System
Before connecting your surround sound system to your TV, it’s important to evaluate your system to ensure its compatibility and functionality. This step will help you understand the various components and settings of your surround sound system.
Here are a few key things to consider when evaluating your surround sound system:
- Receiver: The receiver is the heart of your surround sound system, responsible for processing audio signals and sending them to the speakers. Check the receiver to ensure it has the necessary audio inputs and outputs.
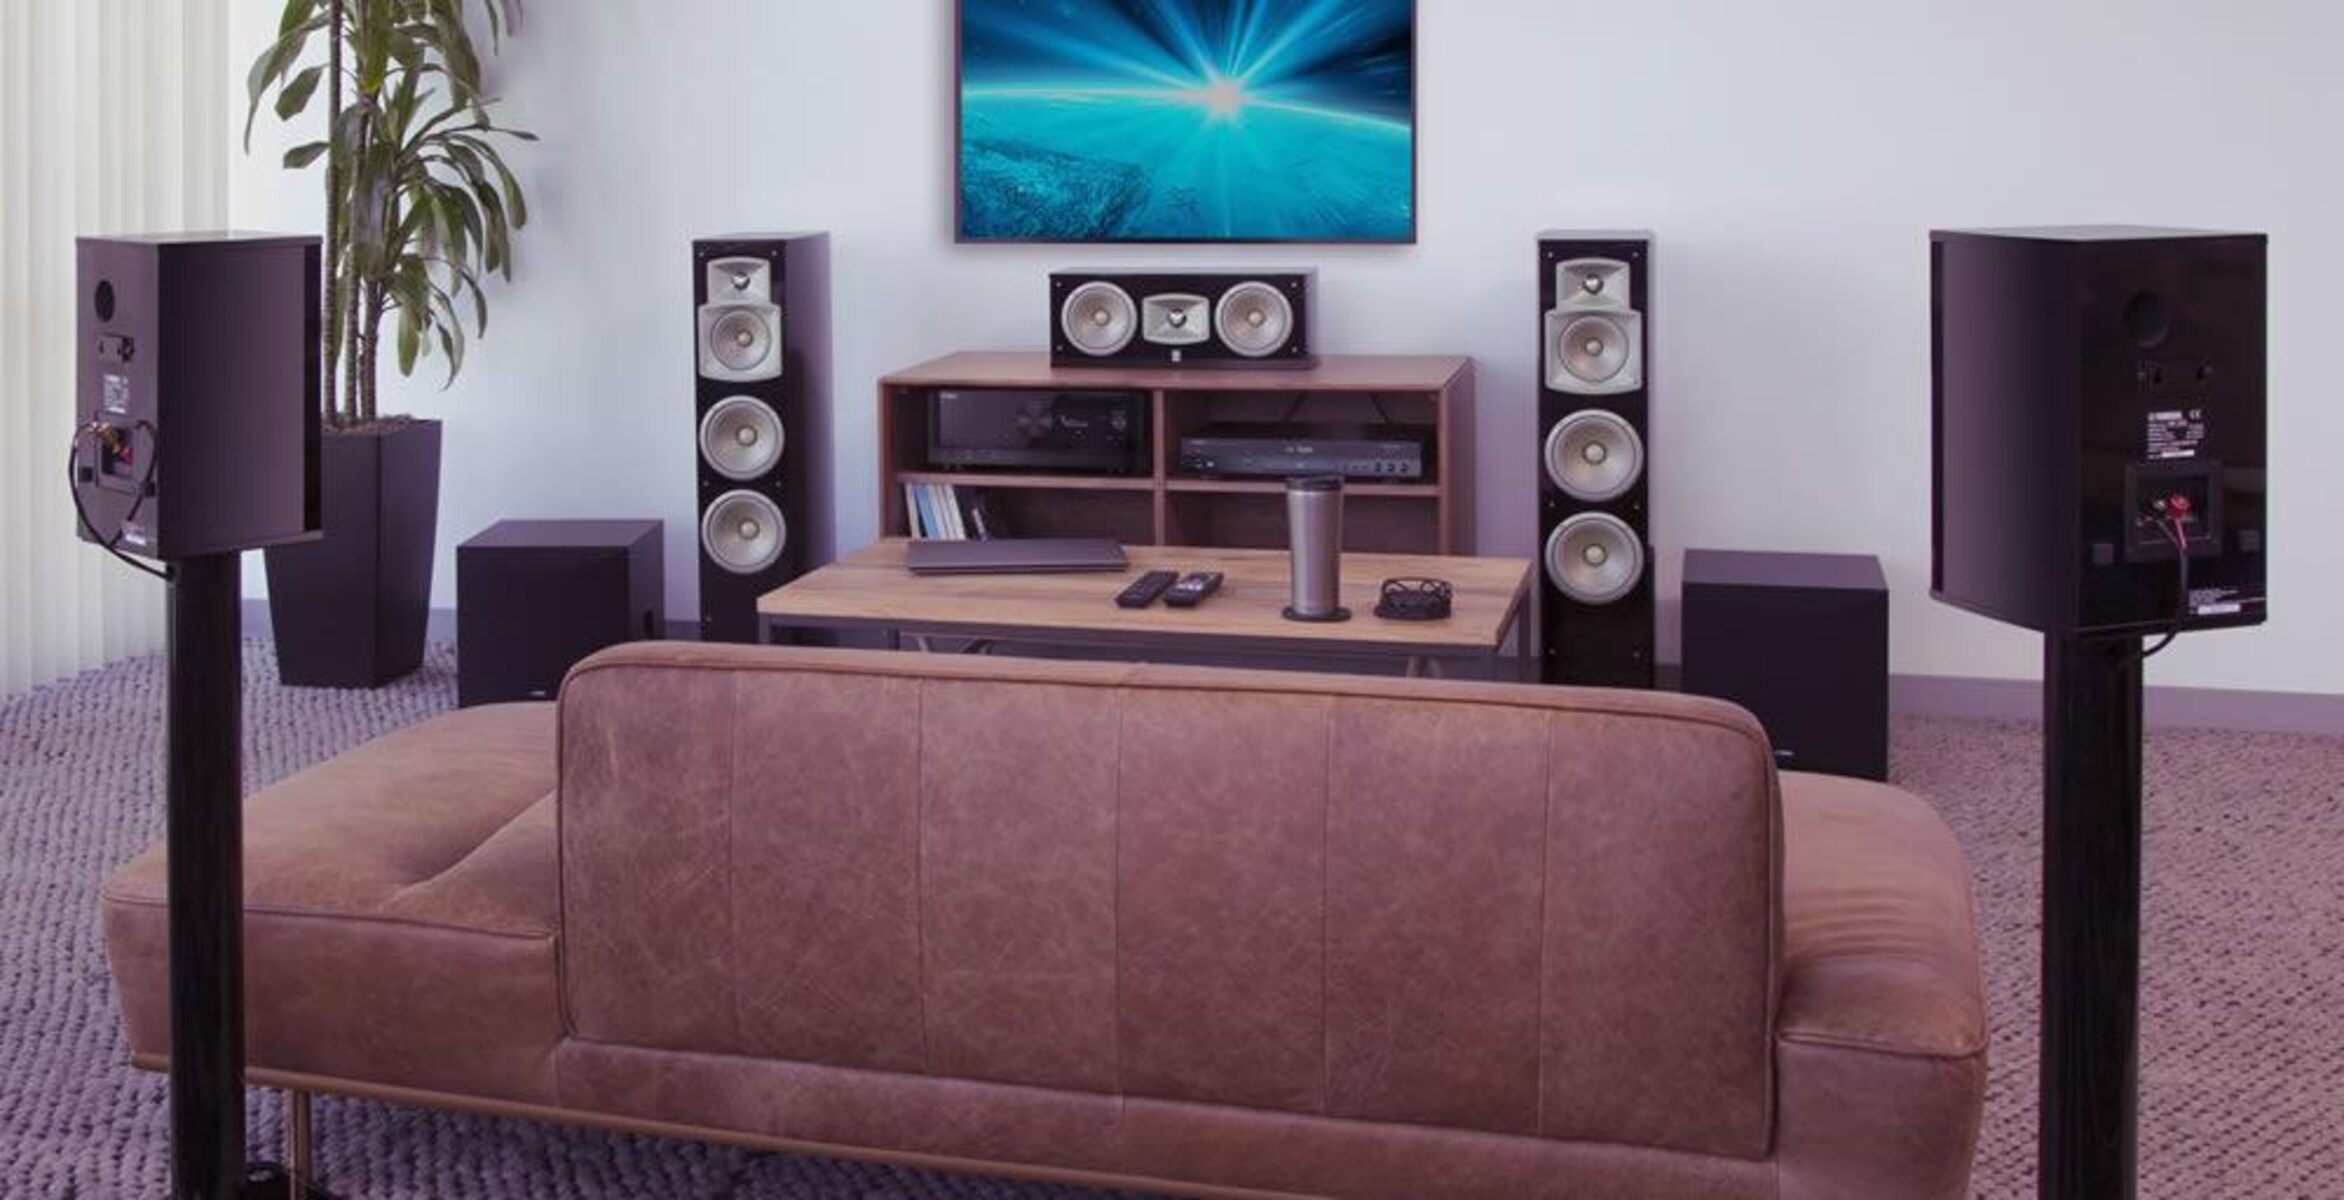
- Speakers: Take a close look at the speakers in your surround sound system. Check if they are labeled with the appropriate channels (front left, front right, center, surround left, surround right, etc.). Ensure that the speakers are in good condition and properly connected.
- Subwoofer: The subwoofer is responsible for producing low-frequency sounds and adding depth to the audio experience. Make sure the subwoofer is functioning properly and placed in an appropriate location for optimal bass response.
- Audio Settings: Familiarize yourself with the various audio settings and configuration options available on your surround sound system. This may include adjusting speaker distance, speaker levels, crossover frequency, and surround sound modes.
By evaluating your surround sound system, you’ll have a better understanding of its capabilities and limitations. This knowledge will be essential when connecting it to your TV and adjusting the settings for optimal audio performance.
If you’re unsure about any aspect of your surround sound system, refer to the user manual or contact the manufacturer for further assistance. It’s always better to have a clear understanding of your equipment before proceeding with the setup process.
Once you have thoroughly evaluated your surround sound system, you’re ready to move on to the next step: determining the audio output options on your TV. This will help you identify the best method for connecting your TV to the surround sound system.
Step 3: Determine the Audio Output Options on Your TV
Before connecting your surround sound system to your TV, it’s essential to determine the available audio output options on your TV. This will help you identify the best method for connecting your TV to the surround sound system and ensure compatibility.
Here are some common audio output options you may find on your TV:
- HDMI ARC (Audio Return Channel): If your TV and surround sound system support HDMI ARC, this is the recommended method for connecting the two. HDMI ARC allows for both audio playback from the TV to the speakers and control of the audio system using the TV remote.
- Optical (TOSLINK): Optical audio output is a popular option found on many TVs. It uses a fiber optic cable to send digital audio signals to your surround sound system.
- RCA (Analog): Some older TVs may have RCA output (red and white) for analog audio. This method can still be used if your surround sound system supports RCA input.
- 3.5mm Headphone Jack: Some TVs may have a 3.5mm headphone jack that can be used to connect to your audio system. However, the sound quality may not be as good as other options.
Once you have identified the audio output options on your TV, check your surround sound system for the corresponding audio input options. Make sure the inputs on your surround sound system match the outputs on your TV or find the appropriate adapters if necessary.
Refer to the user manual of your TV to determine which audio output option is recommended for connecting an external audio system. Additionally, make note of any specific settings that need to be adjusted on your TV to enable the audio output.
With the audio output options on your TV identified, you’re now ready to move on to the next step: connecting your TV to the surround sound system. This will require the appropriate cables and careful consideration of the audio input options on your audio system.
Step 4: Connect the TV to the Sound System
Now that you’ve determined the audio output options on your TV, it’s time to connect your TV to the surround sound system. Follow these steps to ensure a proper connection:
- Turn off both your TV and surround sound system before making any connections. This will prevent any potential damage or interference.
- Identify the audio output port on your TV. It could be HDMI ARC, optical, RCA, or a headphone jack, depending on your TV model.
- Next, locate the corresponding audio input port on your surround sound system. It may be labeled as HDMI ARC, optical, RCA, or AUX.
- Select the appropriate cable based on the audio output and input ports you identified. For HDMI ARC, use an HDMI cable; for optical, use an optical cable; for RCA, use RCA cables; and for the headphone jack, use a 3.5mm audio cable.
- Connect one end of the chosen cable to the audio output port on your TV, and the other end to the audio input port on your surround sound system. Ensure a secure connection by tightening any connectors or screws.
- Once the cable connections are made, power on both the TV and surround sound system.
- Using the TV remote, navigate to the settings menu and select the audio output source. Choose the appropriate audio output option that you connected (HDMI ARC, optical, etc.).
- If using HDMI ARC, double-check that ARC settings are enabled on both your TV and surround sound system.
- Test the connection by playing a sound or video on your TV. Verify that the audio is coming from your surround sound system and adjust the volume accordingly.
If there are any issues or no sound is coming from your surround sound system, double-check the cable connections, ensure the correct audio output source is selected, and verify that the audio settings on both the TV and surround sound system are properly configured.
Congratulations! You have successfully connected your TV to the surround sound system. The next step is to adjust the sound settings to optimize your audio experience, which we will cover in the next step.
Step 5: Adjust the Sound Settings
After connecting your TV to the surround sound system, it’s important to adjust the sound settings to optimize your audio experience. Here are some adjustments you can make:
- Speaker Configuration: Access the settings menu on your TV or surround sound system and configure the speaker setup. Specify the number of speakers you have (5.1, 7.1, etc.) and their placement (front, center, surround, etc.). This ensures that the audio is distributed correctly.
- Audio Levels: Adjust the volume levels of each individual speaker to achieve a balanced sound output. Fine-tune the levels according to your preference and room acoustics.
- Subwoofer Settings: If your surround sound system has a dedicated subwoofer, you can adjust its settings to control the bass response. Increase or decrease the subwoofer level to achieve the desired amount of low-frequency impact.
- Sound Modes: Explore the different sound modes available on your surround sound system. These modes can enhance specific types of content, such as movies, music, or gaming. Experiment with the modes to find the one that best suits your preferences.
- Audio Equalizer: Some TVs and surround sound systems offer an equalizer that allows you to adjust the audio frequencies manually. Use this feature to fine-tune the sound according to your preferences and compensate for any room acoustics issues.
- Test the Sound: Play various types of content (movies, music, games, etc.) to ensure that the audio is well-balanced and immersive. Make any necessary adjustments to the settings based on the specific content you are consuming.
Remember to refer to the user manual of your surround sound system for detailed instructions on adjusting the specific settings. Every system may have different options and configurations, so understanding your specific model’s capabilities is crucial.
It’s also worth mentioning that room acoustics can greatly influence the audio quality. Consider the placement of your speakers and the positioning of your listening area to optimize the surround sound experience.
With the sound settings adjusted, sit back, relax, and enjoy your enhanced audio experience. Whether you’re watching movies, playing games, or listening to music, the immersive sound from your surround sound system will make your entertainment moments truly spectacular.
Conclusion
Congratulations! By following the steps outlined in this guide, you have successfully connected your surround sound system to your TV. You can now enjoy a cinematic audio experience right in the comfort of your own home. Let’s recap the key points:
In the introductory section, we discussed the importance of a surround sound system and how it can elevate your entertainment experience. We then moved on to step one, where we emphasized the significance of gathering all the necessary equipment.
In step two, we highlighted the importance of evaluating your surround sound system. Understanding its components and settings is crucial for a successful connection. Step three focused on determining the available audio output options on your TV, which helped identify the best method for connecting the two.
In step four, we walked you through the process of physically connecting your TV to the surround sound system. Proper cable connections and configurations were emphasized to ensure a seamless audio transfer. Finally, in step five, we discussed the significance of adjusting the sound settings to optimize your audio experience.
Remember, it’s essential to refer to the user manuals of your TV and surround sound system for specific instructions and troubleshooting tips. Room acoustics and speaker placement can also impact the overall audio quality, so take the time to arrange your speakers for the best listening experience.
Now that you’re all set up, sit back, relax, and immerse yourself in the incredible world of surround sound. Enjoy movies, games, and music like never before. Explore the different sound modes and settings to find what suits your preferences.
Thank you for using our guide on how to connect a surround sound system to a TV. We hope you found it informative and helpful. Now, grab some popcorn, adjust the volume, and let the immersive audio transport you to a whole new level of entertainment. Happy listening!


