Introduction
Removing a SIM card from a Sony Xperia device is a straightforward process that can be completed with ease. Whether you're switching to a new phone, troubleshooting connectivity issues, or simply need to access the SIM card for any reason, understanding how to safely remove the SIM card from your Sony Xperia is essential.
In this comprehensive guide, we will walk you through the step-by-step process of safely removing the SIM card from your Sony Xperia device. By following these instructions, you can ensure that the SIM card removal process is smooth and hassle-free, minimizing the risk of damaging the SIM card or the device itself.
Whether you're a seasoned tech enthusiast or a novice smartphone user, this guide is designed to provide clear and concise instructions that anyone can follow. With a few simple steps, you'll be able to remove the SIM card from your Sony Xperia device without any unnecessary stress or confusion.
So, if you're ready to learn how to safely remove the SIM card from your Sony Xperia, let's dive into the step-by-step process and ensure that you can complete this task with confidence and ease.
Step 1: Power off the Sony Xperia
Before beginning the process of removing the SIM card from your Sony Xperia device, it is crucial to power off the device. This step is essential to ensure the safety of both the device and the SIM card during the removal process.
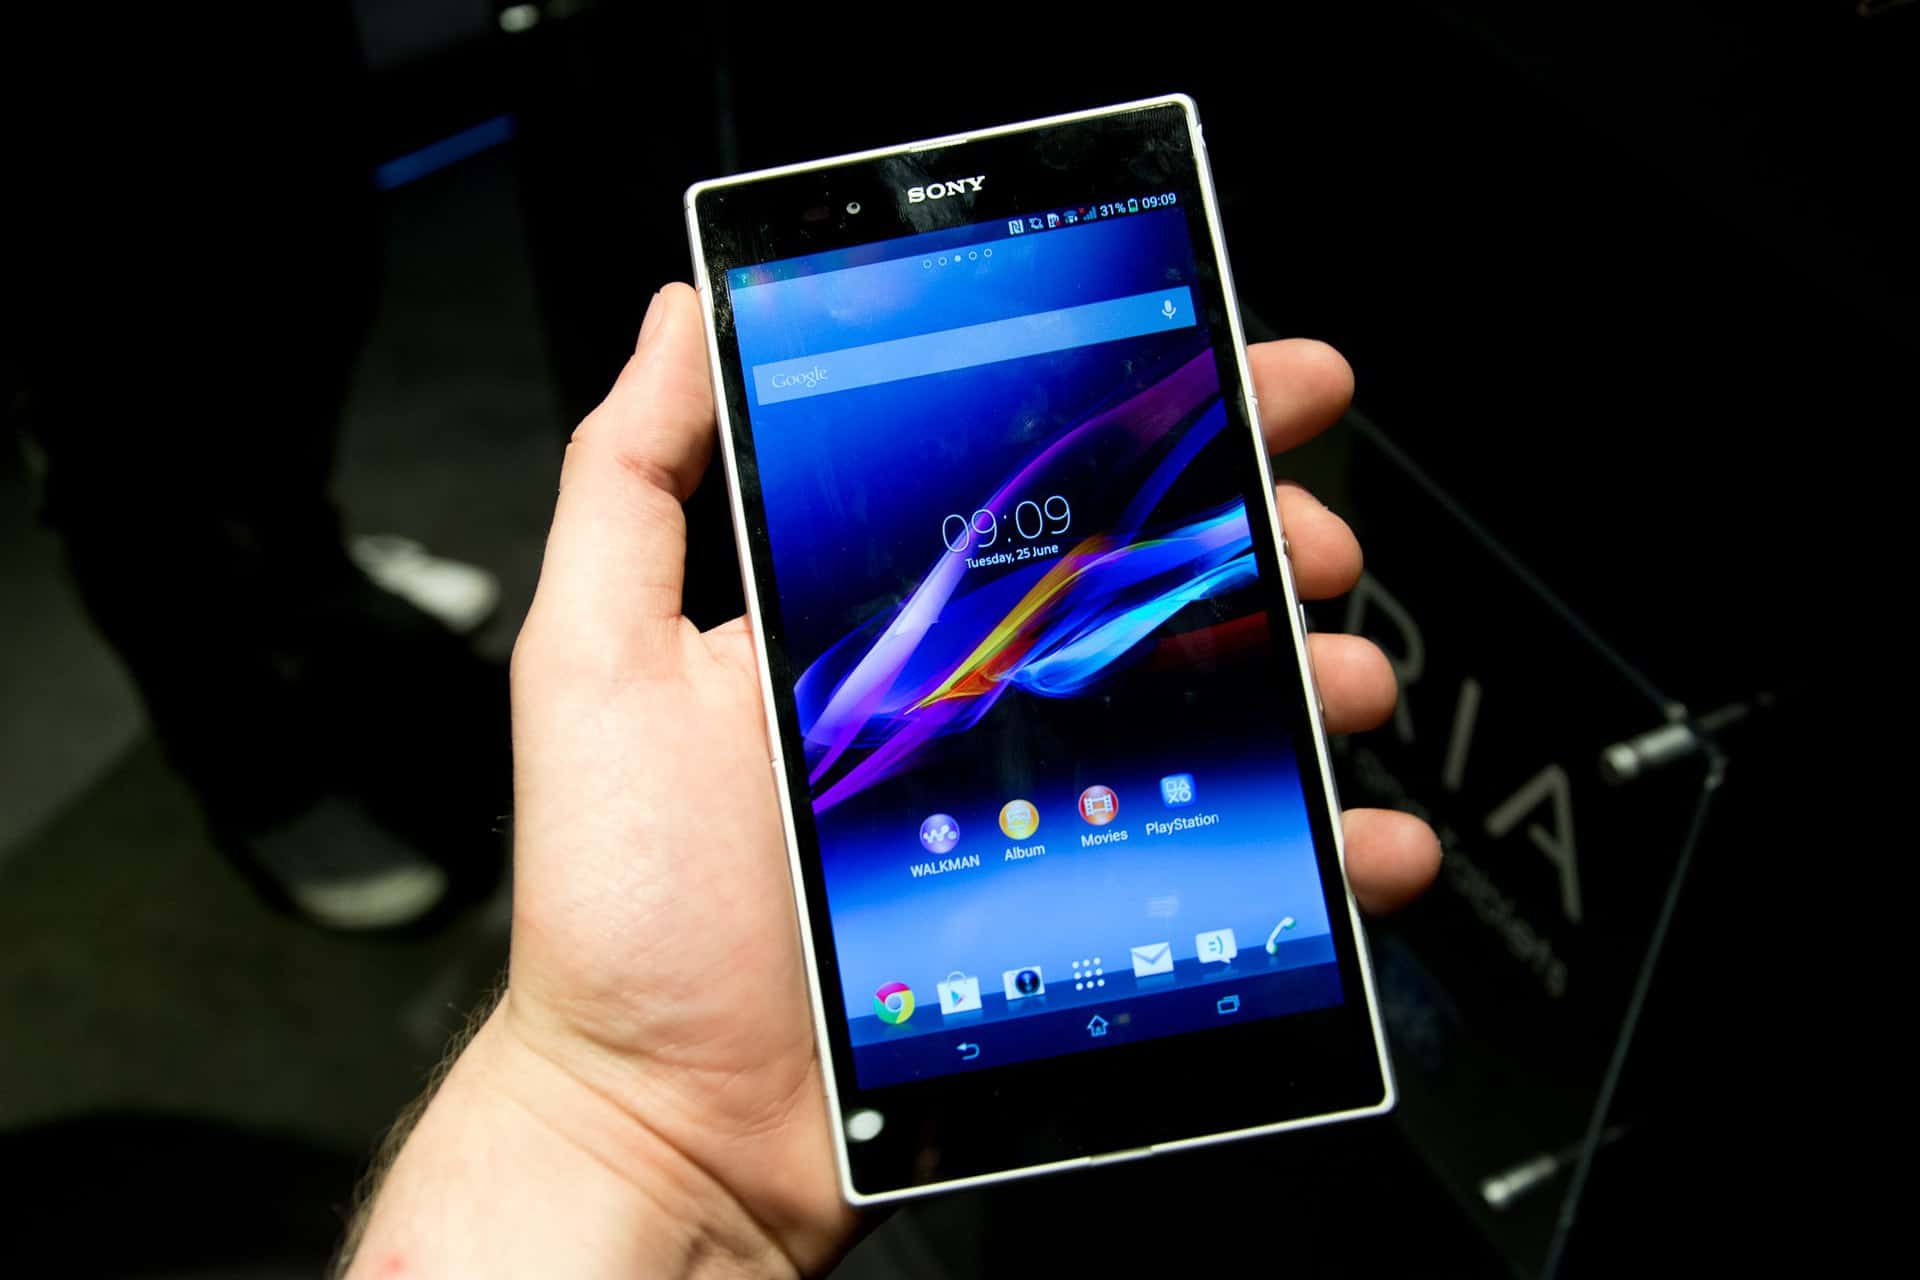
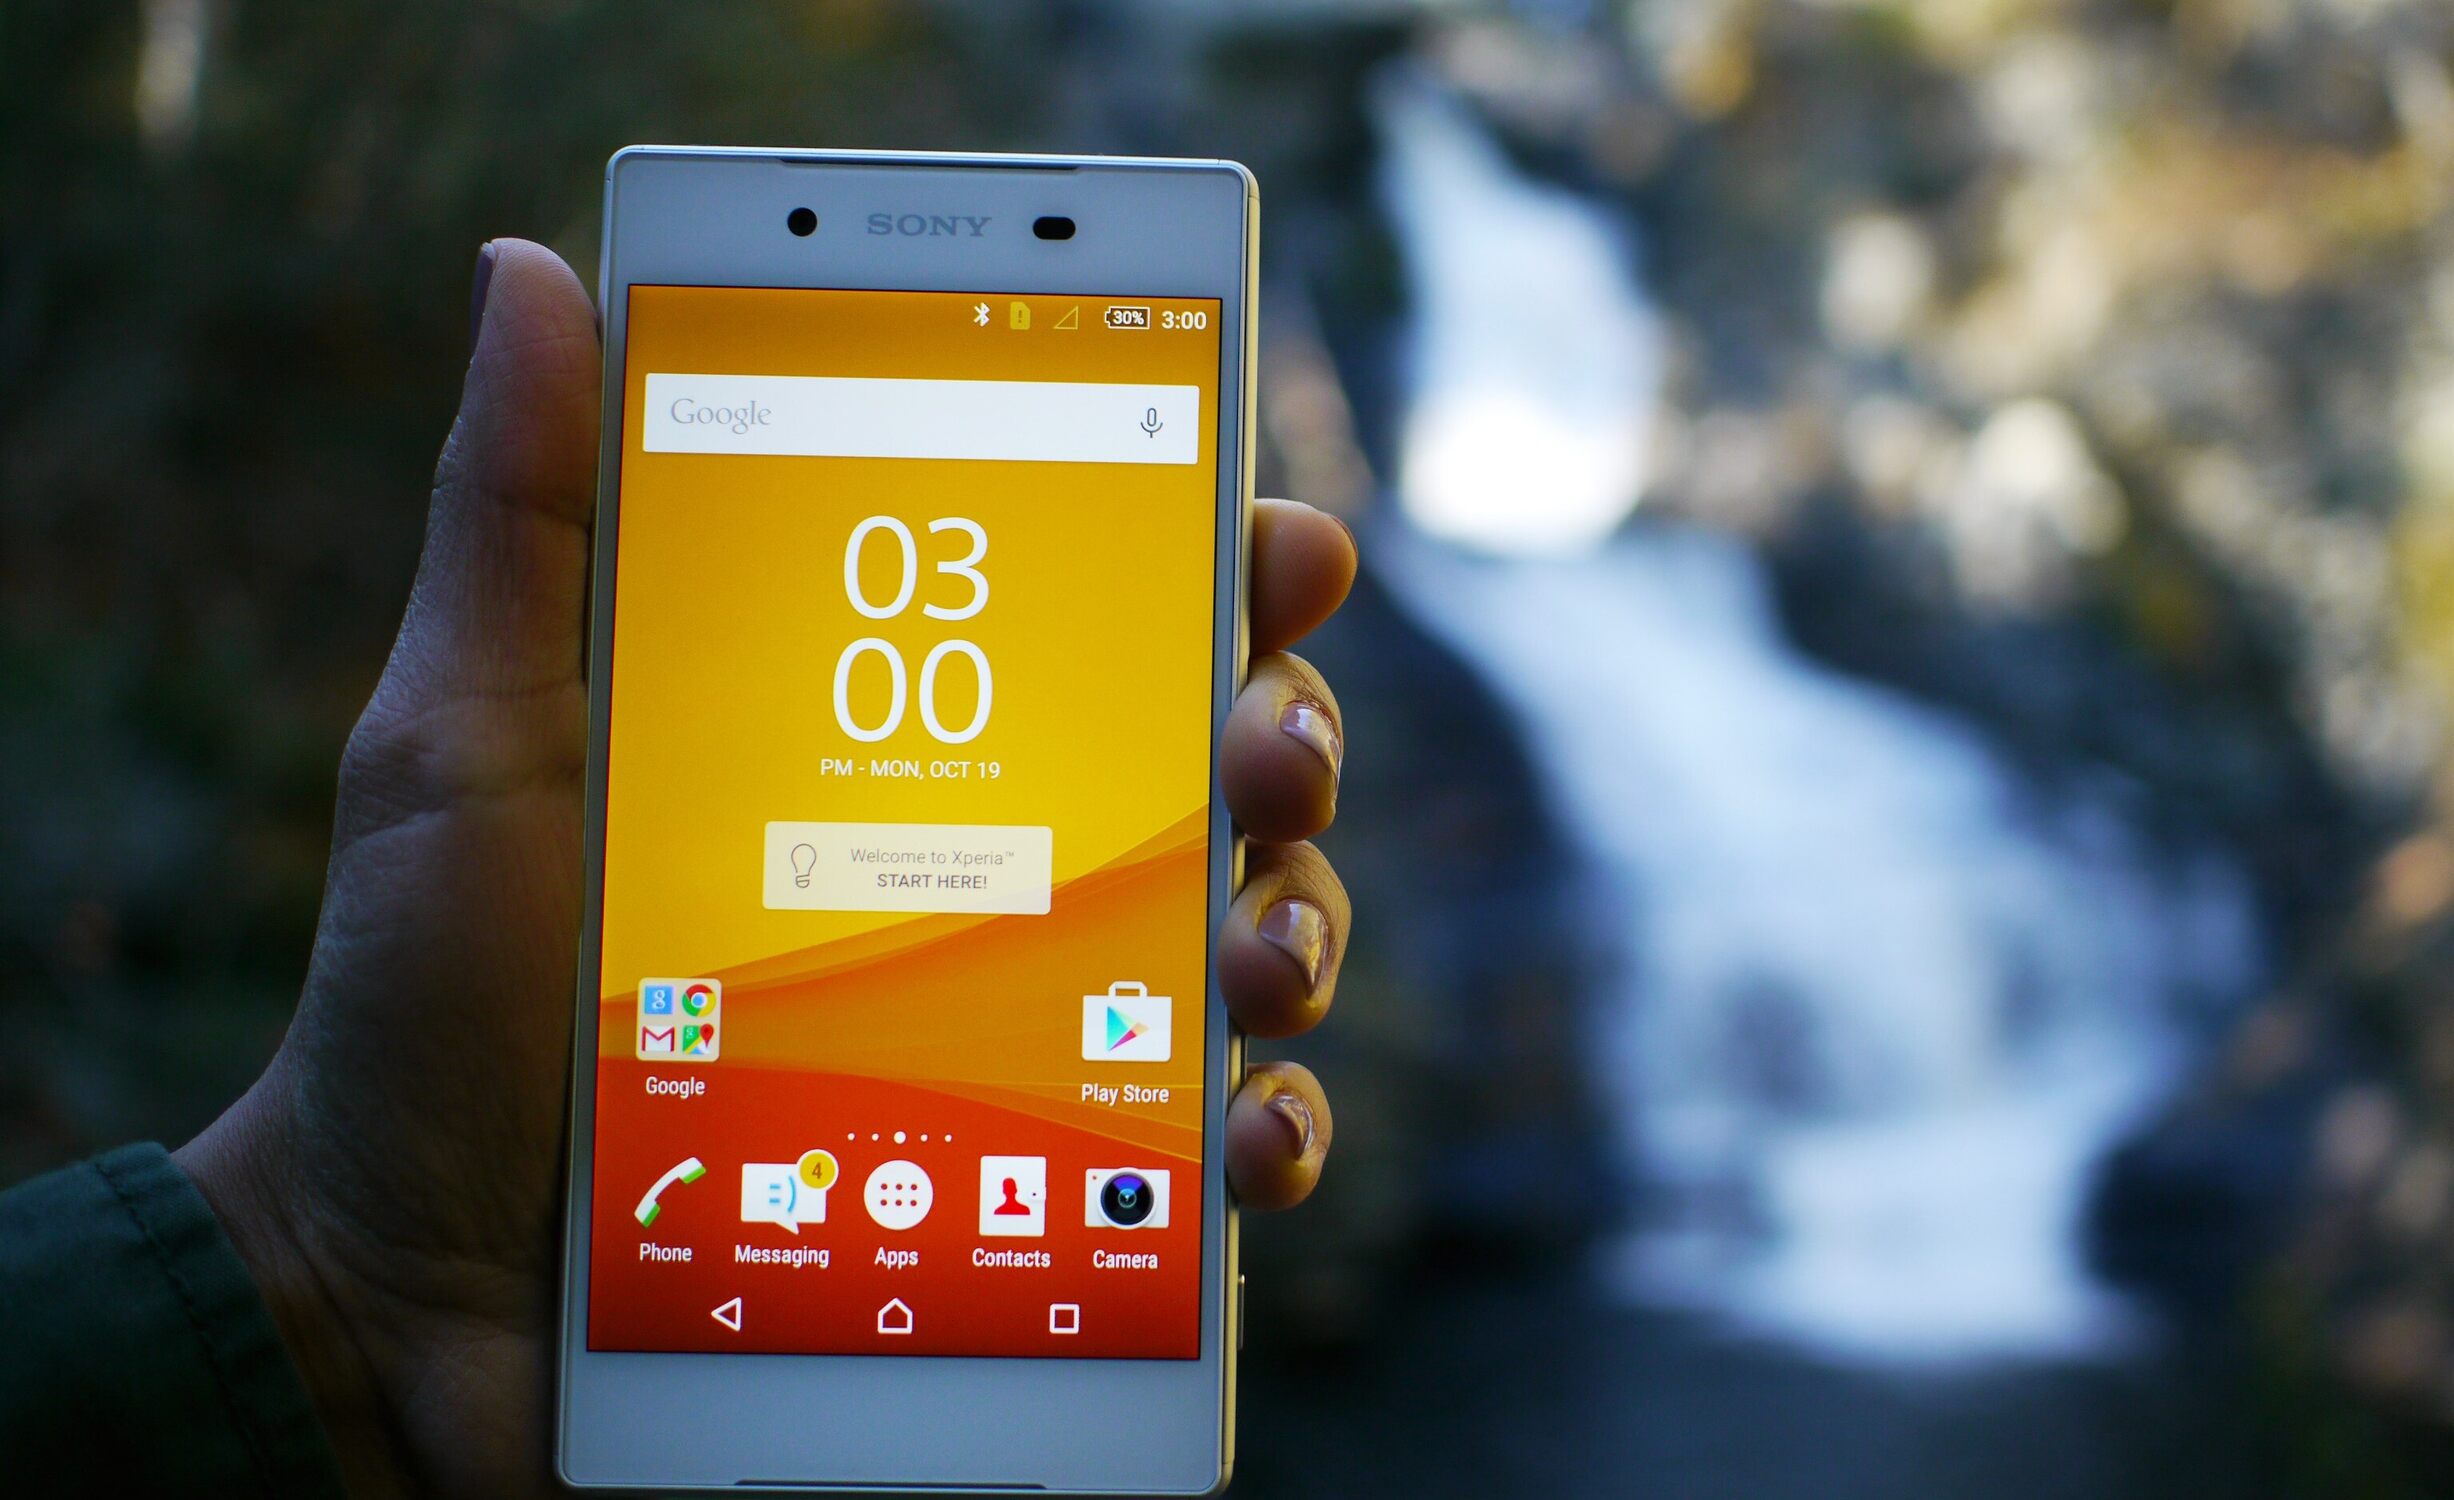
To power off your Sony Xperia, locate the power button, which is typically located on the right-hand side of the device. Press and hold the power button until the power-off menu appears on the screen. Depending on the model of your Sony Xperia, the power-off menu may vary slightly in appearance, but the options to power off the device should be clearly visible.
Once the power-off menu is displayed, tap on the "Power off" or "Turn off" option to initiate the shutdown process. Your Sony Xperia will then begin the power-off sequence, and the screen will indicate that the device is powering down. It is important to wait until the device has completely powered off before proceeding to the next step.
By powering off your Sony Xperia before removing the SIM card, you are taking a proactive step to prevent any potential damage to the device or the SIM card itself. This ensures that the internal components of the device are not active during the SIM card removal process, reducing the risk of any electrical interference or accidental damage.
Once your Sony Xperia is powered off, you can proceed with confidence to the next step of locating the SIM card tray and preparing to safely remove the SIM card from your device. With the device powered off, you can focus on the task at hand without any distractions or concerns about the device's operational status.
By following this initial step of powering off your Sony Xperia, you are setting the stage for a smooth and successful SIM card removal process. With the device safely powered down, you can proceed to the next steps with the assurance that you are taking the necessary precautions to safeguard both your Sony Xperia and the SIM card.
Now that your Sony Xperia is powered off, let's move on to the next step of locating the SIM card tray and preparing to remove the SIM card from your device.
Step 2: Locate the SIM card tray
Locating the SIM card tray on your Sony Xperia device is a crucial step in the process of safely removing the SIM card. The SIM card tray houses the SIM card and is designed to securely hold the card within the device. To begin this step, you will need to familiarize yourself with the specific location of the SIM card tray on your Sony Xperia model.
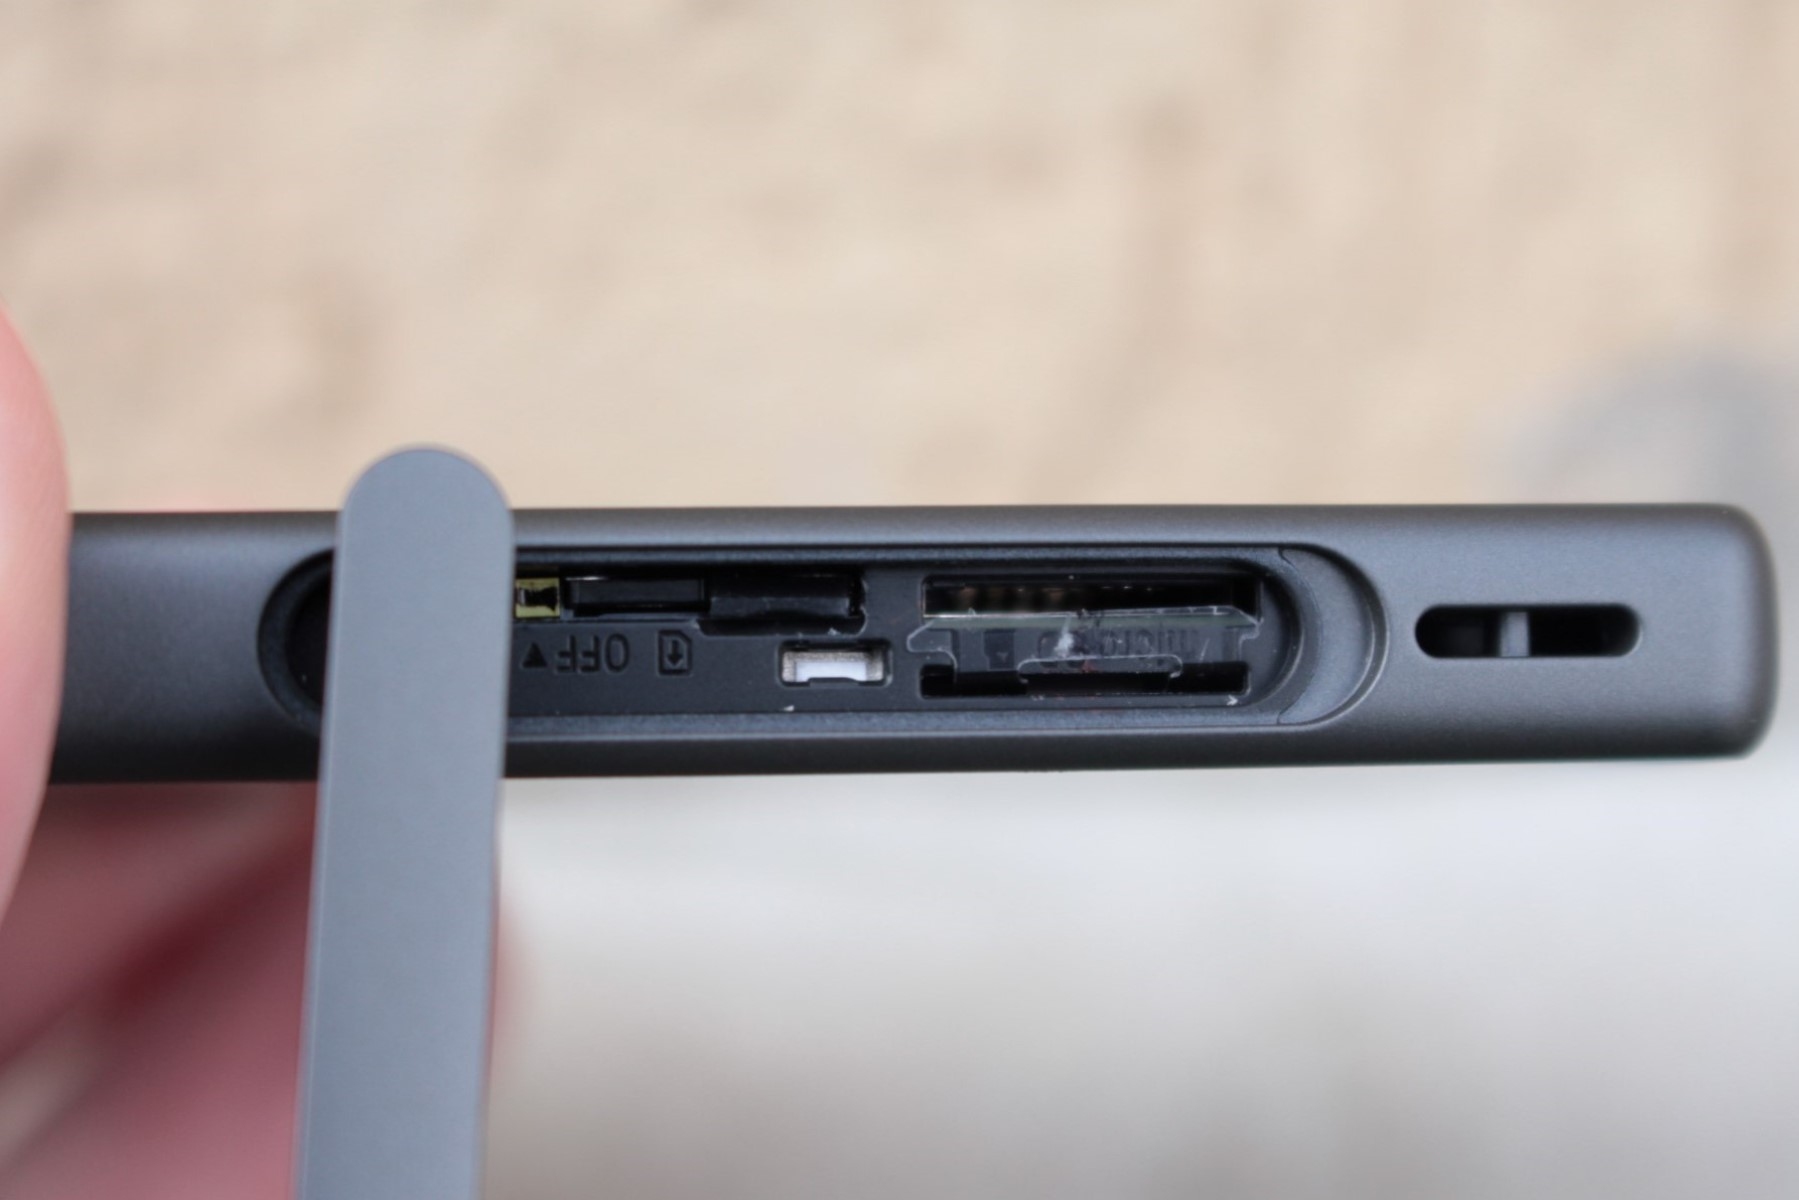
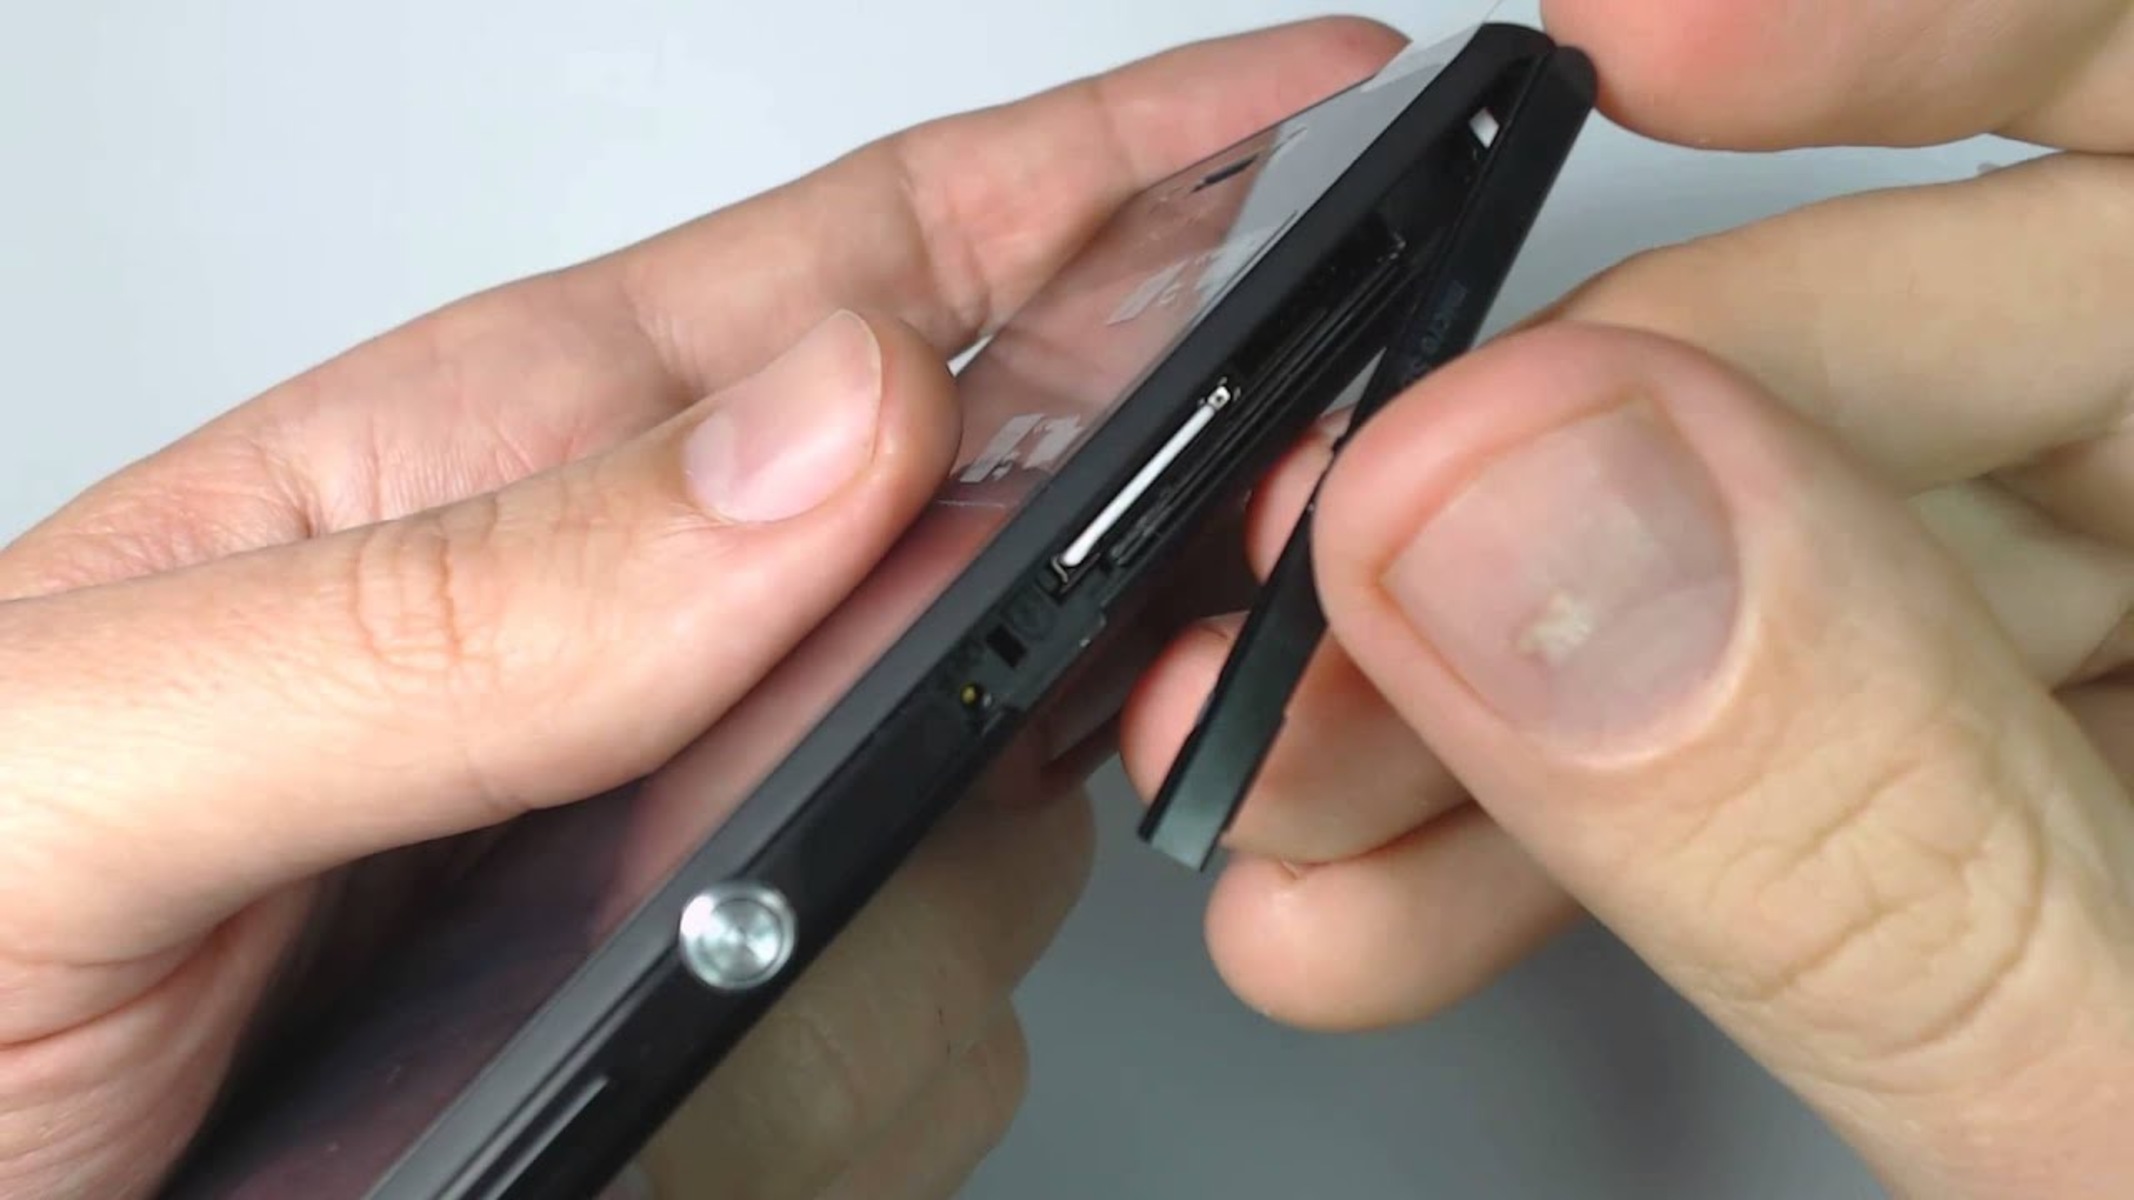
The location of the SIM card tray may vary depending on the model of your Sony Xperia device. However, in most cases, the SIM card tray is located on the side of the device. Look for a small pinhole or a removable panel along the edges of your Sony Xperia. This is where the SIM card tray is typically situated.
Once you have identified the general area where the SIM card tray is located, use the provided SIM card removal tool or a small paperclip to gently insert it into the pinhole or opening. Apply light pressure to ensure that the tool makes contact with the internal mechanism of the SIM card tray.
As you gently insert the tool into the designated opening, you will feel a slight resistance, indicating that the tool has engaged with the SIM card tray. It is important to exercise caution and avoid using excessive force to prevent any damage to the device or the SIM card tray.
Upon successful engagement with the SIM card tray, you will feel a subtle release of the tray from its secured position within the device. At this point, carefully slide the SIM card tray out of the device, taking care to handle it with gentle and deliberate movements.
With the SIM card tray now accessible, you can proceed to the next step of safely ejecting the SIM card from the tray. By locating the SIM card tray and removing it from the device with care, you are setting the stage for a seamless SIM card removal process that prioritizes the safety of both the device and the SIM card.
Now that you have successfully located the SIM card tray on your Sony Xperia device, you are ready to move on to the next step of safely ejecting the SIM card from the tray. With the SIM card tray in hand, you can proceed with confidence, knowing that you have completed this crucial step with precision and attention to detail.
Step 3: Eject the SIM card tray
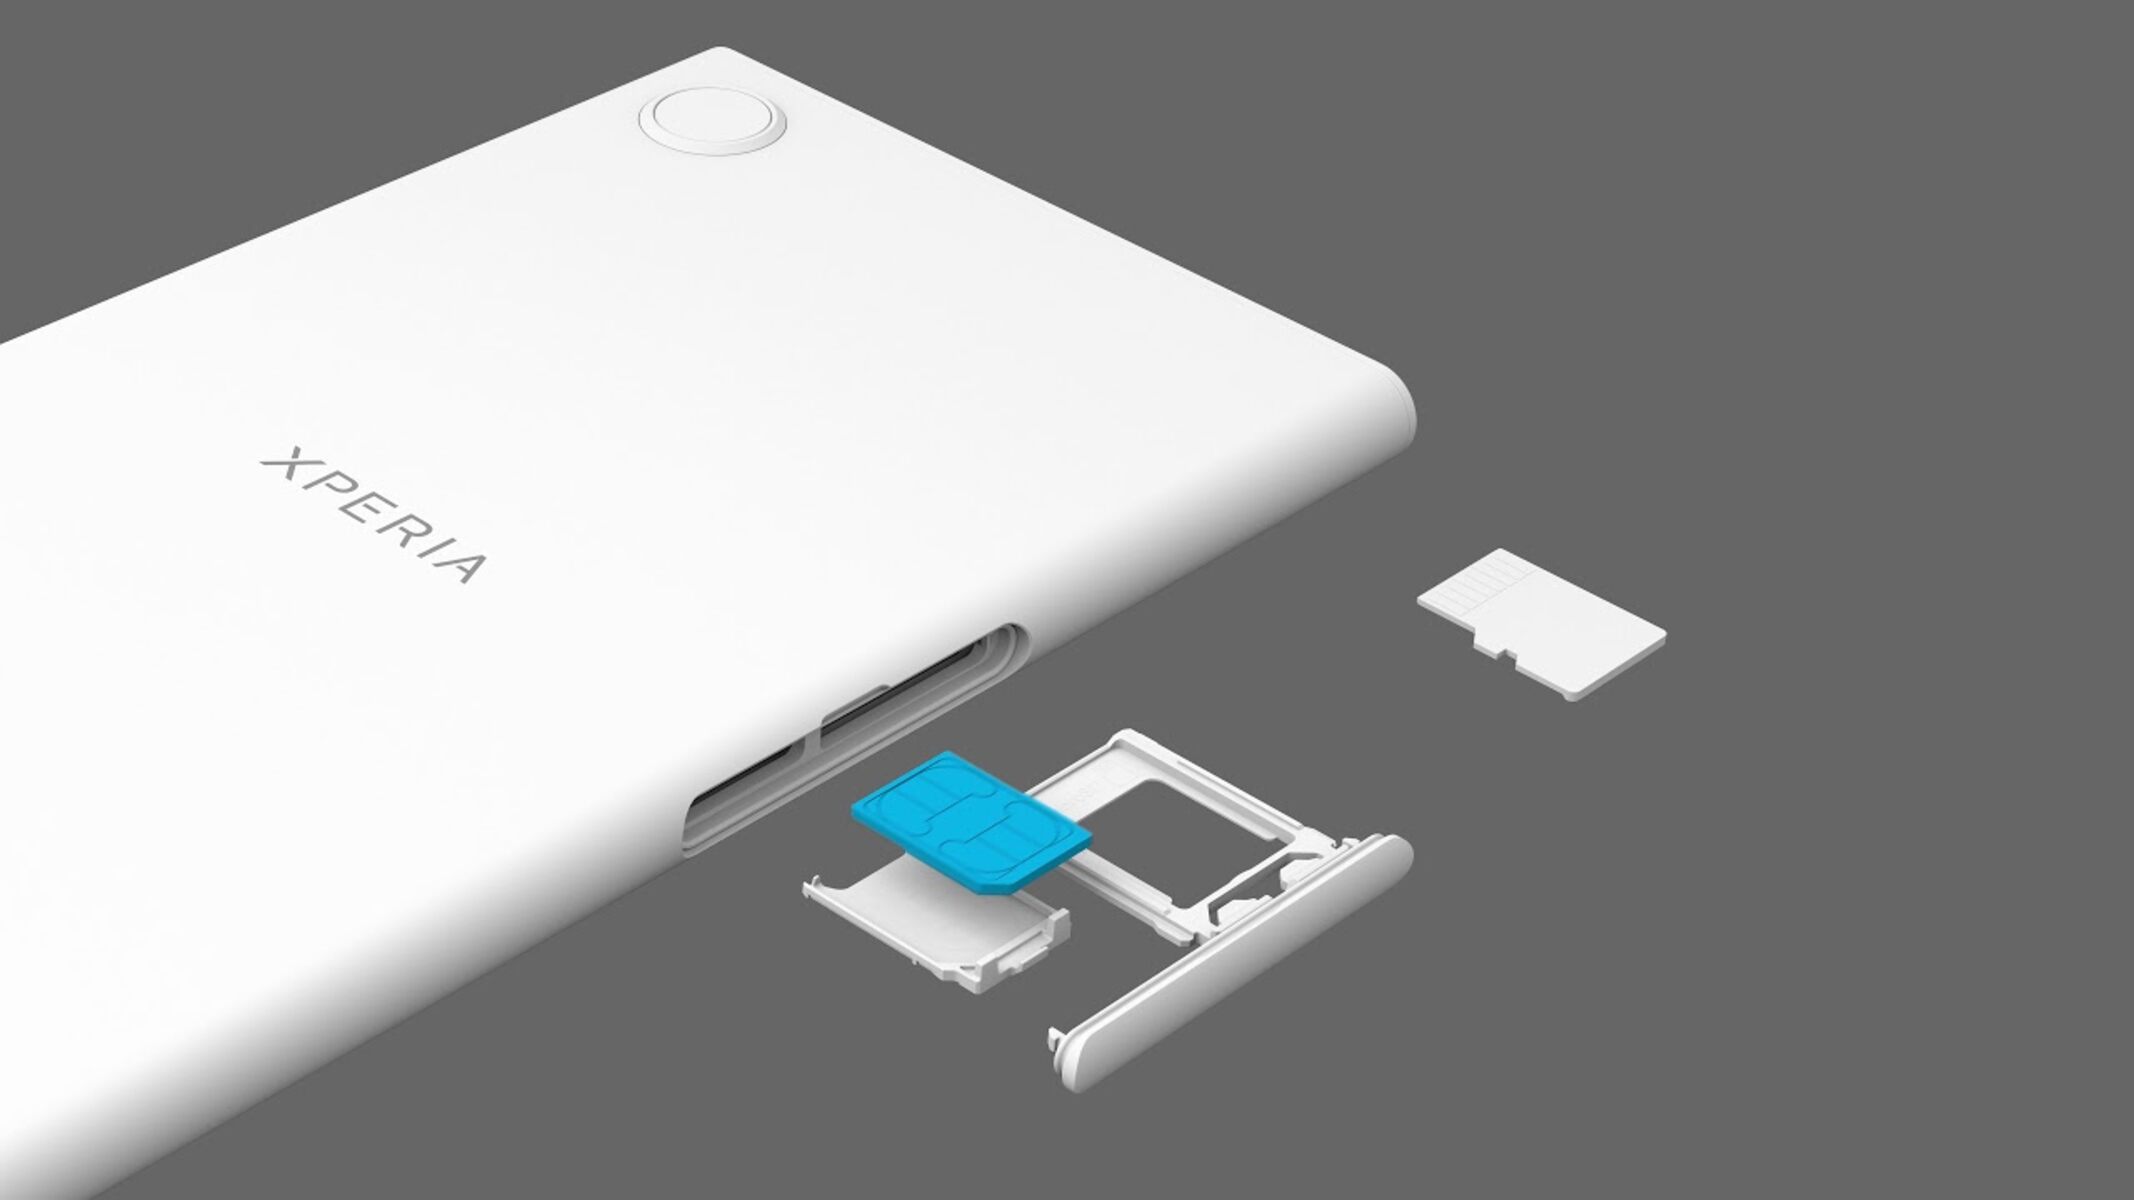
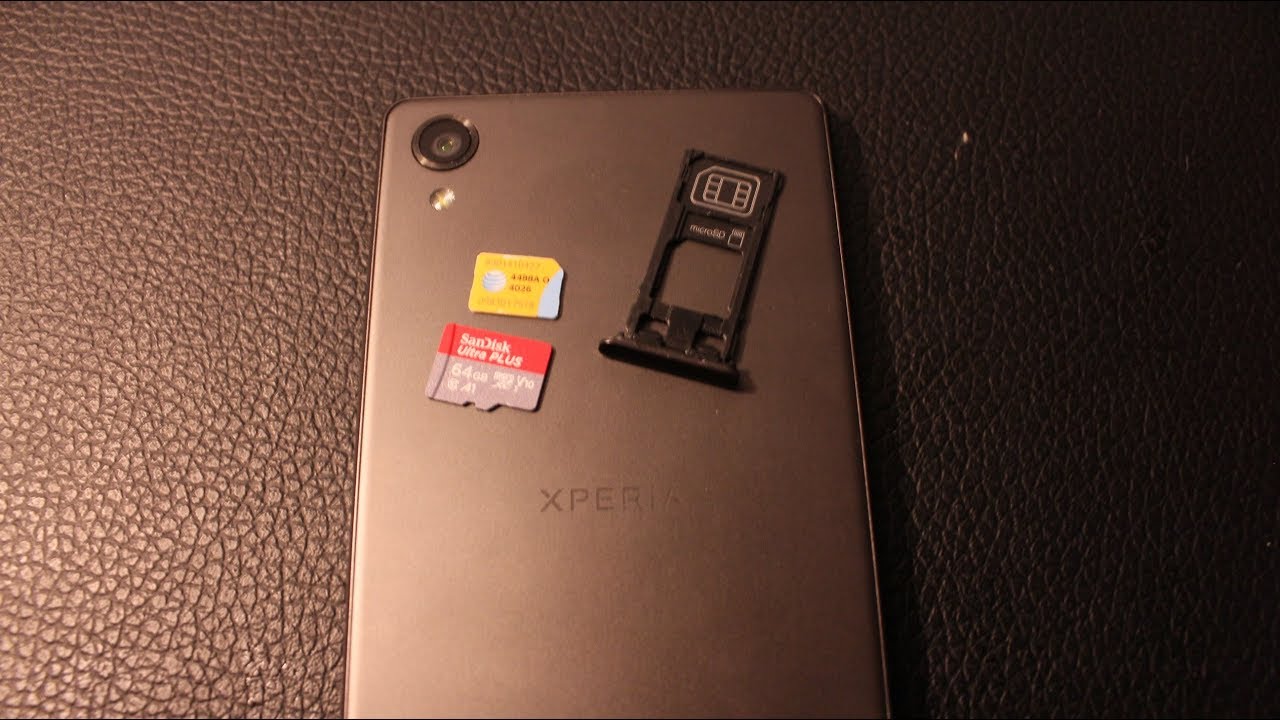
With the SIM card tray now accessible, the next step is to safely eject the SIM card from the tray. The SIM card tray typically features a designated slot where the SIM card is securely placed. Ejecting the SIM card from the tray requires a gentle and precise approach to ensure that the card is removed without any damage.
Inspect the SIM card tray closely to identify the specific slot where the SIM card is positioned. Depending on the Sony Xperia model, the slot may be clearly labeled or visually indicated within the tray. Take a moment to familiarize yourself with the orientation of the SIM card within the tray to ensure that you can proceed with confidence.
Using the provided SIM card removal tool or a small paperclip, carefully align the tool with the ejector mechanism located near the SIM card slot. Apply gentle pressure to activate the ejector mechanism, which will gradually push the SIM card out of its slot within the tray. It is important to exercise caution and avoid using excessive force to prevent any damage to the SIM card or the tray.
As the ejector mechanism is engaged, you will notice the SIM card being partially pushed out of its slot. At this point, use your fingers to delicately grasp the exposed edge of the SIM card and continue to gently slide it out of the tray. Take care to maintain a steady and controlled grip on the SIM card to prevent any accidental drops or mishandling.
Once the SIM card has been successfully ejected from the tray, place it in a secure location, such as a clean and dry surface, to prevent any potential damage or misplacement. It is advisable to handle the SIM card with care, avoiding any bending or flexing of the card that could compromise its functionality.
By following these steps to safely eject the SIM card from the tray, you are ensuring that the removal process is carried out with precision and attention to detail. With the SIM card now removed from the tray, you can proceed to the final step of safely reinserting the SIM card tray into your Sony Xperia device.
Now that you have successfully ejected the SIM card from the tray, you are ready to move on to the next step of reinserting the SIM card tray into your Sony Xperia device. With the SIM card safely removed, you can proceed with confidence, knowing that you have completed this crucial step with precision and attention to detail.
Step 4: Remove the SIM card
With the SIM card successfully ejected from the tray, the next step is to carefully remove the SIM card from the device. The SIM card, a small and delicate component, requires gentle handling to prevent any damage during the removal process.
Inspect the SIM card that has been ejected from the tray, taking note of its size and shape. It is essential to handle the SIM card with care, avoiding any bending or flexing that could compromise its functionality. The SIM card features a metallic chip and a printed circuit that stores crucial information related to your mobile network connectivity.
Using your fingers, delicately grasp the exposed edge of the SIM card that has been partially ejected from the tray. Apply gentle and steady pressure to slide the SIM card completely out of the tray, ensuring that you maintain a controlled grip throughout the process. It is important to avoid touching the metallic chip or the printed circuit to prevent any potential damage from static electricity or physical contact.
Once the SIM card is fully removed from the tray, place it in a secure location, such as a clean and dry surface, to prevent any accidental drops or misplacement. It is advisable to store the SIM card in a protective case or holder to safeguard it from dust, moisture, or physical damage.
As you handle the SIM card, take a moment to inspect it for any signs of damage or wear. Check for any visible scratches, dents, or discoloration that may indicate potential issues with the SIM card. If you notice any damage, it is advisable to contact your mobile network provider for a replacement SIM card to ensure uninterrupted connectivity.
By following these steps to remove the SIM card from your Sony Xperia device, you are prioritizing the safety and integrity of the SIM card. With the SIM card now safely removed, you can proceed to the final step of reinserting the SIM card tray into your Sony Xperia device, knowing that you have completed this crucial step with precision and attention to detail.
Step 5: Reinsert the SIM card tray
With the SIM card safely removed from your Sony Xperia device, the final step is to reinsert the SIM card tray back into the device. This step is essential to ensure that the SIM card tray is securely positioned, allowing for seamless reintegration of the SIM card into your Sony Xperia.
Begin by carefully aligning the SIM card tray with the designated slot on the side of your Sony Xperia. Take note of the orientation of the tray to ensure that it is positioned correctly before insertion. The tray should fit snugly into the slot, aligning with the contours of the device's frame.
Once the SIM card tray is properly aligned, gently slide it back into the device, applying steady and controlled pressure to ensure a smooth insertion. Take care to avoid any abrupt or forceful movements that could potentially damage the tray or the device. The tray should slide back into place with minimal resistance, indicating that it is securely positioned within the device.
As the SIM card tray is reinserted, you may hear a subtle click or feel a slight resistance, signaling that the tray has returned to its original position. It is important to verify that the tray is fully inserted and flush with the device's exterior, ensuring that it sits seamlessly within the frame without any protrusions or misalignments.
Once the SIM card tray is securely reinserted into your Sony Xperia, power on the device to complete the process. Press and hold the power button to initiate the startup sequence, allowing your Sony Xperia to boot up and reestablish connectivity with the reinserted SIM card.
As your Sony Xperia powers on, take a moment to ensure that the device recognizes the SIM card and establishes network connectivity. Once the device has successfully restarted, you can verify that the SIM card is functioning as expected, allowing you to resume normal usage without any interruptions.
By following these steps to reinsert the SIM card tray into your Sony Xperia device, you have completed the process of safely removing and reinserting the SIM card. With the SIM card securely positioned within the device, you can proceed with confidence, knowing that you have successfully completed this essential task with precision and attention to detail.
Conclusion
In conclusion, safely removing the SIM card from your Sony Xperia device is a straightforward process that requires careful attention to detail and precision. By following the step-by-step guide outlined in this comprehensive how-to, you can confidently navigate the SIM card removal process without any unnecessary stress or confusion.
Throughout this guide, we have emphasized the importance of prioritizing the safety of both the device and the SIM card. From powering off the Sony Xperia before initiating the removal process to delicately handling the SIM card, each step is designed to ensure that the SIM card removal process is carried out with the utmost care and consideration.
By familiarizing yourself with the location of the SIM card tray, safely ejecting the SIM card, and delicately removing it from the device, you have taken proactive measures to safeguard the integrity of the SIM card. Additionally, reinserting the SIM card tray with precision and verifying the device's recognition of the SIM card ensures a seamless transition back to normal usage.
It is essential to note that while the process of removing a SIM card from a Sony Xperia device is relatively simple, it is crucial to exercise caution and patience throughout each step. By doing so, you can minimize the risk of any accidental damage to the device or the SIM card, allowing for a smooth and successful SIM card removal experience.
Whether you are switching to a new device, troubleshooting connectivity issues, or simply need to access the SIM card for any reason, the knowledge and confidence gained from this guide will empower you to navigate the SIM card removal process with ease.
As technology continues to evolve, the ability to perform basic maintenance tasks such as SIM card removal is a valuable skill for any smartphone user. By equipping yourself with the knowledge and understanding of the SIM card removal process, you can approach device maintenance with confidence and assurance.
In closing, I hope that this guide has provided you with the clarity and guidance needed to safely remove the SIM card from your Sony Xperia device. With the completion of this essential task, you can now proceed with confidence, knowing that you have successfully navigated the SIM card removal process with precision and care.