Introduction
Inserting a SIM card into your Sony Xperia device is a fundamental step in setting up your mobile phone for communication and connectivity. Whether you're activating a new phone or switching to a different SIM card, understanding the process of inserting a SIM card into your Sony Xperia device is essential. This article will guide you through the step-by-step process, ensuring that you can seamlessly integrate your SIM card with your Sony Xperia device.
The SIM card, or Subscriber Identity Module, is a small, removable card that stores your phone number and other essential information. It's a crucial component that enables your phone to connect to your mobile network, allowing you to make calls, send text messages, and access mobile data. Without a properly inserted SIM card, your Sony Xperia device would be unable to fulfill its primary function as a communication device.
By following the detailed instructions provided in this guide, you'll gain the confidence to handle the SIM card insertion process with ease. Whether you're a tech-savvy individual or a newcomer to the world of mobile devices, this step-by-step tutorial will empower you to successfully insert a SIM card into your Sony Xperia device, ensuring that you can enjoy seamless connectivity and communication on your mobile phone.
Step 1: Locate the SIM card slot
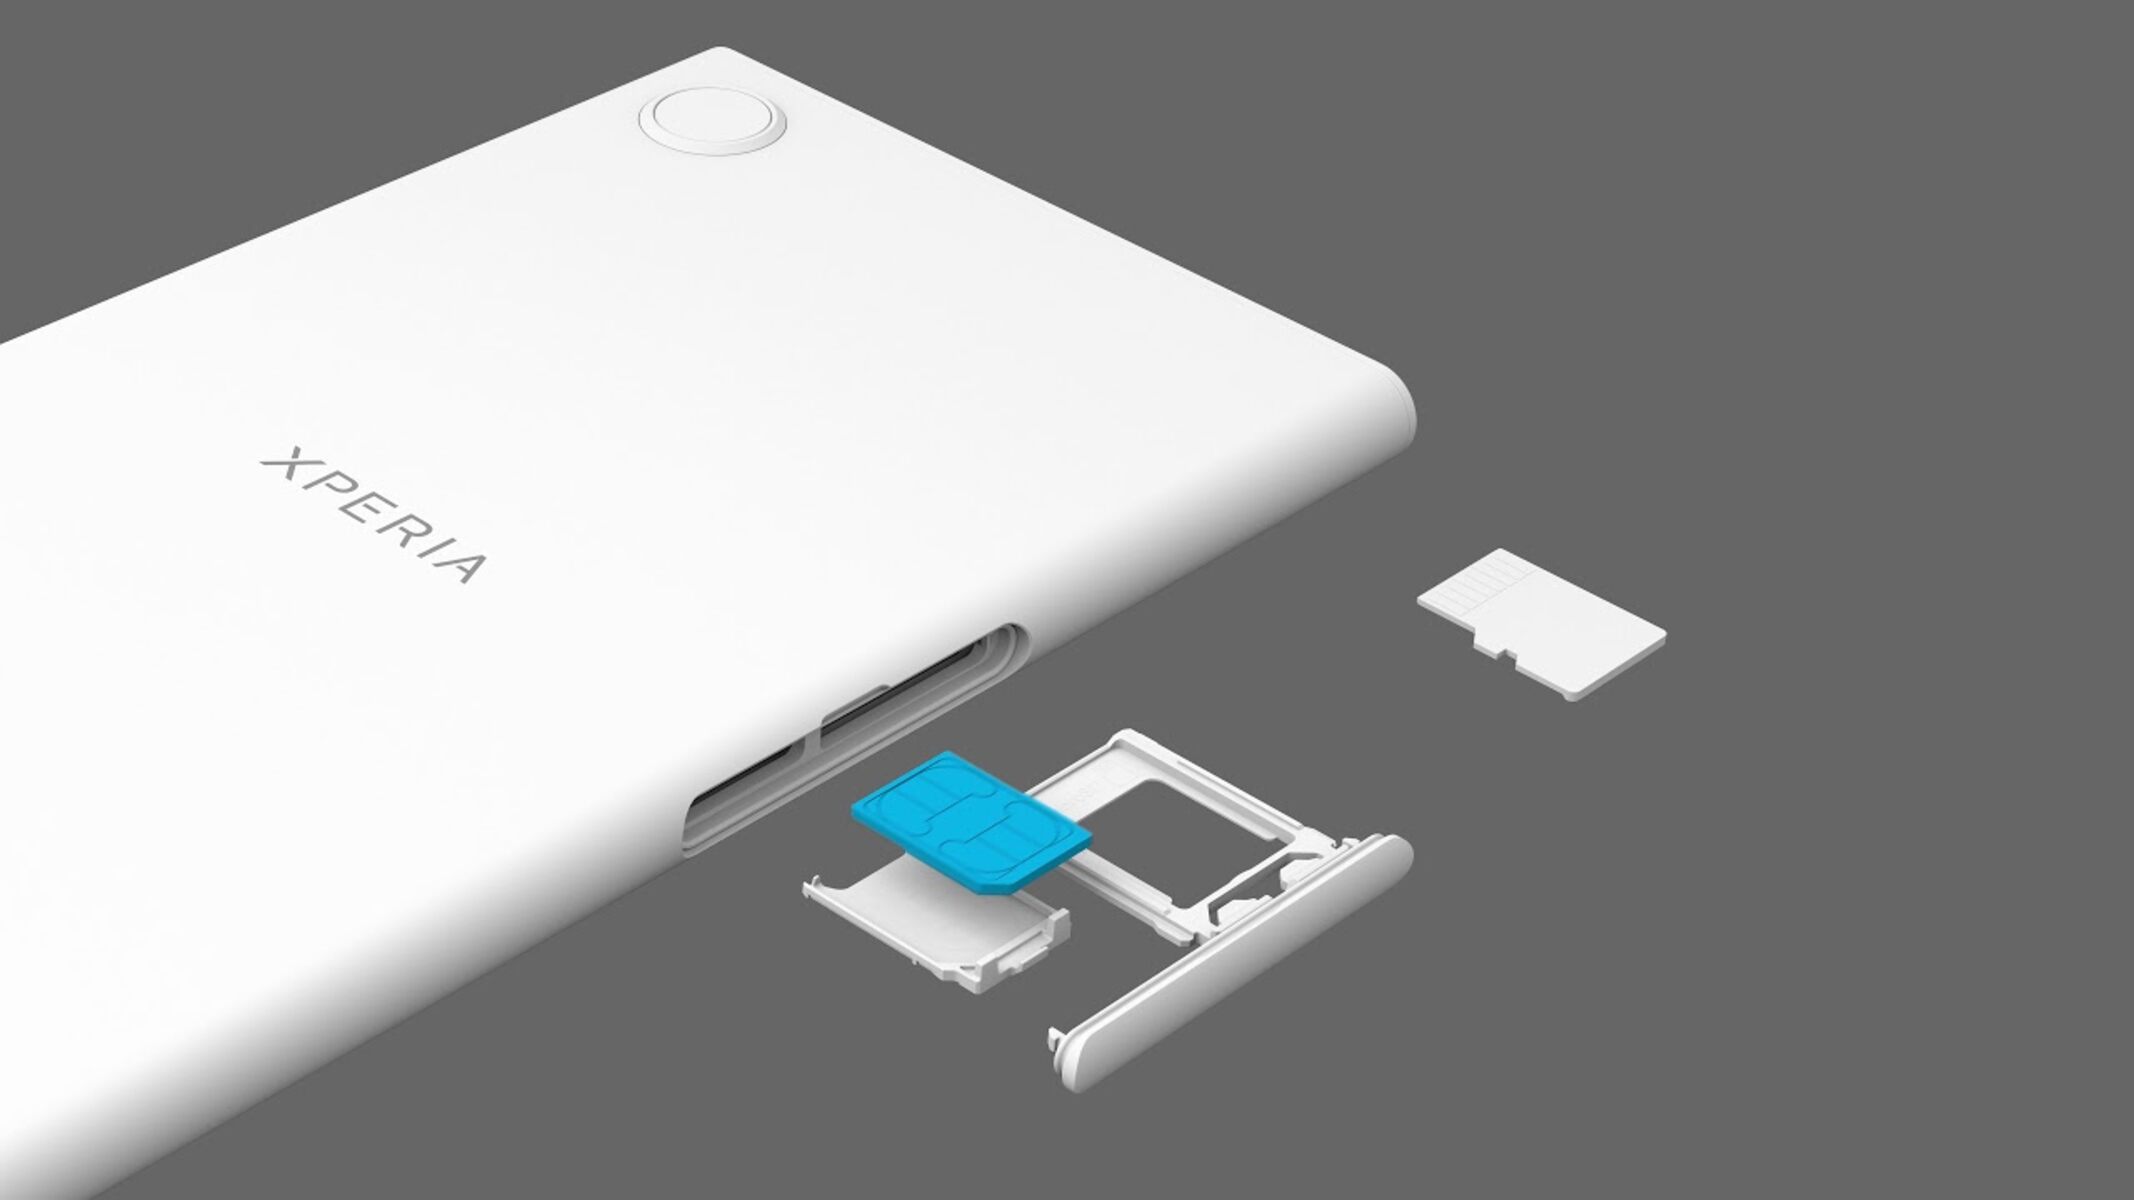
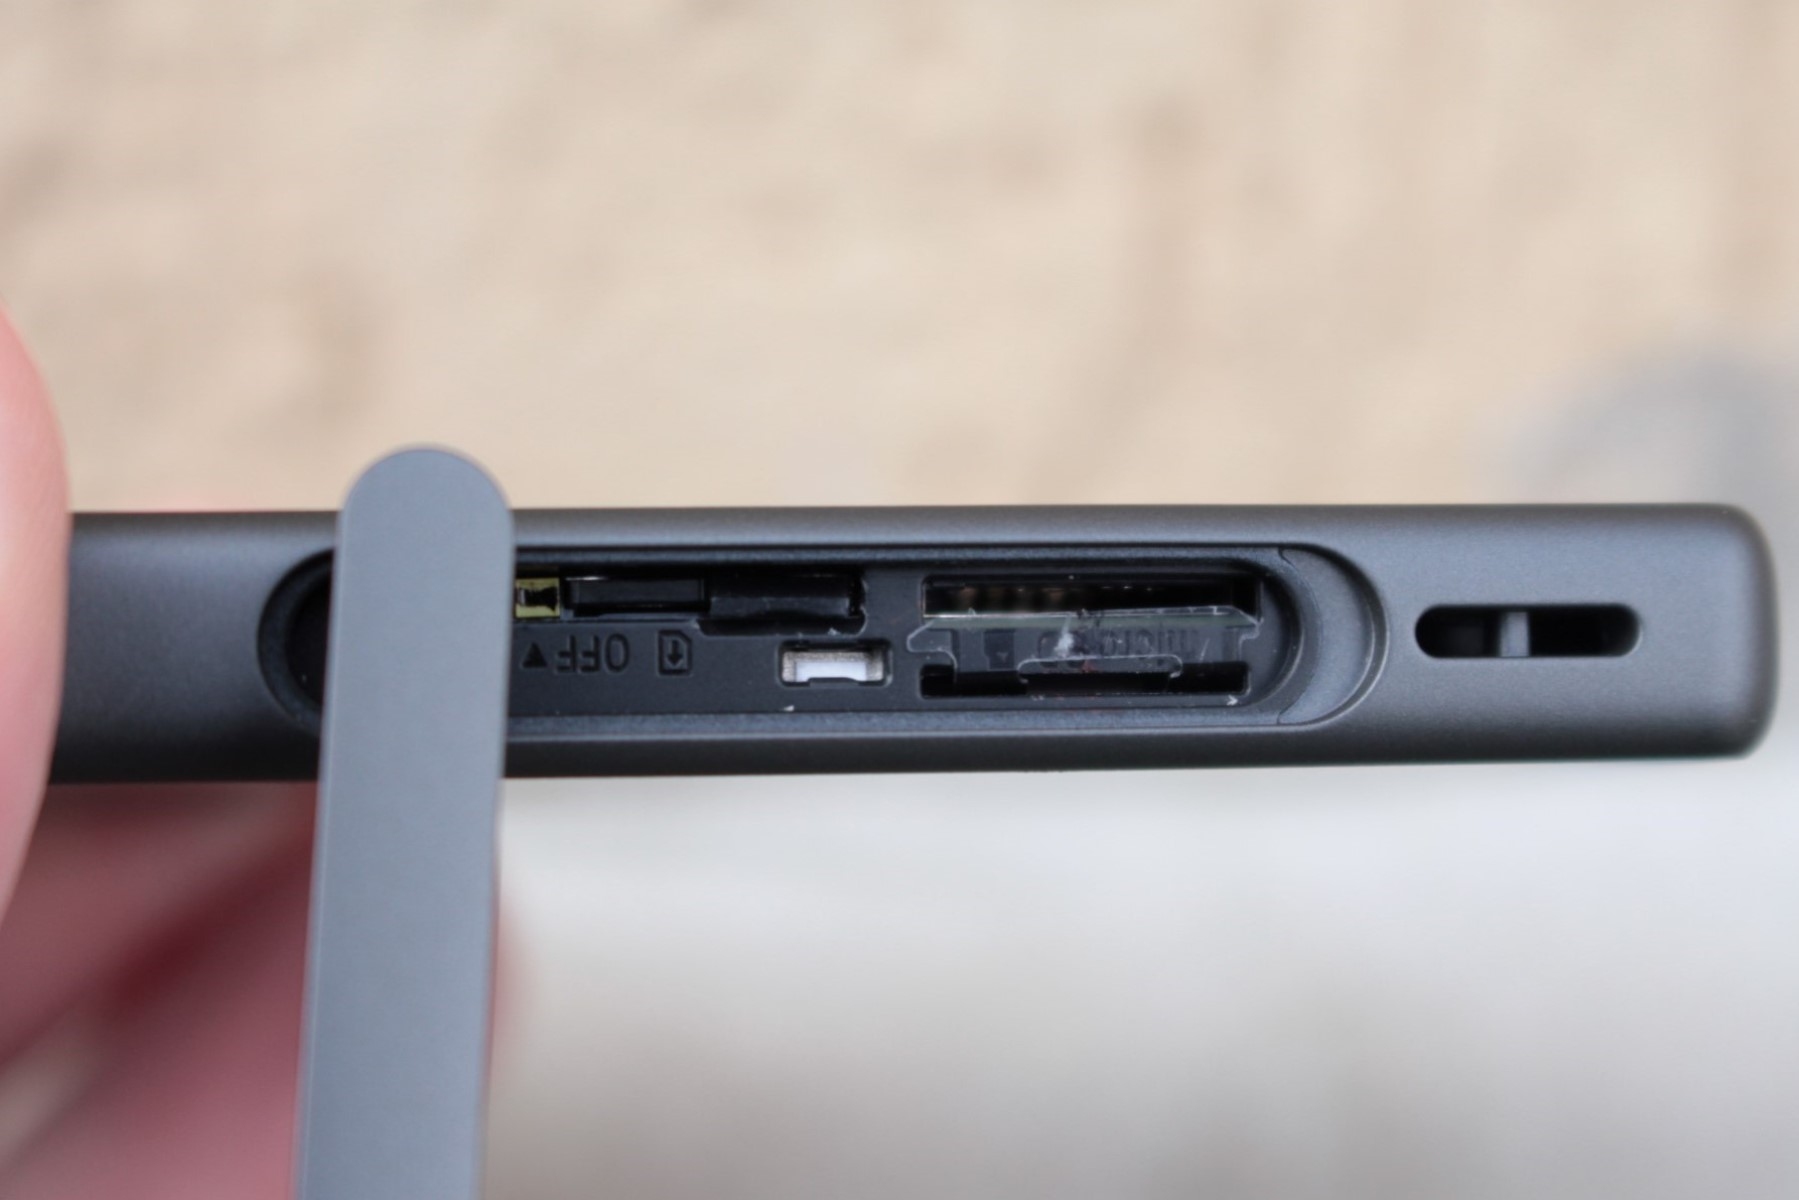
Locating the SIM card slot on your Sony Xperia device is the first crucial step in the process of inserting a SIM card. The SIM card slot is typically situated on the side of the phone, although the exact location may vary depending on the specific model of your Sony Xperia device. To ensure a smooth and hassle-free SIM card insertion, follow these detailed steps to locate the SIM card slot:
-
Identify the SIM Card Slot: Begin by carefully examining the sides of your Sony Xperia device. Look for a small, discreet slot with a pinhole or a removable cover. In most Sony Xperia models, the SIM card slot is located on the upper edge of the phone. It is often positioned adjacent to the power button or the volume controls. If you're having trouble locating the SIM card slot, refer to the user manual provided with your Sony Xperia device for specific instructions and illustrations.
-
Use the SIM Ejection Tool: Sony Xperia devices are typically equipped with a SIM ejection tool, a small pin-like instrument provided by the manufacturer. This tool is designed to facilitate the removal and insertion of the SIM card. If your device includes a SIM ejection tool, it will be housed within the packaging or the user manual. Once you've located the SIM card slot, retrieve the SIM ejection tool to prepare for the next step.
-
Exercise Caution: When handling the SIM ejection tool, exercise caution to avoid any damage to the device. Gently insert the SIM ejection tool into the pinhole or designated slot adjacent to the SIM card slot. Apply gentle pressure to release the SIM card tray from its compartment. If your Sony Xperia device does not include a dedicated SIM ejection tool, a small paperclip can be used as an alternative, ensuring that it fits into the pinhole without causing any damage.
By carefully following these steps, you'll successfully locate the SIM card slot on your Sony Xperia device, setting the stage for the subsequent steps in the SIM card insertion process. With the SIM card slot identified and accessible, you're now ready to proceed with the next phase of the process: inserting the SIM card into your Sony Xperia device.
Step 2: Insert the SIM card
With the SIM card slot successfully located, the next pivotal step is to insert the SIM card into your Sony Xperia device. This process requires precision and care to ensure that the SIM card is securely positioned, enabling seamless connectivity and communication on your mobile phone. Follow these detailed instructions to effectively insert the SIM card into your Sony Xperia device:
-
Prepare the SIM Card: Before inserting the SIM card, ensure that it is free from any visible damage or deformities. The SIM card is a small, rectangular card with a metallic chip. Take a moment to inspect the SIM card, verifying that it aligns with the size and shape required for your Sony Xperia device. If you're using a new SIM card, it's essential to carefully detach it from the surrounding packaging, handling it with care to prevent any bending or damage to the card.
-
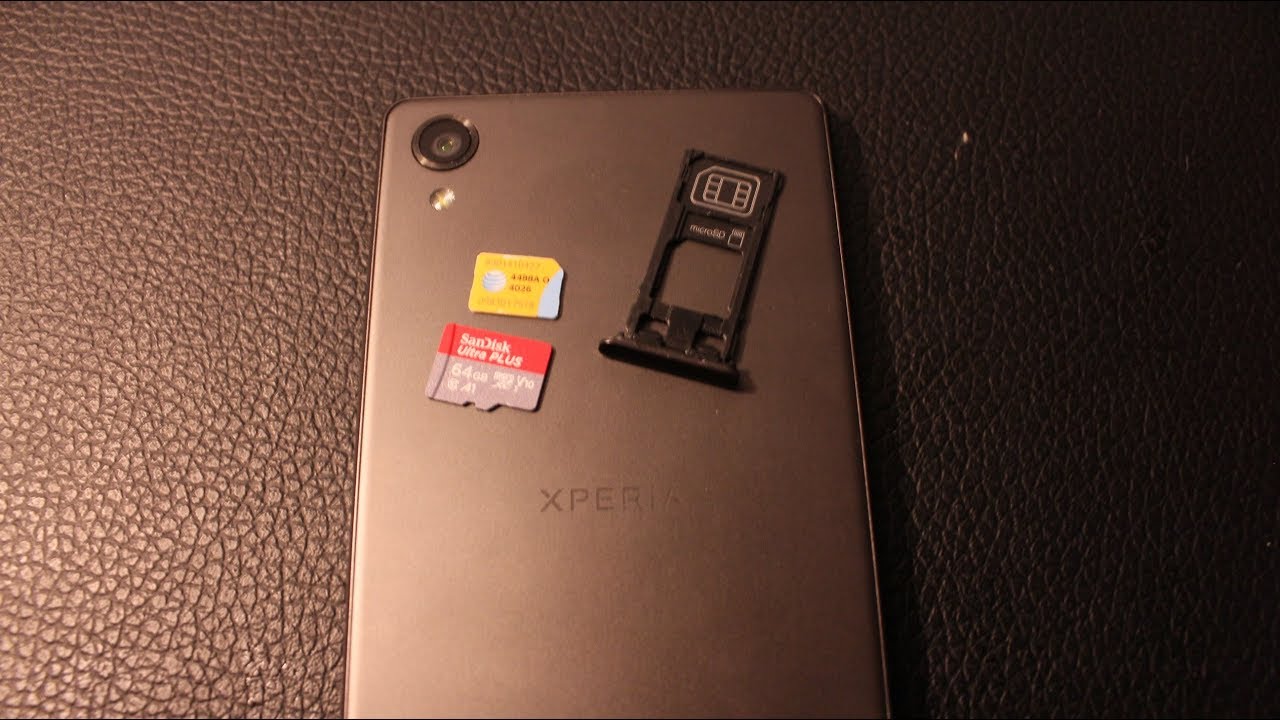
Position the SIM Card: Hold the Sony Xperia device securely in one hand, ensuring a stable grip to prevent any accidental slippage. With the SIM card tray accessible, gently place the SIM card onto the tray, aligning it with the designated guides to ensure a proper fit. The SIM card should rest flat on the tray, with the metallic chip facing downward and the notched corner matching the orientation indicated on the tray.
-
Insert the SIM Card Tray: Once the SIM card is positioned on the tray, carefully slide the tray back into the SIM card slot on the side of your Sony Xperia device. Apply gentle pressure to ensure that the tray smoothly glides into place, securing the SIM card within the device. Take care to avoid forcing the tray or causing any resistance during the insertion process, as this could potentially damage the SIM card or the device.
-
Verify the Insertion: After inserting the SIM card tray, take a moment to verify that it is securely in place. Ensure that the tray sits flush with the device's exterior, with no protrusions or misalignments. Additionally, check that the SIM card is properly seated within the tray, without any visible gaps or uneven positioning. This visual inspection confirms that the SIM card has been successfully inserted into your Sony Xperia device.
By meticulously following these steps, you'll effectively insert the SIM card into your Sony Xperia device, setting the stage for the subsequent phases of the setup process. With the SIM card securely in place, you're now prepared to power on your Sony Xperia device and proceed with the essential steps to activate and configure the SIM card for seamless communication and connectivity.
Step 3: Power on the device
After successfully inserting the SIM card into your Sony Xperia device, the next pivotal step is to power on the device. This essential action initiates the activation process for the SIM card, allowing your Sony Xperia device to establish a connection with your mobile network and enabling you to access communication services such as calls, text messaging, and mobile data. Follow these detailed instructions to power on your Sony Xperia device and proceed with the activation process:
-
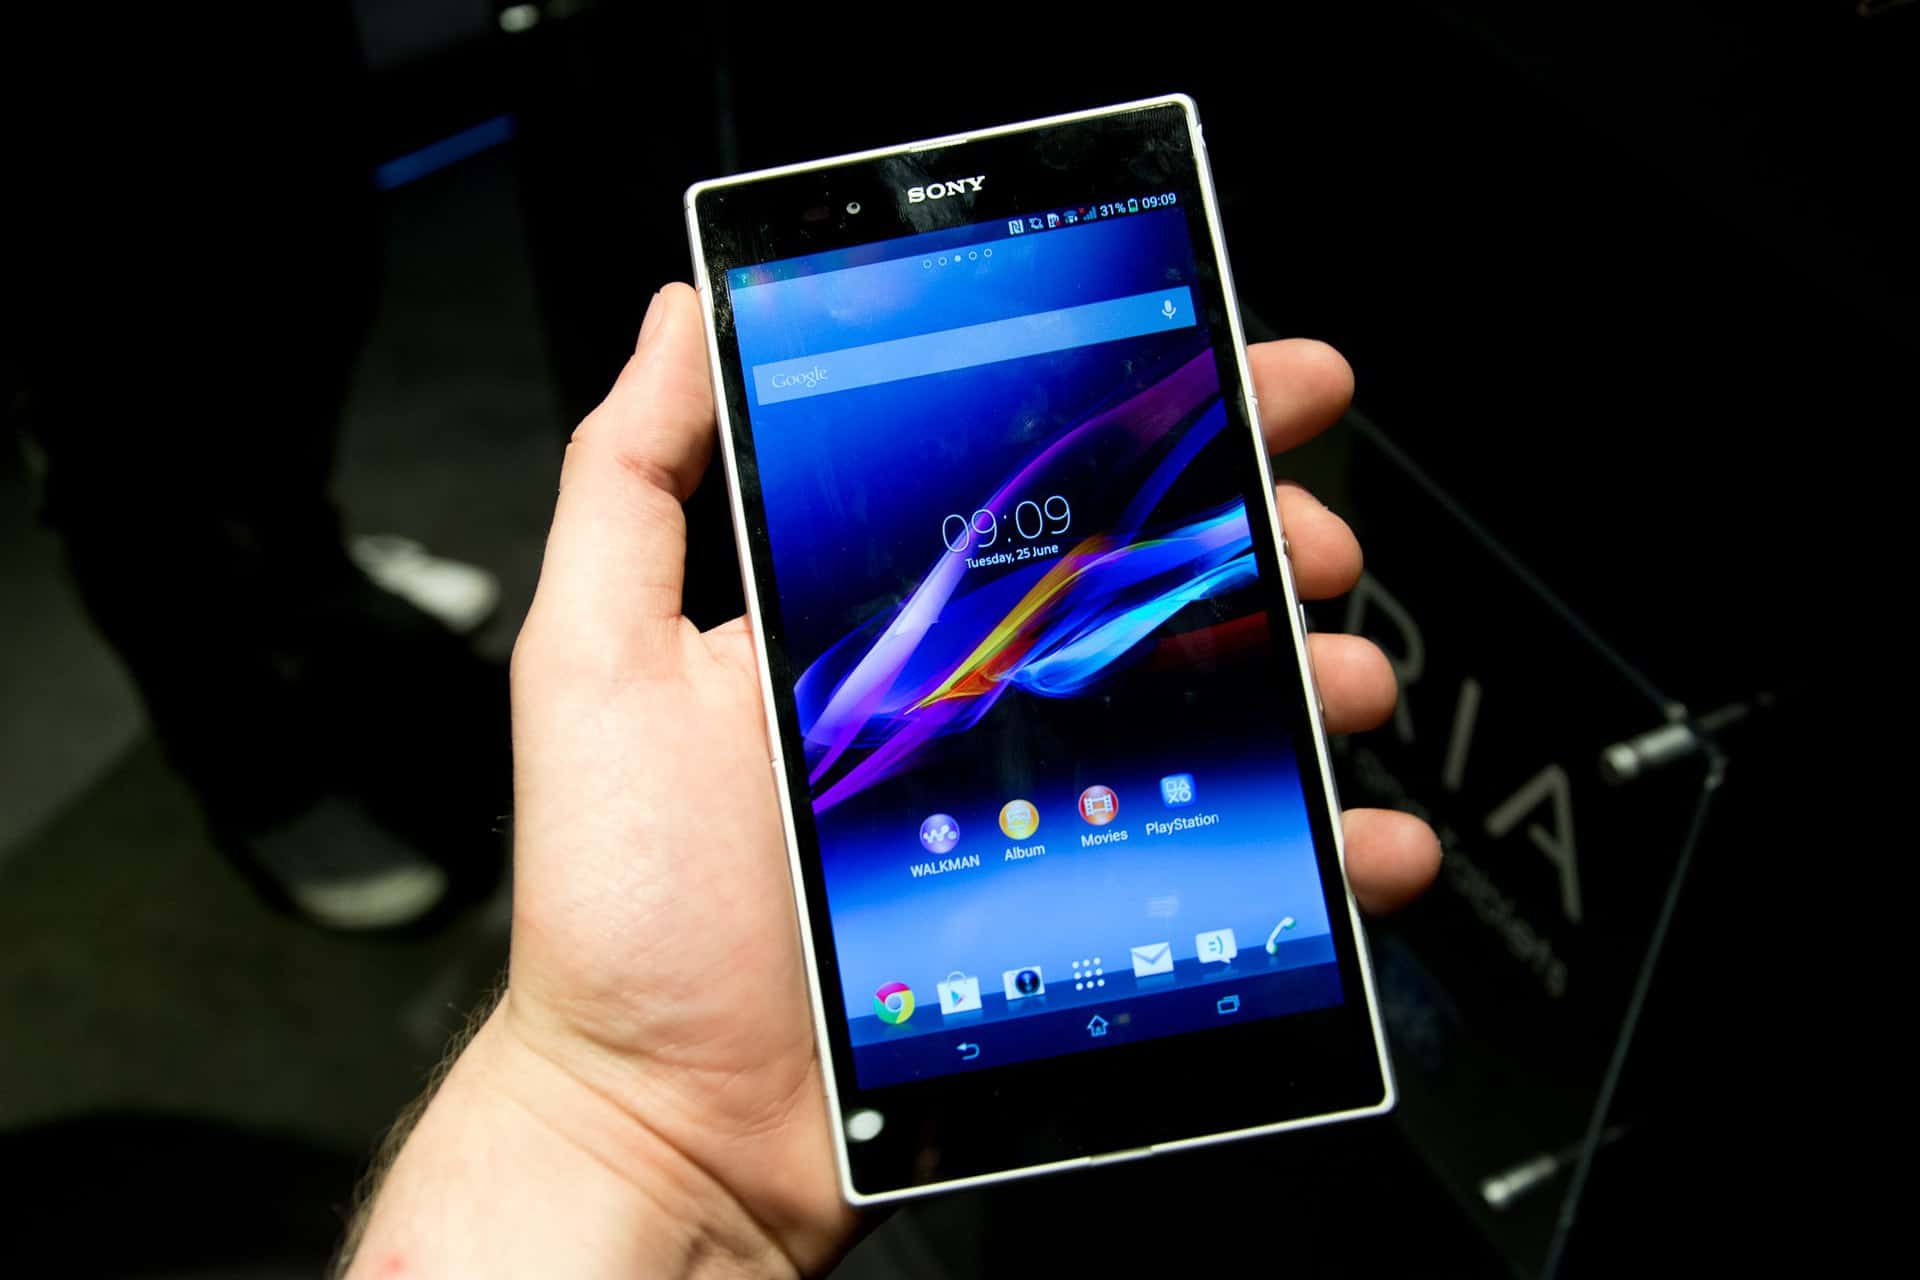
Press and Hold the Power Button: Located on the side or top of your Sony Xperia device, the power button is a prominent physical control that enables you to turn the device on and off. To power on your device, press and hold the power button for a few seconds until you see the screen illuminate and the Sony logo appear. This action triggers the boot-up sequence, initializing the device's operating system and preparing it for use.
-
Wait for the Device to Start Up: Upon pressing the power button, your Sony Xperia device will commence the startup process. You'll observe the screen lighting up, followed by the display of the Sony logo and the device's boot animation. During this startup phase, the device's internal components and software systems are initialized, ensuring that the device is ready for operation.
-
Enter the PIN (if required): If your SIM card is protected by a PIN (Personal Identification Number), the device will prompt you to enter the PIN to unlock the SIM card. This security measure safeguards your SIM card from unauthorized use and ensures that only authorized users can access the mobile network services associated with the SIM card. Carefully enter the PIN using the on-screen keypad, following the instructions provided on the device's display.
-
Wait for Network Registration: After entering the PIN, your Sony Xperia device will proceed to register with the mobile network associated with the inserted SIM card. This registration process establishes a secure connection between your device and the network, enabling you to access voice and data services. Depending on the network coverage and signal strength, this registration phase may take a few moments to complete.
-
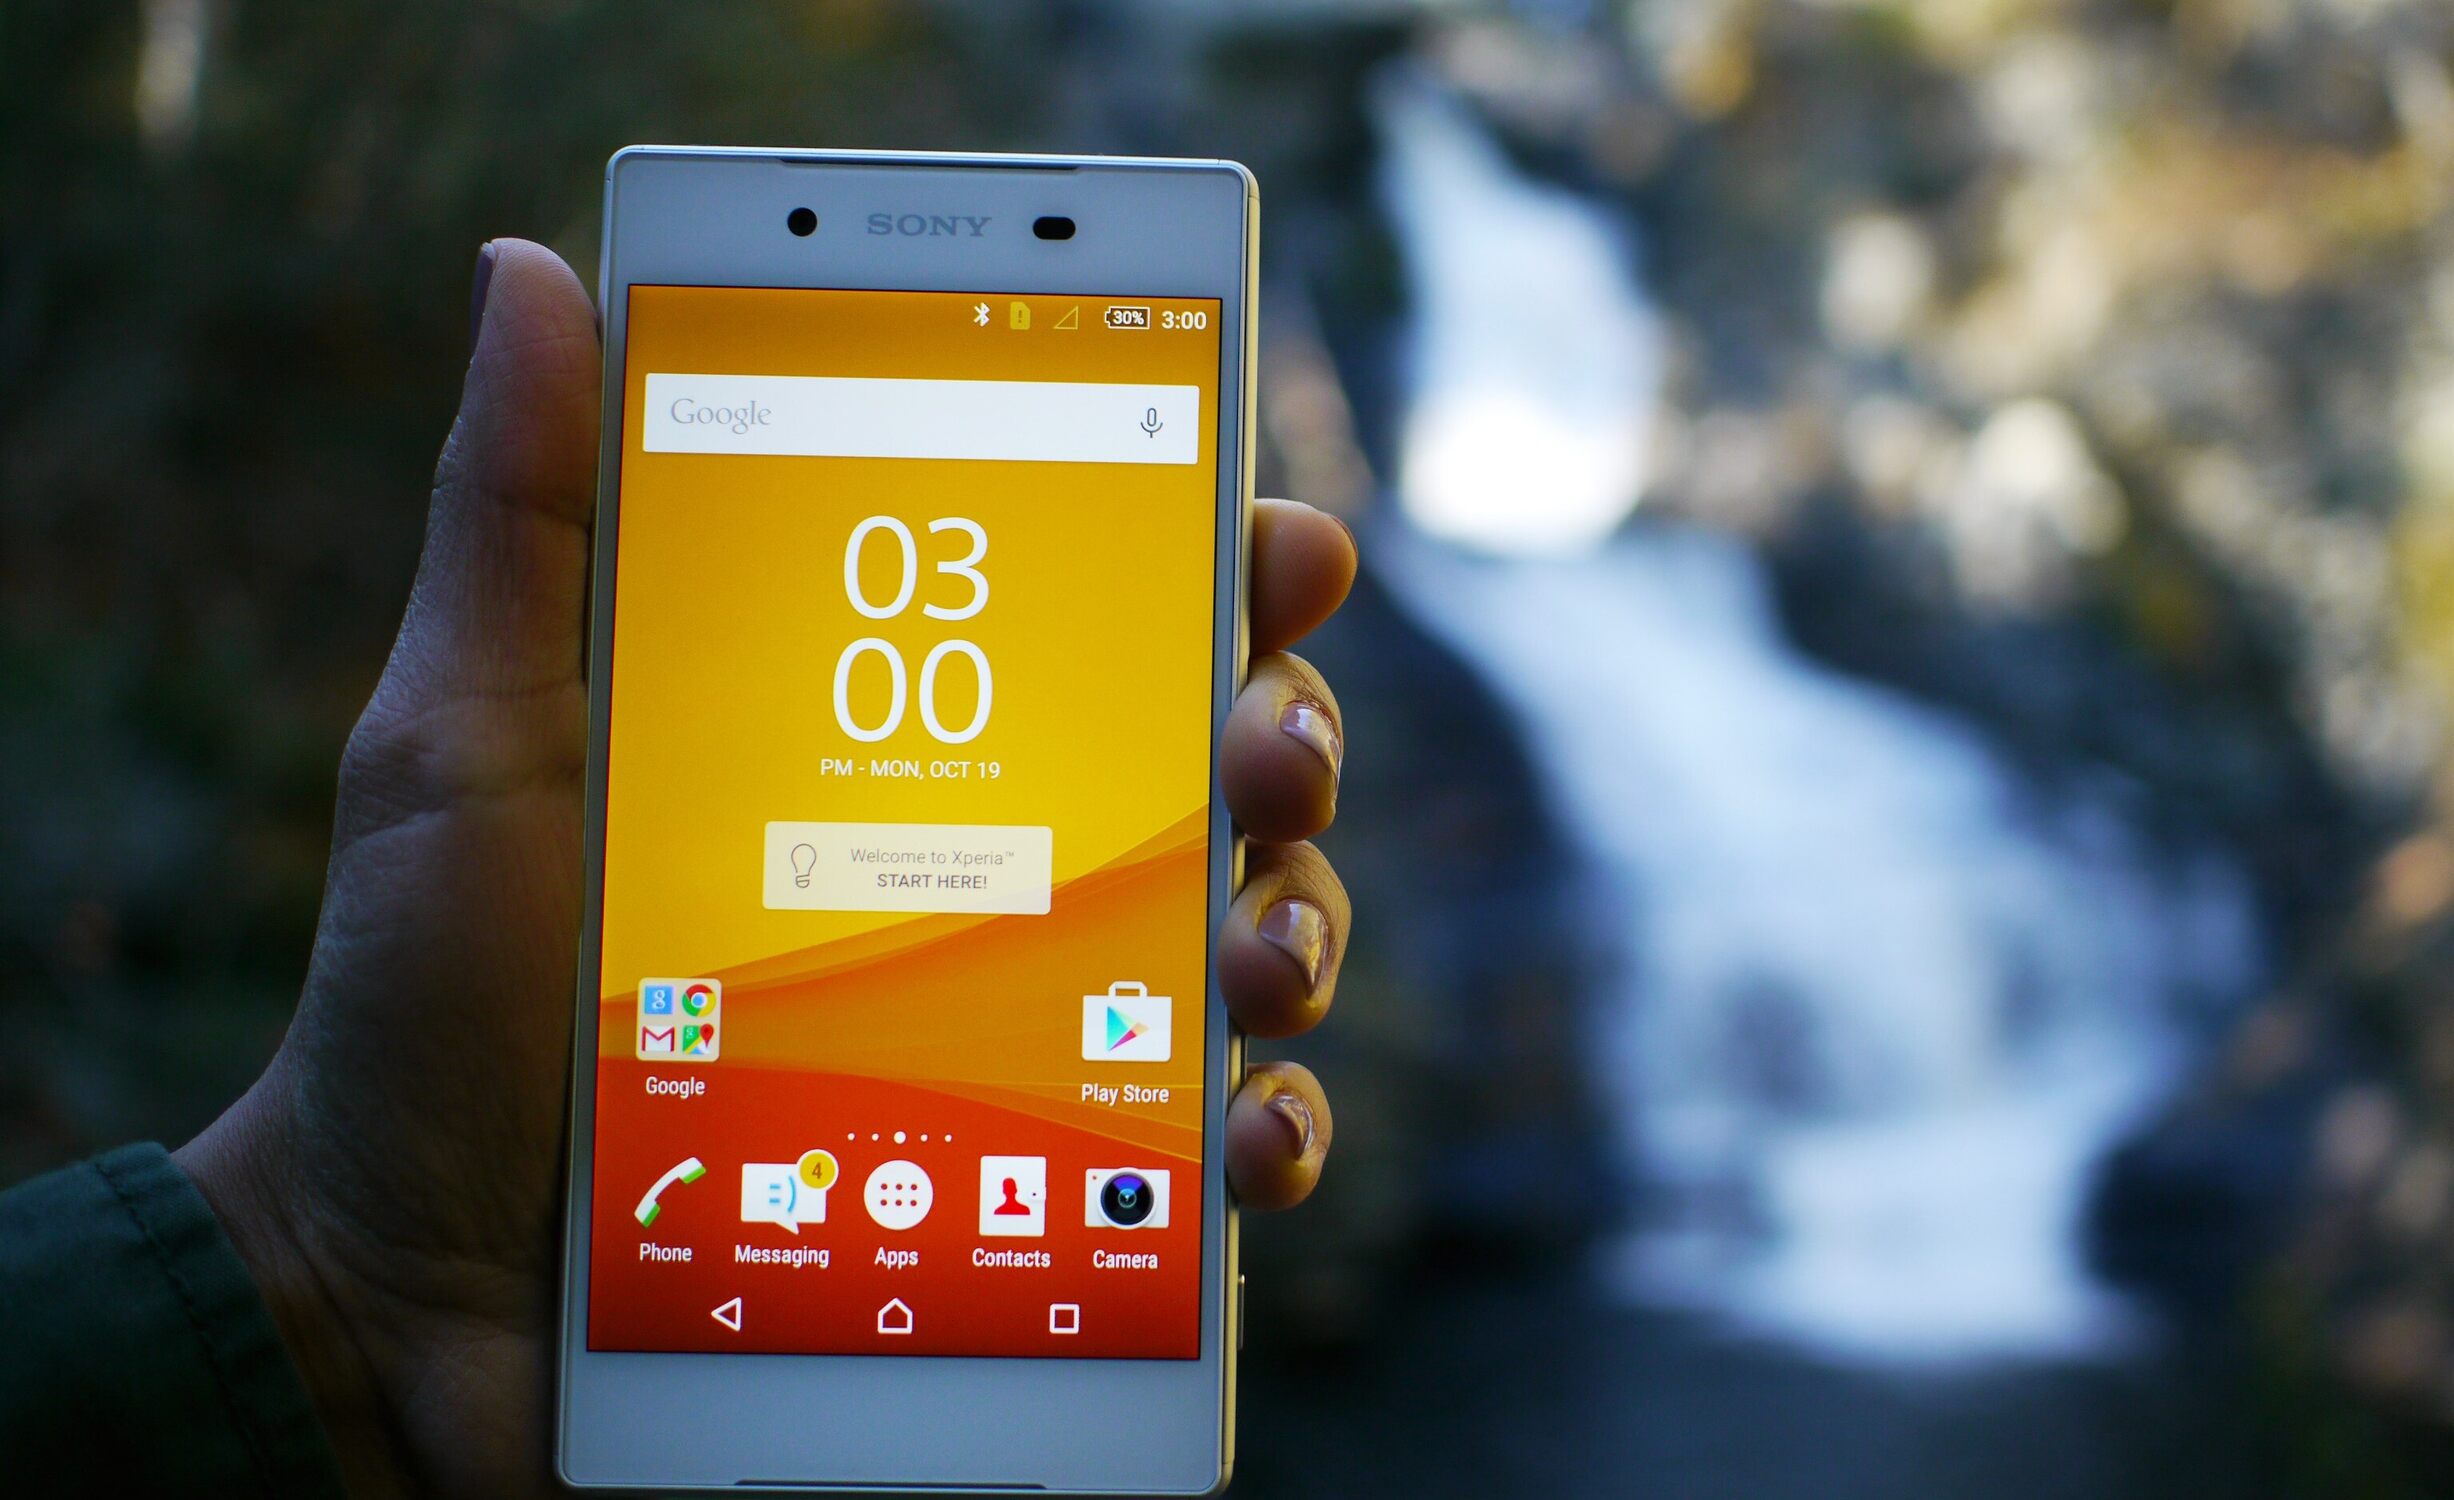
Confirm Network Connectivity: Once the device has successfully registered with the mobile network, verify that the network signal indicator is displayed on the device's screen. This indicator typically appears as a series of bars or as an icon, indicating the strength of the network signal. A strong signal ensures reliable connectivity, allowing you to make calls, send messages, and access mobile data without interruptions.
By following these detailed steps to power on your Sony Xperia device, you'll successfully initiate the activation process for the inserted SIM card, ensuring that your device is ready to deliver seamless communication and connectivity. With the device powered on and the SIM card activated, you're now prepared to proceed with the final steps to configure the SIM card settings and personalize your Sony Xperia device according to your preferences.
Step 4: Set up the SIM card
Setting up the SIM card on your Sony Xperia device involves configuring essential network and communication settings to ensure seamless connectivity and functionality. This step is crucial in enabling your device to utilize the services provided by the inserted SIM card, including making calls, sending text messages, and accessing mobile data. Follow these detailed instructions to effectively set up the SIM card on your Sony Xperia device:
-
Access the Settings Menu: Begin by navigating to the "Settings" menu on your Sony Xperia device. The Settings menu serves as the central hub for managing various device configurations and preferences, including those related to the SIM card and mobile network settings.
-
Select "Network & Internet": Within the Settings menu, locate and select the "Network & Internet" option. This section houses a range of network-related settings, allowing you to manage Wi-Fi, mobile data, and SIM card configurations.
-
Choose "SIM cards": Upon accessing the "Network & Internet" section, select the "SIM cards" option to view and manage the settings associated with the inserted SIM card. This interface provides access to essential SIM card configurations, including network preferences and data usage settings.
-
Configure Network Preferences: Within the "SIM cards" settings, you can configure network preferences such as preferred network type, roaming settings, and network operators. Adjust these settings according to your preferences and the requirements of your mobile network provider to ensure optimal network connectivity.
-
Manage Mobile Data Usage: To effectively manage mobile data usage associated with the SIM card, navigate to the "Data usage" section within the "SIM cards" settings. Here, you can set data limits, monitor data usage, and enable data-saving features to optimize your mobile data consumption.
-
Enable SIM Card Lock (Optional): If desired, you can enhance the security of your SIM card by enabling the SIM card lock feature. This functionality requires a PIN to be entered each time the device is powered on or the SIM card is accessed, providing an additional layer of protection against unauthorized use.
-
Verify Network Connectivity: After configuring the SIM card settings, verify that the device establishes a stable connection with the mobile network. Check the network signal indicator on the device's screen to ensure that the SIM card is successfully registered and ready for use.
By meticulously following these steps to set up the SIM card on your Sony Xperia device, you'll effectively configure essential network and communication settings, ensuring that your device is fully equipped to leverage the services provided by the inserted SIM card. With the SIM card settings optimized, your Sony Xperia device is now primed to deliver seamless connectivity and communication, empowering you to stay connected and engaged in the digital world.
Conclusion
In conclusion, the process of inserting a SIM card into your Sony Xperia device is a fundamental step that sets the stage for seamless connectivity and communication. By following the step-by-step instructions outlined in this guide, you've gained the knowledge and confidence to navigate the intricacies of SIM card insertion with ease and precision.
Successfully locating the SIM card slot on your Sony Xperia device marks the initial phase of the process. By identifying the slot and utilizing the SIM ejection tool or an alternative, you've ensured that the SIM card insertion can proceed smoothly. The careful positioning and insertion of the SIM card onto the tray, followed by its secure placement within the device, are pivotal steps that guarantee the SIM card is seamlessly integrated into your Sony Xperia device.
Powering on the device initiates the activation process for the inserted SIM card, allowing your Sony Xperia device to establish a connection with the mobile network. This vital step ensures that your device is ready to deliver reliable communication services, enabling you to make calls, send messages, and access mobile data without interruptions.
Furthermore, the configuration of essential network and communication settings for the SIM card ensures that your Sony Xperia device is fully equipped to leverage the services provided by the inserted SIM card. By accessing the settings menu, managing network preferences, and optimizing mobile data usage, you've personalized your device to align with your communication needs and network requirements.
With the SIM card successfully inserted, activated, and configured, your Sony Xperia device stands ready to serve as a reliable communication hub, keeping you connected to the digital world. Whether you're embarking on a new mobile phone journey or transitioning to a different SIM card, the knowledge and expertise gained from this guide empower you to seamlessly integrate the SIM card with your Sony Xperia device, ensuring that you can enjoy uninterrupted connectivity and communication.
By mastering the process of inserting a SIM card into your Sony Xperia device, you've unlocked the potential of your mobile phone, setting the stage for a seamless and engaging digital experience. With the SIM card securely in place and your device primed for connectivity, you're now prepared to embark on a journey filled with communication, connectivity, and digital empowerment.