Introduction
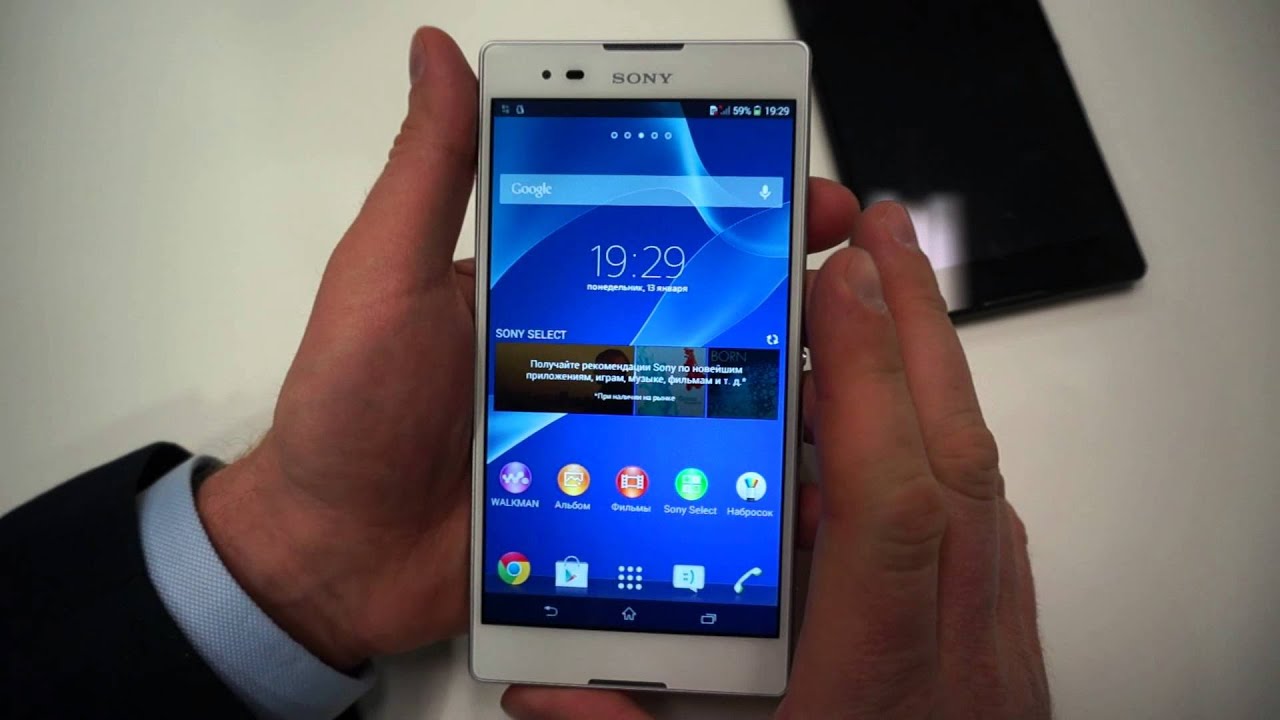
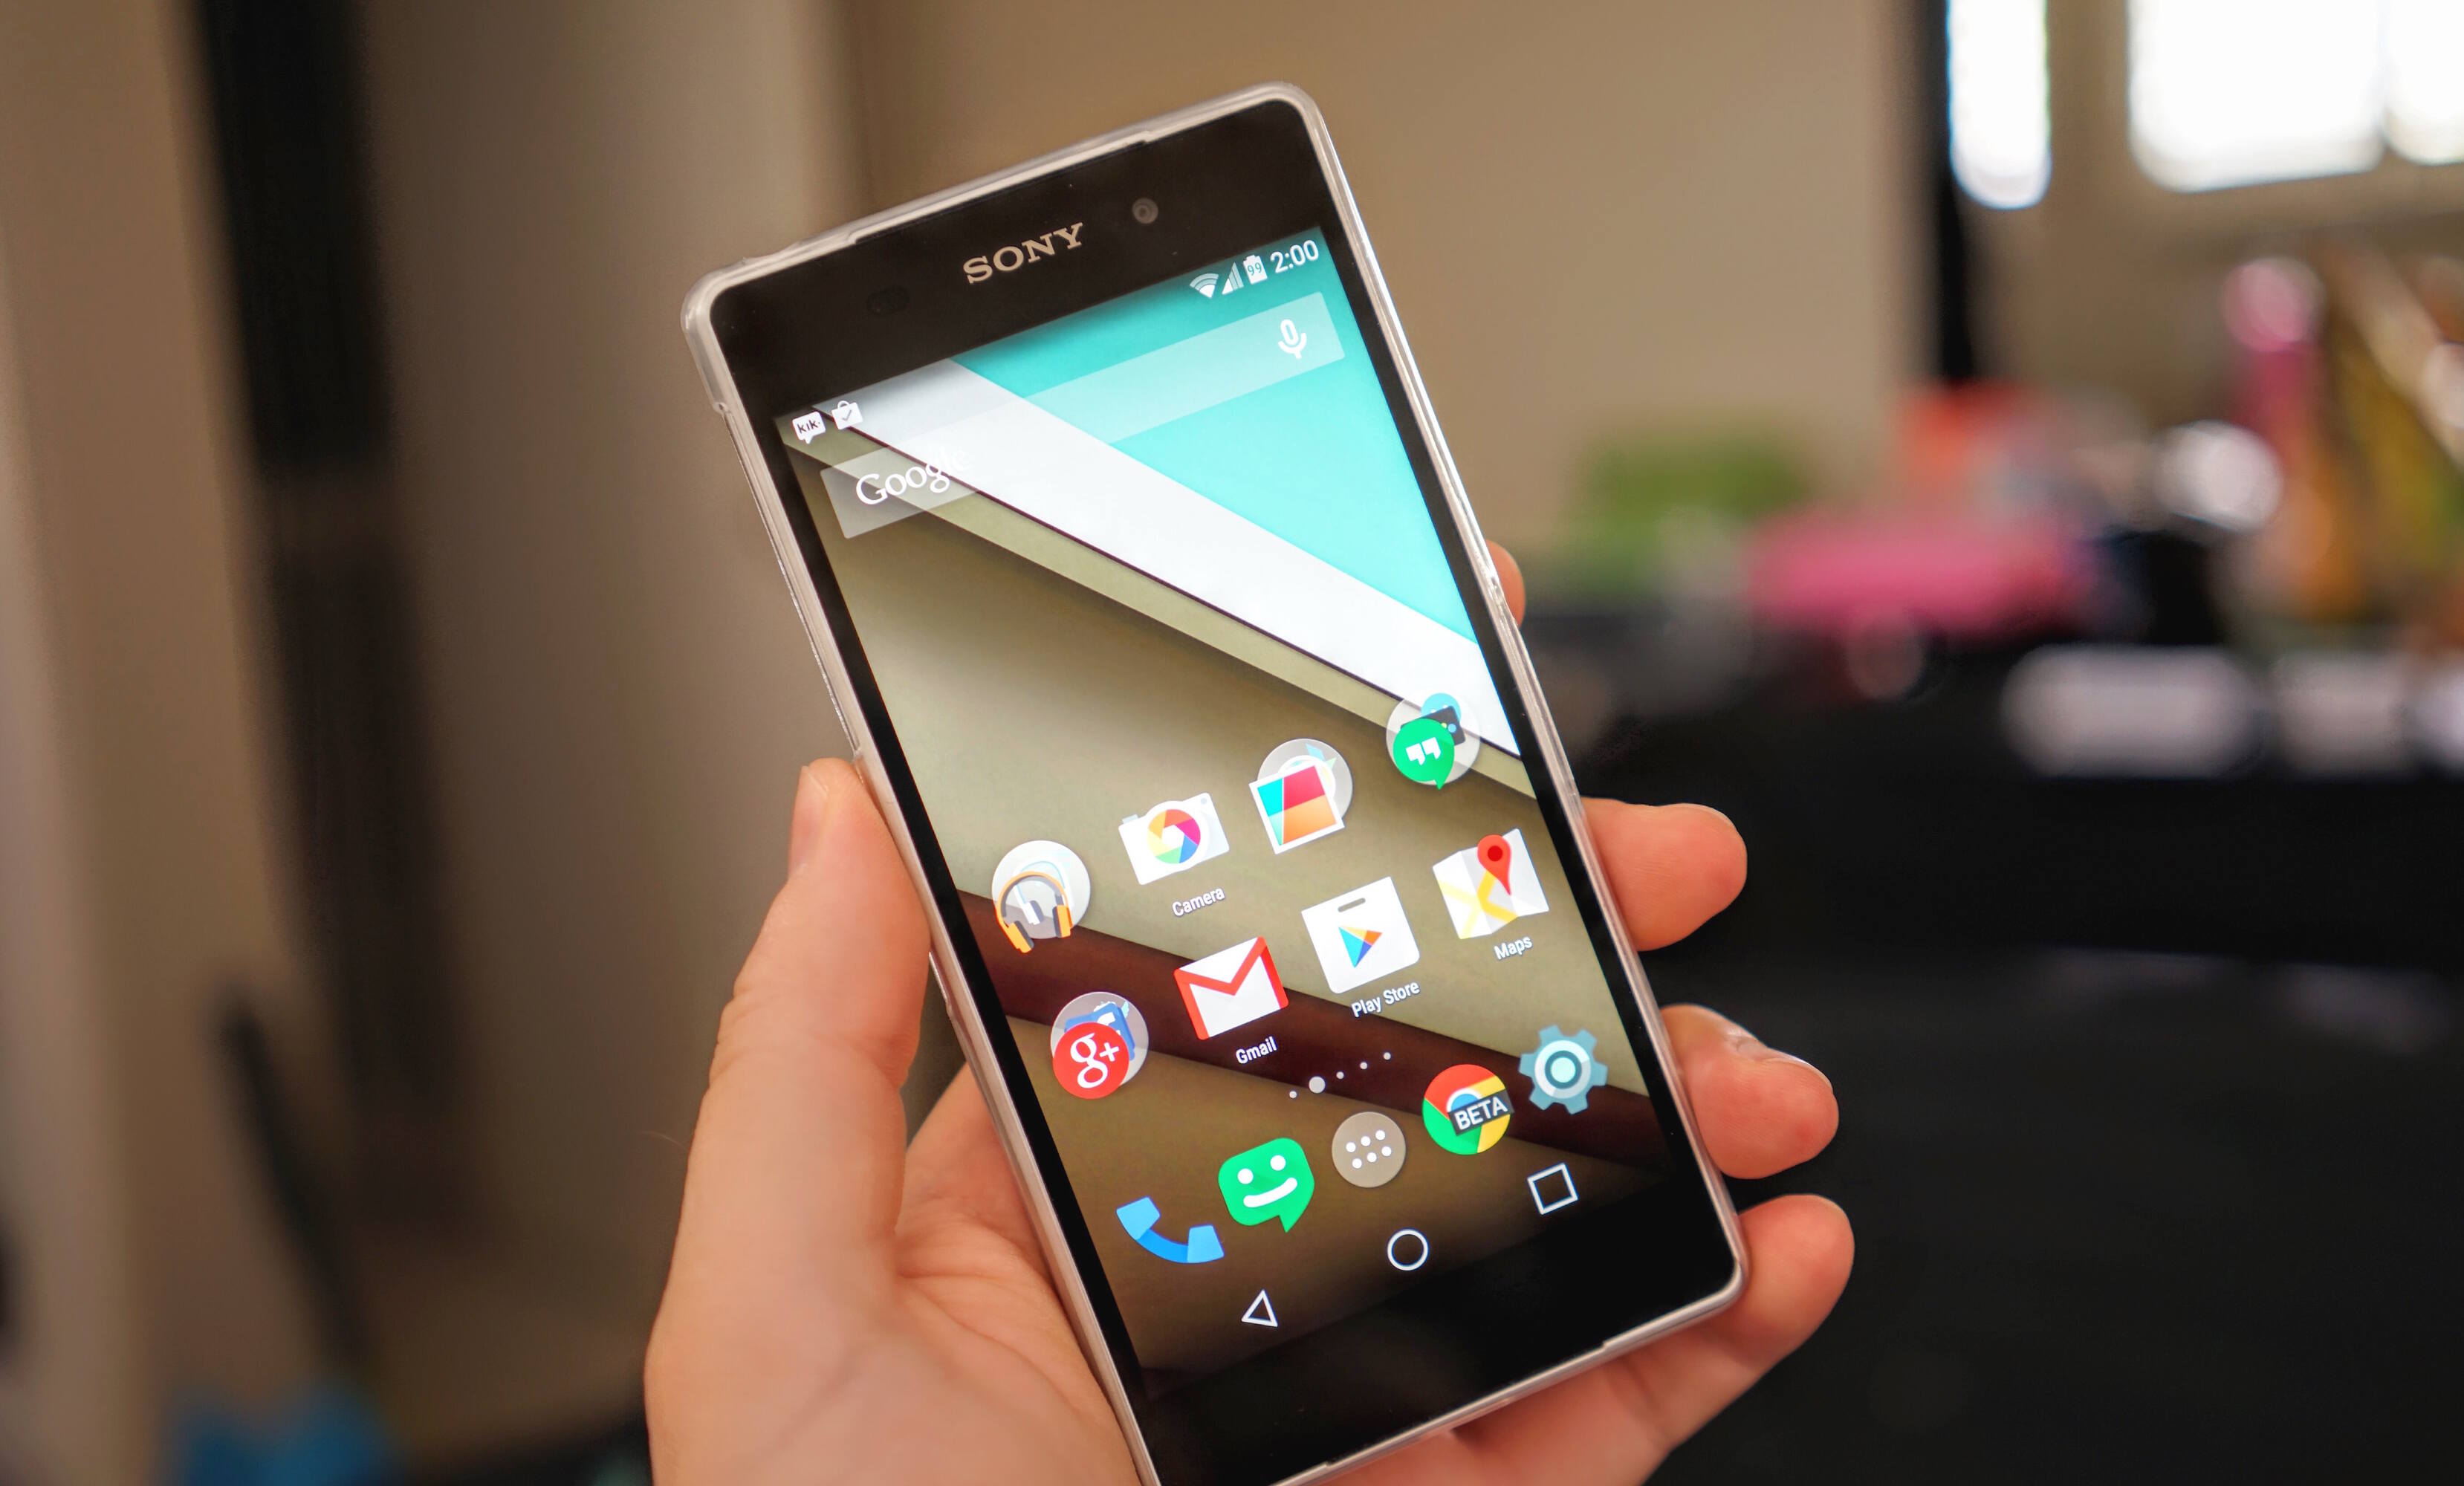
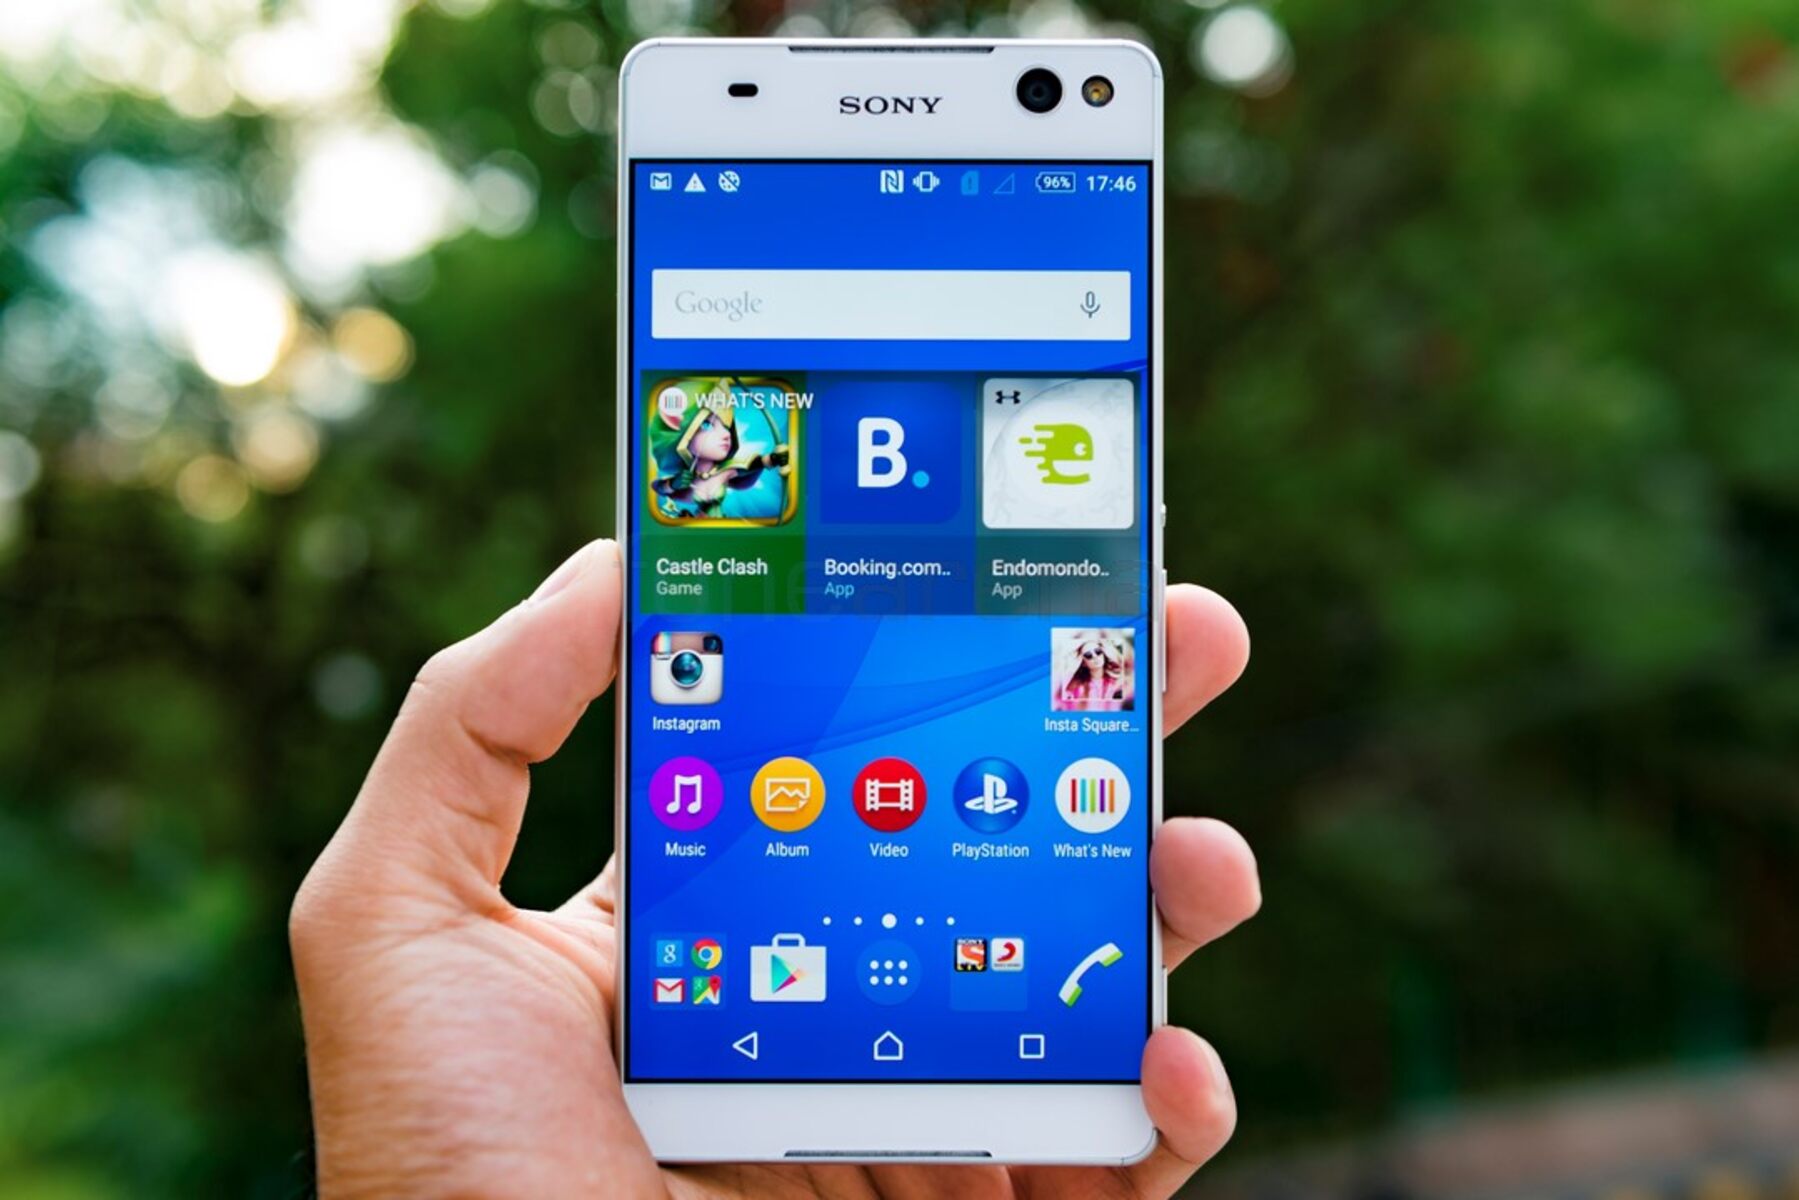
Are you the proud owner of a Sony Xperia T2 Ultra and looking to set it up with Net10 networks? Congratulations on choosing this fantastic device! The Sony Xperia T2 Ultra is a sleek and powerful smartphone that offers a host of impressive features, making it a popular choice among mobile device enthusiasts. In this comprehensive guide, we will walk you through the process of configuring your Sony Xperia T2 Ultra to work seamlessly with Net10 networks. By following the steps outlined in this guide, you will be able to enjoy uninterrupted connectivity and make the most of your smartphone's capabilities.
Whether you're a tech-savvy individual or a newcomer to the world of mobile devices, setting up your Sony Xperia T2 Ultra for Net10 networks can seem like a daunting task. However, fear not! We've got you covered with easy-to-follow instructions and valuable tips to ensure a smooth and hassle-free setup process. From checking the device's compatibility to configuring the APN settings, each step is designed to help you navigate the setup process with confidence and ease.
So, grab your Sony Xperia T2 Ultra, and let's dive into the exciting world of mobile device configuration. Whether you're eager to stay connected on the go, stream your favorite content, or simply make the most of your smartphone's capabilities, configuring your device for Net10 networks is the first step towards unlocking its full potential. Let's embark on this journey together and get your Sony Xperia T2 Ultra ready to conquer the digital realm with Net10 networks!
Step 1: Checking Compatibility
Before diving into the setup process, it's crucial to ensure that your Sony Xperia T2 Ultra is compatible with Net10 networks. Compatibility plays a pivotal role in establishing a seamless connection and optimizing the performance of your smartphone. Here's a detailed look at the steps to check the compatibility of your device:
-
Network Frequency Bands: Net10 operates on various frequency bands, and it's essential to verify whether your Sony Xperia T2 Ultra supports these bands. The device should be compatible with the GSM, 4G LTE, and CDMA networks utilized by Net10. You can easily find this information in the device specifications or by contacting Sony's customer support.
-
IMEI Compatibility: The International Mobile Equipment Identity (IMEI) number of your Sony Xperia T2 Ultra needs to be compatible with Net10's network requirements. You can check the IMEI compatibility by visiting Net10's official website or contacting their customer support. The IMEI number is a unique identifier for your device and plays a crucial role in determining its compatibility with specific networks.
-
SIM Lock Status: Ensure that your Sony Xperia T2 Ultra is not locked to a specific carrier. If your device is locked, you may need to unlock it before proceeding with the setup for Net10 networks. Contact your current carrier or the device manufacturer to verify the SIM lock status and take the necessary steps to unlock the device if required.
-
Network Coverage: Check the network coverage map provided by Net10 to ensure that the service is available in your area. A strong and reliable network signal is essential for a seamless mobile experience, and verifying the coverage will help you determine the quality of service you can expect in your location.
By thoroughly checking the compatibility of your Sony Xperia T2 Ultra with Net10 networks, you can lay a strong foundation for a successful setup process. This proactive approach will help you avoid potential connectivity issues and ensure that your smartphone is fully optimized to leverage the features and services offered by Net10. Once you've confirmed the compatibility, you can proceed with confidence to the next steps of setting up your Sony Xperia T2 Ultra for Net10 networks.
Step 2: Obtaining a Net10 SIM Card
Once you've confirmed the compatibility of your Sony Xperia T2 Ultra with Net10 networks, the next crucial step is to obtain a Net10 SIM card. The SIM card is a small, removable chip that securely stores the subscriber's information and allows the smartphone to connect to the mobile network. Here's a detailed guide on how to obtain a Net10 SIM card and prepare it for the setup process:
Purchasing a Net10 SIM Card
-
Online Purchase: Net10 offers the convenience of purchasing a SIM card directly from their official website. Visit the Net10 website and navigate to the SIM card section, where you can select the appropriate SIM card for your device. Follow the simple ordering process, provide the necessary details, and complete the purchase. The SIM card will be shipped to your designated address, ensuring a hassle-free acquisition process.
-
Retail Stores: Alternatively, you can visit authorized retail stores, such as Walmart, Best Buy, or other participating retailers, to purchase a Net10 SIM card in person. Check the store locator on the Net10 website to find the nearest retail outlet offering Net10 SIM cards. When visiting the store, ensure that you have the specific SIM card compatible with your Sony Xperia T2 Ultra.
Activating the SIM Card
Once you've obtained the Net10 SIM card, it's essential to activate it before proceeding with the setup process. Activation can be done online through the Net10 website or by contacting Net10's customer support. Follow the instructions provided with the SIM card to complete the activation process, which typically involves entering the SIM card's unique identification number and providing your personal and device information.
Inserting the SIM Card
After successfully activating the Net10 SIM card, power off your Sony Xperia T2 Ultra and locate the SIM card slot. Use the SIM card removal tool or a small paperclip to gently eject the SIM card tray. Carefully place the Net10 SIM card into the designated slot, ensuring that it fits securely. Once inserted, reinsert the SIM card tray into the device and power it on.
By obtaining and activating a Net10 SIM card, you're one step closer to unlocking the full potential of your Sony Xperia T2 Ultra with Net10 networks. The SIM card serves as the gateway to seamless connectivity and access to Net10's range of services, allowing you to stay connected, browse the web, and enjoy a host of mobile features. With the SIM card securely in place, you're ready to proceed to the next steps of configuring your Sony Xperia T2 Ultra for Net10 networks.
Step 3: Inserting the SIM Card
Inserting the SIM card is a crucial step in configuring your Sony Xperia T2 Ultra for Net10 networks. The SIM card, or Subscriber Identity Module, is a small, removable chip that securely stores the subscriber's information and facilitates connectivity to the mobile network. Properly inserting the SIM card ensures that your device can access Net10's network and enjoy seamless communication and data services. Here's a detailed guide on how to insert the SIM card into your Sony Xperia T2 Ultra:
-
Power Off the Device: Before inserting the SIM card, it's important to power off your Sony Xperia T2 Ultra. This ensures that the device is safely shut down, minimizing the risk of any potential damage during the SIM card insertion process.
-
Locate the SIM Card Slot: The SIM card slot is typically located on the side of the Sony Xperia T2 Ultra. Using the SIM card removal tool provided with the device or a small paperclip, gently insert the tool into the small pinhole next to the SIM card slot. Apply a slight amount of pressure to release the SIM card tray.
-
Remove the SIM Card Tray: Once the SIM card tray is released, carefully pull it out from the device. The tray will house the SIM card and may have additional slots for a microSD card, depending on the device model. Handle the tray with care to avoid any damage to the SIM card or the tray itself.
-
Place the SIM Card: Take the Net10 SIM card that you obtained and carefully place it into the designated slot on the SIM card tray. Ensure that the gold contacts on the SIM card align with the corresponding contacts within the slot. The SIM card should fit securely without any forceful insertion.
-
Reinsert the SIM Card Tray: After placing the SIM card onto the tray, gently slide the tray back into the SIM card slot on your Sony Xperia T2 Ultra. Ensure that the tray is inserted in the correct orientation and fits snugly into the device.
-
Power On the Device: Once the SIM card tray is securely inserted, power on your Sony Xperia T2 Ultra. The device will recognize the newly inserted SIM card and initiate the setup process for Net10 networks.
By following these steps, you have successfully inserted the Net10 SIM card into your Sony Xperia T2 Ultra, bringing you one step closer to enjoying the full range of services and connectivity offered by Net10. With the SIM card securely in place, your device is primed to establish a seamless connection to Net10's network, allowing you to make calls, send messages, and access mobile data with ease.
Step 4: Configuring APN Settings
Configuring the Access Point Name (APN) settings on your Sony Xperia T2 Ultra is a critical step in ensuring seamless connectivity with Net10 networks. The APN settings act as a gateway that allows your device to establish a connection to the internet and enables essential functions such as sending multimedia messages (MMS) and accessing mobile data. Here's a detailed guide on how to configure the APN settings on your Sony Xperia T2 Ultra for Net10 networks:
-
Accessing the APN Settings: Begin by accessing the APN settings on your Sony Xperia T2 Ultra. Navigate to the device's settings menu and locate the "Network & Internet" or "Connections" section. Within this section, you will find the option to manage the APN settings.
-
Adding a New APN: Within the APN settings menu, select the option to add a new APN. This will allow you to enter the specific details required to establish a connection with Net10 networks.
-
Entering the APN Details: You will be prompted to enter various details, including the APN name, APN type, and other specific parameters provided by Net10. It's crucial to input the correct information to ensure that your device can communicate effectively with the network.
-
APN Configuration Parameters: The following parameters are typically required when configuring the APN settings for Net10:
- APN Name: Enter the APN name provided by Net10, which is often specific to their network.
- APN Type: Specify the APN type, which may include default, supl, mms, or other relevant types based on the network requirements.
- MMSC: Input the Multimedia Messaging Service Center (MMSC) URL, which facilitates the exchange of multimedia messages.
- MMS Proxy: Enter the MMS proxy details, if applicable, to enable the sending and receiving of MMS messages.
- MMS Port: Specify the MMS port number, if required by the network.
-
Saving the APN Configuration: After entering the necessary APN details, save the configuration to ensure that the settings are applied to your Sony Xperia T2 Ultra. It's essential to activate the newly created APN to establish a connection with Net10 networks.
-
Selecting the Active APN: Once the APN settings are saved, select the newly configured APN as the active access point. This ensures that your device uses the correct settings to connect to Net10's network.
By meticulously configuring the APN settings on your Sony Xperia T2 Ultra, you are laying the groundwork for a seamless and optimized connection to Net10 networks. These settings enable your device to communicate effectively with the network infrastructure, allowing you to enjoy uninterrupted access to mobile data, messaging services, and a wide range of online content. With the APN settings correctly configured, your Sony Xperia T2 Ultra is poised to deliver a superior mobile experience on the Net10 network.
Step 5: Testing the Connection
After configuring the APN settings on your Sony Xperia T2 Ultra for Net10 networks, it's essential to test the connection to ensure that your device is seamlessly integrated with the network. Testing the connection allows you to verify the effectiveness of the setup process and confirm that your smartphone can reliably access the internet, send and receive messages, and make calls without any connectivity issues. Here's a detailed guide on how to test the connection and ensure that your Sony Xperia T2 Ultra is fully optimized for the Net10 network:
Checking Mobile Data Connectivity
Begin by verifying the mobile data connectivity on your Sony Xperia T2 Ultra. Open a web browser and attempt to load a website or access an online service that requires an internet connection. Ensure that the web pages load promptly and without any errors, indicating that your device can successfully connect to the internet using the Net10 network.
Sending and Receiving Messages
Test the messaging functionality of your device by sending a text message to a known contact and ensuring that it is delivered promptly. Similarly, attempt to receive a text message to confirm that your Sony Xperia T2 Ultra can seamlessly send and receive SMS messages over the Net10 network.
Placing Test Calls
Initiate a test call to a known number to verify the call connectivity on your device. Ensure that the call connects without any disruptions and that you can effectively communicate with the recipient. Testing the call functionality is crucial in confirming that your Sony Xperia T2 Ultra can make and receive calls reliably using the Net10 network.
Verifying Multimedia Messaging (MMS)
If your usage includes multimedia messaging, send a test MMS containing an image or media file to confirm that your device can successfully send and receive MMS messages over the Net10 network. Verify that the multimedia content is transmitted and received without any issues, ensuring a seamless MMS experience.
Assessing Network Signal Strength
Throughout the testing process, pay attention to the network signal strength displayed on your Sony Xperia T2 Ultra. Ensure that the signal remains strong and stable, indicating reliable network coverage in your location. A strong network signal is essential for uninterrupted connectivity and a superior mobile experience.
By meticulously testing the connection, you can validate the successful integration of your Sony Xperia T2 Ultra with the Net10 network. Any issues identified during the testing process can be promptly addressed, ensuring that your device delivers optimal performance and connectivity. With a successful connection test, your Sony Xperia T2 Ultra is ready to unleash its full potential on the Net10 network, empowering you to stay connected, communicate, and access a wide range of mobile services with confidence.
Conclusion
Congratulations! You've successfully navigated through the comprehensive process of configuring your Sony Xperia T2 Ultra for Net10 networks. By following the step-by-step guide outlined in this article, you've empowered your smartphone to seamlessly integrate with the Net10 network, unlocking a world of connectivity and mobile capabilities.
As you reflect on the journey of setting up your Sony Xperia T2 Ultra, it's important to recognize the significance of each step in the configuration process. From verifying the device's compatibility with Net10 networks to obtaining and activating the Net10 SIM card, every action was a crucial building block in establishing a robust and reliable connection.
The meticulous insertion of the SIM card, coupled with the precise configuration of the APN settings, has laid the groundwork for a seamless and optimized mobile experience. These foundational elements ensure that your Sony Xperia T2 Ultra is primed to access the internet, send and receive messages, and make calls with unparalleled reliability and efficiency.
As you embark on your mobile journey with Net10, the thorough testing of the connection serves as the final validation of a successful setup. The ability to seamlessly access mobile data, send and receive messages, place calls, and utilize multimedia messaging reaffirms the effectiveness of the configuration process, providing you with the assurance of a fully integrated device.
With your Sony Xperia T2 Ultra now configured for Net10 networks, you're poised to explore a myriad of digital experiences, from staying connected with loved ones to accessing a wealth of online content. The seamless network connectivity and optimized performance of your device empower you to make the most of its advanced features and capabilities.
As you embark on this new chapter of mobile connectivity, remember that the successful configuration of your Sony Xperia T2 Ultra for Net10 networks is not just a technical achievement but a gateway to a world of possibilities. Whether you're streaming your favorite content, staying connected on the go, or harnessing the power of mobile technology for productivity, your device is now equipped to deliver a superior and uninterrupted experience.
So, as you embark on your digital endeavors with Net10, take pride in the meticulous setup of your Sony Xperia T2 Ultra. Your smartphone is now a seamless extension of the Net10 network, ready to empower you with unparalleled connectivity and mobile prowess. Embrace the endless possibilities that await as you embark on this exciting mobile journey with confidence and enthusiasm!