Introduction
Opening a Sony Xperia Z may seem like a daunting task, but with the right guidance and a steady hand, it can be a straightforward and rewarding experience. Whether you're looking to insert a new SIM card, replace the existing one, or simply explore the inner workings of your device, this step-by-step tutorial will walk you through the process with clarity and precision.
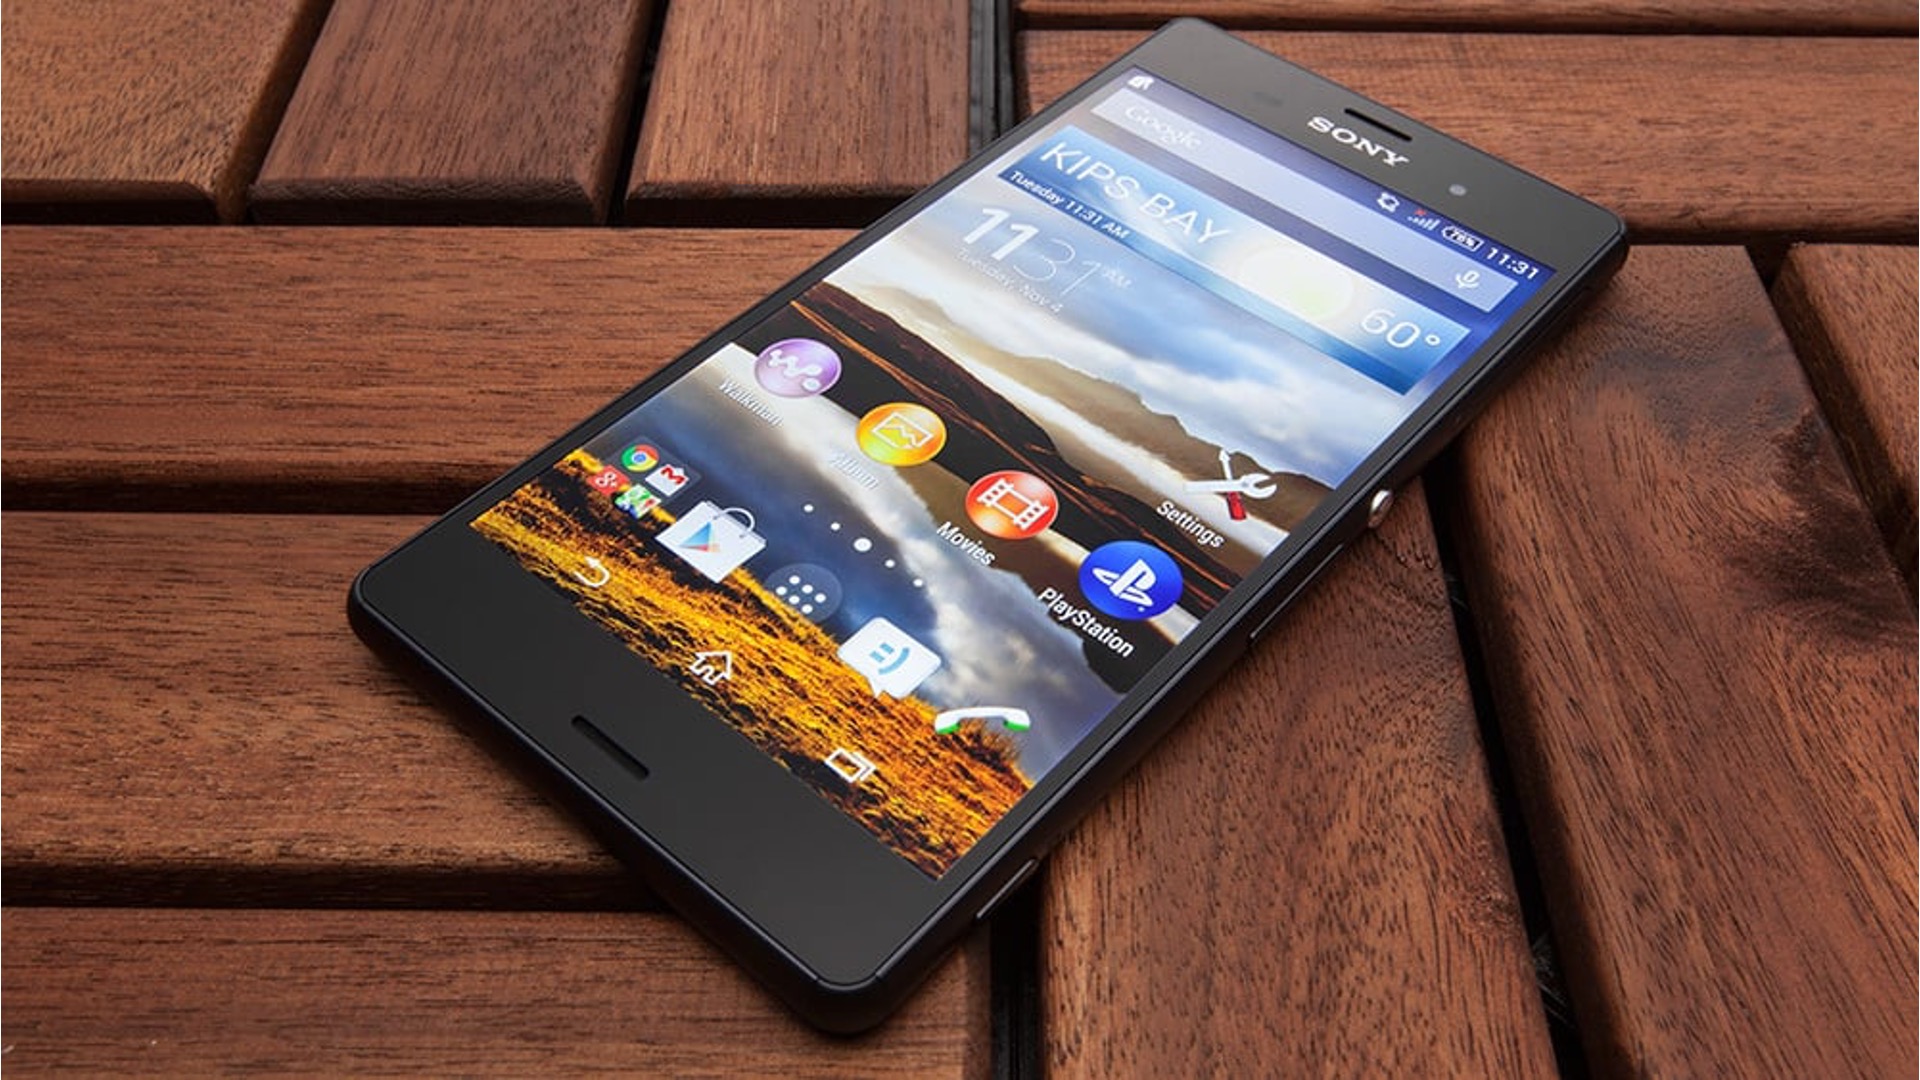
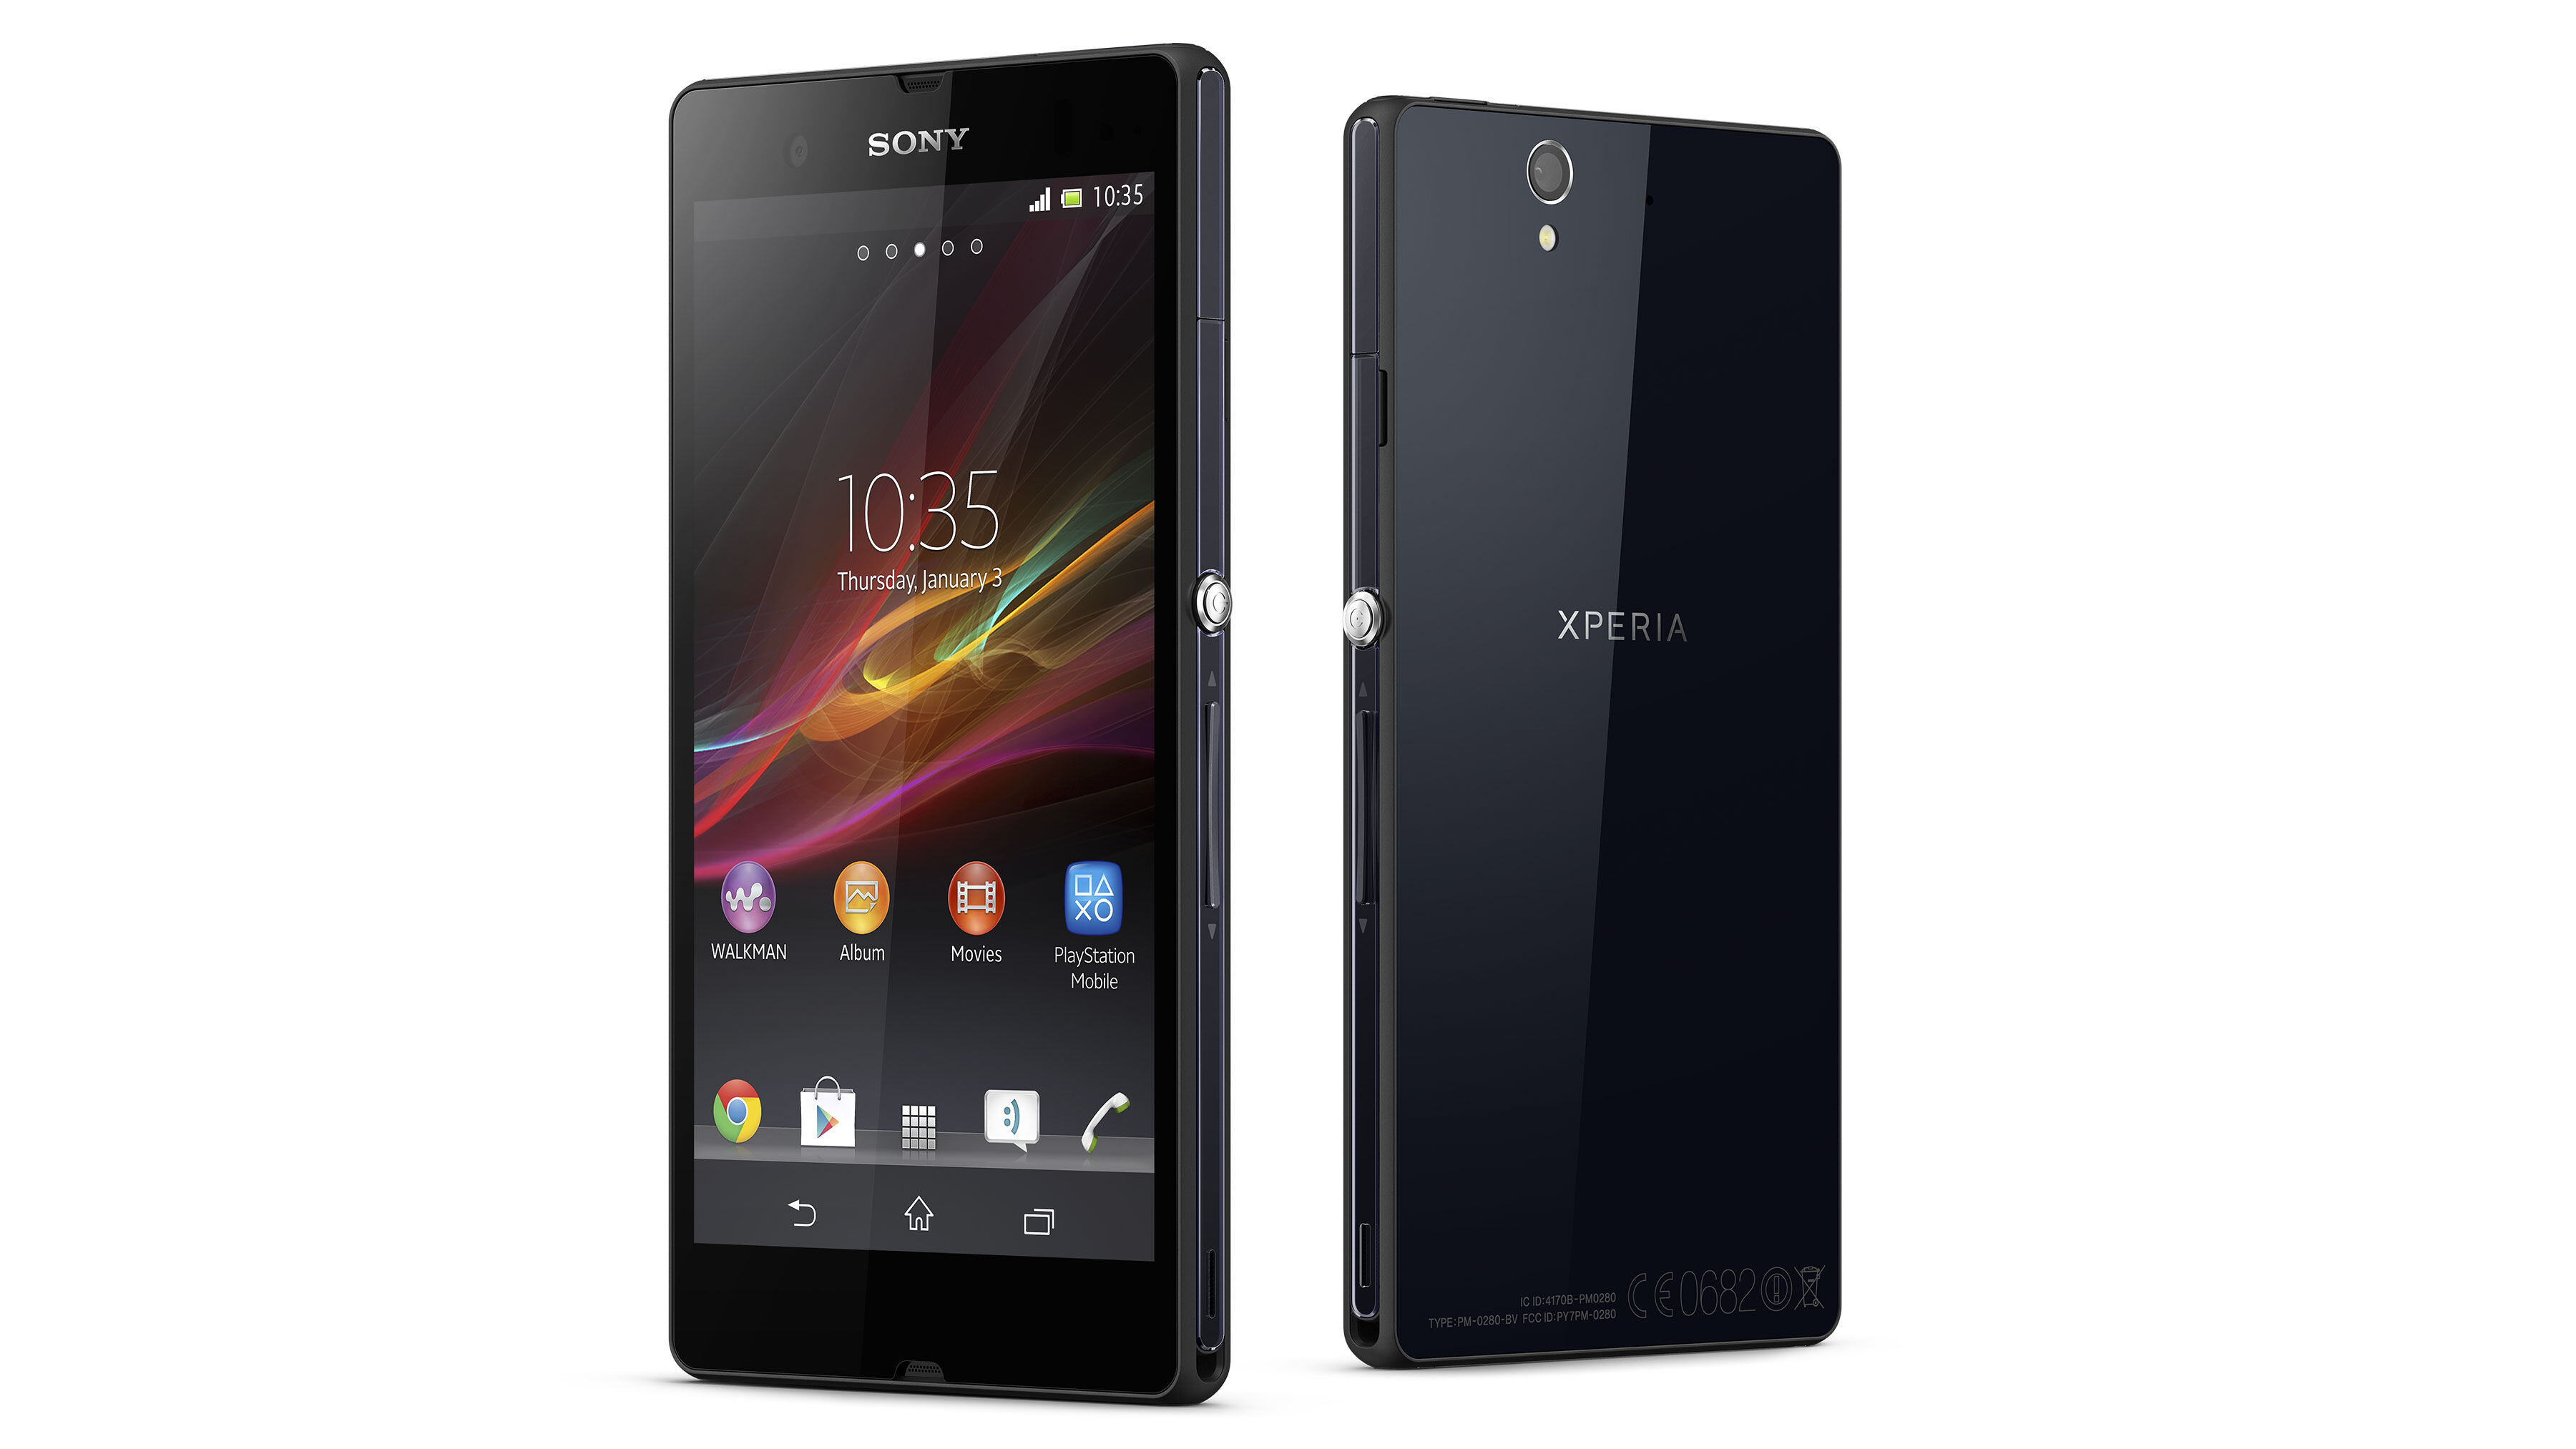
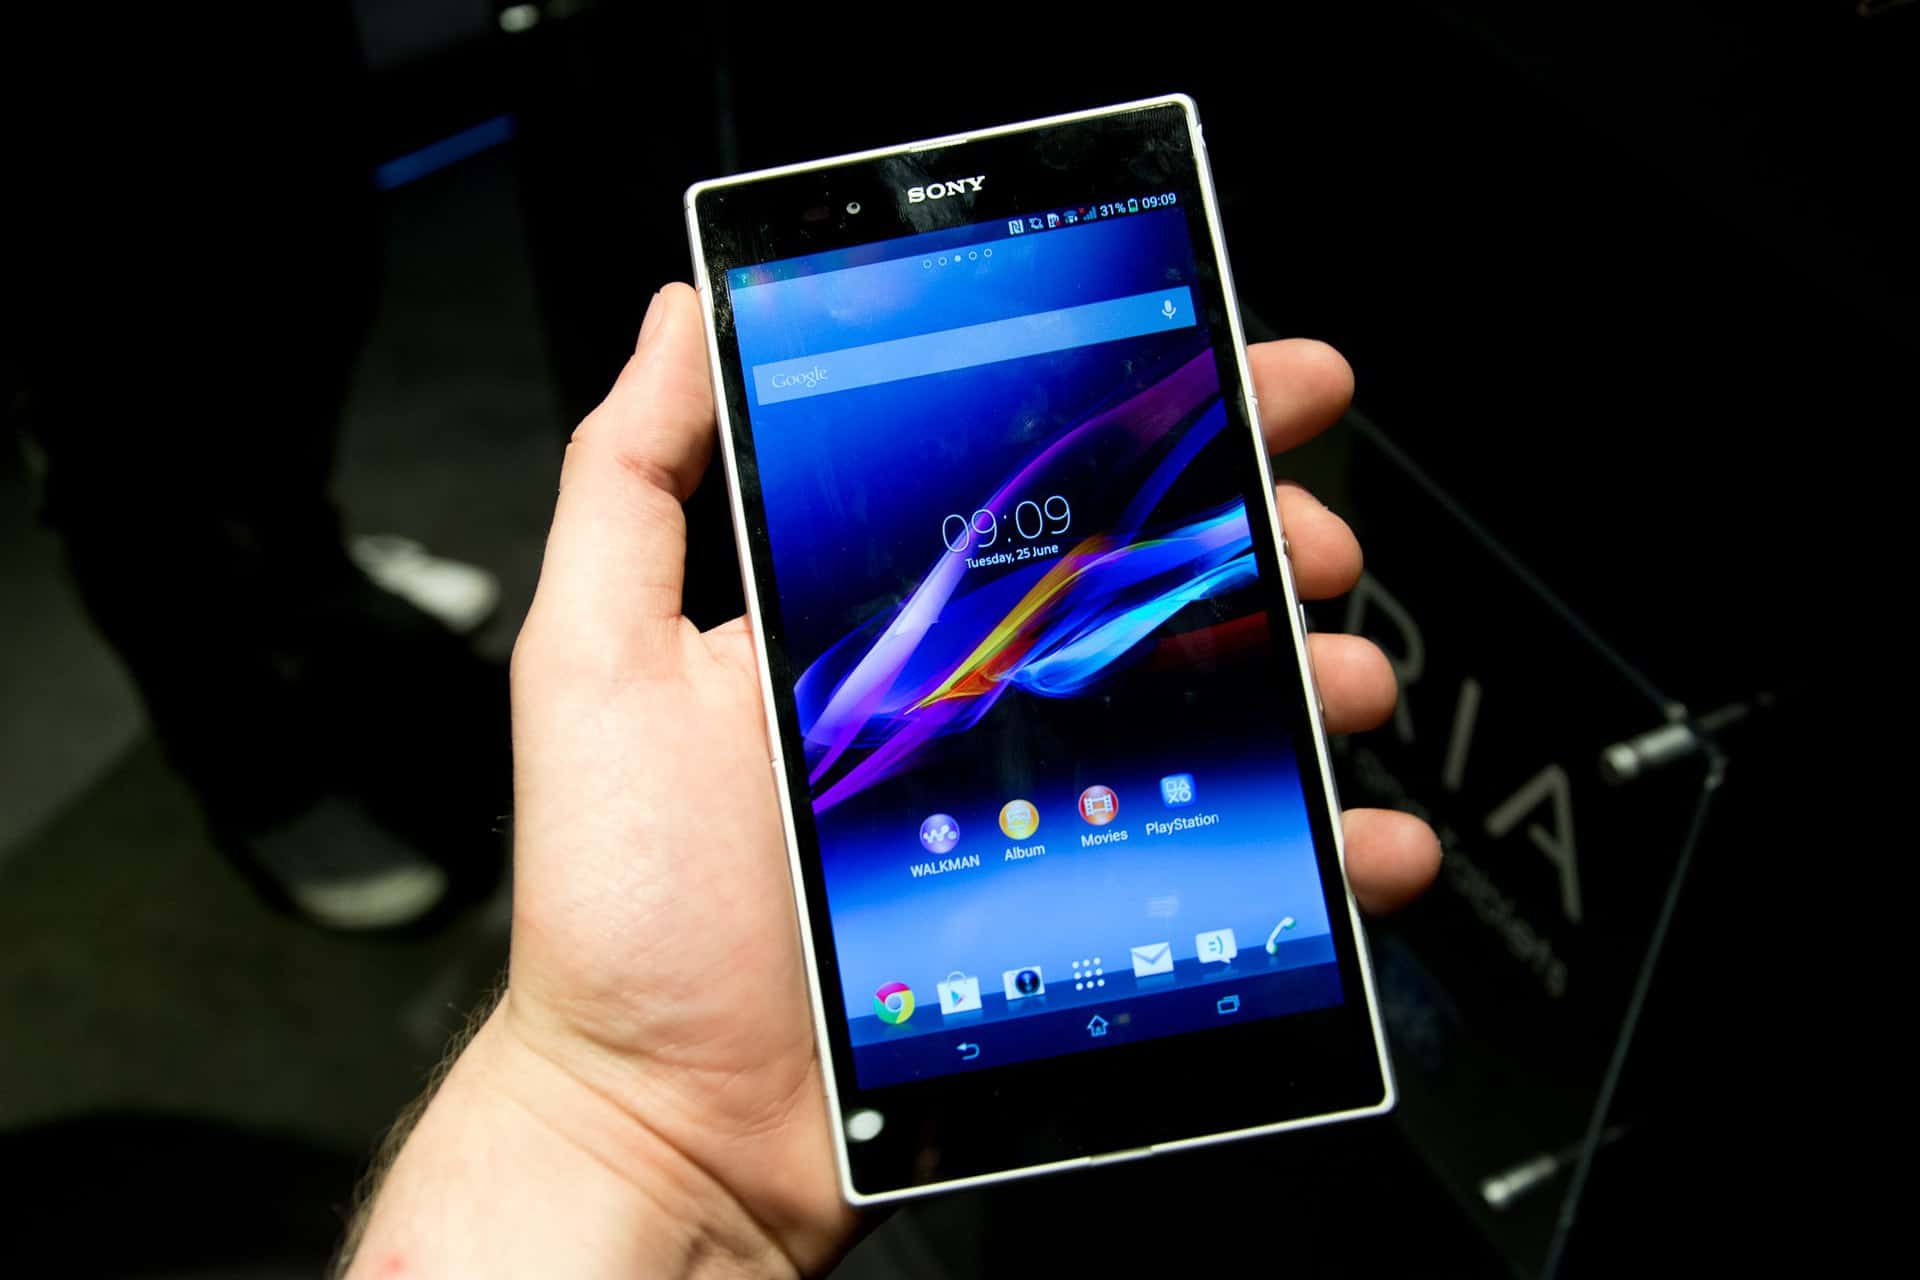
The Sony Xperia Z is a sleek and powerful device that has garnered acclaim for its impressive features and stylish design. However, to fully harness its capabilities, it's essential to familiarize yourself with the device's internal components. By learning how to open the Sony Xperia Z, you'll gain a deeper understanding of its functionality and be better equipped to customize it to your preferences.
In this tutorial, we will cover each step in detail, providing clear instructions and valuable insights to ensure a smooth and successful experience. From gathering the necessary tools to powering on the device after completing the process, every aspect will be carefully explained to empower you with the knowledge and confidence to open your Sony Xperia Z with ease.
Whether you're a tech enthusiast eager to delve into the intricacies of your device or a casual user seeking to perform a specific task, this tutorial is designed to cater to your needs. By following the steps outlined in this guide, you'll be able to open your Sony Xperia Z without any unnecessary stress or confusion, allowing you to make the most of your device's capabilities.
So, without further ado, let's embark on this journey to unlock the potential of your Sony Xperia Z by mastering the art of opening it with precision and finesse.
Step 1: Gather the necessary tools
Before embarking on the process of opening your Sony Xperia Z, it's crucial to gather the essential tools to ensure a seamless and efficient experience. By having the right equipment at your disposal, you'll be well-prepared to navigate through each step with confidence and precision.
Here are the necessary tools you'll need for this task:
-
SIM Card Removal Tool: This small, specialized tool is designed to safely eject the SIM card tray from your Sony Xperia Z. It typically features a thin, elongated shape with a small hook or pin at one end, allowing you to access the SIM card slot without causing any damage to the device.
-
Replacement SIM Card (Optional): If your intention is to replace the existing SIM card with a new one, ensure that you have the replacement SIM card ready. Whether it's a standard SIM, micro SIM, or nano SIM, depending on the model of your Sony Xperia Z, having the replacement card on hand will streamline the process.
-
Stable Work Surface: Find a clean, well-lit, and stable work surface to perform the task. A flat table or desk with ample lighting will provide the ideal environment for working on your device.
-
Patience and Attention to Detail: While not a physical tool, patience and attention to detail are invaluable assets during this process. Take your time to carefully follow each step, ensuring that you handle the tools and device with care and precision.
By ensuring that you have these tools and attributes at your disposal, you'll be well-equipped to proceed with confidence as we delve into the subsequent steps of opening your Sony Xperia Z. With the necessary tools in hand and a focused mindset, you're ready to embark on this journey to unlock the potential of your device.
Now that you've gathered the essential tools, let's move on to the next step and delve into the process of powering off the Sony Xperia Z in preparation for opening it.
Step 2: Power off the Sony Xperia Z
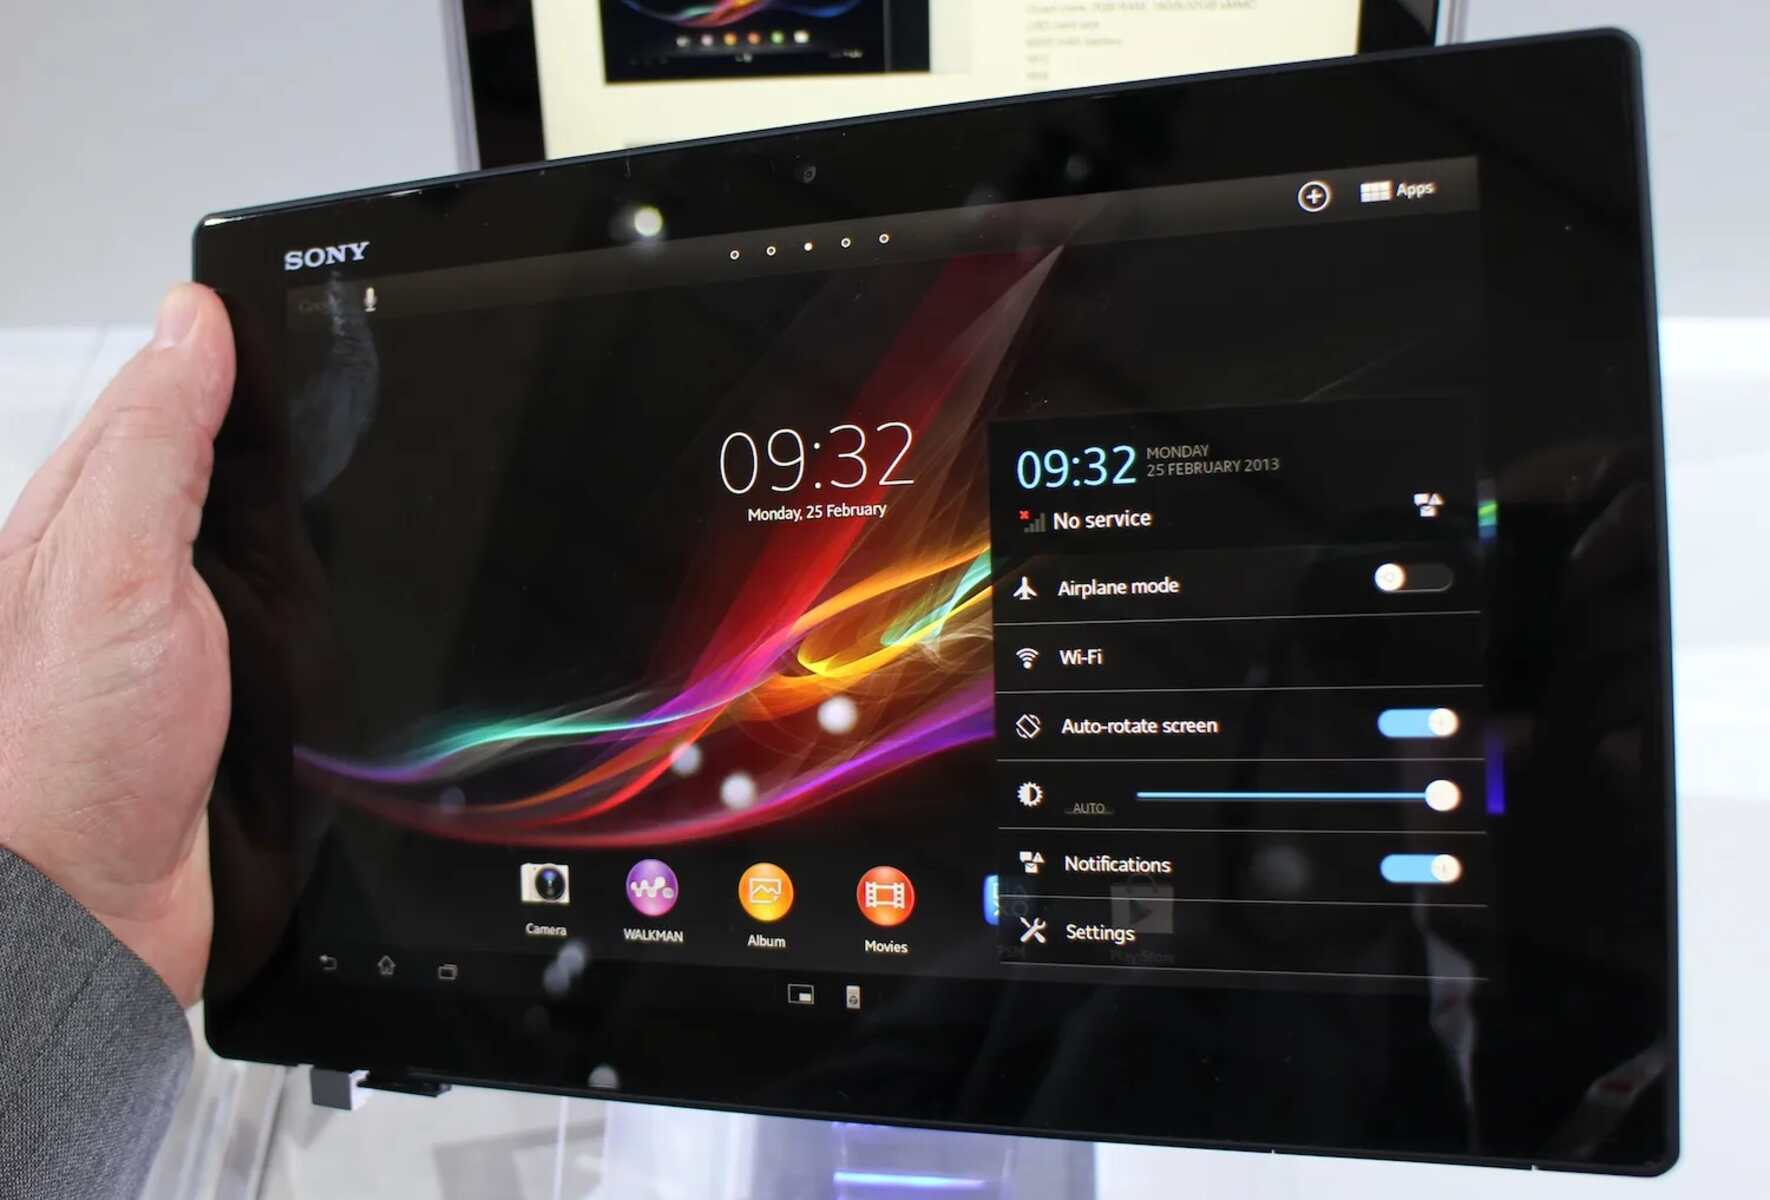
Before proceeding with the task of opening your Sony Xperia Z, it's essential to power off the device to ensure safety and prevent any potential damage. By following these simple steps to power off your device, you'll create a secure environment for the subsequent actions.
-
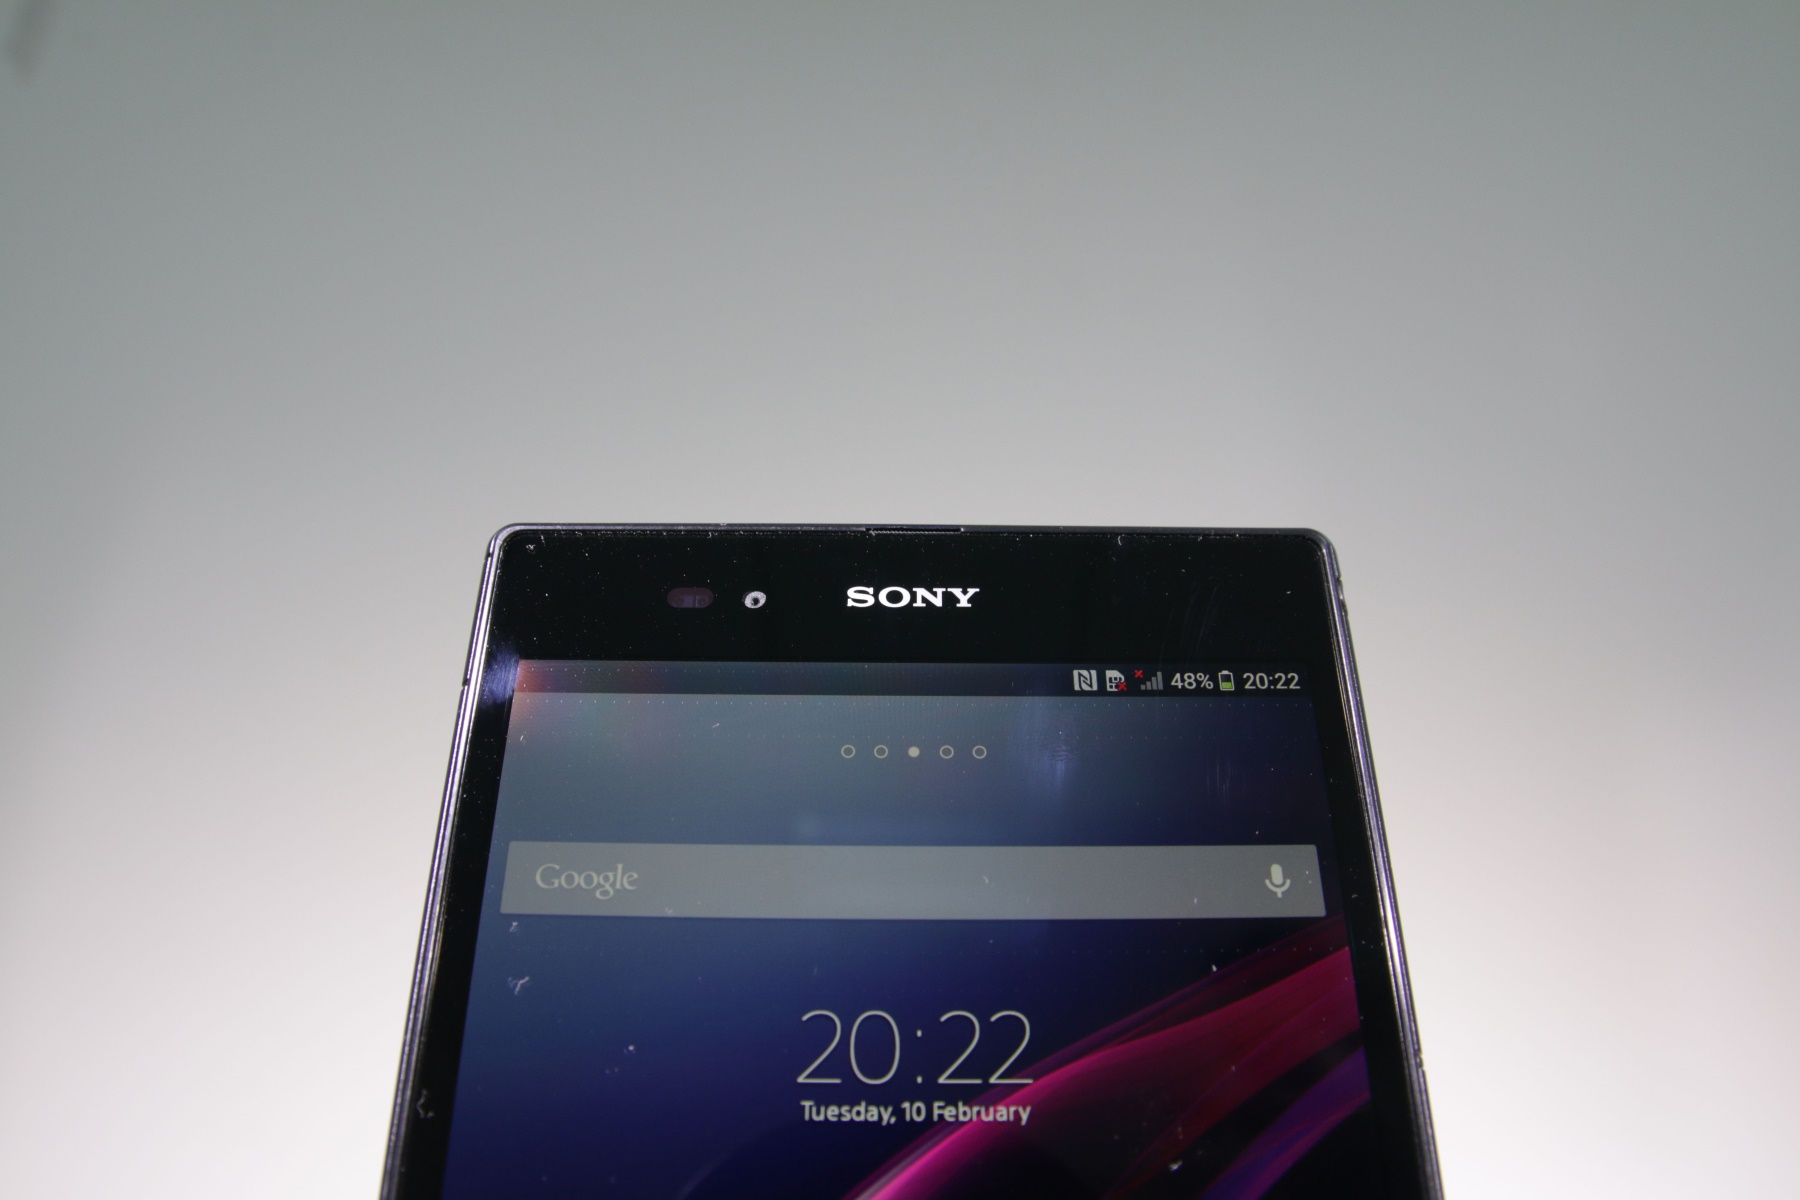
Locate the Power Button: The power button on the Sony Xperia Z is typically located on the right-hand side of the device. It is often distinguished by its small size and tactile feedback, making it easily identifiable.
-
Press and Hold the Power Button: To initiate the power-off sequence, press and hold the power button until the power-off menu appears on the screen. This action prompts the device to begin the shutdown process, ensuring that all functions are safely deactivated.
-
Select "Power Off": Once the power-off menu is displayed, select the "Power Off" option to confirm the shutdown. This action will prompt the device to commence the power-off sequence, culminating in the complete deactivation of the Sony Xperia Z.
-
Wait for the Device to Power Off: Allow the device sufficient time to power off completely. You may observe the screen turning off and the device becoming unresponsive, indicating that the shutdown process has been successfully executed.
By following these steps to power off your Sony Xperia Z, you'll create a secure and stable environment for the subsequent actions of opening the device. Ensuring that the device is powered off is a crucial preparatory step that sets the stage for a smooth and safe experience as you proceed with the task at hand.
With the Sony Xperia Z now powered off, you're ready to move on to the next step and delve into the process of locating the SIM card slot, a pivotal stage in the journey of opening your device.
Step 3: Locate the SIM card slot
The next crucial step in opening your Sony Xperia Z is to locate the SIM card slot. The SIM card slot is where the SIM card, which enables your device to connect to a mobile network, is inserted. By identifying the precise location of the SIM card slot, you'll be one step closer to gaining access to the internal components of your device.
To locate the SIM card slot on your Sony Xperia Z, follow these steps:
-
Examine the Device: Begin by carefully examining the exterior of your Sony Xperia Z. The SIM card slot is typically situated on the side of the device, often near the top or bottom edge, depending on the specific model. Look for a small, discreet slot or compartment that is designed to accommodate the SIM card.
-
Refer to the User Manual: If you encounter difficulty locating the SIM card slot based on visual inspection alone, refer to the user manual that accompanied your device. The user manual provides detailed illustrations and descriptions of the device's features, including the location of the SIM card slot.
-
Online Resources: In the event that the user manual is not readily available, consider accessing online resources provided by the manufacturer. Many manufacturers offer comprehensive support materials, including visual guides and instructional videos, to assist users in locating and accessing the SIM card slot on their devices.
-
Identify the Slot: Once you have located the SIM card slot, take note of its position and orientation. The slot is designed to securely hold the SIM card and may feature a small tray or compartment that can be opened using a specialized tool.
By carefully following these steps, you will successfully locate the SIM card slot on your Sony Xperia Z, bringing you closer to the subsequent actions of opening the device and accessing its internal components. With the SIM card slot identified, you are poised to proceed with confidence and precision as you navigate through the remaining steps of this process.
Now that you have located the SIM card slot, you are ready to move on to the next step and delve into the process of using the SIM card removal tool to access the slot, a pivotal stage in the journey of opening your Sony Xperia Z.
Step 4: Use the SIM card removal tool
With the SIM card slot of your Sony Xperia Z successfully located, the next step involves using the SIM card removal tool to access the slot and prepare it for the insertion or replacement of the SIM card. The SIM card removal tool, a small and specialized instrument provided by the manufacturer, is designed to safely eject the SIM card tray from the device without causing any damage.
To use the SIM card removal tool effectively, follow these detailed steps:
-
Retrieve the SIM Card Removal Tool: Locate the SIM card removal tool, which is typically included in the original packaging of your Sony Xperia Z. The tool is often a small, elongated piece of metal with a thin, pointed end, designed to fit into the small pinhole located near the SIM card slot.
-
Insert the SIM Card Removal Tool: With the SIM card removal tool in hand, carefully insert the pointed end of the tool into the small pinhole adjacent to the SIM card slot. Apply gentle pressure to ensure that the tool is securely inserted into the pinhole, preparing it for the subsequent action of ejecting the SIM card tray.
-
Apply Even Pressure: Once the SIM card removal tool is inserted into the pinhole, apply even pressure to activate the internal mechanism that releases the SIM card tray. This action will cause the tray to protrude slightly from the device, allowing for easy access and removal.
-
Eject the SIM Card Tray: With the application of consistent pressure, the SIM card tray will be ejected from the device, presenting the SIM card and the tray itself for removal and manipulation. Carefully pull out the SIM card tray using the SIM card removal tool, ensuring that it is handled with precision and delicacy.
By following these steps to use the SIM card removal tool, you will effectively access the SIM card slot of your Sony Xperia Z, setting the stage for the subsequent actions of opening the slot cover and inserting or replacing the SIM card. With the SIM card tray successfully ejected, you are now prepared to proceed with the next steps of this process, bringing you closer to the successful completion of the task at hand.
Step 5: Open the SIM card slot cover
With the SIM card tray successfully ejected from your Sony Xperia Z, the next pivotal step is to open the SIM card slot cover, providing access to the internal compartment where the SIM card is housed. Opening the SIM card slot cover requires a delicate and precise approach to ensure that the device remains unharmed throughout the process.
To open the SIM card slot cover, follow these detailed steps:
-
Inspect the Slot Cover: Begin by carefully examining the SIM card slot cover, which is typically a small, discreet panel located near the SIM card slot. The cover is designed to protect the internal components and ensure the secure placement of the SIM card within the slot.
-
Identify the Opening Mechanism: The SIM card slot cover is equipped with a subtle opening mechanism that allows for easy access to the internal compartment. Look for a small indentation, notch, or designated area that indicates the point of entry for opening the cover.
-
Use Fingernail or Tool: Depending on the design of the SIM card slot cover, you can use your fingernail or a small, non-abrasive tool to gently pry open the cover. Apply minimal pressure to avoid causing any damage to the cover or the surrounding areas of the device.
-
Lift the Cover: Once the opening mechanism is engaged, carefully lift the SIM card slot cover to reveal the internal compartment. Exercise caution and precision to ensure that the cover is opened smoothly and without any resistance.
-
Inspect the Interior: Upon opening the SIM card slot cover, take a moment to inspect the interior of the compartment. Ensure that there are no obstructions or debris that could interfere with the insertion or replacement of the SIM card.
By following these steps to open the SIM card slot cover, you will successfully gain access to the internal compartment of your Sony Xperia Z, setting the stage for the subsequent action of inserting or replacing the SIM card. With the cover opened and the internal compartment revealed, you are now poised to proceed with confidence and precision as you navigate through the remaining steps of this process.
Now that the SIM card slot cover is opened, you are ready to move on to the next step and delve into the process of inserting the SIM card, a pivotal stage in the journey of opening your Sony Xperia Z.
Step 6: Insert the SIM card
With the SIM card slot cover opened and the internal compartment of your Sony Xperia Z accessible, the next crucial step is to insert the SIM card into the designated slot. The SIM card, a vital component that enables your device to connect to a mobile network and access telecommunication services, must be carefully inserted to ensure seamless functionality and connectivity.
To insert the SIM card into your Sony Xperia Z, follow these detailed steps:
-
Inspect the SIM Card: Begin by carefully examining the SIM card to identify its specific type and orientation. Depending on the model of your Sony Xperia Z, the SIM card may be a standard SIM, micro SIM, or nano SIM. Ensure that you have the correct type of SIM card for your device to facilitate a proper fit within the slot.
-
Align the SIM Card: Hold the SIM card with the metal contacts facing downward and the notched corner oriented as per the guidelines provided by the device manufacturer. Proper alignment is crucial to ensure that the SIM card fits securely within the slot without any risk of damage to the card or the device.
-
Insert the SIM Card: With the SIM card correctly aligned, gently slide it into the designated slot within the internal compartment. Apply minimal pressure to facilitate a smooth insertion, ensuring that the SIM card is seated securely within the slot without any resistance.
-
Verify the Placement: Once the SIM card is inserted, verify that it is positioned correctly within the slot. The SIM card should fit snugly and remain level with the surface of the slot, indicating a proper and secure placement.
-
Close the SIM Card Slot Cover: After successfully inserting the SIM card, carefully close the SIM card slot cover to secure the internal compartment. Ensure that the cover is closed smoothly and securely, maintaining the integrity of the internal components and the SIM card within the slot.
By following these steps to insert the SIM card into your Sony Xperia Z, you will effectively ensure that the device is equipped with the necessary component for mobile network connectivity and telecommunication services. With the SIM card securely in place, you are now prepared to proceed with the subsequent actions of closing the SIM card slot cover and powering on the device, bringing you closer to the successful completion of the task at hand.
Step 7: Close the SIM card slot cover
After successfully inserting the SIM card into your Sony Xperia Z, the next crucial step is to close the SIM card slot cover, securing the internal compartment and ensuring the integrity of the SIM card within the slot. The process of closing the SIM card slot cover requires a delicate and precise approach to maintain the seamless functionality of the device and protect the internal components.
To close the SIM card slot cover, follow these detailed steps:
-
Align the Cover: Begin by aligning the SIM card slot cover with the designated slot on the device. Ensure that the cover is positioned correctly and matches the contours of the device, preparing it for a smooth and secure closure.
-
Gently Press the Cover: With the cover aligned, apply gentle pressure to the outer surface of the cover, guiding it into the closed position. Exercise caution to avoid exerting excessive force, ensuring that the cover is maneuvered into place with precision and delicacy.
-
Verify the Closure: Once the cover is in position, verify that it is closed securely and uniformly along the edges. The cover should sit flush with the device, indicating a proper closure that safeguards the internal compartment and the SIM card within the slot.
-
Test the Stability: After closing the SIM card slot cover, gently test its stability by applying light pressure to the surface. The cover should remain firmly in place, demonstrating a secure closure that protects the internal components and maintains the device's sleek and seamless design.
By following these steps to close the SIM card slot cover, you will effectively secure the internal compartment of your Sony Xperia Z, safeguarding the SIM card and ensuring uninterrupted functionality. With the cover closed and the internal components protected, you are now poised to proceed with the final step of this process, bringing you closer to the successful completion of the task at hand.
Now that the SIM card slot cover is closed, you are ready to move on to the next step and delve into the process of powering on the Sony Xperia Z, marking the culmination of this comprehensive tutorial on opening your device with precision and finesse.
Step 8: Power on the Sony Xperia Z
After successfully completing the process of opening your Sony Xperia Z and ensuring the secure placement of the SIM card, the final step involves powering on the device to initiate its functionality and connectivity. Powering on the Sony Xperia Z is a straightforward yet pivotal action that sets the stage for seamless operation and the utilization of its impressive features.
To power on your Sony Xperia Z, follow these simple yet essential steps:
-
Locate the Power Button: Begin by locating the power button on your Sony Xperia Z, typically situated on the right-hand side of the device. The power button is designed to facilitate the activation and deactivation of the device, providing a convenient means of controlling its power state.
-
Press and Hold the Power Button: With the power button identified, press and hold it for a few seconds to initiate the power-on sequence. As you apply pressure to the button, you will observe the device's screen lighting up, indicating that the power-on process has been activated.
-
Wait for the Device to Boot: After pressing the power button, allow the device a few moments to boot up and initialize its operating system. During this time, the Sony Xperia Z will undergo a series of internal processes to prepare for user interaction and functionality.
-
Unlock the Screen (If Applicable): If your Sony Xperia Z is equipped with a screen lock feature, such as a PIN, pattern, or fingerprint recognition, proceed to unlock the screen to access the device's interface. Follow the designated method for unlocking the screen, ensuring that you can navigate through the device's features seamlessly.
-
Verify Connectivity: Upon powering on the Sony Xperia Z, verify that the device establishes connectivity with the mobile network and other essential services. Check for signal reception, network connectivity indicators, and the ability to make and receive calls, confirming that the device is fully operational.
By following these steps to power on your Sony Xperia Z, you will effectively complete the process of opening the device and ensure that it is ready for use. With the device powered on and fully operational, you can now explore its features, utilize its capabilities, and enjoy the seamless connectivity it offers.
As you embark on this journey with your Sony Xperia Z, the knowledge and confidence gained from successfully opening and powering on the device will empower you to make the most of its impressive functionality and personalized features.
Conclusion
Congratulations on successfully completing the process of opening your Sony Xperia Z with precision and finesse. By following the step-by-step tutorial outlined in this comprehensive guide, you have gained valuable insights into the intricate process of accessing the internal components of your device and manipulating the SIM card slot with confidence.
Throughout this journey, you have learned the importance of gathering the necessary tools, powering off the device, locating the SIM card slot, using the SIM card removal tool, opening the SIM card slot cover, inserting the SIM card, closing the SIM card slot cover, and finally, powering on the Sony Xperia Z. Each step was carefully crafted to provide clear instructions and valuable insights, ensuring that you navigated through the process seamlessly and without any unnecessary stress or confusion.
By mastering the art of opening your Sony Xperia Z, you have not only gained a deeper understanding of the device's functionality but also empowered yourself to customize it to your preferences. Whether you sought to replace the existing SIM card, explore the internal components, or simply familiarize yourself with the device's intricacies, this tutorial has equipped you with the knowledge and confidence to do so effectively.
As you power on your Sony Xperia Z and witness its seamless functionality, take pride in the accomplishment of mastering this essential aspect of device management. The skills and insights gained from this experience will serve you well in your ongoing journey with the Sony Xperia Z, allowing you to make the most of its impressive features and connectivity.
With the device now powered on and fully operational, you are poised to explore its capabilities, utilize its personalized features, and enjoy the seamless connectivity it offers. As you embark on this next phase of your journey with the Sony Xperia Z, carry forward the knowledge and confidence gained from successfully opening and powering on the device, knowing that you are well-equipped to harness its full potential.
May your Sony Xperia Z continue to enrich your digital experiences and serve as a reliable companion in your day-to-day endeavors. Embrace the possibilities it offers, and let the knowledge gained from this tutorial enhance your interaction with the device, empowering you to make the most of its impressive functionality and personalized features.