Introduction
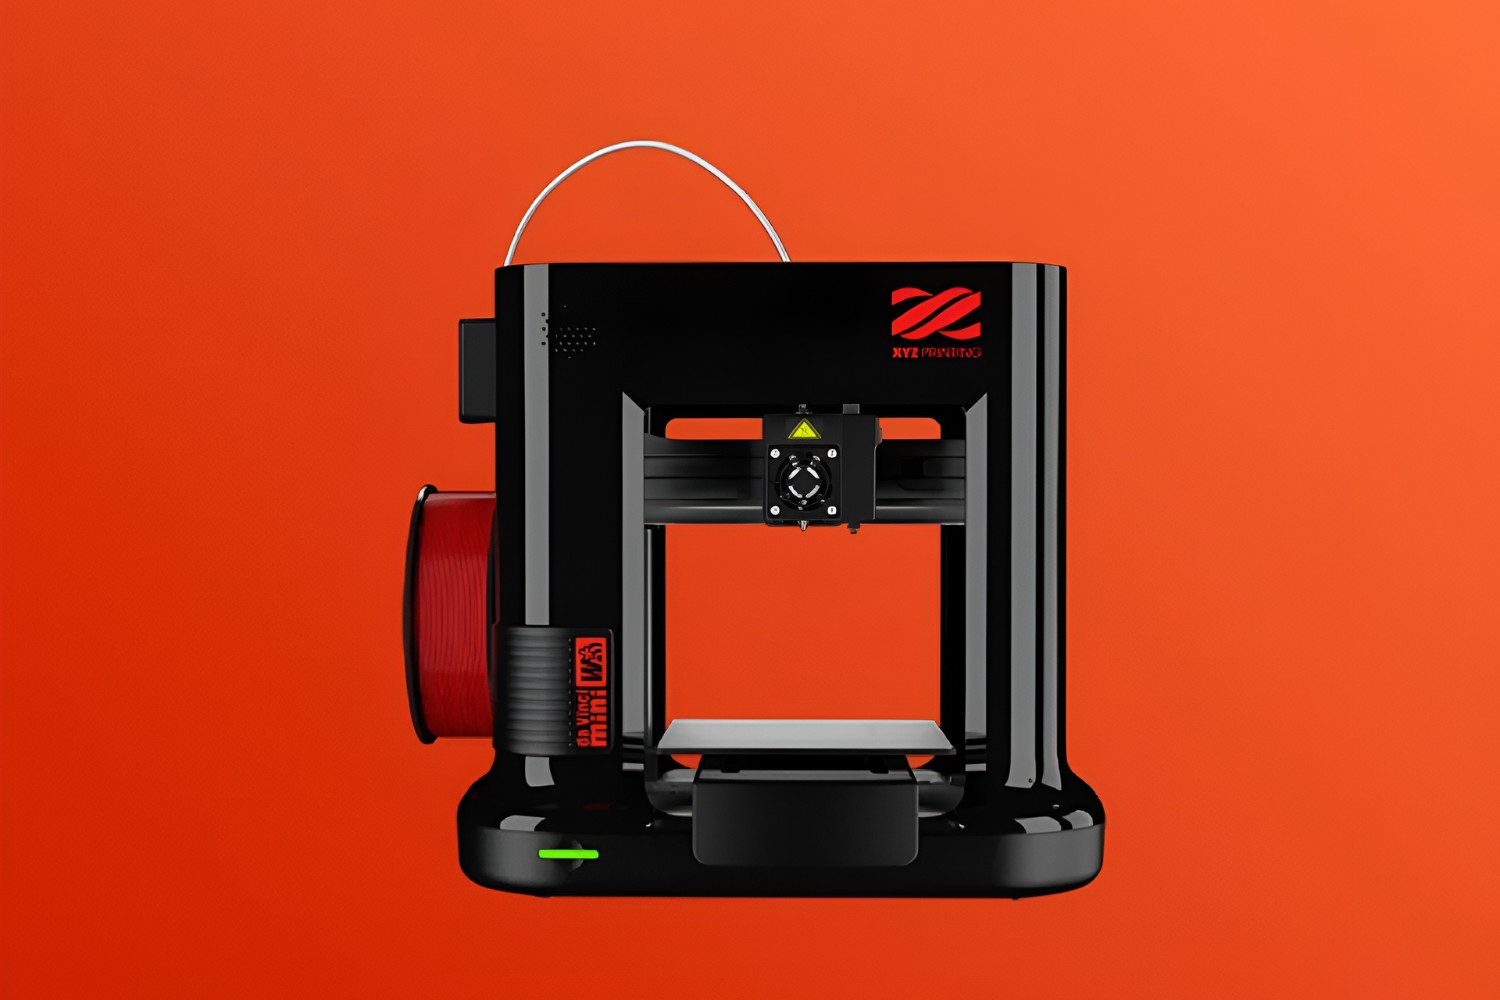
So, you’ve recently purchased a 3D printer, excited to bring your creative visions to life. However, you’ve encountered an issue – your printer isn’t extruding properly. Don’t worry; you’re not alone in facing this challenge. Many 3D printing enthusiasts have experienced this frustrating issue, but fortunately, there are several common causes and solutions to explore.
Understanding why your 3D printer isn’t extruding as expected is the first step towards troubleshooting and resolving the problem. This article will guide you through the various factors that may be hindering extrusion and highlight potential solutions to get your printer back up and running smoothly.
From issues with filament loading to clogged nozzles, incorrect nozzle temperature, and filament jamming, there are several factors that can affect extrusion. It’s essential to address these potential problems systematically to identify the root cause and determine the appropriate solution.
Additionally, improper bed leveling, extruder gear issues, inadequate filament diameter, and insufficient printer power can also contribute to extrusion difficulties. By understanding these potential issues and their remedies, you’ll be well-equipped to troubleshoot and resolve the problem at hand.
Remember, troubleshooting a 3D printer takes patience and methodical problem-solving. It’s crucial to investigate each possible cause and solution carefully, making adjustments and testing along the way.
In the following sections, we will delve into each potential issue in detail and explore the steps you can take to rectify them. So, let’s dive in and uncover why your 3D printer isn’t extruding as expected!
Incorrect Filament Loading
One of the common reasons for extrusion problems in 3D printers is incorrect filament loading. This occurs when the filament isn’t fed into the printer properly, preventing it from reaching the extruder nozzle.
There are a few reasons why filament loading may not be happening correctly:
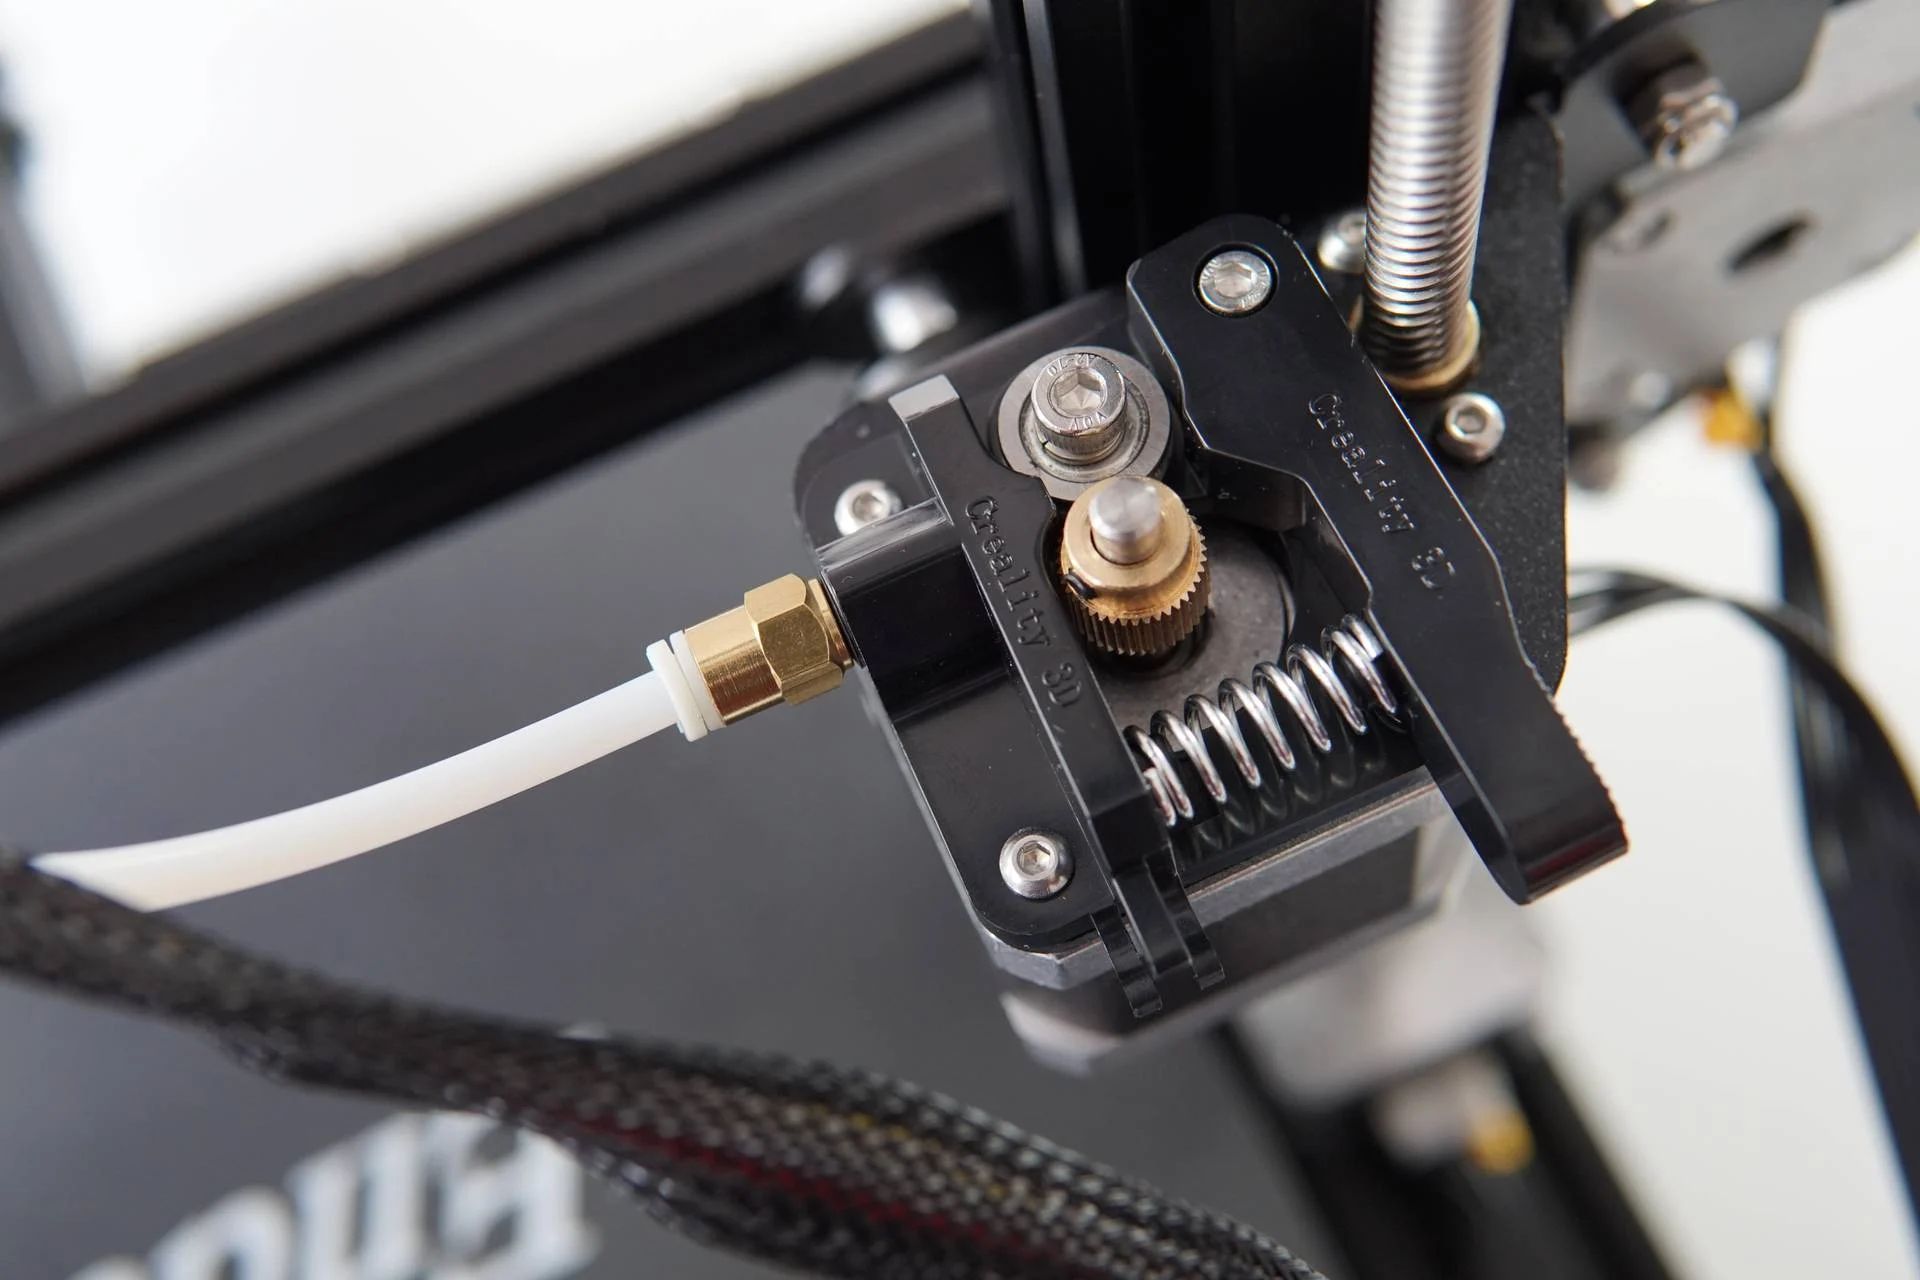
- Loose Filament Guide Tube: Ensure that the filament guide tube is securely inserted into the extruder assembly. If it is loose or not fully inserted, the filament won’t be guided into the nozzle properly.
- Filament Tangle or Knot: Check if the filament is tangled or has formed knots on the spool. Remove any tangles or knots before loading the filament to ensure smooth feeding.
- Incorrect Filament Path: Verify that the filament is following the correct path from the spool holder to the extruder assembly. Make sure it is not caught on any obstructions along the way.
- Extruder Gear Issues: The extruder gears play a crucial role in gripping and pulling the filament into the nozzle. If the gears are worn out or clogged with debris, they may not provide enough force to effectively load the filament. Clean or replace the extruder gears if necessary.
To resolve incorrect filament loading, follow these steps:
- Ensure that the filament guide tube is securely inserted into the extruder assembly.
- Check and remove any tangles or knots in the filament before loading it.
- Verify that the filament is following the correct path and not obstructed.
- If the extruder gears are worn out or clogged, clean or replace them as needed.
By addressing these potential issues related to filament loading, you can improve the extrusion process and ensure proper filament flow through the printer.
Clogged Nozzle
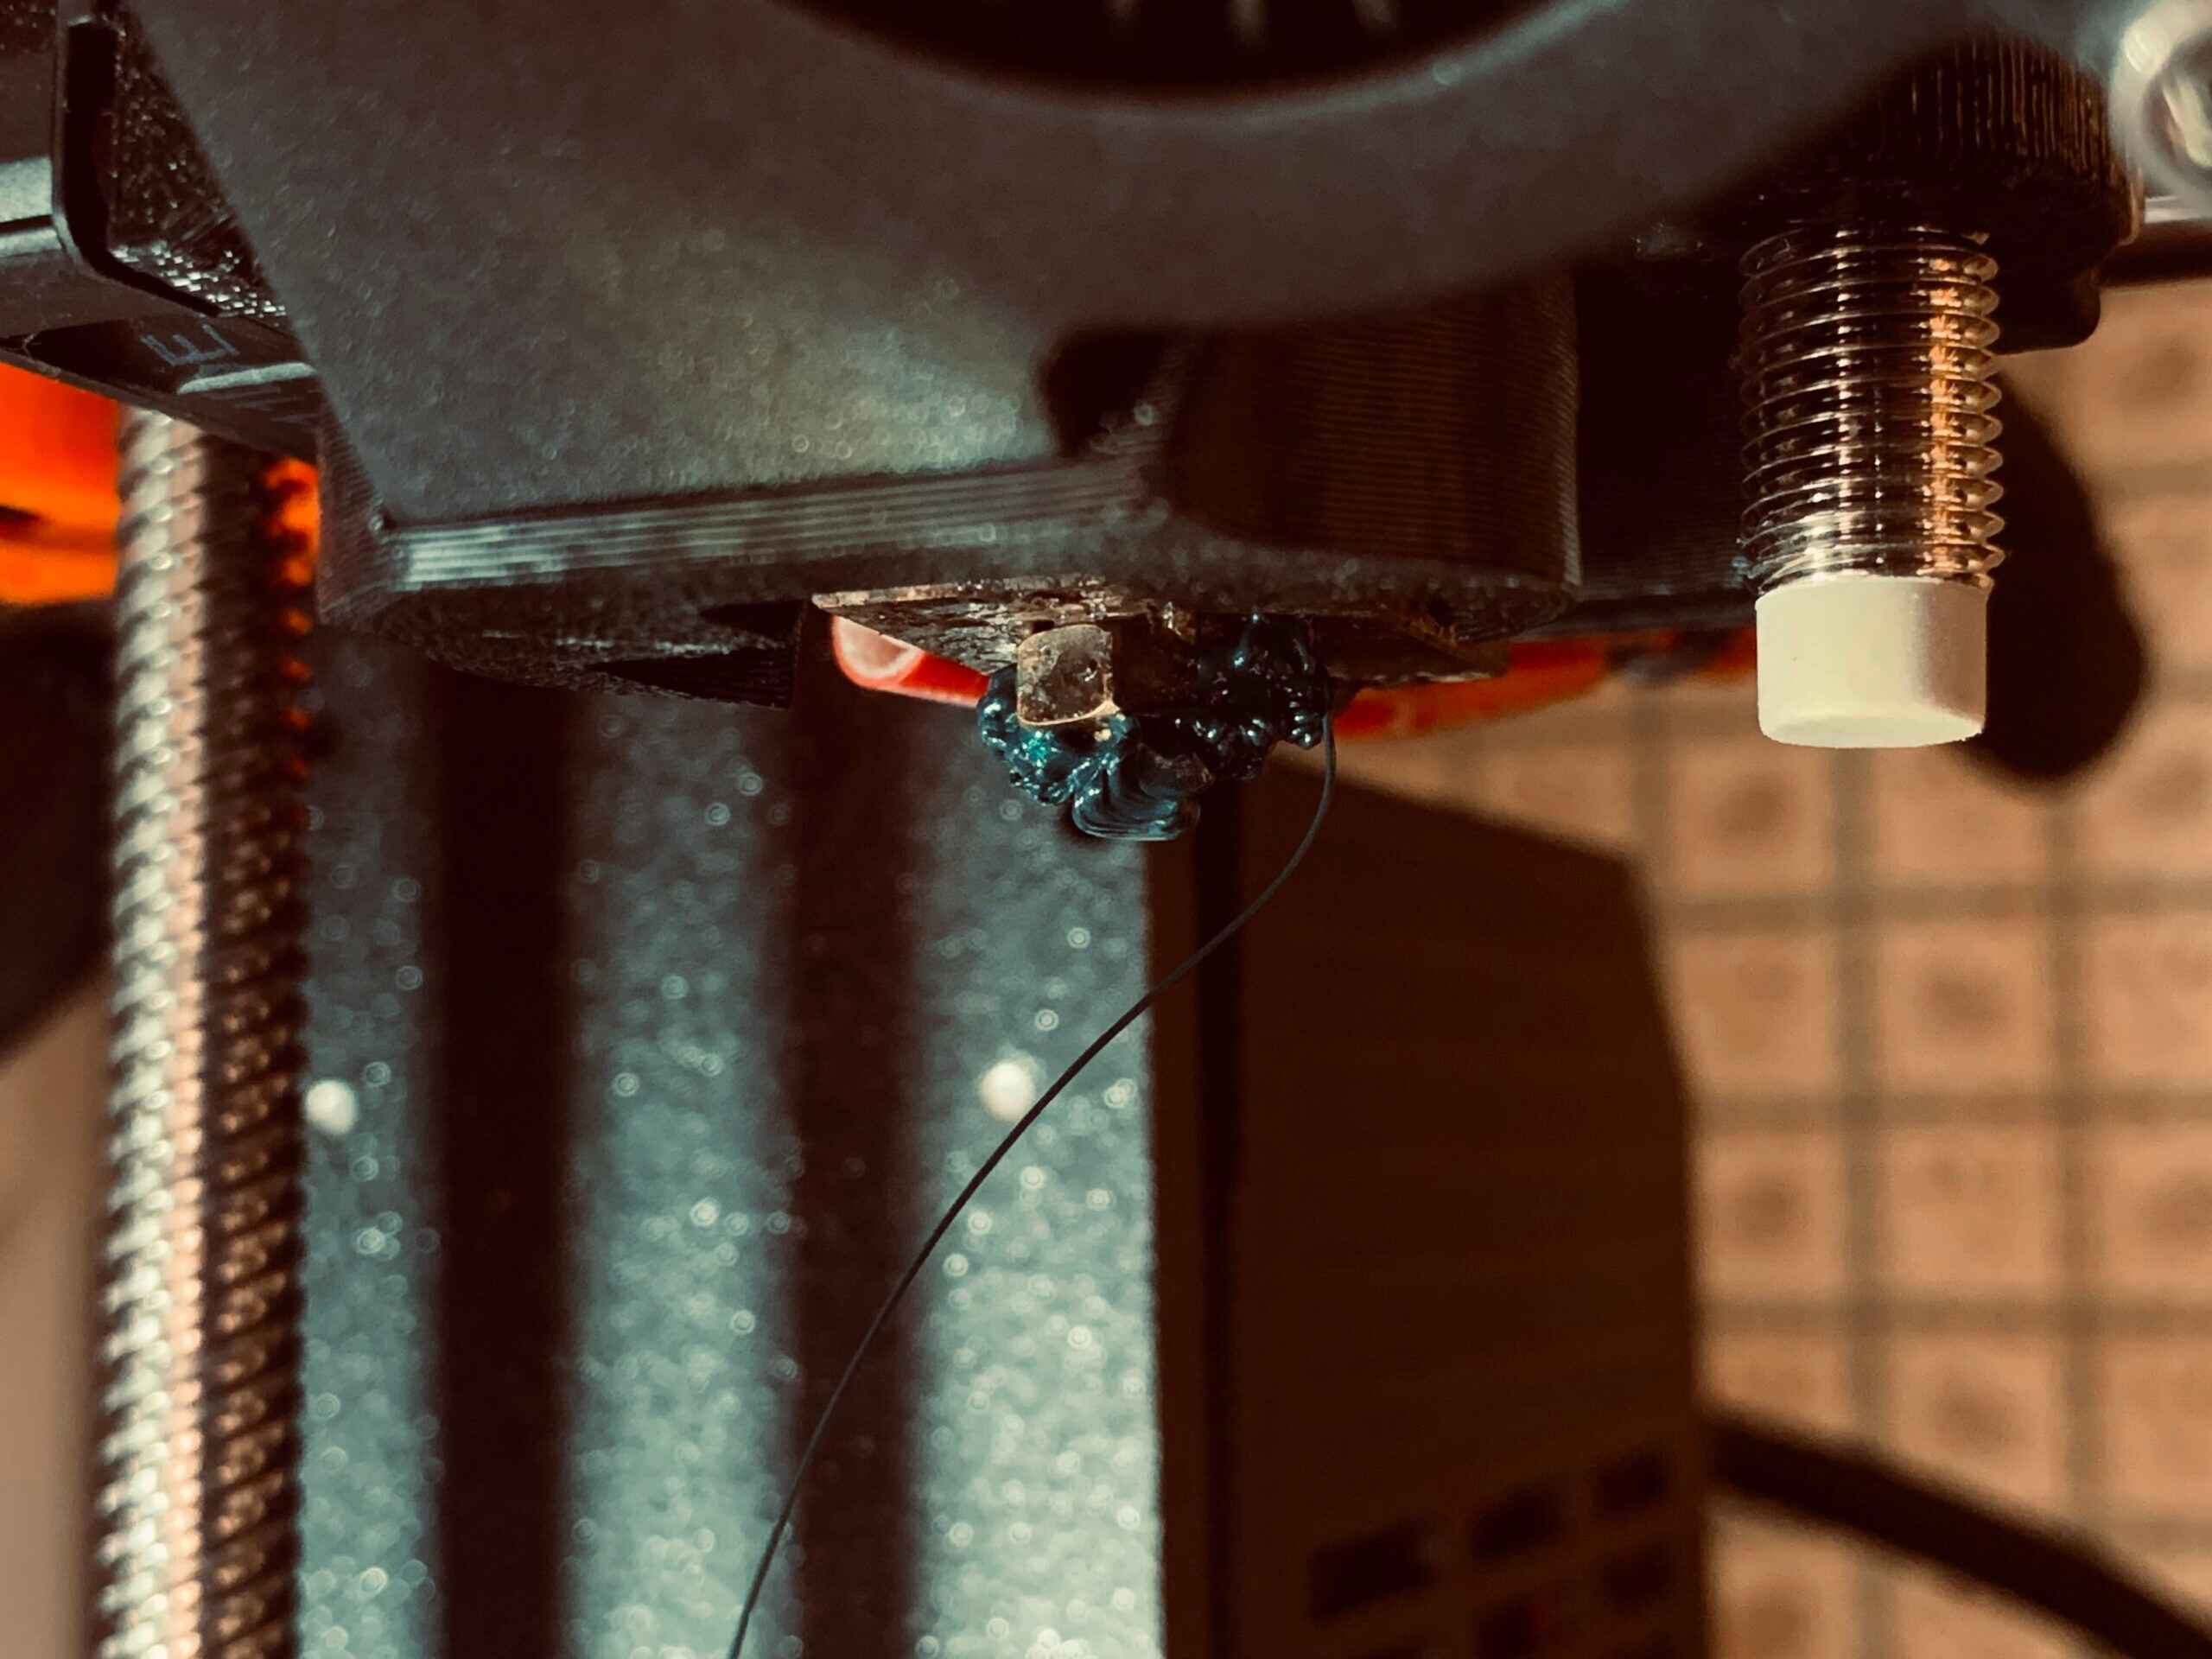
A clogged nozzle is another common culprit behind extrusion problems in 3D printers. When the nozzle becomes blocked or obstructed, it hinders the flow of filament, resulting in poor or no extrusion.
Several factors can contribute to a clogged nozzle:
- Residual Filament Buildup: Over time, residue from melted filament can accumulate in the nozzle, causing a blockage. This is particularly common when switching between different filament types or colors. Regular maintenance and cleaning of the nozzle can help prevent clogs.
- Debris or Dust: Dust particles or other debris can enter the nozzle and cause blockages. It’s important to keep the printing area clean and free from dust to minimize the risk of clogs.
- Low-Quality Filament: Inferior quality filament may contain impurities or irregularities that can lead to clogs. Using high-quality filament can reduce the chances of nozzle blockages.
- Inadequate Heat: If the nozzle temperature is too low, the filament may not melt properly, causing it to get stuck and clog the nozzle. Ensure that the nozzle is heated to the appropriate temperature for the filament you are using.
To address a clogged nozzle, follow these steps:
- Heat the Nozzle: Increase the nozzle temperature to the melting point of the filament being used. This can help soften or melt any blockages in the nozzle.
- Clean the Nozzle: Use a needle or a designated nozzle cleaning tool to carefully remove any residue or debris from the nozzle opening. Be gentle to avoid damaging the delicate nozzle.
- Perform Cold Pulls: A cold pull, also known as a “cold end purge,” involves heating the nozzle and then quickly cooling it down while pulling out the filament. This technique can help dislodge and remove stubborn clogs.
- Preventive Maintenance: Regularly clean the nozzle and perform maintenance to prevent future clogs. Follow proper filament handling procedures and use high-quality filaments to reduce the risk of nozzle blockages.
By addressing nozzle clogs and implementing preventive measures, you can ensure consistent and smooth extrusion in your 3D printer.
Incorrect Nozzle Temperature
The nozzle temperature of your 3D printer plays a vital role in successful extrusion. If the nozzle temperature is incorrect, either too high or too low, it can cause various extrusion problems.
Here are some issues that can arise from incorrect nozzle temperature:
- Poor Filament Melting: If the nozzle temperature is too low, the filament may not melt properly, leading to insufficient flow and poor extrusion. This can result in weak and brittle prints.
- Overheating Filament: Conversely, if the nozzle temperature is too high, the filament can become overheated and excessively liquid, causing stringing and oozing issues.
- Adhesion Problems: Incorrect nozzle temperature can affect bed adhesion. If the nozzle is too cool, the filament may not adhere properly to the print bed, leading to warping and detachment issues.
- Layer Bonding: Inadequate nozzle temperature can weaken the bonding between layers, resulting in poor print quality and reduced structural integrity.
To resolve issues related to incorrect nozzle temperature, follow these steps:
- Calibrate Temperature Settings: Consult the filament manufacturer’s recommendations for the ideal nozzle temperature and bed temperature for the specific filament being used. Adjust the temperature settings accordingly.
- Perform Temperature Tests: Conduct temperature tests by printing temperature towers or calibration cubes. These test prints can help determine the optimal nozzle temperature for your specific printer and filament combination.
- Monitor Temperature Consistency: Use a reliable thermometer or thermal imaging camera to ensure that the nozzle temperature remains consistent throughout the printing process. Fluctuations in temperature can lead to extrusion problems.
- Consider an Enclosure: In some cases, especially with temperature-sensitive filaments, enclosing the printer in a dedicated enclosure can help maintain a stable and consistent printing environment, minimizing temperature fluctuations.
By accurately adjusting and maintaining the nozzle temperature, you can greatly improve the extrusion process and achieve higher-quality prints.
Filament Jamming
Filament jamming is a frustrating issue that can hinder the extrusion process in 3D printers. It occurs when the filament gets stuck or tangled, preventing its smooth flow through the printer.
Here are some common causes of filament jamming:
- Extruder Gear Issues: Worn-out or improperly aligned extruder gears can cause the filament to get stuck or chewed up, leading to a jam. Regular maintenance and ensuring proper gear alignment can help prevent this issue.
- Filament Tangle: If the filament on the spool tangles or forms knots, it can prevent the smooth feeding of the filament through the printer, resulting in a jam. Always check for tangles or knots before loading the filament.
- Filament Diameter Inconsistency: Filament with inconsistent diameter variations can cause jams. Ensure that the filament you are using has a consistent diameter throughout its length.
- Incorrect Filament Path: Verify that the filament is following the correct path from the spool to the extruder assembly. Any misalignment or obstructions along the path can lead to filament jams.
- Insufficient Retraction: In some cases, inadequate retraction settings can cause filament to ooze or leak, leading to clogs and jams. Adjusting the retraction settings in your printer’s software can help alleviate this issue.
To address filament jamming, follow these steps:
- Inspect the Extruder Gears: Ensure that the extruder gears are in good condition and properly aligned. Clean or replace them if necessary.
- Check for Filament Tangles: Before loading the filament, carefully examine the spool for any tangles or knots. Straighten out any issues before feeding the filament into the printer.
- Confirm Filament Diameter Consistency: Use a caliper or filament measuring tool to check the diameter consistency of the filament. If there are significant variations, consider using a different batch or brand of filament.
- Clear the Filament Path: Verify that the filament follows the correct path and is not obstructed. Ensure that it is properly guided into the extruder assembly without any misalignment.
- Adjust Retraction Settings: Experiment with different retraction settings in your printer’s software to find the ideal balance that prevents filament oozing without causing jams.
By addressing and resolving filament jamming issues, you can ensure a smoother extrusion process and minimize interruptions during printing.
Improper Bed Leveling
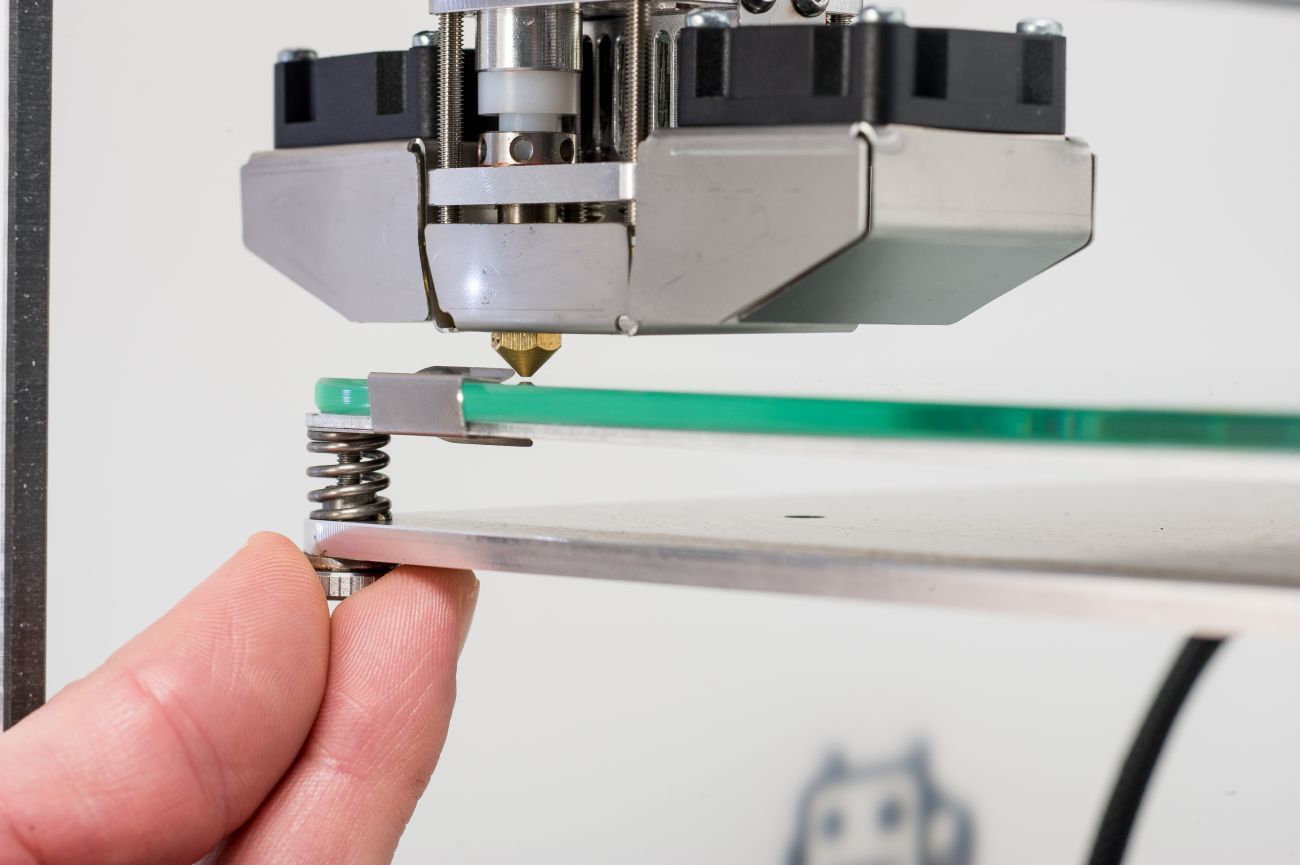
Proper bed leveling is crucial for successful 3D printing. When the print bed is not properly leveled, it can lead to issues with filament adherence and extrusion inconsistencies.
Here are some common problems that can arise from improper bed leveling:
- Poor Adhesion: If the bed is not level, the filament may not adhere properly to the surface, leading to prints that detach or warp during the printing process. This can result in failed prints or compromised print quality.
- Inconsistent Layer Height: Uneven bed leveling can cause variations in the distance between the nozzle and the bed, leading to inconsistent layer heights in the print. This can result in an uneven and distorted final print.
- Clogged Nozzle: If the nozzle is too close to the bed due to improper leveling, the filament may not extrude properly or even get blocked, resulting in a clogged nozzle.
- Damage to the Printer: A severely unlevel bed can cause the nozzle to crash into the bed, potentially damaging both the printer and the print surface.
To address improper bed leveling, follow these steps:
- Manual Bed Leveling: Most printers offer manual bed leveling options. Use the printer’s leveling procedure, typically involving adjusting the leveling screws or knobs, to achieve a level bed surface.
- Auto Bed Leveling: If your printer is equipped with auto bed leveling features, utilize this function to automatically adjust the bed height based on sensor data.
- Leveling Tools: Consider using leveling tools such as a feeler gauge or a piece of paper to assist in achieving consistent and appropriate nozzle-to-bed distance.
- Regular Maintenance: Make bed leveling a regular part of your printing routine. Check and adjust the bed level periodically to ensure optimal performance.
By properly leveling the printing bed, you can ensure that the first layer adheres correctly, resulting in improved print quality and reduced chances of nozzle clogs or crashes.
Extruder Gear Issues
The extruder gears play a crucial role in the 3D printing process by gripping and pushing the filament through the extruder assembly. Any issues with the extruder gears can greatly impact the extrusion and cause problems with filament feeding and flow.
Here are some common extruder gear issues:
- Worn-out Gears: Over time, the teeth on the extruder gears can become worn or damaged, resulting in decreased grip on the filament. This can lead to slipping or grinding of the filament and insufficient extrusion.
- Clogged Gears: Debris or filament residue can accumulate in the gear teeth, causing them to become clogged. This can impede the proper movement and feeding of the filament.
- Improper Gear Alignment: Gears that are not aligned correctly can create an uneven force on the filament, causing it to slip or become misaligned. This can result in inconsistent extrusion and poor print quality.
- Loose Gears: If the extruder gears are not securely fastened or tightened, they may not provide the necessary grip on the filament, leading to feeding issues and extrusion problems.
To address extruder gear issues, follow these steps:
- Inspect the Gears: Examine the extruder gears for any signs of wear, damage, or clogging. Clean the gears thoroughly using a brush or compressed air to remove any debris or residue.
- Replace Worn-out Gears: If the gears are significantly worn or damaged, consider replacing them. Check with the manufacturer for compatible replacement gears or upgrade options.
- Align the Gears: Ensure that the gears are aligned properly by adjusting their position or using shims as needed. This will help prevent filament slipping or misalignment.
- Tighten the Gears: Make sure that the gears are securely fastened to avoid any movement during printing. Check and tighten any screws or fasteners that hold the gears in place.
By addressing extruder gear issues, you can ensure a more stable and consistent filament feed, leading to improved extrusion and better print quality.
Inadequate Filament Diameter
The diameter of the filament used in 3D printing plays a crucial role in achieving accurate and reliable extrusion. Inadequate filament diameter can lead to various extrusion problems and impact the overall print quality.
Here are the issues that can arise from using filament with an inadequate diameter:
- Under-Extrusion: If the filament diameter is smaller than expected, the printer may not extrude enough material, resulting in under-extrusion. This can lead to weak and incomplete prints.
- Over-Extrusion: On the other hand, if the filament diameter is larger than expected, the printer may extrude too much material, causing over-extrusion. This can result in excessive material buildup, poor print resolution, and clogging.
- Printing Inaccuracy: Inconsistent filament diameter can lead to variations in the amount of material deposited, causing inaccuracies in printed dimensions and details.
- Print Surface imperfections: A filament with an inadequate diameter can cause uneven layer heights, leading to surface imperfections such as bumps, ridges, or gaps in the printed object.
To address issues related to inadequate filament diameter, consider the following steps:
- Filament Measurement: Use a caliper or filament measuring tool to measure the diameter of the filament at multiple points. Ensure that the filament consistently matches the specified diameter.
- Filament Quality: Invest in high-quality filaments from reputable manufacturers that have a consistent diameter throughout the entire spool. This will reduce the risk of inadequate filament diameter variations.
- Adjust Extrusion Settings: If you consistently encounter issues with under-extrusion or over-extrusion, adjust the extrusion multiplier or flow rate settings in your printer’s software. Fine-tuning these settings can compensate for slight variations in filament diameter.
- Replace Filament: If the filament consistently displays inadequate diameter variations, consider replacing it with a different batch or brand that provides more reliable filament quality.
By ensuring the filament used in your 3D printer has an adequate and consistent diameter, you can achieve more reliable and accurate extrusion, resulting in higher-quality prints.
Insufficient Printer Power
In the world of 3D printing, having sufficient power is crucial for the smooth and uninterrupted operation of your printer. Insufficient power can lead to a range of issues that affect the extrusion process and overall print quality.
Here are some problems that can arise from insufficient printer power:
- Motor Stall: When the power supply does not provide enough current, the motors that control various movements in the printer may not receive sufficient power to function properly. This can result in stalled or jerky movements, causing misalignment or inconsistent extrusion.
- Heating Issues: Inadequate power can lead to insufficient heating of the nozzle and print bed. If the nozzle temperature is not at the desired level, the filament may not melt properly for extrusion, resulting in poor print quality or failed prints.
- Print Interruptions: Insufficient power supply can cause voltage drops or fluctuations during the printing process. This can lead to unexpected pauses, print failures, or even damage to the printer’s electronics.
- Extrusion Problems: Inconsistent power supply can affect the torque of the extruder motor, resulting in uneven filament feeding and extrusion. This can lead to under-extrusion, over-extrusion, or weak print structures.
If you suspect insufficient power is causing issues with your printer, consider the following steps:
- Verify Power Supply: Check that you are using a power supply that meets the manufacturer’s recommendations and specifications for your specific printer model. Ensure that the power supply is capable of providing sufficient voltage and current.
- Stable Power Source: Connect your printer directly to a stable power source without using power strips or extension cords. These accessories can introduce power fluctuations and cause issues.
- Upgrade Power Supply: If you determine that your current power supply is insufficient, consider upgrading to one with higher wattage or better stability. Consult the printer manufacturer or seek guidance from reputable suppliers.
- Check Power Connections: Ensure that all power connections, including cables, plugs, and sockets, are secure and not loose. Loose connections can introduce power interruptions or voltage drops.
By addressing insufficient printer power, you can ensure a more stable and reliable printing process, leading to better print quality and fewer interruptions.
Conclusion
3D printers are incredible tools that allow us to bring our ideas to life, but they can sometimes encounter extrusion problems that hinder the printing process. In this article, we have explored several common reasons why a 3D printer may not be extruding properly and provided potential solutions to address each issue.
From incorrect filament loading to clogged nozzles, inadequate nozzle temperature, filament jamming, improper bed leveling, extruder gear issues, inadequate filament diameter, and insufficient printer power, a range of factors can impact extrusion and ultimately affect print quality.
By systematically troubleshooting and addressing these potential issues, utilizing proper filament handling techniques, and optimizing printer settings, you can overcome extrusion challenges and achieve more successful prints.
Remember that troubleshooting a 3D printer is a process that requires patience and experimentation. It’s essential to approach each issue methodically, making adjustments, and testing along the way.
Additionally, regular maintenance and preventive measures, such as cleaning the nozzle, calibrating temperature settings, leveling the print bed, and ensuring proper gear alignment, can help prevent extrusion problems from occurring in the first place.
By implementing these solutions and strategies, you’ll be well on your way to maximizing the potential of your 3D printer and producing high-quality prints with consistent extrusion.
Happy printing!


