Important Things to Consider Before Installing a New Graphics Card
Upgrading your computer’s graphics card can greatly enhance its performance, allowing you to enjoy smoother gameplay, faster video rendering, and improved graphics-intensive tasks. However, before rushing to install a new graphics card, there are a few important things that you need to consider to ensure a successful and hassle-free upgrade.
1. Compatibility: One of the first things you need to check is the compatibility of the new graphics card with your computer. Ensure that your system meets the necessary requirements in terms of power supply, available PCIe slots, and physical space inside the case. Research the specific model of your computer and the graphics card you intend to install to ensure they are compatible.
2. Power Supply: Graphics cards have different power requirements, and it is crucial to ensure that your power supply can handle the additional load. Check the wattage of your power supply unit (PSU) and compare it with the recommended power requirements of the graphics card. Upgrading to a more powerful PSU may be necessary to ensure stable power delivery.
3. Driver Support: Before purchasing a new graphics card, check if the manufacturer provides driver support for your operating system. Having up-to-date drivers ensures compatibility, stability, and optimal performance with your computer. Visit the manufacturer’s website to download and install the latest drivers for your operating system.
4. Performance Expectations: Set your expectations realistically based on your computing needs. Consider the types of applications and games you typically use and determine the level of performance improvement you hope to achieve with the new graphics card. Research benchmarks and reviews to get an idea of the performance gains you can expect.
5. Budget: Graphics cards come in a wide range of prices, and it’s important to set a budget that aligns with your needs and financial constraints. Consider the cost-to-performance ratio and choose a graphics card that offers the best value for your budget. Keep in mind that future-proofing your system by investing in a more powerful card can save you from needing to upgrade again in the near future.
By considering these important factors before installing a new graphics card, you can ensure a smooth and successful upgrade process. Take the time to research and choose a card that meets your needs, check compatibility with your computer, and ensure you have an adequate power supply. With proper planning, you can fully enjoy the improved graphics performance and take your computing experience to new heights.
Steps to Install a New Graphics Card in Your Computer
If you have carefully considered the compatibility and requirements for your new graphics card, it’s time to move on to the installation process. Follow these steps to ensure a successful installation:
1. Prepare your computer: Before starting the installation, make sure to power off your computer and unplug it from the wall socket. It’s also a good idea to wear an anti-static wristband or regularly touch a grounded metal object to discharge any static electricity that could potentially damage your new graphics card or other components.
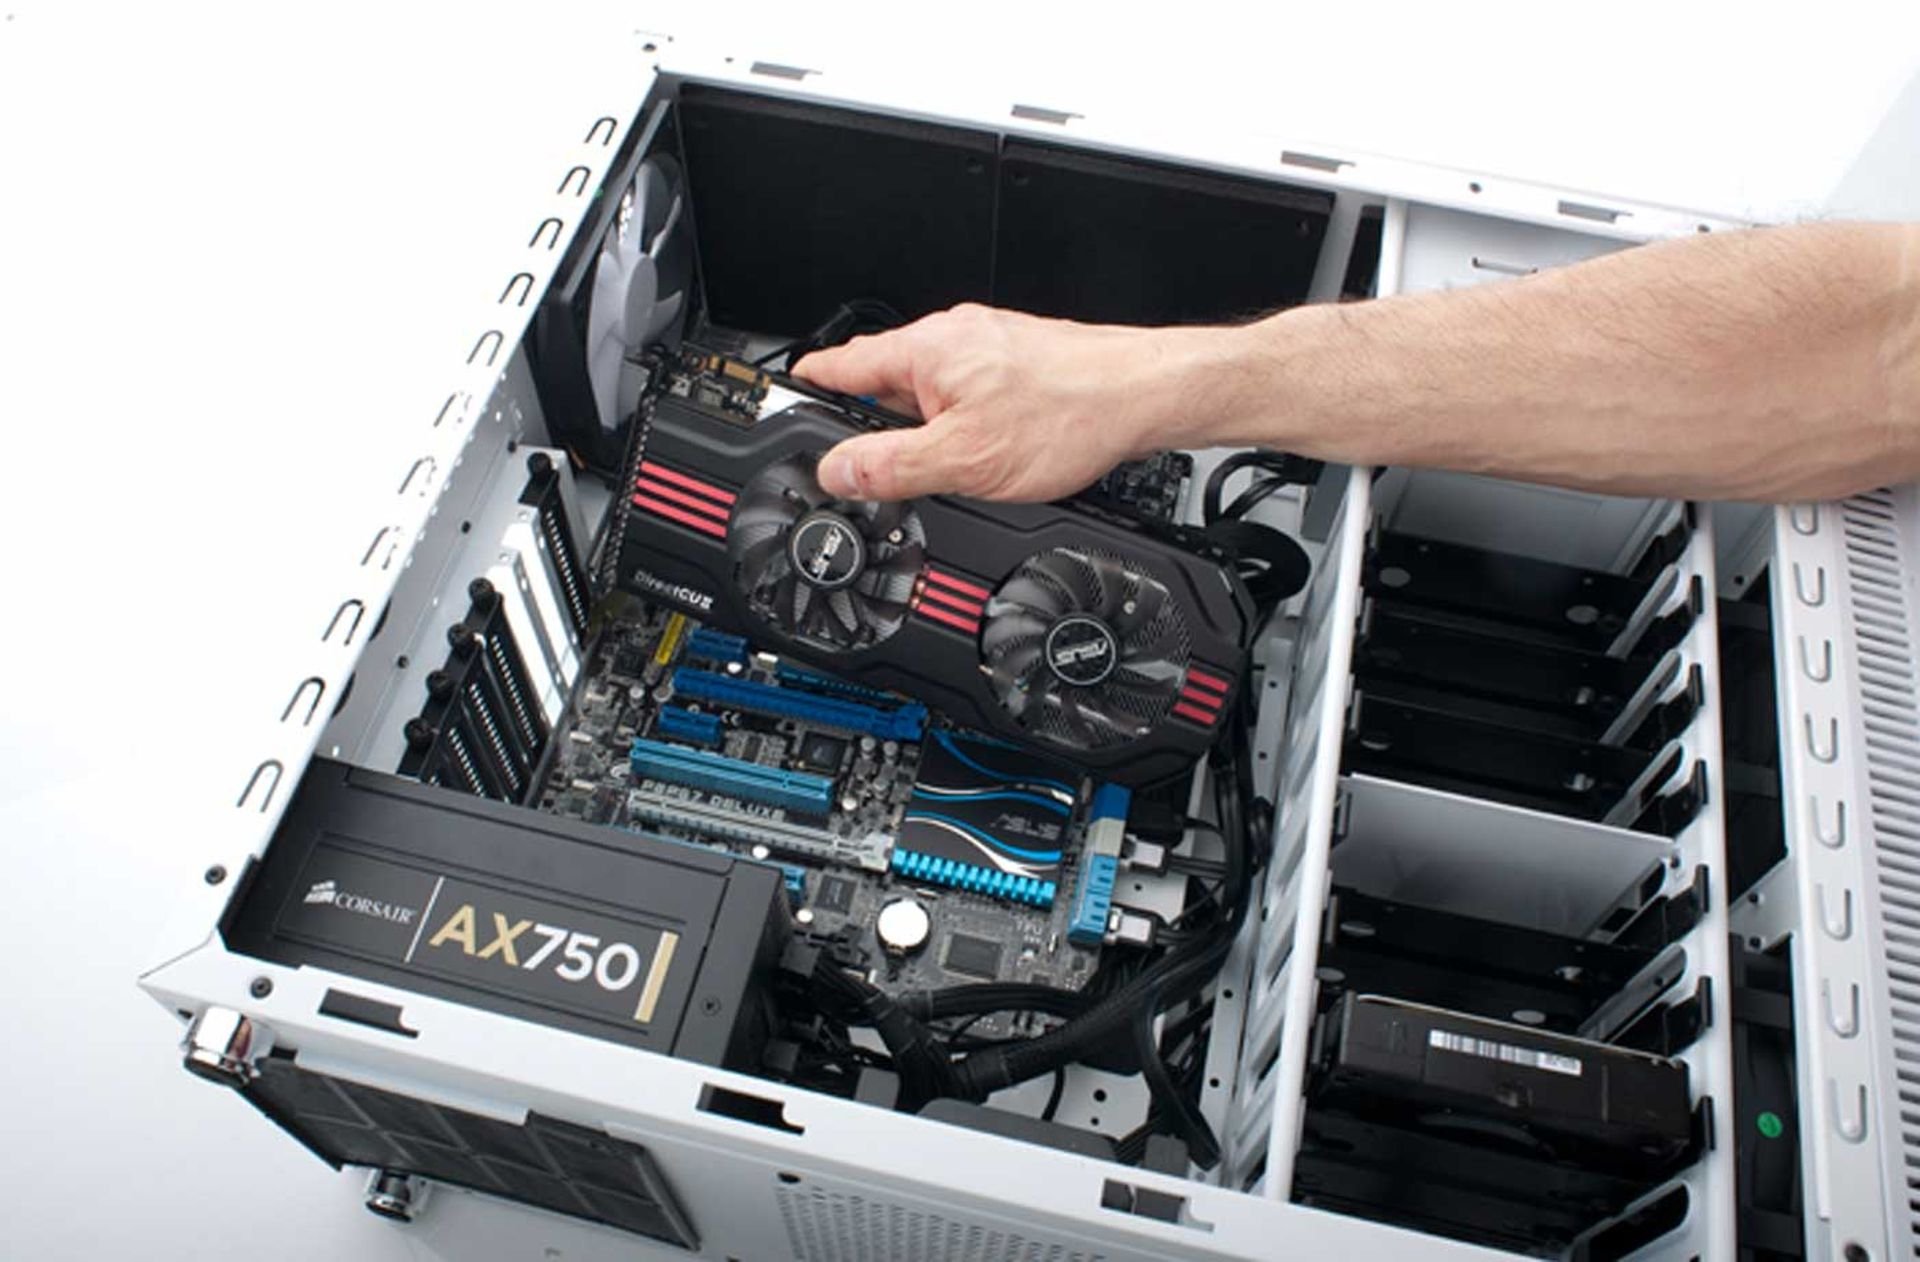
2. Locate the PCIe slot: Open your computer case and locate the PCIe slot where you will be installing the new graphics card. Most modern graphics cards use the PCIe x16 slot, typically located near the top of your motherboard. Refer to your motherboard manual if you’re unsure about the location.
3. Remove the old graphics card: If you are replacing an existing graphics card, carefully remove it from the PCIe slot by releasing the securing latch or screws that hold it in place. Gently pull the card out of the slot, being cautious not to exert too much force or damage any nearby components.
4. Install the new graphics card: Align the new graphics card with the PCIe slot and firmly insert it into the slot. Ensure that the card is properly seated and the securing latch or screws are used to secure it in place. Make sure any additional power cables required by the graphics card are properly connected to the card and power supply.
5. Connect the display cable: Locate the appropriate display connection ports on the new graphics card, such as HDMI, DisplayPort, or DVI, and connect your monitor’s cable to the corresponding port. If your previous graphics card was using integrated graphics, make sure to connect the cable to the new graphics card instead.
6. Power up and install drivers: Close your computer case, plug in the power cord, and power on your computer. Once your computer starts up, it may automatically detect the new graphics card, but it’s recommended to install the latest drivers from the manufacturer’s website. Follow the instructions provided by the manufacturer to download and install the drivers specific to your graphics card and operating system.
7. Test the graphics card: After installing the drivers, restart your computer and run some graphics-intensive applications or games to ensure that the new graphics card is functioning correctly. Keep an eye out for any artifacts, glitches, or performance issues that may require further troubleshooting.
By following these steps carefully, you can successfully install a new graphics card in your computer and enjoy improved graphics performance for a more immersive computing experience.
Updating Drivers for Your New Graphics Card
After installing a new graphics card in your computer, it’s crucial to update the drivers to ensure optimal performance and compatibility. Drivers act as a bridge between your operating system and the hardware, allowing your computer to communicate effectively with the graphics card. Here are the steps to update your graphics card drivers:
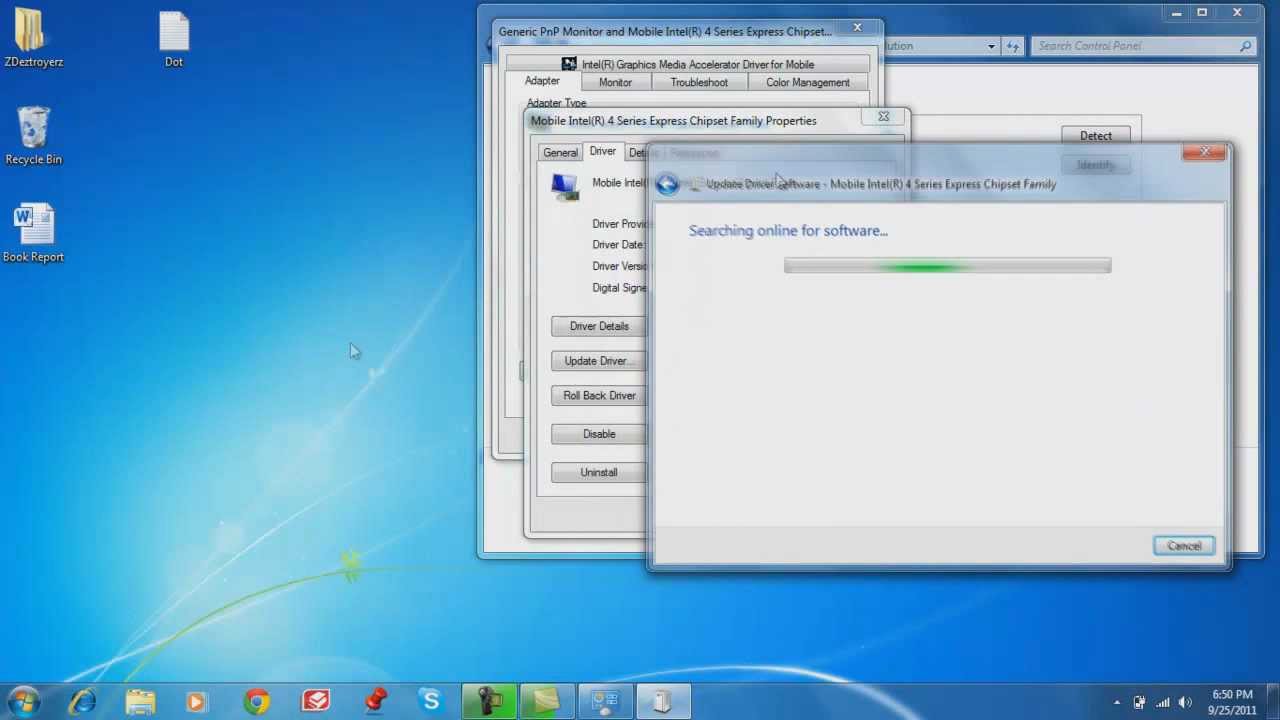
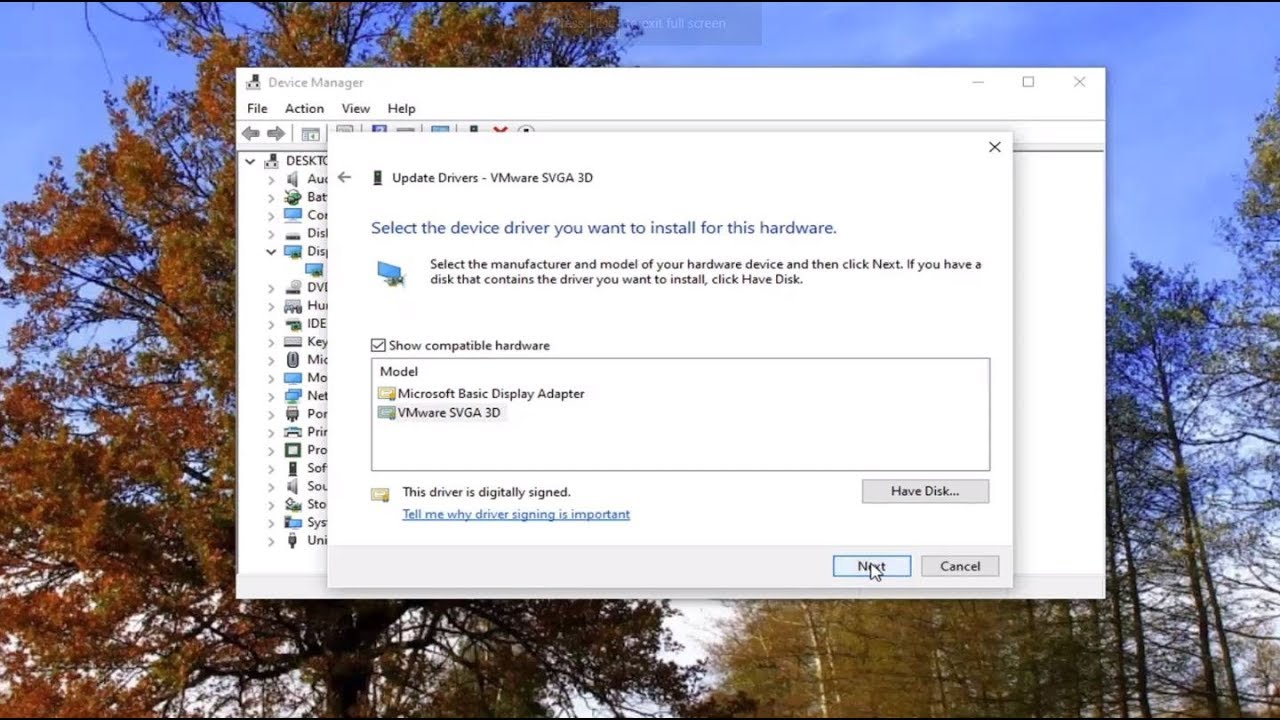
1. Identify the graphics card model: Before proceeding with driver updates, identify the exact model and manufacturer of your new graphics card. This information can usually be found on the box or documentation that came with the card. Alternatively, you can right-click on the Windows Start menu, select “Device Manager,” and expand the “Display Adapters” category to see the name of the graphics card.
2. Visit the manufacturer’s website: Go to the website of the graphics card manufacturer, such as NVIDIA or AMD, and navigate to their support or driver download section. Look for the specific model of your graphics card and select the appropriate drivers for your operating system.
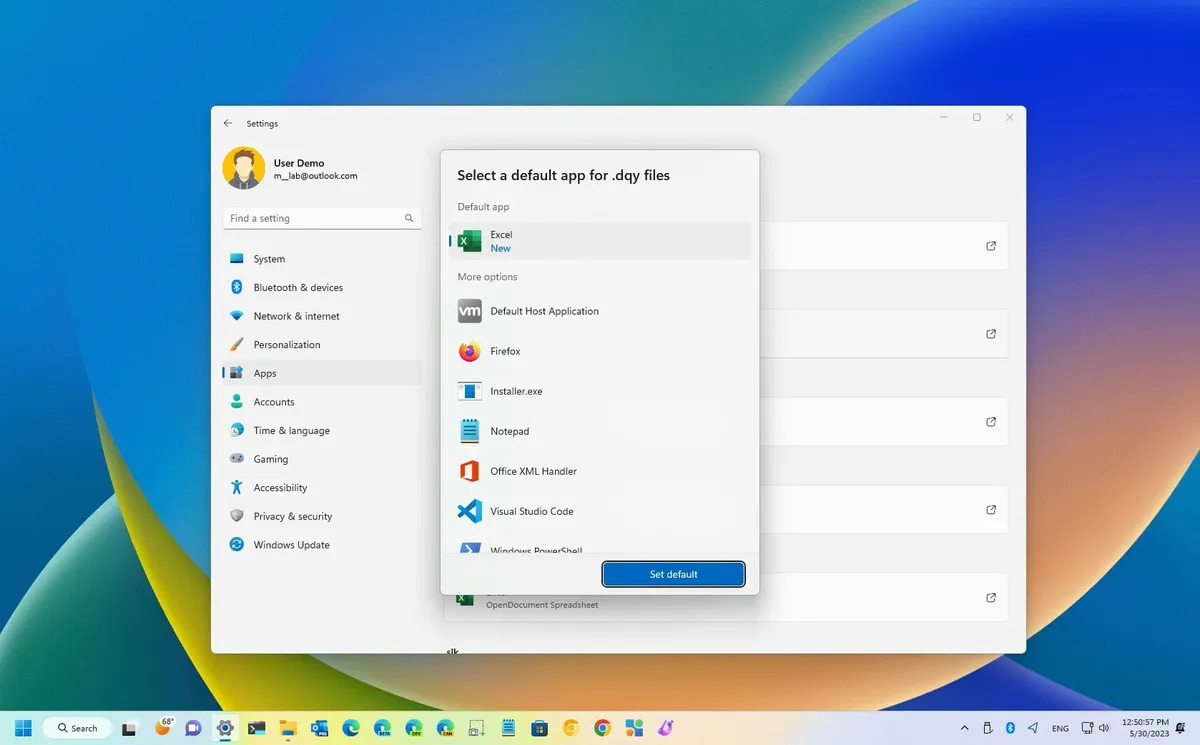
3. Download and install the drivers: Once you have located the correct drivers for your graphics card, download the installation package. Most driver packages come in an executable (.exe) format that you can run to initiate the installation process. Follow the prompts to install the drivers on your computer. It’s generally recommended to choose the “Custom” or “Advanced” installation option to have more control over the installation settings.
4. Restart your computer: After the driver installation is complete, it’s necessary to restart your computer to allow the changes to take effect. Save any open work and close any running applications before restarting your system.
5. Verify driver installation: Once your computer has restarted, verify that the new drivers are successfully installed. You can do this by right-clicking on the Windows Start menu, selecting “Device Manager,” and expanding the “Display Adapters” category. The name of your newly installed graphics card should be listed. Additionally, some graphics card control panels, such as NVIDIA Control Panel or AMD Radeon Software, may also indicate the driver version and other graphics card settings.
6. Test for performance and stability: After updating your graphics card drivers, it’s important to test the performance and stability of your system. Run graphics-intensive applications or games and observe the performance levels, image quality, and overall stability. If you encounter any issues, such as graphical glitches or performance problems, you may need to further troubleshoot or seek assistance from the graphics card manufacturer’s support resources.
Regularly updating your graphics card drivers is essential to ensure compatibility with new software releases, improve performance, and resolve any issues or bugs that may arise. By following these steps, you can keep your graphics card drivers up to date and enjoy the full potential of your new graphics card.
Testing and Troubleshooting Your Graphics Card Installation
After installing a new graphics card in your computer, it’s crucial to test and troubleshoot the installation to ensure everything is working properly. Here are some steps to help you test and troubleshoot your graphics card installation:
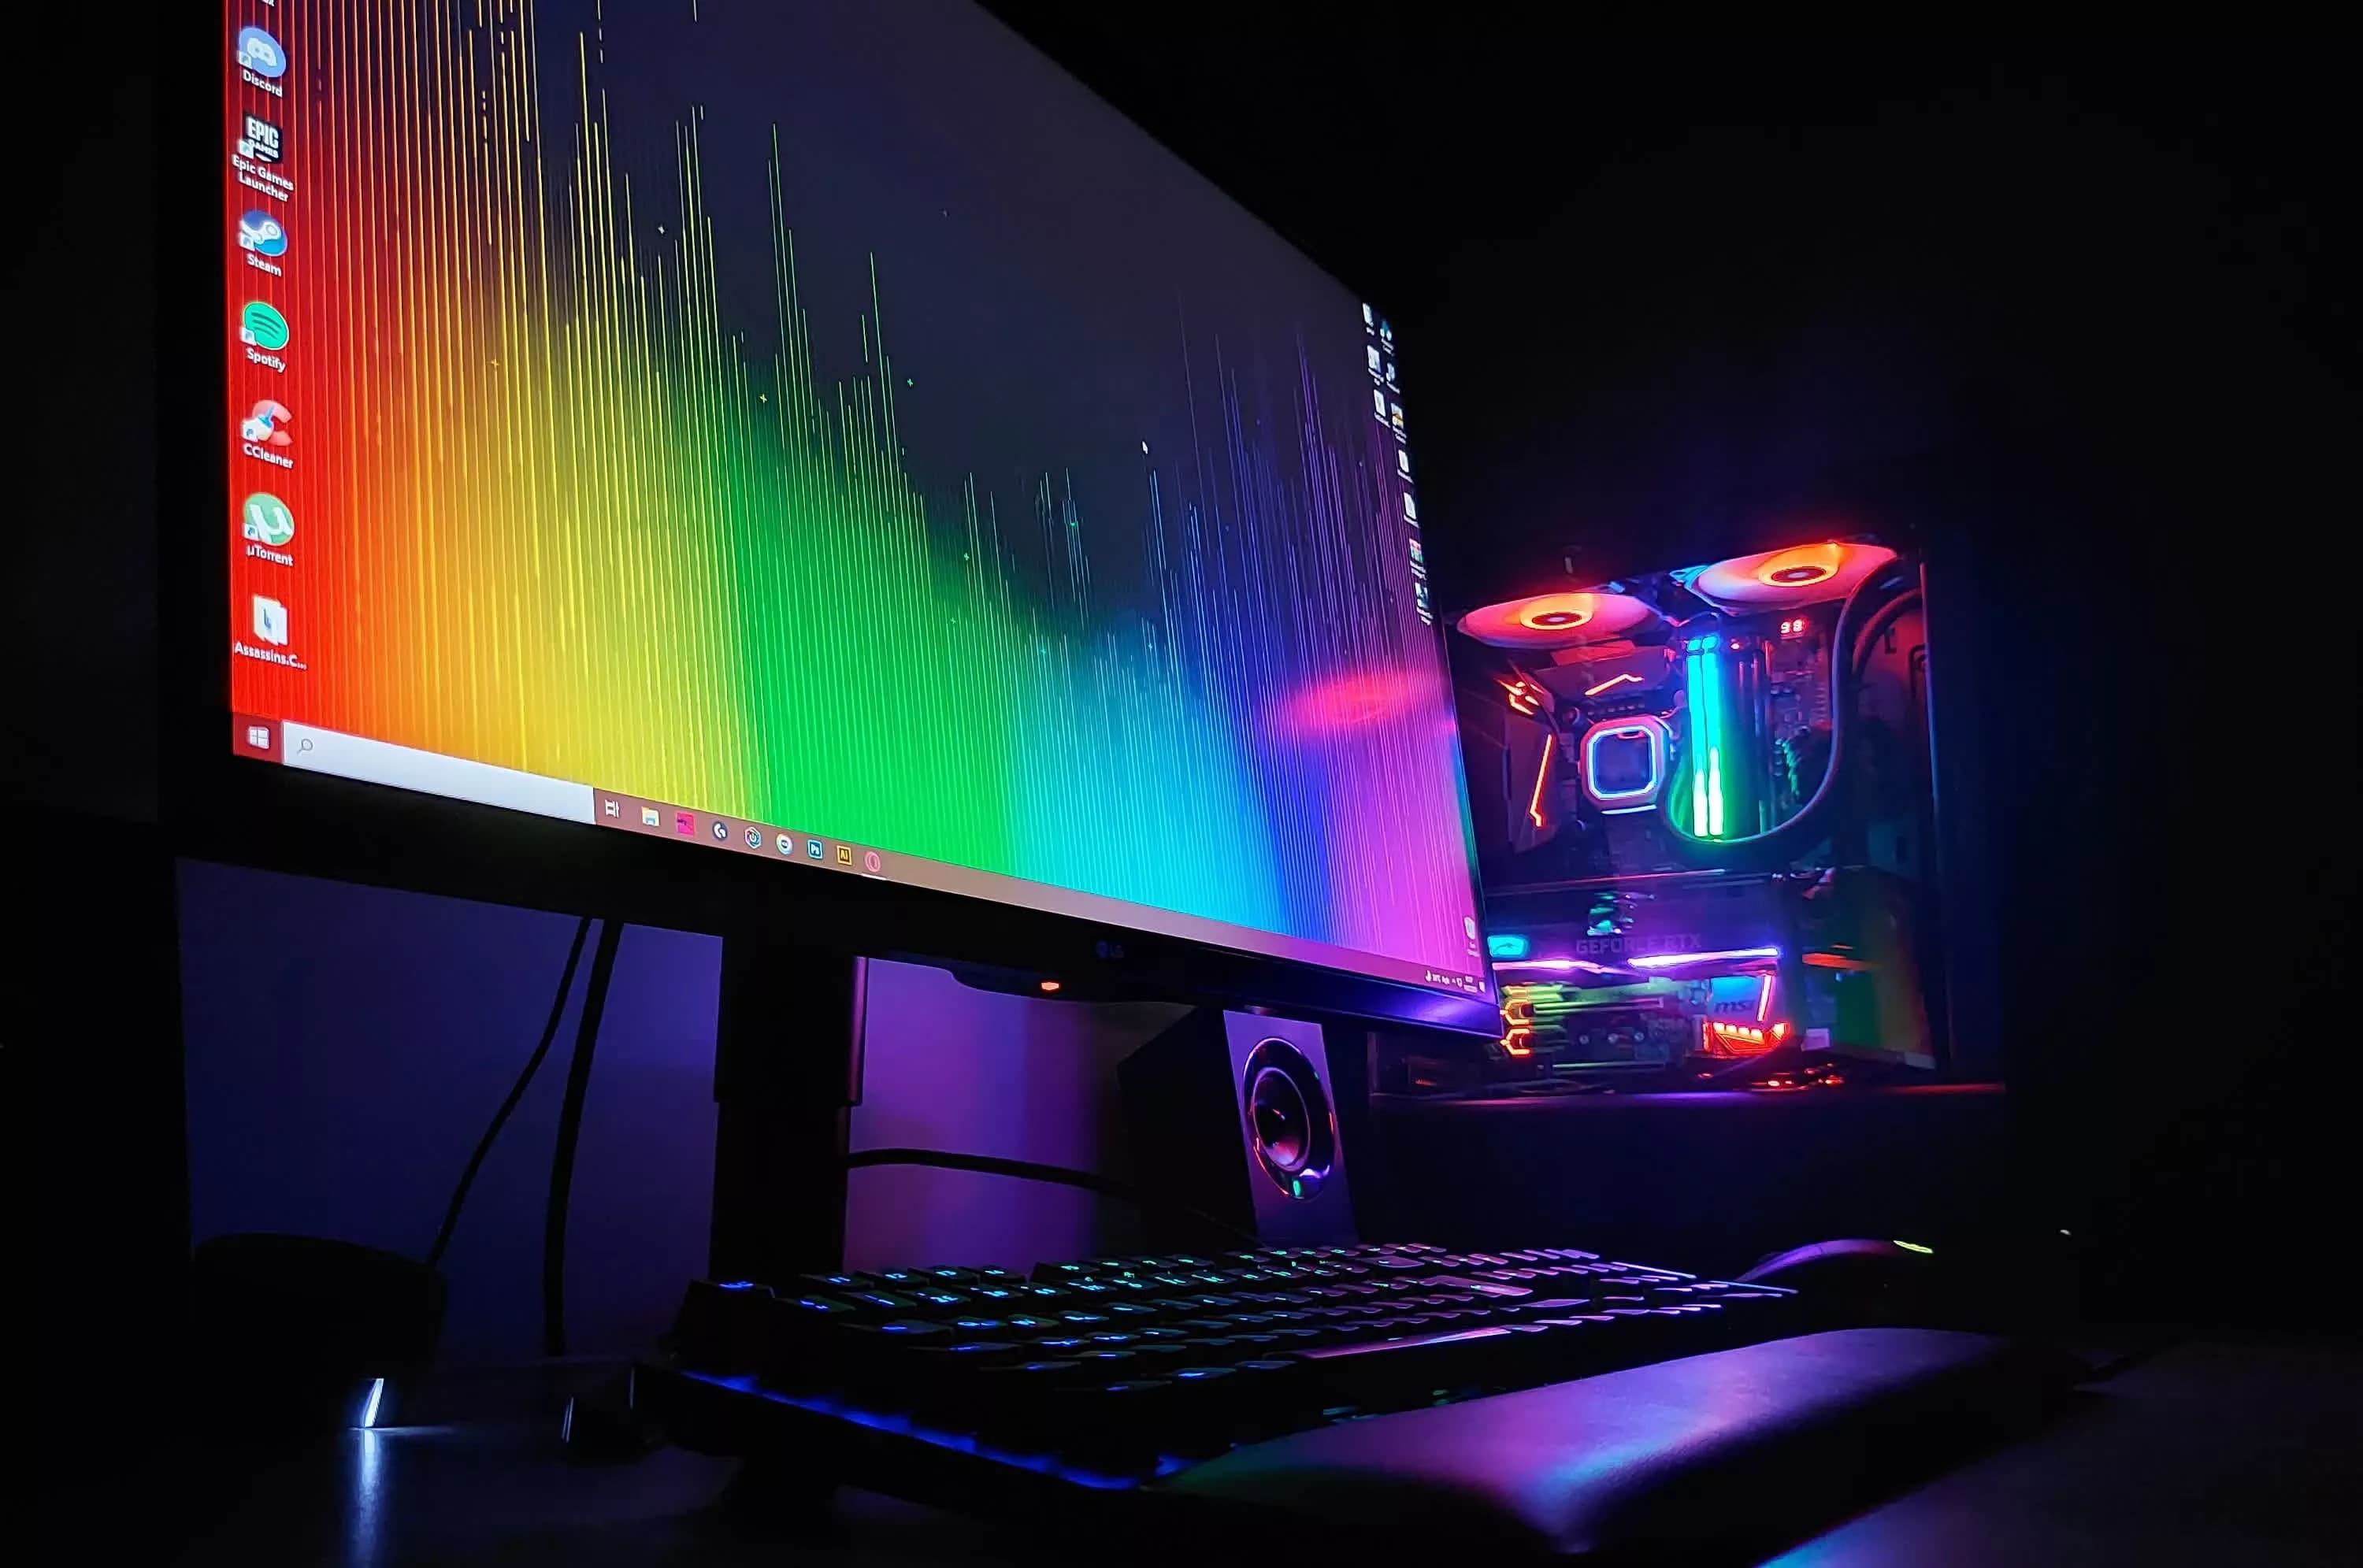
1. Check for visual anomalies: Power on your computer and observe the display. Look for any visual anomalies such as artifacts, screen flickering, display distortions, or abnormal colors. If you notice any issues, it could indicate a problem with the installation or compatibility.
2. Run benchmark tests: Benchmarking software, such as 3DMark or Heaven Benchmark, can help you assess the performance of your new graphics card. Run these tests to evaluate the graphics card’s capabilities and compare the results to expected performance levels. Any significant deviations from expected performance could indicate an issue.
3. Monitor temperatures: Use software like MSI Afterburner or GPU-Z to monitor the temperatures of your graphics card during demanding tasks or gaming sessions. High temperatures can cause performance throttling or even damage the card. Ensure that your graphics card remains within safe operating temperature ranges.
4. Update software and drivers: Make sure you have the latest software updates for your operating system and that the graphics card drivers are up to date. Outdated software and drivers can cause compatibility issues or performance problems. Visit the manufacturer’s website to download the latest drivers for your specific graphics card model.
5. Test multiple applications: Run different graphics-intensive applications and games to ensure that your new graphics card performs well across a variety of scenarios. Test different resolutions, graphics settings, and effects to see how the card handles the workload. If you encounter crashes, freezes, or poor performance consistently, it may indicate a problem.
6. Check power connections: Ensure that all power connections to the graphics card are firmly secured. Loose or improper power connections can cause instability or prevent the card from functioning properly. If necessary, consult the graphics card manual or manufacturer’s website for specific power requirements and connections for your model.
7. Troubleshoot issues: If you encounter any issues during testing, start troubleshooting by verifying that the graphics card is properly seated in the PCIe slot. Check that all power connections are secure and that the drivers are installed correctly. If the issues persist, consult the manufacturer’s support documentation or reach out to their technical support for further assistance.
By thoroughly testing and troubleshooting your graphics card installation, you can ensure that it performs optimally and provides a stable and reliable visual experience. Don’t hesitate to seek help from experts if you encounter persistent issues that you cannot resolve on your own.
Tips for Optimizing and Getting the Most Out of Your New Graphics Card
Once you have successfully installed and tested your new graphics card, there are several tips and tricks you can follow to optimize its performance and get the most out of your investment. Here are some helpful tips:
1. Update drivers regularly: Keep your graphics card drivers up to date to ensure compatibility with the latest games and applications. Graphics card manufacturers often release driver updates that provide performance improvements, bug fixes, and additional features. Check for driver updates periodically on the manufacturer’s website or use automatic driver update tools.
2. Overclocking: If you’re comfortable with advanced settings, you can consider overclocking your graphics card to push its performance even further. Be cautious when overclocking and ensure proper cooling measures are in place to prevent overheating. Refer to online guides or software provided by the graphics card manufacturer for safe and effective overclocking techniques.
3. Adjust graphics settings: Fine-tune the graphics settings in games and applications to strike a balance between visual quality and performance. Experiment with different graphics presets and individual settings to achieve a smooth gameplay experience without sacrificing too much on visual fidelity. Finding the optimal settings for each game can greatly enhance your overall gaming experience.
4. Monitor and control temperatures: Keep an eye on your graphics card’s temperature to avoid overheating and performance throttling. Make sure your computer case has sufficient airflow and consider installing additional fans or a more efficient cooling solution if necessary. Using GPU monitoring software, you can monitor temperatures and adjust fan speeds to maintain optimal operating conditions.
5. Utilize software tools: Graphics card manufacturers provide software tools that can enhance your experience and customize performance. Many of these tools offer features like game-specific optimizations, performance monitoring, and fan control. Explore the software offered by your graphics card manufacturer and take advantage of the additional features they provide.
6. Optimize power settings: Adjusting power settings can impact the performance and efficiency of your graphics card. In the graphics driver control panel, you can choose different power modes to prioritize performance or energy savings. Depending on your needs, you can choose a power mode that suits your usage pattern, whether it’s gaming, content creation, or general computing.
7. Maintain system cleanliness: Keep your computer clean and free from dust and debris. Over time, dust buildup can obstruct airflow and lead to increased temperatures. Regularly clean your computer’s internals, especially the fans and heat sinks, to ensure optimum cooling efficiency for your graphics card.
8. Monitor performance with benchmarks: Use benchmarking software to measure and assess the performance of your graphics card over time. Running benchmarks periodically allows you to track any changes in performance and pinpoint any potential issues that may arise. Comparing benchmark results before and after optimizations can help you gauge the effectiveness of your efforts.
By following these tips, you can optimize your new graphics card’s performance and make the most of its capabilities. Keep in mind that every system is unique, and experimentation is key to finding the optimal settings and configurations for your specific setup. Enjoy your enhanced graphics experience and immerse yourself in the world of high-performance computing!