Introduction
Welcome to our guide on how to use an RCA projector! Projectors are a versatile and convenient way to enjoy larger-than-life entertainment, whether it’s for movie nights at home, presentations in the office, or sharing photos and videos with friends and family. RCA projectors are known for their reliable performance, user-friendly features, and excellent picture quality.
With the advancement of technology, setting up and using a projector has become easier than ever. In this guide, we will walk you through the step-by-step process of setting up and using an RCA projector. Whether you’re a seasoned projector user or a beginner, this guide will provide you with the knowledge and tips you need to make the most out of your RCA projector experience.
We will cover everything from the initial setup to connecting the projector to your desired device, adjusting the display, using the remote control, troubleshooting common issues, and more. By the end of this guide, you’ll be able to confidently set up and operate your RCA projector for an immersive and enjoyable viewing experience.
So, let’s dive in and explore the exciting world of RCA projectors, and discover how you can elevate your entertainment and presentations to a whole new level!
What is an RCA Projector?
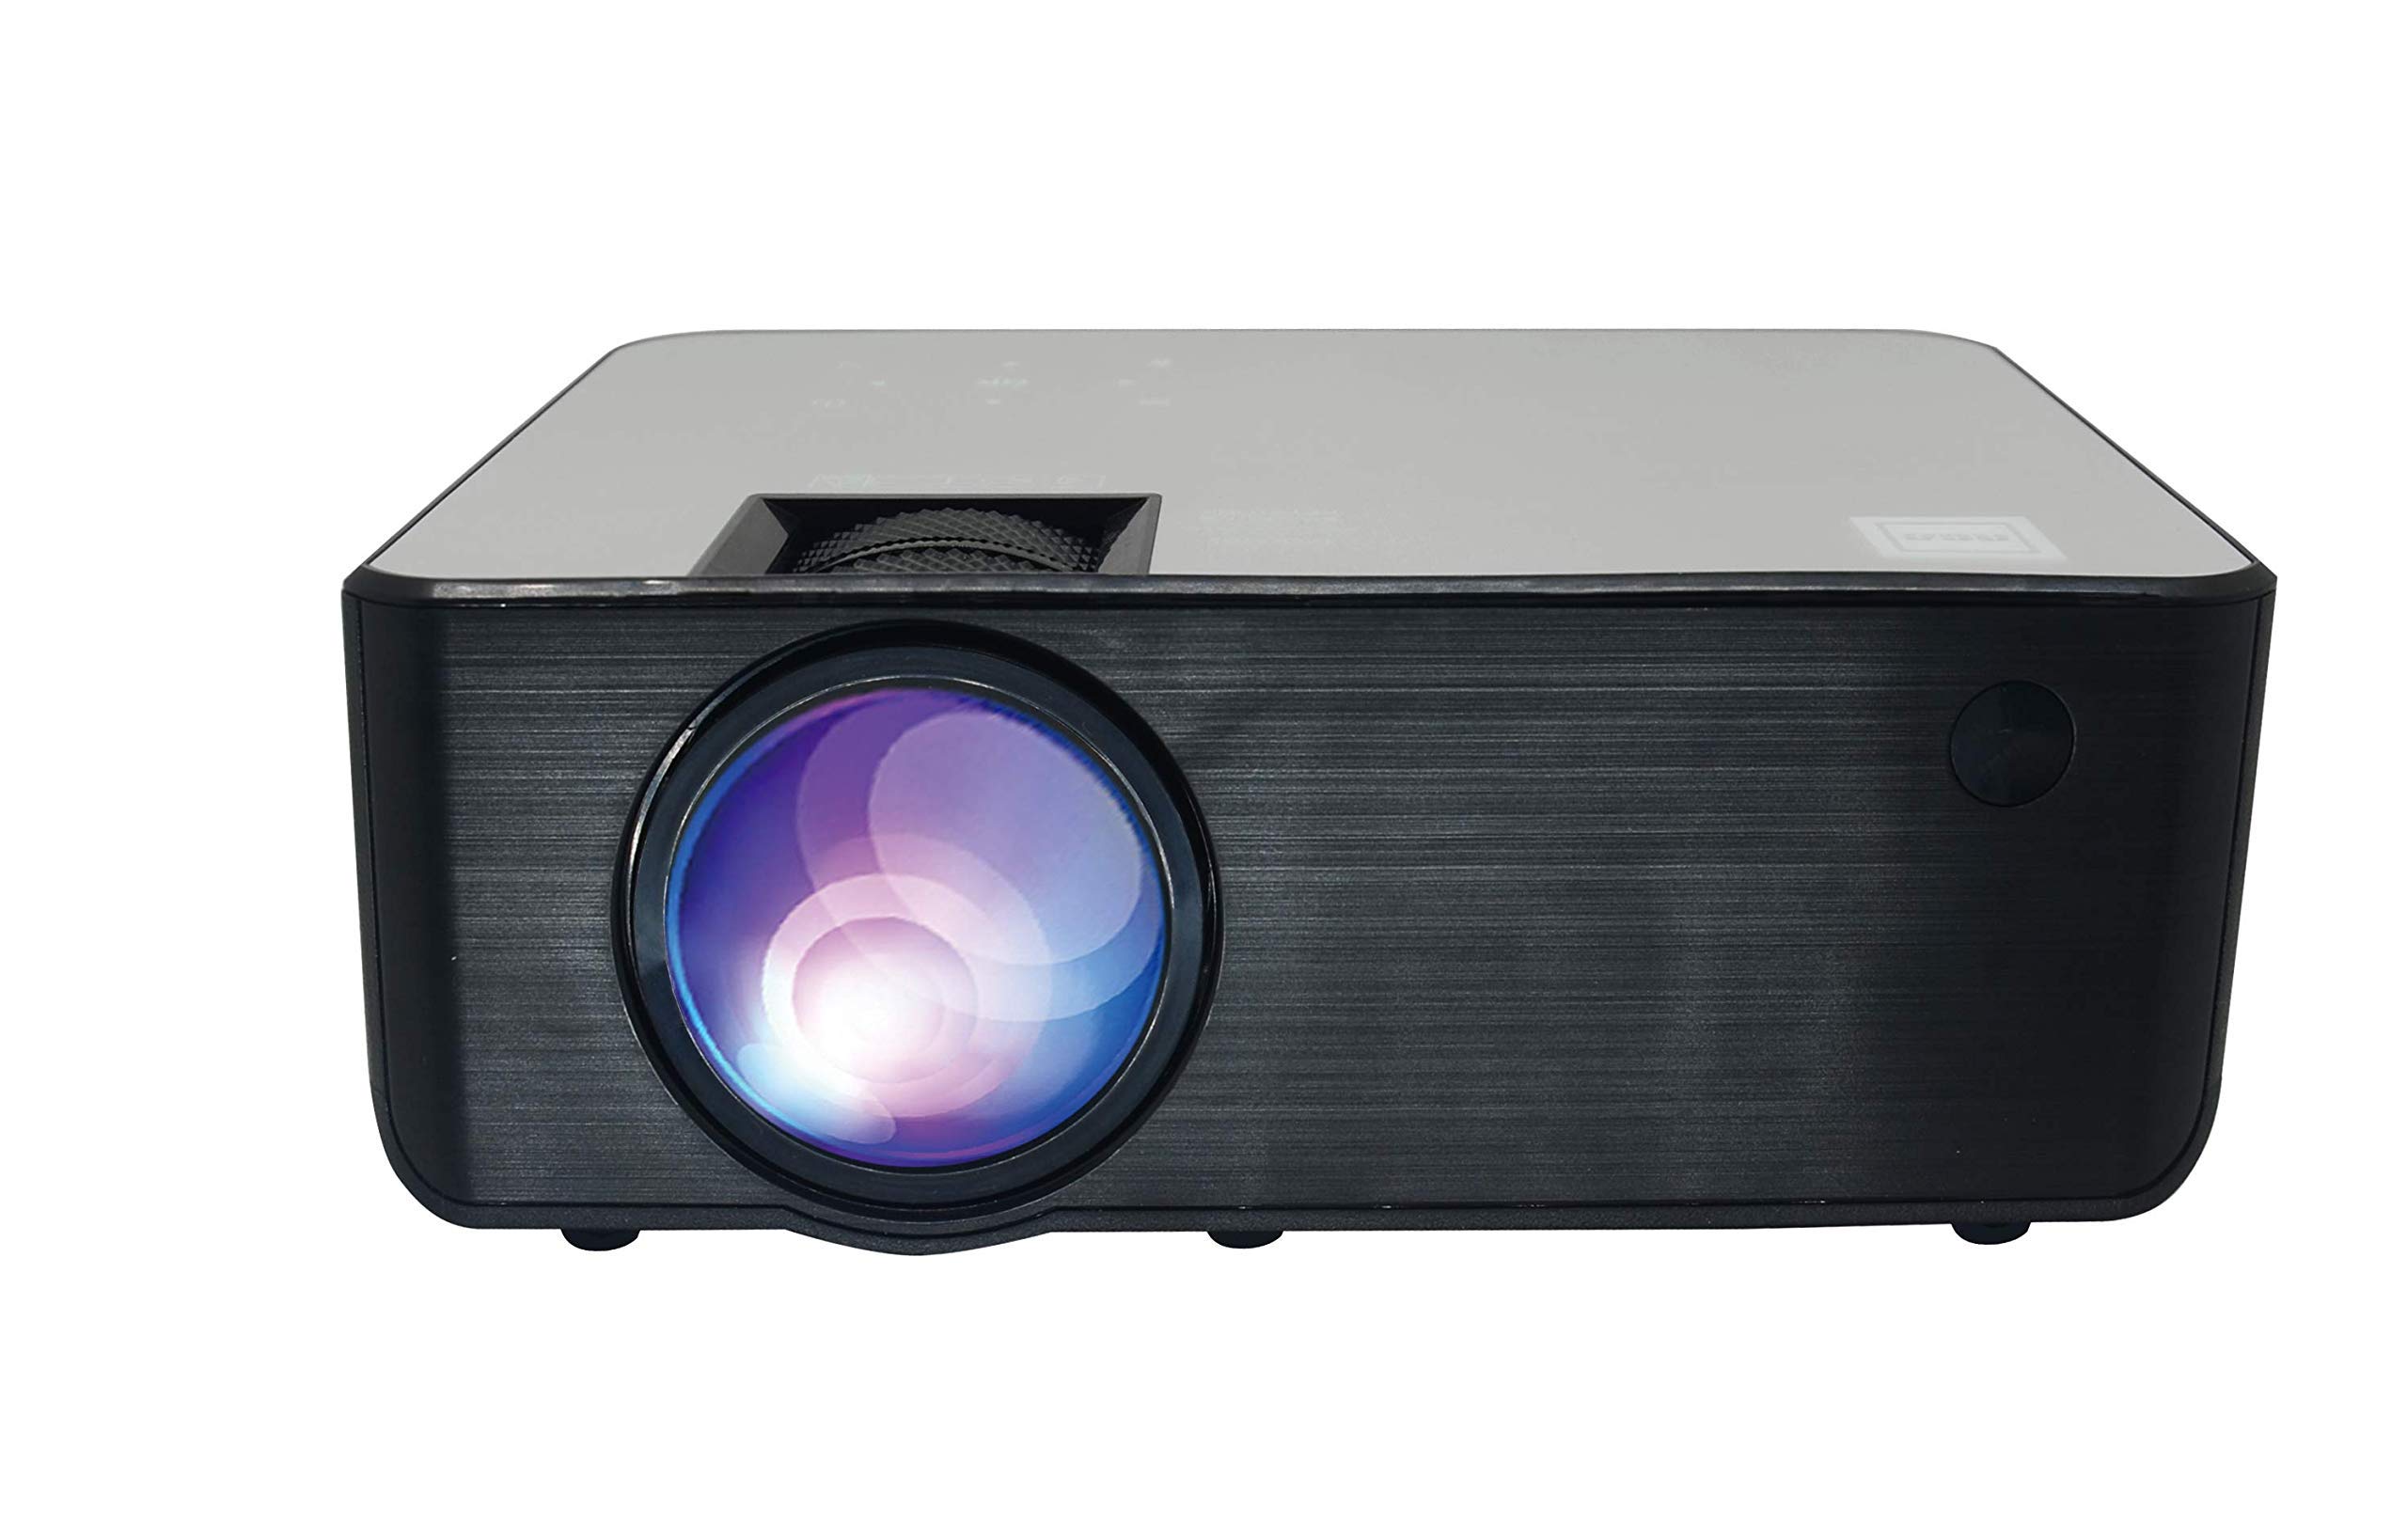
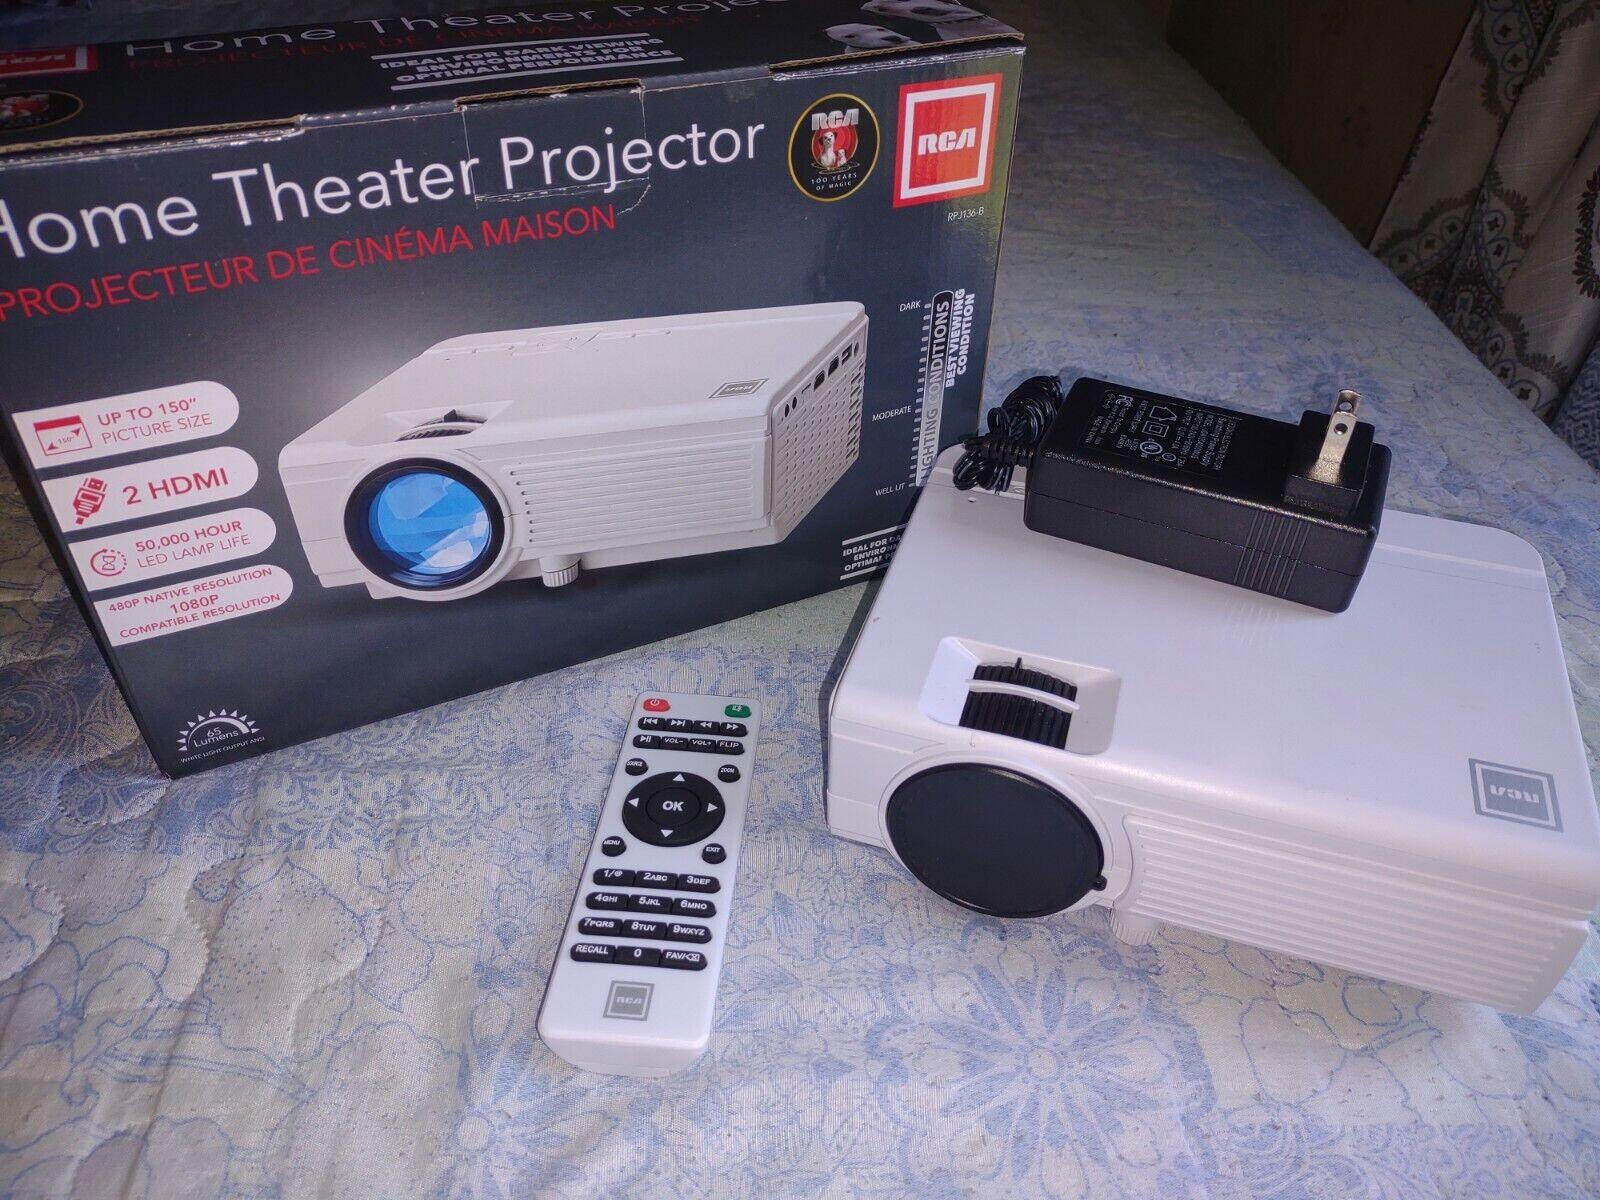
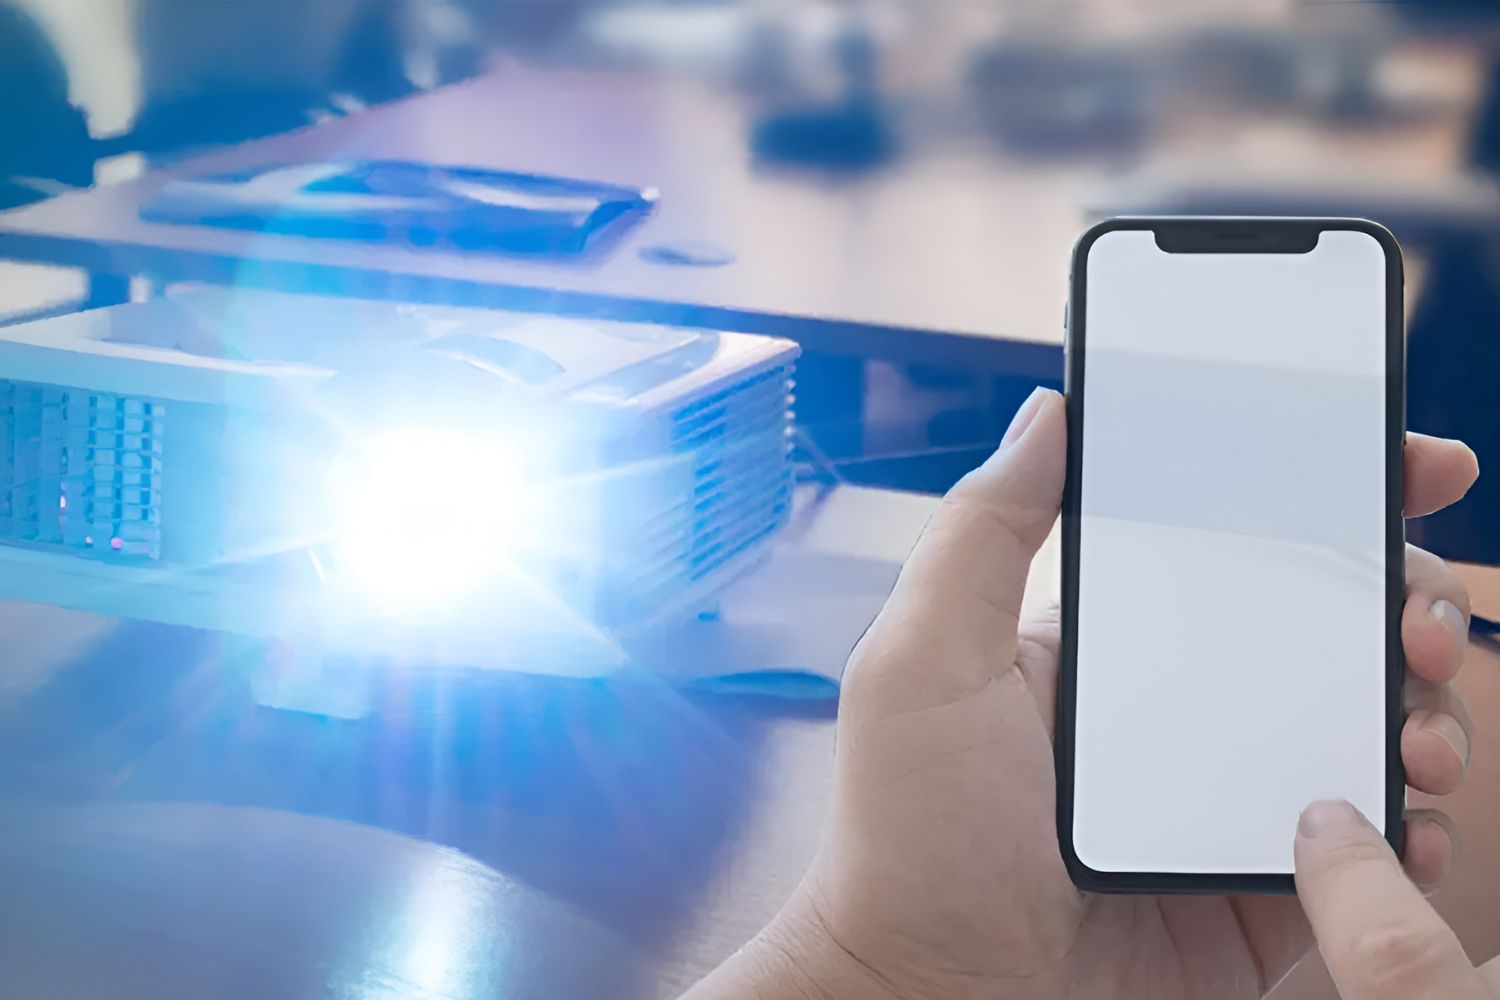
An RCA projector is a versatile device that allows you to project images, videos, and presentations onto a large screen or wall. It uses advanced technology to display content from various sources, such as laptops, smartphones, gaming consoles, and DVD players, in a larger format, making it ideal for home theaters, classrooms, and business presentations.
RCA projectors come equipped with high-resolution capabilities that deliver sharp and vibrant visuals, bringing your favorite movies, TV shows, and slideshows to life. These projectors often feature multiple connectivity options, including HDMI, VGA, USB, and audio ports, allowing you to easily connect and display content from a wide range of devices.
One of the key advantages of an RCA projector is its portability. Many models are compact and lightweight, making them convenient for on-the-go use. Whether you’re hosting a movie night at a friend’s house or giving a business presentation at a client’s office, you can easily transport and set up the projector without hassle.
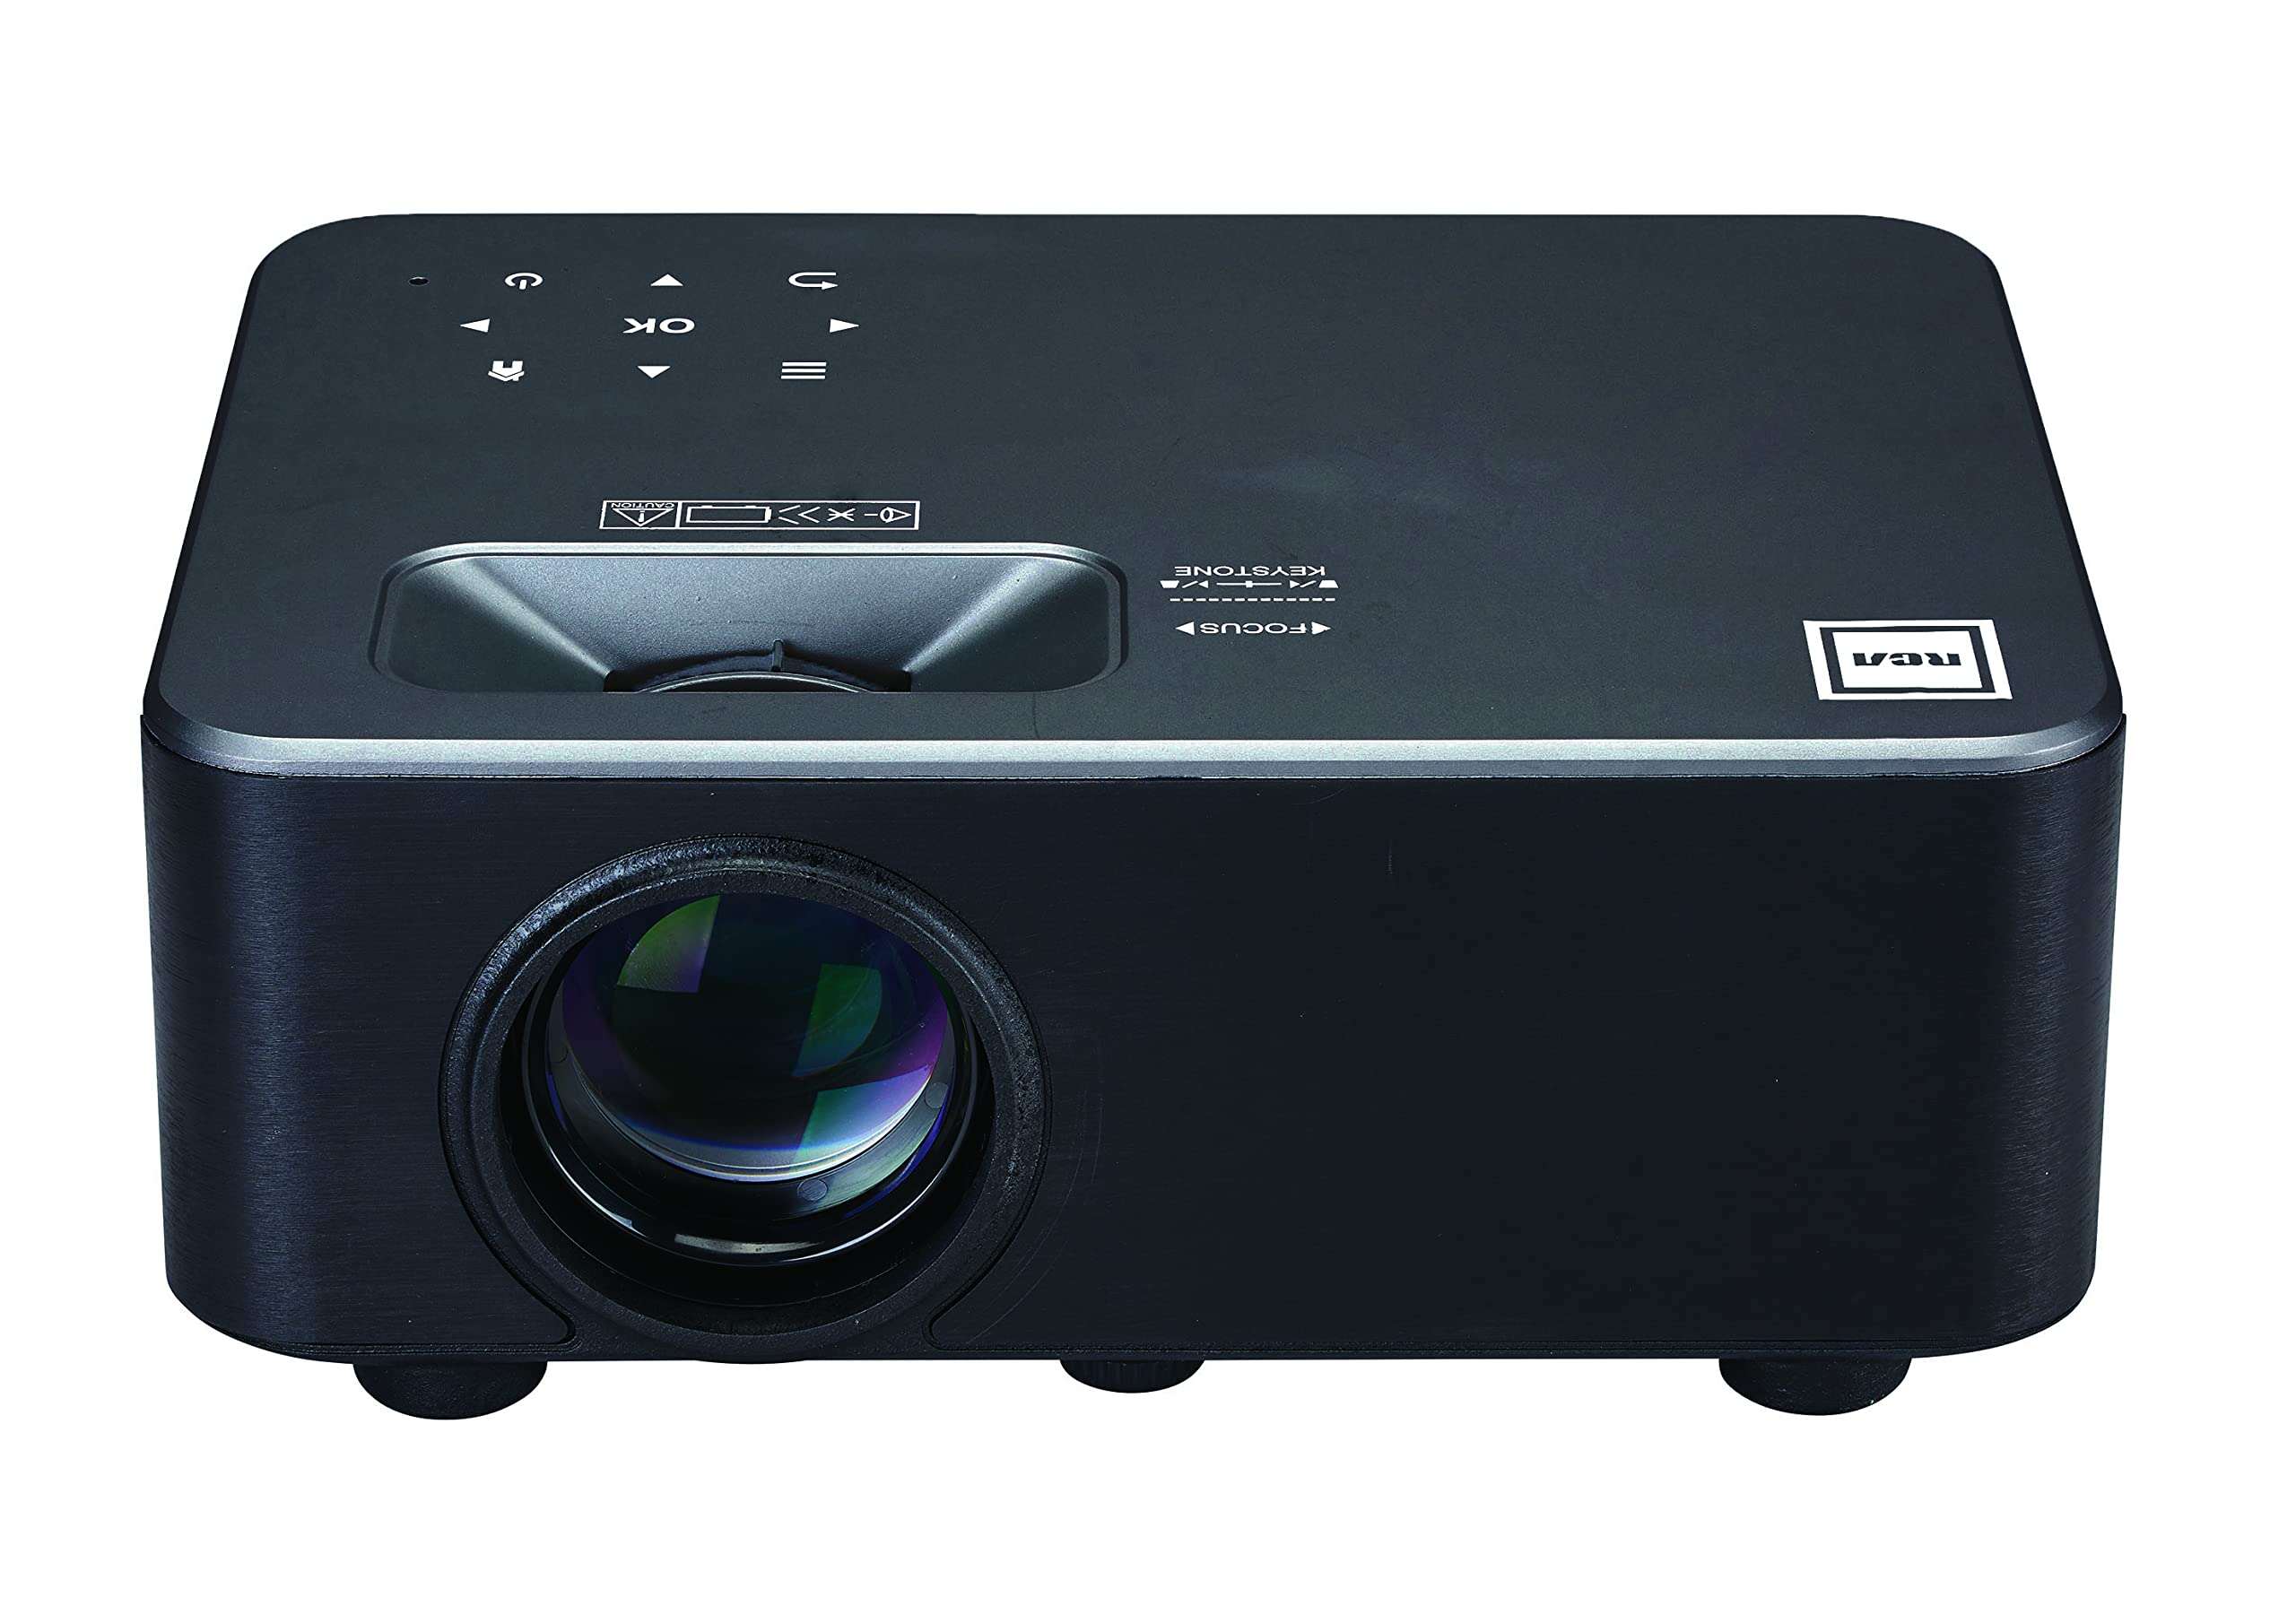
Additionally, RCA projectors offer user-friendly features that simplify the setup and operation process. Many models come with intuitive menu systems, remote controls, and keystone correction functionality, allowing you to adjust the image and optimize the display to suit your preferences and environment.
Whether you’re a movie enthusiast, educator, business professional, or simply someone who enjoys sharing content on a big screen, an RCA projector is a valuable tool that enhances your viewing and presentation experience. With their affordability, versatility, and impressive picture quality, RCA projectors are a popular choice among users looking for an immersive and convenient way to enjoy their favorite media.
In the next sections, we will dive deeper into the setup process, connecting the RCA projector to different devices, adjusting the display and picture quality, using the remote control, troubleshooting common issues, and more. So, let’s continue our journey to unlock the full potential of your RCA projector!
Setting Up the RCA Projector
Before you can start enjoying your RCA projector, you need to set it up properly. The setup process is straightforward and can be completed in just a few simple steps. Here’s a step-by-step guide to help you get started:
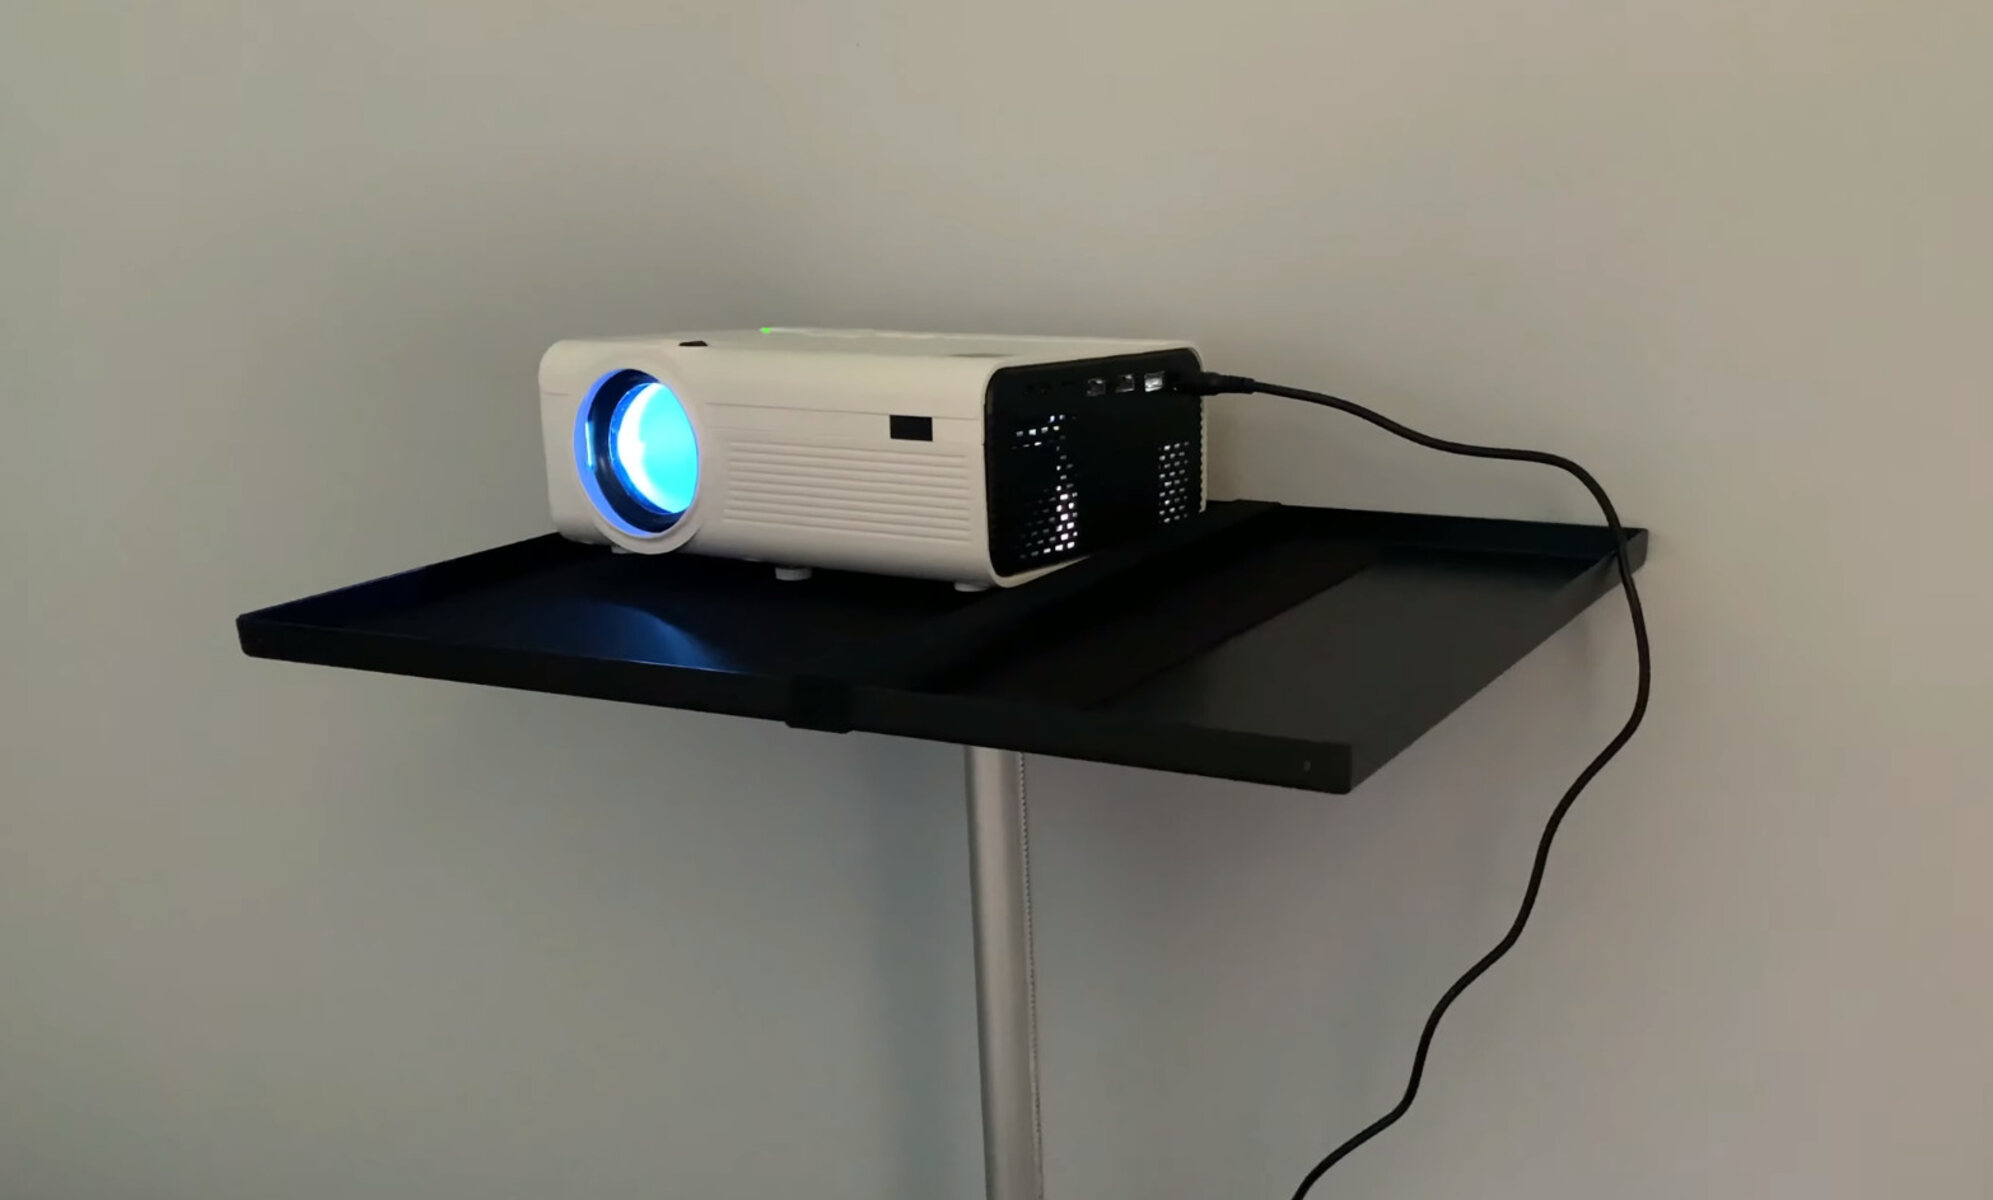
- Find a suitable location: Choose a flat surface or mount where you want to project the image. Ensure that the area is clear and free from obstructions that can interfere with the projection.
- Unbox the projector: Carefully remove the projector from its packaging, ensuring you keep all the accessories and cables organized.
- Connect the power source: Plug the power cable into the projector and connect the other end to a power outlet. Make sure the outlet is easily accessible and can provide sufficient power for the projector.
- Power on the projector: Locate the power button on the projector or the remote control and press it to turn on the device. Allow the projector to power up and initialize.
- Adjust the focus: Most RCA projectors have a manual focus ring or a focus button. Adjust the focus until the projected image appears sharp and clear on the screen.
- Position the projector: Place the projector at an appropriate distance from the screen or wall, depending on the desired screen size. Refer to the user manual for the recommended throw distance for your specific model.
- Adjust the image alignment: Utilize the projector’s keystone correction feature, if available, to adjust the image’s vertical and horizontal alignment. This ensures that the projected image appears square and proportionate.
- Connect external devices: Use the appropriate cables, such as HDMI, VGA, or USB, to connect your desired devices, such as laptops, gaming consoles, or DVD players, to the projector. Ensure the cables are securely connected to both the projector and the device.
- Power on the connected device: Turn on the device you want to project from and ensure it is displaying the content you wish to project.
- Select the input source: Using the projector’s menu or the remote control, navigate to the input source option and select the correct input corresponding to the connected device.
- Test the projection: With everything properly connected and set up, project an image or video to ensure that it is displaying correctly on the screen. Make any necessary adjustments to the focus, image alignment, or input source if needed.
Once you have completed these steps, you are ready to enjoy your RCA projector and indulge in a captivating visual experience. In the next section, we will explore how to connect the RCA projector to various devices, allowing you to expand your entertainment options even further.
Connecting the RCA Projector to a Device
Connecting your RCA projector to a device is a crucial step in maximizing its functionality. Here’s a straightforward guide on how to connect your RCA projector to different devices:
- Laptop/Desktop Computer: Connect one end of an HDMI or VGA cable to the corresponding port on your computer and the other end to the projector’s HDMI or VGA port. Ensure a secure connection and select the appropriate input source on the projector. If using HDMI, audio will also be transmitted to the projector; otherwise, you’ll need to connect a separate audio cable.
- Smartphone/Tablet: Depending on your smartphone or tablet’s compatibility, you can connect it to the RCA projector using a compatible adapter or cable. Some devices support wireless screen mirroring, allowing you to connect to the projector without any cables.
- Gaming Console: Connect the HDMI output of your gaming console to the projector’s HDMI input using an HDMI cable. Customize the display settings on your gaming console to ensure optimal resolution and aspect ratio.
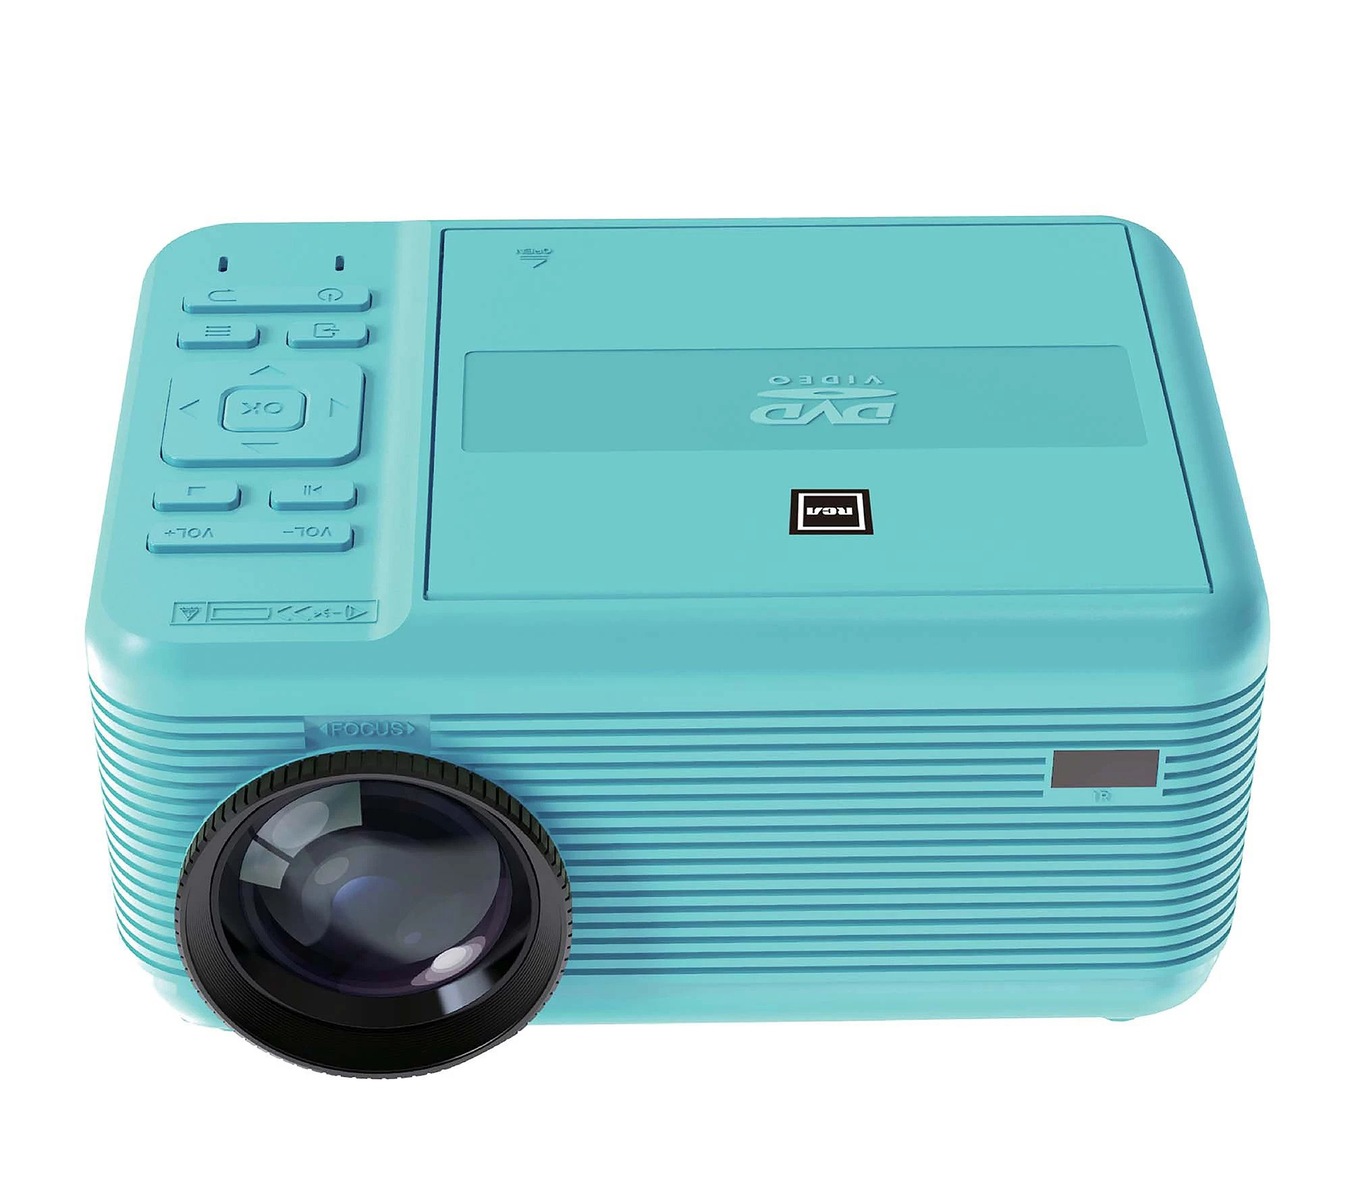
- DVD Player/Blu-ray Player: Use an HDMI cable to connect the HDMI output of your DVD or Blu-ray player to the projector. Alternatively, you can use a composite or component video cable, depending on the available ports on your devices.
- Streaming Device: If you have a streaming device like a Roku or Apple TV, connect it to the projector’s HDMI port using an HDMI cable. Follow the device’s instructions for setup and ensure the projector’s input source is set to the appropriate HDMI port.
- USB Drive: Some RCA projectors have USB ports that allow direct playback of media files from a USB drive. Simply insert the USB drive into the projector, navigate to the USB input in the projector’s menu, and select the desired file to play.
Once you have successfully connected your device to the RCA projector, ensure that the input source on the projector matches the connected device. If your projector supports multiple input sources, such as HDMI, VGA, and USB, you can easily switch between them using the projector’s menu or remote control.
Remember to adjust the resolution and display settings on your device to ensure compatibility with the projector. If you encounter any issues with the connection or display quality, double-check the cable connections, try a different cable, or consult the user manual for troubleshooting steps.
Now that you have successfully connected your RCA projector to your desired device, you can sit back, relax, and enjoy a stunning visual experience on a larger screen. In the next section, we will explore how to adjust the display and picture quality to further enhance your viewing experience.
Adjusting the Display and Picture Quality
Once you have connected your device to the RCA projector, you may need to make some adjustments to ensure optimal display and picture quality. Here are some steps to help you fine-tune the settings:
- Brightness and Contrast: Use the projector’s menu or remote control to adjust the brightness and contrast settings. Increasing the brightness can improve visibility in well-lit environments, while adjusting the contrast can enhance the depth and richness of colors.
- Aspect Ratio: Depending on the content being displayed, you may need to adjust the aspect ratio. Most projectors offer options like 4:3 (standard) or 16:9 (widescreen) aspect ratios. Choose the appropriate aspect ratio that matches your content to avoid distortion or black bars.
- Keystone Correction: If the projected image appears distorted or skewed, use the keystone correction feature to adjust the vertical and horizontal alignment. This can help rectify the image and ensure it appears square and proportional.
- Image Size: If you want to change the size of the projected image, you can either move the projector closer to or farther away from the screen. Refer to the projector’s user manual for the recommended throw distance and screen size for your specific model.
- Color Calibration: Some projectors offer color calibration settings, allowing you to fine-tune the color temperature, saturation, and hue according to your preferences. Experiment with different settings to achieve the desired color reproduction.
- Noise Reduction: If you notice any digital noise or artifacts in the picture, the projector may have a noise reduction feature. Adjust the noise reduction settings to minimize visual disturbances and improve overall picture clarity.
While adjusting the settings, it’s a good idea to use a test image or calibration tool to ensure accurate and consistent results. Additionally, consider the lighting conditions in the room and make appropriate adjustments to optimize the viewing experience.
Don’t forget to save your preferred settings once you have achieved the desired display and picture quality. This way, the projector will remember your settings and apply them the next time you use it.
By taking the time to adjust the display and picture quality, you can optimize your RCA projector’s performance and enjoy a more immersive and satisfying visual experience.
In the next section, we will explore how to effectively use the remote control to navigate through the projector’s menu and access its various features.
Using the Remote Control
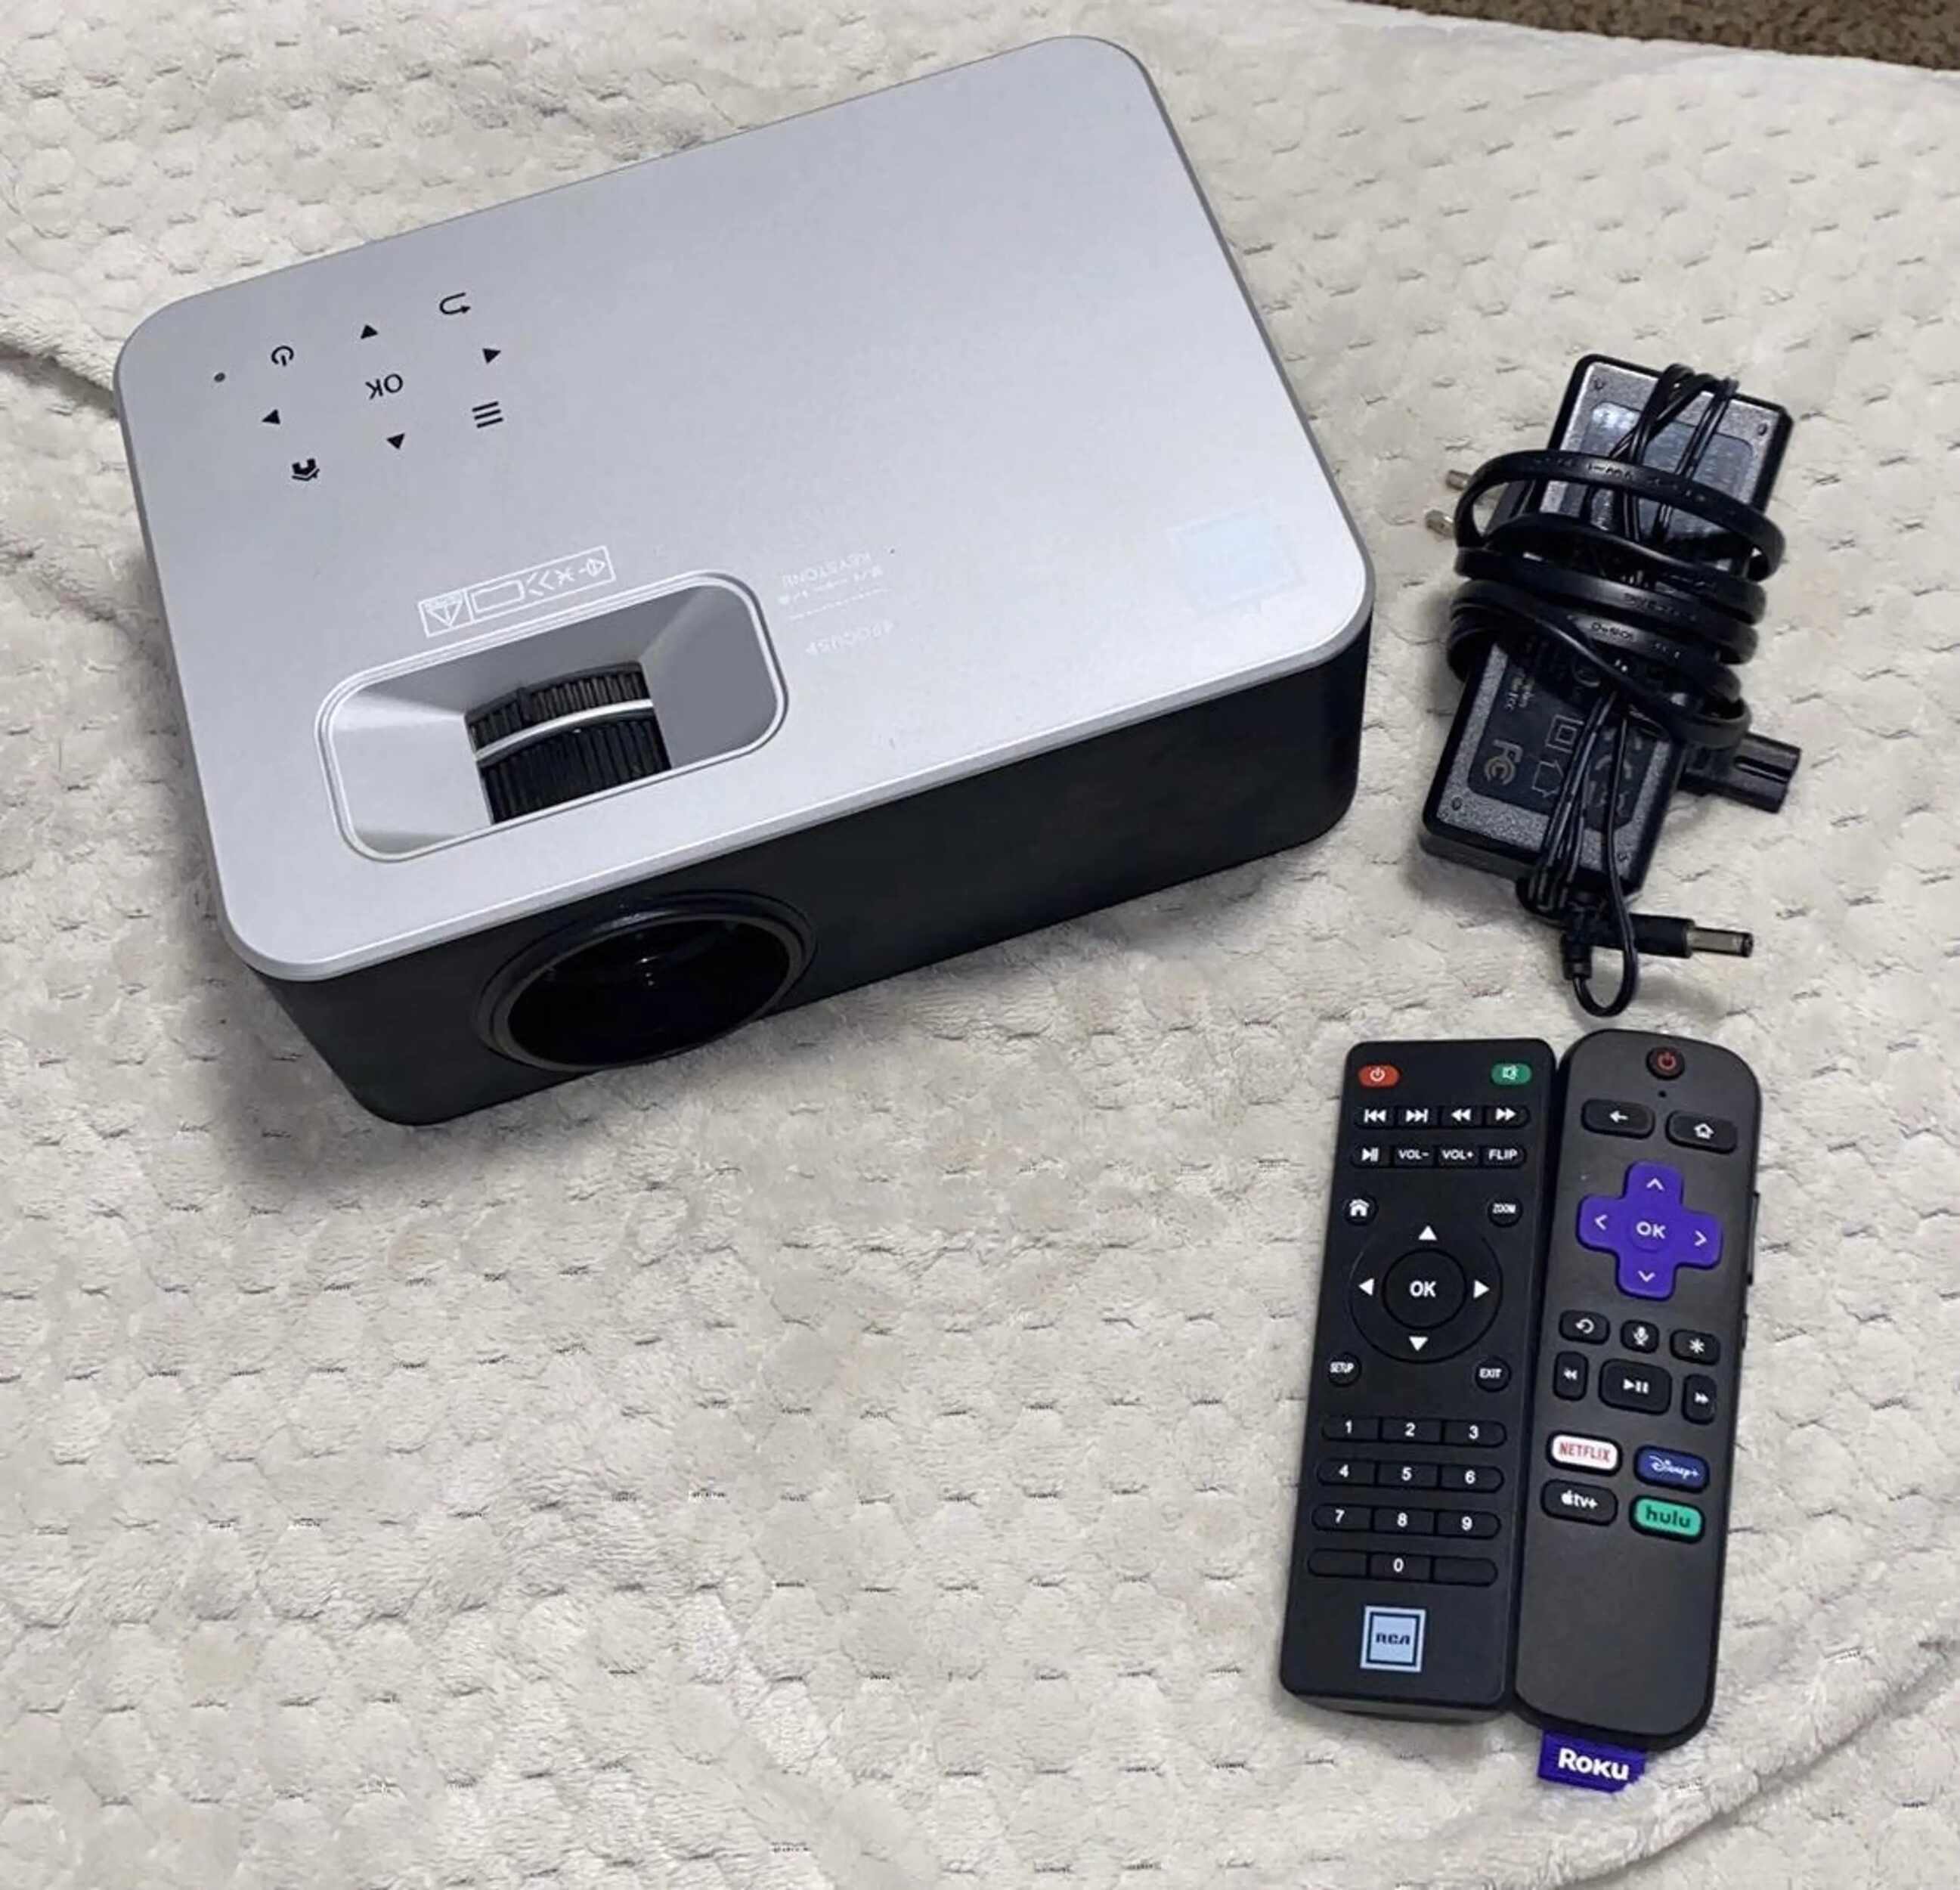
The remote control is an essential tool for operating your RCA projector efficiently and accessing its various features. Here are some tips to help you make the most out of your remote control:
- Power On/Off: The power button allows you to turn the projector on and off conveniently.
- Input Selection: Use the input/source button to cycle through the available input sources, such as HDMI, VGA, or USB. Select the appropriate input based on the device you want to connect.
- Menu Navigation: The arrow buttons on the remote control enable you to navigate through the projector’s menu system. Use them to access and adjust various settings and features.
- Volume Adjustment: If your RCA projector has built-in speakers or audio output, the volume buttons on the remote control allow you to increase or decrease the sound level.
- Keystone Correction: Some remote controls have dedicated keystone correction buttons, making it quick and easy to adjust the image alignment vertically or horizontally.
- Shortcut Buttons: Remote controls often include dedicated buttons for common functions, such as adjusting brightness, increasing or decreasing contrast, and accessing specific menu options.
- Mode Selection: If your RCA projector offers different display modes, the remote control may have buttons to switch between them, such as cinema mode, gaming mode, or presentation mode.
- Light Source Control: For projectors with multiple light source options, such as eco-mode or high-brightness mode, the remote control may provide buttons to switch between them and optimize energy efficiency or brightness.
Familiarize yourself with the remote control layout and the functions of each button by referring to the user manual. This will help you navigate through the projector’s menu system and access the features you need more efficiently.
Keep in mind that not all RCA projectors have the same remote control layout, so the available buttons and functions may vary. Make sure you understand the specific capabilities of your model’s remote control to unleash its full potential.
Using the remote control, you can effortlessly control your RCA projector from a distance, making it convenient to adjust settings, switch between sources, and enjoy a seamless viewing experience.
Now that you know how to make the most out of the remote control, let’s address some common issues that you may encounter while using your RCA projector in the next section.
Troubleshooting Common Issues
While RCA projectors are designed to provide a seamless viewing experience, you may occasionally encounter some common issues. Here are some troubleshooting tips to help you resolve them:
- No Power: If your RCA projector fails to power on, ensure that it is securely connected to a power source. Check the power cable for any damage and try using a different power outlet. If the issue persists, it may indicate a faulty power adapter or internal component, and you should contact customer support.
- No Picture: If you are not getting any picture on the screen, verify that the projector is connected to the correct input source and that the device you are connecting is powered on. Double-check the cable connections to ensure they are secure. You may also need to adjust the focus or keystone correction settings for a clear picture.
- Poor Image Quality: If the projected image appears blurry, pixelated, or has distorted colors, check the resolution settings on both the projector and the connected device. Make sure they are compatible. Adjust the projector’s focus, brightness, and contrast settings as well. If using HDMI, ensure you are using a high-quality cable capable of transmitting the required data bandwidth.
- No Audio: If you are not getting any sound, check the audio settings on both the projector and the connected device. Make sure the volume is not muted and that the audio output is set to the correct source. If using HDMI, ensure that the audio is being transmitted through the cable. You may also need to connect external speakers or check the projector’s internal speaker settings.
- Overheating: If your RCA projector shuts down or displays a warning message due to overheating, check the ventilation of the device. Make sure the vents are not blocked and that the projector has enough space around it for proper airflow. If necessary, use a cooling pad or fan to help dissipate heat. Clean the air filters regularly to prevent dust buildup, which can affect performance.
- Remote Control Issues: If the remote control is not working, replace the batteries and ensure they are properly inserted. Point the remote control directly at the projector’s sensor. If there is still no response, check for any obstructions between the remote control and the projector. If necessary, try resetting the remote control or syncing it with the projector according to the user manual instructions.
If you have exhausted all troubleshooting options and the issues persist, it may be necessary to seek technical support from the RCA customer service team or consult a professional technician for further assistance.
Remember to consult the user manual that came with your specific RCA projector model for more detailed troubleshooting steps and instructions.
Now that you are equipped with troubleshooting knowledge, you can confidently address common issues and ensure a smooth and enjoyable experience while using your RCA projector.
Conclusion
Using an RCA projector allows you to immerse yourself in a larger-than-life visual experience, whether you’re watching movies, giving presentations, or sharing content with others. By following the steps outlined in this guide, you can set up and use your RCA projector with confidence, maximizing its potential and enjoying high-quality picture and sound.
We started by introducing you to the world of RCA projectors, highlighting their versatility, portability, and impressive picture quality. We then walked you through the setup process, including finding a suitable location, connecting power sources, adjusting focus, and positioning the projector for optimal results.
Next, we explored how to connect your RCA projector to various devices, such as laptops, smartphones, gaming consoles, and streaming devices. By using the appropriate cables and selecting the correct input sources, you can easily expand your entertainment options and enjoy a wide range of content on the big screen.
We also discussed how to adjust the display and picture quality to enhance your viewing experience. From brightness and contrast settings to keystone correction and aspect ratio adjustments, you can fine-tune the settings to suit your preferences and optimize the visual quality.
Furthermore, we highlighted the importance of the remote control and how to use it effectively to navigate through the projector’s menu system, control settings, and access various features. By familiarizing yourself with the remote control layout and its functions, you can easily operate your RCA projector from a distance.
In the troubleshooting section, we provided guidance on common issues you may encounter while using your RCA projector. From power and connectivity issues to picture quality and audio problems, these troubleshooting tips will help you quickly address any difficulties and ensure a smooth viewing experience.
With this comprehensive guide, you now have the knowledge and tools to make the most out of your RCA projector. Whether you’re enjoying movie nights with friends, delivering impactful presentations, or indulging in gaming adventures, your RCA projector will transform your viewing experience into something truly extraordinary.
Remember to consult your specific RCA projector’s user manual for detailed instructions and recommendations tailored to your model. With proper care, maintenance, and utilization of the features discussed in this guide, your RCA projector will continue to deliver exceptional performance for years to come.
Now, it’s time to grab your popcorn, dim the lights, and enjoy an incredible cinematic experience right in the comfort of your own home with your RCA projector!


