Introduction
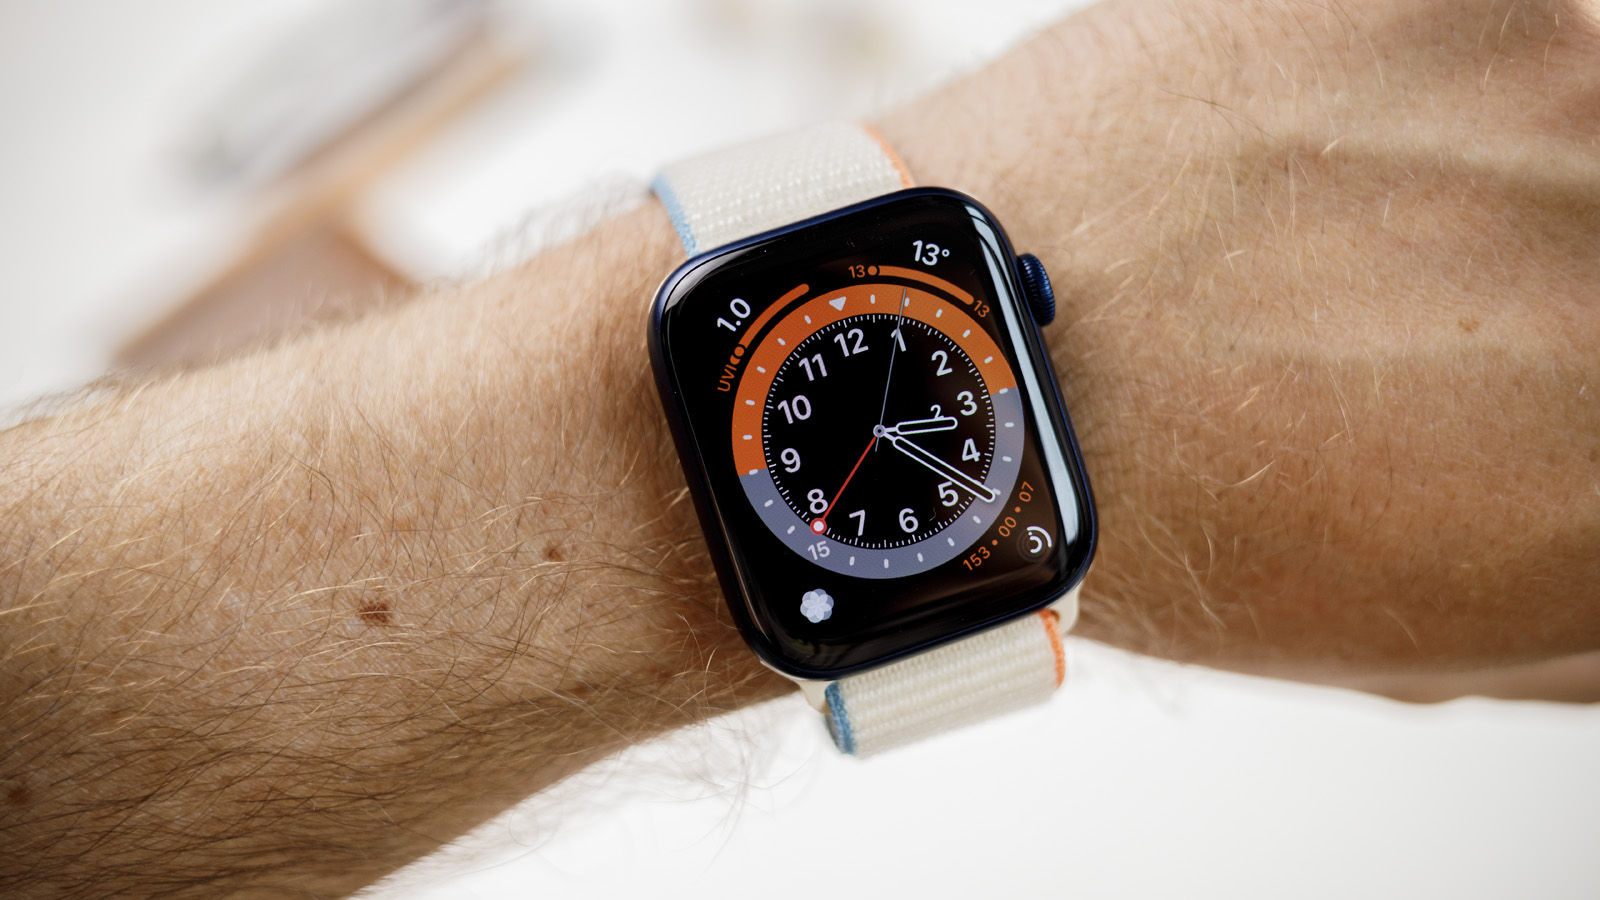
Apple Pay has revolutionized the way we make payments, allowing us to seamlessly and securely complete transactions with just a tap of our devices. And with the introduction of the Apple Watch, this payment convenience is now available right at our fingertips – or rather, our wrists.
With Apple Pay on Apple Watch, you can leave your wallet behind and still have access to all your credit and debit cards. Whether you’re making purchases at a brick-and-mortar store or shopping online, Apple Pay on Apple Watch offers a fast, convenient, and secure payment method.
Not only does Apple Pay on Apple Watch eliminate the need to carry physical cards, but it also offers a range of additional benefits. With features like Face ID or passcode verification, you can ensure that only authorized individuals can use your Apple Watch for payments. Plus, the wrist-worn nature of the Apple Watch makes it even more convenient for making contactless payments while you’re on the go.
In this guide, we will walk you through the process of setting up Apple Pay on your Apple Watch, adding your cards to the app, and making payments. We will also cover the different methods available for using Apple Pay on Apple Watch, including using Face ID or a passcode for authentication.
So, grab your Apple Watch and get ready to unlock the full potential of Apple Pay. By the end of this guide, you’ll be confidently tapping your wrist to make secure and convenient payments – no wallet required!
Setting Up Apple Pay on Apple Watch
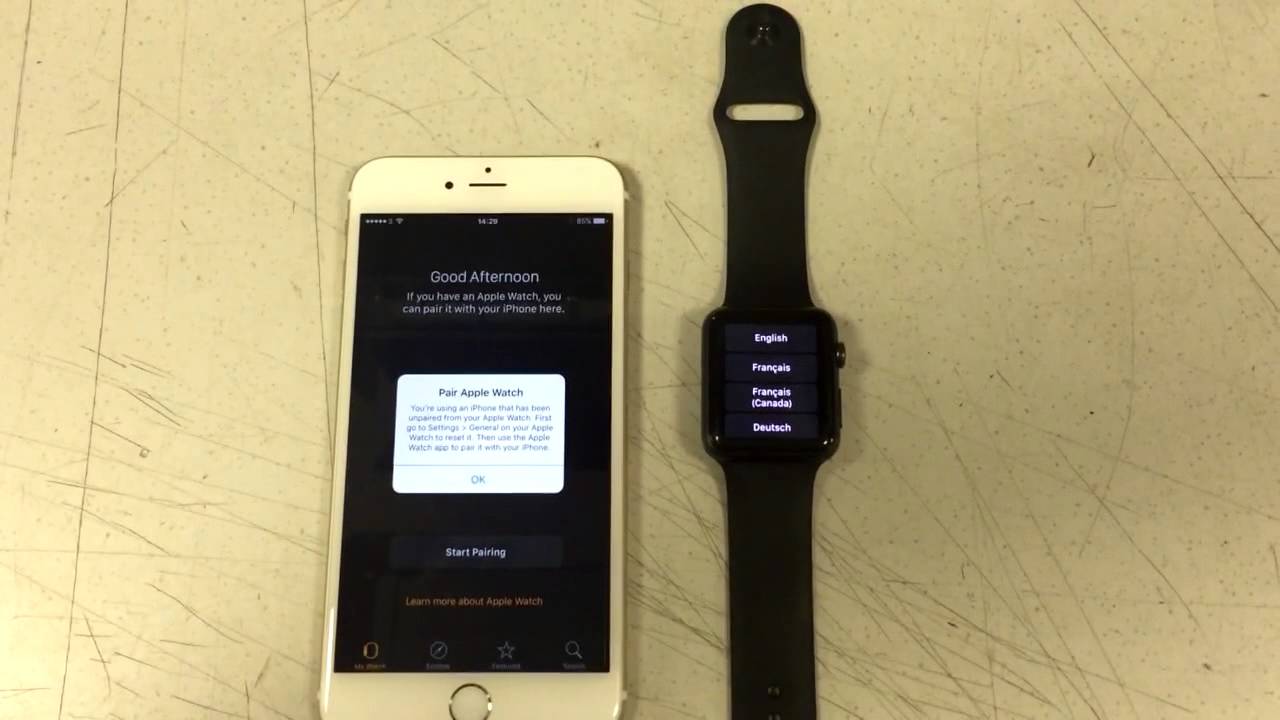
Before you can start using Apple Pay on your Apple Watch, you need to set it up and link it to your compatible iPhone. Here’s how you can get started:
- Make sure your iPhone is updated to the latest version of iOS, and your Apple Watch is updated to the latest version of watchOS.
- Open the Apple Watch app on your iPhone.
- Tap on the “My Watch” tab at the bottom of the screen.
- Scroll down and select “Wallet & Apple Pay.”
- Tap on “Add Card.” If you already have a card linked to your iCloud account, you can skip to step 8.
- Follow the on-screen prompts to add your card. You can choose to add a credit or debit card, as well as any rewards or store cards that are compatible with Apple Pay.
- If your card is not automatically detected, you may need to manually enter your card details. In some cases, you might also be asked to verify your card with your bank.
- Once your card is added, you may be prompted to set it as the default card for your Apple Watch. If not, you can do this later by going to the “Wallet & Apple Pay” section in the Apple Watch app.
- Repeat the above steps to add any additional cards you want to use with Apple Pay on your Apple Watch.
That’s it! You have successfully set up Apple Pay on your Apple Watch. Now let’s move on to adding cards to your Apple Pay wallet.
Adding Cards to Apple Pay on Apple Watch
Now that you have set up Apple Pay on your Apple Watch, it’s time to add your cards to the app. Here’s how you can do it:
- Open the Apple Watch app on your iPhone.
- Tap on the “My Watch” tab at the bottom of the screen.
- Scroll down and select “Wallet & Apple Pay.”
- Tap on “Add Card.” If you have already added a card during the setup process, skip to step 5.
- Follow the on-screen prompts to add a new card. You can choose to add credit or debit cards, as well as store cards or rewards cards that are compatible with Apple Pay.
- If your card is not automatically detected, you may need to manually enter your card details. In some cases, you might also be asked to verify your card with your bank.
- Once your card is added, you can choose to set it as the default card for Apple Pay on your Apple Watch. This is the card that will be used by default when you make a payment.
- If you want to add more cards, repeat the steps above for each additional card you want to include in your Apple Pay wallet.
- Your cards will now be available for use with Apple Pay on your Apple Watch.
It’s important to note that the cards you add to Apple Pay on your iPhone are automatically synced with your Apple Watch. This means that any changes you make to your cards, such as updating the expiration date or removing a card, will be reflected on both devices.
With your cards added to Apple Pay on your Apple Watch, you’re now ready to make quick and secure payments with just a tap of your wrist. Let’s move on to the next section to learn how to make payments using Apple Pay on your Apple Watch.
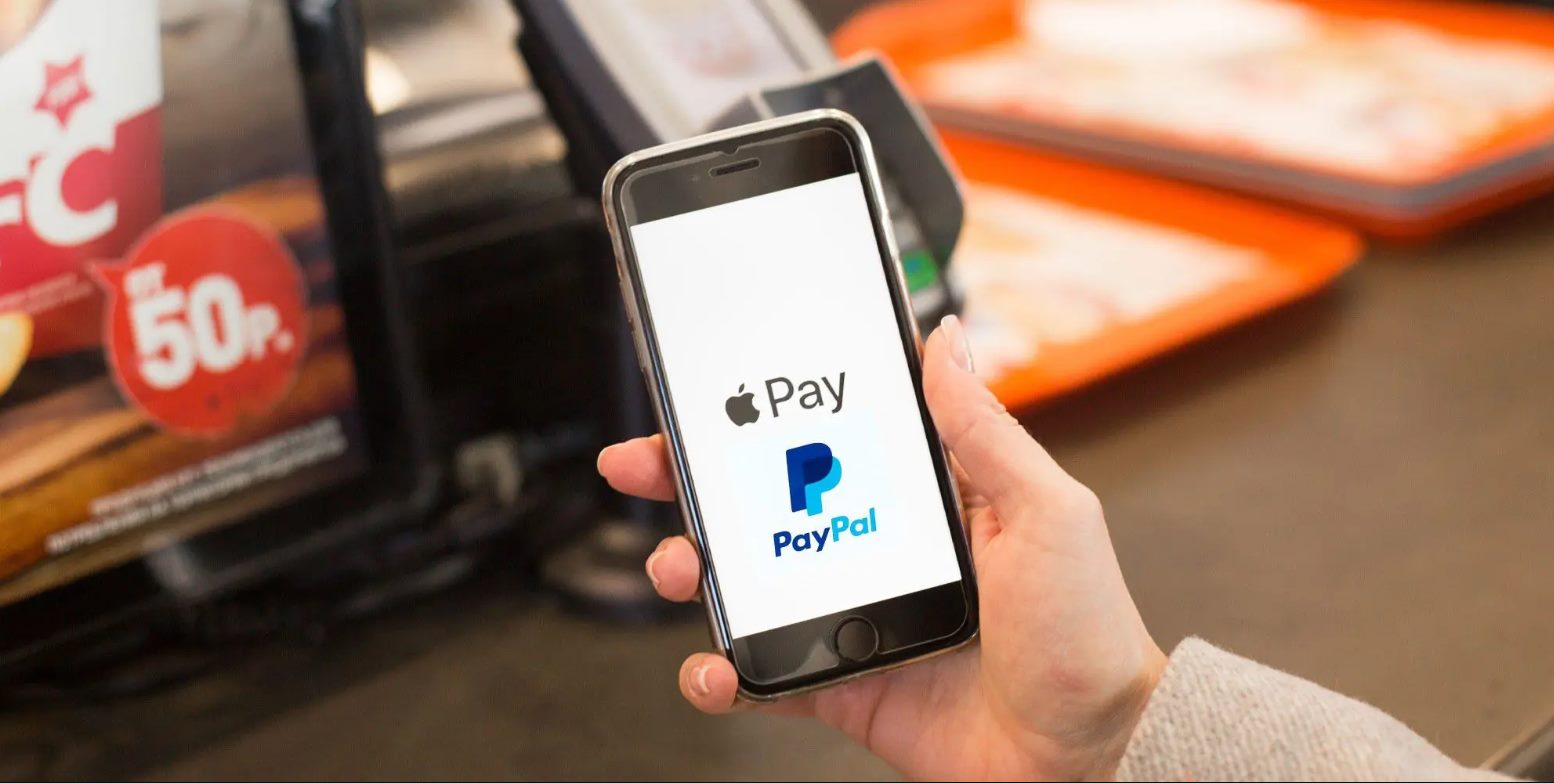
Making Payments with Apple Pay on Apple Watch
Using Apple Pay on your Apple Watch is incredibly simple and convenient. With just a tap of your wrist, you can make secure payments in stores or online. Here’s how you can do it:
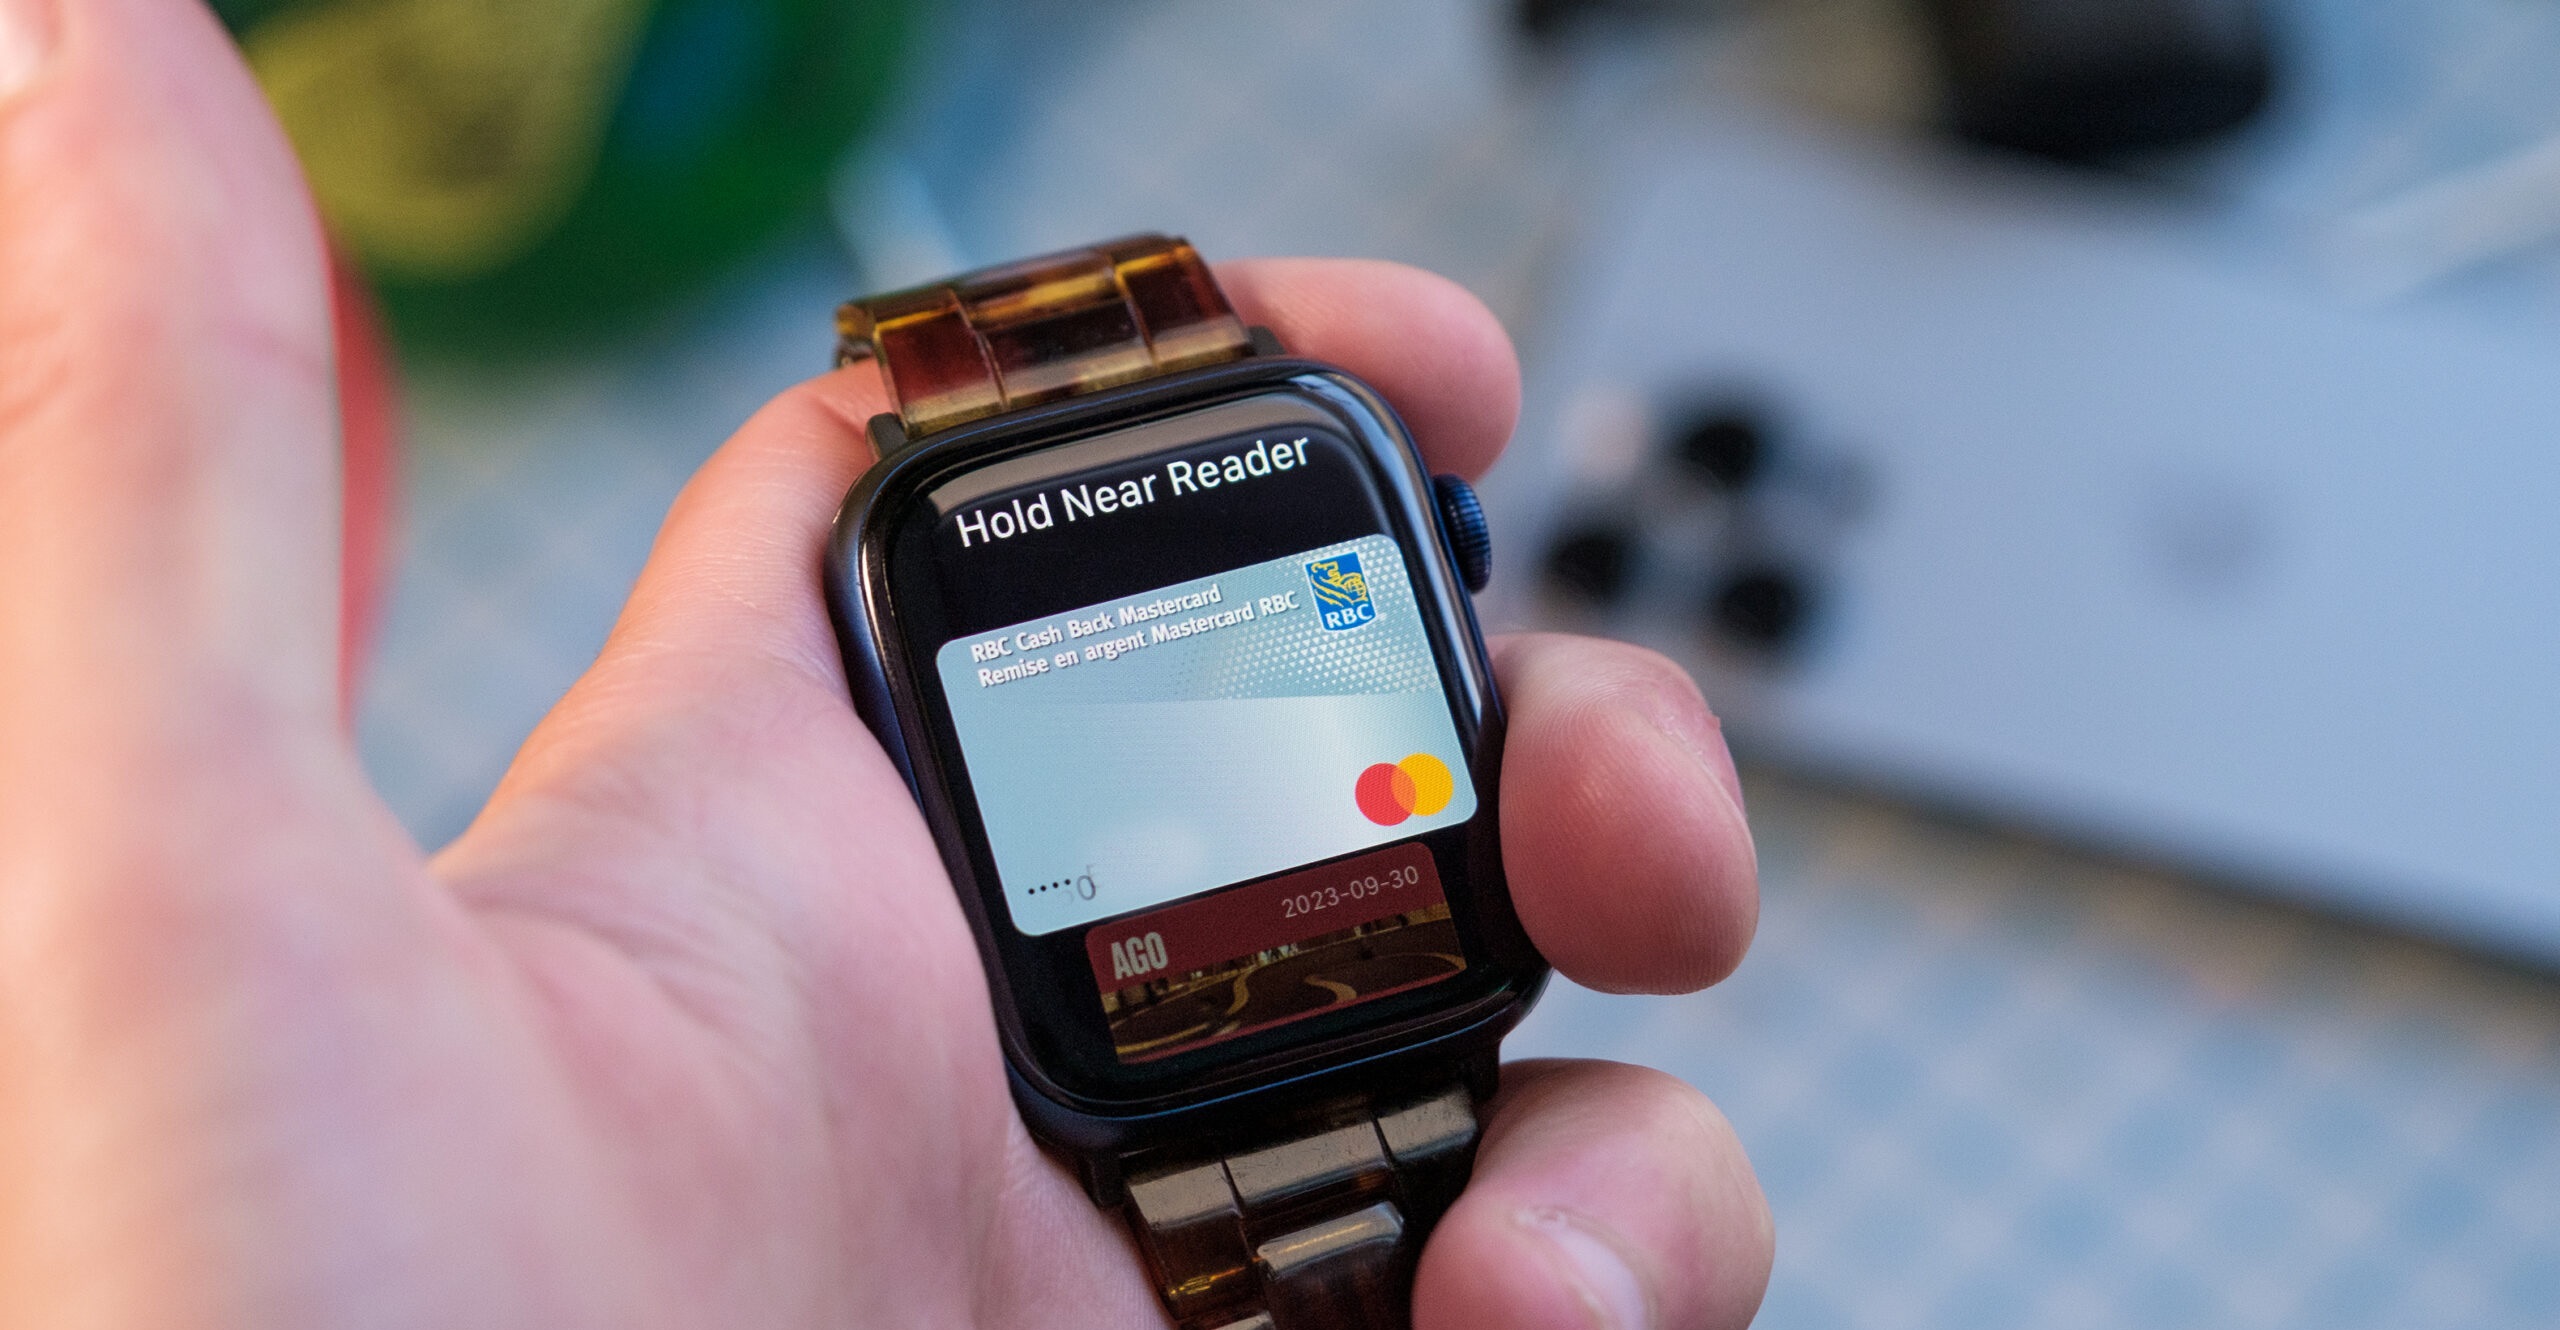
- To make an in-store payment, double-press the side button on your Apple Watch. This will bring up your default card for Apple Pay.
- Hold the display of your Apple Watch near the contactless reader or point-of-sale terminal. The display should be facing towards the reader.
- Wait for the payment to be confirmed. You may be prompted to authenticate the payment with Face ID or by entering your passcode.
- Once the payment is successfully completed, you’ll feel a gentle tap on your wrist, along with a confirmation message on your Apple Watch’s screen.
If you’re making an online payment using your Apple Watch, the process is just as easy:
- When you’re ready to make a purchase on a website or in an app, select Apple Pay as your payment method.
- Double-press the side button on your Apple Watch to confirm the payment.
- Hold your wrist near your iPhone to authenticate the payment using Face ID or enter your passcode.
- Wait for the payment confirmation to appear on your Apple Watch’s screen.
One of the great benefits of using Apple Pay on your Apple Watch is that you don’t need to worry about carrying your physical cards with you. Your wrist becomes your digital wallet, making it convenient and secure.
Additionally, Apple Pay offers an added layer of security by utilizing tokens to process payments. This means that your card information is never shared with merchants, reducing the risk of fraud.
Whether you’re grabbing a coffee at your favorite café or shopping online, Apple Pay on your Apple Watch provides a seamless payment experience. Now, let’s explore the different authentication methods you can use with Apple Pay on your Apple Watch.
Using Apple Pay on Apple Watch with Face ID
If your Apple Watch has Face ID capabilities, you can take advantage of this convenient authentication method when using Apple Pay. With Face ID, you can securely and quickly authorize payments with just a glance. Here’s how you can use Face ID with Apple Pay on your Apple Watch:
- Double-press the side button on your Apple Watch to bring up your default card for Apple Pay.
- Hold your Apple Watch in front of your face, allowing Face ID to recognize you.
- If Face ID successfully detects your face and verifies your identity, the payment will be authorized, and you’ll receive confirmation on your Apple Watch’s screen.
- If Face ID fails to recognize your face or encounters an issue, you can choose to enter your passcode as an alternative authentication method.
Using Face ID with Apple Pay on your Apple Watch provides a seamless and secure payment experience. With just a simple double-press and a glance, you can complete transactions with ease.
It’s important to note that for Face ID to work efficiently, you should position your Apple Watch within a comfortable distance from your face. Make sure there are no obstructions, such as sleeves or accessories, blocking the view of your face.
Now that you’re familiar with using Face ID for Apple Pay on your Apple Watch, let’s explore an alternative authentication method – using a passcode.
Using Apple Pay on Apple Watch with Passcode
If your Apple Watch does not have Face ID capabilities, not to worry – you can still use Apple Pay with the convenience of a passcode. With a passcode, you can securely authorize payments on your Apple Watch. Here’s how you can use a passcode with Apple Pay:
- Double-press the side button on your Apple Watch to bring up your default card for Apple Pay.
- Enter your passcode on the screen of your Apple Watch.
- Once your passcode is verified, the payment will be authorized, and you’ll receive confirmation on your Apple Watch’s screen.
Using a passcode to authorize payments on your Apple Watch provides an additional layer of security. It ensures that only you can make payments using your Apple Watch.
When creating your passcode, it’s essential to choose a unique and secure combination. Avoid using easily guessable numbers, such as your birthdate or sequential digits.
One advantage of using a passcode with Apple Pay on your Apple Watch is that you can quickly enter the code, making it an efficient authentication method.
Now that you’re familiar with using a passcode for Apple Pay on your Apple Watch, you’re ready to start making secure and convenient payments. If you encounter any issues or have further questions about using Apple Pay on your Apple Watch, let’s explore troubleshooting tips in the next section.
Troubleshooting Apple Pay on Apple Watch
While Apple Pay on Apple Watch is designed to be seamless and trouble-free, there may be instances where you encounter issues or have questions regarding its usage. Here are some common troubleshooting tips to help you resolve any problems you may encounter with Apple Pay on your Apple Watch:
- Ensure that your Apple Watch and iPhone are both updated to the latest software versions. Outdated software can sometimes cause compatibility issues.
- Make sure that you have an active internet connection on both your Apple Watch and iPhone. A stable network connection is necessary for Apple Pay transactions to be processed.
- Check if your card is supported by Apple Pay. Not all banks and financial institutions support Apple Pay, so it’s essential to verify that your card is compatible.
- Verify if your card details are up to date. If your card has expired or you’ve received a new card, make sure to update the information in the Wallet app on your iPhone.
- Try restarting your Apple Watch and iPhone. Often, a simple restart can resolve minor software glitches that may be affecting Apple Pay functionality.
- If you’re having trouble with contactless payments, ensure that your Apple Watch’s display is facing the contactless reader, and that the reader is compatible with Apple Pay.
- If you’re unable to add or remove cards from Apple Pay, check if you have the necessary permissions and access in the Wallet app on your iPhone. Some cards may require additional verification or authorization from your bank.
- If you’re experiencing issues with Face ID or passcode authentication, double-check that you’re entering the correct passcode or positioning your face correctly for Face ID recognition.
- If none of the above steps resolve your issue, it’s recommended to contact Apple Support for further assistance. They can provide personalized guidance and troubleshooting specific to your Apple Watch and Apple Pay setup.
By following these troubleshooting tips, you can address common issues with Apple Pay on your Apple Watch and ensure a smooth payment experience. Remember, if you ever encounter any difficulties, don’t hesitate to reach out to Apple Support for assistance.
Now that you’re equipped with troubleshooting knowledge, you can confidently navigate any challenges that may arise with Apple Pay on your Apple Watch. It’s time to put your newfound expertise to use and enjoy the convenience and security of contactless payments on your wrist!
Conclusion
Apple Pay on Apple Watch is a game-changer when it comes to making safe and convenient payments. By simply setting up Apple Pay on your Apple Watch, adding your cards, and using intuitive authentication methods like Face ID or a passcode, you can leave your wallet at home and rely on your wrist for all your transactions.
With the ability to make contactless payments in stores and online with just a tap of your wrist, Apple Pay on Apple Watch offers unparalleled convenience. Whether you’re grabbing a cup of coffee, shopping for groceries, or making an online purchase, the process is seamless and secure.
By keeping your cards securely stored in the Apple Pay wallet on your Apple Watch, you reduce the risk of card theft or loss. Apple Pay uses tokens to process payments, ensuring that your card information is kept safe and not shared with merchants.
If you run into any issues, be sure to refer to the troubleshooting tips provided and reach out to Apple Support for assistance. They can help you resolve any technical problems and ensure a smooth Apple Pay experience.
So, get ready to enjoy the convenience and security of Apple Pay on your Apple Watch. Leave your wallet behind and tap your wrist to make transactions effortlessly. Embrace the future of payments with Apple Pay on Apple Watch!