Introduction
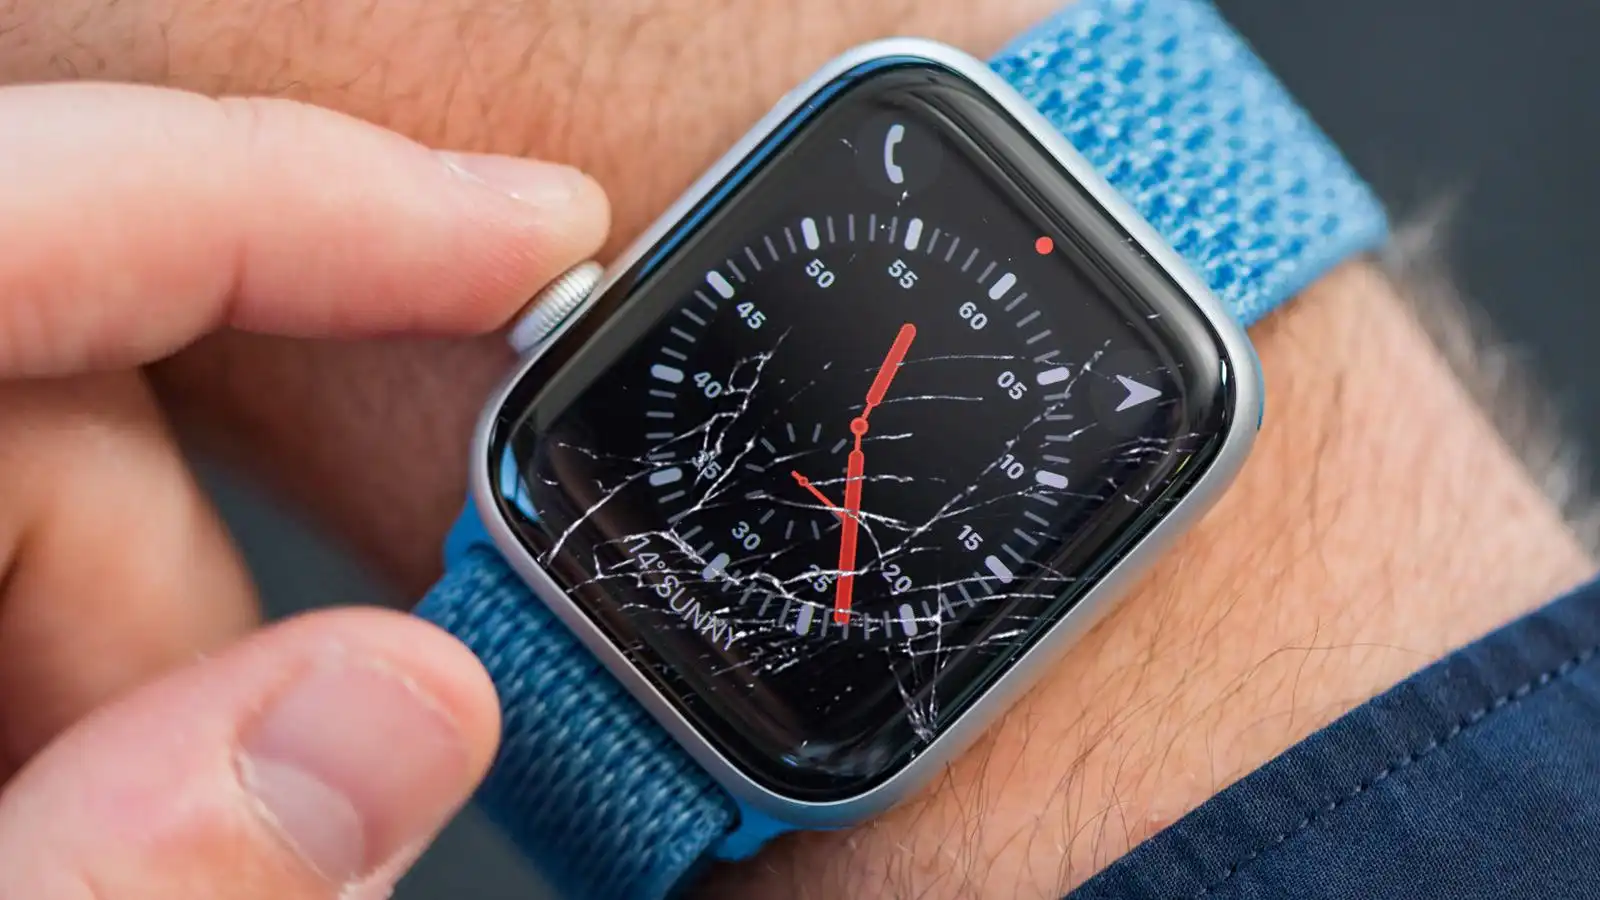
Apple Watch is a convenient and stylish wearable device that seamlessly integrates with your iPhone. However, there may be times when you need to repair or replace your iPhone, which requires you to set up your Apple Watch with a new phone. Whether you’ve upgraded to a new iPhone model or had to replace a damaged device, transferring your Apple Watch to a new phone is a straightforward process that ensures you can continue enjoying its features and functionalities without any interruption.
In this guide, we will walk you through the step-by-step process of repairing your Apple Watch to a new phone. By following these instructions, you can ensure a smooth transition and keep all your data and settings intact. We will cover the necessary steps from backing up your Apple Watch to unpairing it from your old phone, pairing it with your new phone, and restoring the backup. Additionally, we will provide troubleshooting tips to address any issues that may arise during the process.
Before we proceed, it’s important to note that the instructions provided here are applicable to Apple Watch models running watchOS 7 or later, and iPhones running iOS 14 or later. If you have an older version of either operating system, some steps may vary slightly.
So, if you’re ready to learn how to repair your Apple Watch to a new phone, let’s get started with step one: backing up your Apple Watch.
Step 1: Back Up Your Apple Watch
Before you proceed with repairing your Apple Watch to a new phone, it’s crucial to back up your watch to ensure that all your important data, settings, and preferences are saved. To back up your Apple Watch, follow these simple steps:
- Ensure that your Apple Watch is connected to your iPhone via Bluetooth.
- Open the “Watch” app on your iPhone.
- Tap on the “My Watch” tab at the bottom of the screen.
- Scroll down and select “General.”
- Tap on “Reset.”
- Choose the option “Erase Apple Watch Content and Settings.
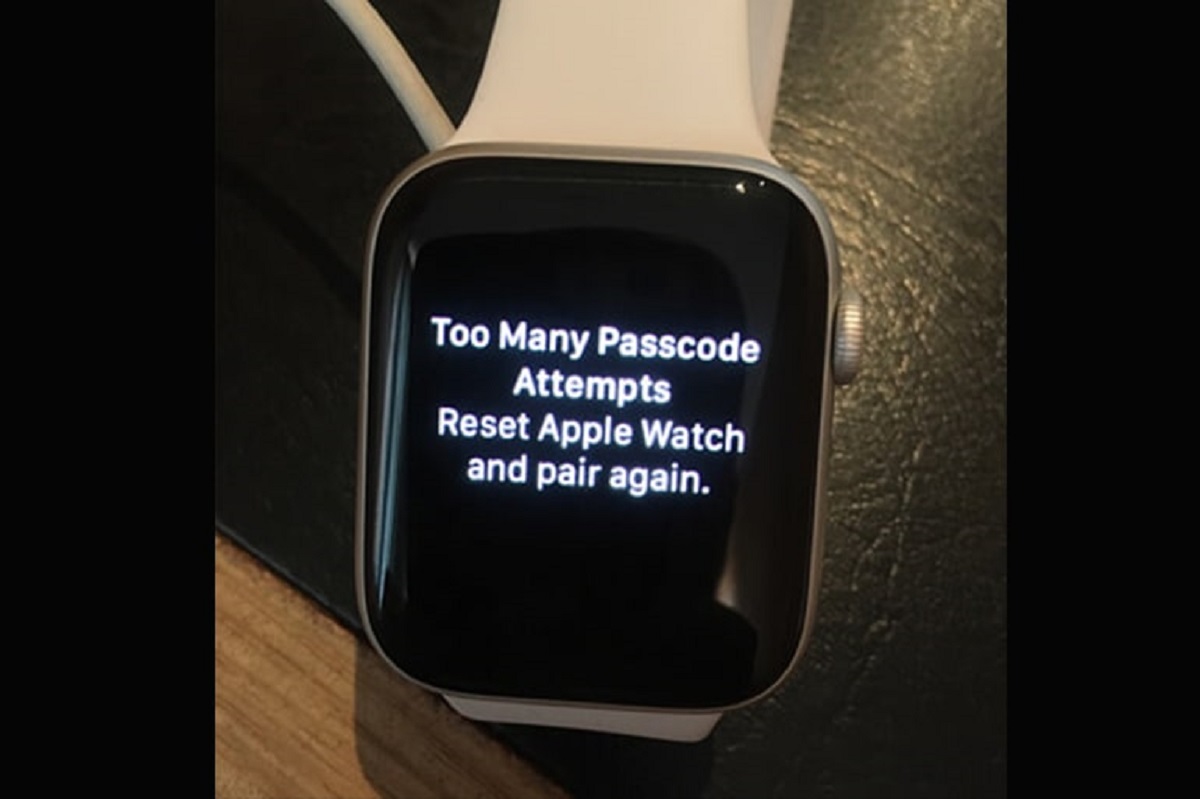
- Enter your passcode if prompted.
- Confirm the action by selecting “Erase All Content and Settings.”
- Once the erasing process is complete, your Apple Watch will restart and display the pairing screen.
- Follow the on-screen instructions on your iPhone to set up your watch as a new device.
- During the setup process, select “Restore from Backup” when asked, and choose the most recent backup to restore your watch’s data.
It’s important to note that backing up your Apple Watch will save your settings, preferences, and data, but it won’t save your health and fitness data. This data is stored in your iPhone’s Health app, so make sure you back up your iPhone separately if you want to preserve this information.
Once you have successfully backed up your Apple Watch, you’re ready to move on to step two: unpairing your Apple Watch from your old phone.
Step 2: Unpair Your Apple Watch from Your Old Phone
Before you can pair your Apple Watch with a new phone, you need to unpair it from your old phone. Unpairing your Apple Watch from your old phone disconnects the two devices and allows you to set up a new connection with your new phone. Follow these steps to unpair your Apple Watch:
- Make sure your Apple Watch is charged and in close proximity to your old iPhone.
- On your iPhone, open the “Watch” app.
- Go to the “My Watch” tab at the bottom of the screen.
- Tap on the “i” icon next to your Apple Watch.
- Select the option “Unpair Apple Watch.
- Confirm your choice by tapping “Unpair [Your Apple Watch Model].”
- Enter your Apple ID password if prompted.
- Wait for the unpairing process to complete. This may take a few minutes.
- Once unpaired, you will see the “Start Pairing” screen on your Apple Watch.
It’s important to note that unpairing your Apple Watch from your old phone will erase all content and settings on your watch. However, the data will be backed up if you have followed Step 1 and performed a backup. Unpairing your Apple Watch does not affect your cellular plan or Apple Card if you have them set up.
After successfully unpairing your Apple Watch from your old phone, you’re now ready to move on to step three: pairing your Apple Watch with your new phone.
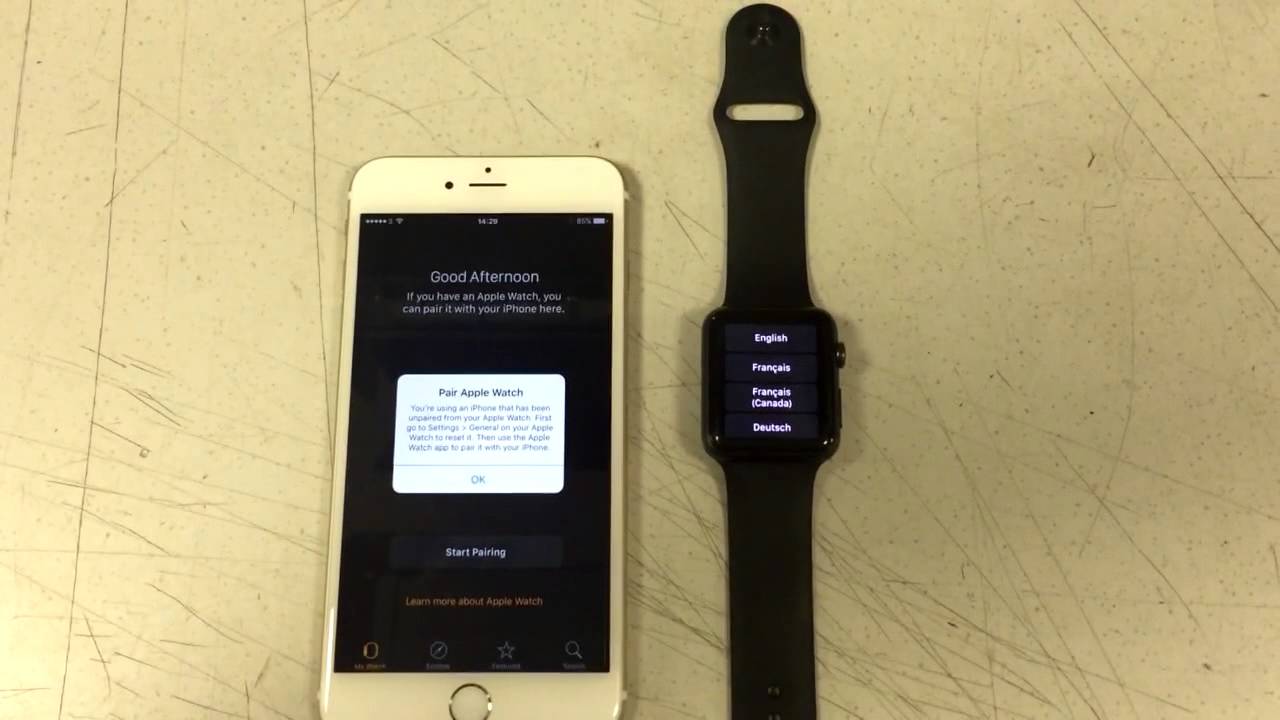
Step 3: Pair Your Apple Watch with Your New Phone
After unpairing your Apple Watch from your old phone, it’s time to pair it with your new phone. Follow these steps to establish a new connection between your Apple Watch and your new phone:
- Ensure that your new iPhone is set up and running the latest version of iOS.
- Place your Apple Watch next to your new iPhone.
- On your new iPhone, open the “Watch” app.
- Tap on the “Start Pairing” option on the Apple Watch.
- Use your new iPhone’s camera to scan the pattern displayed on your Apple Watch.
- Follow the on-screen instructions on your iPhone to complete the pairing process.
- When prompted, choose the option to restore from backup and select the most recent backup that you performed in Step 1.
- Enter your Apple ID password if prompted.
- Agree to the terms and conditions.
- Create a passcode if prompted.
- Set up Apple Pay and other features as desired.
Once the pairing process is complete, your Apple Watch will be connected to your new iPhone, and you can begin customizing its settings and enjoying all its features and capabilities.
Now that your Apple Watch is successfully paired with your new phone, it’s time to move on to step four: restoring from backup to retrieve your data and settings.
Step 4: Restore from Backup
After pairing your Apple Watch with your new phone, it’s time to restore from the backup you created earlier. By restoring from a backup, you can transfer your data, settings, and preferences from your old phone to your new one. Follow these steps to restore your Apple Watch from backup:
- On your iPhone, open the “Watch” app.
- Go to the “My Watch” tab at the bottom of the screen.
- Tap on “Start Pairing” if prompted.
- Choose the option to restore from backup.
- Select the most recent backup that you created in Step 1.
- Follow the on-screen instructions to complete the restoration process.
- Wait for your Apple Watch to sync with your iPhone and restore the data.
- Once the restoration is complete, your Apple Watch will be set up with all the apps, settings, and data from your previous watch.
It’s important to note that the restoration process may take some time depending on the size of the backup and the speed of your internet connection. Make sure your Apple Watch is charged and connected to a Wi-Fi network during the restoration process.
With the restoration process complete, you have successfully transferred your data and settings from your old phone to your new one. You can now move on to step five to set up Apple Pay and other features on your Apple Watch.
Step 5: Set Up Apple Pay and Other Features
After restoring your Apple Watch from backup, it’s time to set up Apple Pay and other features to make the most of your device. Follow these steps to set up Apple Pay and customize other features on your Apple Watch:
- On your iPhone, open the “Watch” app.
- Go to the “My Watch” tab at the bottom of the screen.
- Scroll down and select “Wallet & Apple Pay.”
- Tap on “Add Card” to add your credit or debit cards to Apple Pay.
- Follow the prompts to add your cards securely.
- You can also set a default card and enable or disable other features like Express Transit and Notification Previews.
- To customize other features, go to the “Settings” app on your Apple Watch.
- From there, you can adjust settings for notifications, brightness, sounds, and much more.
- Explore the “App Store” on your Apple Watch to discover and install apps that cater to your needs and interests.
- Customize your watch face by selecting different styles, complications, and colors to match your personal preferences.
Setting up Apple Pay allows you to make secure payments using your Apple Watch, eliminating the need to carry around physical cards. It’s a convenient and safe feature to ensure hassle-free transactions.
By customizing other features, you can personalize your Apple Watch to suit your lifestyle and preferences. From notifications to watch face complications, there are various options to tailor your experience and make the most of your device.
With Apple Pay and other features set up and customized to your liking, you’re ready to move on to step six: syncing your apps and data.
Step 6: Sync Your Apps and Data
After setting up Apple Pay and customizing other features on your Apple Watch, it’s time to sync your apps and data to ensure everything is up-to-date. Follow these steps to sync your apps and data:
- On your iPhone, open the “Watch” app.
- Go to the “App Store” tab at the bottom of the screen.
- Scroll through the available apps or use the search function to find specific ones.
- Tap on the app you want to install on your Apple Watch.
- If the app has an icon that resembles a cloud with an arrow, it means the app is not yet installed on your watch.
- Tap the “Install” button to download and install the app on your watch.
- Repeat this process for each app you want to sync with your Apple Watch.
- Once installed, your apps will appear on the home screen of your Apple Watch.
It’s important to note that not all apps are compatible with or available for the Apple Watch. However, many popular apps and essential functionalities have dedicated watch versions to enhance your experience on the smaller screen.
In addition to syncing your apps, your watch will automatically sync data from compatible apps on your iPhone. This includes health and fitness data, messages, calendar events, and more. However, keep in mind that certain apps may require additional permissions or settings to enable data sync with your Apple Watch.
With your apps installed and data synced, you’re all set to explore and use your Apple Watch with its full functionality. However, if you encounter any issues or challenges during this process, don’t worry. We have some troubleshooting tips for you in the next step, step seven.
Step 7: Troubleshooting Tips
While the process of repairing your Apple Watch to a new phone is generally straightforward, you may encounter some challenges along the way. Here are some troubleshooting tips to help you resolve common issues:
- If your Apple Watch fails to pair with your new phone, make sure that Bluetooth is enabled on both devices, and they are within close proximity of each other.
- If you’re unable to restore from backup, double-check that you have performed a backup on your old phone before unpairing your Apple Watch.
- If the restoration process takes longer than expected, ensure that your Apple Watch is charged and connected to a stable Wi-Fi network with a strong internet connection.
- If your apps fail to sync or install on your Apple Watch, try restarting both your iPhone and your Apple Watch, and attempt the installation process again.
- If you encounter any connectivity issues with cellular features, double-check that your cellular plan is active and configured correctly on your new iPhone.
- If you experience any unusual behavior or glitches on your Apple Watch after the repair process, consider restarting both devices and ensuring that they are running the latest software updates.
- If none of the troubleshooting steps resolve your issues, consult the Apple Support website or contact Apple Support directly for further assistance.
Remember, each troubleshooting tip should be attempted one at a time, and if one doesn’t work, move on to the next. It’s also important to have patience and give the devices a few moments to process and sync data during each step.
By following these troubleshooting tips, you can overcome any common challenges that may arise during the repair process and ensure that your Apple Watch is functioning properly with your new phone.
With the troubleshooting steps completed, you have successfully repaired your Apple Watch to a new phone. Enjoy your seamless connection and take advantage of all the features and capabilities that your Apple Watch has to offer!
Conclusion
Repairing an Apple Watch to a new phone may seem like a daunting task, but by following these step-by-step instructions, you can easily transfer your watch to a new device without losing any data or settings. From backing up your Apple Watch to unpairing it from your old phone, pairing it with your new phone, restoring from backup, setting up Apple Pay and other features, syncing your apps and data, and troubleshooting any issues that may arise, this guide has covered everything you need to know.
It’s important to note that the exact steps may vary slightly depending on your specific Apple Watch model and the version of iOS you’re running on your iPhone. Therefore, it’s always a good idea to refer to the official Apple Support website or contact Apple Support directly if you have any doubts or encounter any difficulties during the process.
Your Apple Watch is a valuable accessory that enhances your iPhone experience, and with a new phone, you can continue to enjoy its convenience and functionality seamlessly. By properly following the steps outlined in this guide, you can ensure a smooth transition and quickly get back to using your Apple Watch with its full capabilities.
So, whether you’ve upgraded to a new iPhone model or had to replace a damaged device, take the time to repair your Apple Watch to your new phone using the provided instructions. By doing so, you can continue to stay connected, track your fitness, receive notifications, and make convenient payments, all from your stylish and reliable Apple Watch. Enjoy the seamless integration and make the most of your wearable technology!