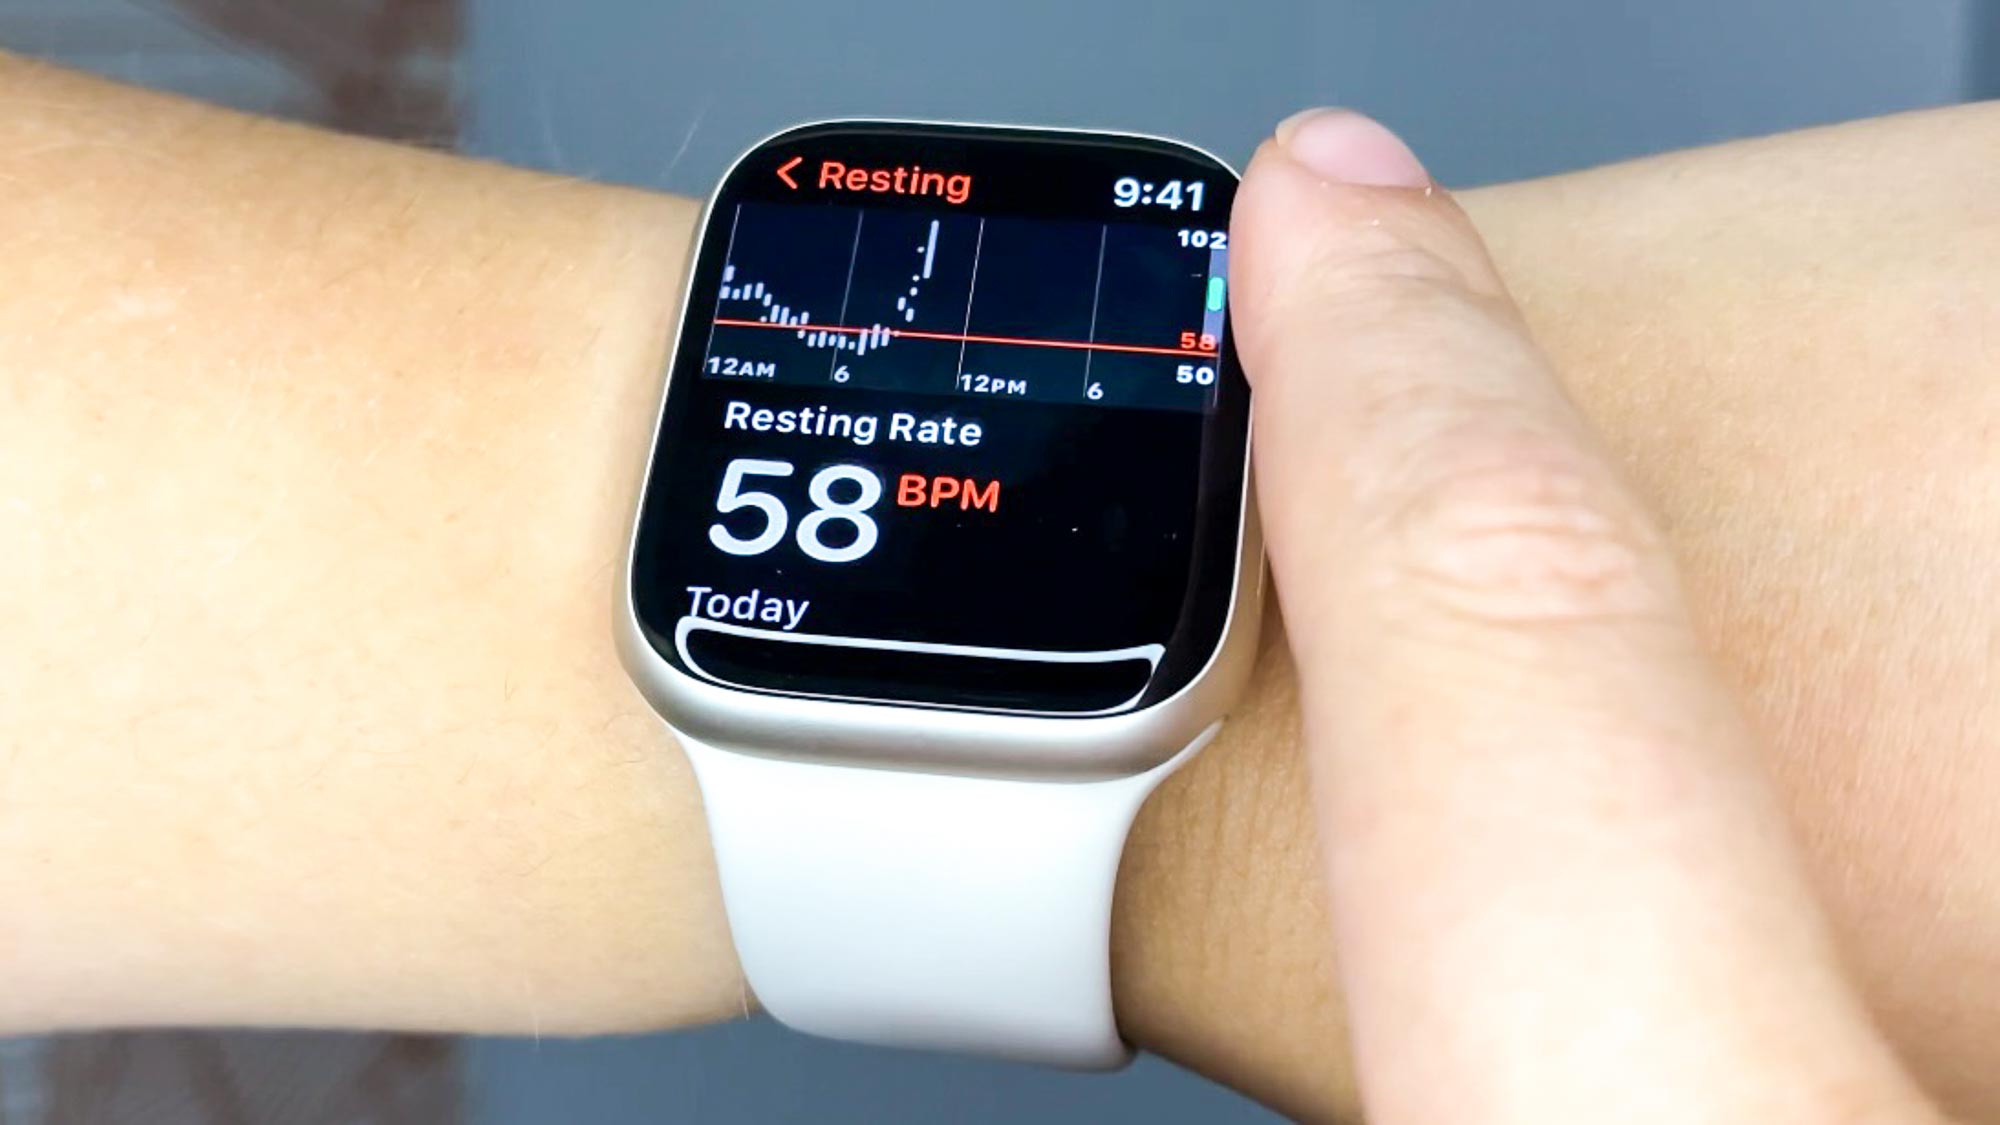
The Apple Watch does not measure blood pressure directly, but it offers a Hypertension Notifications feature that can alert you to potential signs of elevated blood pressure. Understanding how this apple watch blood pressure screening tool works is the first step to using it effectively.
Does the Apple Watch measure blood pressure directly?
No, the Apple Watch does not have a built-in blood pressure monitor. Instead of providing a direct measurement, the device offers a screening feature called Hypertension Notifications. This feature is not a diagnostic device and does not replace a medical diagnosis or a traditional blood pressure monitor. It is designed to help you identify patterns that may warrant further investigation with a healthcare provider.
What is the Apple Watch Hypertension Notifications feature?
The Hypertension Notifications feature uses the optical heart sensor on your Apple Watch to analyze data and detect patterns associated with elevated blood pressure. It works by collecting data over time to establish your personal baseline. When the sensor detects patterns that may suggest elevated blood pressure, you will receive a notification on your Apple Watch and iPhone. If you need to set up an Apple watch without an iPhone, you can still use the watch's health sensors independently. It is important to remember that this is a screening tool only and is not intended to detect a heart attack or identify every instance of hypertension.
Requirements for Apple watch blood pressure notifications
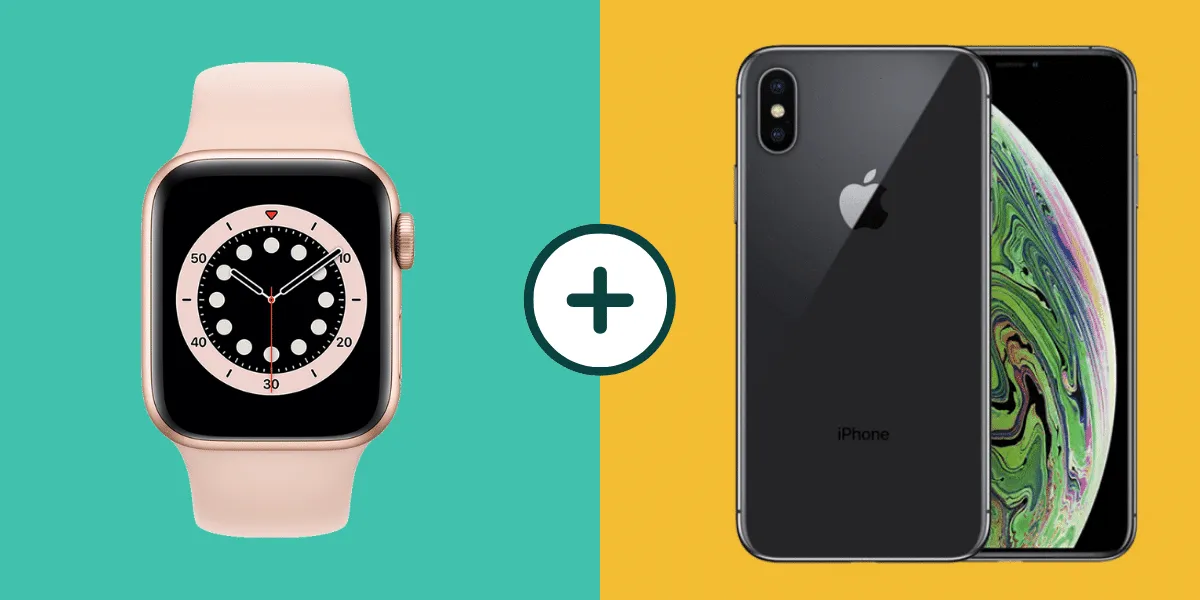
To use the Hypertension Notifications feature, you need specific hardware and must meet personal eligibility criteria. You must have an Apple Watch Series 9 or later, or Apple Watch Ultra 2 or later, running the latest version of watchOS (watchOS 26 or later). You also need an iPhone 11 or later with the latest version of iOS. Your smartwatch setup and pairing must be complete before proceeding, and if your watch lacks a cellular connection, using hotspot on Apple watch can keep health data syncing when away from Wi-Fi. Additionally, you must be 22 years or older, not pregnant, and have not been previously diagnosed with hypertension.
How to enable Hypertension Notifications on your iPhone
You activate the feature through the Health app on your iPhone. Follow these steps:
- Open the Health app on your iPhone.
- Tap your profile icon in the top right corner.
- Go to Health Checklist under the Features section.
- Tap Hypertension Notifications.
- Confirm your age and diagnosis status as prompted.
- Follow the on-screen prompts to complete the setup.
The 30-day data collection period
After enabling the feature, you must wear your Apple Watch consistently for 30 days. This period allows the watch to collect baseline data and analyze your heart rate patterns. The feature cannot provide any notifications until this initial data collection is complete. Consistent wear is essential for building an accurate baseline.
What to do when you receive a notification
If patterns suggesting elevated blood pressure are detected, you will receive a notification on your Apple Watch and iPhone. When this happens, you are prompted to discuss the notification with your healthcare provider. You are also asked to use a third-party blood pressure cuff to log measurements for 7 days. This step helps provide your doctor with more detailed information for evaluation.
How to log blood pressure readings in the Apple Health app
You can manually log readings from a traditional blood pressure cuff in the Health app. Here is how to set up the Blood Pressure Log:
- Open the Health app on your iPhone.
- Tap Browse at the bottom of the screen.
- Select Heart, then tap Blood Pressure.
- Tap Get Started under Blood Pressure Log.
- Follow the instructions to schedule reminders for regular logging.
Tips for accurate blood pressure readings with a cuff
When using a separate blood pressure monitor, following best practices ensures the most reliable data. Sit quietly in a relaxed state before measuring. Place the cuff on your upper arm at heart level, ensuring it fits snugly but not too tight. Keep your arm supported on a flat surface and avoid talking or moving during the measurement. For consistency, measure at the same time each day.
Understanding your blood pressure results
Blood pressure readings consist of two numbers: systolic pressure (the top number) and diastolic pressure (the bottom number). Normal blood pressure is generally considered to be below 120/80 mmHg. Elevated readings (120-129 systolic and below 80 diastolic) indicate a higher risk of developing hypertension. Hypertension Stage 1 is 130-139 systolic or 80-89 diastolic, while Stage 2 is 140 or higher systolic or 90 or higher diastolic. A hypertensive crisis, exceeding 180/120 mmHg, requires immediate medical attention. Use these ranges to discuss your results with your healthcare provider.