Introduction
So, you’ve decided to unpair your Apple Watch. Whether you’re upgrading to a new model, troubleshooting connectivity issues, or simply no longer want to use your current watch, the unpairing process is straightforward. In this guide, we’ll walk you through the steps to unpair your Apple Watch and regain control over its pairing settings.
Unpairing your Apple Watch is an essential step to disconnect it from your iPhone, reset its settings, and prepare it for a new pairing or a future sale. By unpairing, you unlink the watch from your phone, disable features like Apple Pay, and remove all personalized data, including apps, settings, and health and fitness data. Whether you’re an experienced Apple Watch user or a newbie, unpairing the device can be done in a matter of minutes.
Before we delve into the unpairing process, ensure that your Apple Watch and iPhone are in close proximity and connected via Bluetooth. It is also recommended to have a stable internet connection to facilitate the smooth execution of the unpairing procedure.
Now, without further ado, let’s dive into the step-by-step guide on how to unpair your Apple Watch and get it ready for its next chapter.
Step 1: Open the Apple Watch app
The first step to unpair your Apple Watch is to open the Apple Watch app on your iPhone. This app allows you to manage various settings and configurations for your watch.
If you can’t find the Apple Watch app on your home screen, don’t panic. It’s possible that you may have moved it to a different folder or placed it on a different screen. You can use the search feature on your iPhone by swiping down on your home screen and typing “Apple Watch” to locate the app.
Once you’ve located the Apple Watch app, tap on it to open it. You will be greeted with a welcome screen that provides an overview of the features and capabilities of the Apple Watch. You can swipe through the screens to learn more about what the watch can do, or simply tap “Get Started” to proceed.
If you’ve already set up the Apple Watch app and paired your watch with your iPhone, you might be taken directly to the main screen of the app, which displays information about your watch, such as its battery status and storage capacity. If this is the case, skip to the next step.
In some cases, if you haven’t previously set up the Apple Watch app on your iPhone, you may need to go through the initial setup process. This typically involves signing in with your Apple ID, accepting terms and conditions, and enabling certain permissions. Follow the on-screen instructions to complete the setup process.
Once you have opened the Apple Watch app and are on the main screen, you are ready to proceed to the next step of unpairing your watch.
Step 2: Tap on your Apple Watch
After opening the Apple Watch app on your iPhone, the next step is to tap on your Apple Watch. This will bring up the settings and options specifically related to your watch.
The Apple Watch app provides a comprehensive overview of your watch’s settings, including notifications, app arrangements, watch faces, and more. By tapping on your watch, you access the specific controls for your device.
On the main screen of the Apple Watch app, you will see a list of devices connected to your iPhone. Locate your Apple Watch among the listed devices and tap on its name.
By tapping on your Apple Watch, you are essentially telling the app that you want to modify the settings or perform actions specific to that device.
If you have multiple Apple Watches connected to your iPhone, make sure to select the one you intend to unpair. Triple-check that you have selected the correct watch to avoid unpairing the wrong one.
Once you have tapped on your Apple Watch, the app will load the settings and options related to your device, preparing you for the next steps in the unpairing process.
Now that you have successfully selected your Apple Watch within the Apple Watch app, it’s time to proceed to the next step and access the “i” icon for further customization and unpairing options.
Step 3: Tap on the “i” icon
Once you have selected your Apple Watch within the Apple Watch app, it’s time to access the “i” icon. This icon represents the information section of your watch’s settings, where you can find detailed options and customization settings.
Located next to your Apple Watch’s name, the “i” icon can typically be found towards the right side of the screen. It resembles a lowercase “i” inside a circle.
To access the information section, simply tap on the “i” icon. This will open up a new screen with a range of options and details specific to your Apple Watch.
Within the information section, you will be able to view and modify various settings, such as general watch settings, software updates, storage usage, and more. It is an essential part of the unpairing process, as it contains the necessary options to proceed further.
Take a moment to explore the information section of your Apple Watch. You may discover additional functionalities and settings that you weren’t aware of before.
Now that you’ve successfully tapped on the “i” icon, it’s time to proceed to the next step and find the option to unpair your Apple Watch.
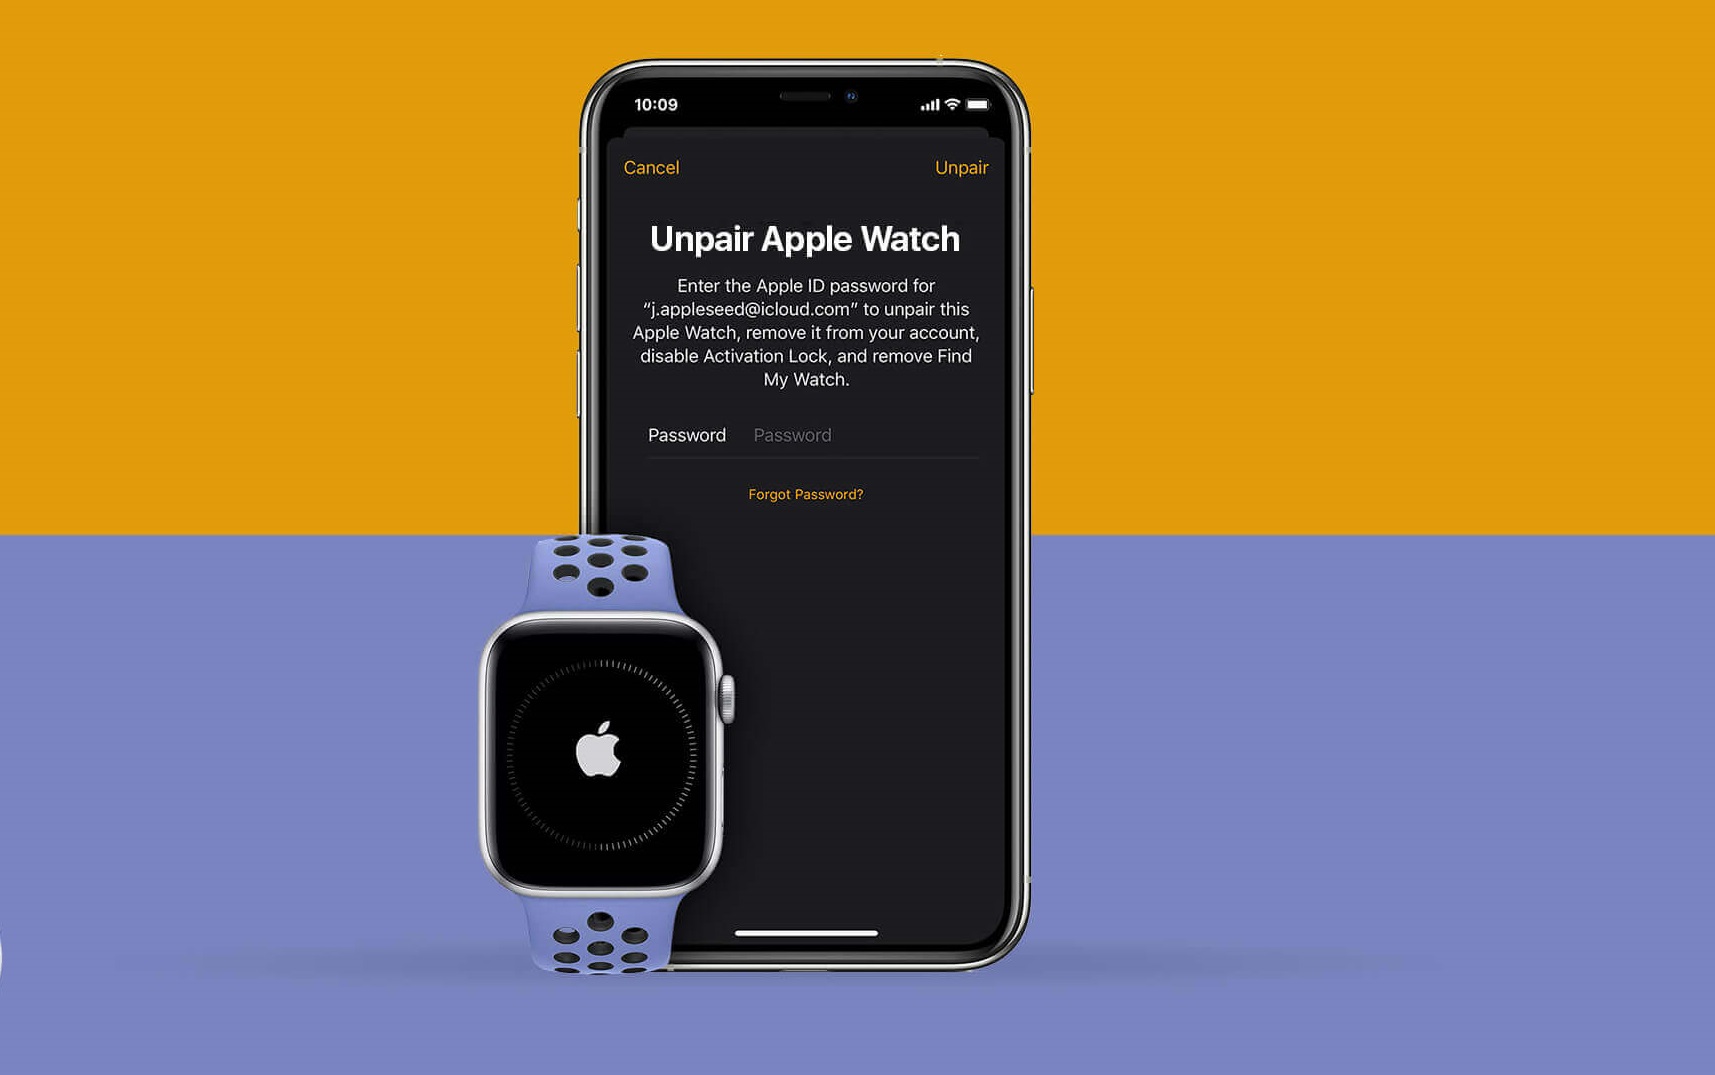
Step 4: Tap on “Unpair Apple Watch”
After accessing the information section of your Apple Watch’s settings, the next step is to find and tap on the option to “Unpair Apple Watch.” This option allows you to initiate the unpairing process and disconnect your watch from your iPhone.
Scroll down the screen until you come across the “Unpair Apple Watch” option. It is usually located towards the bottom of the settings list, under a section labeled “Pairing.”
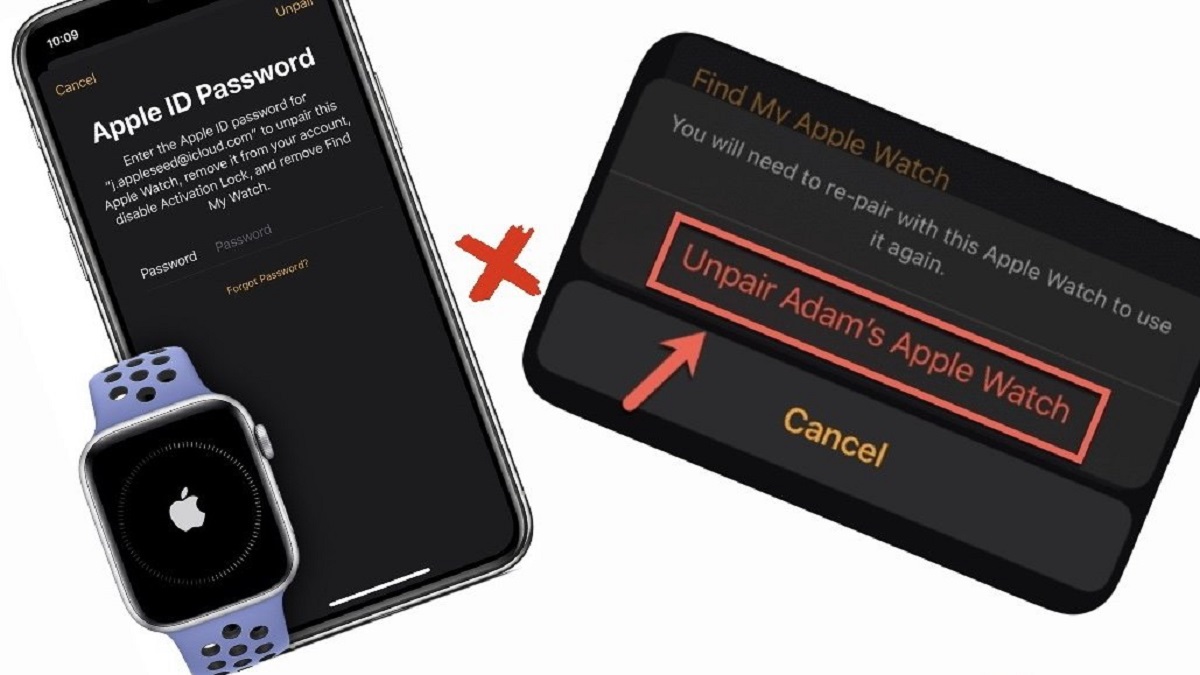
When you find the “Unpair Apple Watch” option, simply tap on it. This will prompt a confirmation message to ensure that you want to proceed with the unpairing process.
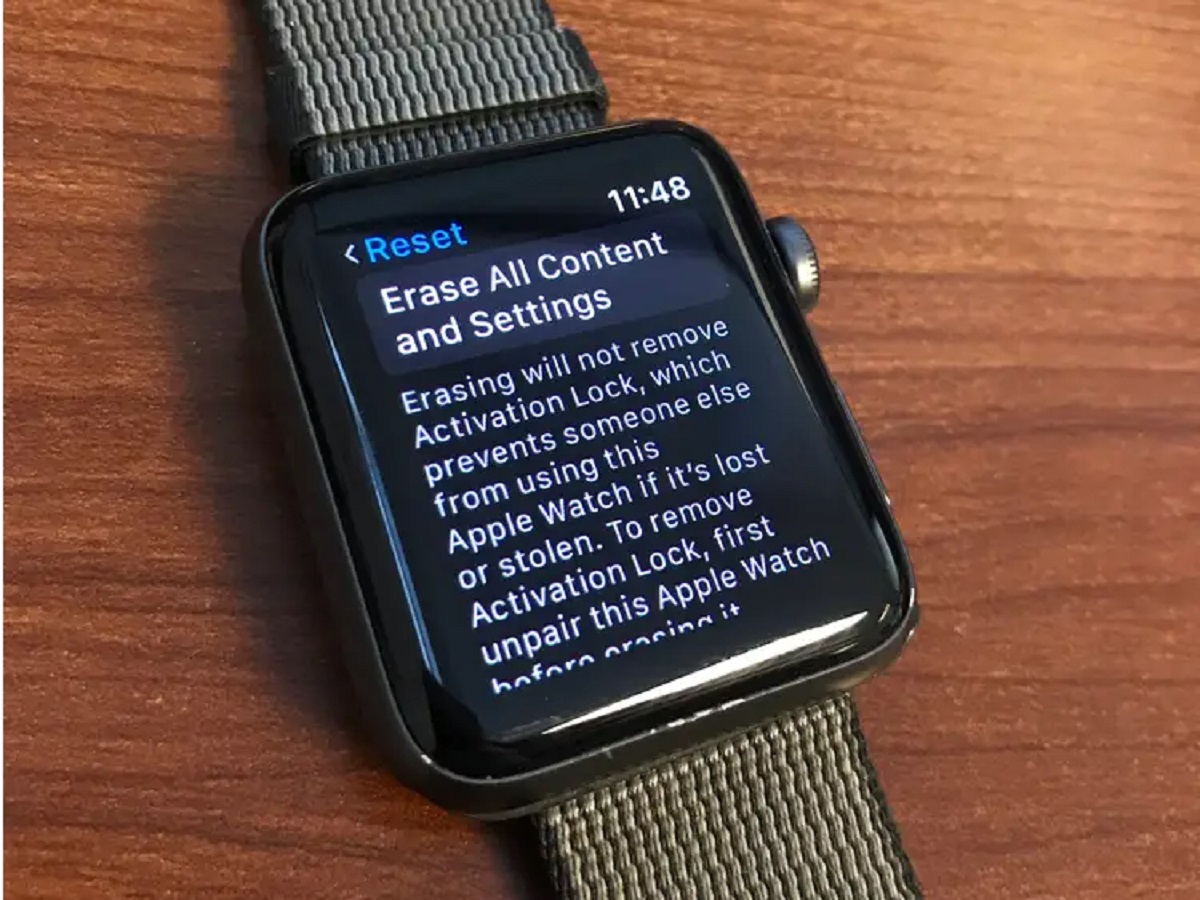
Keep in mind that unpairing your Apple Watch will reset it to its factory settings, erasing all data, apps, and settings. Therefore, it is crucial to back up any important data or perform a sync with your iPhone before proceeding with the unpairing process if you wish to preserve any information.
If you’re certain that you want to proceed with unpairing your Apple Watch, tap on the confirmation option to continue. This will initiate the unpairing process and disconnect your watch from your iPhone.
Now that you have successfully tapped on the “Unpair Apple Watch” option and confirmed your decision, it’s time to wait for the unpairing process to complete.
Step 5: Confirm unpairing process
After tapping on the “Unpair Apple Watch” option, you will be prompted to confirm the unpairing process. This step ensures that you intentionally want to disconnect your Apple Watch from your iPhone and reset it to its factory settings.
A confirmation message will appear on your screen, usually with a brief description of the consequences of unpairing your watch. It will also mention that all data, apps, and settings on your Apple Watch will be erased.
Take a moment to read through the confirmation message and make sure you understand the implications of proceeding with the unpairing process. If you have any important data or settings that you want to preserve, it’s crucial to back them up or sync them with your iPhone before continuing.
If you are certain that you want to proceed with unpairing your Apple Watch, tap on the confirmation option. The unpairing process will begin, and your watch will be disconnected from your iPhone.
It’s important to note that during the unpairing process, your Apple Watch may display a series of messages or progress indicators on its screen. This is normal and indicates that the unpairing process is underway. It’s important to allow the process to complete without interruption.
Now that you’ve confirmed the unpairing process, it’s time to move on to the next and final step: waiting for the unpairing process to complete.
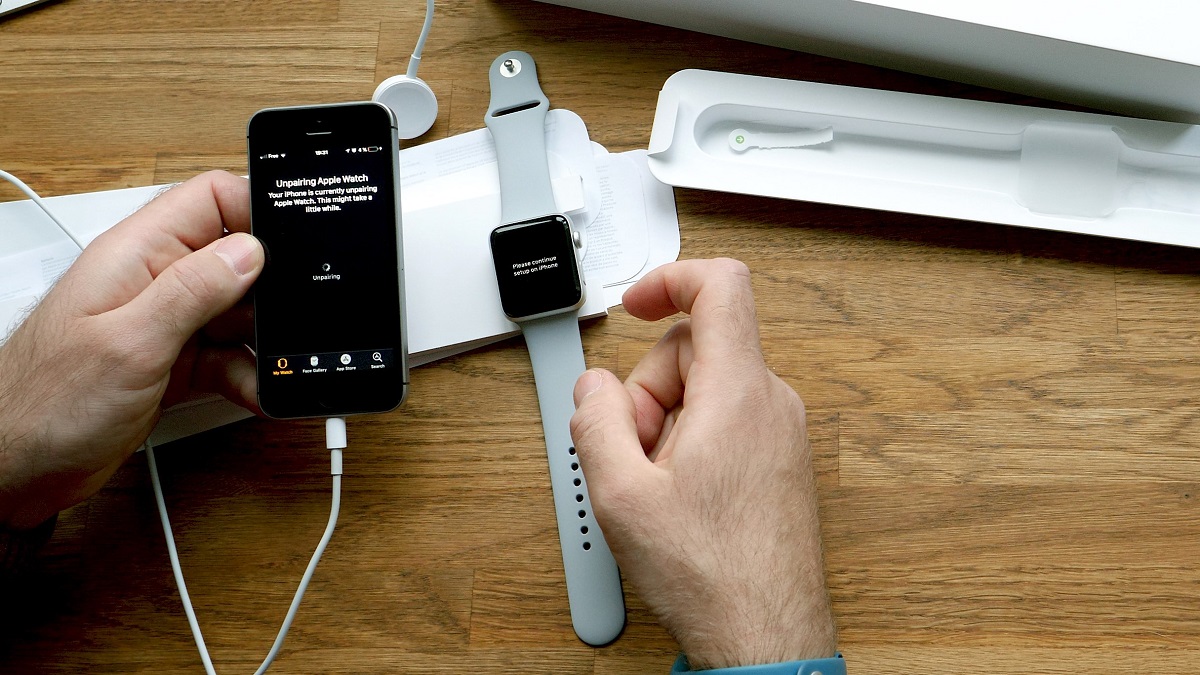
Step 6: Wait for the unpairing process to complete
After confirming the unpairing process, you will need to wait for the unpairing process to complete. This may take a few minutes, so patience is key.
During the unpairing process, your Apple Watch will disconnect from your iPhone, remove all personalized data, and reset to its factory settings. You may notice that your watch’s screen temporarily goes black or displays an Apple logo. This is normal and indicates that the unpairing process is in progress.
It’s important to avoid interrupting the unpairing process or turning off either your Apple Watch or iPhone during this time. Doing so could potentially cause issues or data loss.
While waiting for the unpairing process to complete, it’s a good idea to ensure that both your Apple Watch and iPhone are connected to a stable Wi-Fi or cellular network. This will help facilitate a smooth unpairing process and ensure any necessary updates or syncing can occur.
Once the unpairing process is finished, you will see a message on both your Apple Watch and iPhone indicating that your watch has been successfully unpaired. At this point, your Apple Watch will no longer be linked to your iPhone, and all of its data and settings will be erased.
If you plan on pairing your Apple Watch with a different iPhone or selling it, make sure to follow the necessary steps to set it up with a new device.
Remember, unpairing your Apple Watch is a permanent process. Make sure you have backed up any important data or synced your watch with your iPhone before proceeding.
Now that you have successfully completed the unpairing process, you are ready to move forward with your next Apple Watch adventure.
Conclusion
Unpairing your Apple Watch is a simple process that allows you to disconnect it from your iPhone, reset its settings, and prepare it for a new pairing or sale. By following the step-by-step guide outlined in this article, you can easily unpair your Apple Watch and regain control over its pairing settings.
Remember to start by opening the Apple Watch app on your iPhone, tapping on your Apple Watch, and accessing the information section by tapping on the “i” icon. From there, you can find and tap on the option to “Unpair Apple Watch.” Confirm the unpairing process, and then patiently wait for it to complete.
Keep in mind that unpairing your Apple Watch will erase all data, apps, and settings from the device. It’s essential to back up any important data or sync your watch with your iPhone before proceeding.
Once the unpairing process is finished, your Apple Watch will no longer be linked to your iPhone, and it will be ready for a new pairing with another device or for sale to someone new. Make sure to follow the necessary steps to set up your watch with a new device if that is your intention.
Thank you for following this guide. We hope it has been helpful in assisting you with unpairing your Apple Watch. If you have any further questions or need additional support, consult the official Apple support channels or reach out to Apple customer service for further assistance.
Enjoy your Apple Watch journey, whether it’s with a new device or exploring other opportunities!