Introduction
Unpairing your Apple Watch from your iPhone is a useful process to be familiar with, whether you’re looking to switch your watch to a new iPhone, reset the watch, or address any connectivity issues. While it may seem like a complex task, unpairing your Apple Watch is actually quite simple and can be accomplished in just a few steps.
In this guide, we will walk you through the process of unpairing your Apple Watch from your iPhone. Whether you have an Apple Watch Series 6, Apple Watch SE, or an earlier model, the steps will be the same. So, let’s dive in and learn how to unpair your Apple Watch without the phone!
Before we begin, it’s important to note that unpairing your Apple Watch will erase all content and settings on the watch. Therefore, it’s essential to back up your watch to iCloud or your iPhone before proceeding with the unpairing process. This way, you can restore your watch and its data on a new iPhone or after resolving any issues.
Now, let’s get started with the step-by-step process of unpairing your Apple Watch from your iPhone, ensuring a smooth transition or troubleshooting experience.
Step 1: Access the Settings
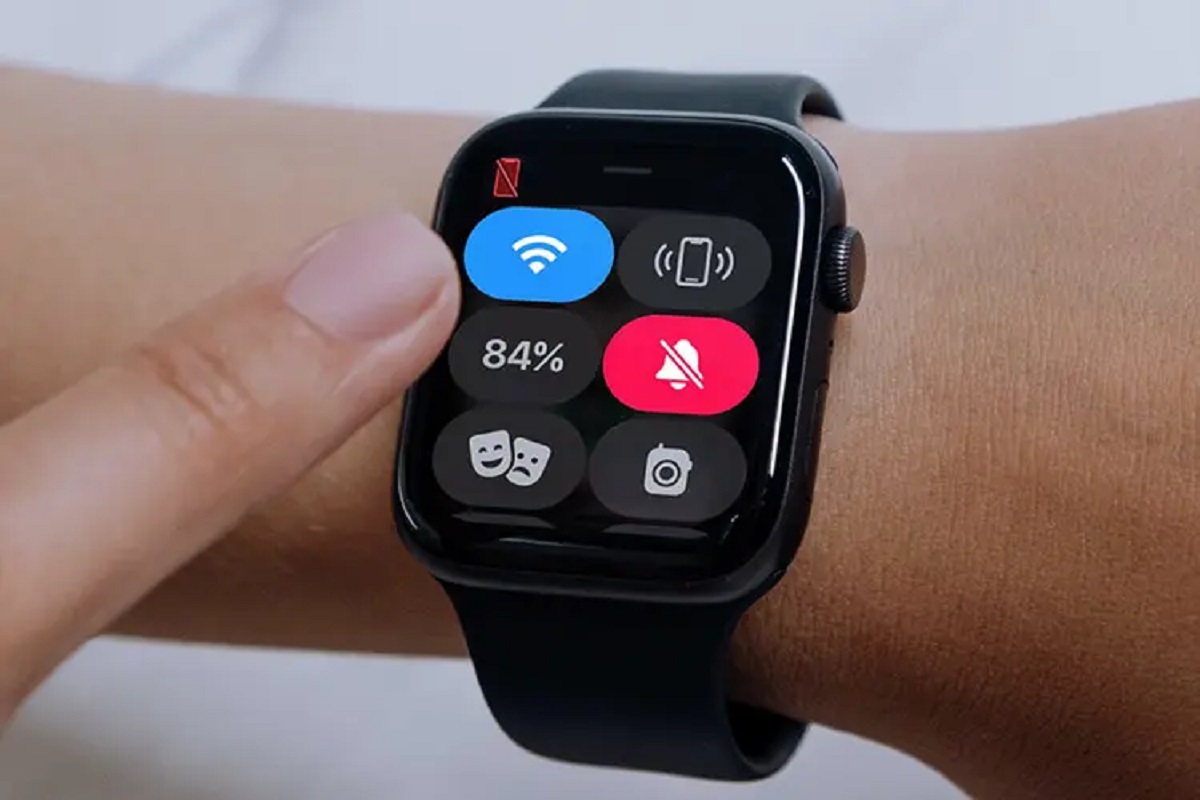
The first step to unpair your Apple Watch from your iPhone is to access the settings on your watch. On your Apple Watch home screen, you will find the app icon for “Settings” – it resembles a gear wheel.
To open the Settings app on your watch, simply tap on the icon and it will take you to the Settings menu. This is where you will find all the options and configurations for your Apple Watch.
Once you’re in the Settings menu, you’re ready to proceed to the next step.
If you are having trouble finding the Settings app on your watch, you can also swipe down on the watch face to access the search feature. Type “Settings” and select the app from the search results to enter the Settings menu.
Now that you’ve successfully accessed the Settings on your Apple Watch, we can move on to the next step.
Step 2: Tap ‘General’
After accessing the Settings menu on your Apple Watch, the next step in unpairing your Apple Watch is to navigate to the ‘General’ option. This is where you can find various settings and options for your watch.
To access the ‘General’ settings, scroll down on the Settings menu until you see the option labeled ‘General’. It is usually located towards the top of the list, just below the ‘Do Not Disturb’ option.
Once you’ve found the ‘General’ option, tap on it to enter the General settings menu. Here, you’ll find a range of configuration options for your Apple Watch, such as software update, language settings, and more.
By tapping on ‘General’, you’re one step closer to successfully unpairing your Apple Watch from your iPhone.
If you’re having trouble locating the ‘General’ option, you can use the search feature on the Settings menu. Simply swipe down on the screen, enter “General” in the search bar, and select the ‘General’ option from the results.
Now that you’re in the ‘General’ settings menu, let’s proceed to the next step to complete the unpairing process.
Step 3: Select ‘Reset’
Once you have accessed the ‘General’ settings menu on your Apple Watch, the next step in unpairing your Apple Watch is to select the ‘Reset’ option. This is where you will find the necessary settings to reset your watch and prepare it for unpairing.
To select ‘Reset’, scroll down on the ‘General’ settings menu until you see the option labeled ‘Reset’. It is usually located towards the bottom of the list.
Once you’ve located the ‘Reset’ option, tap on it to enter the Reset menu. Here, you will find various options related to resetting and erasing your Apple Watch.
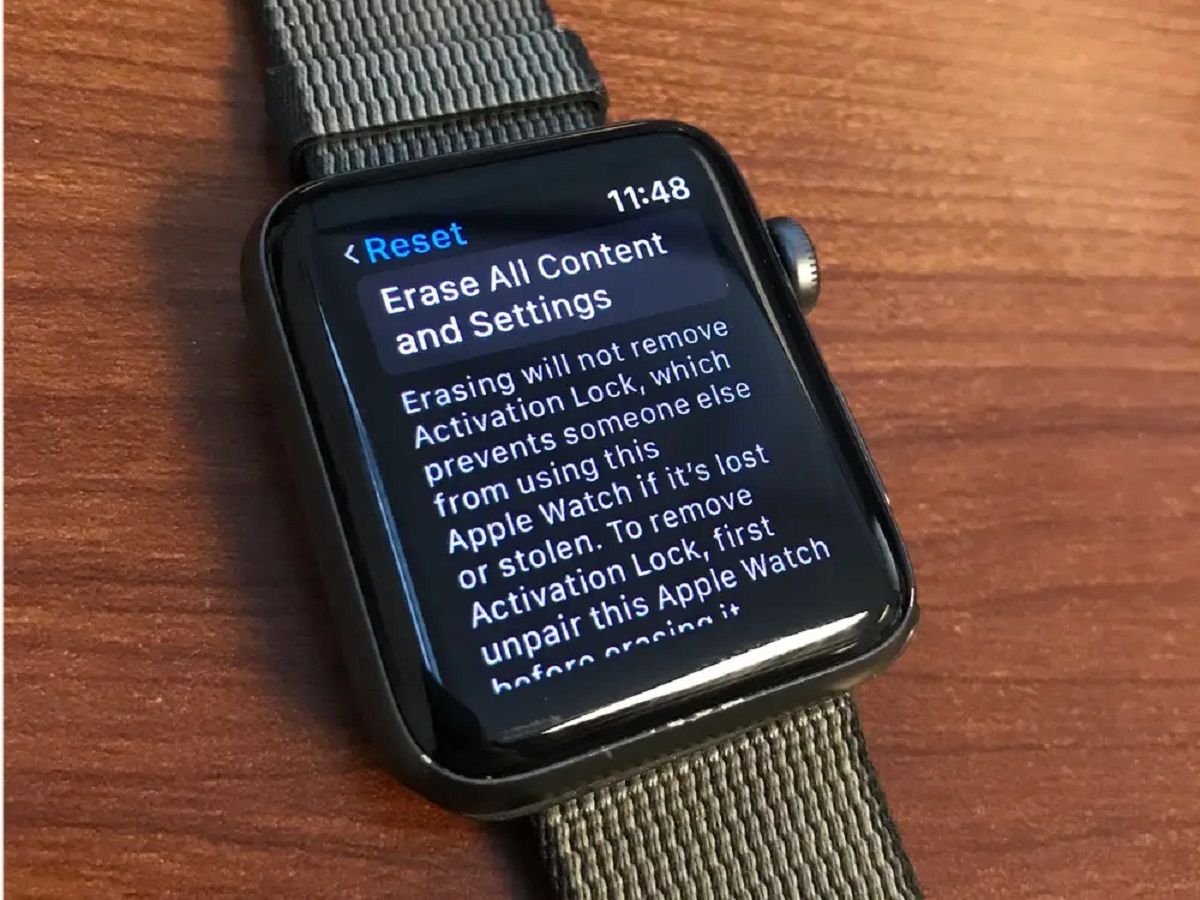
Now, select the ‘Erase All Content and Settings’ option. This option will erase all data, apps, and configurations on your watch, preparing it for unpairing from your iPhone.
It’s important to note that selecting ‘Erase All Content and Settings’ will permanently delete all data on your Apple Watch. Therefore, make sure you have backed up your watch to iCloud or your iPhone before proceeding with this step.
If you’re having trouble finding the ‘Reset’ option, you can use the search feature on the Settings menu. Simply swipe down on the screen, enter “Reset” in the search bar, and select the ‘Reset’ option from the results.
Now that you have selected ‘Reset’ and are ready to erase your watch, let’s move on to the next step to confirm the action.
Step 4: Tap ‘Erase All Content and Settings’
After entering the ‘Reset’ menu on your Apple Watch, the next step in unpairing your Apple Watch is to tap on the ‘Erase All Content and Settings’ option. This will initiate the process of erasing all data and settings on your watch.
To select ‘Erase All Content and Settings’, scroll down in the Reset menu until you see the option labeled ‘Erase All Content and Settings’. It is typically located at the top of the list in the Reset menu.
Once you’ve located the ‘Erase All Content and Settings’ option, tap on it to confirm your decision. A pop-up message will appear, asking for your confirmation to proceed with the erasing process.
It’s important to note that tapping on ‘Erase All Content and Settings’ will permanently delete all data, apps, and configurations on your Apple Watch. This action cannot be undone, so make sure you have backed up your watch and are aware of the consequences.
If you’re hesitant or unsure about erasing your Apple Watch, you can back out of this step and seek further assistance or explore other troubleshooting options.
Once you’ve made the decision to proceed, tap on ‘Erase All Content and Settings’ and let the process begin. Your Apple Watch will start the erasing process, removing all data and settings to prepare for unpairing from your iPhone.
Now that you’ve tapped on ‘Erase All Content and Settings’, let’s move on to the next step to confirm the action and enter your passcode if prompted.
Step 5: Confirm the action
After tapping on ‘Erase All Content and Settings’ in the previous step, the next step in unpairing your Apple Watch is to confirm the action. Confirming the erasure is crucial as it ensures that you intentionally want to proceed with deleting all the data and settings on your watch.
Once you’ve tapped on ‘Erase All Content and Settings’, a pop-up message will appear on your Apple Watch screen. This message will ask for your confirmation to continue with the erasing process.
To confirm the action, review the pop-up message carefully and pay attention to any specific information mentioned. The message will typically inform you that all data and settings will be permanently erased, and the process cannot be undone.
If you’re certain about unpairing your Apple Watch and have backed up any important data, tap on the ‘Erase All’ button or a similar confirmation option provided in the pop-up message. This action will initiate the erasing process on your watch.
However, if you have changed your mind or are unsure about proceeding, you can tap on the ‘Cancel’ button or any other action that allows you to exit the process. This will prevent the erasing process from starting and give you an opportunity to reconsider.
Take a moment to evaluate your decision and confirm your choice accordingly. Once you tap on the appropriate option, the erasing process on your Apple Watch will either begin or be canceled.
Now that you’ve confirmed the action, let’s move on to the next step where you may need to enter your passcode, depending on the watch’s settings.
Step 6: Enter Passcode if prompted
After confirming the erasing action in the previous step, the next step in unpairing your Apple Watch is to enter your passcode if prompted. Depending on your Apple Watch settings, you may be required to enter your passcode to proceed with the erasure process.
If your Apple Watch has a passcode set up, a screen will appear asking you to enter the passcode before the erasing process can continue. This is an additional security measure to ensure that only the authorized user can initiate the reset.
To enter your passcode, use the on-screen keypad or the Digital Crown and the side button, depending on your specific Apple Watch model. Type in your passcode carefully and accurately to avoid any errors.
It’s worth noting that if you forgot your passcode, you won’t be able to proceed with unpairing your Apple Watch. In such cases, you may need to contact Apple Support or refer to the official Apple documentation for further assistance on how to recover or reset your passcode.
Once you have successfully entered the correct passcode, the erasing process will continue, and your Apple Watch will remove all data and settings, preparing it for unpairing from your iPhone.
If your Apple Watch does not have a passcode set up, you may not be prompted to enter one during this step. In that case, you can proceed to the next step in the unpairing process.
Now that you’ve entered your passcode (if prompted), let’s move on to the next step to unpair your Apple Watch from your iPhone.
Step 7: Unpair Apple Watch from iPhone
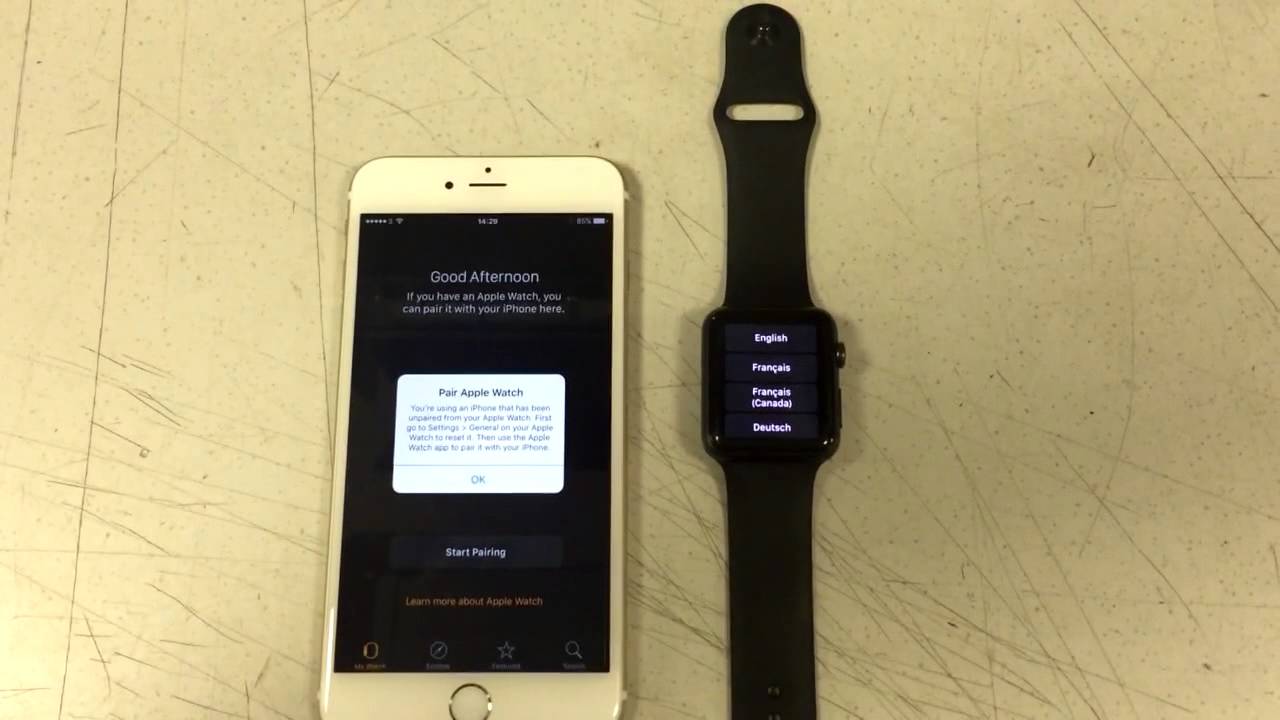
After completing the necessary steps on your Apple Watch, the next step in unpairing your Apple Watch from your iPhone is to initiate the unpairing process on your iPhone itself.
Open the “Apple Watch” app on your iPhone. This app is pre-installed on your iPhone and can be easily found by searching for it in the App Library or by swiping down and using the spotlight search.
Once you have opened the “Apple Watch” app, tap on the “My Watch” tab located at the bottom of the screen. This will take you to the main settings page for your Apple Watch.
On the “My Watch” page, scroll down until you see the option labeled “All Watches”. Tap on it to view a list of connected or previously connected Apple Watches.
Under the “All Watches” section, you should see your connected Apple Watch listed. Tap on the “i” icon next to your Apple Watch’s name.
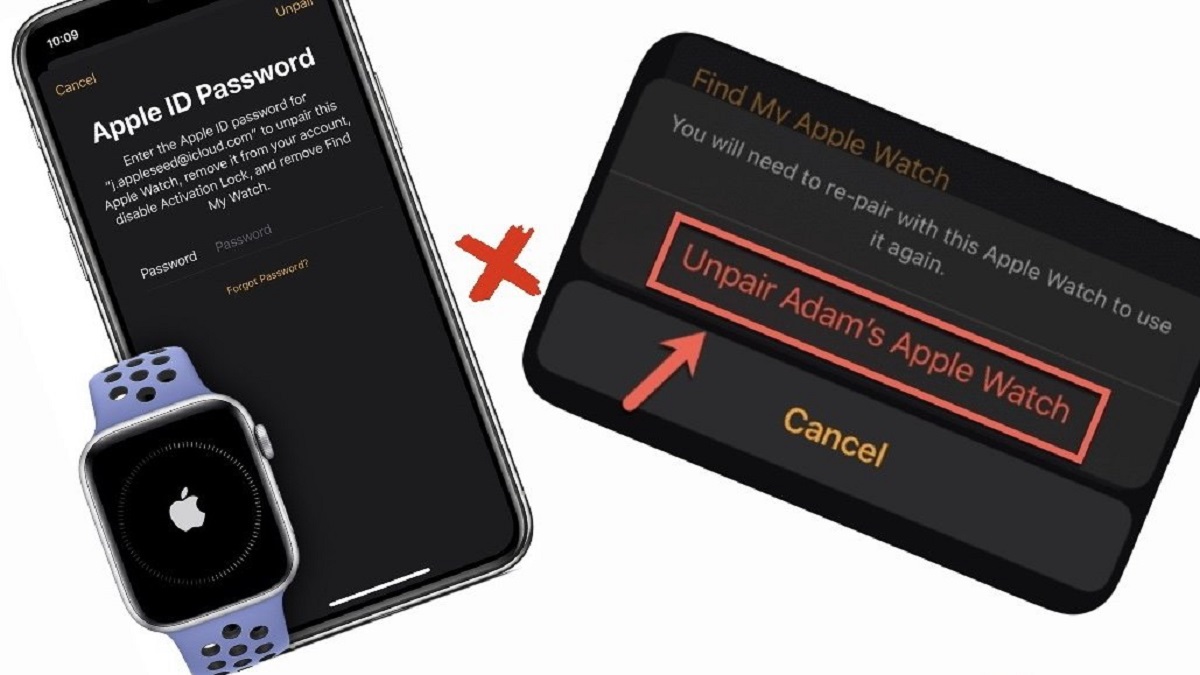
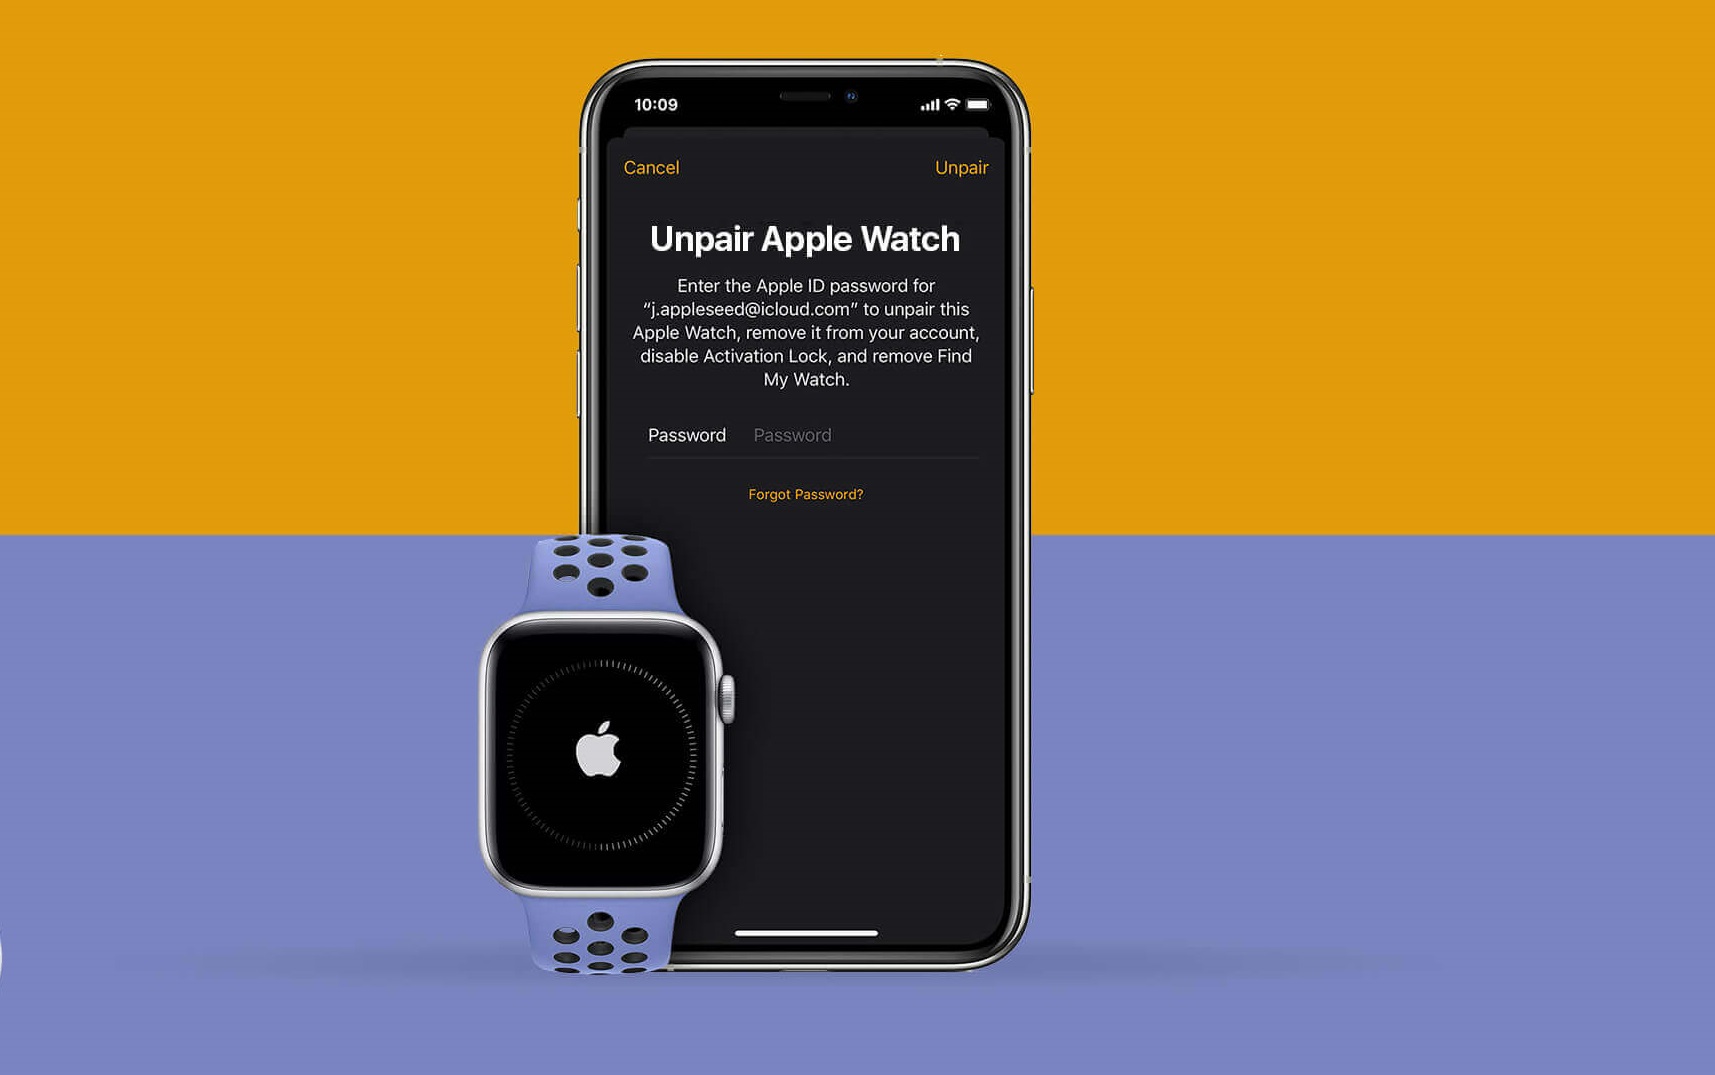
In the next screen, you will see the option to “Unpair Apple Watch. Tap on it to begin the unpairing process.
A confirmation message will appear on the screen, asking you to confirm the unpairing action. Read the message carefully to understand the consequences of unpairing.
If you’re certain about unpairing your Apple Watch, tap on “Unpair [Your Apple Watch Model]” to initiate the unpairing process from your iPhone.
Once you tap on the unpairing option, the Apple Watch app will start the unpairing process. This process may take a few moments as it removes the connection between your Apple Watch and iPhone.
It’s important to note that unpairing your Apple Watch will erase all data and settings on your watch, and it cannot be undone. Make sure you have backed up your data if you intend to pair the watch with another iPhone or for any other purposes.
Now that you’ve successfully initiated the unpairing process from your iPhone, let’s move on to the final step to complete the unpairing process.
Step 8: Restart Apple Watch
After unpairing your Apple Watch from your iPhone, the final step in the unpairing process is to restart your Apple Watch. Restarting your watch can help ensure that any remaining data or settings from the previous connection are cleared, allowing you to start fresh or pair it with a new iPhone if desired.
To restart your Apple Watch, press and hold the side button until you see the power off slider appear on the screen.
Once the power off slider appears, swipe it to the right to turn off your Apple Watch. Wait for a few seconds, and then press and hold the side button again until you see the Apple logo appear on the screen. This indicates that your Apple Watch is restarting.
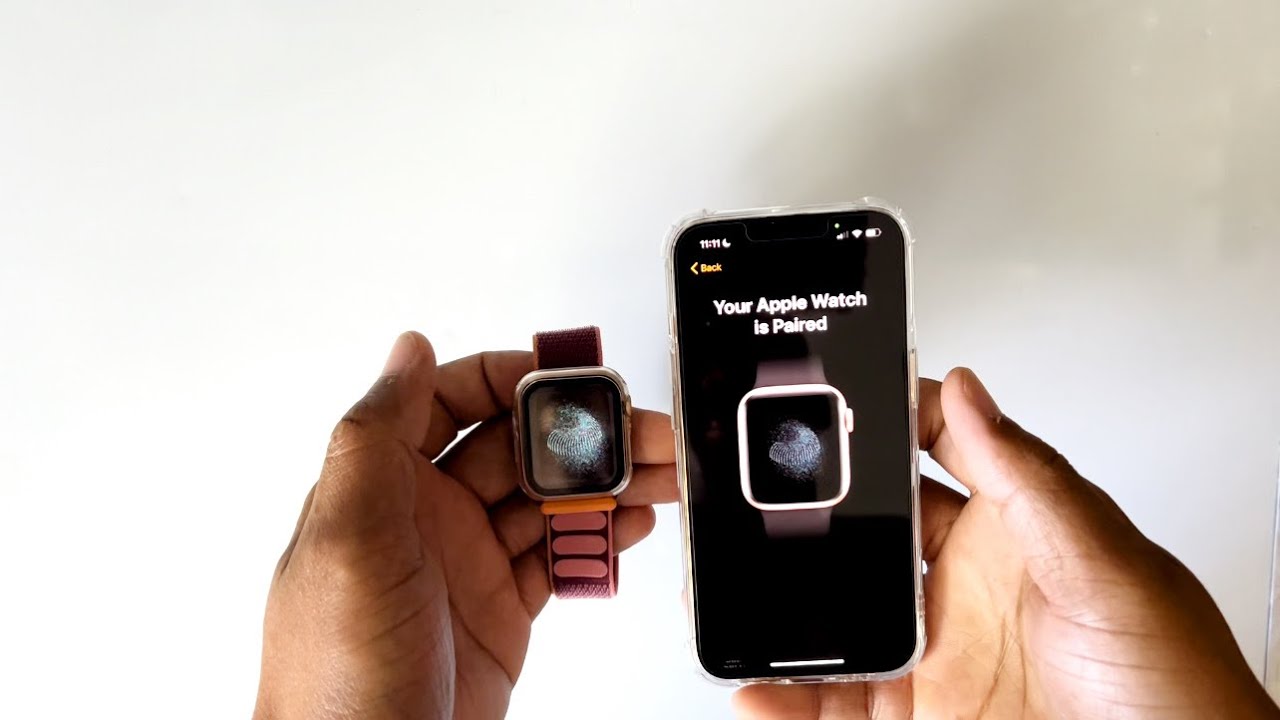
After the restart process is complete, your Apple Watch will be ready to set up as a new watch or pair it with a different iPhone.
Restarting your Apple Watch is also beneficial if you encounter any performance issues or glitches. It can help resolve minor software hiccups and speed up the watch’s overall functionality.
Once your Apple Watch has restarted, you can proceed with setting it up as a new watch or pairing it with a new iPhone, depending on your specific needs.
Congratulations! You have successfully unpaired and restarted your Apple Watch. Now you are ready to move forward with the next steps, whether that be setting up a new watch or troubleshooting any issues you may be facing.
Remember, unpairing your Apple Watch from your iPhone will erase all data and settings on the watch, so make sure you have backed up any important information beforehand.
Thank you for following this step-by-step guide. We hope it has been helpful in assisting you with unpairing your Apple Watch from your iPhone.
Conclusion
Unpairing your Apple Watch from your iPhone is a simple yet important process that allows you to reset your watch, switch to a new iPhone, or troubleshoot any connectivity issues. By following the step-by-step guide outlined above, you can easily unpair your Apple Watch without the phone.
We began by accessing the Settings on the Apple Watch, tapping on ‘General’, and then selecting ‘Reset’. From there, we tapped ‘Erase All Content and Settings’ and confirmed the action. If prompted, we entered the passcode and proceeded to unpair the Apple Watch from the iPhone using the Apple Watch app. Finally, we concluded by restarting the Apple Watch to ensure a fresh start.
Throughout the unpairing process, it’s essential to remember that your Apple Watch will be reset, and all data and settings will be permanently erased. Therefore, it’s crucial to back up your watch to iCloud or your iPhone to avoid any data loss.
Whether you’re looking to switch to a new Apple Watch or resolving connectivity issues, unpairing your Apple Watch is a valuable skill to have. This process allows you to start anew and ensures a seamless transition to a new iPhone if needed.
We hope this guide has been helpful in assisting you with unpairing your Apple Watch from your iPhone. Now you can proceed with setting up your Apple Watch as a new watch or pairing it with a different iPhone.
Thank you for taking the time to follow this step-by-step guide. Wishing you a successful unpairing experience and a seamless journey with your Apple Watch!