Introduction
Welcome to the world of wearable technology with the Apple Watch! If you’re the proud owner of an Apple Watch and want to take full advantage of its features, one of the first things you’ll need to do is sync it to your iPhone. Syncing your Apple Watch to your iPhone allows you to access notifications, track your fitness goals, make calls, send messages, and so much more, all from the convenience of your wrist.
Syncing your Apple Watch to your iPhone is a simple and straightforward process that can be completed in just a few steps. In this guide, we’ll walk you through the process to ensure a seamless synchronization between your Apple Watch and iPhone. So, let’s get started!
In the following sections, we’ll provide step-by-step instructions on how to sync your Apple Watch to your iPhone. We’ll cover everything from turning on your Apple Watch to customizing your watch face and installing apps. Whether you’re a tech enthusiast or a beginner, this guide will help you get up and running with your Apple Watch in no time.
It’s worth noting that in order to complete the syncing process, you will need your iPhone nearby. The Apple Watch relies on the iPhone for certain functionalities, such as connecting to Wi-Fi and syncing data. So, make sure your iPhone is charged and ready to go before you start the synchronization process.
Without further ado, let’s dive into the step-by-step guide to syncing your Apple Watch to your iPhone. Get ready to unlock the full potential of your Apple Watch and experience the convenience and innovation it offers. Let’s get started on this exciting journey!
Step 1: Turn On Your Apple Watch and iPhone
The first step in syncing your Apple Watch to your iPhone is to ensure that both devices are turned on.
To turn on your Apple Watch, press and hold the side button until the Apple logo appears on the screen. It may take a few moments for the watch to power up. Once it’s turned on, you’ll need to follow the instructions on the screen to set it up.
Similarly, make sure your iPhone is turned on and unlocked. Press the power button on your iPhone and enter your passcode or use Face ID or Touch ID to unlock it. Verify that your iPhone has a stable internet connection, either through Wi-Fi or cellular data.
Keep in mind that your Apple Watch requires an iPhone 6s or later model running on iOS 14 or later to sync successfully. Ensure that your iPhone meets these requirements before proceeding.
Syncing your Apple Watch to your iPhone requires both devices to be in close proximity. Make sure that your iPhone and Apple Watch are within Bluetooth range, which is typically around 30 feet. This allows the two devices to establish a secure connection for data transfer.
Once both your Apple Watch and iPhone are turned on and within range of each other, you’re ready to move on to the next step. Prepare to be amazed as your Apple Watch and iPhone work together seamlessly to enhance your daily activities and keep you connected throughout the day.
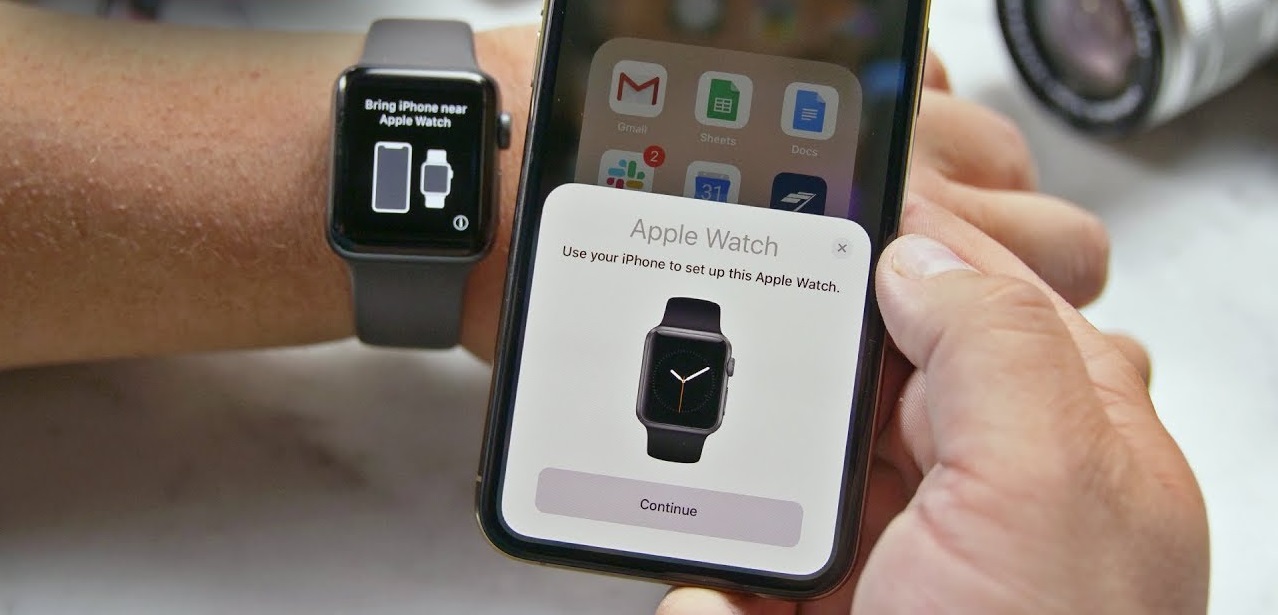
Step 2: Bring Your iPhone Near Your Apple Watch
With both your Apple Watch and iPhone turned on, it’s time to bring them close together to initiate the syncing process.
Ensure that your iPhone is unlocked and ready for pairing. Place it next to your Apple Watch, making sure that they are in close proximity. This proximity is essential to establish a secure connection between the two devices.
Keep in mind that the Apple Watch uses Bluetooth technology to communicate with your iPhone. Bluetooth allows for a seamless and energy-efficient connection between the two devices. By bringing your iPhone near your Apple Watch, you’re optimizing the Bluetooth connection to facilitate smooth synchronization.
As you bring your devices close to each other, you may notice a message or animation on your Apple Watch screen. This indicates that your Apple Watch has detected the presence of your iPhone and is ready to pair.
The proximity sensor on your Apple Watch ensures that it can recognize when your iPhone is near. It’s important to note that if you’re experiencing difficulty pairing your devices, it’s recommended to restart both your Apple Watch and iPhone and attempt the pairing process again.
Once you’ve brought your iPhone near your Apple Watch and both devices have recognized each other, you’re one step closer to syncing them successfully. Now it’s time to proceed to the next step to continue the pairing process.
Step 3: Open the Apple Watch App on Your iPhone
After bringing your iPhone near your Apple Watch, it’s time to open the Apple Watch app on your iPhone. This app is crucial for managing the settings and preferences of your Apple Watch.
Locate the Apple Watch app on your iPhone’s home screen. It has a recognizable icon featuring a silhouette of an Apple Watch. Tap on the icon to launch the app. If you can’t find the app on your home screen, you can use the search feature on your iPhone to locate it.
Once you open the Apple Watch app, you’ll be greeted with a welcome screen that provides information about the app and its features. Take a moment to read through the information or simply tap “Continue” to proceed.
If you haven’t already, you may be prompted to sign in to your Apple ID. Provide your Apple ID credentials to sign in, allowing you to access and manage your Apple Watch’s settings from the app.
Next, you’ll see a screen that displays your paired Apple Watch model, as well as options for customization and app installation. This screen acts as the control center for your Apple Watch’s settings.
Within the Apple Watch app, you can customize various aspects of your Apple Watch, such as watch face complications, app settings, and notification preferences. You can also install and manage apps specifically designed for the Apple Watch.
Take some time to explore the different options within the Apple Watch app and familiarize yourself with the settings available. This will allow you to personalize and optimize your Apple Watch experience to suit your specific needs and preferences.
Now that you have opened the Apple Watch app on your iPhone and familiarized yourself with its features, you’re ready to move on to the next step to continue the pairing process.
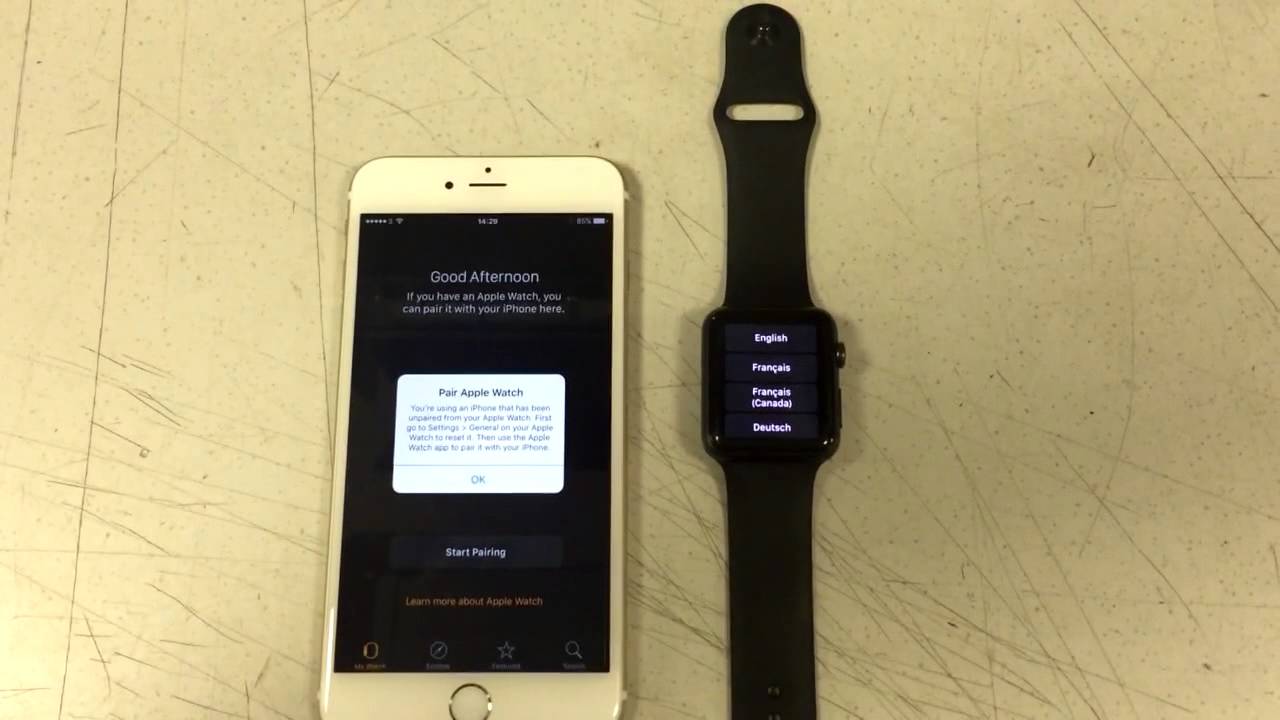
Step 4: Tap Start Pairing and Choose Your Language
Once you have the Apple Watch app open on your iPhone, it’s time to start the pairing process and choose your preferred language for your Apple Watch.
In the Apple Watch app, you’ll see a button labeled “Start Pairing.” Tap on this button to begin the pairing process between your iPhone and Apple Watch.
After tapping “Start Pairing,” you’ll be prompted to choose your language preference for your Apple Watch. This is the language that will be displayed on your Apple Watch screen and used for its interface.
Scroll through the list of available languages and tap on your desired language. If you don’t see your preferred language, don’t worry – additional language options can be added later after the pairing is complete.
Once you have selected your language, tap “Next” to proceed.
It’s worth noting that the language you choose during the pairing process is separate from the language settings on your iPhone. This means that even if your iPhone is set to a different language, you have the flexibility to choose a language specifically for your Apple Watch.
Choosing your preferred language is an important step as it ensures that you can easily navigate and understand the interface of your Apple Watch.
Now that you have tapped “Start Pairing” and chosen your language, you’re ready to move on to the next step and continue the pairing process. Get ready to personalize your Apple Watch further and make it truly your own.
Step 5: Position Your iPhone’s Camera Over the Animation
With the language preference set, it’s time to position your iPhone’s camera over the animation displayed on your Apple Watch. This animation will allow your iPhone and Apple Watch to establish a connection and complete the pairing process.
On your Apple Watch screen, you’ll see an animation consisting of a pattern of blue spheres. This animation is unique to each Apple Watch and serves as a visual indicator for pairing.
In the Apple Watch app on your iPhone, you’ll be prompted to position your iPhone’s camera over the animation displayed on your Apple Watch screen.
Make sure your iPhone’s camera is pointing toward your Apple Watch, and align it so that the animation on your Apple Watch screen fits within the rectangle displayed on your iPhone screen.
As you position your iPhone’s camera over the animation, try to keep a steady hand and ensure that there is adequate lighting. This will help the camera accurately capture the animation and establish a successful connection between your devices.
It’s important to note that your iPhone will use its camera to analyze the pattern of the blue spheres on your Apple Watch screen. This pattern contains unique identifiers that enable your iPhone and Apple Watch to pair securely.
If you’re experiencing difficulty capturing the animation, try adjusting the positioning of your iPhone or ensuring that there is proper lighting. You can also try restarting both your Apple Watch and iPhone and attempting the pairing process again.
Once your iPhone’s camera successfully captures the animation, you’ll see a message confirming that pairing is in progress. Now, all you need to do is wait for the pairing process to complete.
Now that you have positioned your iPhone’s camera over the animation, you’re one step closer to syncing your Apple Watch to your iPhone. Get ready to explore the exciting features and functionalities of your Apple Watch.
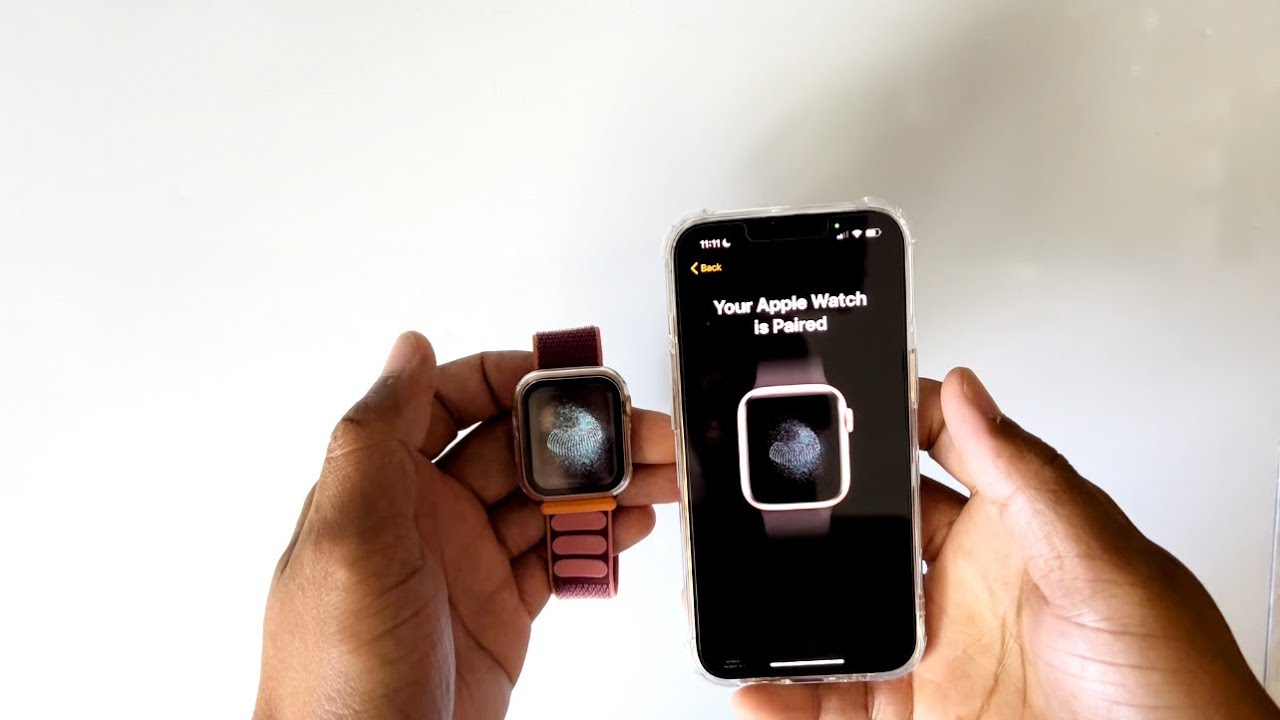
Step 6: Wait for Pairing to Complete
After positioning your iPhone’s camera over the animation on your Apple Watch, it’s time to wait for the pairing process to complete. During this time, your devices will establish a secure connection and transfer necessary data to synchronize your Apple Watch with your iPhone.
The length of time it takes for the pairing process to complete can vary, depending on factors such as the speed of your devices and the amount of data being transferred. Generally, the process should take just a few minutes.
While waiting for the pairing to complete, it’s essential to keep your iPhone and Apple Watch close to each other and maintain a stable Bluetooth connection. Interrupting the process or moving the devices too far apart may disrupt the pairing and require you to restart the process from the beginning.
During this time, you may notice that your Apple Watch screen displays a progress wheel or loading indicator. This indicates that the devices are actively working to establish the connection. Avoid pressing any buttons on your Apple Watch or interfering with the process, as this may disrupt the pairing.
It’s common for both your iPhone and Apple Watch to vibrate or emit a sound once the pairing process is complete. This serves as confirmation that the devices are successfully synced, and you’re ready to proceed with the setup.
If, for any reason, the pairing is unsuccessful or interrupted, you will be prompted to retry the process. In such cases, ensure that both your iPhone and Apple Watch are charged, within Bluetooth range, and in a stable environment to optimize the pairing experience.
Once the pairing process is complete, you’re now ready to set up your Apple Watch preferences and personalize it to your liking. Get ready to explore the world of notifications, fitness tracking, and other exciting features available on your Apple Watch.
Now, all that’s left to do is patiently wait for the pairing process to finish. Soon enough, you’ll be immersed in the seamless integration of your Apple Watch and iPhone, taking advantage of all the amazing features they have to offer.
Step 7: Set Up Apple Watch Preferences
After the pairing process is complete, it’s time to set up your Apple Watch preferences to customize your experience and make it tailored to your needs.
On your iPhone, within the Apple Watch app, you’ll see a screen that allows you to configure various settings for your Apple Watch. This includes options for email, messages, phone calls, app notifications, and more.
Explore each setting carefully and adjust them according to your preferences. For example, you can choose to mirror the settings from your iPhone, allowing your Apple Watch to receive the same notifications and alerts, or you can customize each option individually to suit your specific needs.
In the “Notifications” section, you can select which apps will send notifications to your Apple Watch. Enable notifications for the apps that are most important to you and disable those that you don’t want to receive on your wrist.
Under the “Activity” section, you can set up personalized goals for your daily movement, exercise, and standing. These goals will help you stay motivated, track your progress, and achieve a healthier lifestyle.
Within the “General” settings, you can configure options such as the brightness of your Apple Watch screen, the text size, and the accessibility features that suit your individual needs.
Take your time to go through each preference and customize your Apple Watch according to your preferences. This will ensure that your Apple Watch seamlessly integrates into your daily routine and enhances your productivity, communication, and overall well-being.
Keep in mind that you can always revisit these settings later if you wish to make further adjustments or changes. Your Apple Watch preferences can evolve as your needs change over time, so feel free to experiment and find the optimal configuration that works best for you.
Now that you have set up your Apple Watch preferences, you’re ready to move on to the next step and customize the face of your Apple Watch. Get ready to make a statement with a watch face that reflects your style and personality.
Step 8: Customize Your Apple Watch Face
One of the fantastic features of the Apple Watch is the ability to customize its face, allowing you to personalize it to your style and preference. With a wide range of watch face options, you can choose the design, complications, and features that suit your needs.
To customize your Apple Watch face, begin by firmly pressing on the display of your Apple Watch. This will bring up the available watch faces for you to choose from.
Swipe left or right to browse through the various watch faces, and tap on the one that catches your eye. Each watch face offers different layouts, colors, and complications.
Complications are small widgets that display various information on your watch face, such as weather, calendar events, heart rate, and more. Customize your watch face by choosing the complications that are most relevant and useful to you.
To add or remove complications, use the customization options available for each specific watch face. Simply tap on the watch face, and then tap on “Customize” to enter the customization mode. From there, you can easily select and arrange the complications to fit your preferences.
Additionally, you have the option to choose and customize the color scheme, style, and other visual elements of your watch face. Explore the different options and experiment with various combinations to find the perfect look for your Apple Watch.
Once you’ve customized your watch face to your liking, press the Digital Crown on the side of your Apple Watch to set it as your active watch face. Your newly customized watch face will now be displayed when you raise your wrist or interact with your Apple Watch.
Whether you prefer a minimalist look, a vibrant design, or one that showcases specific information at a glance, customizing your Apple Watch face allows you to make it uniquely yours.
Feel free to change your watch face to match your mood, activity, or occasion. With a collection of watch faces at your fingertips, your Apple Watch becomes a versatile accessory that complements your individual style.
Now that you have customized your Apple Watch face, it’s time to explore the world of apps available for your Apple Watch and further enhance its functionality. Get ready to make the most out of your wearable device!
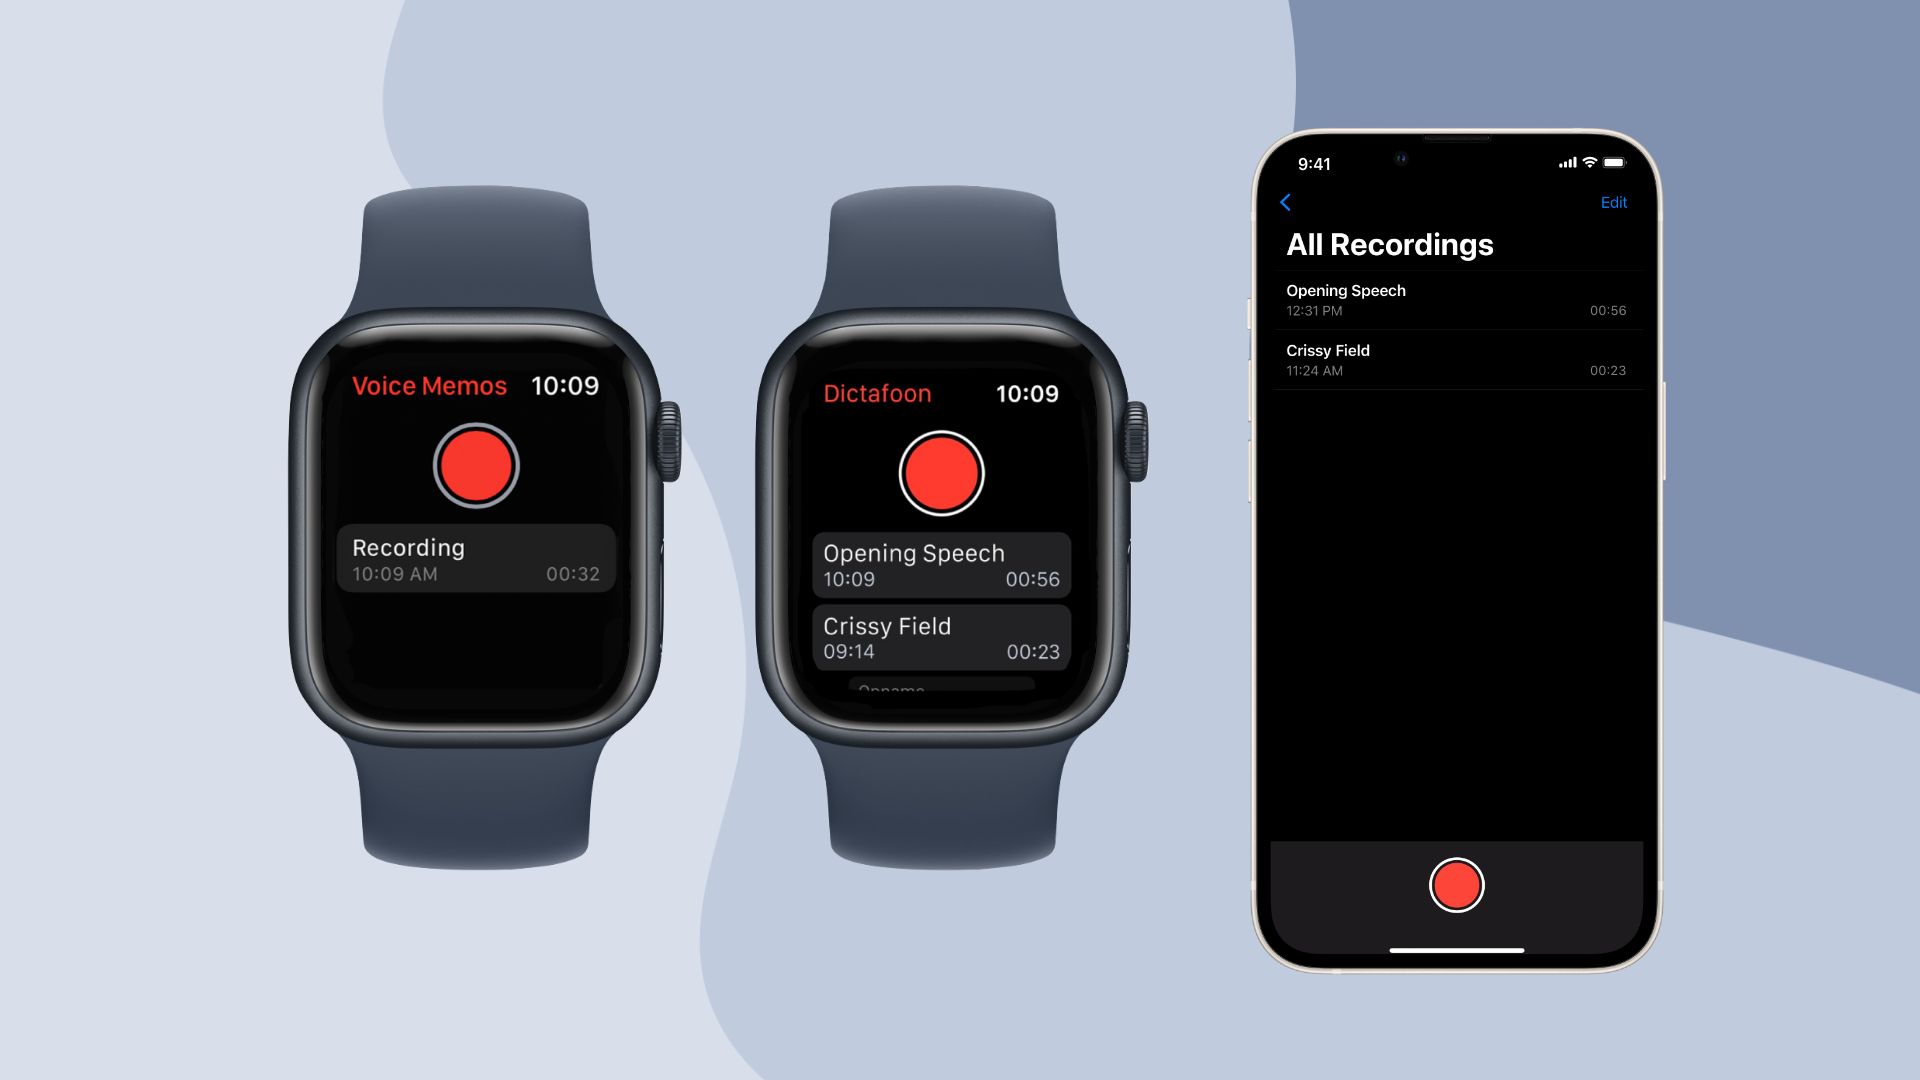
Step 9: Install Apps on Your Apple Watch
One of the key advantages of the Apple Watch is the ability to install and use apps directly on your wrist. This allows you to access specific functionalities and features without having to take out your iPhone.
To install apps on your Apple Watch, you will first need to open the App Store on your iPhone. From there, browse through the available apps or search for specific ones that you want to install on your Apple Watch.
When you find an app that you want to install, simply tap on it to open the app page. If the app is compatible with the Apple Watch and offers the option to be installed on it, you will see a prompt indicating that it can be used on your watch.
Tap on the “Get” or “Download” button next to the app, and it will begin installing on both your iPhone and Apple Watch. The app icon will appear on your Apple Watch once the installation process is complete.
Keep in mind that not all iPhone apps have a corresponding Apple Watch app. Only apps that have been specifically designed and optimized for the Apple Watch will be available for installation.
Once an app is installed on your Apple Watch, you can access it by tapping on its icon from the home screen or by using Siri voice commands to launch it.
It’s important to note that not all apps will offer the same functionality on your Apple Watch as they do on your iPhone. Some apps may have limited features or offer a different user interface to optimize the experience for the smaller screen of the Apple Watch.
Take some time to explore the available apps for your Apple Watch and install those that you find useful or interesting. From fitness trackers to productivity tools, there is a wide range of apps to enhance your daily life and make the most out of your wearable device.
Remember to manage your installed apps on both your iPhone and Apple Watch to optimize storage and performance. You can do this by going to the Apple Watch app on your iPhone and selecting “My Watch” > “Installed Apps”. From there, you can choose which apps should be available on your Apple Watch and organize their layout.
With apps installed on your Apple Watch, you have a world of functionality and convenience at your fingertips (or, more accurately, your wrist). Enjoy exploring and utilizing these apps to enhance your Apple Watch experience.
Step 10: Explore and Use Your Apple Watch
Now that you have successfully synced and set up your Apple Watch, it’s time to explore and make the most out of its features.
Take some time to familiarize yourself with the various functionalities and capabilities of your Apple Watch. From staying connected to monitoring your health and fitness, your Apple Watch offers a wide range of tools and options to enhance your daily life.
Here are some key features to explore on your Apple Watch:
Notifications: Stay updated with notifications from your favorite apps, messages, calls, and more. Customize the notification settings to receive only the alerts that matter to you.
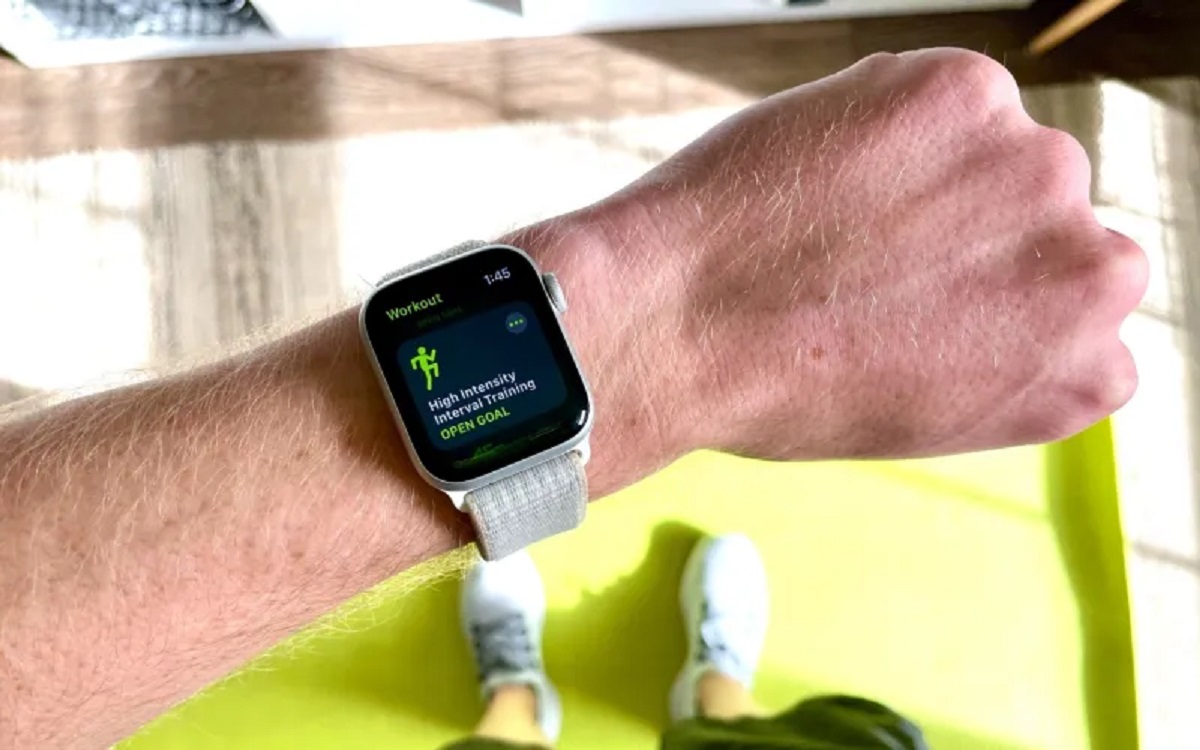
Health Monitoring: Utilize the built-in health and fitness features of your Apple Watch to track your workouts, monitor your heart rate, and set goals for a healthier lifestyle. Take advantage of the Activity and Workout apps to stay motivated and achieve your fitness targets.
Apple Pay: Set up Apple Pay on your Apple Watch to make easy, secure payments from your wrist. Enjoy the convenience of making purchases without reaching for your iPhone or wallet.
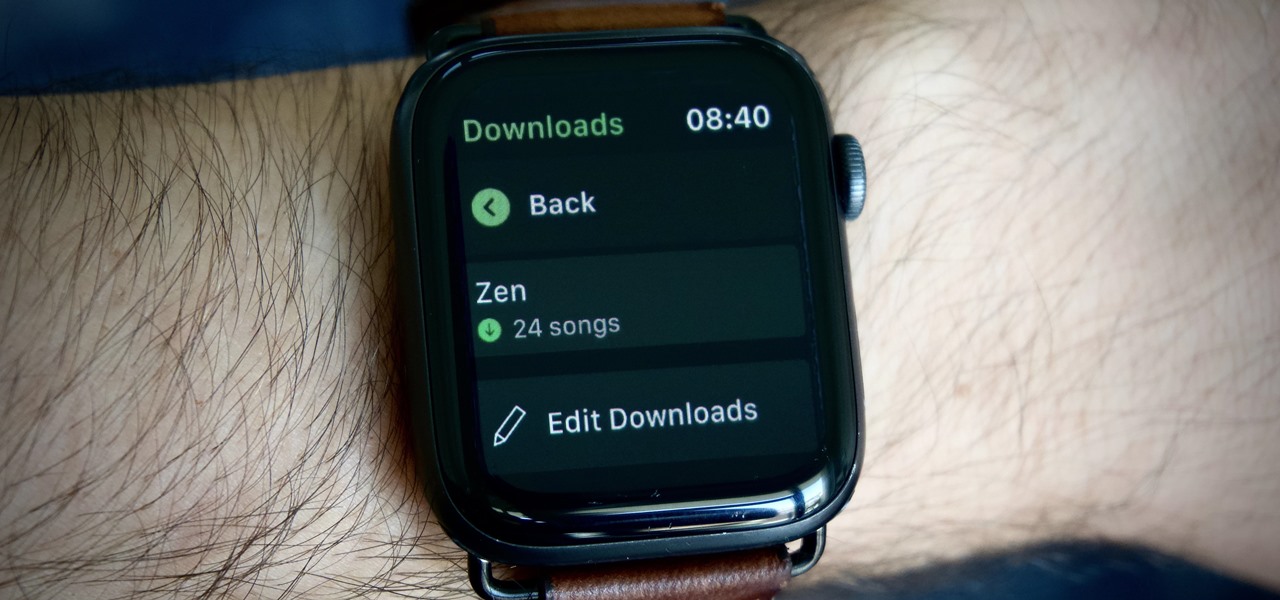
Music and Podcasts: Control your music and podcasts directly from your Apple Watch. Listen to your favorite tunes or catch up on the latest episodes of your favorite podcasts, all without needing to take out your iPhone.
Siri Integration: Interact with Siri using your voice commands to perform a variety of tasks, such as sending messages, setting reminders, checking the weather, and more. Simply raise your wrist and say, “Hey Siri,” to get started.
Breathe App: Take some time to relax and practice mindfulness with the Breathe app on your Apple Watch. Utilize the guided breathing exercises to reduce stress and improve your overall well-being.
Third-party Apps: Explore the wide range of third-party apps available for your Apple Watch. From productivity tools to games, there are numerous apps that can enhance your Apple Watch experience based on your personal interests and needs.
Remember to keep your Apple Watch updated with the latest software updates. Regular updates provide bug fixes, feature enhancements, and security improvements to ensure optimal performance and functionality.
Now that you have your Apple Watch fully set up and ready to go, it’s time to enjoy and maximize its potential. Embrace the convenience and innovation that comes with wearing a smartwatch on your wrist, and allow your Apple Watch to become an essential companion in your daily life.
Conclusion
Congratulations! You have successfully learned how to sync your Apple Watch to your iPhone. By following the step-by-step guide outlined in this article, you have now unlocked the full potential of your Apple Watch and can enjoy its plethora of features and functionalities.
From receiving notifications and tracking your fitness goals to managing apps and customizing your watch face, the seamless integration of your Apple Watch and iPhone allows for a personalized and convenient user experience.
Remember to continue exploring the various features and capabilities of your Apple Watch. As you become more familiar with its functionality, you’ll find more ways to incorporate it into your daily life and make the most out of this powerful wearable device.
Stay up to date with software updates and new app releases to keep your Apple Watch running smoothly and to access the latest features. Take advantage of the ever-growing ecosystem of apps designed specifically for the Apple Watch, further expanding its functionality and usefulness.
Whether you’re using your Apple Watch for health and fitness tracking, staying organized and connected throughout the day, or simply enjoying the convenience of having important information on your wrist, it’s an invaluable companion that enhances your overall lifestyle.
Now, with the knowledge and skills you’ve gained, it’s time to put your Apple Watch to good use and experience the seamless integration between your iPhone and Apple Watch. Embrace the convenience, productivity, and innovation that this powerful wearable device offers and make it an integral part of your everyday routine.
Enjoy the incredible journey ahead with your Apple Watch, and may it bring you convenience, connectivity, and a touch of style on your wrist!