Introduction
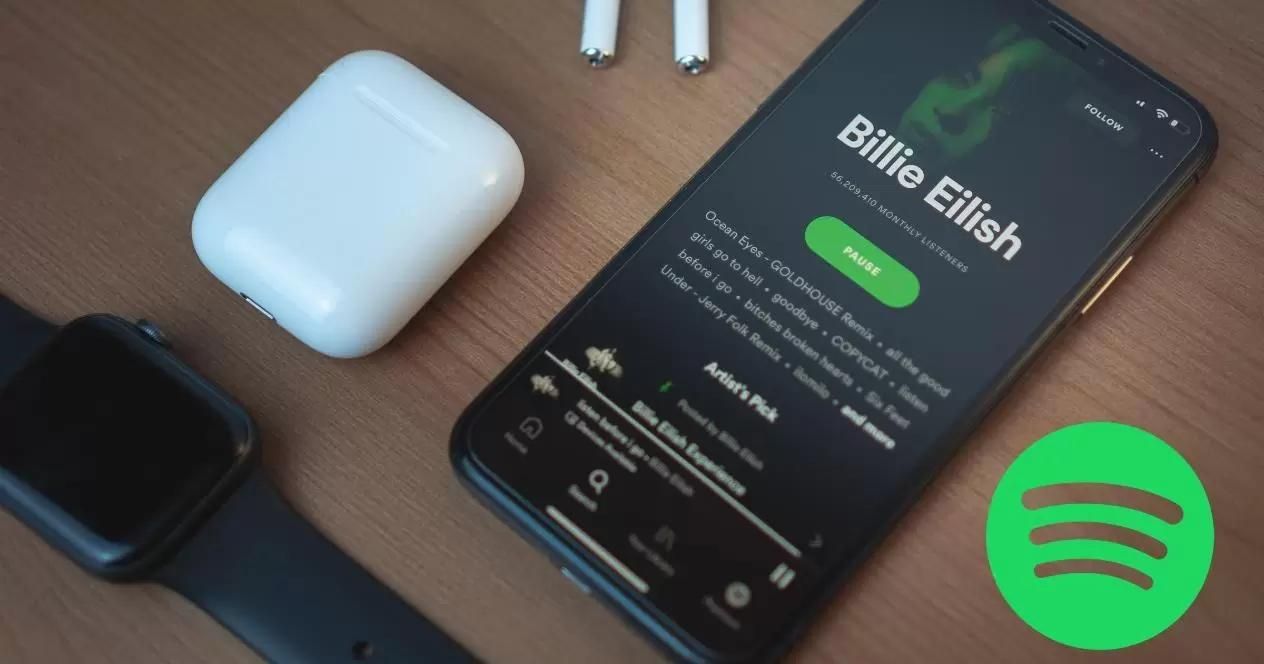
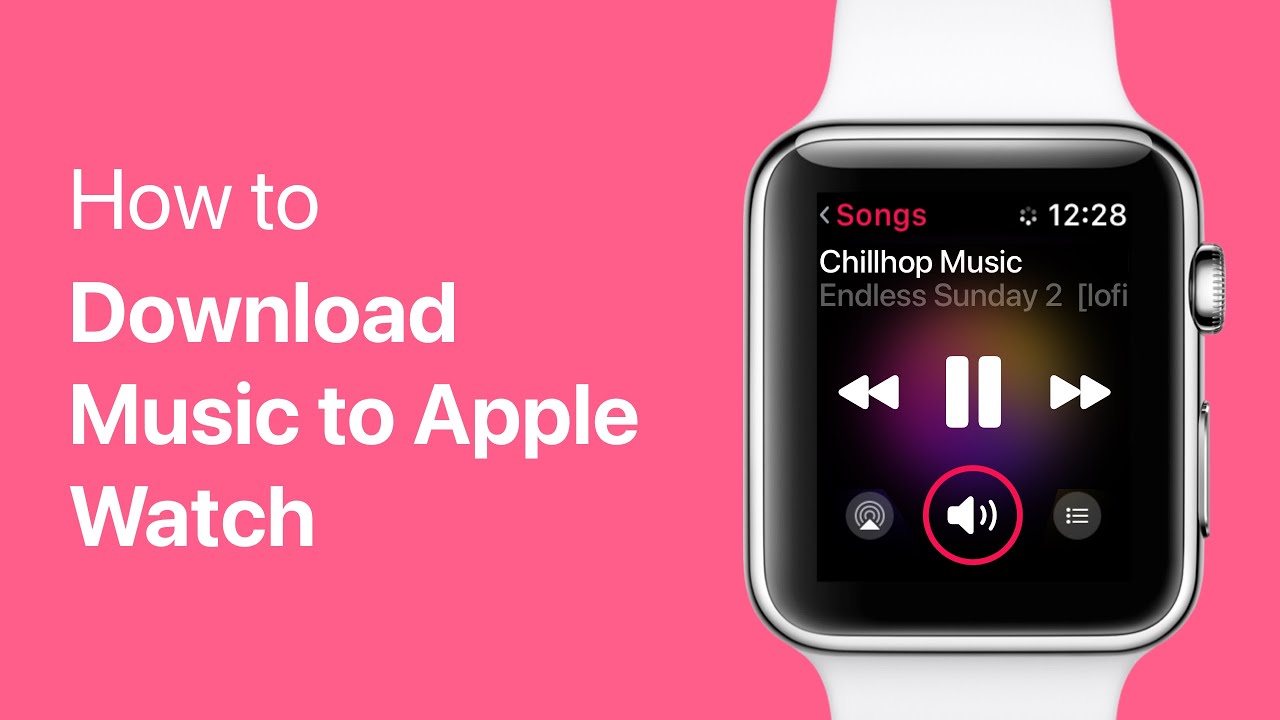
Welcome to this guide on how to download music on your Apple Watch! The Apple Watch is a versatile device that allows you to enjoy music on the go without needing to carry your iPhone with you. Whether you’re going for a run, hitting the gym, or simply relaxing, having music on your Apple Watch can enhance your experience.
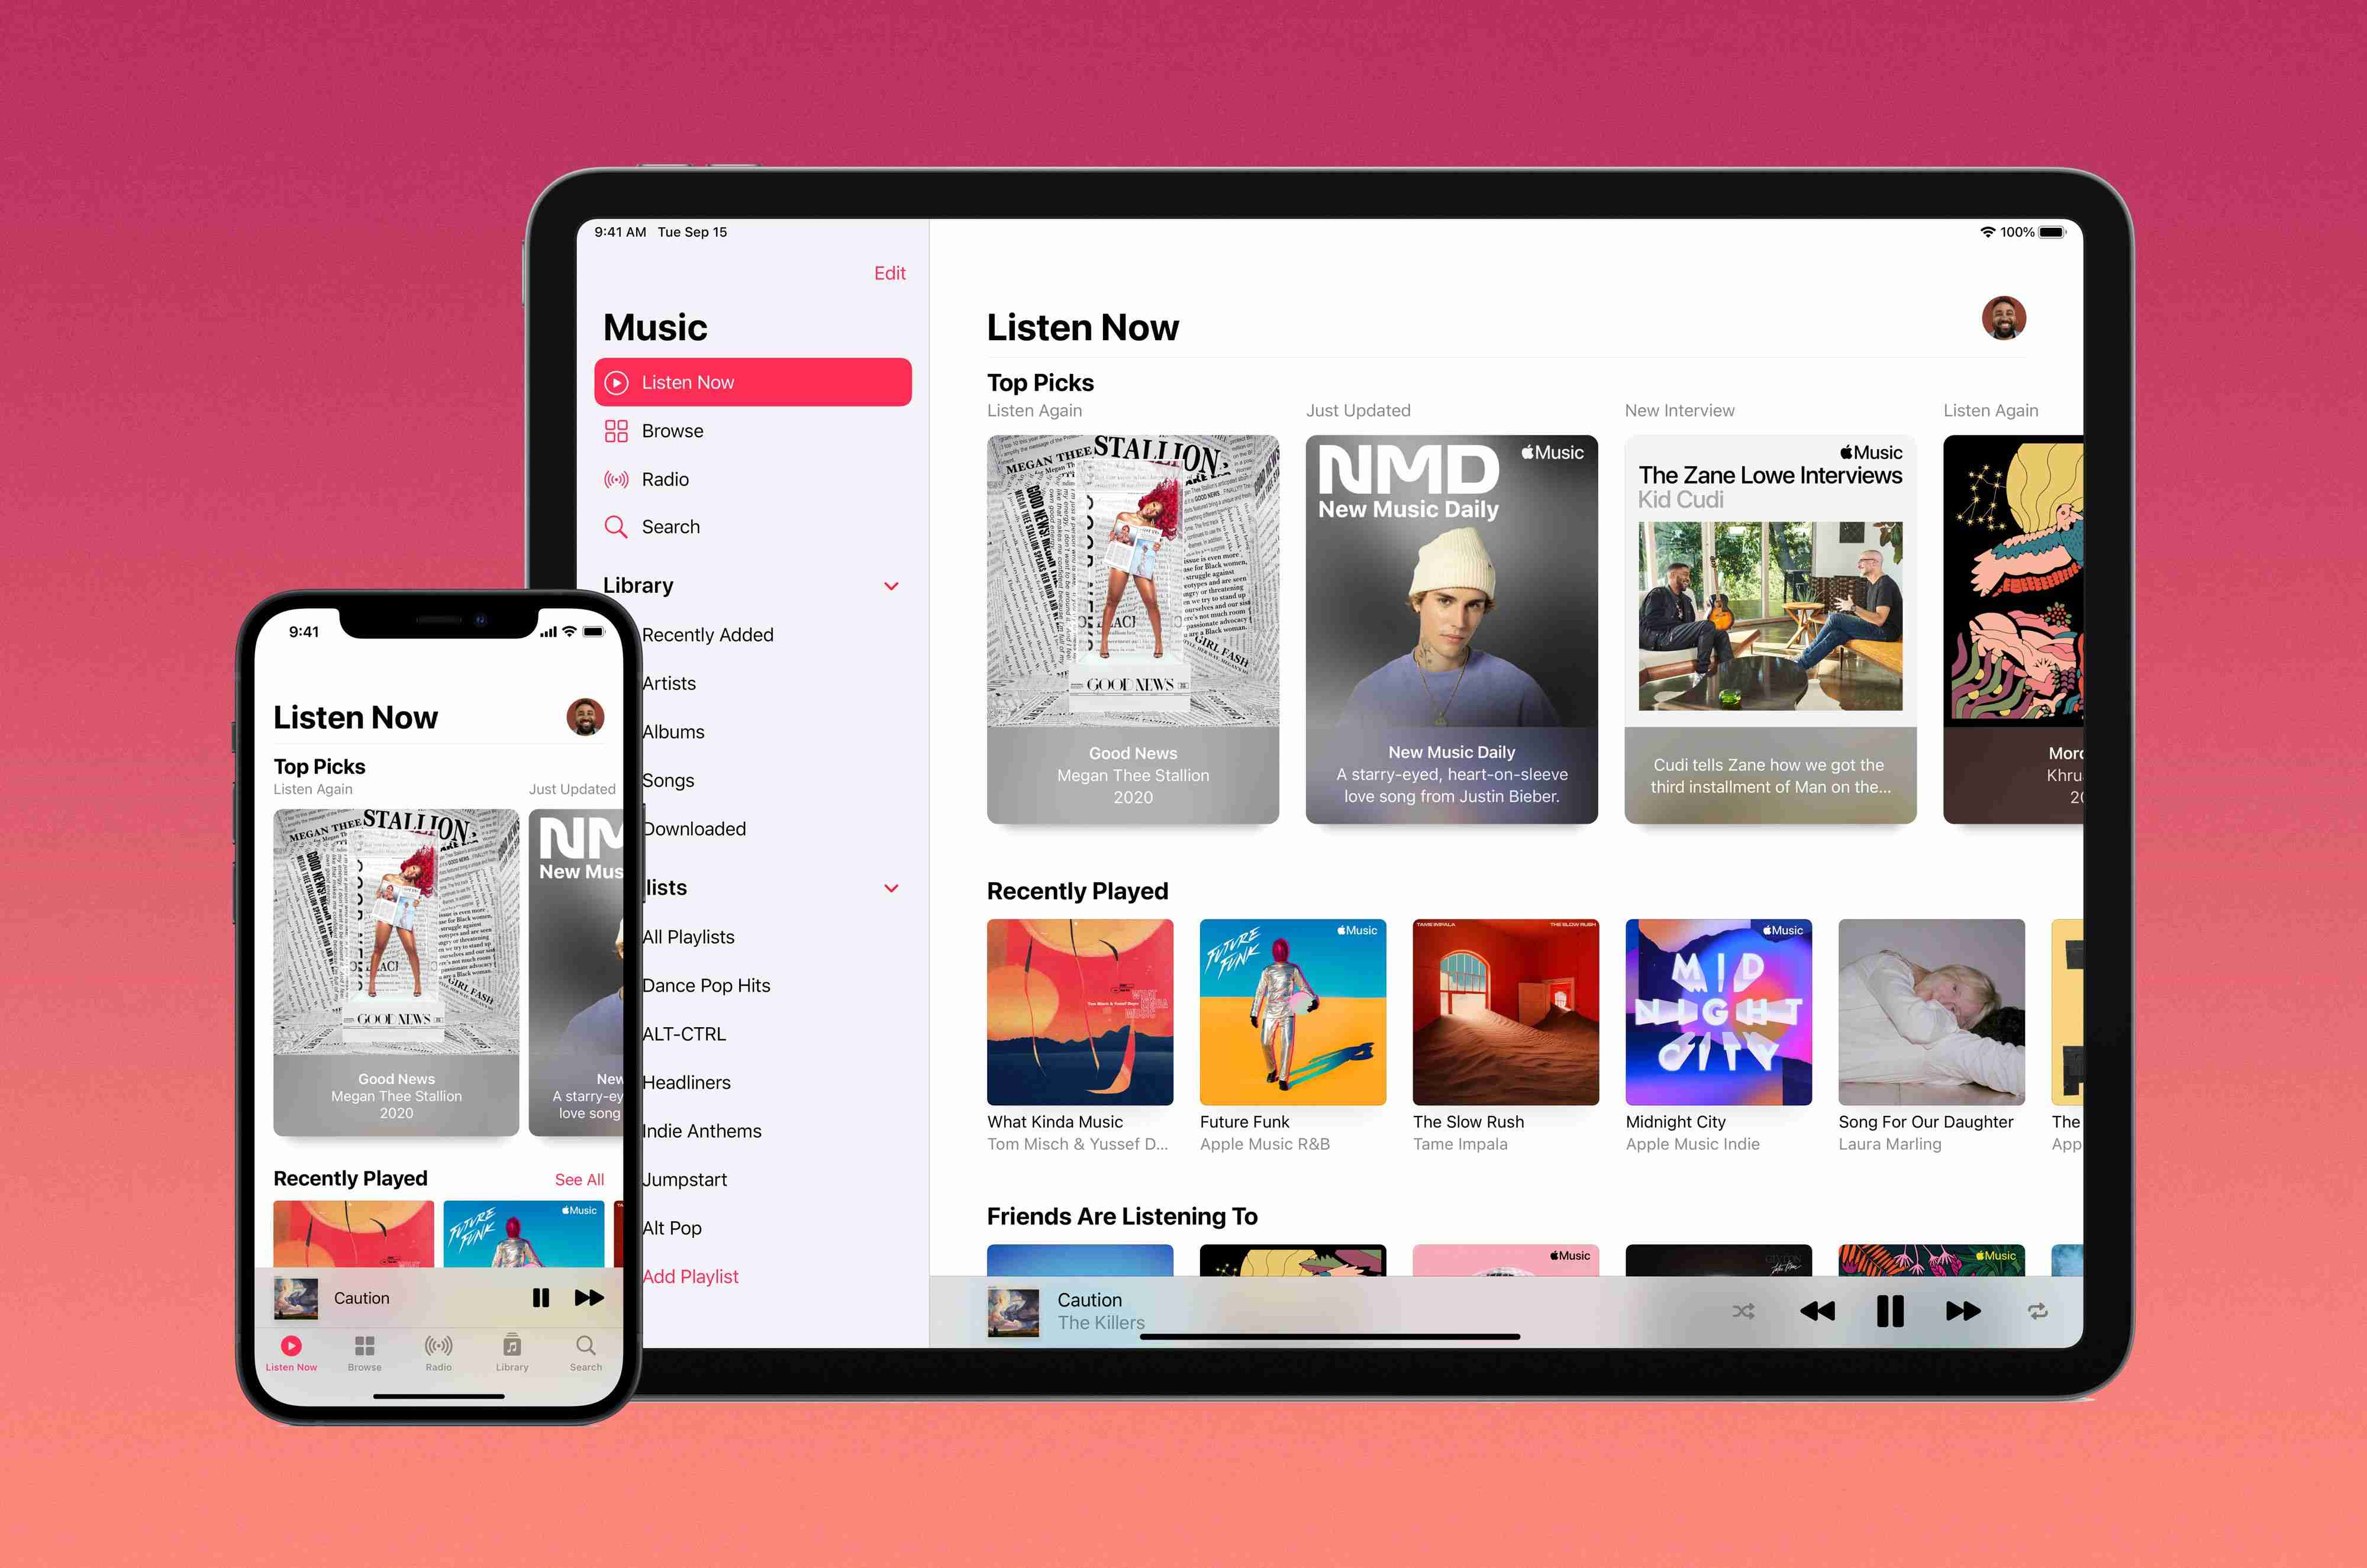
Listening to music on your Apple Watch is made possible through the Music app, which allows you to access and control your favorite tracks directly from your wrist. However, before you can start enjoying your favorite tunes, there are a few requirements and steps you need to follow.
In this guide, we will walk you through the necessary requirements and show you how to transfer music to your Apple Watch. By the end of this tutorial, you’ll be able to listen to your favorite songs right from your wrist.
So, if you’re excited to enjoy your music library on your Apple Watch, let’s get started!
Requirements
Before you can start downloading music to your Apple Watch, there are a few essential requirements that you should meet:
- An Apple Watch: To download and listen to music on your Apple Watch, you’ll need a compatible model. This includes Apple Watch Series 3 or later.
- An iPhone: The Apple Watch relies on the paired iPhone to transfer music. Therefore, you’ll need an iPhone 5 or later with the latest version of iOS installed.
- Apple Music Subscription: To access and download music directly from your Apple Watch, you’ll need an active Apple Music subscription. If you don’t have an Apple Music subscription, you can still transfer music from your iPhone to your Apple Watch using other methods.
- Wi-Fi or Cellular Connection: To download music directly from your Apple Watch, you’ll need either a Wi-Fi or cellular connection. Keep in mind that downloading music over cellular may consume your data plan, so it’s important to be mindful of your data usage.
- Enough Storage Space: The Apple Watch has limited storage capacity, so make sure you have enough available space to store your desired music. Depending on the model, the capacity can range from 8GB to 32GB.
Once you have met these requirements, you can proceed with the steps to download and enjoy music on your Apple Watch. It’s important to ensure that all your devices are updated and connected before proceeding to the next steps.
Step 1: Ensure your iPhone is updated
Before you can start transferring music to your Apple Watch, it’s crucial to ensure that your iPhone is running the latest version of iOS. Regular software updates not only provide new features and bug fixes but also enable compatibility with the latest Apple Watch functionalities.
To check for software updates on your iPhone, follow these steps:
- Open the “Settings” app on your iPhone.
- Scroll down and tap “General”.
- Select “Software Update”.
If an update is available, tap “Download and Install” to begin the update process. Make sure your iPhone is connected to Wi-Fi and has sufficient battery life or is plugged into a power source.
Once the update is complete, your iPhone will restart automatically. Ensuring that your iPhone is up to date will help prevent any compatibility issues while syncing music to your Apple Watch.
After verifying that your iPhone is running the latest version of iOS, you can move on to the next step of syncing your Apple Watch with your iPhone.
Step 2: Sync your Apple Watch and iPhone
Syncing your Apple Watch with your iPhone is a crucial step in preparing it to download and play music. Follow these steps to ensure proper synchronization:
- Ensure that your Apple Watch is charged, and place it on its charger.
- Open the “Watch” app on your iPhone.
- Select your Apple Watch from the list of available devices.
- Tap on the “Pair New Watch” option if you haven’t previously paired your Apple Watch. Otherwise, proceed to the next step.
- Follow the on-screen instructions to complete the pairing process. This typically involves aligning your iPhone’s camera with the animation on your Apple Watch.
- Once paired, you may be asked to set up your Apple Watch as a new device or restore it from a backup. Choose the option that best suits your preference.
- Wait for the syncing process to complete. This may take a few minutes, so ensure that your iPhone and Apple Watch remain in close proximity during this time.
- Once the syncing is complete, you will receive a notification confirming the successful pairing of your devices.
By syncing your Apple Watch and iPhone, you establish a connection that allows for seamless data transfer, including music files. This synchronization process is necessary to enable the transfer of your music library to your Apple Watch.
Now that your devices are successfully paired, you can move on to the next step of transferring music to your Apple Watch.
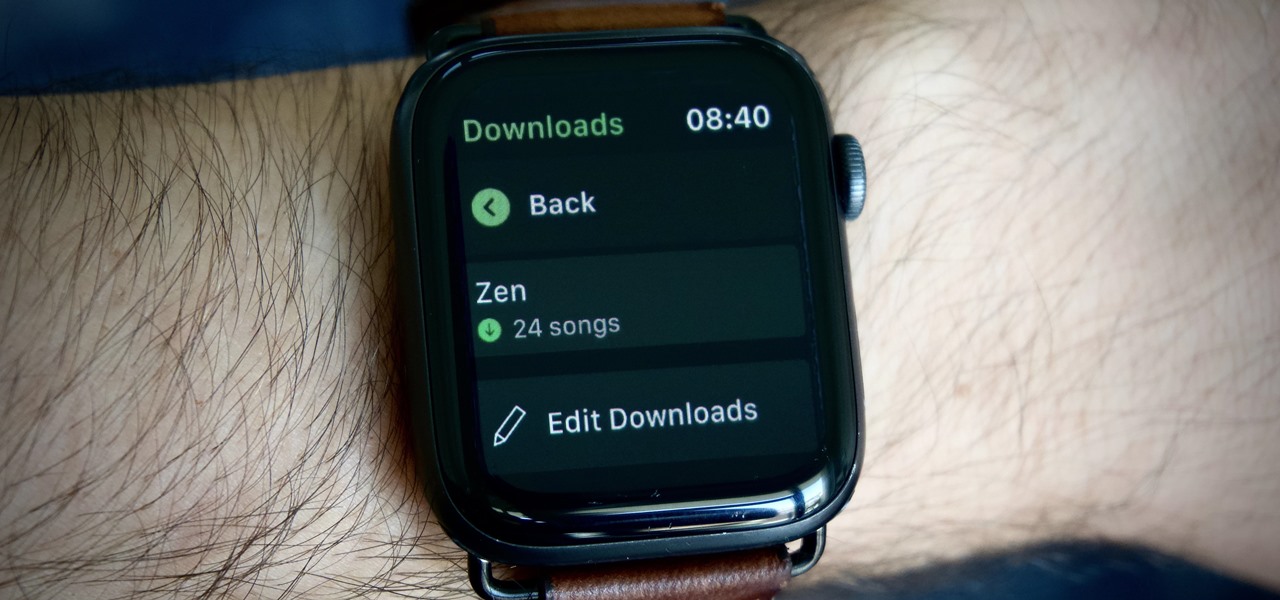
Step 3: Transfer music to your Apple Watch
Now that your Apple Watch and iPhone are synced, you can proceed with transferring music to your Apple Watch. There are a couple of methods you can use to accomplish this:
- Automatic Music Sync: If you have an Apple Music subscription, you can enable the Automatic Music Sync feature to automatically transfer your most frequently listened to music to your Apple Watch. To do this:
- Open the “Watch” app on your iPhone.
- Tap on “Music” and then enable the “Sync Library” option.
- Choose the desired storage limit for music on your Apple Watch.
- Manually Select Music: If you prefer to manually choose the music to transfer, follow these steps:
- Open the “Watch” app on your iPhone.
- Tap on “Music” and then select “Add Music”.
- Browse through your music library and select the songs, albums, or playlists you want to transfer to your Apple Watch.
- Tap on “Done” once you’ve made your selections.
Once you have chosen your preferred method of transferring music, the syncing process will begin. The time it takes to transfer music to your Apple Watch will vary depending on the number of songs and the size of your selected files.
It’s important to note that your Apple Watch needs to be connected to Wi-Fi or have a cellular connection during the music transfer process. Ensure that your Apple Watch remains within range of your iPhone, allowing for the transfer to complete successfully.
After the transfer is complete, you’ll receive a notification on your Apple Watch confirming the availability of the music. You can now move on to the final step of playing music on your Apple Watch.
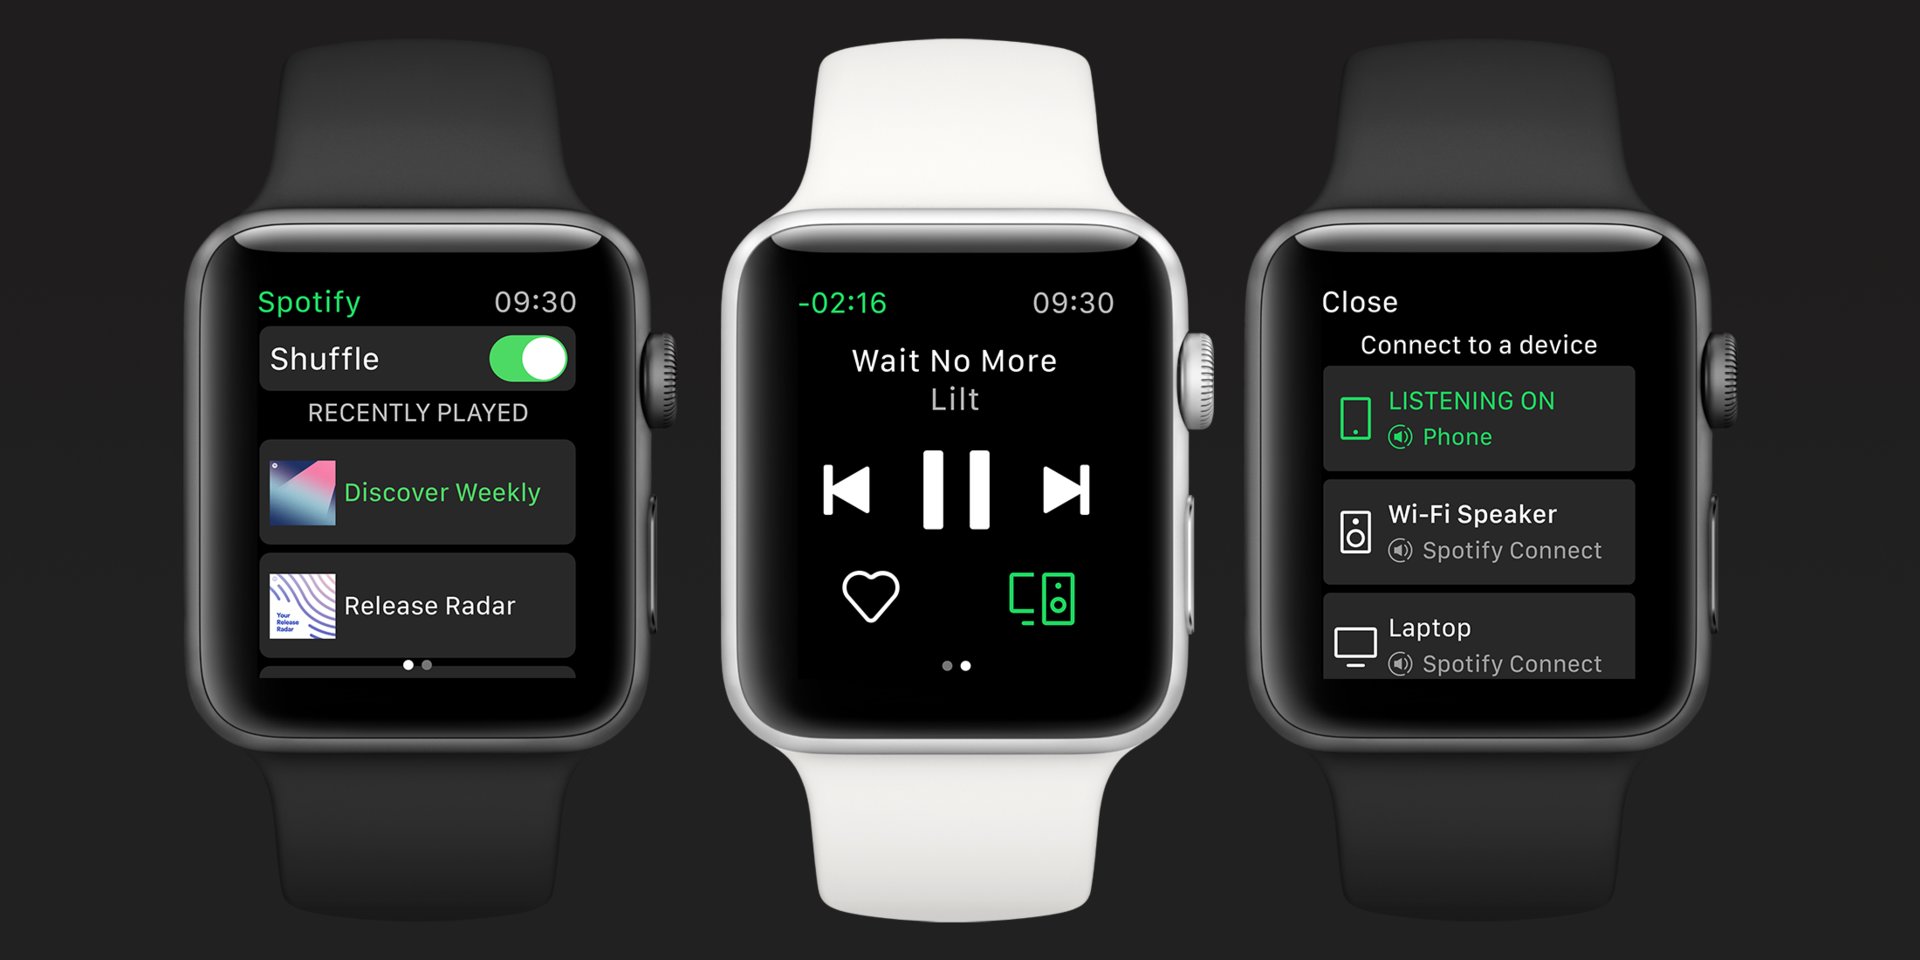
Step 4: Play music on your Apple Watch
Now that you have transferred music to your Apple Watch, it’s time to enjoy your favorite tunes on your wrist. Follow these steps to play music on your Apple Watch:
- On your Apple Watch, press the Digital Crown to access the app grid.
- Find and tap on the “Music” app icon.
- You will be presented with different music options, such as recently played, playlists, albums, and songs.
- Swipe up or down to navigate through the available options and tap on the desired category.
- Once you have selected your desired music category, swipe left or right to browse through the available content.
- To start playing a song, simply tap on it.
- You can control music playback by using the controls on the screen. This includes options to play/pause, skip forward or backward, adjust volume, and more.
Keep in mind that to play music directly from your Apple Watch, you’ll need a pair of Bluetooth headphones or earbuds connected. Make sure the headphones are paired with your Apple Watch and that they are properly connected before attempting to play music.
Additionally, you can also control music playback on your Apple Watch from your paired iPhone. The controls and options available on your iPhone’s Music app will reflect and control the playback on your Apple Watch.
With these simple steps, you can now enjoy your favorite music directly from your Apple Watch, whether you’re out for a run or simply prefer the convenience of leaving your iPhone behind.
Remember to recharge your Apple Watch regularly to ensure continuous music playback and to sync new music additions from your iPhone.
Now that you’ve reached the end of this guide, have fun exploring and listening to music on your Apple Watch!
Conclusion
Congratulations! You’ve now learned how to download and play music on your Apple Watch. With the ability to sync your music library and listen on the go, you can enjoy your favorite tunes directly from your wrist.
By ensuring that your iPhone is updated, syncing your Apple Watch and iPhone, transferring music to your Apple Watch, and knowing how to play music, you have all the necessary knowledge to make the most of your Apple Watch’s music capabilities.
Whether you prefer automatic music syncing or manually selecting your favorite tracks, the process is simple and straightforward. Remember to keep your Apple Watch charged and connected to Wi-Fi or cellular data for seamless music transfer and playback.
Now it’s time to put your newfound knowledge into practice. Grab your Apple Watch, sync your favorite music, and enjoy listening to your favorite songs wherever your day takes you.
Thank you for following this guide, and we hope you have a fantastic experience listening to music on your Apple Watch!