Introduction
Welcome to the world of Apple Watch! If you’re eager to pair your Apple Watch to your phone and take advantage of its incredible features, you’ve come to the right place.
The Apple Watch is a revolutionary device that brings convenience, style, and functionality to your wrist. By connecting it to your iPhone, you can access a wide range of applications, receive notifications, track your fitness goals, and even make phone calls – all without taking your phone out of your pocket.
In this guide, we will take you through the step-by-step process of pairing your Apple Watch to your phone. Whether you’re a technology novice or a seasoned Apple user, we’ll provide clear and concise instructions to ensure a seamless set-up.
Before we dive into the pairing process, it’s important to verify that your devices are compatible. The Apple Watch is compatible with iPhone 6s or later models running the latest version of iOS. If you meet this requirement, let’s get started on pairing your Apple Watch and your phone.
Step 1: Make sure your devices are compatible
Before you begin the pairing process, it’s crucial to ensure that your Apple Watch and iPhone are compatible. Here’s how you can check:
- Make sure your iPhone is running the latest version of iOS. You can check for updates by going to Settings > General > Software Update.
- Confirm that your iPhone model is compatible with the Apple Watch. The Apple Watch is compatible with iPhone 6s or later models.
- Check the software version on your Apple Watch. To do this, go to the Apple Watch app on your iPhone, tap on “General,” and then select “Software Update.”
If your devices meet the compatibility requirements, you’re ready to move on to the next step. If not, you may need to update your software or consider upgrading your iPhone to a compatible model.
It’s important to have compatible devices to ensure a smooth and seamless pairing process. Once you’ve verified compatibility, you can proceed to the next step of bringing your devices close together.
Step 2: Bring your devices close together
Now that you’ve confirmed the compatibility of your Apple Watch and iPhone, it’s time to physically bring them close together. This proximity is necessary to establish a connection and facilitate the pairing process. Here’s what you need to do:
- Place your Apple Watch and iPhone next to each other on a flat surface. Make sure they are within a few inches of each other.
- Ensure that both devices are charged. It’s best to have them fully charged to avoid any interruption during the pairing process.
- Switch on both devices. Press and hold the side button on your Apple Watch until the Apple logo appears, indicating that it’s turning on. On your iPhone, press the home or power button to wake it up.
By bringing your devices close together, you’re creating an optimal environment for the pairing process. This step sets the stage for seamless communication between your Apple Watch and iPhone, so they can work together harmoniously.
Once your devices are in close proximity and powered on, you’re ready to move forward and open the Apple Watch app on your iPhone. Let’s proceed to the next step and get one step closer to enjoying all the features and functionalities of your Apple Watch.
Step 3: Open the Apple Watch app on your iPhone
To begin the pairing process, you’ll need to open the Apple Watch app on your iPhone. This app allows you to manage various settings and customize your Apple Watch experience. Here’s what you need to do:
- Locate the Apple Watch app on your iPhone’s home screen. It’s represented by a green icon with a silhouette of an Apple Watch.
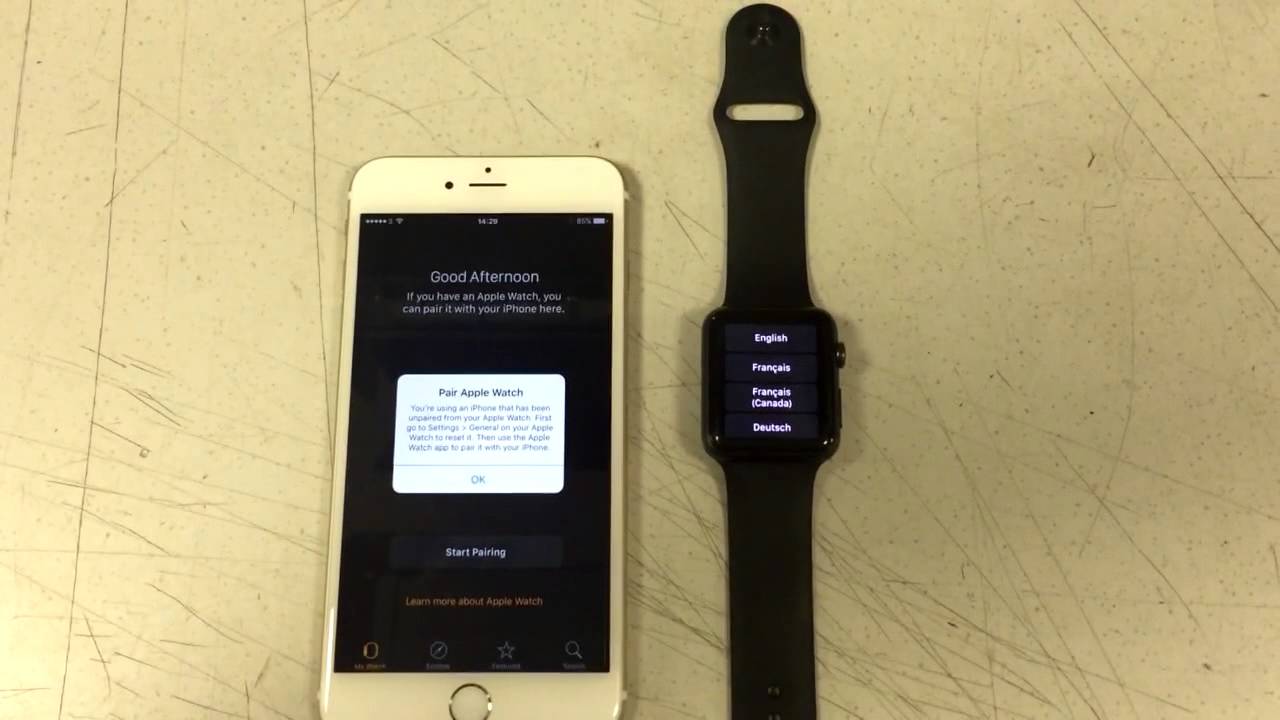
- Tap on the Apple Watch app to open it. The app will launch, and you’ll be greeted with the “Start Pairing” screen.
Opening the Apple Watch app on your iPhone establishes a connection between the two devices and initiates the pairing process. This app acts as a control center for managing your Apple Watch settings, notifications, and app installations.
Once you’ve successfully opened the Apple Watch app, you’re ready to proceed to the next step and begin the actual pairing process by tapping on “Start Pairing” on your Apple Watch.
Note: If you encounter any difficulties in locating or opening the Apple Watch app, ensure that it is installed on your iPhone. If not, visit the App Store and download it before proceeding.
Step 4: Tap “Start Pairing” on your Apple Watch
Now that you have the Apple Watch app open on your iPhone, it’s time to initiate the pairing process on your Apple Watch itself. Here’s what you need to do:
- On your Apple Watch, tap the screen to wake it up. You should see the Apple logo or the time display.
- Swipe left or right on the Apple Watch screen until you see the “Language” screen.
- Tap on your preferred language to select it.
- Next, you’ll come across the “Start Pairing” screen on your Apple Watch. Tap on “Start Pairing.”
By tapping “Start Pairing” on your Apple Watch, you’re enabling it to search for nearby devices, including your iPhone. This initiates a scanning process that allows your Apple Watch to detect and establish a connection with your iPhone.
Once you’ve tapped “Start Pairing,” you’re ready to move on to the next step, which involves holding your iPhone over the animation displayed on your Apple Watch.
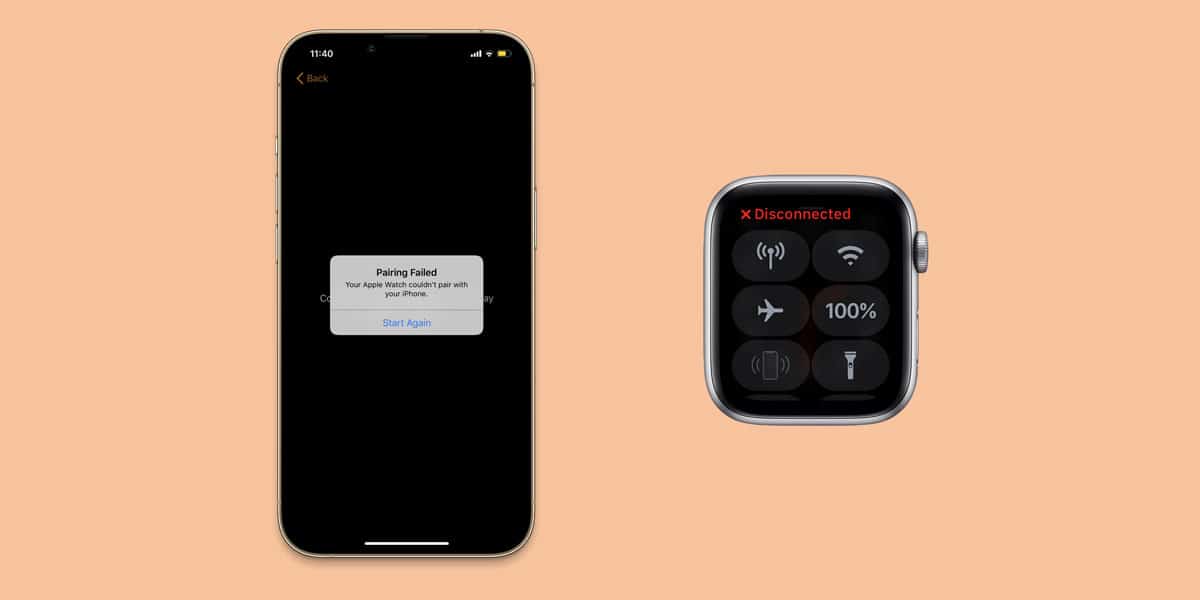
Note: If you don’t see the “Start Pairing” screen on your Apple Watch, ensure that both devices are powered on and in close proximity. You may need to restart either device or move them closer together to establish a successful connection.
Step 5: Hold your iPhone over the animation
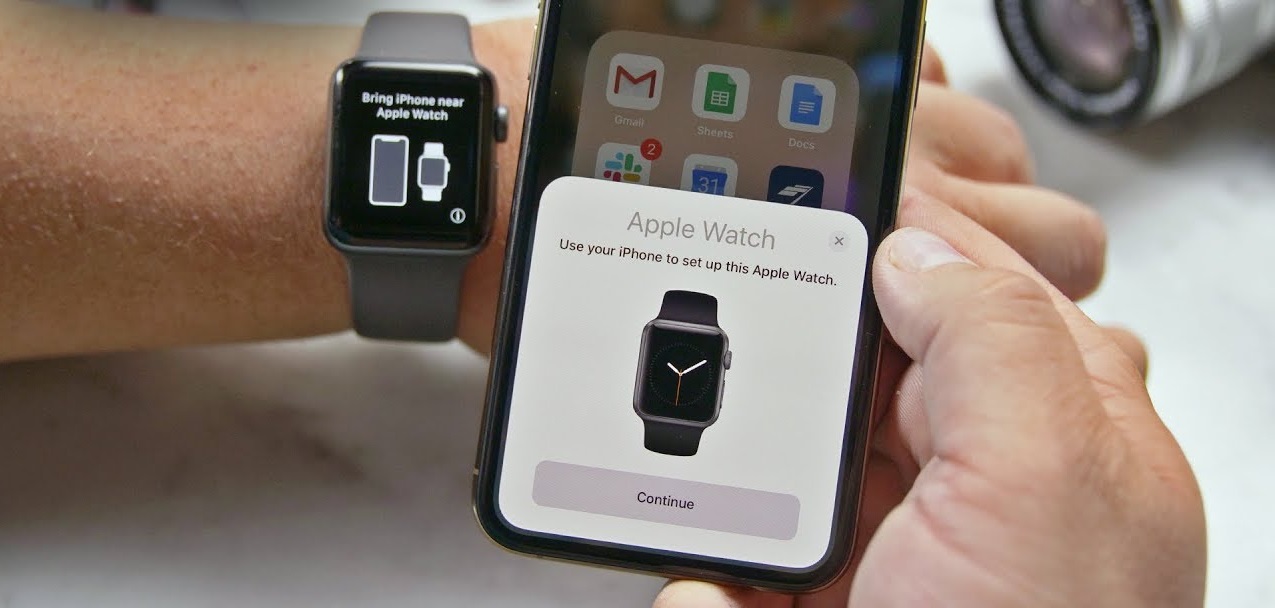
Once you’ve tapped “Start Pairing” on your Apple Watch, it’s time to hold your iPhone over the animation displayed on your watch. This step establishes a connection between the two devices and allows them to communicate. Here’s what you need to do:
- On your iPhone, ensure that the Apple Watch app is open and on the “Start Pairing” screen.
- Hold your iPhone directly above your Apple Watch, ensuring that the screens are facing each other.
- Align the iPhone’s viewfinder box with the animation displayed on your Apple Watch screen.
- Wait for the camera on your iPhone to capture the animation. Once captured, you’ll receive a notification on your Apple Watch.
By holding your iPhone over the animation, you’re allowing the devices to establish a secure connection through an encrypted process. This connection enables your iPhone to transfer important data and settings to your Apple Watch, allowing them to work seamlessly together.
Once you receive the notification on your Apple Watch, you’re ready to move on to the next step, which involves setting up your Apple Watch and configuring it according to your preferences.
Note: If you’re having trouble capturing the animation, ensure that your iPhone’s camera lens is clean and unobstructed. You may also need to adjust the positioning of your iPhone to align it accurately with the animation on your Apple Watch screen.
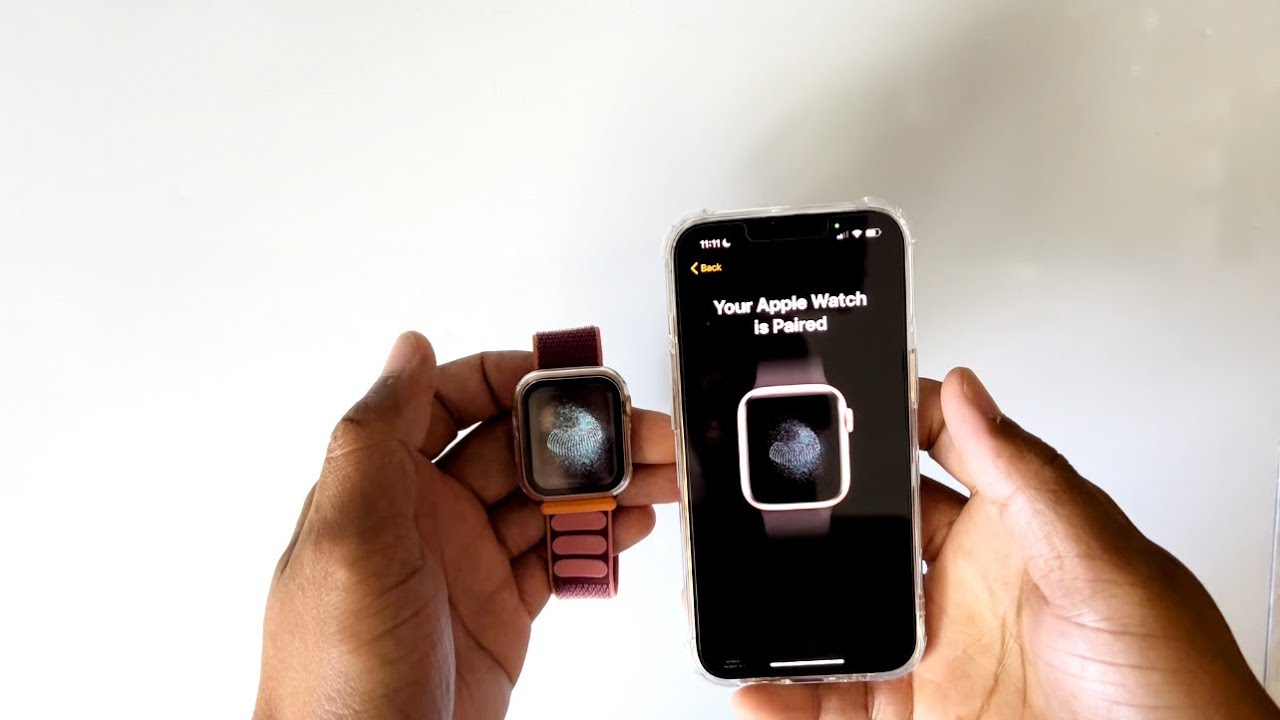
Step 6: Wait for a notification to appear on your Apple Watch
After holding your iPhone over the animation on your Apple Watch, you’ll need to wait for a notification to appear. This notification indicates that the pairing process is in progress and that your devices are communicating effectively. Here’s what you need to do:
- Once you’ve captured the animation on your iPhone, keep your devices close together.
- Observe your Apple Watch screen and wait for a notification to appear. This notification signifies that the pairing process is underway.
- On your iPhone, you may be prompted to enter your Apple ID and password to proceed with the pairing process. Follow the on-screen instructions to complete this step.
While waiting for the notification to appear, it’s crucial to ensure that your Apple Watch and iPhone are in close proximity to maintain a strong connection. This notification is a positive indication that your devices are successfully communicating with each other.
Once the notification appears, you’re ready to move on to the next step, which involves setting up your Apple Watch and configuring it according to your preferences.
Note: If you don’t see a notification on your Apple Watch or encounter any difficulties during this step, ensure that both devices are nearby and properly positioned. You may need to restart either device or retry the pairing process to establish a successful connection.
Step 7: Set up your Apple Watch
Once you’ve received the notification on your Apple Watch, indicating successful pairing with your iPhone, it’s time to set up your Apple Watch and customize it according to your preferences. Here’s what you need to do:
- On your Apple Watch, follow the on-screen prompts to select your preferred language, region, and other basic settings.
- If prompted, enter your Apple ID and password to sign in. This allows you to sync your Apple Watch with your iCloud account and access various features.
- Agree to the terms and conditions presented on your Apple Watch screen.
- Create or restore your Apple Watch backup if desired. This allows you to transfer your existing settings, apps, and data from a previous Apple Watch.
- Set up Apple Pay on your Apple Watch if you wish to make secure payments using your device.
- Configure options such as Siri, wrist detection, and other settings that enhance your Apple Watch experience.
- Wait for the setup process to complete. The duration may vary depending on the complexity of your preferences and the amount of data being transferred.
Setting up your Apple Watch allows you to customize various aspects of your device, making it uniquely yours. It’s important to take your time and select the settings that align with your preferences and needs.
Once the setup process is complete, you’re ready to move on to the next step and customize your watch face, further personalizing your Apple Watch experience.
Note: If you encounter any difficulties during the setup process, consult the Apple Watch user manual or visit the Apple Support website for step-by-step guidance. These resources provide detailed instructions to help you navigate any challenges you may encounter.
Step 8: Customize your watch face
Now that your Apple Watch is set up, it’s time to personalize your watch face, adding a touch of style and functionality to your device. The watch face is the screen you interact with most frequently, so it’s essential to make it suit your taste and needs. Here’s what you need to do:
- On your Apple Watch, firmly press the watch face to enter customization mode.
- Swipe left or right to browse through the available watch face options.
- Tap on a watch face to select it.
- Once you’ve selected a watch face, you can further customize it by selecting complications. Complications are additional features or information that you can add to your watch face, such as weather, activity rings, or calendar events.
- To add complications, swipe right on the watch face and tap “Customize.”
- Scroll through the available complications and tap on the ones you want to add. You can also rearrange and remove complications to create your ideal watch face layout.
- Once you’re satisfied with your watch face and its complications, firmly press the screen again to exit customization mode.
Customizing your watch face allows you to have quick access to the information and features that matter most to you. From tracking your fitness goals to checking the time and date, your watch face can be customized to cater to your unique preferences.
Remember, you can change your watch face and customize it at any time to suit your mood, style, or specific activities. Experiment with different options and find the watch face setup that best reflects your personality and needs.
Now that you’ve customized your watch face, you’re ready to move on to the next step, installing apps on your Apple Watch.
Step 9: Install apps on your Apple Watch
One of the advantages of having an Apple Watch is the ability to access a wide range of applications directly on your wrist. Installing apps on your Apple Watch allows you to extend its functionality and tailor it to your specific needs. Here’s how you can install apps on your Apple Watch:
- Open the App Store app on your iPhone.
- Search for the app you want to install on your Apple Watch.
- Once you’ve located the app, tap on it to open the app description screen.
- Look for the “Install” or “Get” button and tap on it to download and install the app.
- Wait for the app to install on your iPhone.
- After the app has finished installing on your iPhone, it will automatically appear on your Apple Watch.
Installing apps on your Apple Watch allows you to access and interact with them directly on your wrist, without needing to take out your iPhone. From fitness tracking apps to productivity tools and entertainment apps, there are thousands of apps available to enhance your Apple Watch experience.
Keep in mind that not all iPhone apps have a corresponding Apple Watch app. However, many popular apps offer Apple Watch compatibility, so be sure to explore the App Store to discover apps that align with your interests and needs.
Now that you’ve installed your desired apps on your Apple Watch, you can explore their features and enjoy the convenience of accessing useful information and functionalities right from your wrist.
Proceed to the final step, where you can explore the various features and capabilities of your Apple Watch in more detail.
Step 10: Explore the features of your Apple Watch
Now that you have successfully paired your Apple Watch with your iPhone, customized the watch face, and installed apps, it’s time to explore the multitude of features and capabilities that your Apple Watch has to offer. Here’s what you can do:
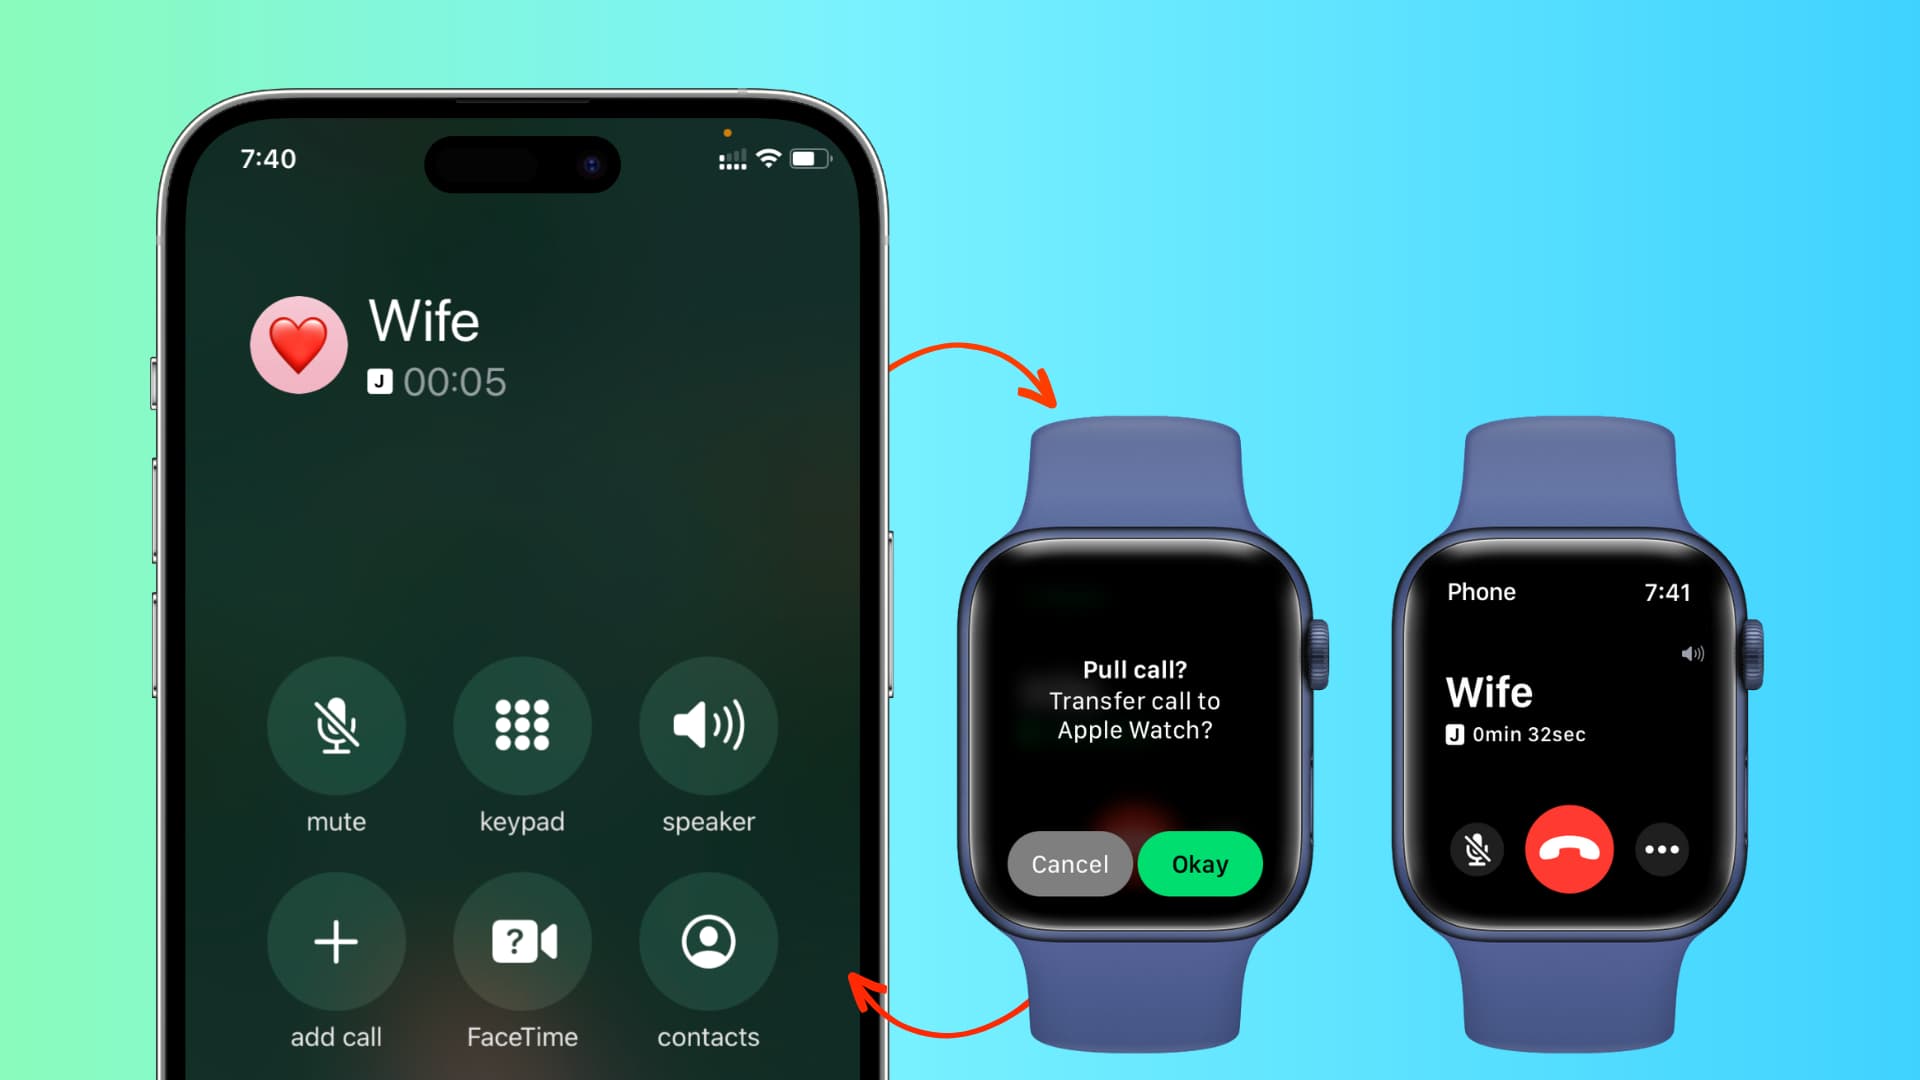
- Stay connected: Receive and respond to messages, emails, and phone calls directly from your Apple Watch, keeping you connected even when your phone is out of reach.
- Track your fitness: Take advantage of the built-in health and fitness features, including heart rate monitoring, step tracking, workout tracking, and more. Set goals, monitor your progress, and stay motivated to lead a healthy lifestyle.
- Control your music: Control your music playback on your iPhone or use the Apple Watch’s built-in music capabilities to listen to your favorite songs directly from your wrist.
- Use Siri: Access Apple’s virtual assistant, Siri, by simply raising your wrist or pressing the digital crown. Ask questions, set reminders, send messages, and more, all through voice commands.
- Pay with Apple Pay: If supported in your region, securely make payments using Apple Pay directly from your Apple Watch, eliminating the need to carry your wallet.
- Customize your notifications: Tailor your notification settings to only receive alerts from the apps and contacts that matter most to you. Easily glance at your wrist to stay informed without constantly checking your iPhone.
- Explore third-party apps: Discover and explore the wide range of third-party apps available for the Apple Watch. From productivity apps to weather apps, there are endless possibilities to enhance your daily routines and activities.
- Access your favorite widgets: Swipe from left to right on the watch face to access your favorite widgets, such as weather, calendar events, and more, for quick and convenient information at a glance.
- Change your watch bands: Personalize your Apple Watch by swapping out the watch bands to match your style or the occasion. There is a wide variety of watch bands available, from sporty to elegant, allowing you to customize your Apple Watch to your liking.
- Keep your Apple Watch up to date: Regularly update your Apple Watch’s software to access new features, improvements, and bug fixes. Check for updates under the “Software Update” section in the Apple Watch app on your iPhone.
By exploring and familiarizing yourself with these features, you’ll maximize the potential of your Apple Watch, making it an indispensable companion in your daily life. Experiment with different apps, settings, and customizations to find what works best for you.
Congratulations! You now have all the tools and knowledge to fully utilize and enjoy your Apple Watch. Embrace the convenience, style, and functionality it brings to your wrist, and make the most out of this remarkable device.
Conclusion
Congratulations on successfully pairing your Apple Watch to your iPhone! You’ve now unlocked a world of convenience, style, and functionality that rests right on your wrist. By following each step outlined in this guide, you’ve ensured a seamless and hassle-free pairing process.
From checking notifications and tracking your fitness goals to staying connected and customizing your watch face, your Apple Watch offers a plethora of features that can enhance your daily life. Take the time to explore all the capabilities it has to offer and personalize it to match your style and preferences.
Remember, your Apple Watch is more than just a timekeeping device. It’s a companion that can keep you informed, motivated, and organized throughout the day. Whether you’re navigating through your busy schedule, monitoring your health and fitness, or simply enjoying your favorite music, your Apple Watch is designed to make your life easier and more enjoyable.
Continue to stay connected, stay active, and make the most of your Apple Watch. And don’t forget to regularly update your device’s software to access new features and improvements that Apple releases.
Thank you for choosing Apple and embracing the innovation and technology that the Apple Watch provides. We hope this guide has been helpful in getting you started on your Apple Watch journey. Enjoy your new device and make the most out of every moment!